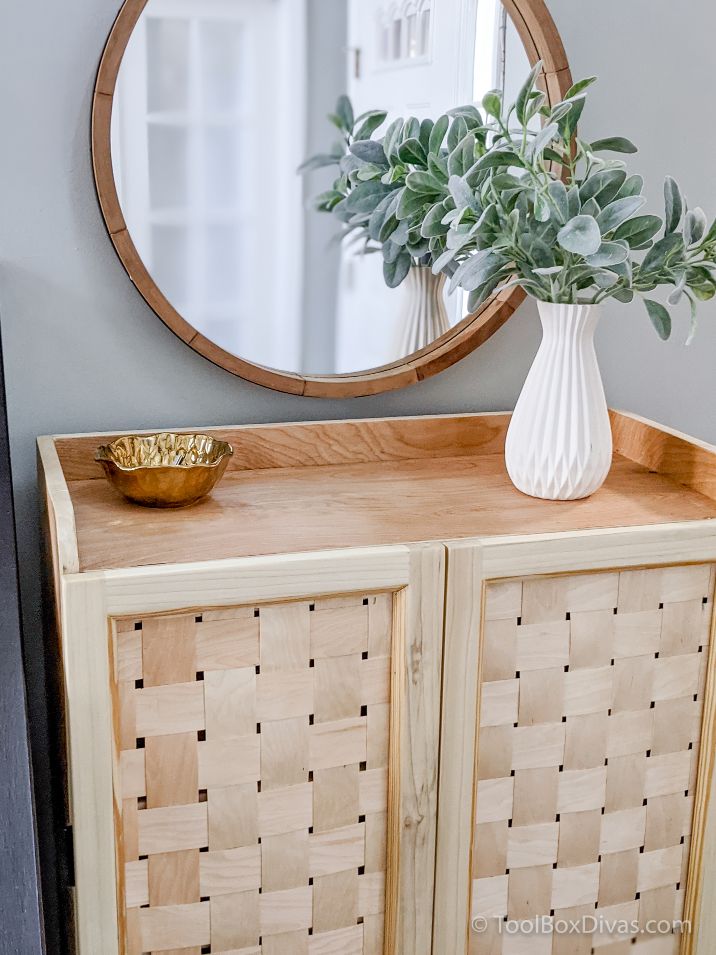
Small DIY Wooden Planter Box
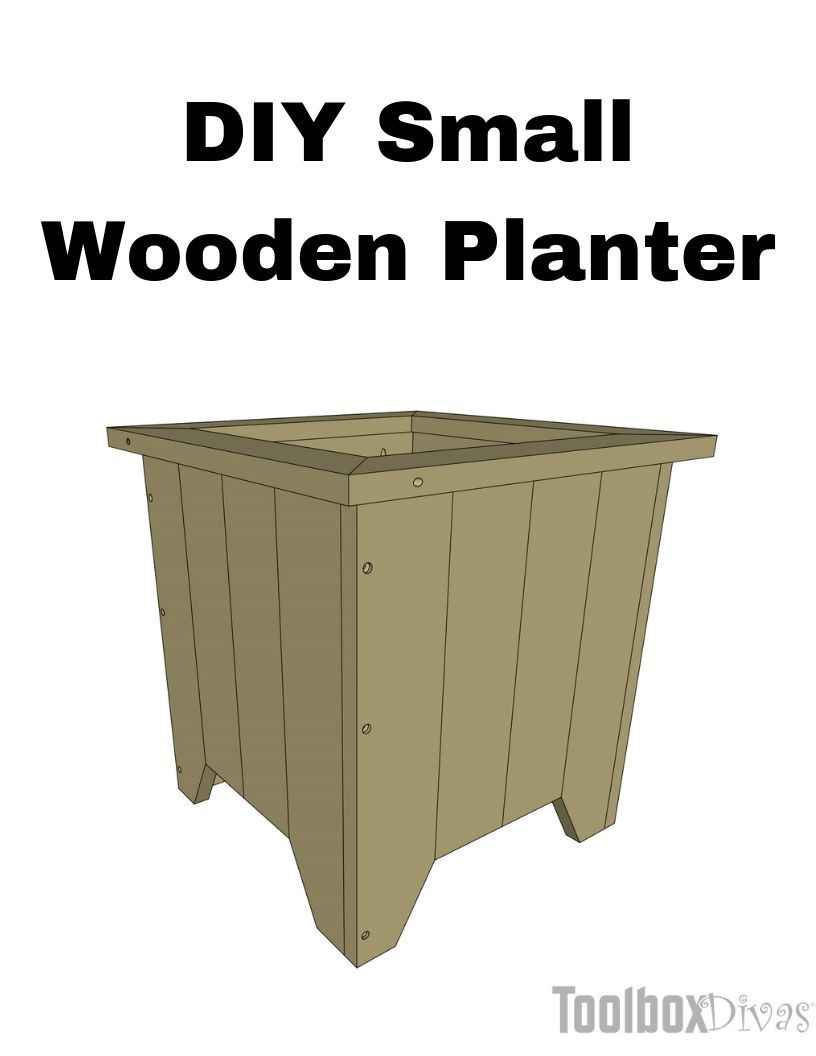
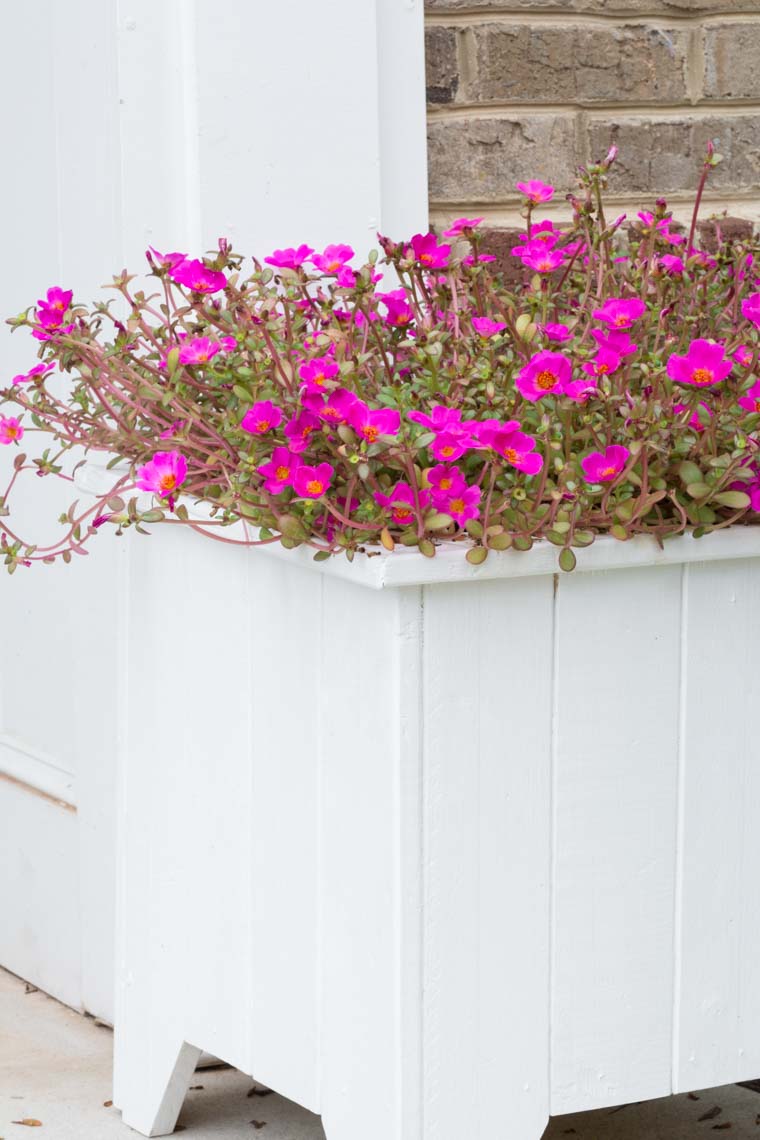
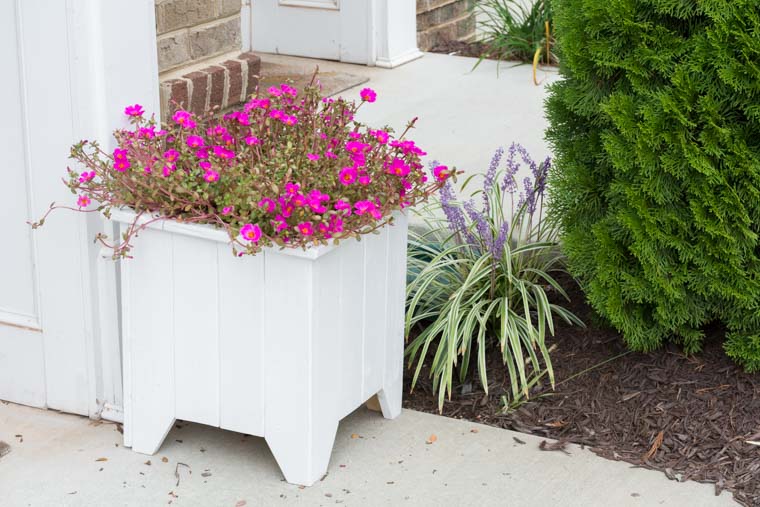
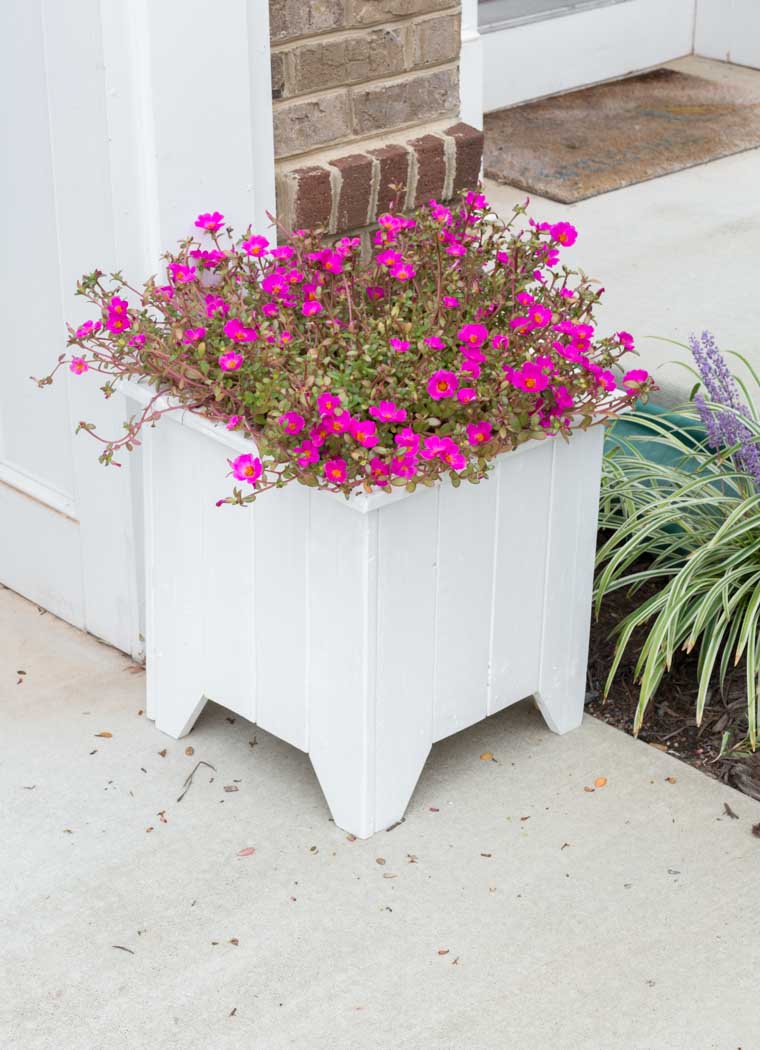
Accent any outdoor landscape or outdoor living area like your front porch with this small DIY wooden planter box.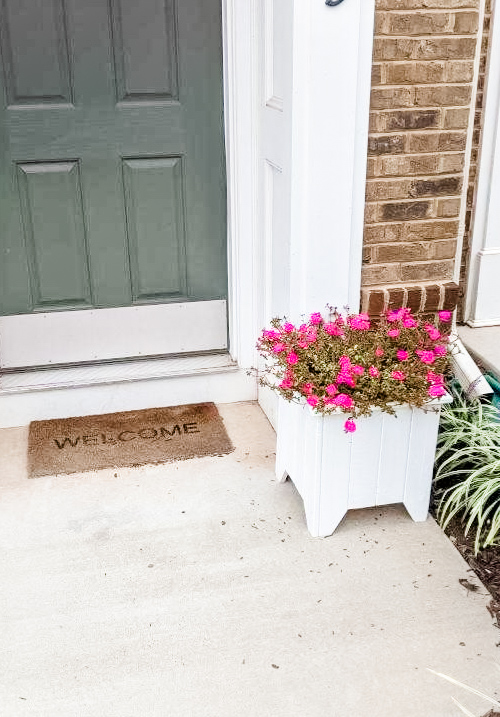
Whether you’re growing flowers, fruits vegetable or herbs the right container makes such a huge difference. I love wooden planter boxes.
For this project, I’m so excited to announce that I’ve teamed up with Brittany Merth of bybrittanygoldwyn.com, a modern DIY blog that focuses on home decor ideas, basic woodworking projects, fun crafts, small home projects, and more. Brittany is also a fellow Marylander like I am and an amazing DIY mama! In addition, she is also one of the most knowledgable horticulturists I know. So that’s why I am uberly excited to team up with her to bring to life this perfect little wooden planter. The complete woodworking plans and materials and cut list are listed below.
Cut List
Materials
|
Quantity |
Description |
Length |
Width |
Thickness |
|
16 |
1X4 Lumber |
20.4″ |
3.5″ |
3/4″ |
|
13 |
1X3 Lumber |
15.7″ |
2.5″ |
3/4″ |
|
4 |
1X2 Lumber |
4.3″ |
1.5″ |
1″ |
|
68 |
#8 Woodscrews |
1 1/4″ |
|
|
|
16 |
5/16 Dowel Plug |
1/2″ |
||
Tools
- Drill
- Miter Saw
- Sander
- Tape Measure
- Pencil
OK, Let’s Get Dirty!
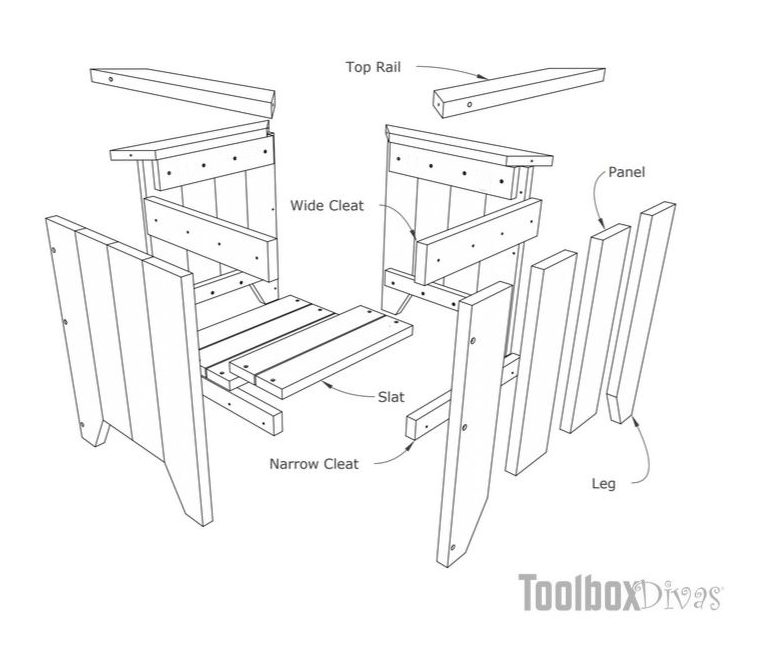
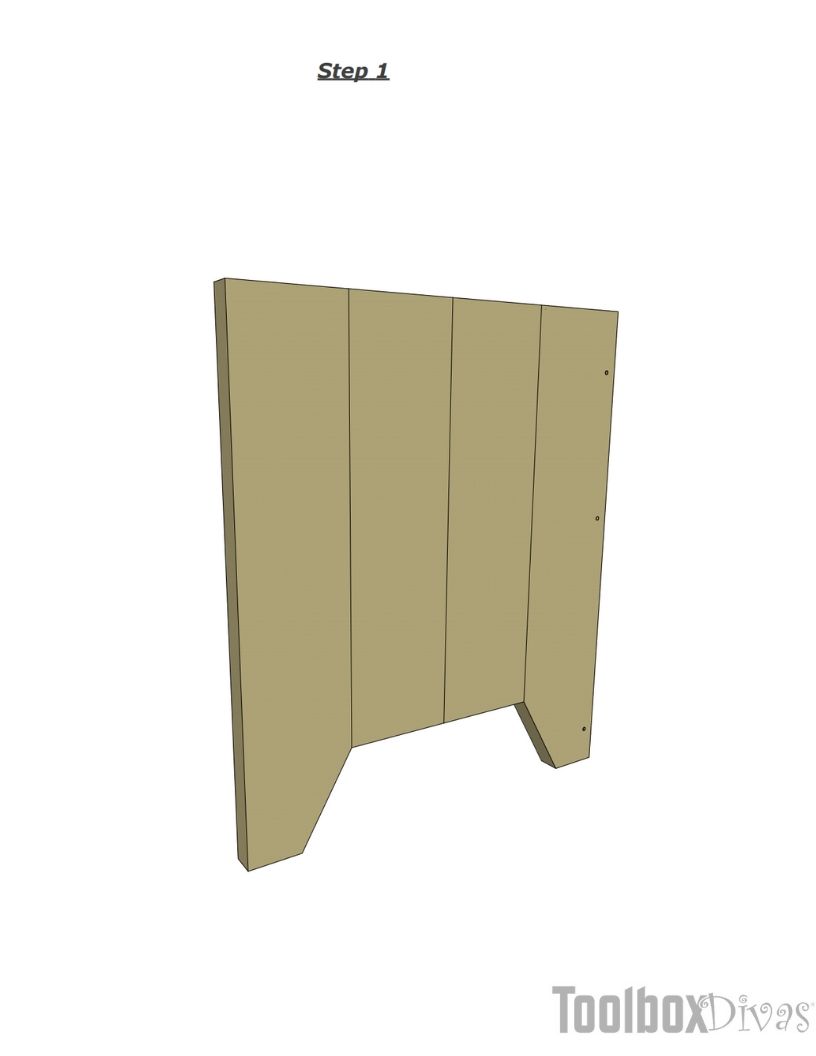
Start with the front panel. Cut the boards to size as outlined in the cut list. Note the legs pieces are cut at a 60-degree angle.
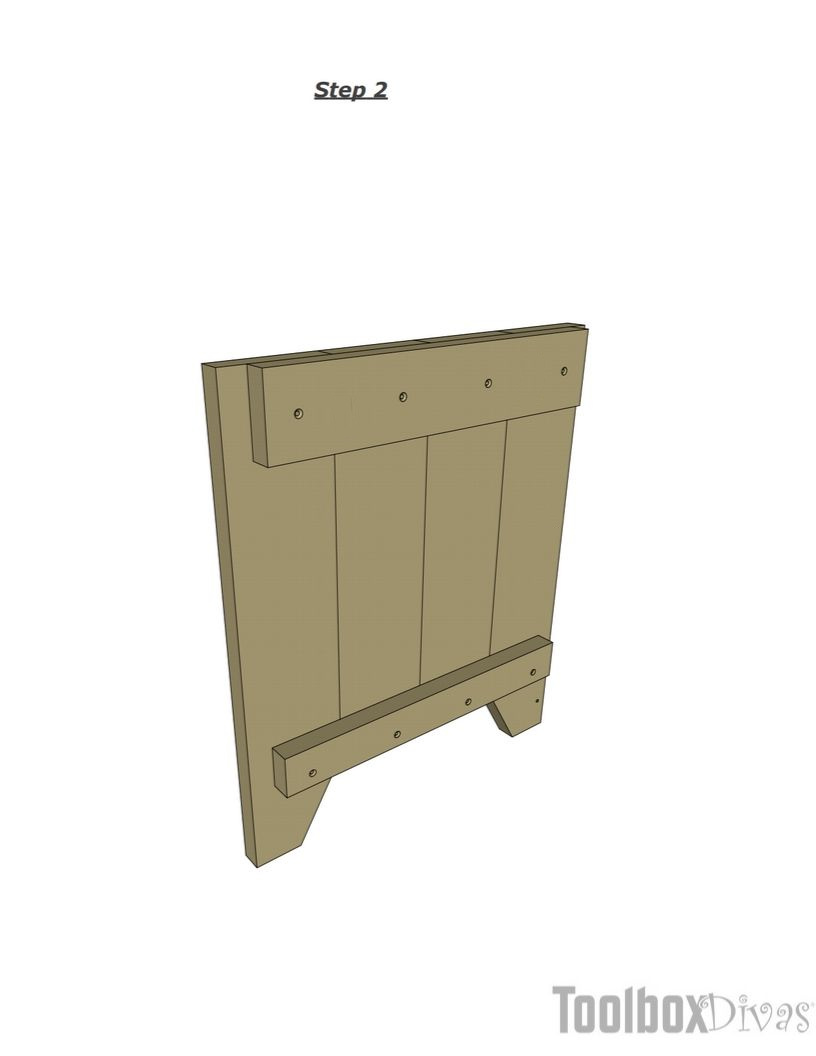
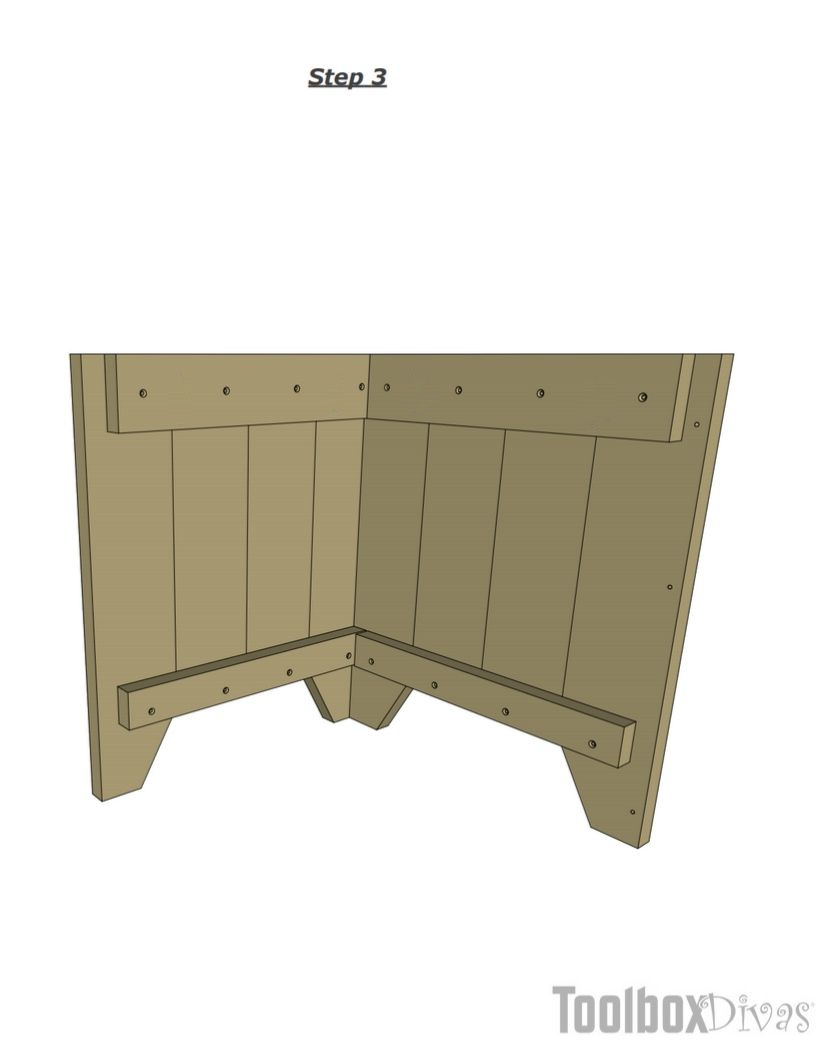
Adjoin the boards by screwing in place the wide and narrow cleat at the top and bottom of the panel. Keep in mind the cleats should be in the middle of the panel leaving at least 3/4 in. spacing on either side of the panels. Repeat this 3 more times to create 4 panels.
Butt the front and side panel together. Connect the side and front panel using wood screws at the corners.
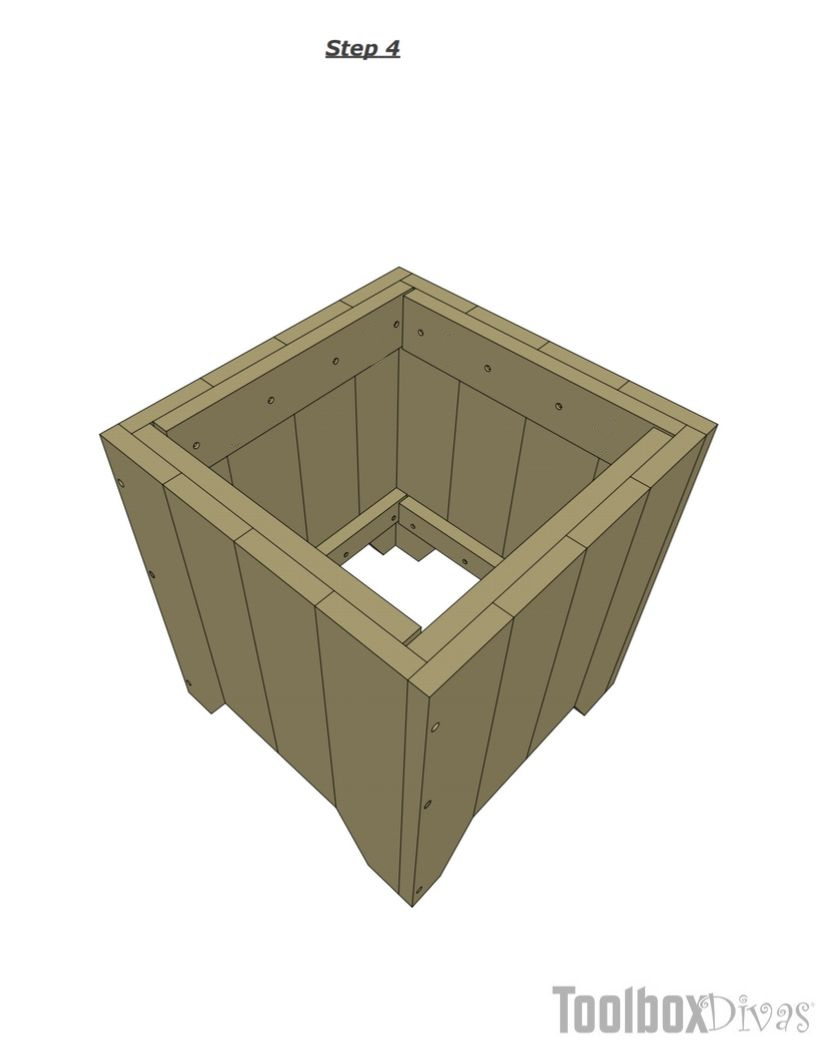
Butt the back and 2nd side panels together. Connect the side and back panel using wood screws at the corners. Now connect two pieces using wood screws.
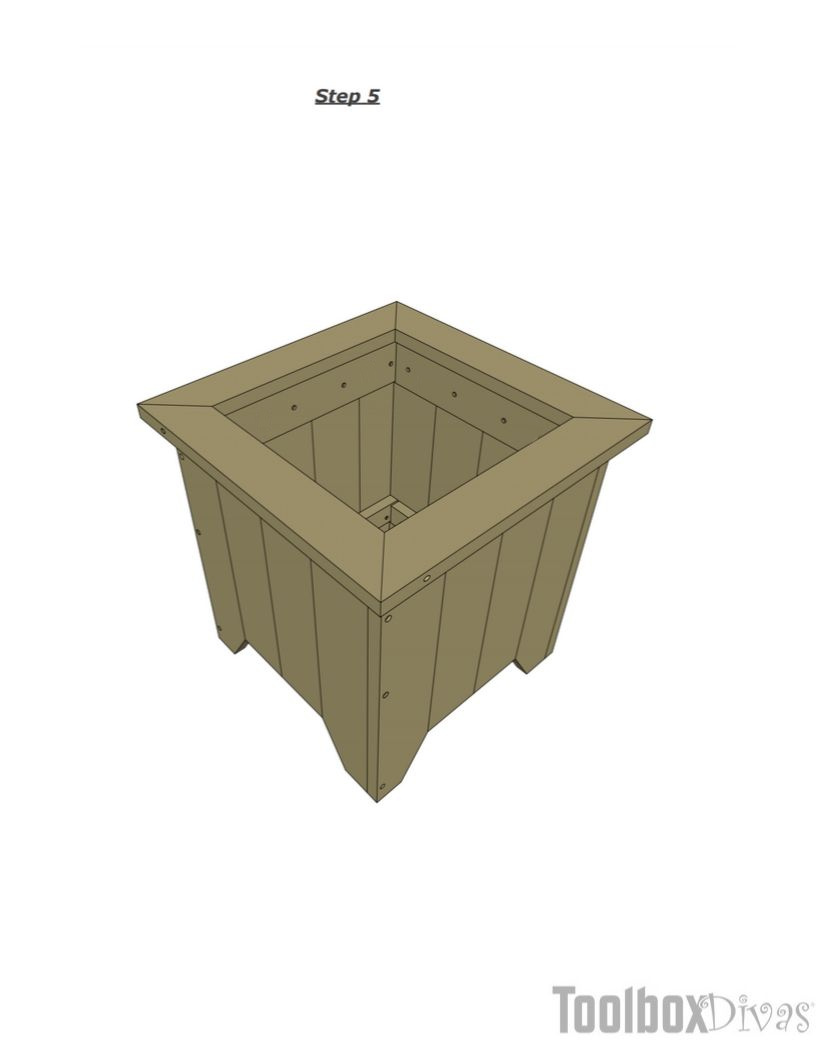
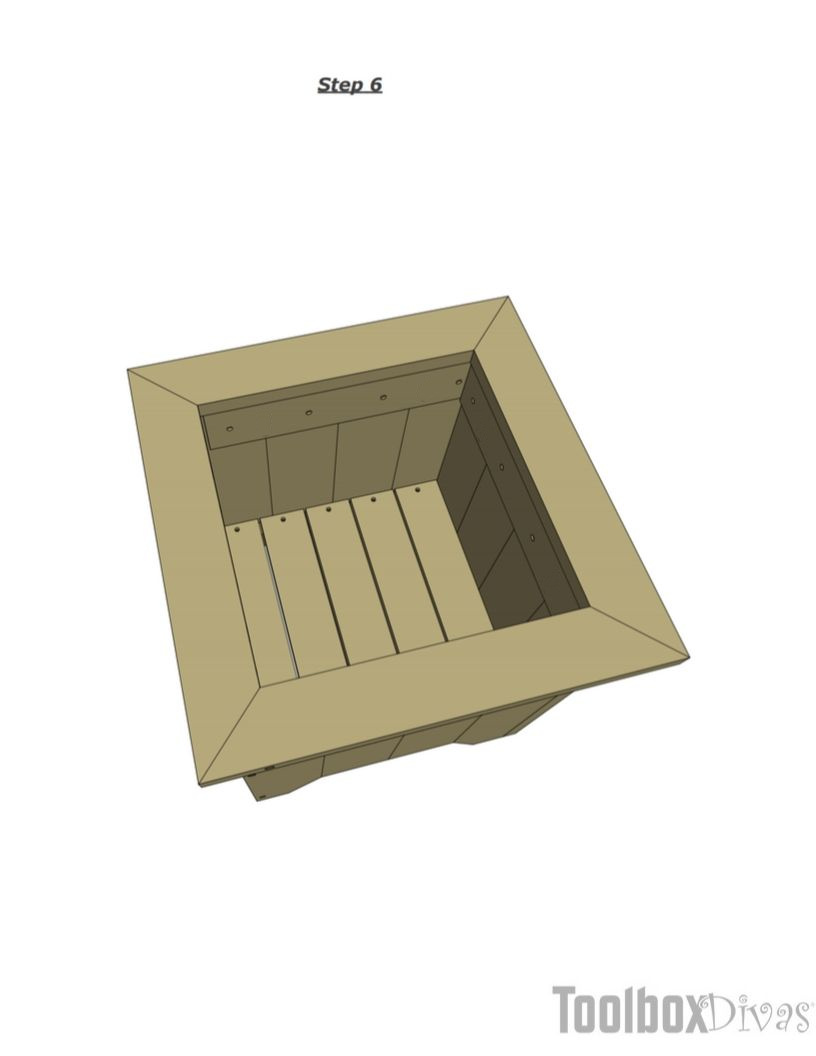
With the base of the planter complete Screw in place the top rails. The top rails are cut at a 45 degree angle. To avoid visible screws at the top you can screw in the wood screws from the sides of the 1×3 boards. But I do recommend pre-drilling.
Now screw in place the bottom 1×3 slats. And you can then line your planter with a plant liner and drill a hole in the bottom for water drainage.
For more DIY projects like this check out these posts:

