How to Build Wooden Bench with Woven Fabric Seat
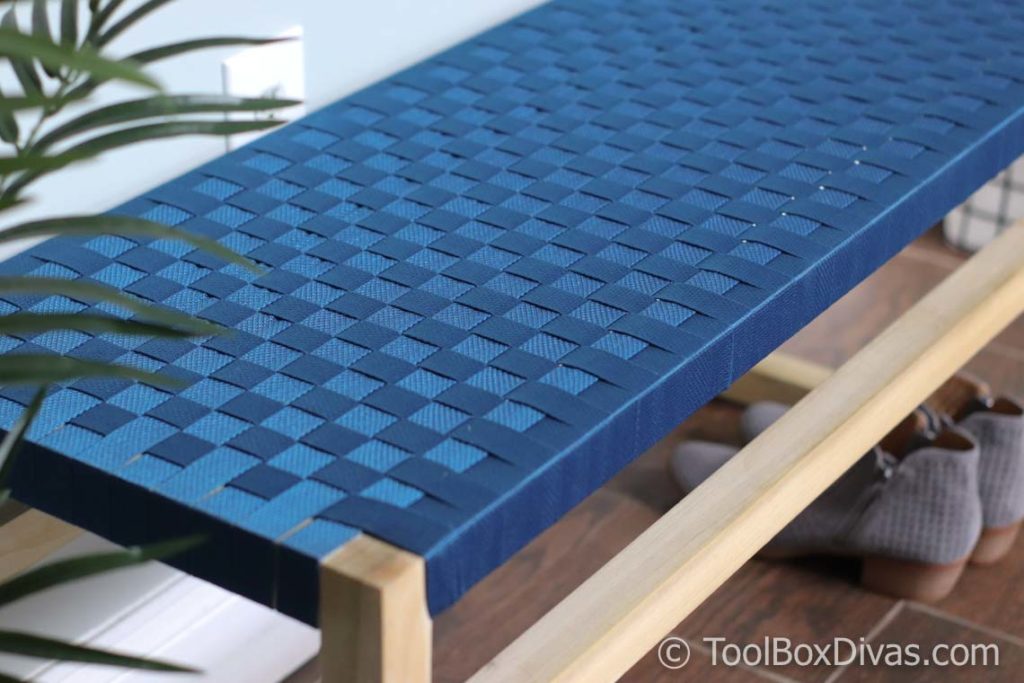
Learn how to build a simple modern bench with a woven fabric top, like one you can find in a luxury store for a fraction of the cost.
*This post is sponsored by The Home Depot and contains affiliate links and I will be compensated if you make a purchase after clicking on my links.
I had seen a bench like this in an ad in a magazine a long time ago. And it stuck with me…well it was more like the price stuck with me. It was $800. To me that was insane. The design and make were so simple. This would make an excellent addition to my entryway. I was also excited about weaving, despite having never done a project that involved weaving. However, if I could tackle tufting, I figured weaving would be a piece of cake. The best part of all is you can use basic pine 2×2 boards and the total cost of materials would be under $30. So here’s what I did.
GET THE FREE PLANS
OK, Let’s Get Dirty!
Materials
- 2×2 lumber (I used 8 – 1-1/2 in. x 1-1/2 in. x 3 ft. Poplar Hobby Boards. But this can be made with basic off the shelf pine lumber.)
- 2 1/2in screws (Pocket Screws or Spax Screws)
- Everbilt 1 in. Brown Nail-On Glide with Carpet (4-Pack)
- Staples
- J-B Weld KwikWood 1 oz. Filler
Cut list
- 36″ (4)
- 17″ (4) (legs)
- 12″ (4) (legs)
Tools
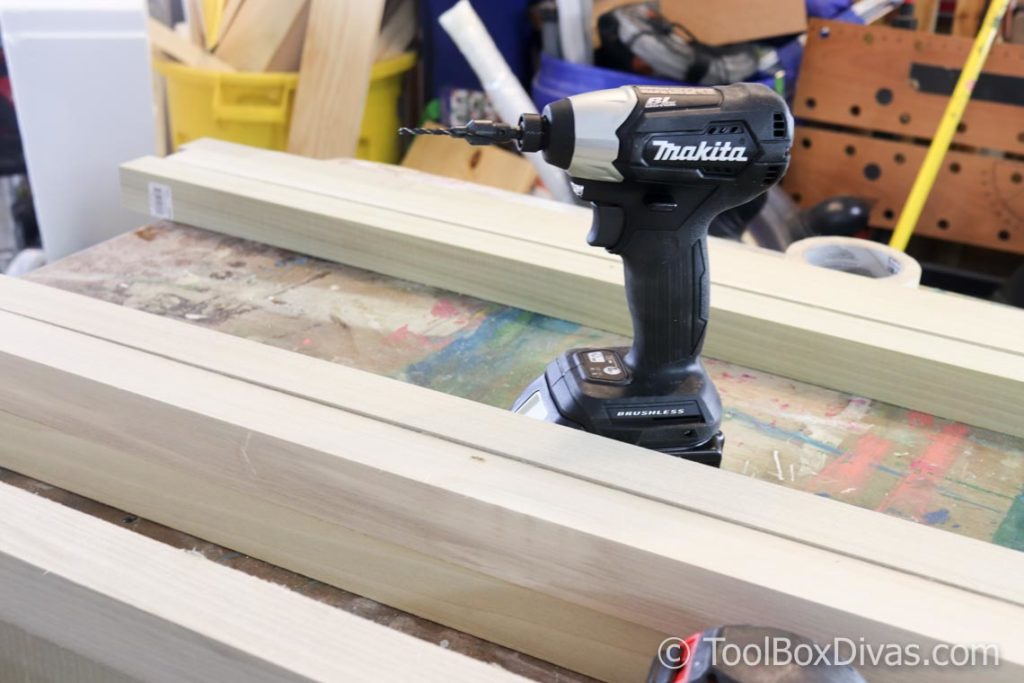
 MAKITA 18-Volt LXT Lithium-Ion Sub-Compact Brushless Cordless Impact Driver Kit
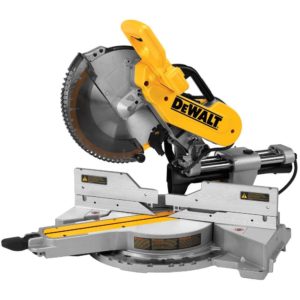 DEWALT 15-Amp Corded 12 in. Double-Bevel Sliding Compound Miter Saw
  Kreg Jig K5 Pocket-Hole System or a great starter pocket hole jig
  Kreg Jig Pocket Hole System
 DEWALT 20-Volt MAX Lithium-Ion Cordless Brushless 5 in. Random Orbit Sander
 HUSKY Soft Cap Gel Knee Pads (Protect your knees with these knee pads)
- Tape measure
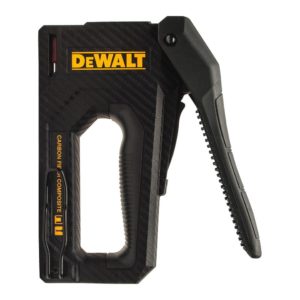 DEWALT DEWALT Carbon Fiber Staper
- Sander
- Pliers
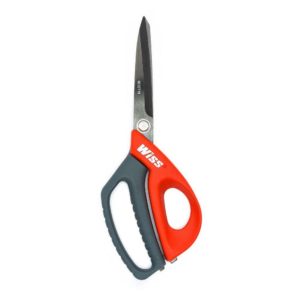 Wiss 10 in. Shop Shear
- Hammer and or mallet
Step 1. Cut the boards down to size.
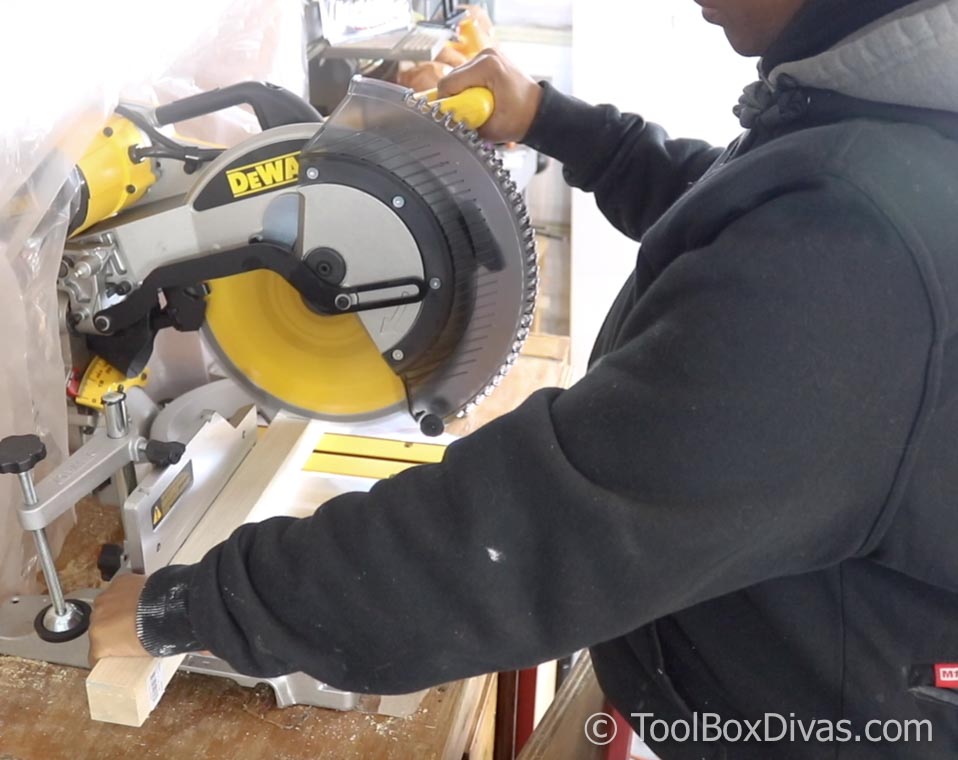
For this project, you can actually cut all the pieces to size at your local home center and or with a hand saw. However, I used my new DEWALT 15-Amp Corded 12 in. Double-Bevel Sliding Compound Miter Saw to make the cuts and before I move forward I’ve got to tell you about this miter saw. It was like cutting butter. The cuts were smooth and precise. The dust was also well contained behind my dust hood. I do a lot with the miter saw. So. this feels like my shop has had a major upgrade. The only thing this model is missing is the shadow line that is used as a cutting guide.
Step 2. Drill the pocket holes.
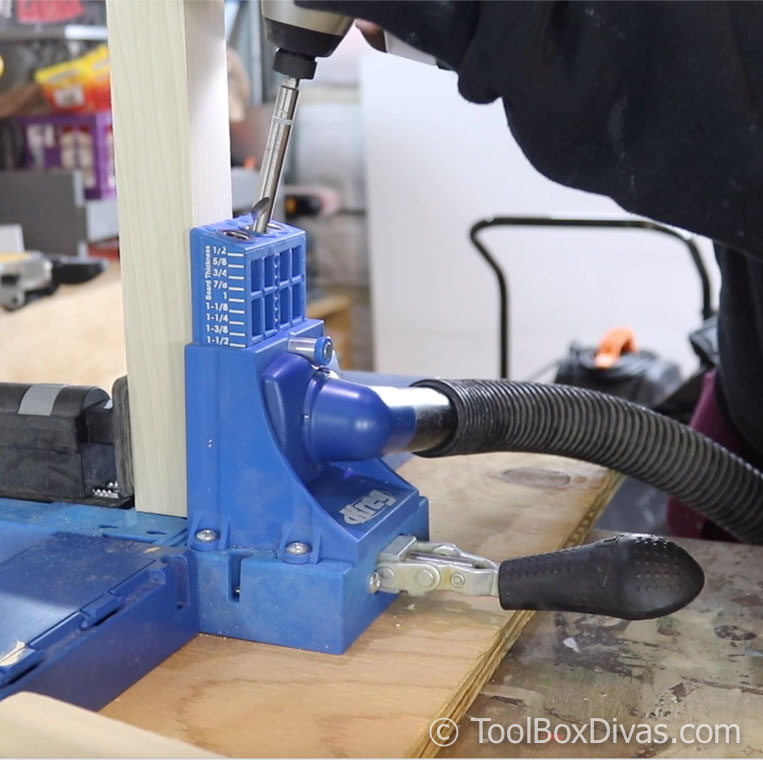 Using the Kreg Jig K5 Pocket-Hole System I decided to use pocket holes so I could hide most of the screws. The actual thickness of the material I used is actually 1.5in. So the screw length required for this thickness is 2 1/2in.
Step 3: Assemble the legs.
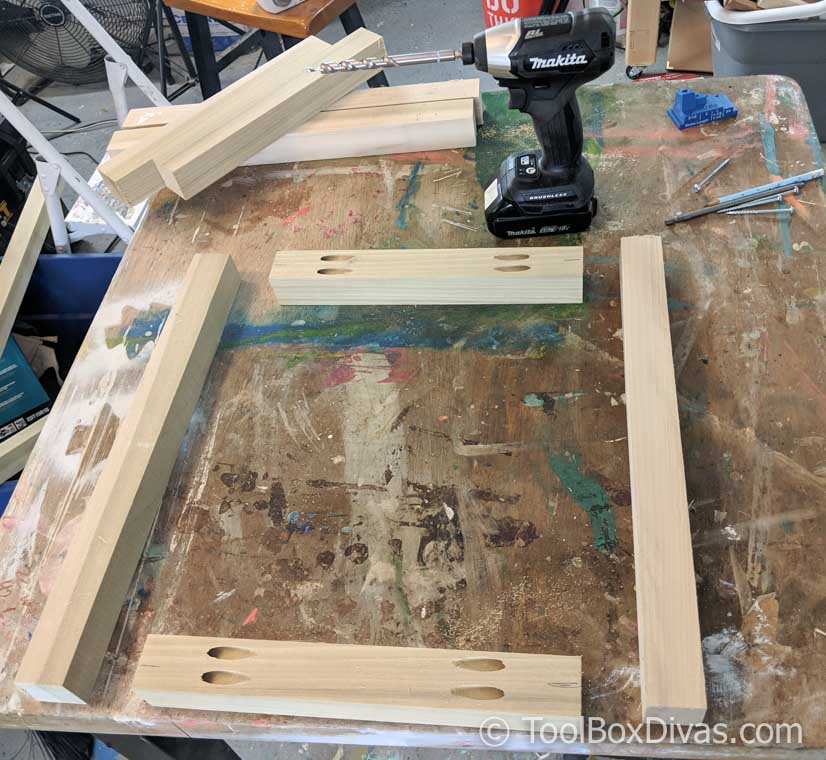
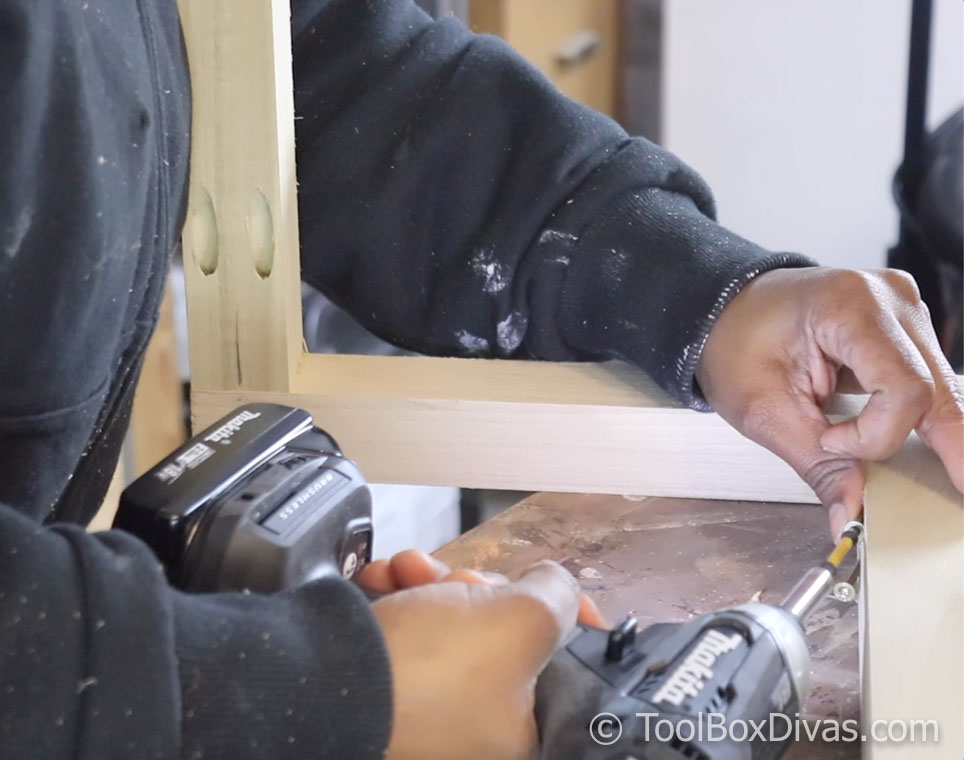
The drill I used was actually an impact driver. Using the MAKITA 18-Volt LXT Lithium-Ion Sub-Compact Brushless Cordless Impact Driver Kit with 2 Variable speeds was perfect. It is a small and compact driver that is really easy to manage. It even handled driving in the spax screws when I ran out of pocket hole screws, with ease. I didn’t have any issues at all.
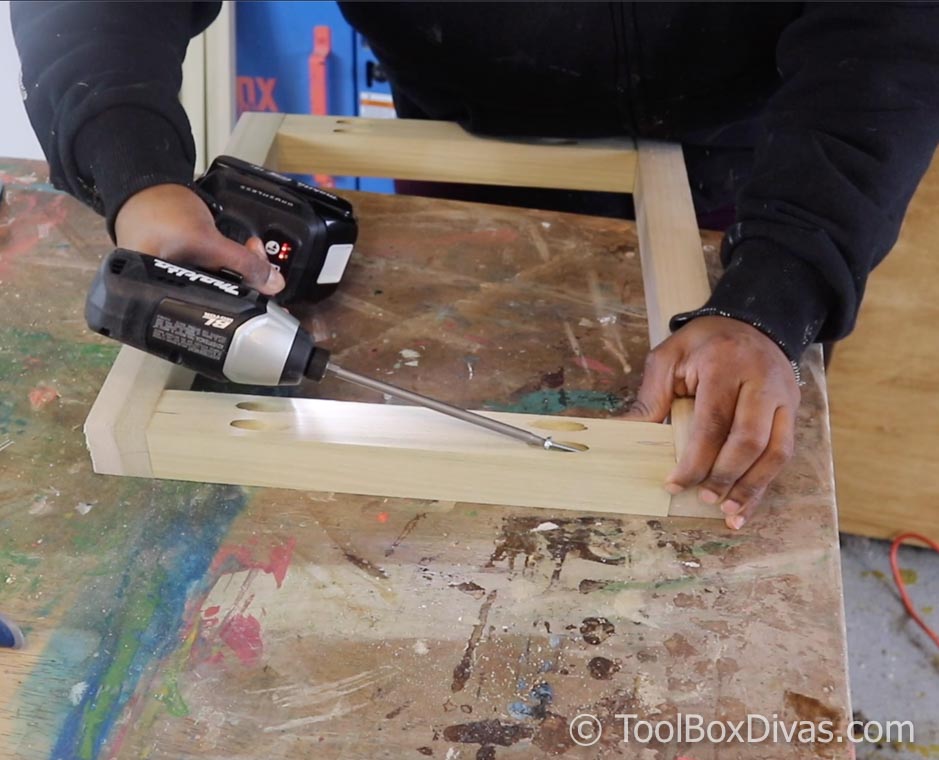
Step 4. Attach the top rails.
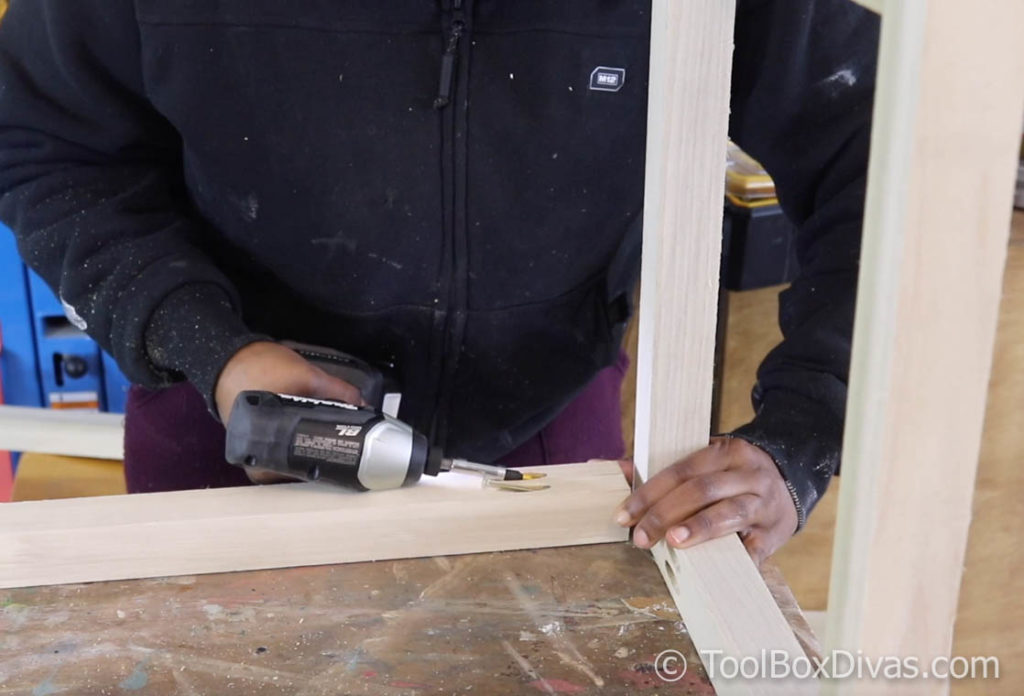
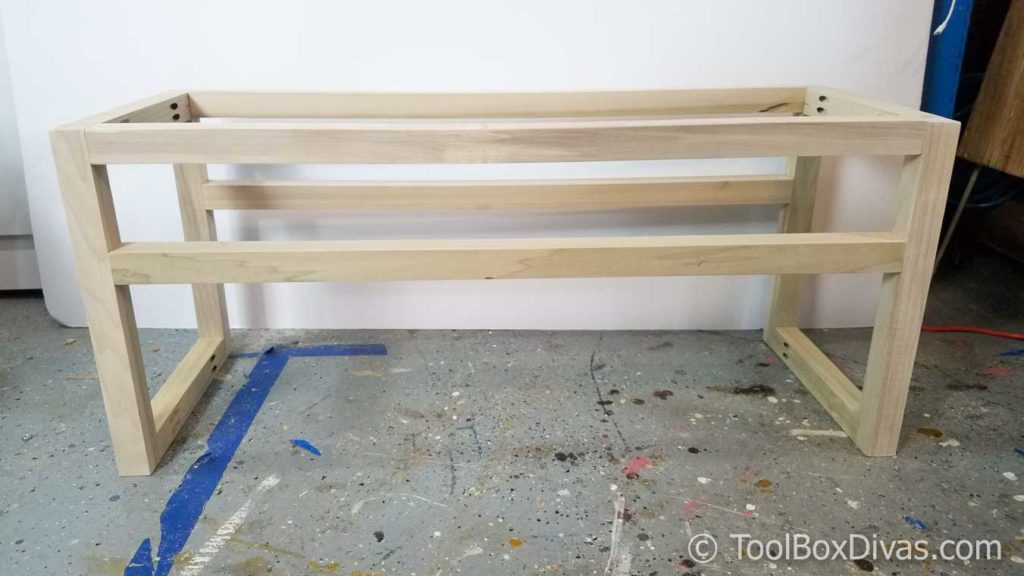
Attach both legs by screwing the two 36 in. boards to either side of the top of the leg. I recommend screwing in the screws so that the pocket holes are under the seat and not exposed.
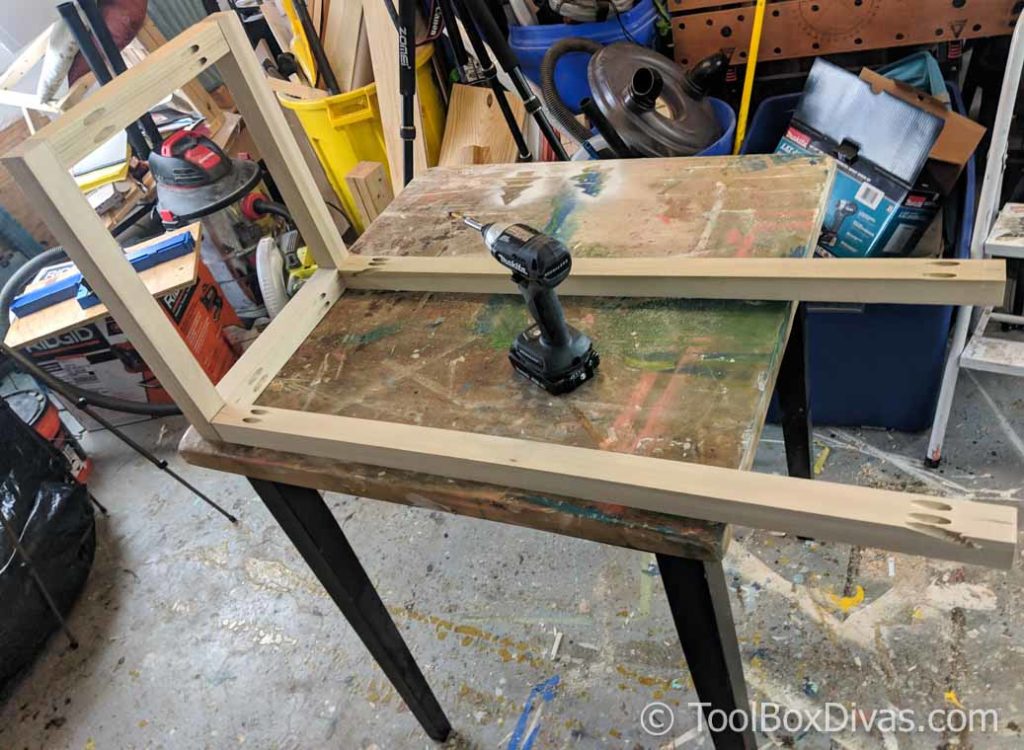
One the top rails are in place you can then add the footrests.
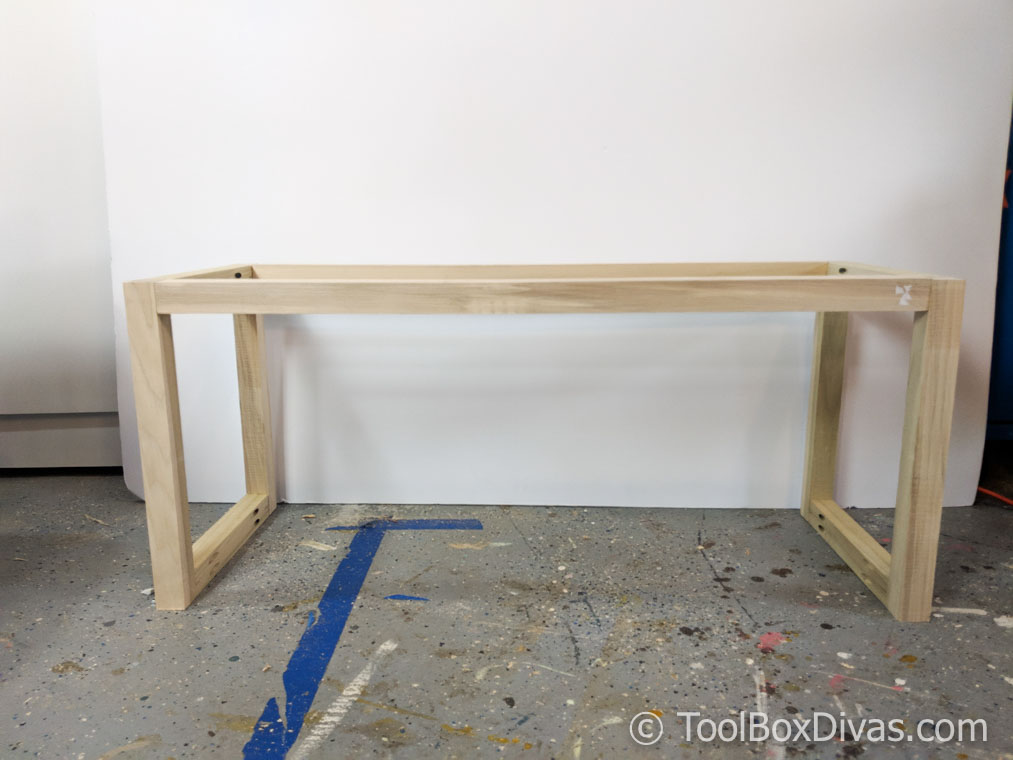
Step 5. Measure and screw in place the footrests.
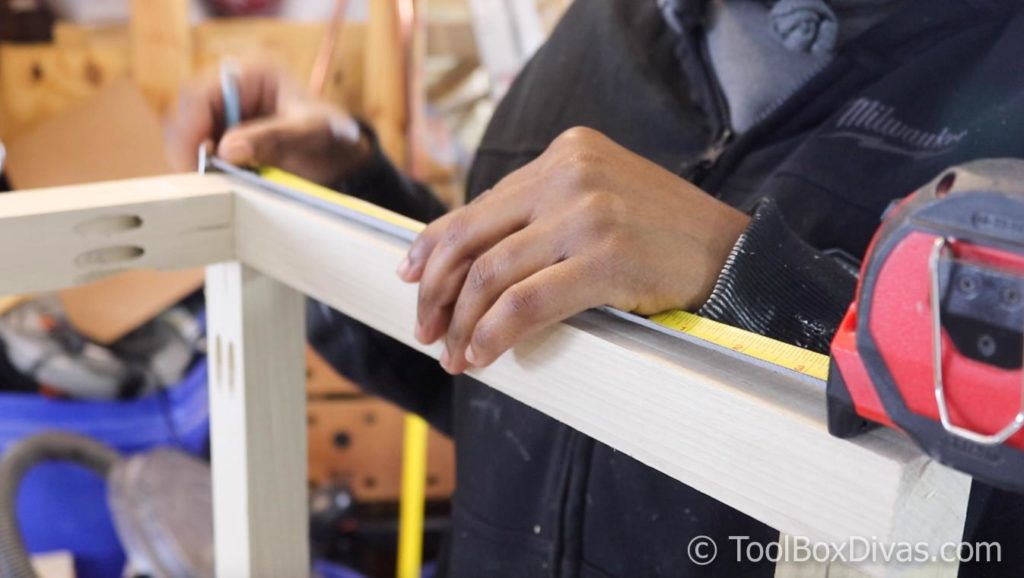
Measure down from the top of the bench frame 5 1/2in. It helps to use a speed square to mark on all sides of the legs so that you have a good refereence point when attaching the footrest rails.
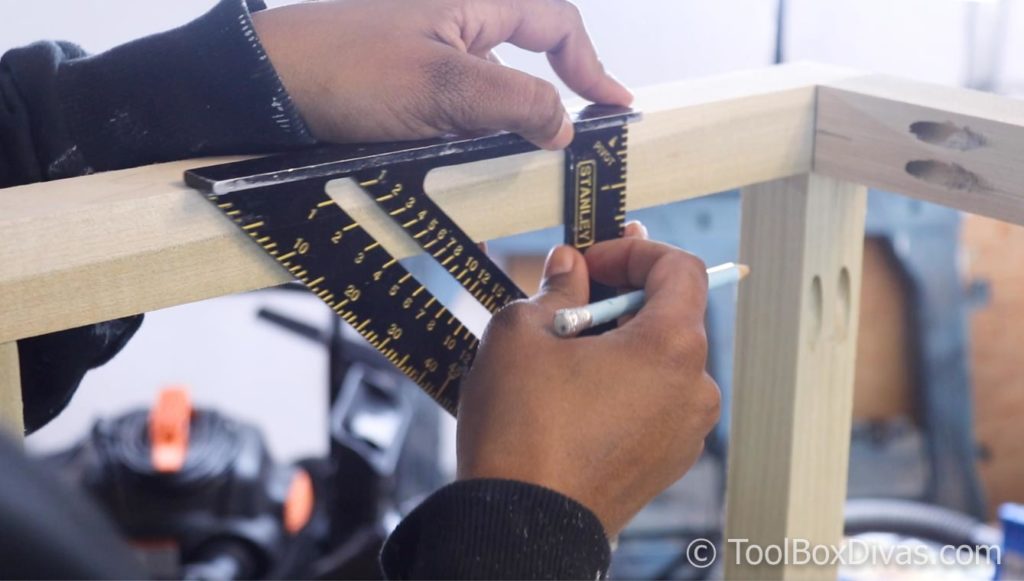
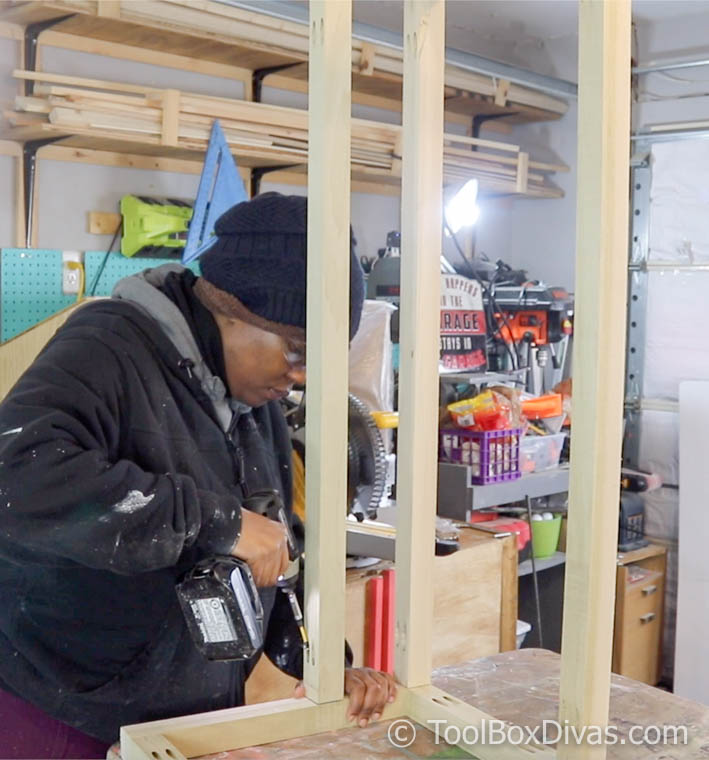
Tip: When using regular screws v. pocket screws I recommend an extension bit for the driver that is at least 4 in. I couldn’t locate my longer extension bit, this is a testament to the
MAKITA 18-Volt LXT Lithium-Ion Sub-Compact Brushless Cordless Impact Driver was powerful enough to still drive the regular wood screws in place. 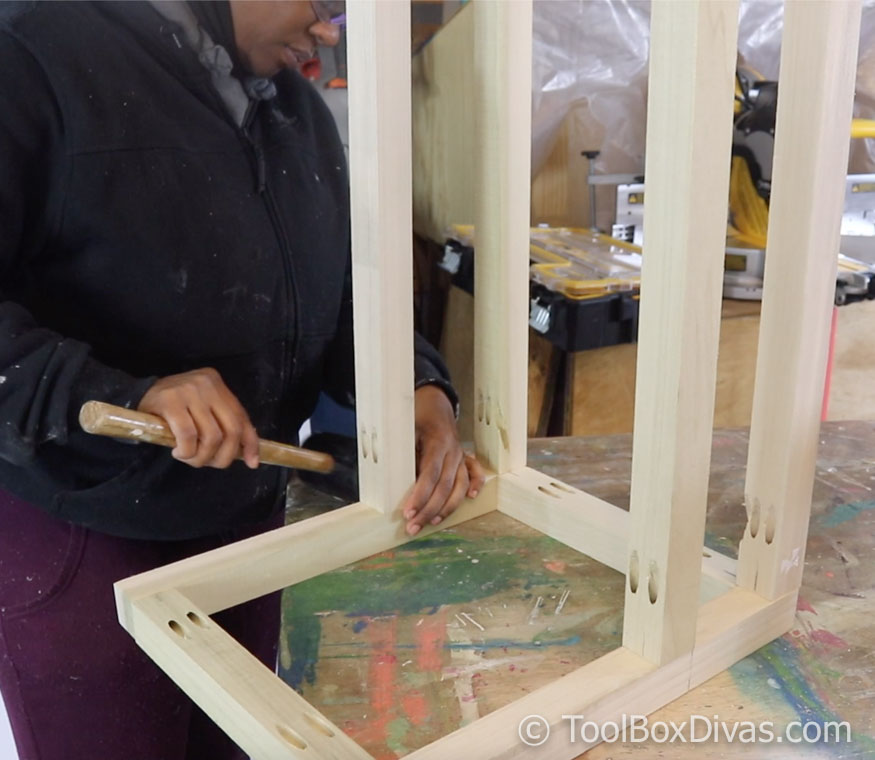
Step 6. Sand down the bench frame.
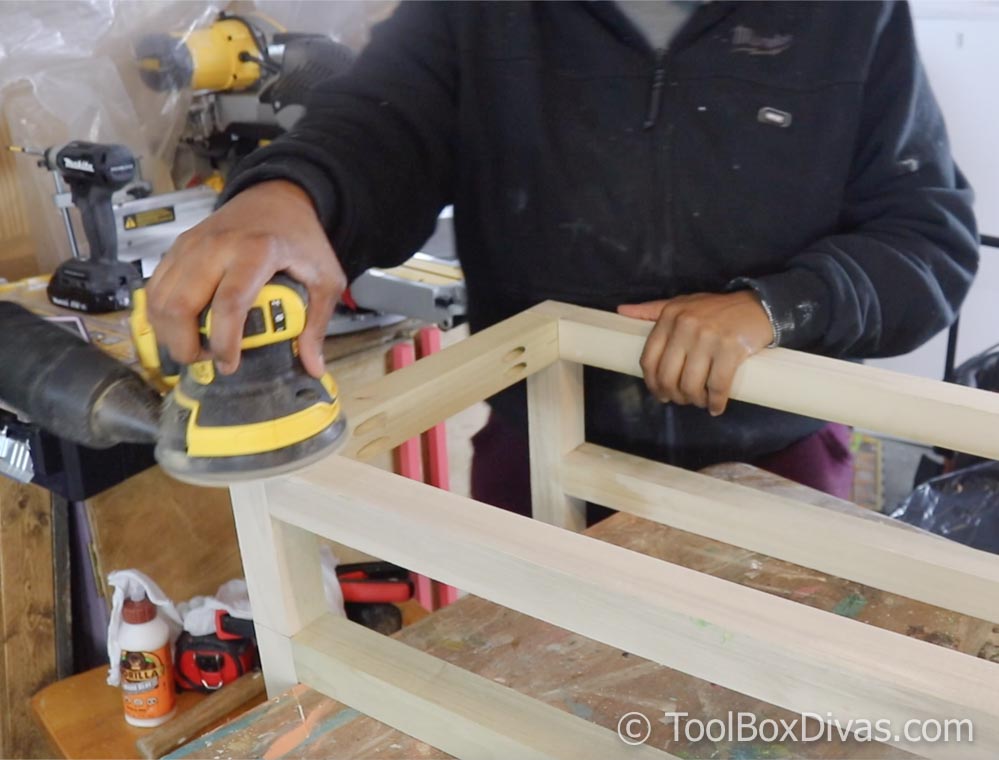
I recommend sanding down the bench frame before the weaving process. It’s less dust that you’d need to wipe off later.
Step 7. Weave the bench seat.
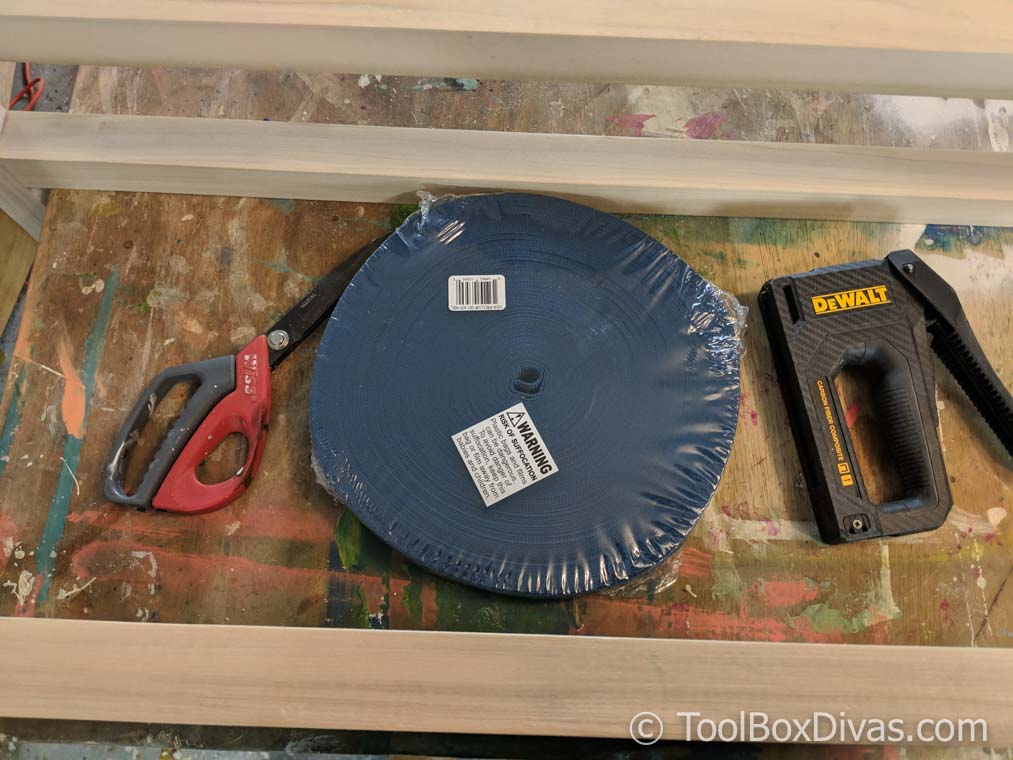
This is probably the most time consuming step in the whole process of making this bench. But take you time and make sure the webbing is nice and snug and tight. You don’t want any gaps or loose webbing.
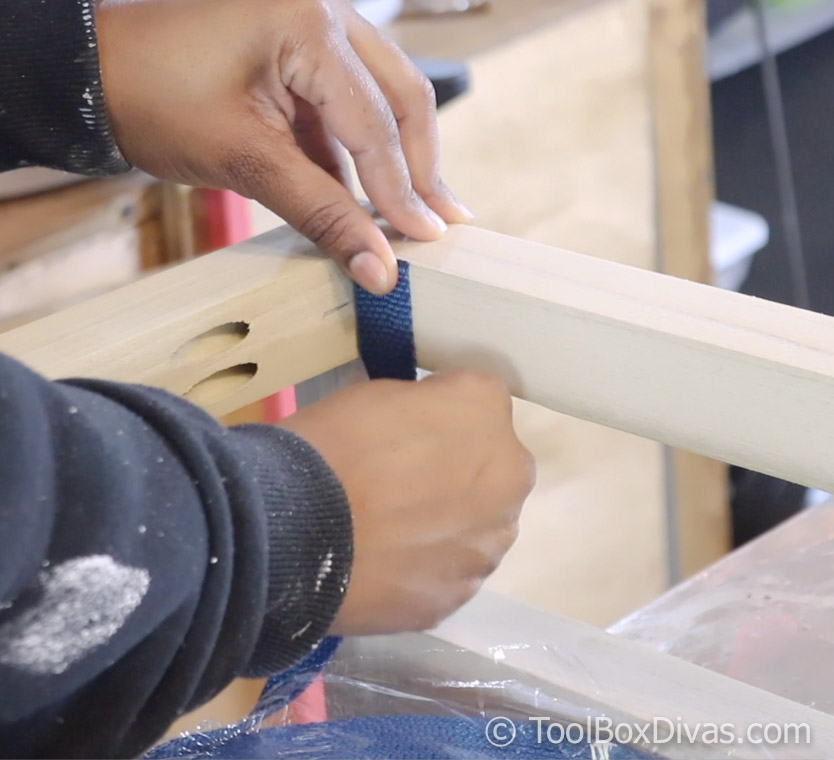
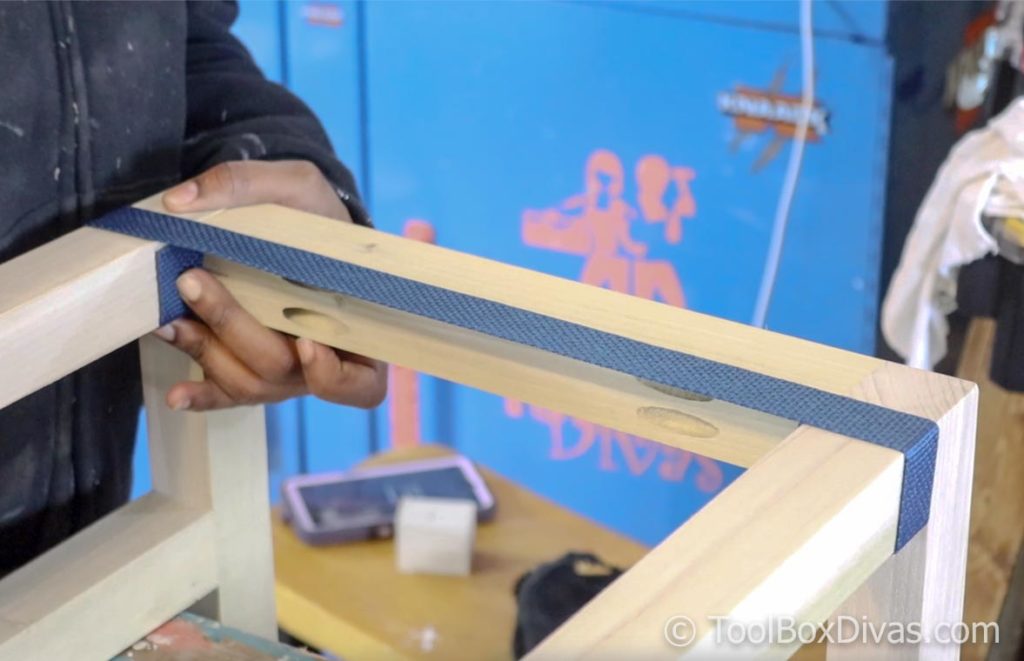
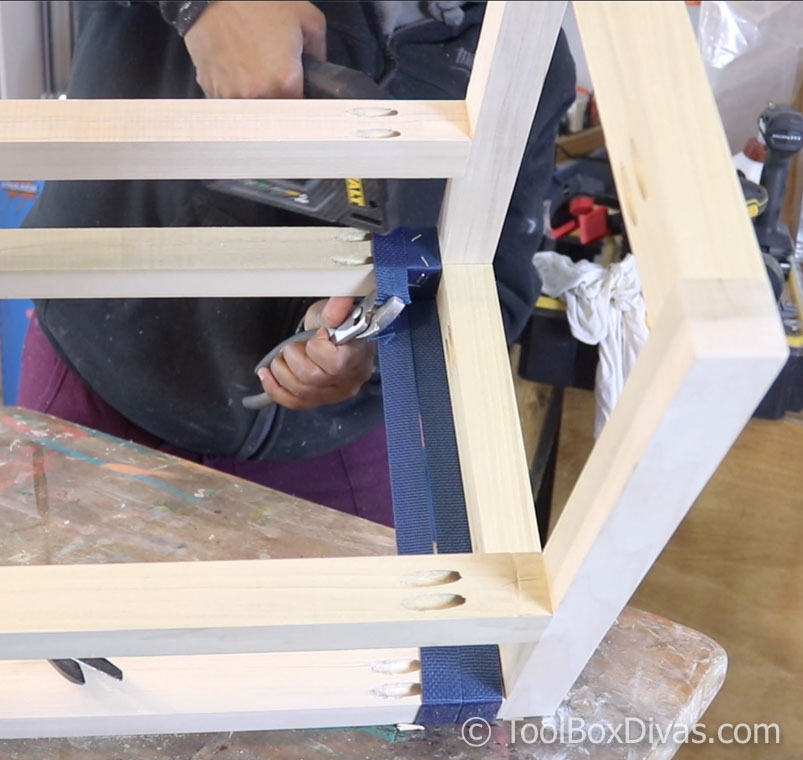
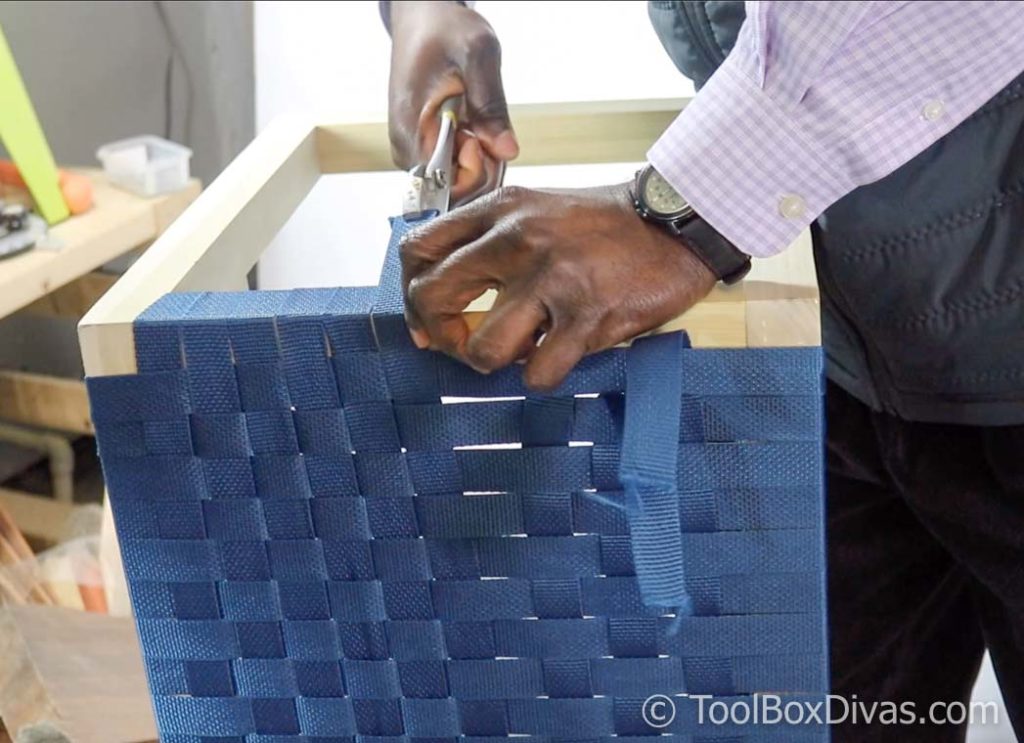
Using the staple gun, staple the webbing in place multiple times.
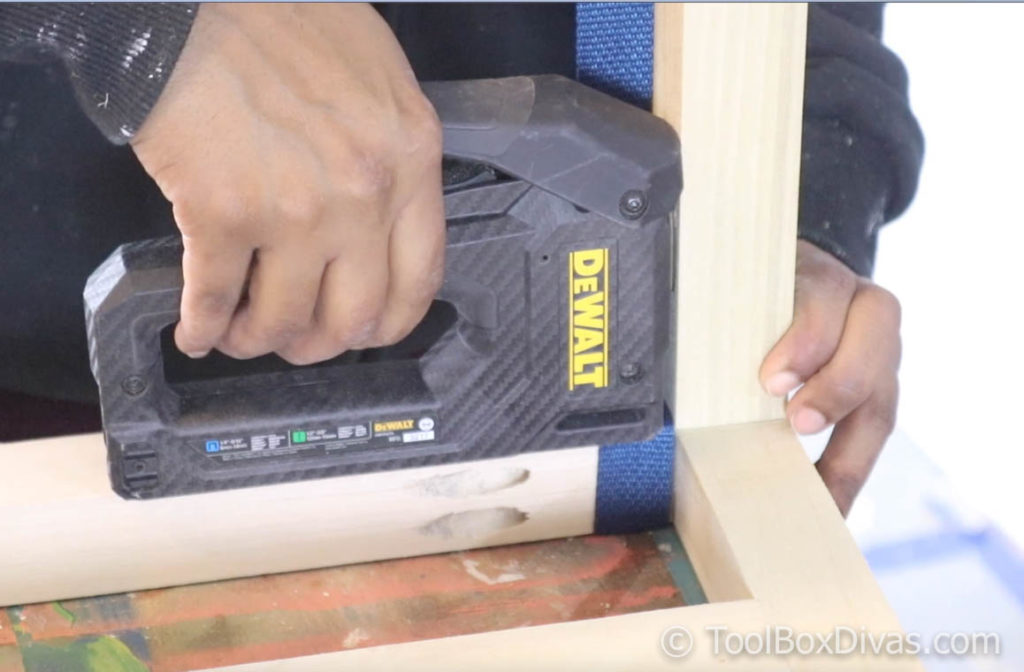
A set of pliers is helpful for pulling the webbing tight.
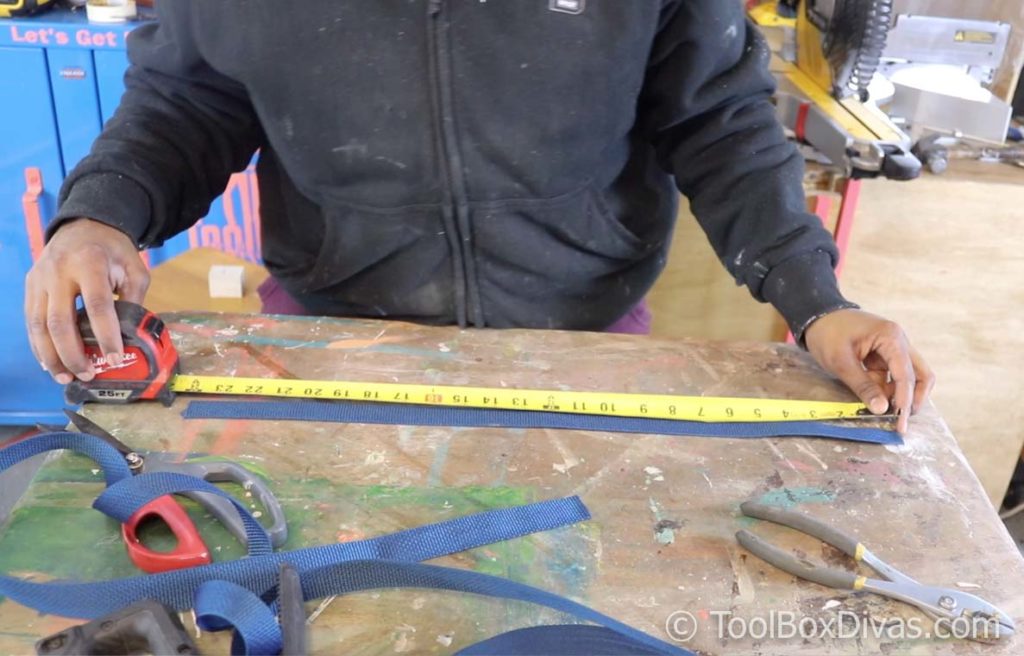
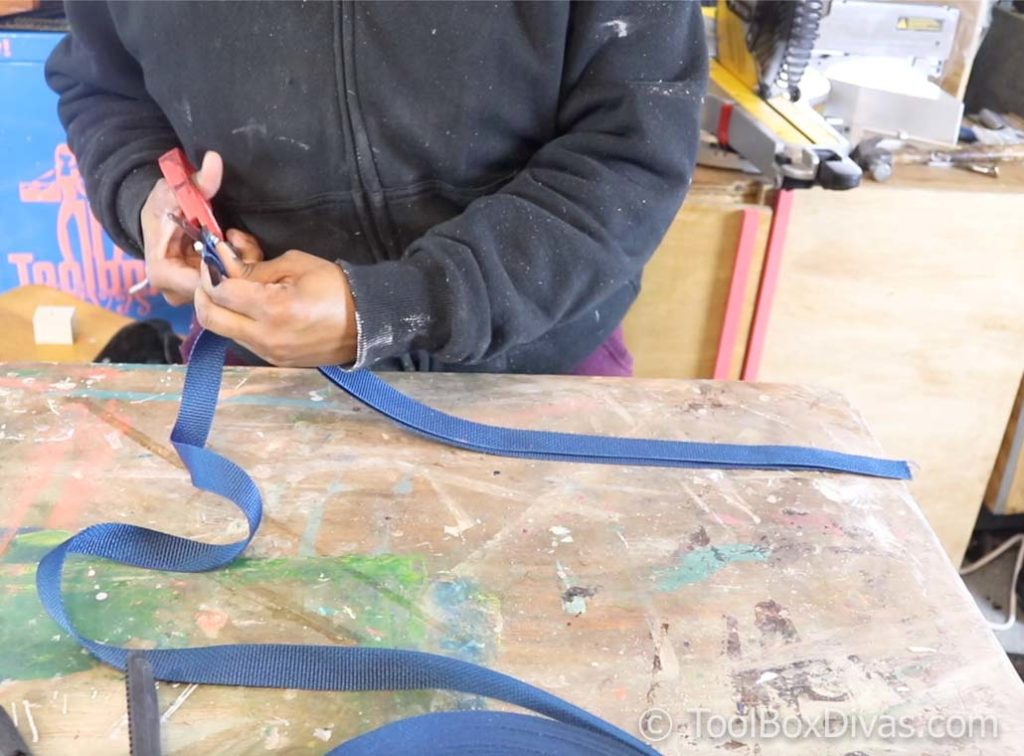
I went ahead and cut the webbing pieces needed for the cross web. Each piece was about 24 in.
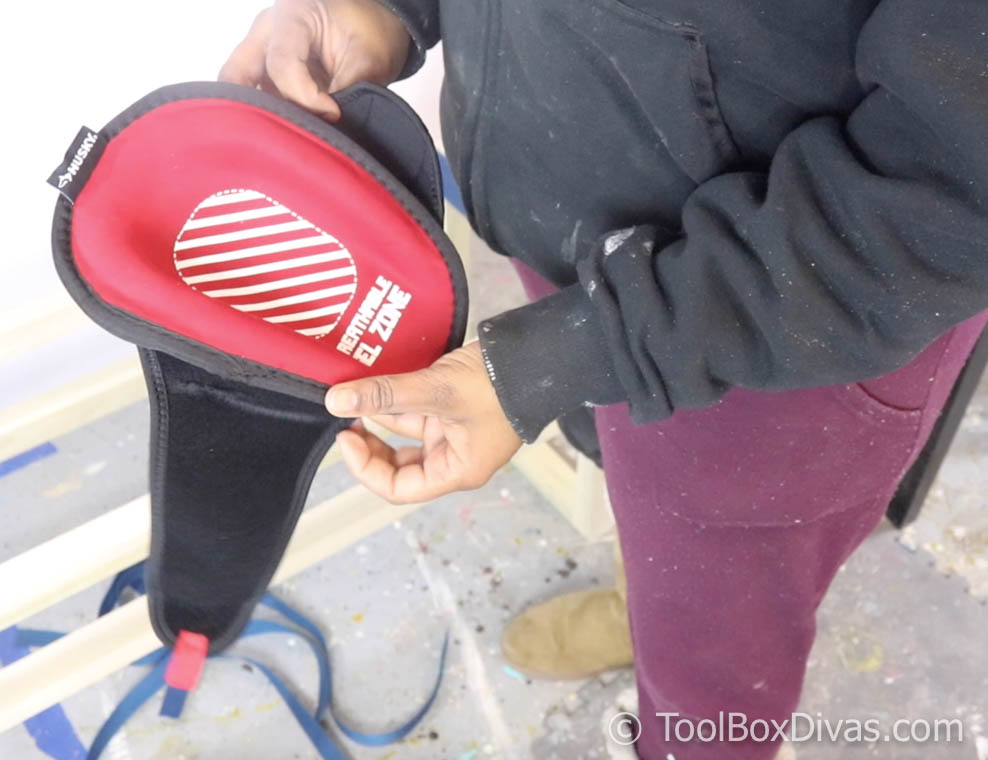
I found that weaving all the webbing was a little easier on the floor. So I used HUSKY Soft Cap Gel Knee Pads. Usually, you would always see me on the floor with an old pillow. But these knee pads were way better than any pillow I’ve ever used. It didn’t cut off the circulation in my legs and the gel support of the knee pads eliminated any shock or impact from working on the floor. These knee pads are now a staple in my shop.
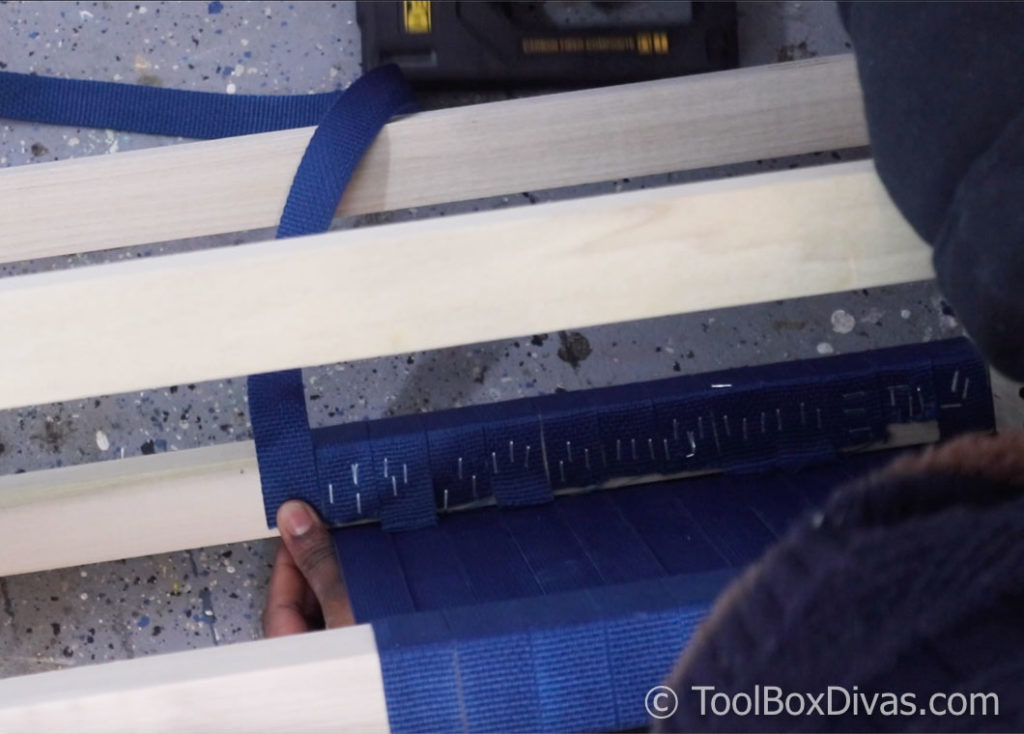
Once I started stapling the webbing in place, I found going over the staples with a hammer a great way to ensure the staples were good and secure. After completing the webbing in one direction it was now time to start weaving in th cross direction.
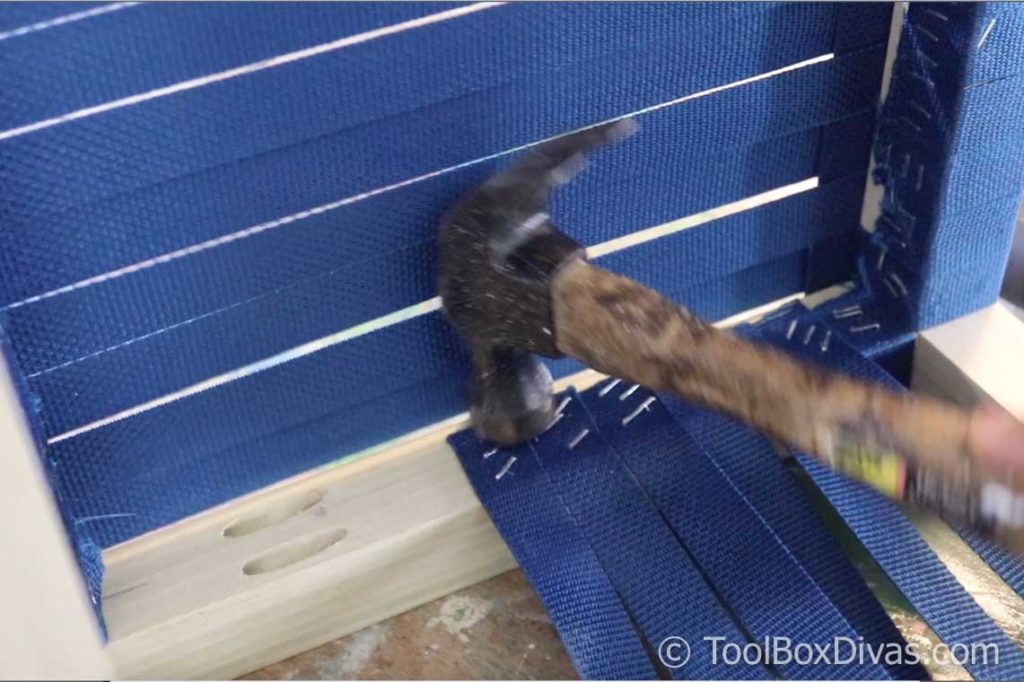
I found it easier to place all the webbing in place before weaving to ensure everything lined up nice and evenly and there were no gaps between the webbing.
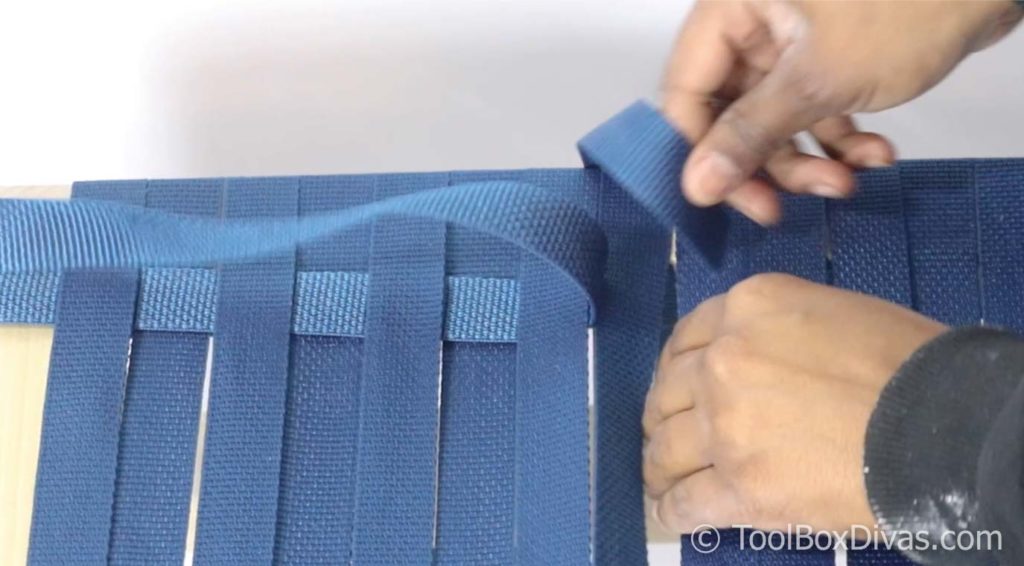
Take the cross webbing and go over and under the webbing. I recommend making sure each row is straight, tight, and secure before going on to the next. It’ll make your life a whole lot easier in the long run.
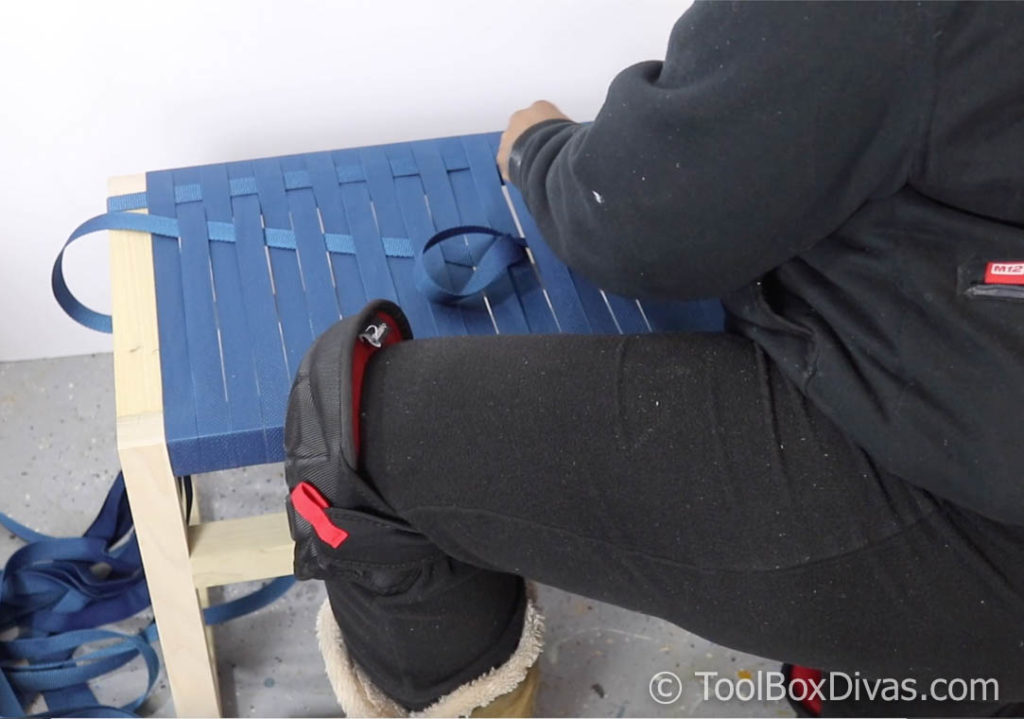
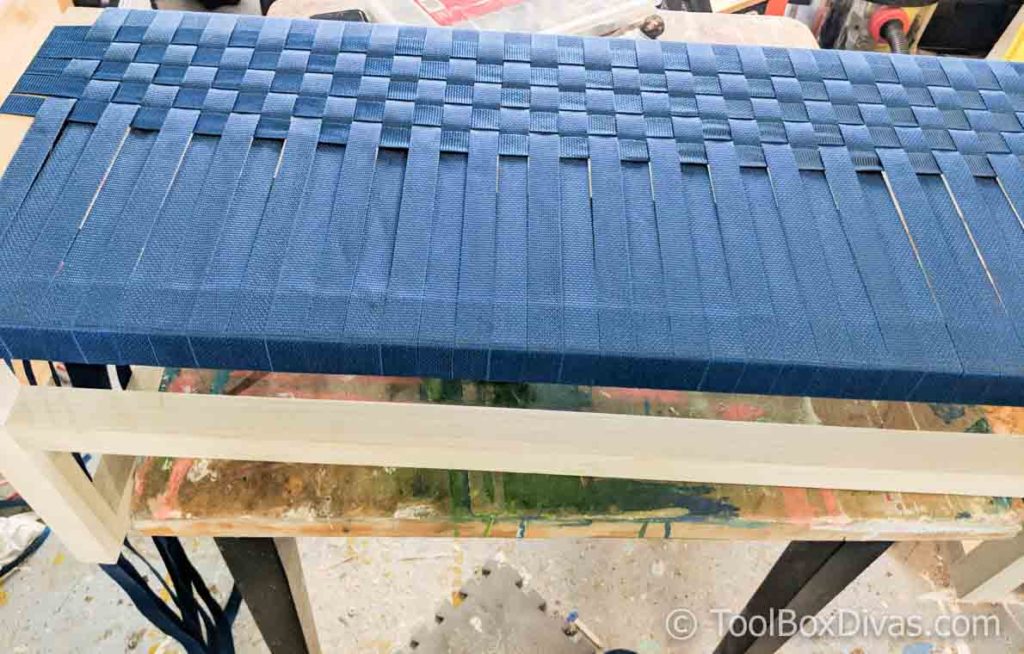
A 2nd pair of hands comes in handy during this process, either stapling or using the pliers to pull the webbing tight.
Step 8. Add the furniture glides.
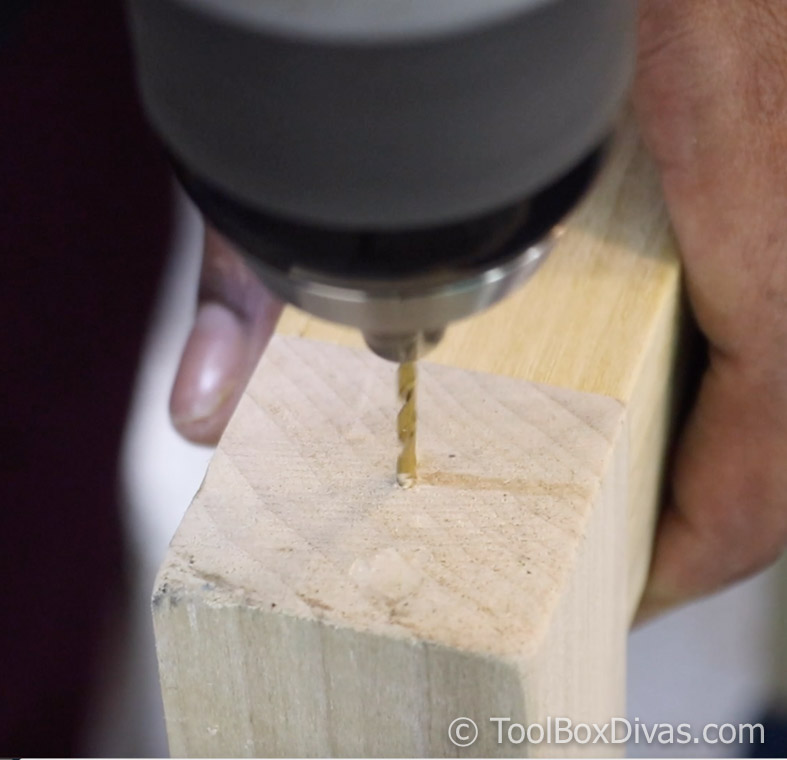
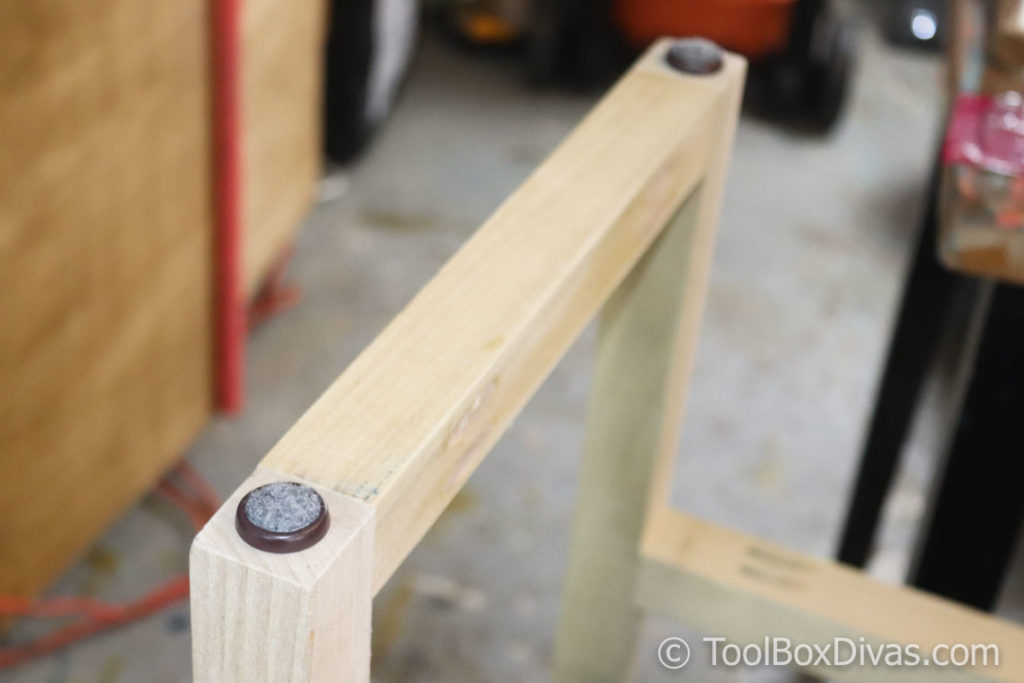
Drill a tiny hole into the bottom of each corner of the legs and using a mallet drive the Everbilt 1 in. Brown Nail-On Glide with Carpet in place.
Step 9. Finish with tung oil or stain or paint and take a seat. You deserve it after all that work.
GET THE FREE PLANS
Till Next Time. ~T.
For more DIY projects and tutorials check out these posts:
I acknowledge that The Home Depot is partnering with me to participate in the ProSpective 2018 Campaign. As a part of the Program, I am receiving compensation in the form of products and services, for the purpose of promoting The Home Depot. All expressed opinions and experiences are my own words. My post complies with the Word Of Mouth Marketing Association (WOMMA) Ethics Code and applicable Federal Trade Commission guidelines.

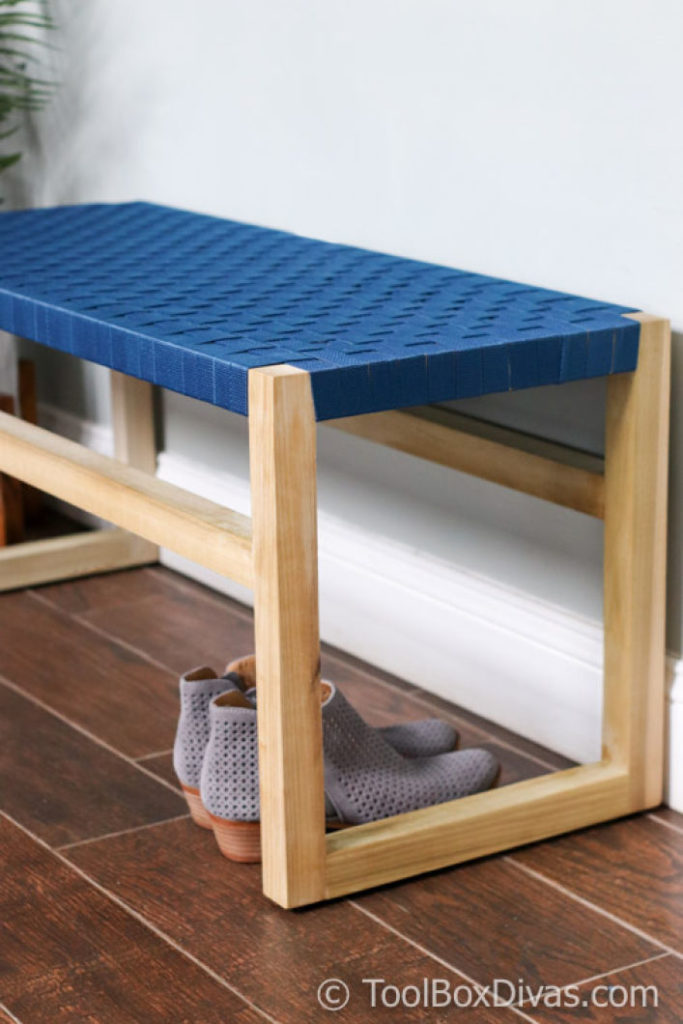


I love the way this came out! The finished bench looks WAY more expensive than it is.
Thank you so much! I really appreciate it.
I love the way this came out! The finished bench looks WAY more expensive than it is.
Thank you so much! I completely agree it looks way more expensive! Hahaha Thank you!
I love this project! Do you think this could be accomplished with 1×2’s? (as I peek at my scrapwood pile, lol)
Hi Carli! Thank you so much! Honestly, I don’t think 1x2s would provide the stability required. It’ll also change the look of the bench.