DIY Tufted Bench
How to build a tufted bench for the bedside, living room or entryway.
I have been dreaming of getting a tufted bench that I could place at the foot of my bed for years now. The only problem it was always ridiculously priced out of my range. Home decorations may just might be the most expensive part of home ownership, Hahaha. So when given the opportunity to work with Osborne Wood Products I was so excited. I knew right away what I wanted to build. This is one of my favorite DIY projects to date. Here’s how I did it. ( Also if you’re interested in know how I tufted the bench top check out my super easy tufting hack tutorial.)
Materials
- 2 sheets of plywood
- 6 Heritage Coffee Legs
- pocket screws
- 3 2-1/2 in. Cabinet Hinges
- 1x2x8 board
- 6 – 36 in. x 3/4 in. Hardwood Square Dowel
- 4 – SPAX 1/4 in. x 3 in. Powerlag T-Star Drive Washer Head Yellow Zinc Coated Lag Screw
- Upholstery liner
- Spray Adhesive
Tools
- Drill/Driver
- Miter saw
- Circular saw
- Trim router
- Kreg Rip Cutter
- Pocket Hole System
- All in one tool
- Sander
- Scissors
- Speed square
- Clamps
- Level
- Jigsaw
Cut List
- Bottom rails or aprons 4 – 27.5″ x 2″ & 2- 14.5″ x 2″
- Top rails or aprons 4 – 27.5″ x 4″ & 2- 14.5″ x 4″
- Bottom shelf – 59.50″ x 16.50″
- Bottom of storage cavity 59.50″ x 16.50″
- Top – 63″ x 19 1/4″
OK, Let’s Get Dirty!
Download the FREE plans to the Tufted Bench.
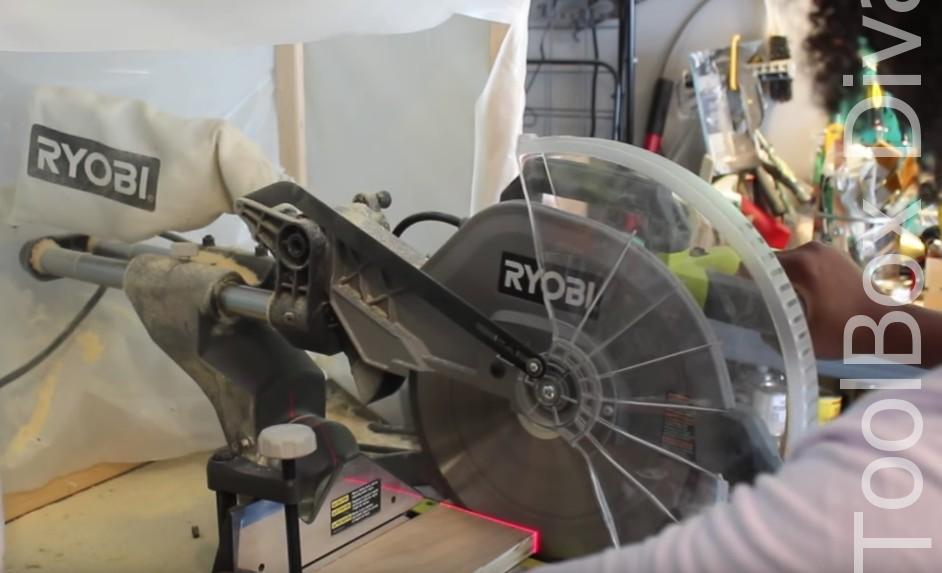
Step 1. Cut the pieces to size.
For this, I actually did a lot of the cutting as I went along. To be perfectly honest, I wasn’t entirely sure I had measured the bottom shelf and storage areas correctly. To reduce the likelihood of mismeasurements, I measured liked 3 to 4 times before cutting every piece.
Step 2. Attach the ledges to the upper and lower rails or aprons.
I used square wooden dowels for the ledges because I didn’t have to worry about ensuring that the boards were straight. Also I didn’t want to go through and make a ton of repetitive cuts on my circular saw or miter. You can easily use scrap wood for the ledges as long as its straight and creates a flat even surface for the boards to rest on. I didn’t cut the ledge the entire length of the rails. It’s just important that there is enough support to hold the plywood base in place as you secure it to the rails or aprons to the legs.
Foor the lower rails the ledges should be 3/4″ or 1/2″ from the top depending on the thickness of the plywood you use. For the bottom shelf I used a plywood that was 3/4″ in thickness, so I dropped the ledge 3/4″ from the top.
For the top rails, the ledge should be flush with the bottom of the rail. The plywood will sit atop the ledge, creating the bottom of the storage cavity. 1/2″ plywood works fine for the bottom of the storage area. This will provide a little extra depth in the storage area.
Step 3: Drill pocket holes on each end of the rails.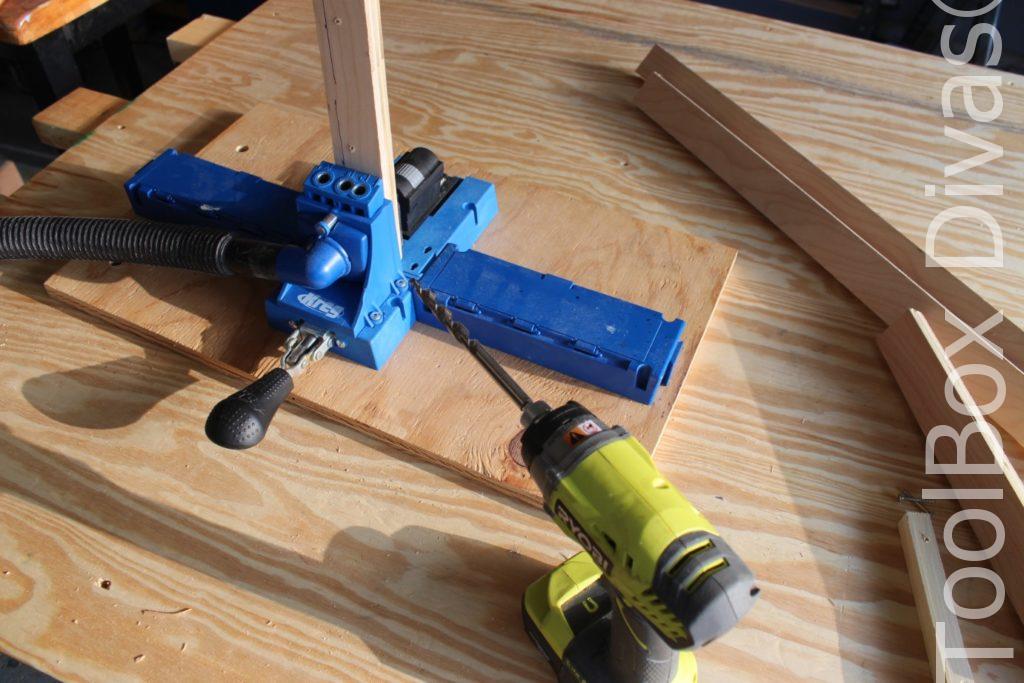
I strongly recommend drilling the holes for the pocket screws prior to attaching the ledges to the rails. It’s hard to fit the rails in the kreg jig once the rails are attached. The screws I used were 1 1/4″ pocket screws. 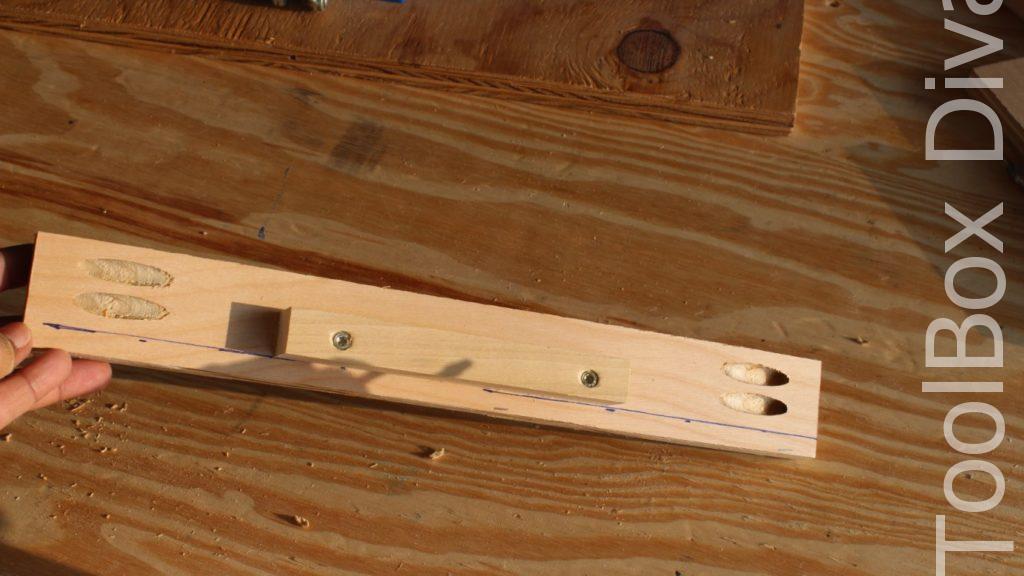
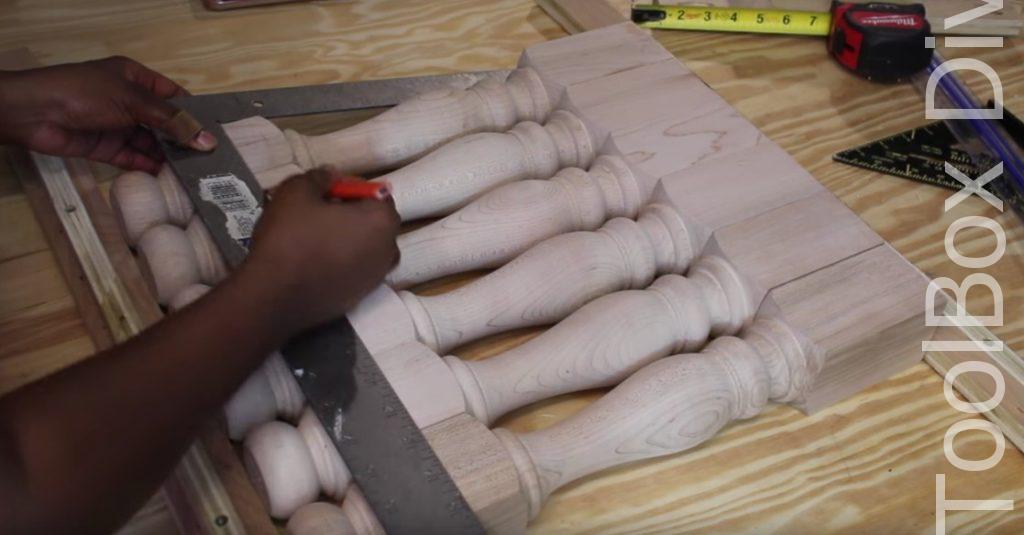
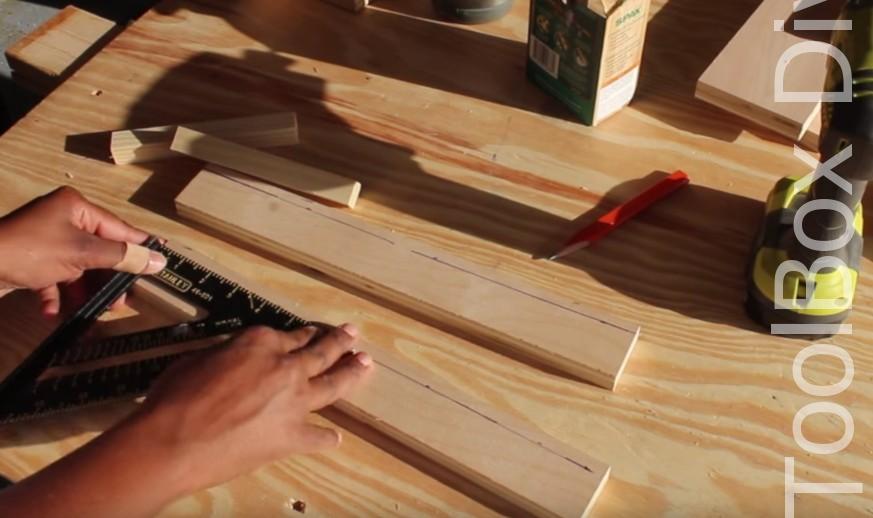
Step 4: Mark the position for the rails on each side of the legs.
Before attaching any of the rails to the legs, its important to ensure that its evenly positioned when attached. To ensure this, using a pencil mark the placement of the rails from every angle on every side of the legs. I can’t tell you how many times I was so glad I did that first. It also speeds up the assembly of the bench knowing where each rail should be placed. The top rails are flush with the top of the legs in the center and the bottom rails are about 1/4″ from the top of the lower portion of the legs in the middle. A carpenter L square came in very handy.
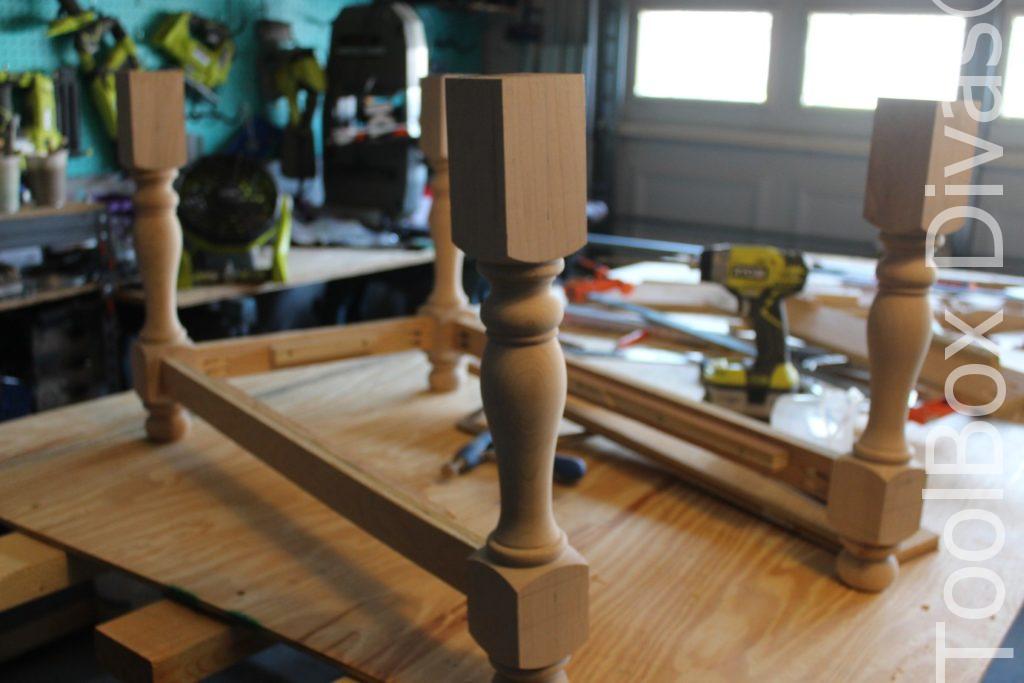
 Step 5: Assemble the lower portion of the frame of the bench.
When using pocket screws for assembly I strongly recommend using Kreg Jig’s right angle clamp. You want to keep those joints at a perfect 90-degree angle.
This clamp in the photo is an older model. The newer model is designed for easier use. But it’s really a preference. I actually like the older model. 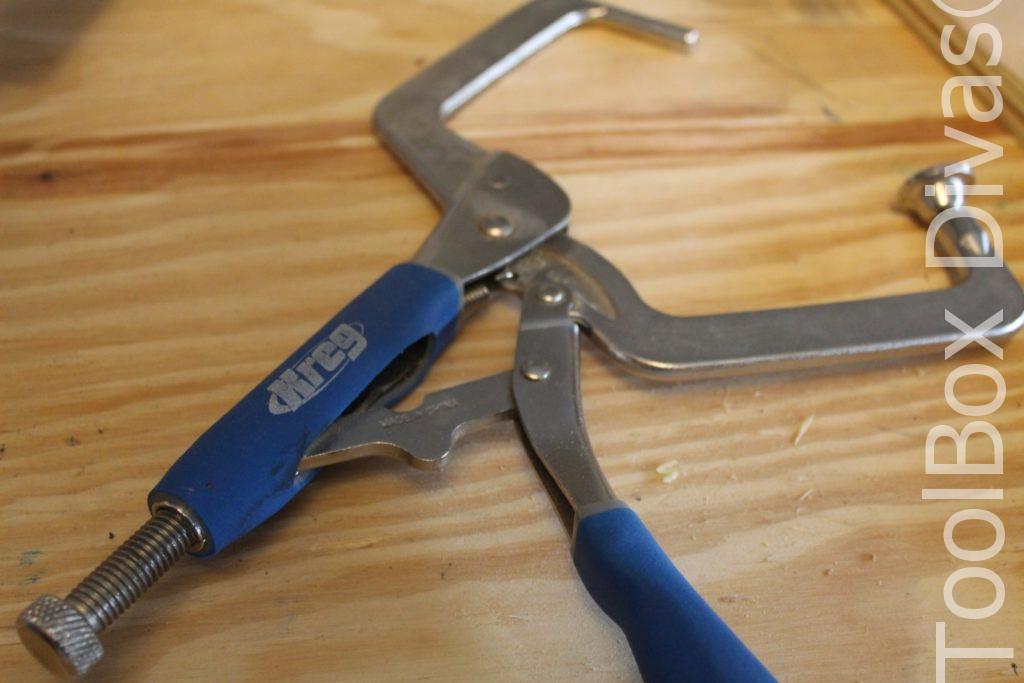
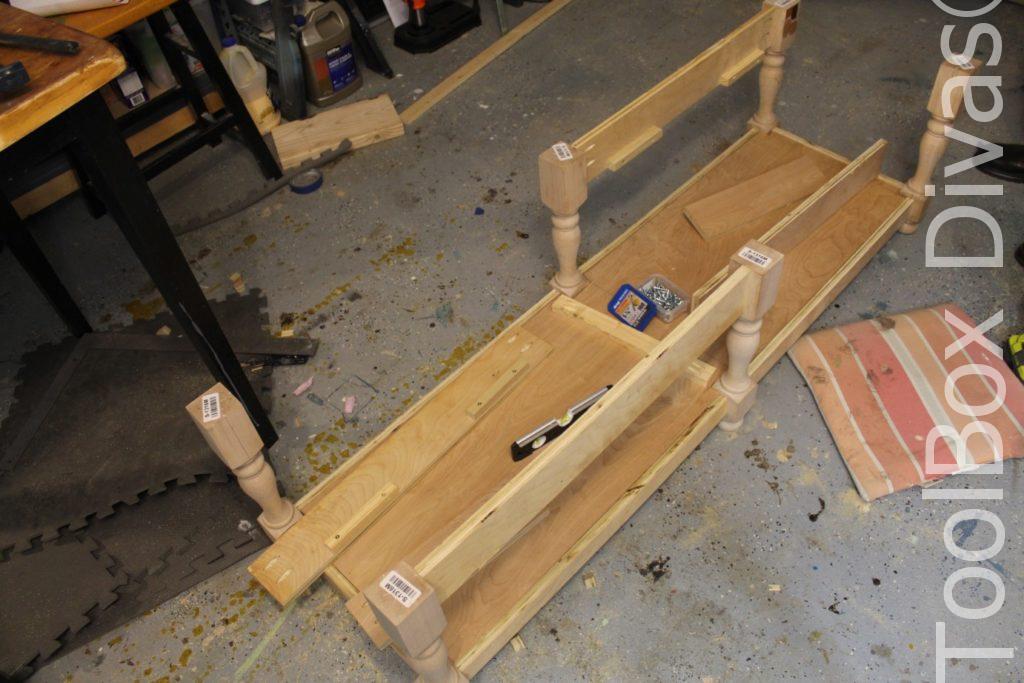
Step 6: Place a middle support at the bottom of the bench and ensure all sides are level and square. 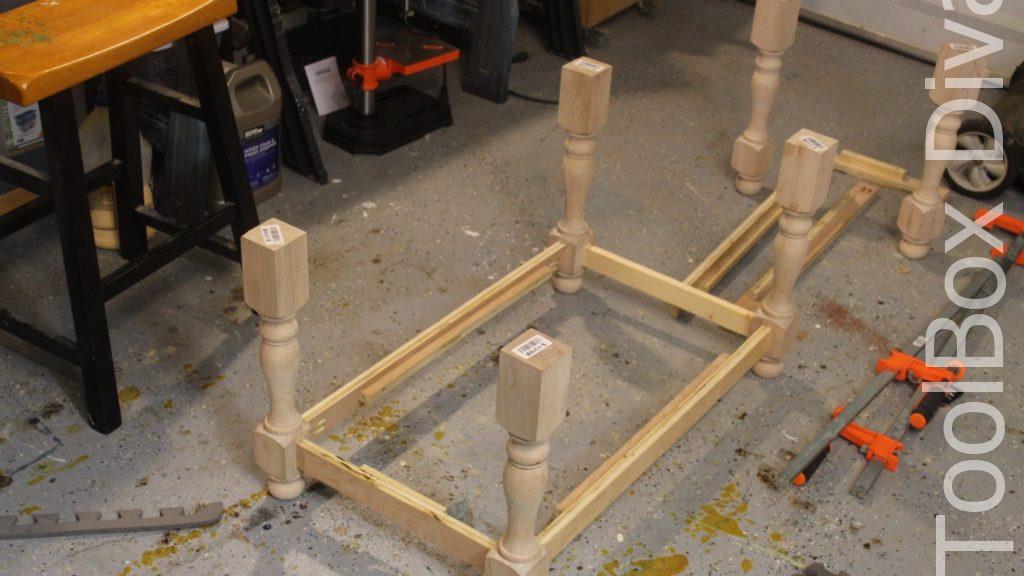
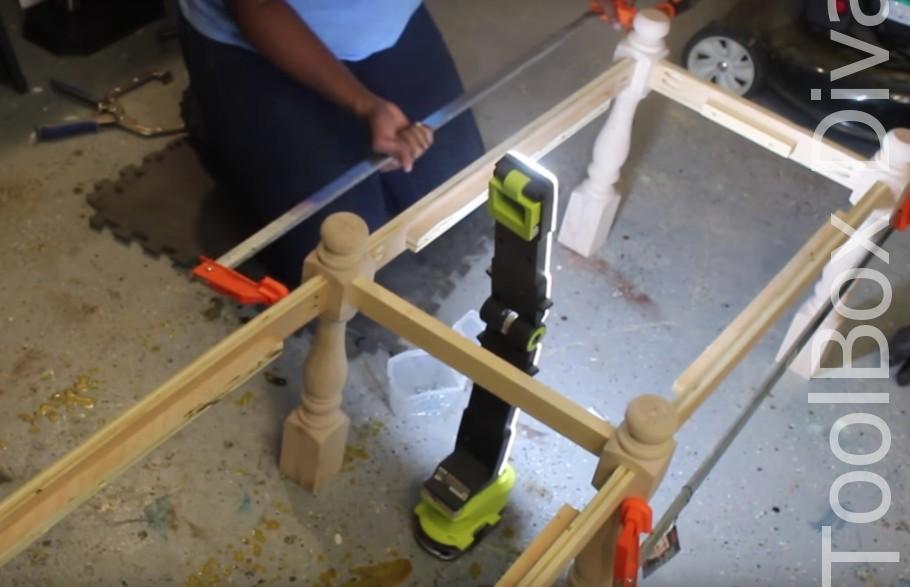
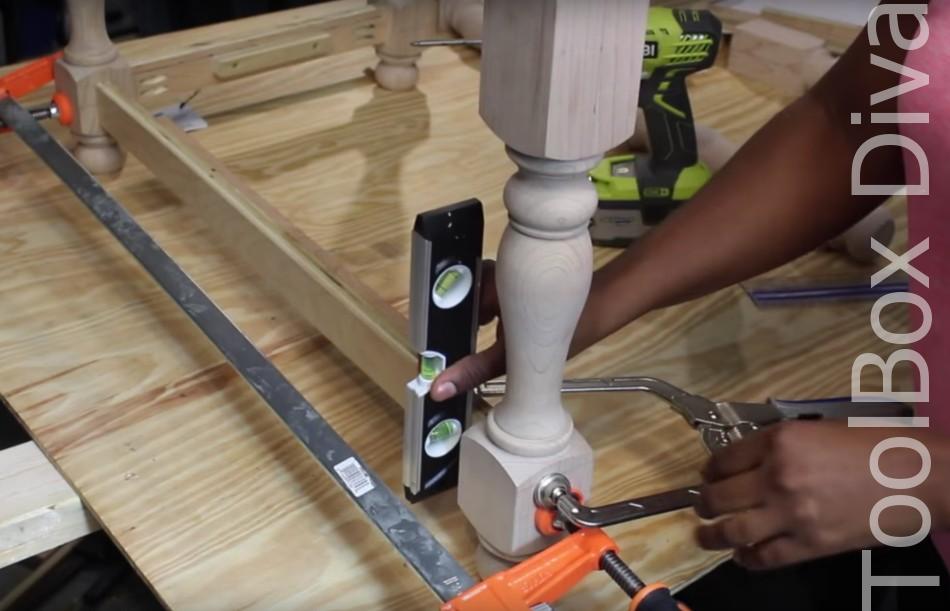
I used a 1×2 board cut to size in between the two middle legs. This bench is really long. It’s important to add additional support to it. I attached using pocket screws. I also used a level to ensure my suport beam and rails were nice and level.
Long bar clamps helped hold the rails in place as I attached it to the legs.
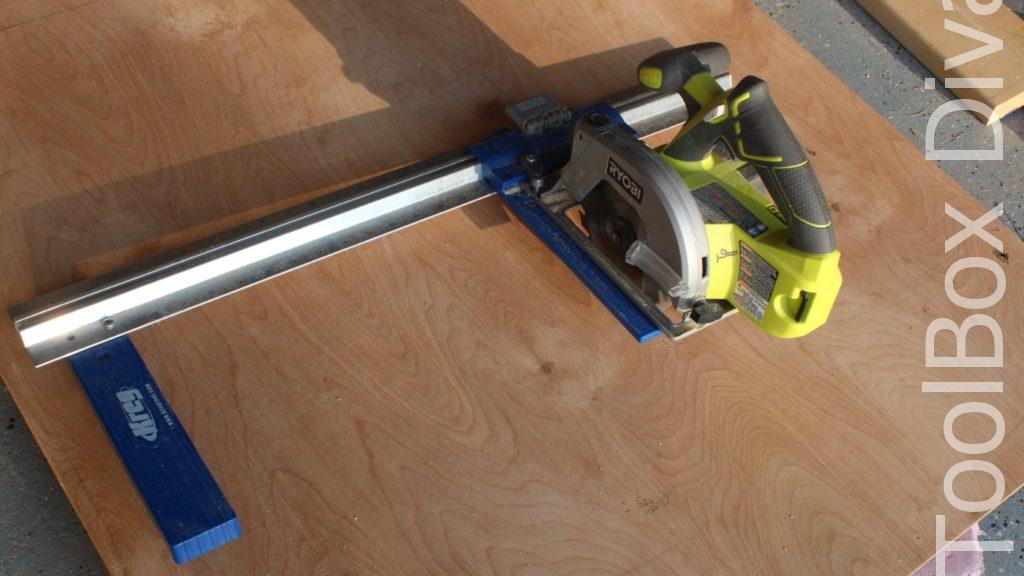
 Step 7. Cut the plywood for the bottom storage cavity and the bottom shelf.
To cut the plywood for the bottom shelf and the bottom of the interior of the storage cavity I used a circular saw with a Kreg Rip cut jig.
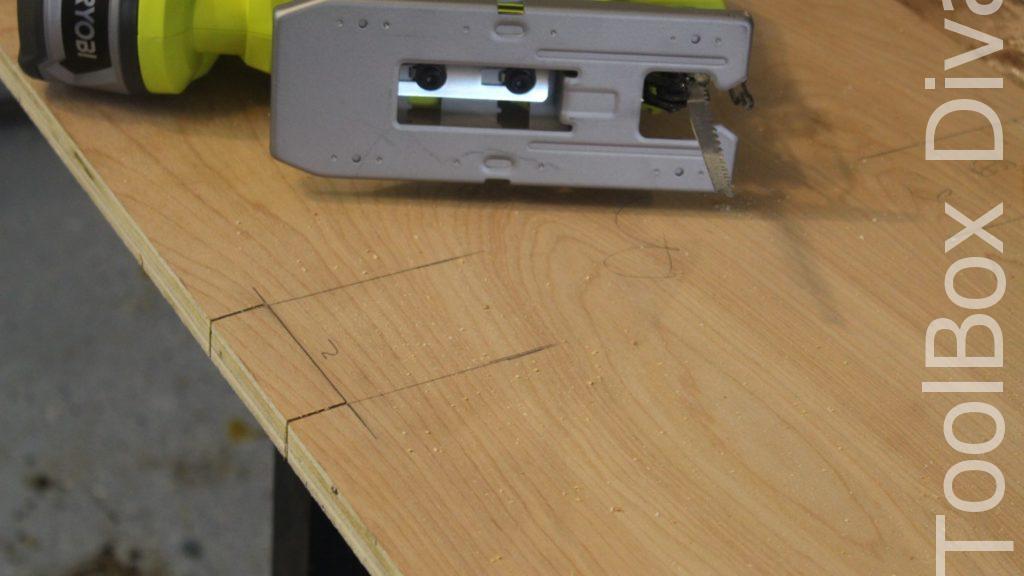
Step 8: Notch the corners and middle of the base pieces for the opening of the legs.
With the bottoms cut to size, I then needed to cut a notch into each of the plywood pieces for the legs. This is easily accomplished with a jigsaw.
Step 9: Insert the bottom shelf.
Before attaching the top rails I inserted the bottom shelf 3/4″ plywood base. I secured using glue, and brad nails.
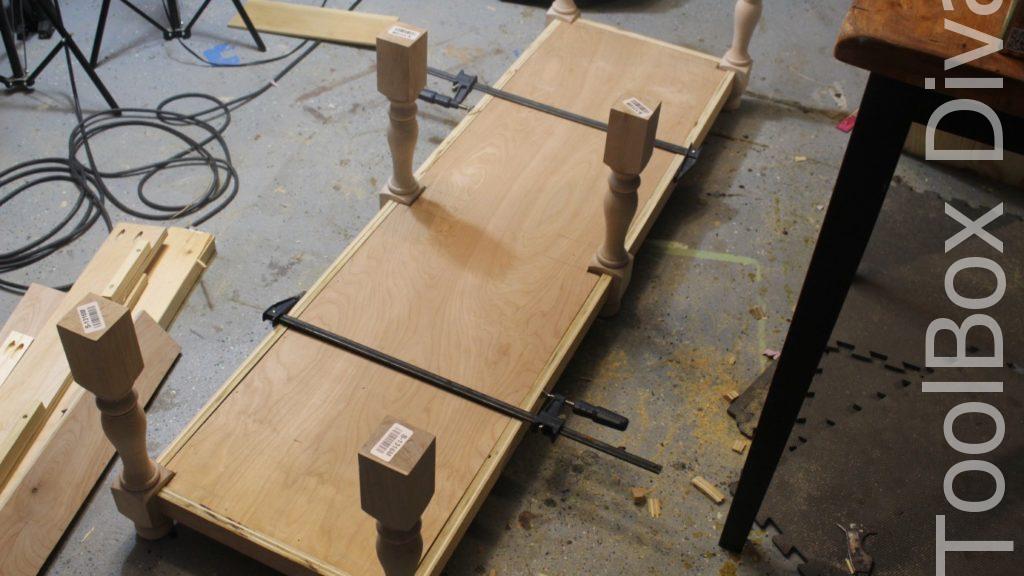 Step 10: Attach the top rails and center support beam.
Once the bottom shelf was in place, I could then add the top rails or aprons to the bench. As more rails are attached the bench becomes more and more stable.
And just like at the lower level of the bench I attached a 1×2 support beam. This time I ran the 1×2 horizontal. I wanted it to match the thickness of the ledges.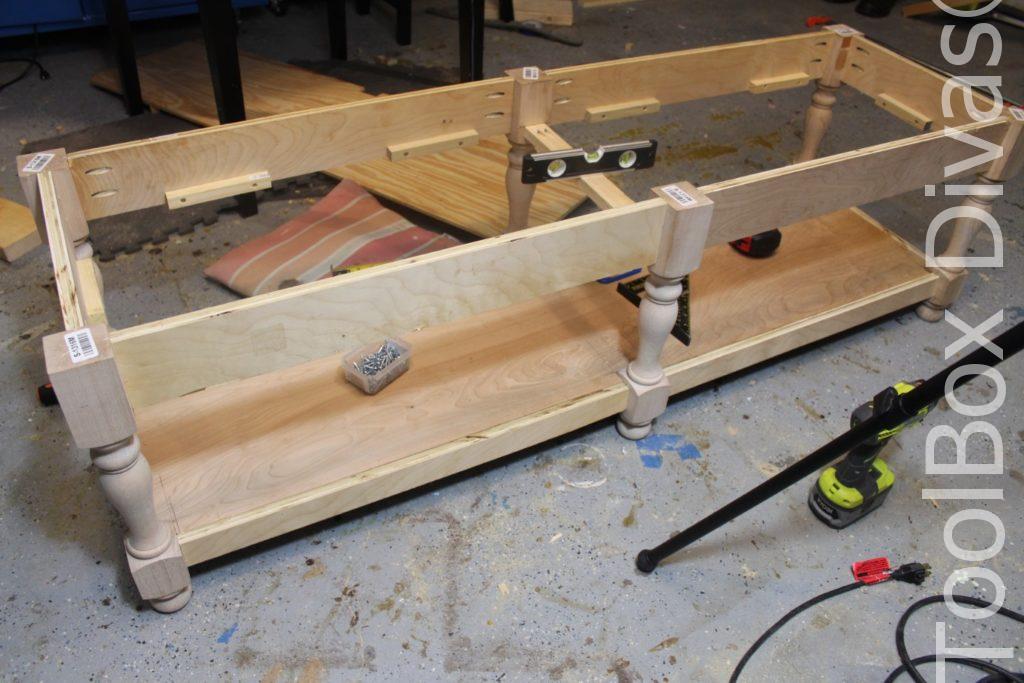 Ensure the support beam is level prior to inserting the bottom of the hidden storage cavity.
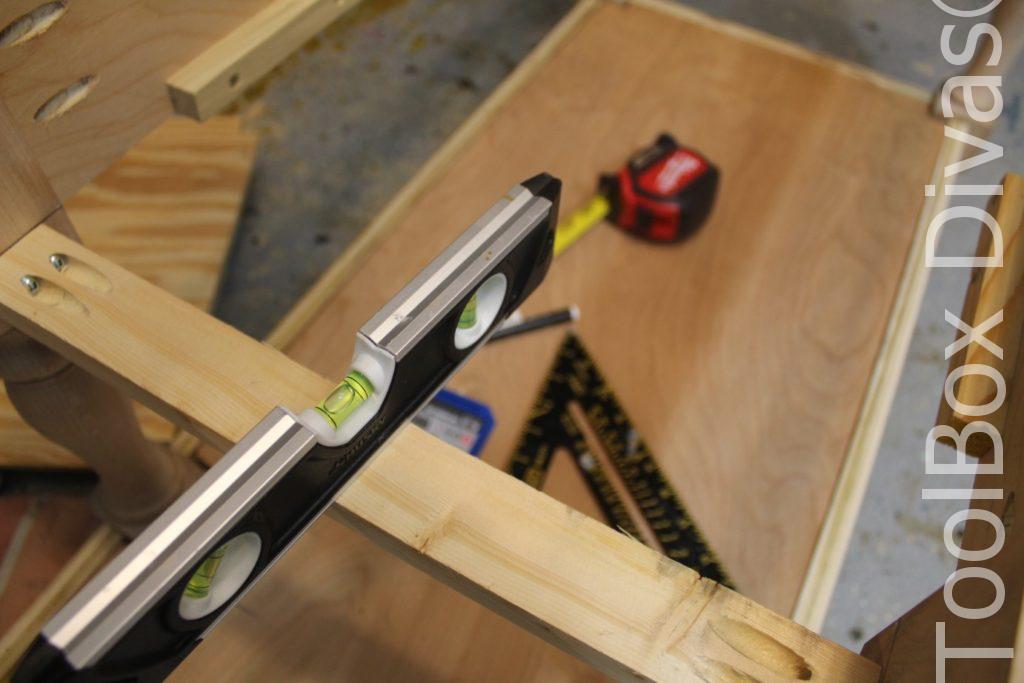
Step 11: Drop in the bottom of storage cavity.
Place the plywood into the storage area. If measured correctly it should drop right in place.
Step 12: Plug the pocket holes. And using a multi-purpose tool flatten the inner corner of the leg.
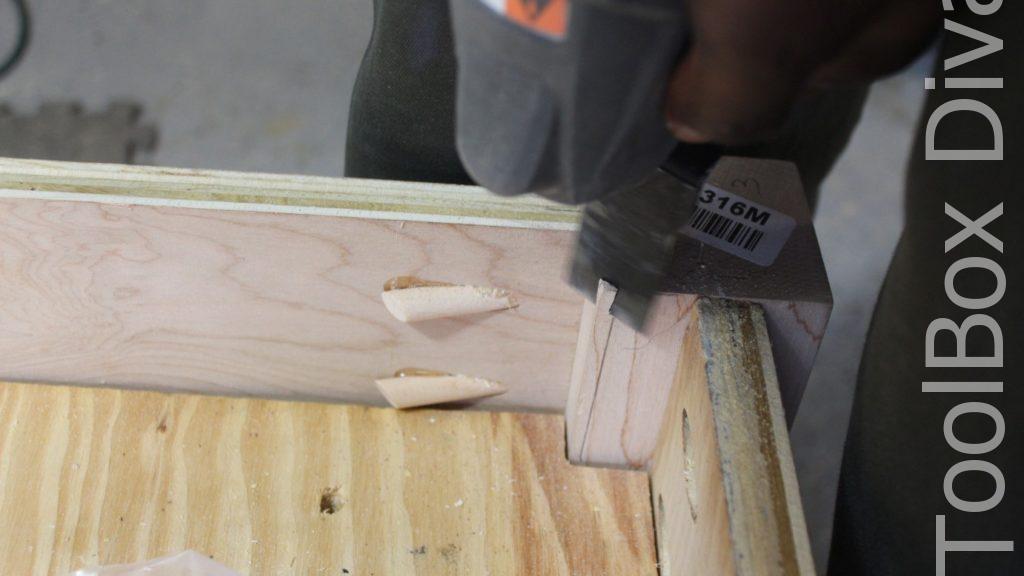
Prep the corners for the addition of the corner supports. To do this use an all in one tool and cut straight down the width of the corner support piece. For the top corner supports, I used 1×3 scrap wood. So I cut down into the corner of the leg about 2.5.” on the top. The lower corner supports were make using scrap 1×2 boards.
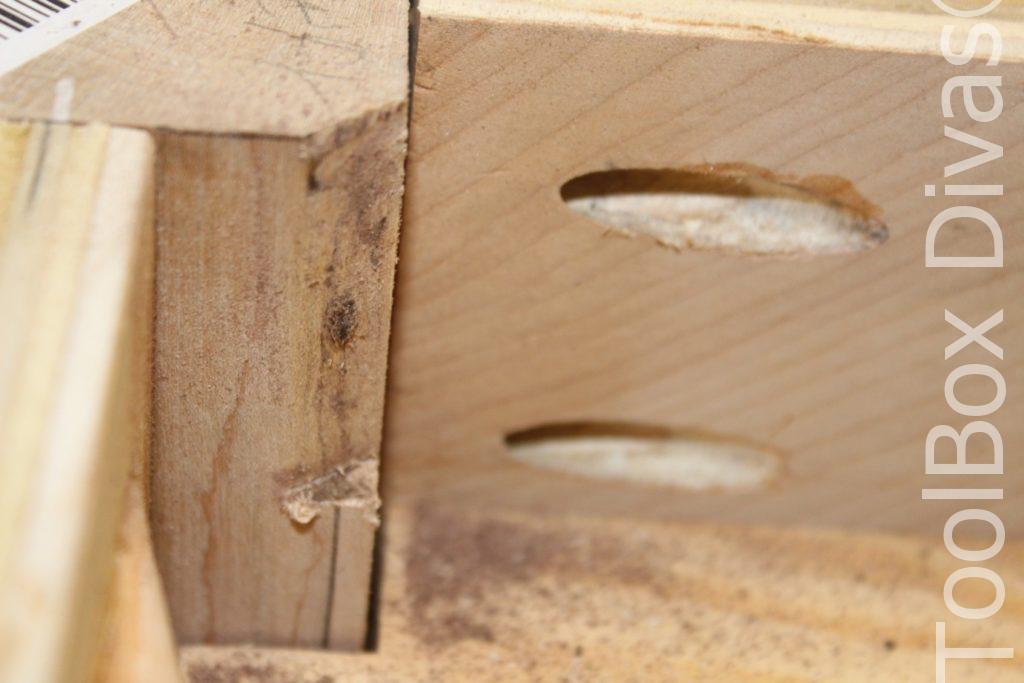
Next, plug the screw holes with wooden plugs. Once the glue is dry saw off any excess with a small saw. The holes can also just be filled with wood filler. 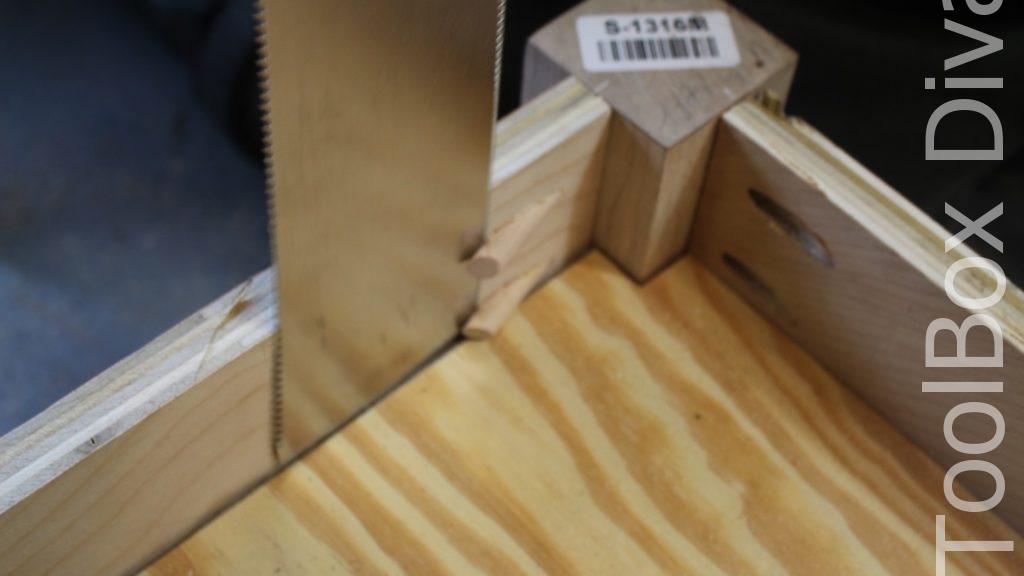
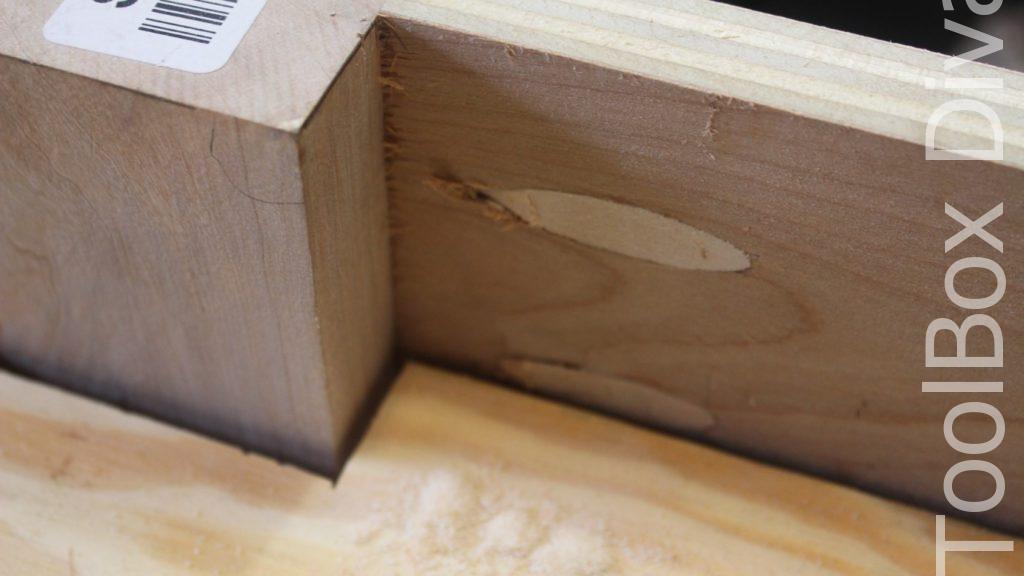
Step 13: Add the corner braces.
The corner pieces were cut to size at a 45- degree angle on each side. 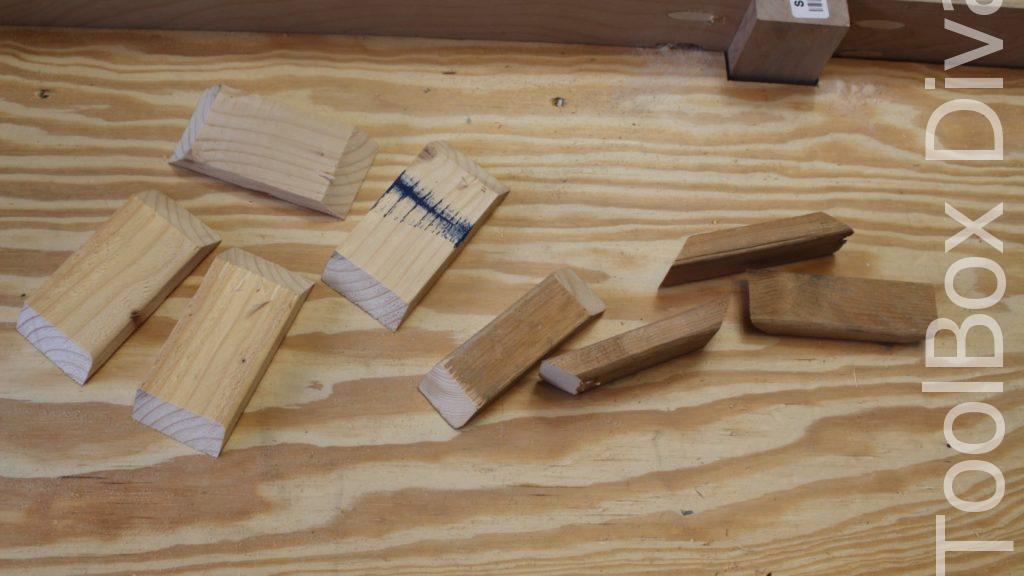
I attached the corner brackets with Spax screws on the ends. 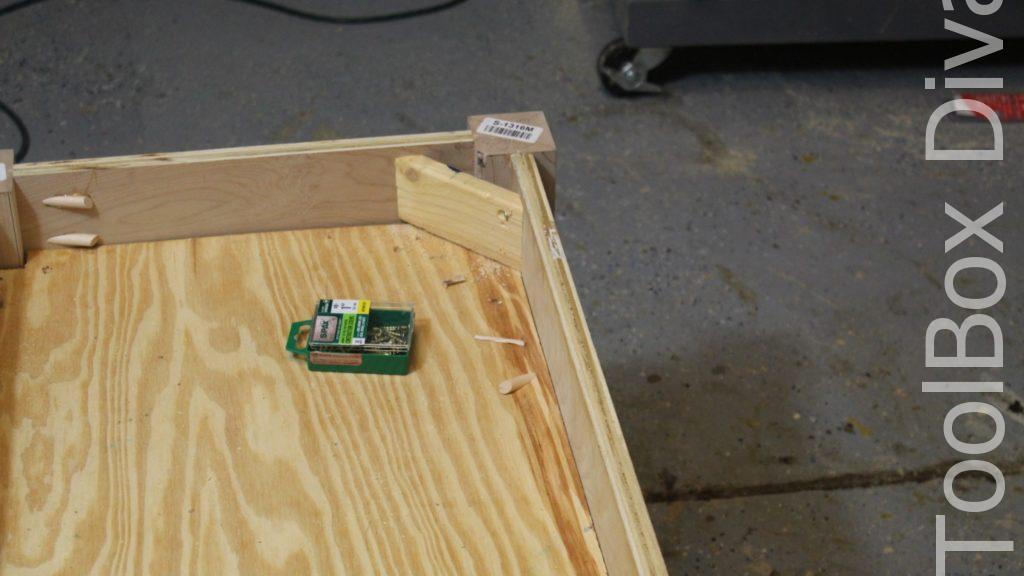 In the center of the corner supports, I used SPAX 1/4 in. x 3 in. Powerlag T-Star Drive Lag Screws
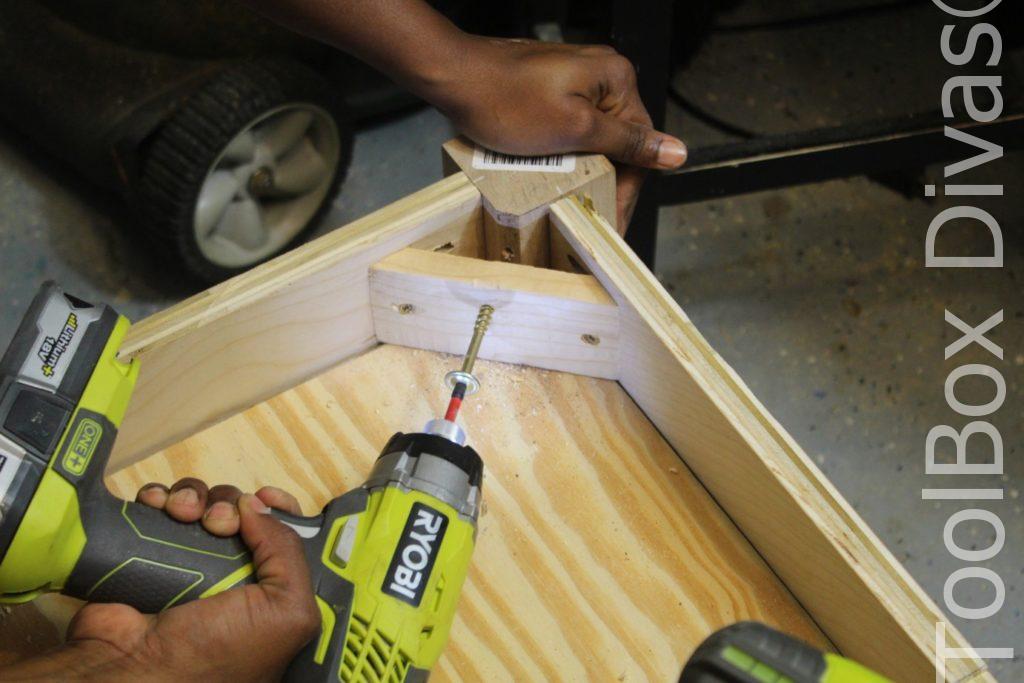
Step 14: Attach the hinges to the bench top.
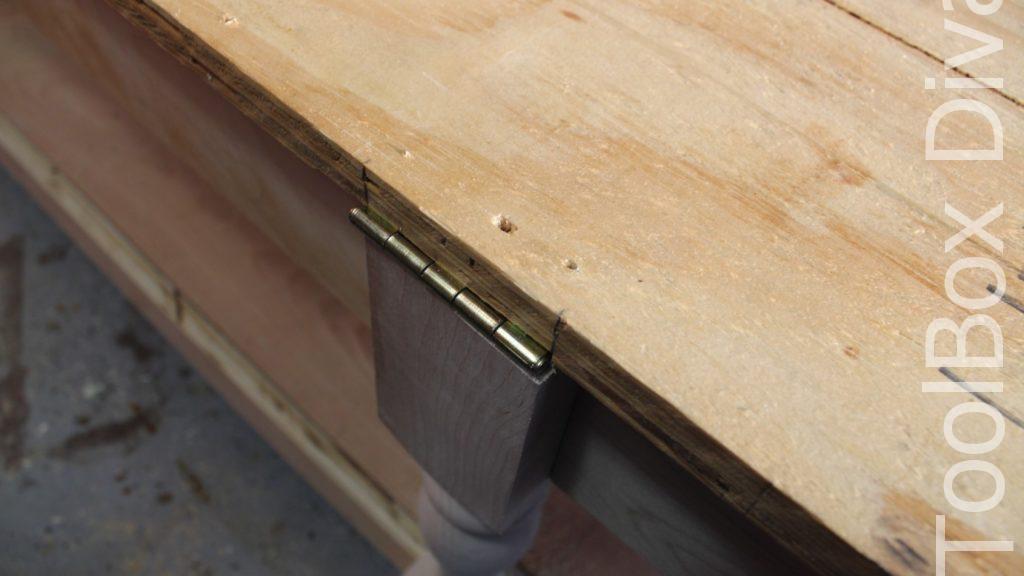
Finally, it was time to prepare the bench top. With the top cut, I routed out the area where the hinges would be placed. I wanted the hinges to be flush with the bench so that the bench top would close seamlessly.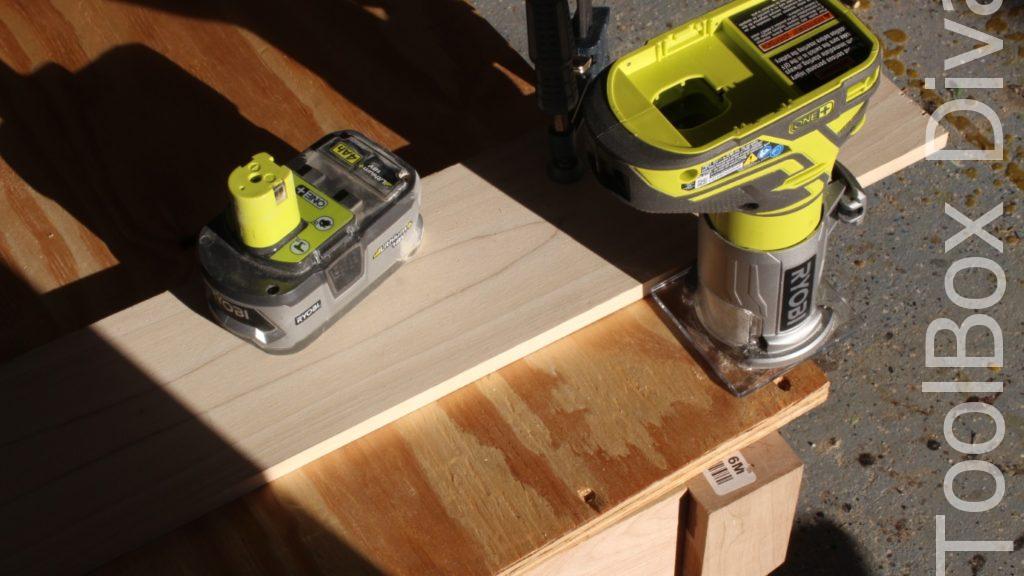
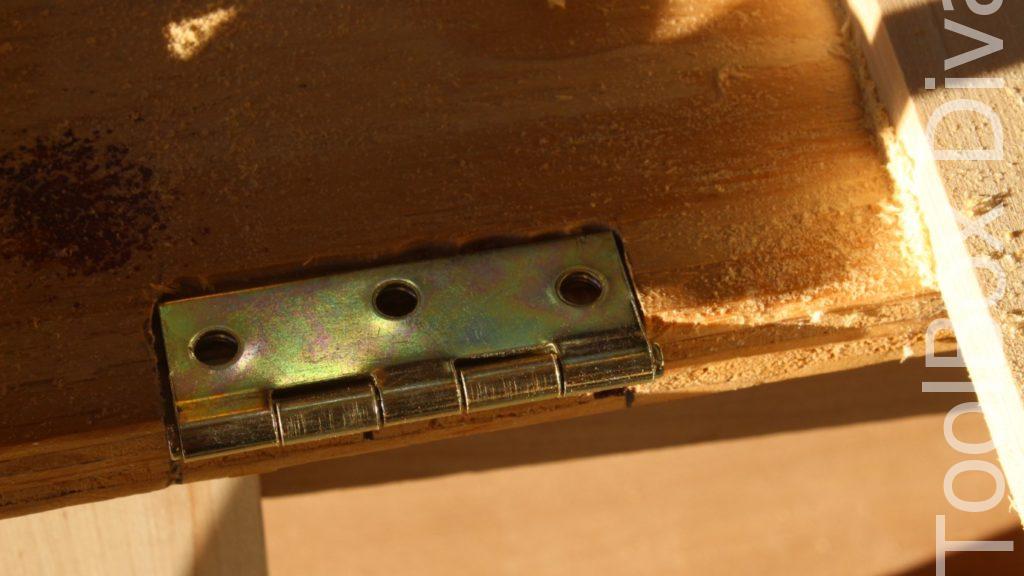 I also predrilled the area where the hinges would screw into the bench.
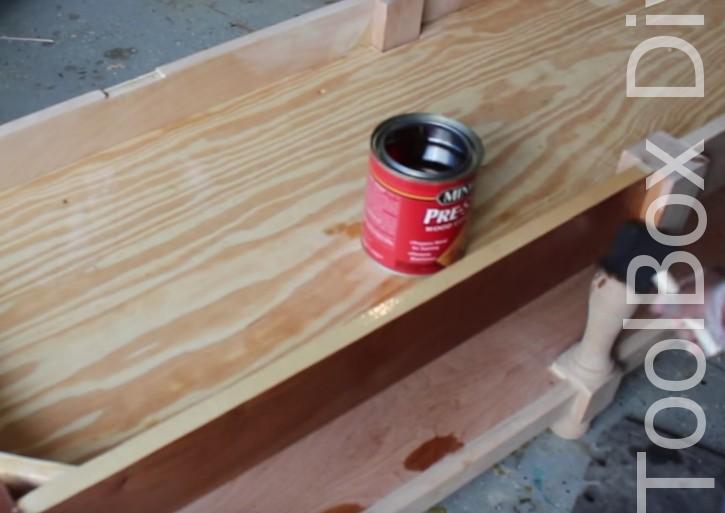
Step 15: Condition and stain the bench.
After putting in all that work to build the bench thus far, it is highly recommended that you condition the wood prior to staining. This will eliminate any blotchiness.
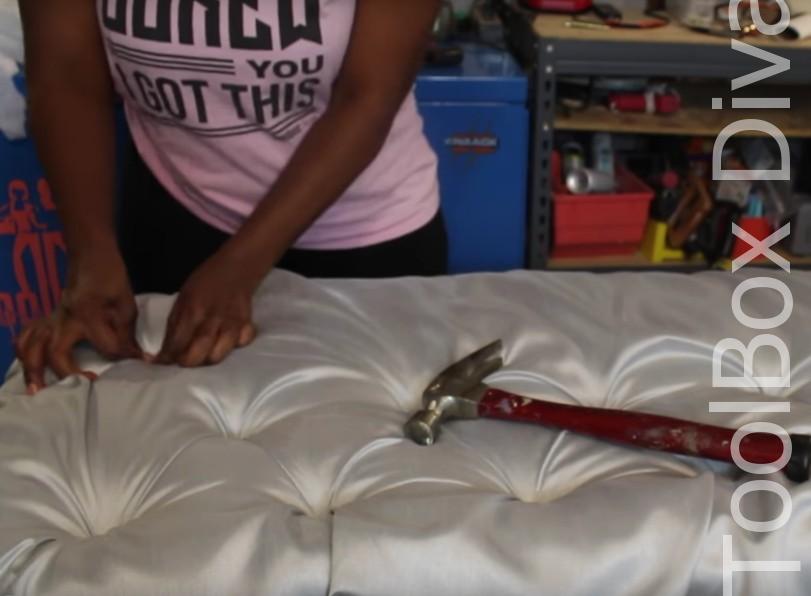
Step 16: Tuft the top of the bench.
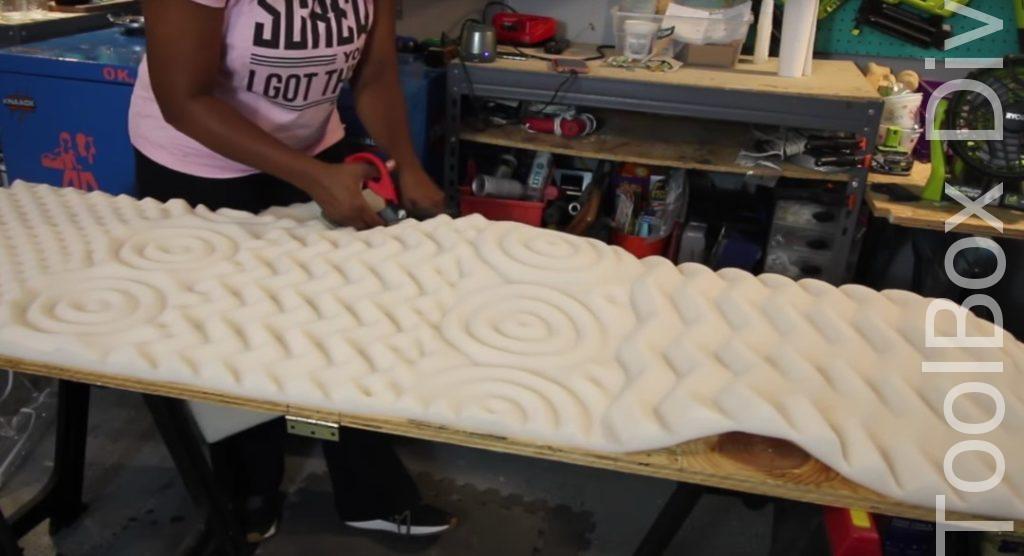 I tufted the top of the bench using a really easy no-sew method. It was my favorite part of making the bench. I did it without a peg board nor drill holes and upholstery thread. And I can’t wait to share with you what I actually used for upholstery fabric. You’re going to love this no sewing hack for sure right down to the fabric covered buttons and my use of excess fabric. A staple gun, hammer, and some scissors are all the tools required for this tufting hack.
Step 17: Line the interior of the bench.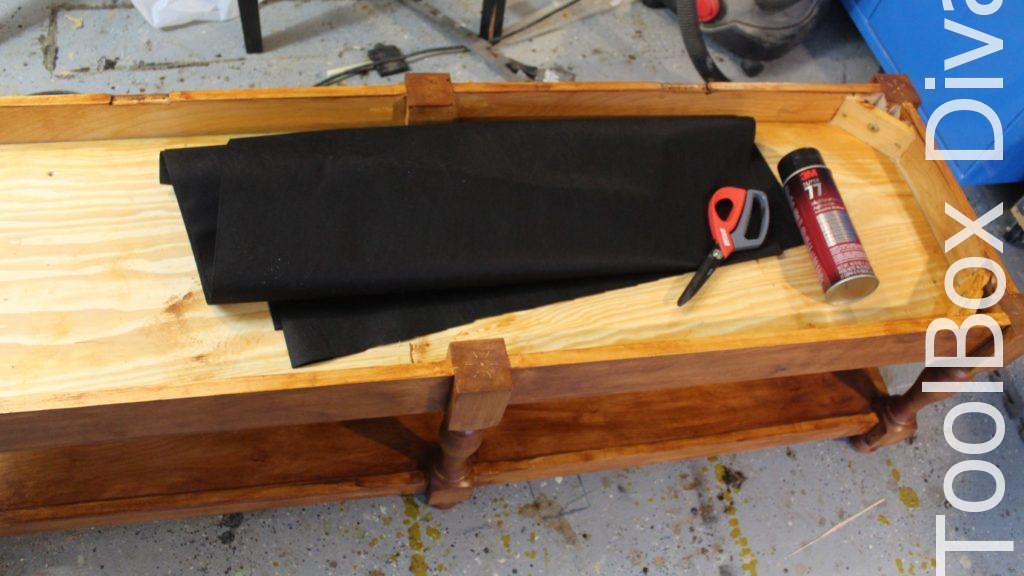
I lined the interior of the storage cavity with upholstery underlining, securing it with spray adhesive.
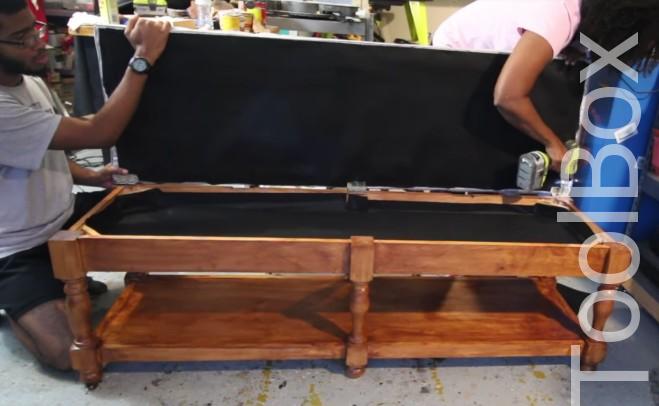
Step 18: Attach the bench top.
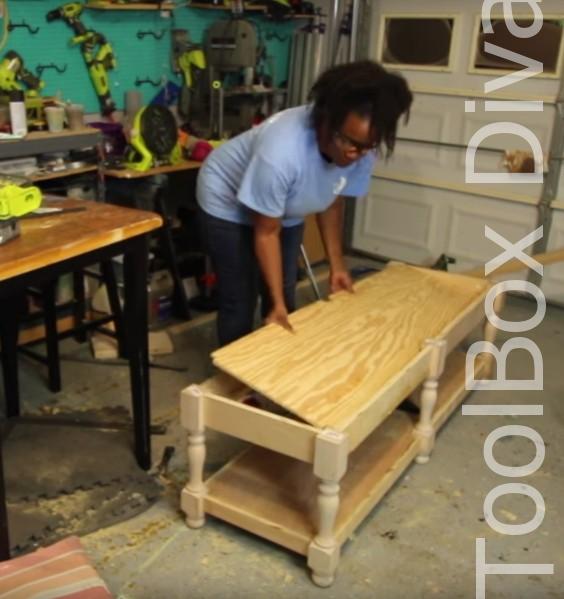
And with the help of my little brother, I attached the tufted seat to the base of the bench.
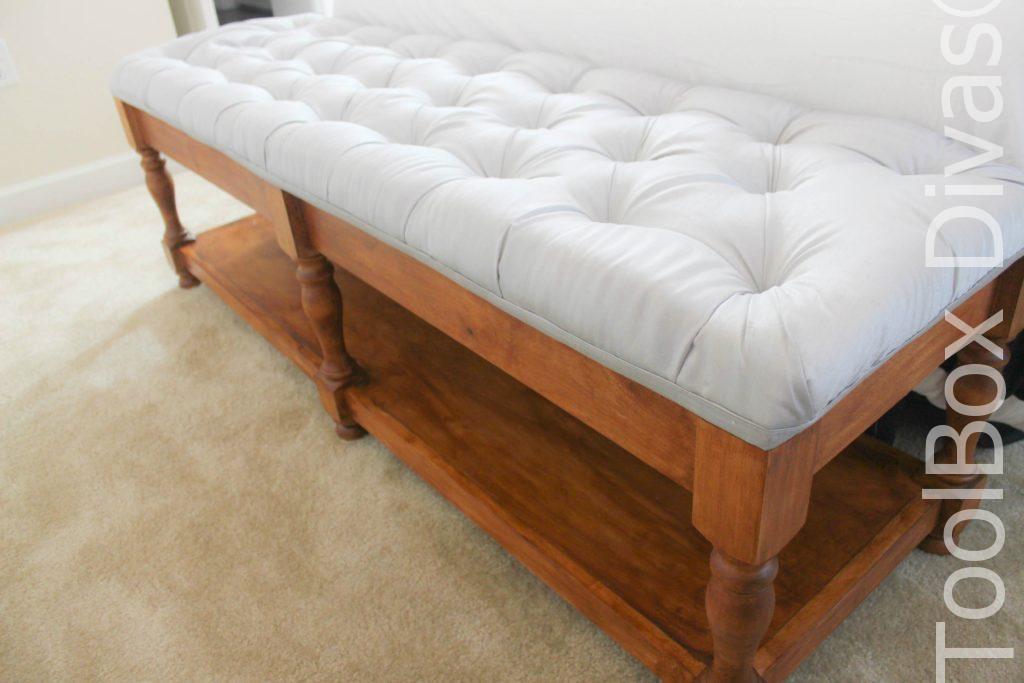
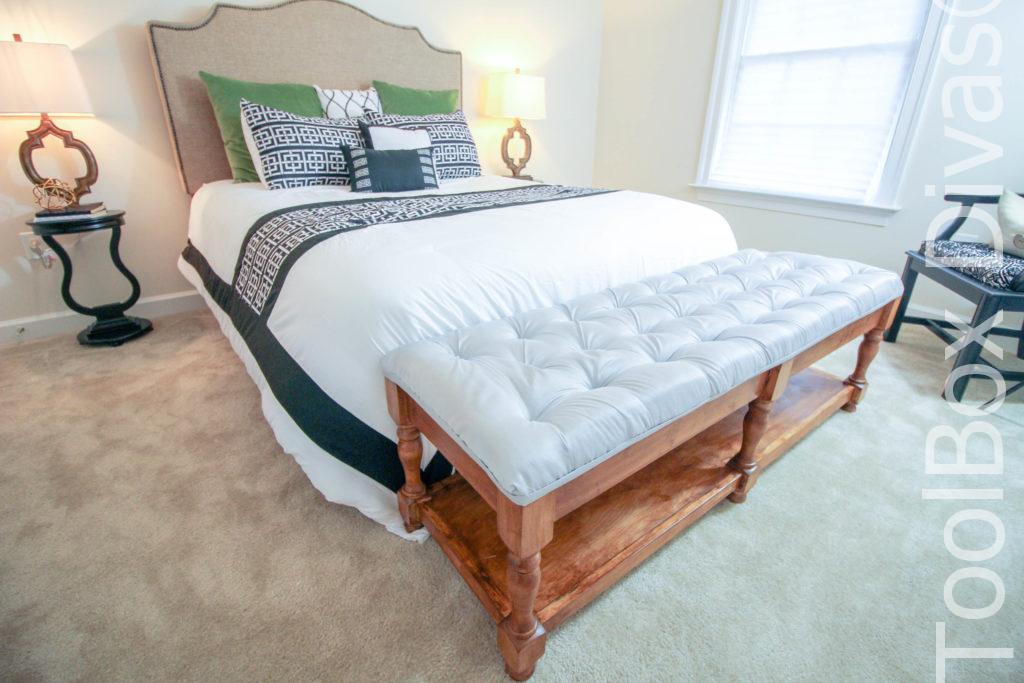
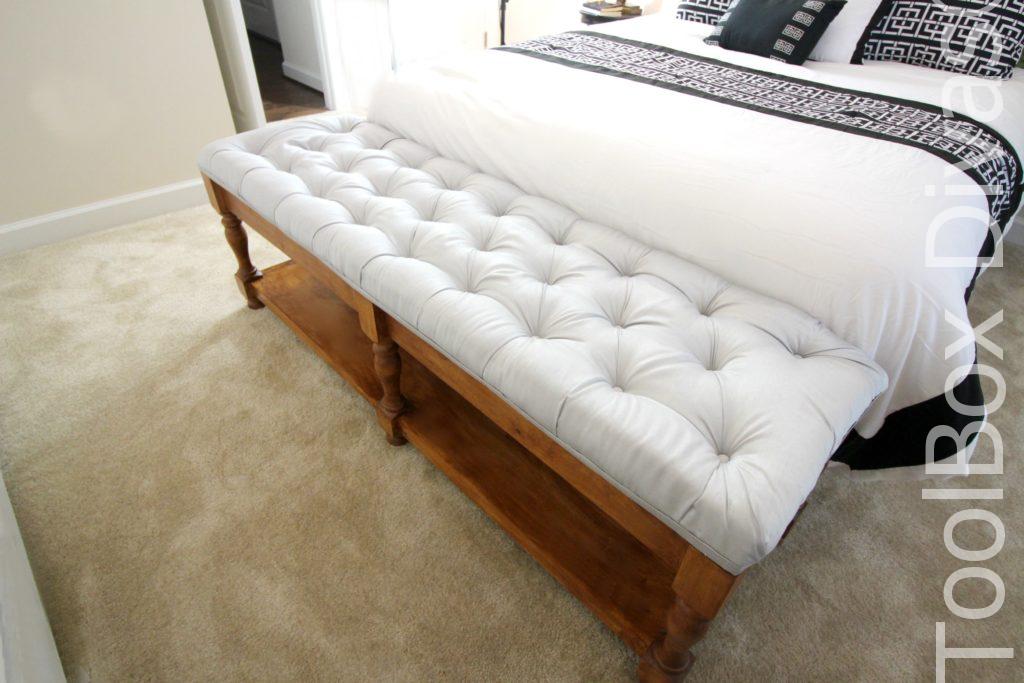
Words can’t express how excited I am to share my latest build with you. I have been wanting a tufted bench like this for years. It is now my favorite piece of furniture in my bedroom. I hide magazines and books in the hidden storage and I sit on it while putting on my shoes. I hope you enjoyed this tutorial. Know that if I can do this, so can you.
Download the FREE plans to the Tufted Bench Plans by Toolbox Divas
GET THE PRINTABLE PLANS
** Legs were provided by Osborne Wood Products**

 Till Next Time. ~T.
Girl Friend you Rock…… What a pleasure, keep it up…..Lorne
Aww thank you so much! You just made my day.
Where is the information for the tufting hack? I LOVE this idea and want to make one as soon as possible. THANKS!!!!
Hi Robin, Thank you so much! The tufting hack video will be out tomorrow.
Thanks for using our T50ELITE staple gun in this project! How’d it do for you?
Thank you! I love my staple gun. I use it all the time.
Hello there! love your gorgeous bench! how much did you spend finally for this project?
Hi I actually didn’t spend much because the legs were given to me and I had a lot of the materials on hand. So I spent about $40-50. But these legs costs around $28 each. But this bench can be made with less expensive legs like those you can find in your local hardware store.
I would cheat and use a coffee table find at the thrift store or roadside or something. This looks like work.
That’s not cheating Dorothy. That’s smart. 🙂 Go for it and make it work.
I love this bench, and you’re so right they’re so expensive! I’ve been looking for one in a specific color and fabric, and when I found it I couldn’t afford it. Yours is great, so I can see a way I can modify it so that I could store pillows and throws or quilt in it. Which is what I want to do with mine, but I also saw an idea for the inside of this one. So maybe I could make mine do two different functions if I make it right. Instead of having a thin storage area, I’ll make mine into a tray that sits inside a large storage area. So for mine I’ll have sides and ends on it so it’s big enough inside to hold the pillows and quilt, and in the tray that I’ll make to fit over the storage area I’ll make it into a jewelry storage compartment. Then when it’s closed no one will know that it’s hiding my jewelry. Thanks for the ideas and now to see how you did your tufting, as this doesn’t show it which is what I was hoping for. But like I said Thanks for the ideas and the DIY for the storage bench, it’s great!!!
Those are some awesome modifications Kim! I would have never thought of creating an area to hide jewelry. Brilliant! The tutorial for how i did the tufting can be found here. It no-sew and super easy. https://toolboxdivas.com/2018/03/tufting-101-how-to-tuft-like-a-pro-without-sewing.html .
Please share photos of your bench when done by tagging me on IG or Facebook @Toolboxdivas. I know it’s going to be beautiful!
Beautiful project, love it! BTW, where did you ever get that vacuum attachment for your pocket hole jig?
Beautiful project! BTW, where did you ever get the vacuum that hooks to your pocket hole jig?
Hey Thank you so much! It is the hose that came with my wet vac.
Hey there! I canNOT wait to try this on my headboard! THANK YOU! I
I am wanting to reupholster my headboard … it already has a foam on it. Do I need batting? THANK YOU!
I recommend batting. It adds extra cushioning and is a barrier between the foam and the fabric which prevents the fabric from sliding and gives it a smoother look.
Actually – I am sorry to have bothered you! I just noticed that there is already batting atop the foam on my headboard! So … off I go to buy a kit to cover buttons! Can’t wait
Hahaha! Best of luck please share photos @toolboxdivas on IG or Facebook.
Hello, if I already have a plain top bench , do you think I can skip the first few steps and draw where the nails will go and just place a fabric on top with the nails? Thanks!
I don’t see why not. Go for it!
Jeez, there’s no way I could do this! And, I’m pretty resourceful. Toolbox Diva? Yea, no! More like licenced construction foreman! Lol. Damn, missy, you’re pretty talented!
Hahaha Cynthia, you can totally do this 🙂 I believe in you. If you can sew or not you can do this.