Tufting Hack: The Easiest How To Do Diamond Tufting Tutorial EVER
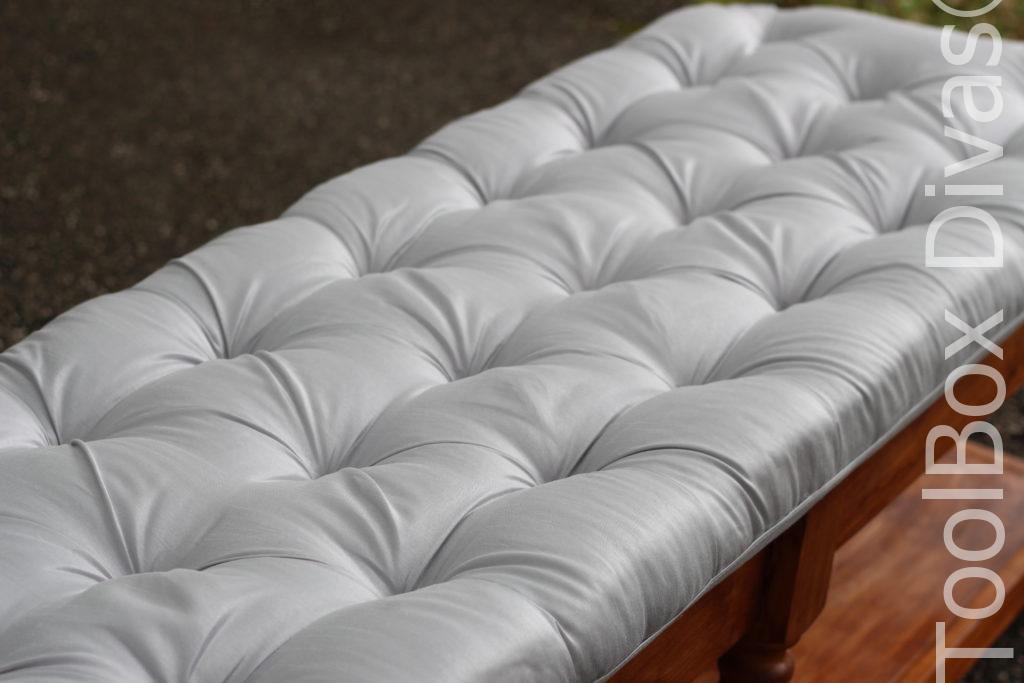
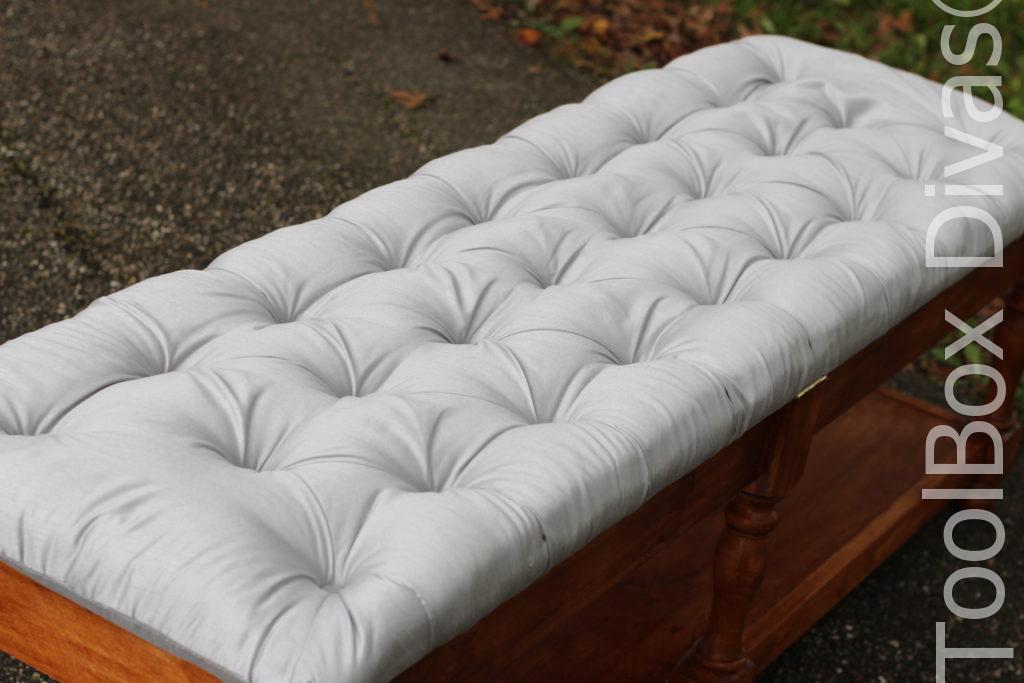
In this how-to tuft tutorial, I’ll demonstrate the easiest tufting technique out there. Learn how to create diamond tufted headboards and benches like a professional without busting the budget.
When shopping for home decorations, online or in the stores I’m always drawn to tufted furniture. Whether it’s a coffee table, bench or headboard if its tufted 9 times out of 10 I want it more because it’s covered in the most elegant upholstery fabric. The only problem is it’s a bit costly. I’ve considered tufting DIY projects in the past. But when the tutorial starts calling for peg boards, upholstery thread and needles I zone out. I don’t sew. And currently, I have no interest in learning. But I didn’t want that to stop me from achieving the perfect diamond tufted cushions. So I sought out to achieve the perfect no-sew tufting solution for all you none sewers out there. SO stick around because you’re about to read a great tutorial on how to do diamond tufting.
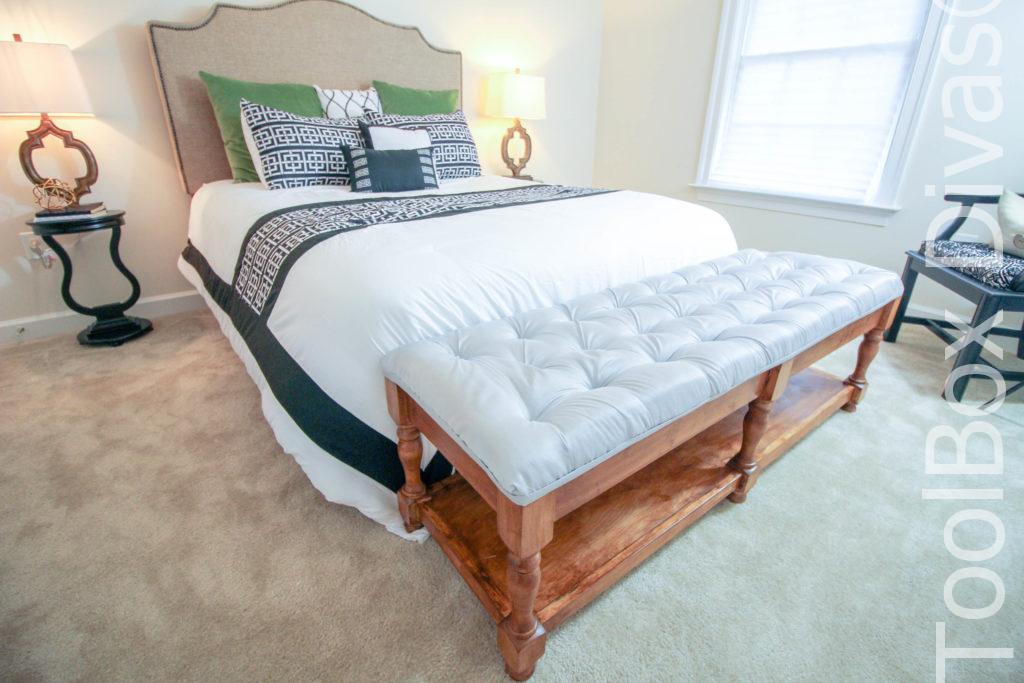
The only real tool you will need is a hammer and a staple gun. There won’t be any drill holes. No drills are required for this. This technique can be used in making a headboard, a bench, a coffee table or just general seat cushions. In this tutorial, I’ll be showing you how I made the cushion for my new bedside tufted bench with hidden storage. 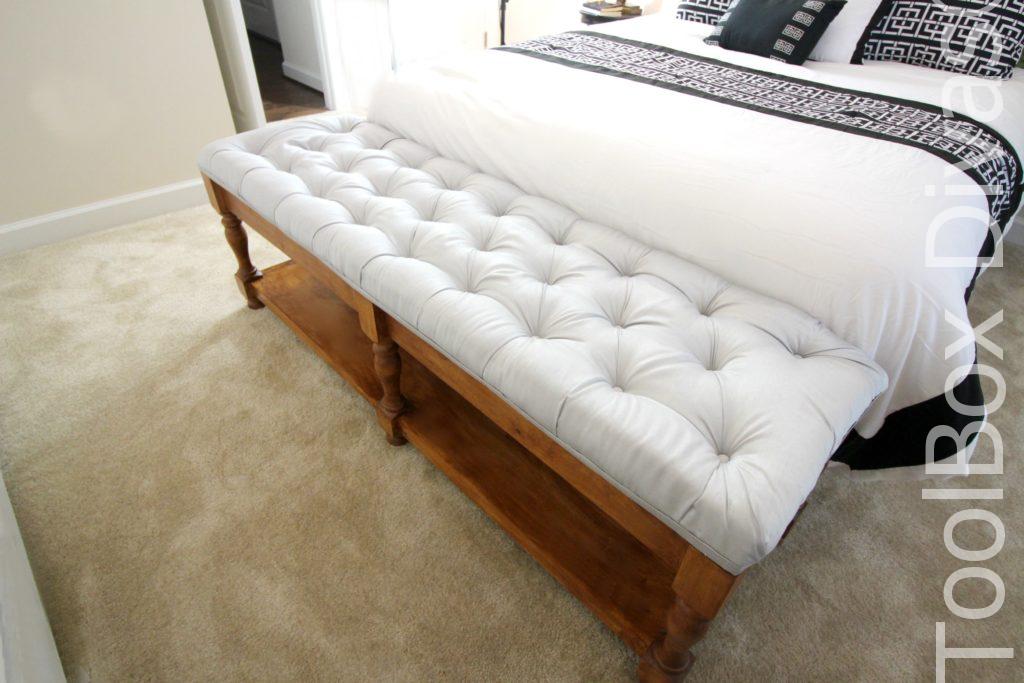
Materials
- Upholstery Fabric – I used a one panel Curtain on Clearance
- Fabric Underlayment
- Board – Cut to size
- Fabric Glue
- 7/8″ Roofing Nails
- 5/16 Washers
- Mattress Topper Foam
- 3/4″ Craft Cover Button Kit
- Gorilla Glue
- Batting
- Fabric Hot Glue Sticks
Tools
- Hammer
- Scissors
- Staple Gun – (T50ELITE Staple Gun)
- Ryobi Hot Glue Gun
- Iron
OK Let’s Get Dirty!
Instructions
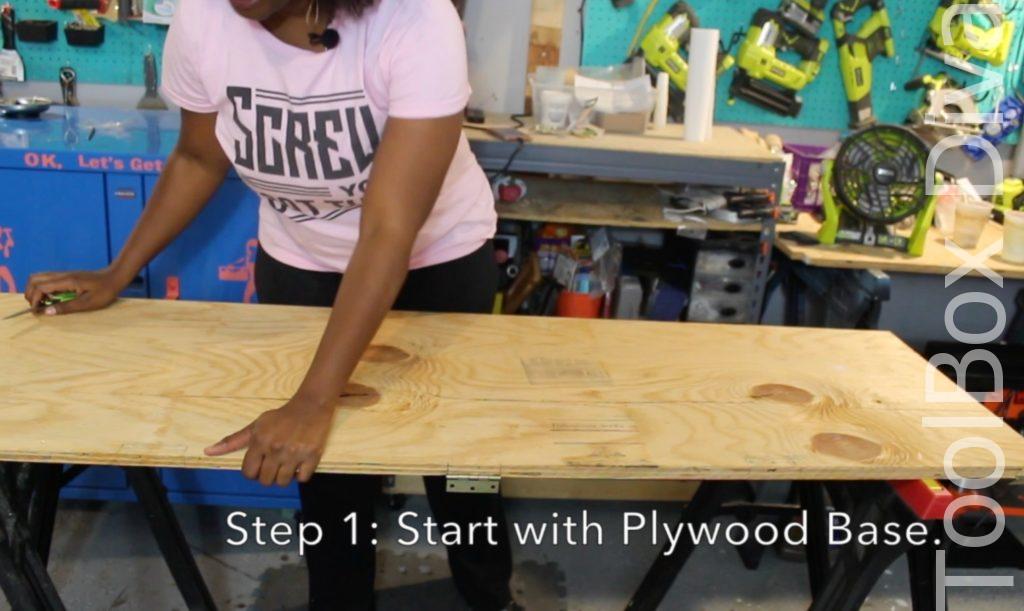
Step 1: Start out with a plywood base.
Cut a piece of plywood or board down to fit your project. For this, I am building a bench. So I will be tufting the bench top. I’m starting with a plywood board cut to the size of my bedside bench.
Step 2: Cut out the foam and top the base with the foam.
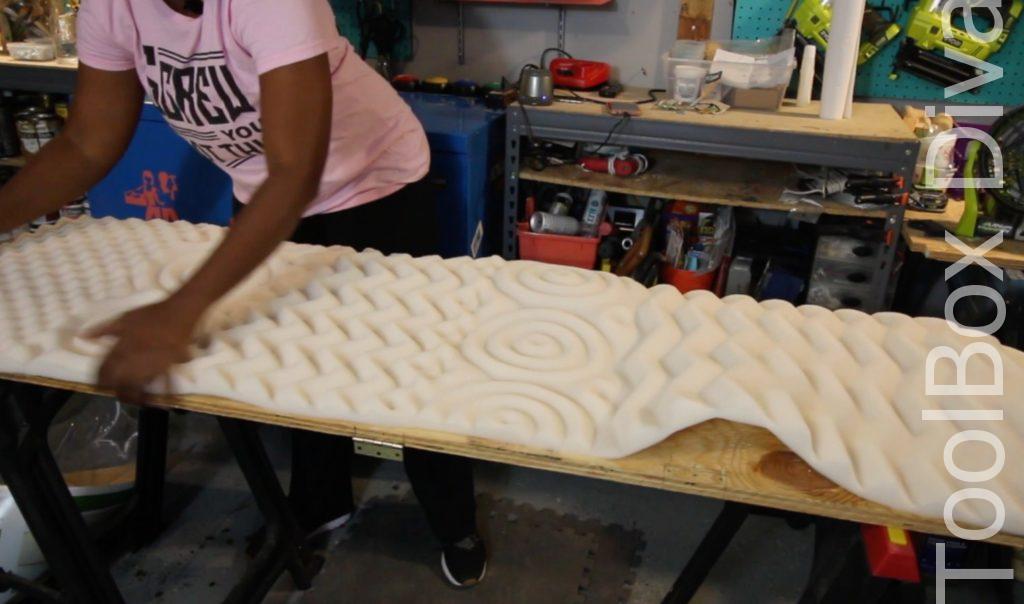
The foam could easily be the most expensive part of creating cushions or a padded headboard. One way to drastically cut the cost is by using mattress topper foam. It comes in various thickness. The ideal thickness for a bench seating is about 3 inches. Cut costs by getting a twin size mattress topper that is about 1.5″ thick. You can double it to create the desired thickness.
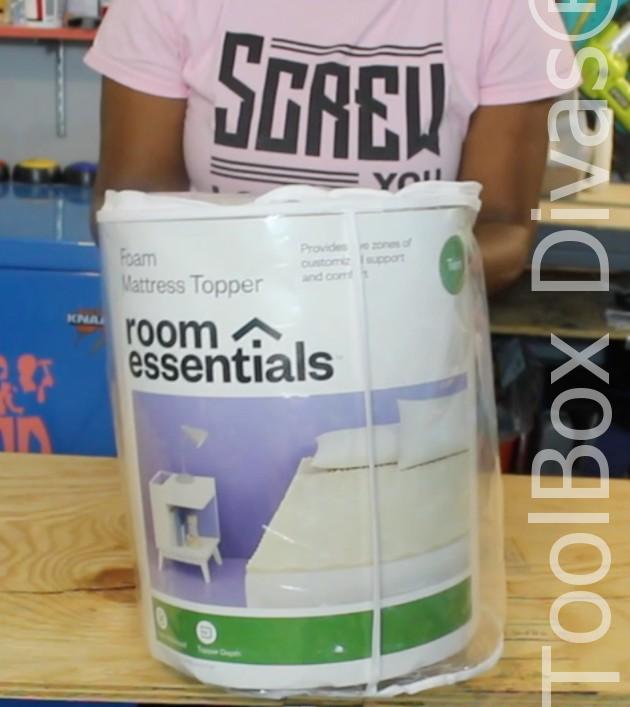
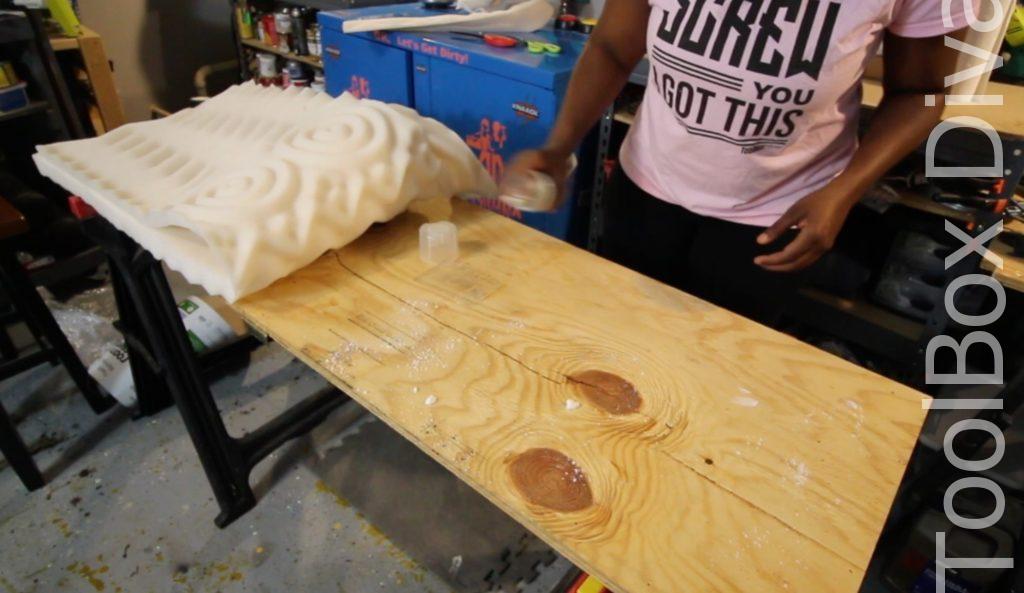
Cut it to size and turn the rough side to face the board. Use spray adhesive to secure the foam to the base or board.
Step 3: Create the tufting pattern.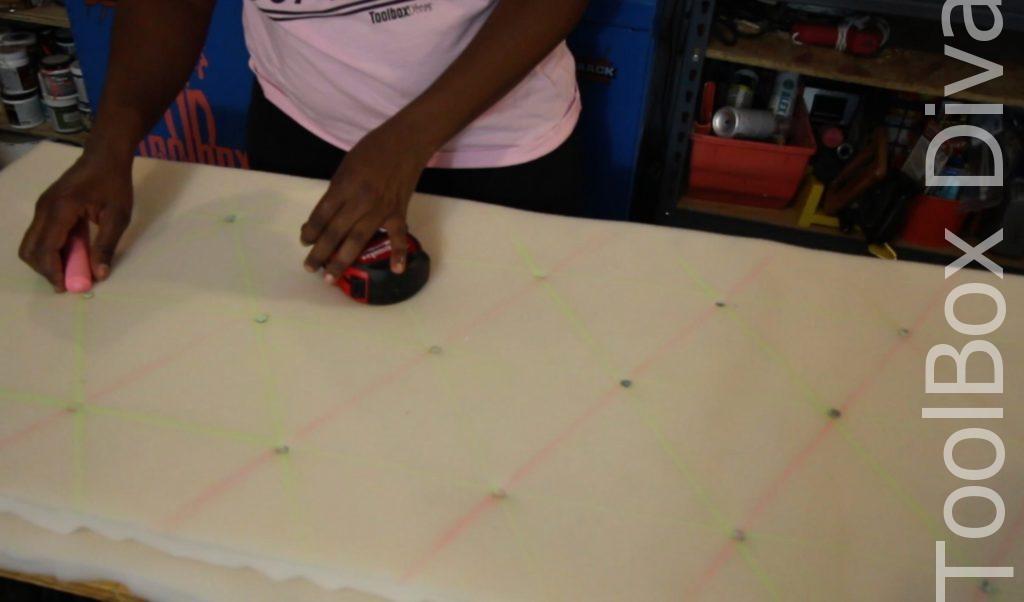
Like I mentioned earlier I am tufting a bench seat. The bench is pretty long at 63 inches long. It’s important to space plane the location of all your buttons. The beauty of tufted pieces is the uniformity and symmetry. First, decide how many rows you plan on doing. Then determine how many buttons your longest row with include by taking the “inner” perimeter and diving that number by the determined spacing between each button. The inner perimeter is the space in between the starting location. For this, I marked out 4 inches from each end. The space in between is my “inner perimeter.”
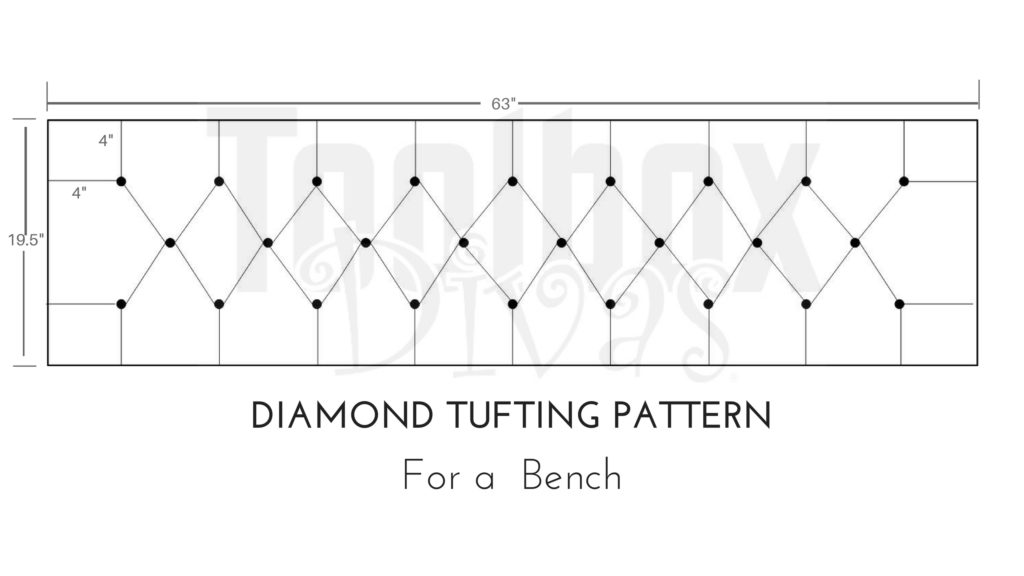
Mark out the pattern with chalk or marker. I used roofing nails as placeholders to mark where the button would go in the foam.
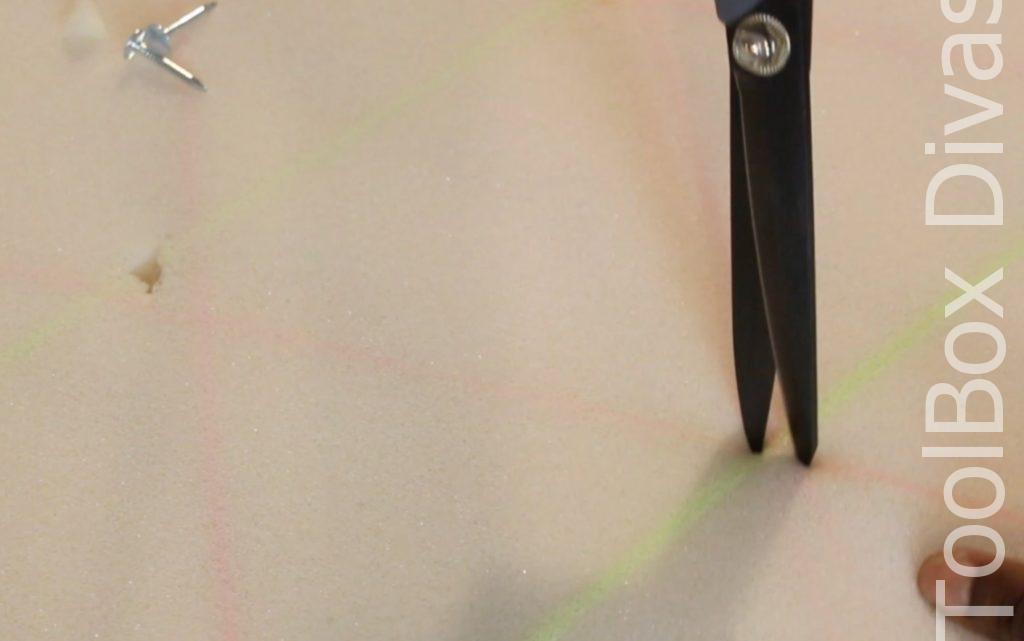
Step 4: Cut a hole in the foam.
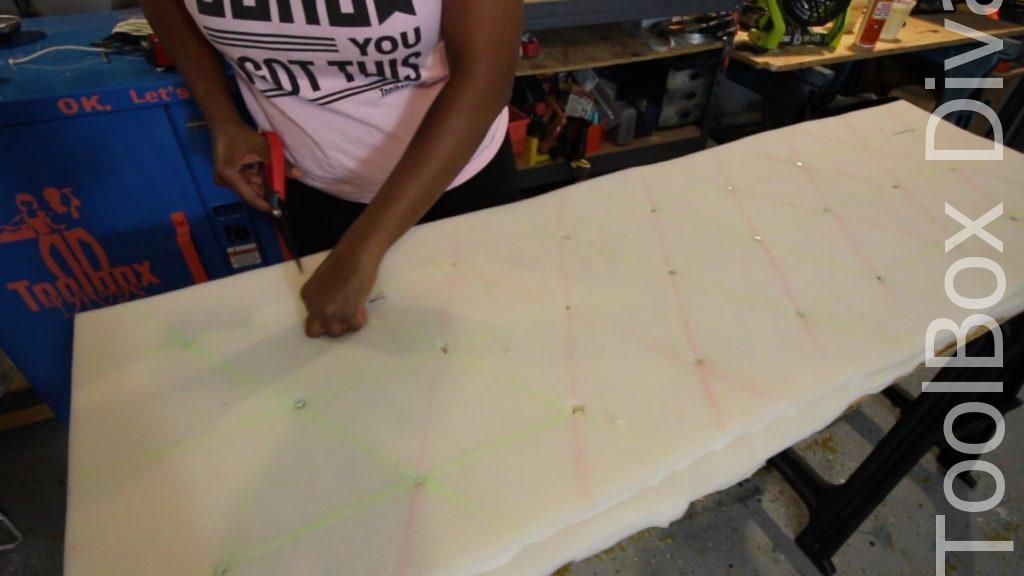 Using the scissors cut the foam all the way down to the wood base where each button will go.
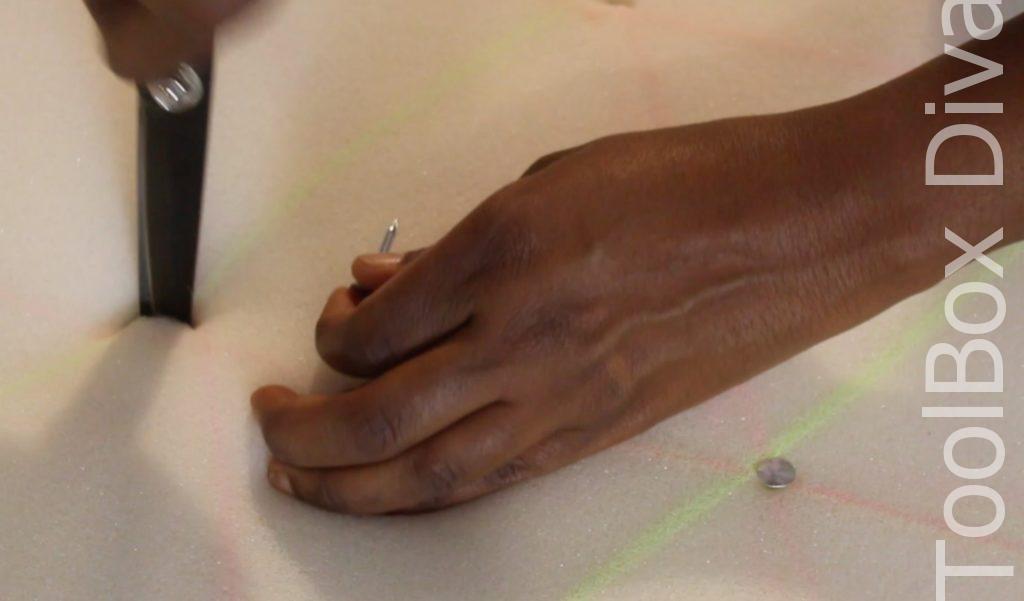
Step 5: Apply batting.
Wrap the batting around the foam and secure using the staple gun.
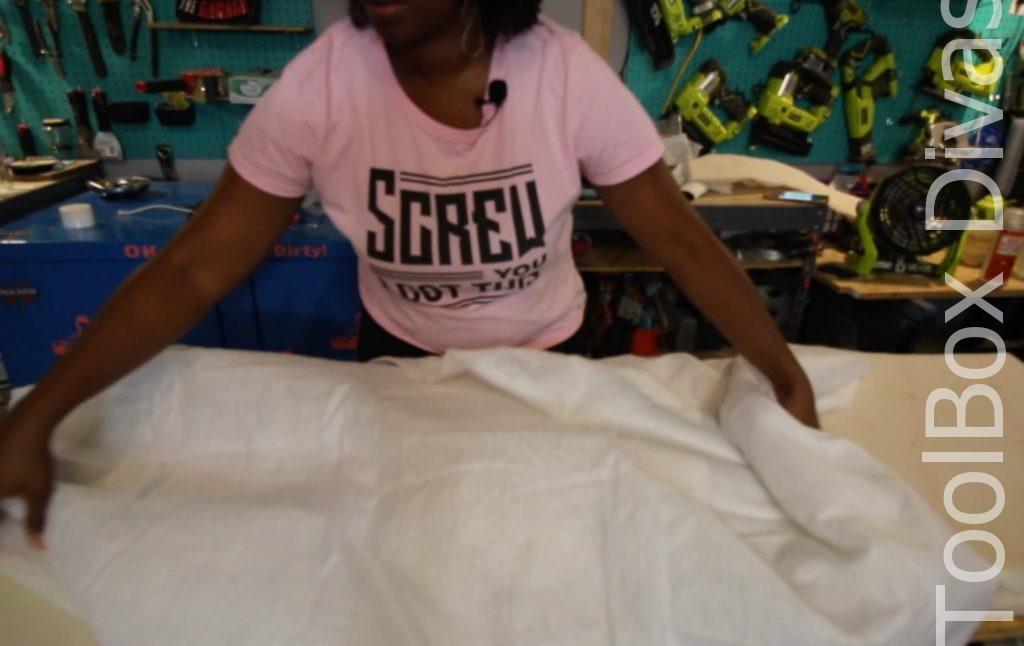
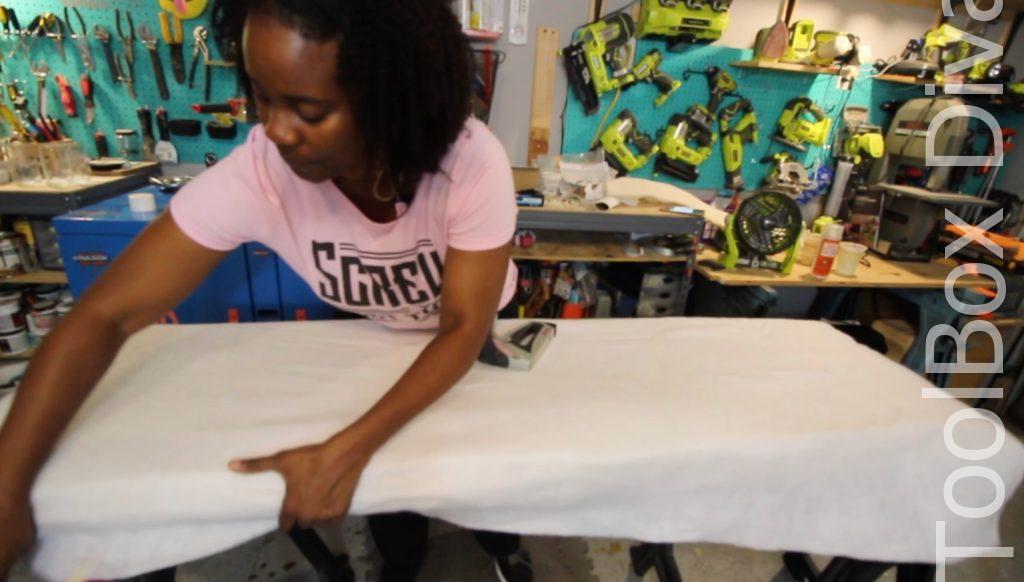
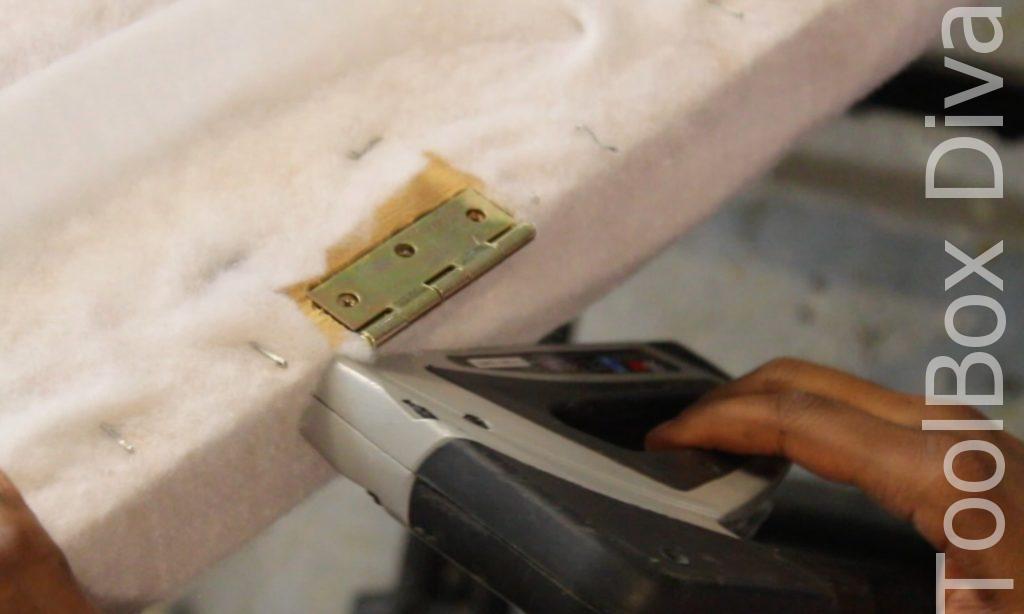
Staple the batting to the sides and the underside of the board.
Step 6: Trim the batting.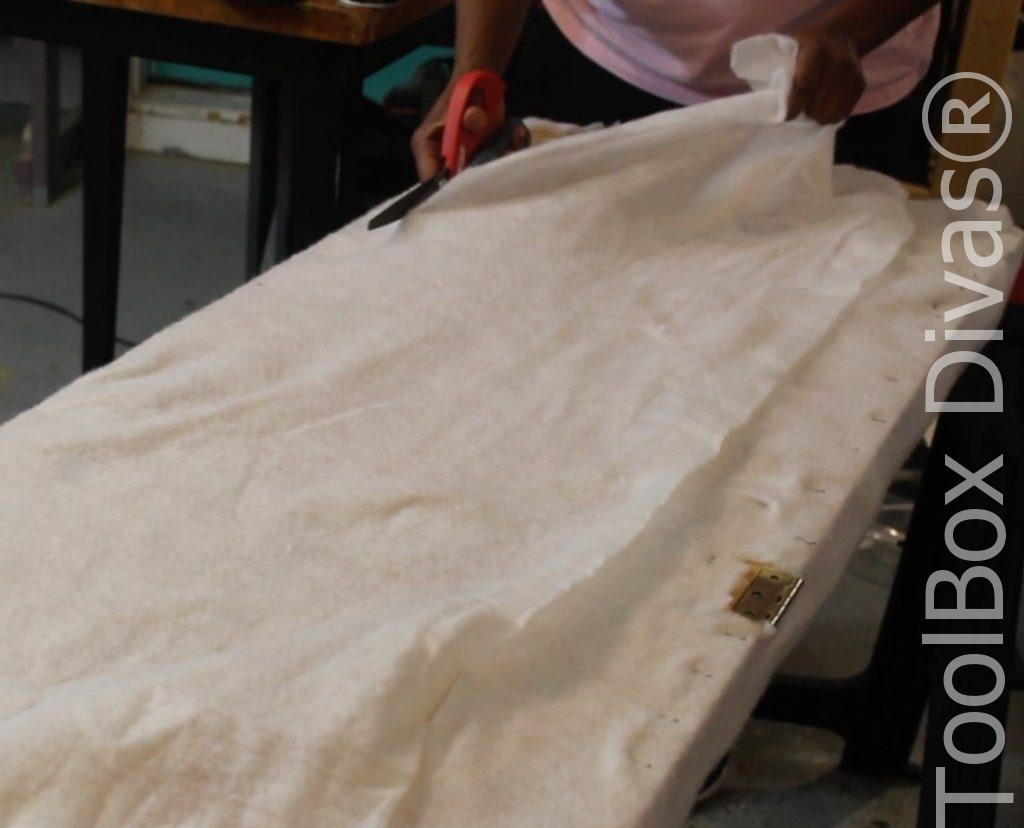
Trim the excess batting. Apply a little extra batting around the edges. This will reduce any sharp corners.
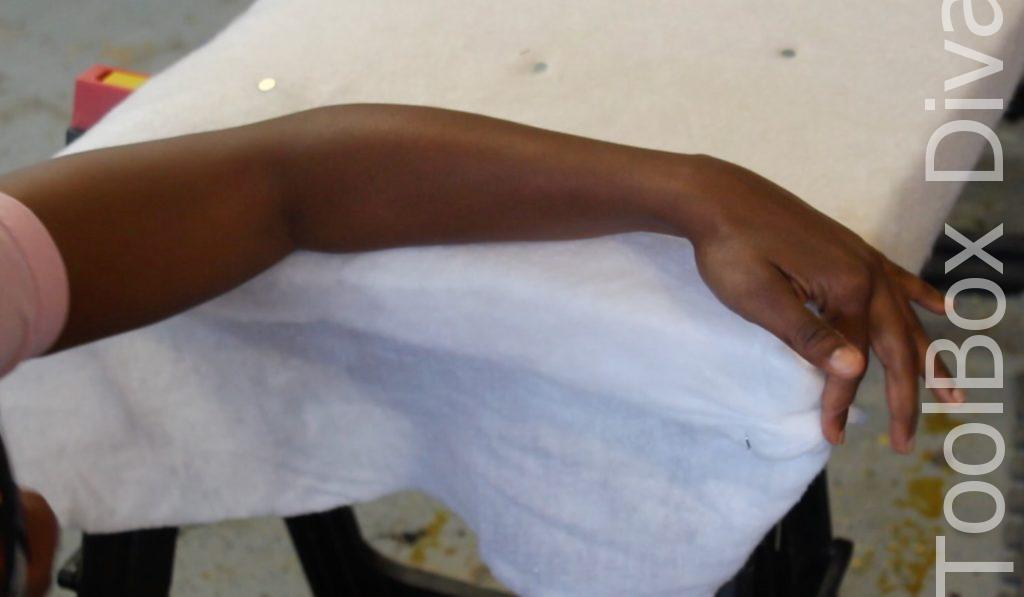 Step 7: Place indentations in the batting for button markers.
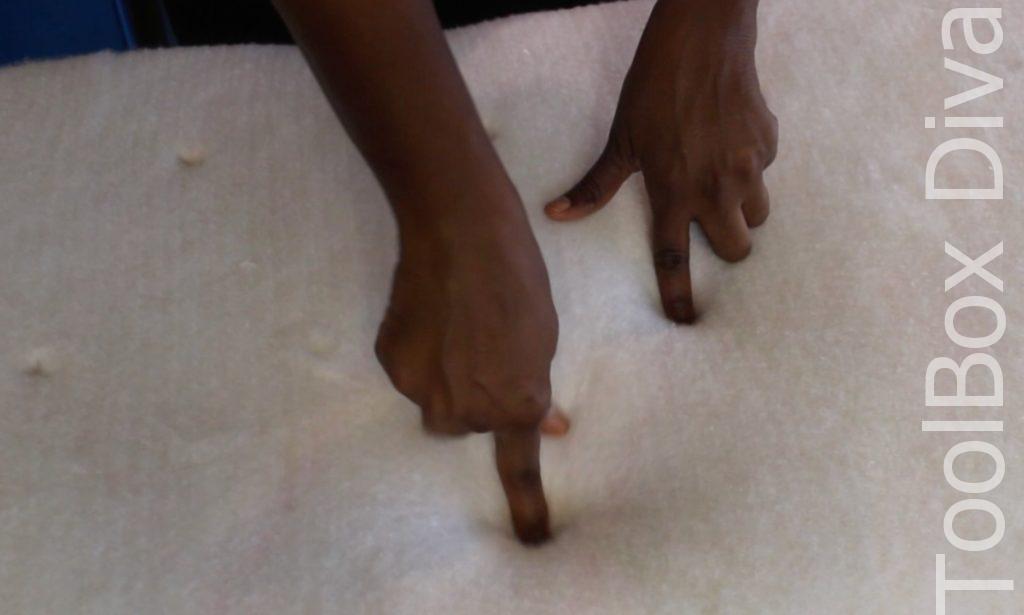
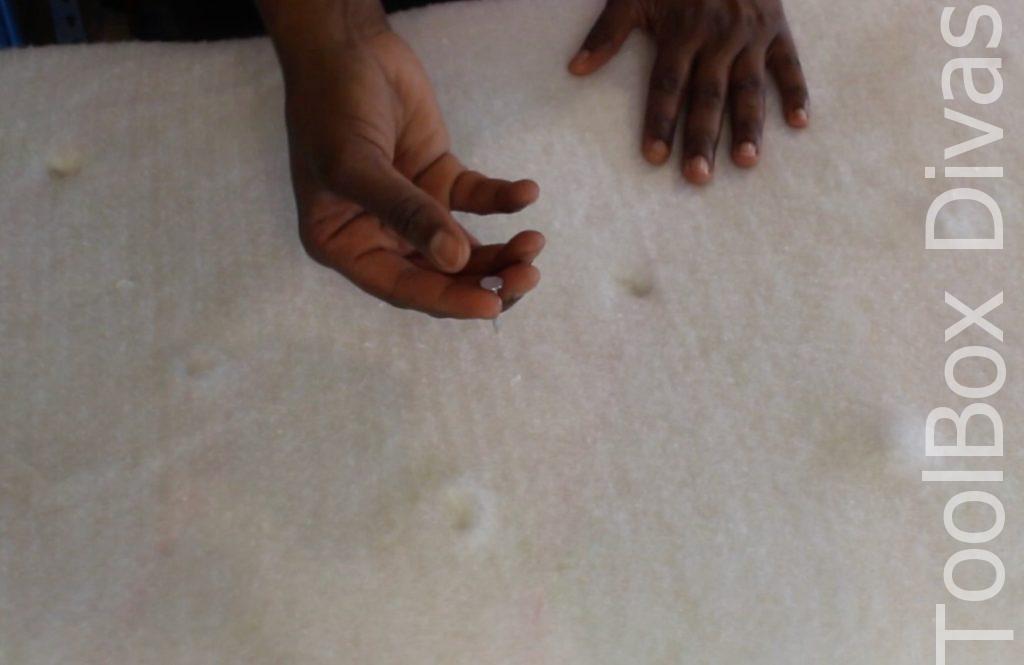
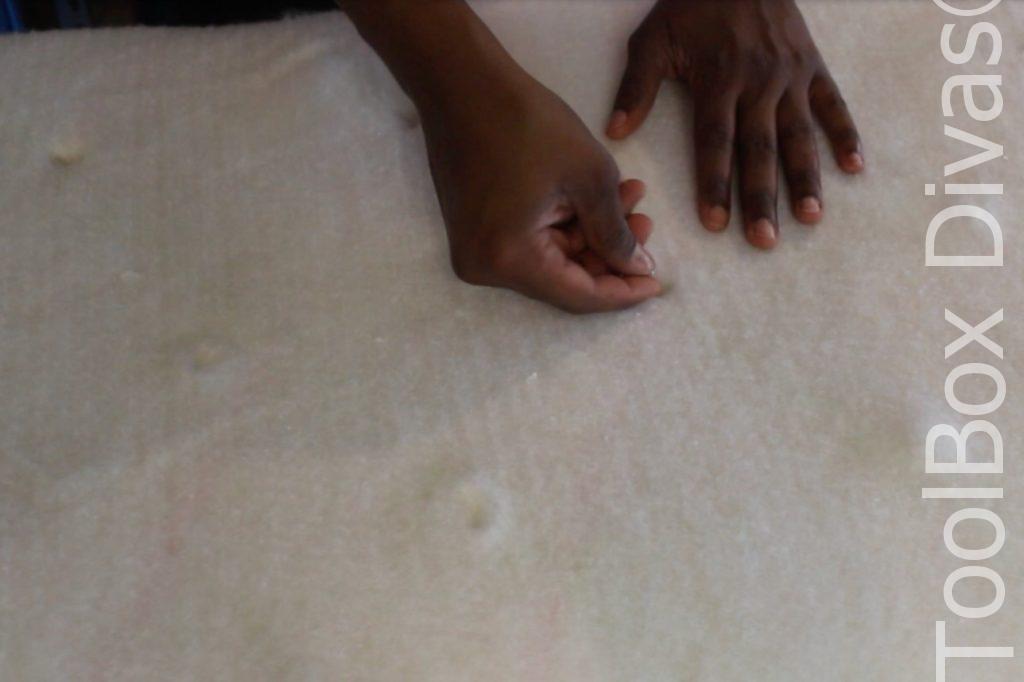
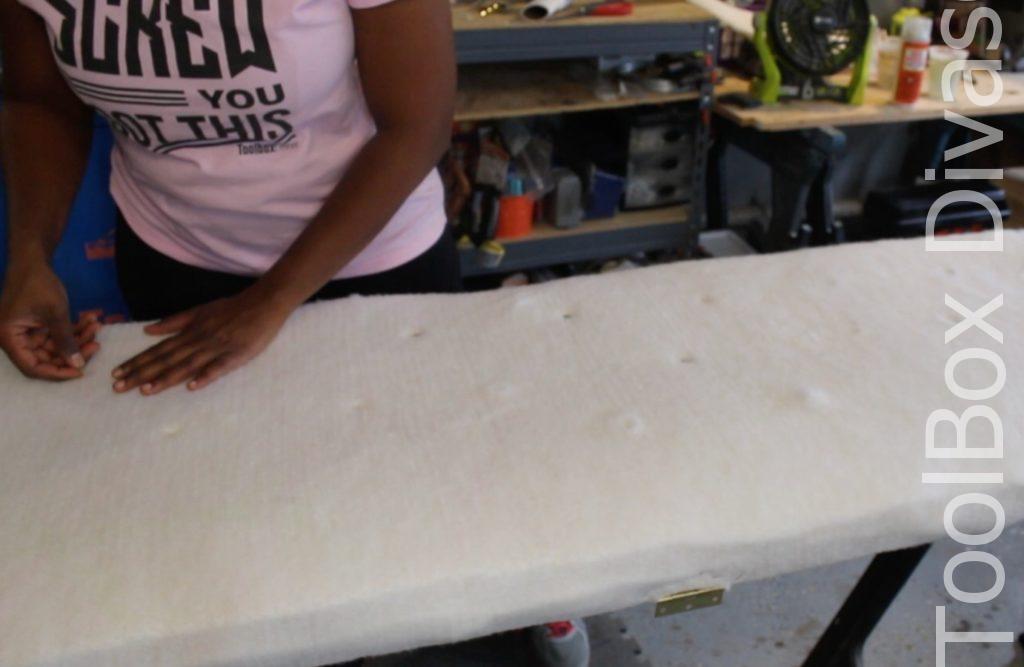
Using your finger place indentations into the batting where the holes are cut into the foam. Additionally, I added roofing nails to mark the indentations. With all the indentations in the batting, the impressions can become lost.
 Step 8: Lay out the Fabric.
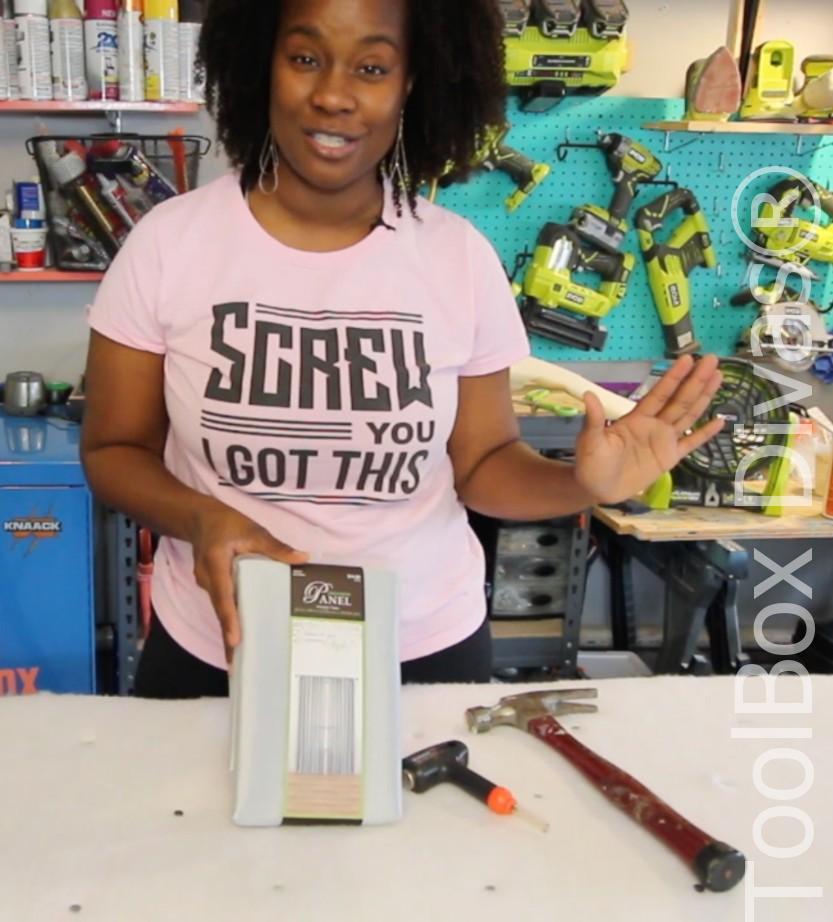
Upholstery fabric can be crazy expensive at $9-20 a yard and up. One way to cut down on the cost is to purchase some drapes. I found a one-panel curtain on clearance at Hobby Lobby for under $8. It’s funny because I saw the same style of fabric in the fabric section for $15 a yard. I would have probably needed 2-2.5 yards to do this bench. So when looking for fabric think outside of the box for cost saving solutions. 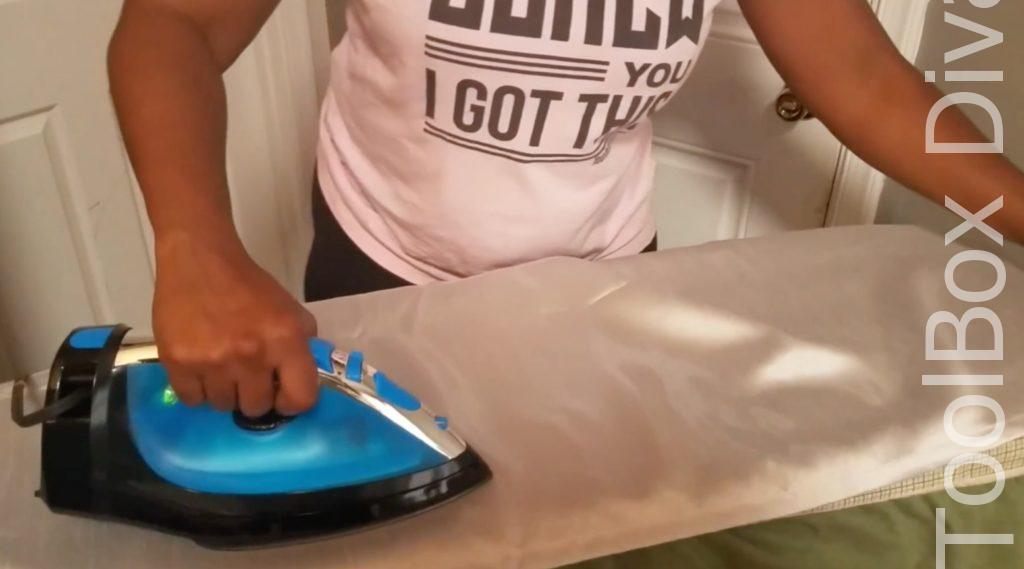
Before placing the fabric over the cushion be sure to iron it. You don’t want a wrinkled tufted bench or headboard.
Step 9: Nails and Washers
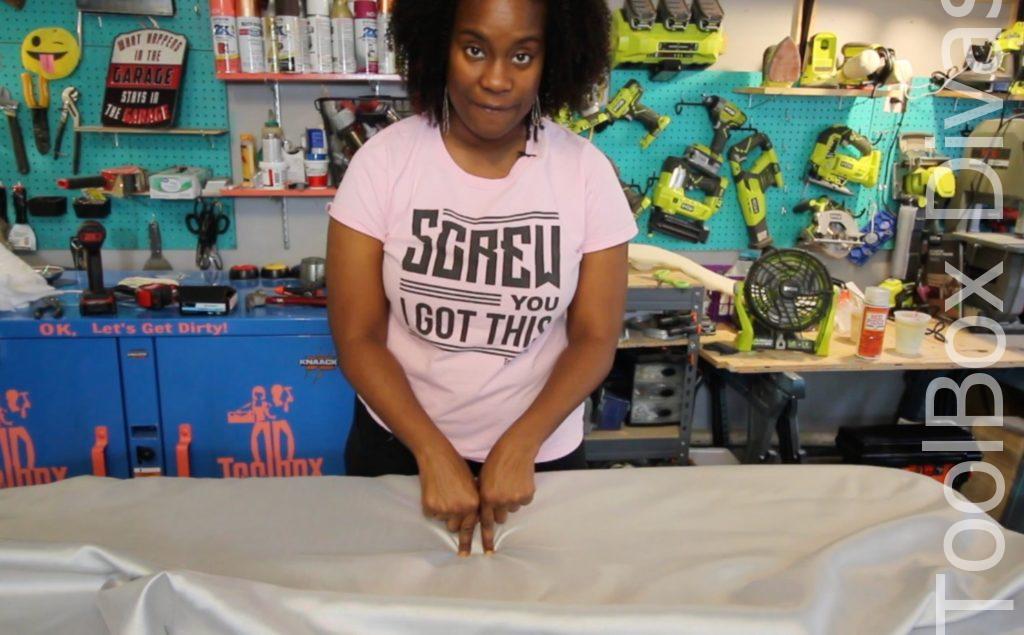
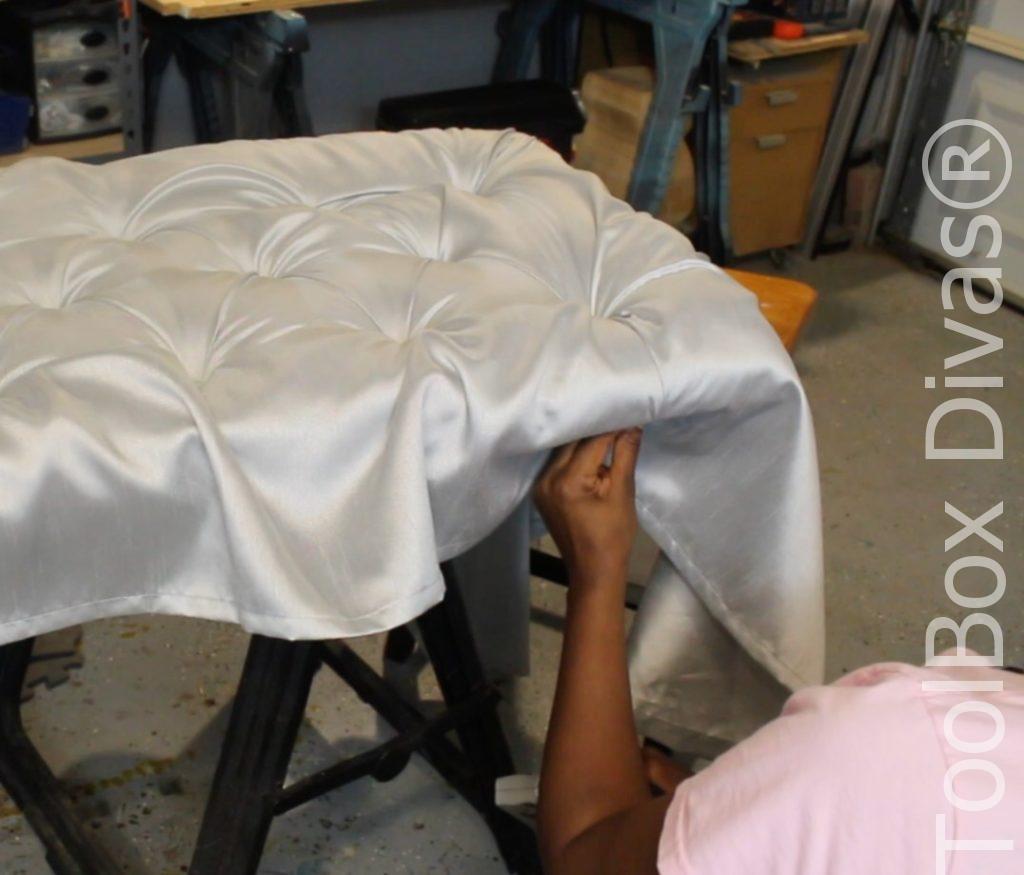
Start in the middle and center of the bench. Place the nail into the washer. Pierce the fabric with the nail and push it into the precut hole. Gently hammer the nail all the way down. 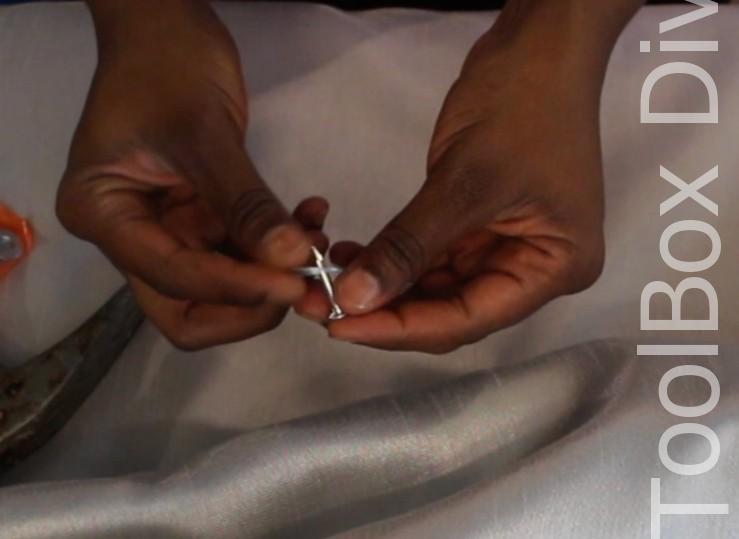
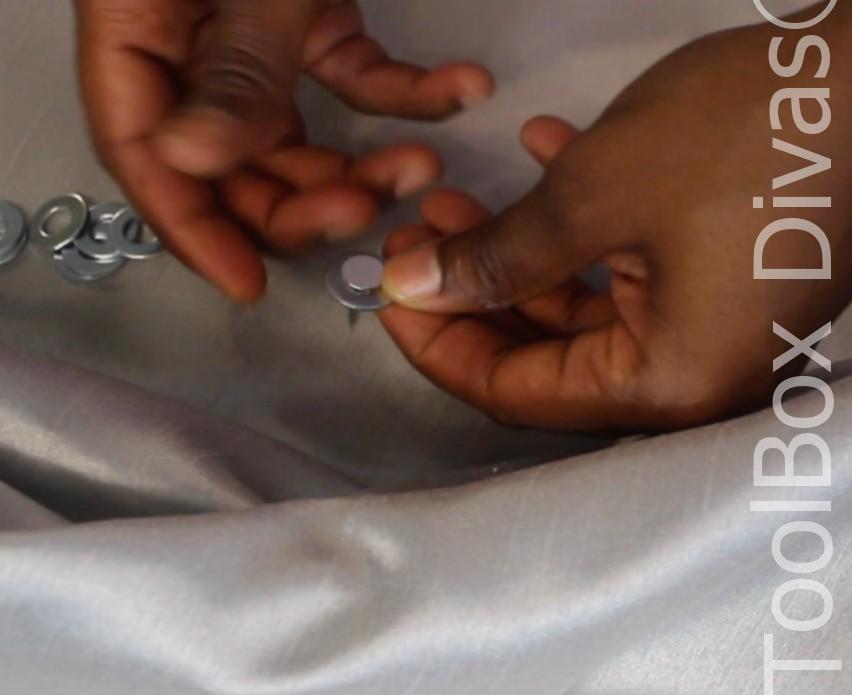
Be careful not to hammer your fingers.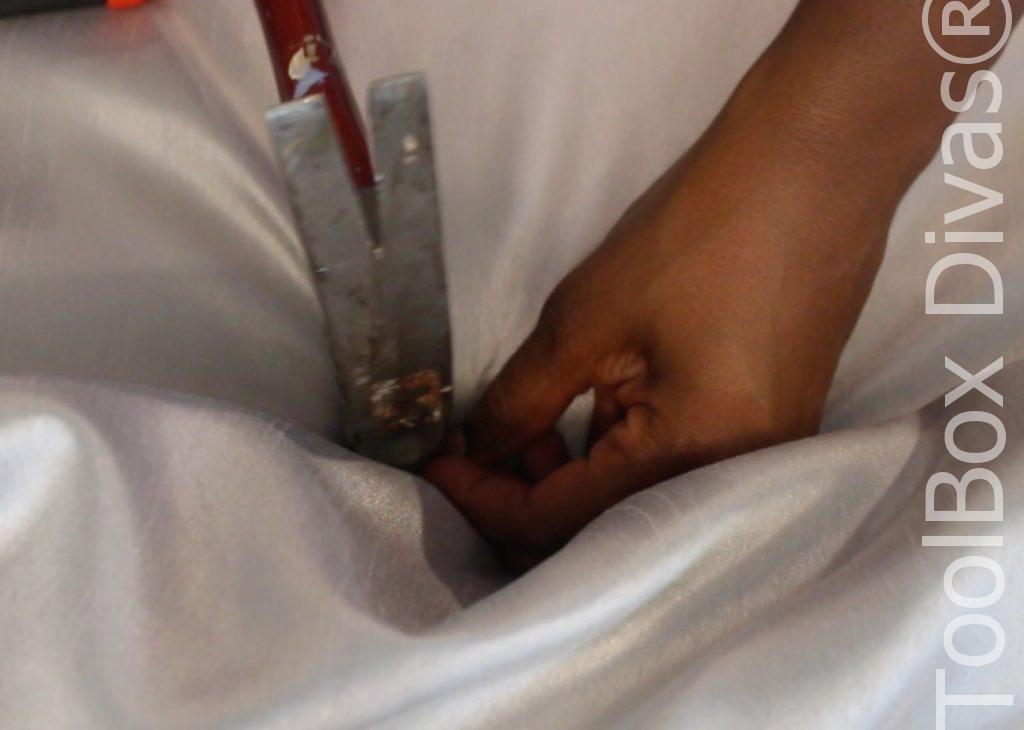 You will start to see the folding effect occuring.
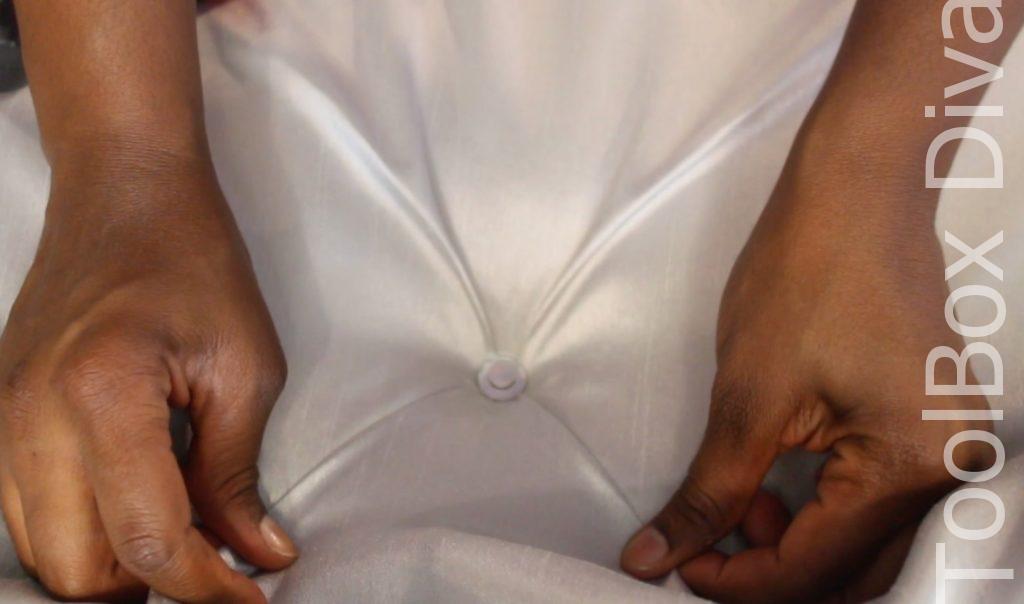 Complete the middle row before moving to the top and bottom.
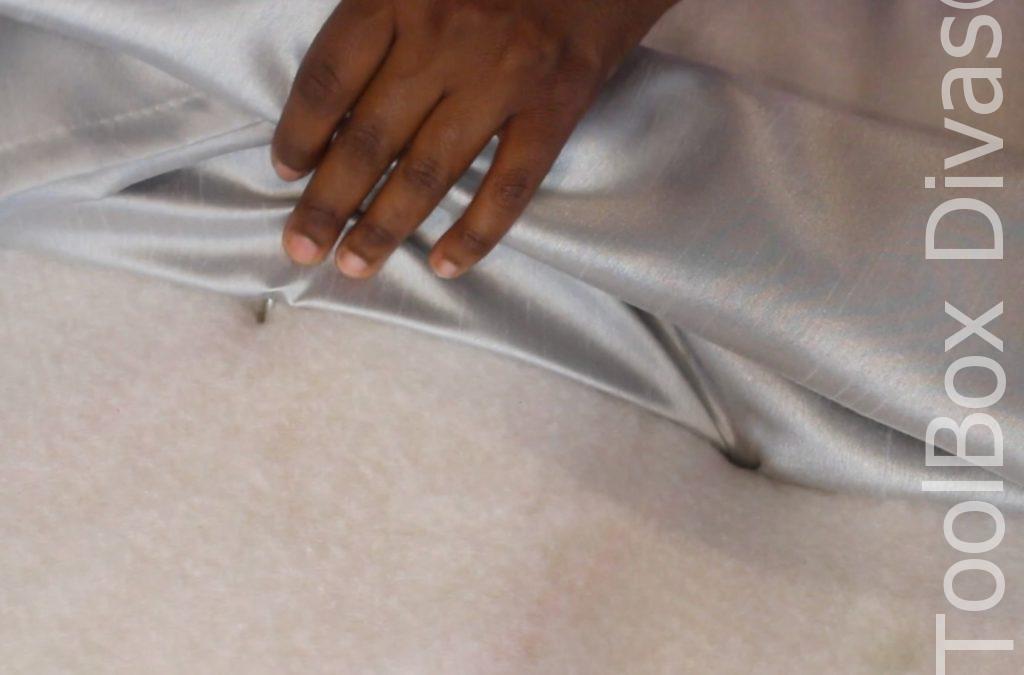
Fold the creases all in the same direction. Pinch the fabric tight and form a triangular shape folding under to form a crease. 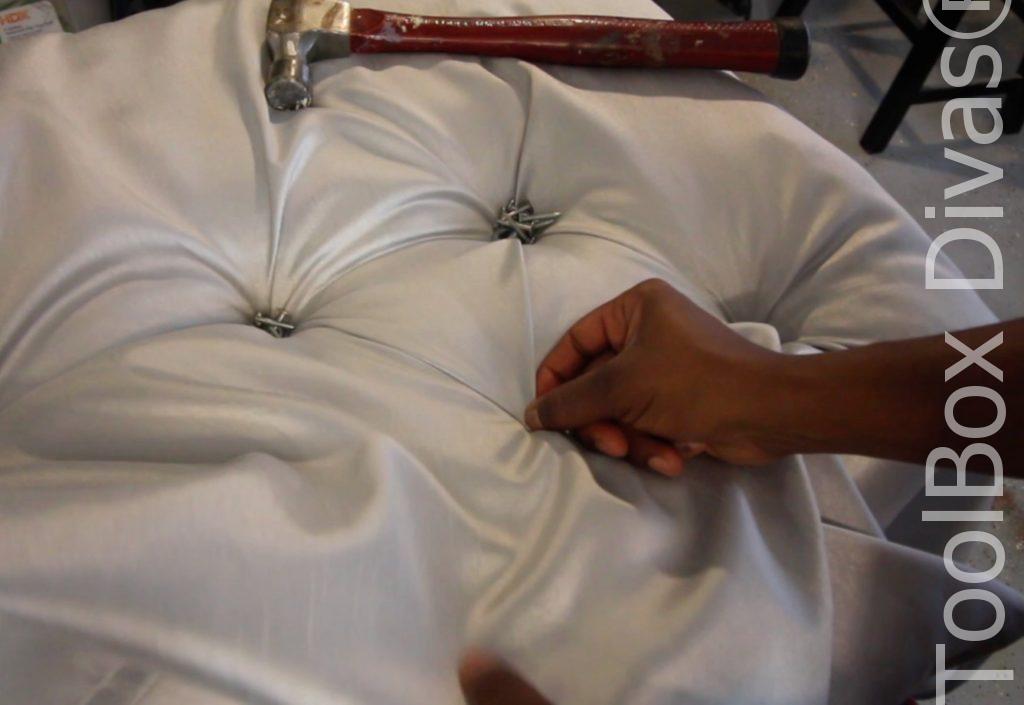
Step 10: Fold under the sides.
Fold under the sides all in the same direction and use a staple gun to hold the fabric in place. Make sure the fabric is pulled nice and tight. 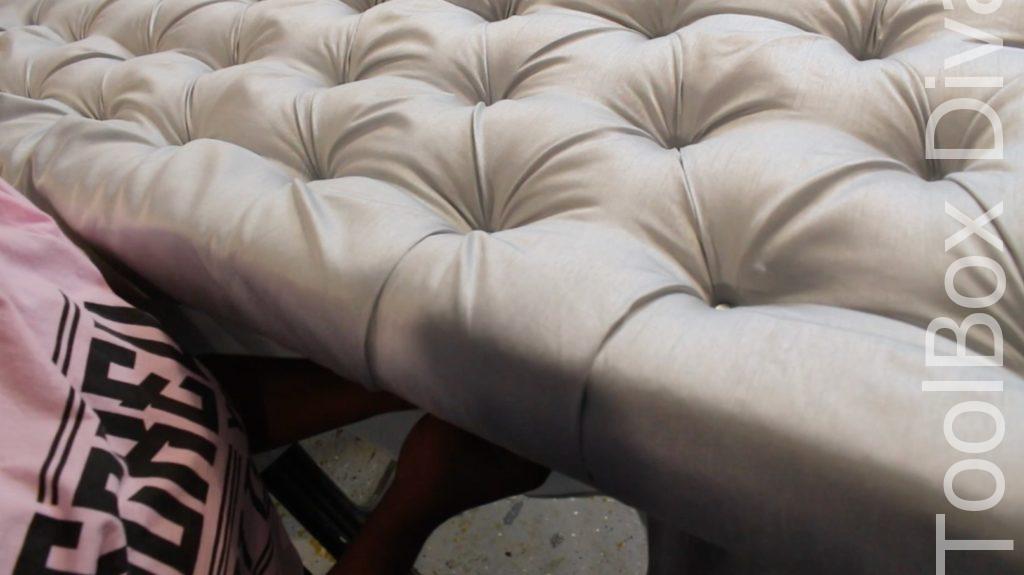
The two ends will be left smooth without any folded creases.
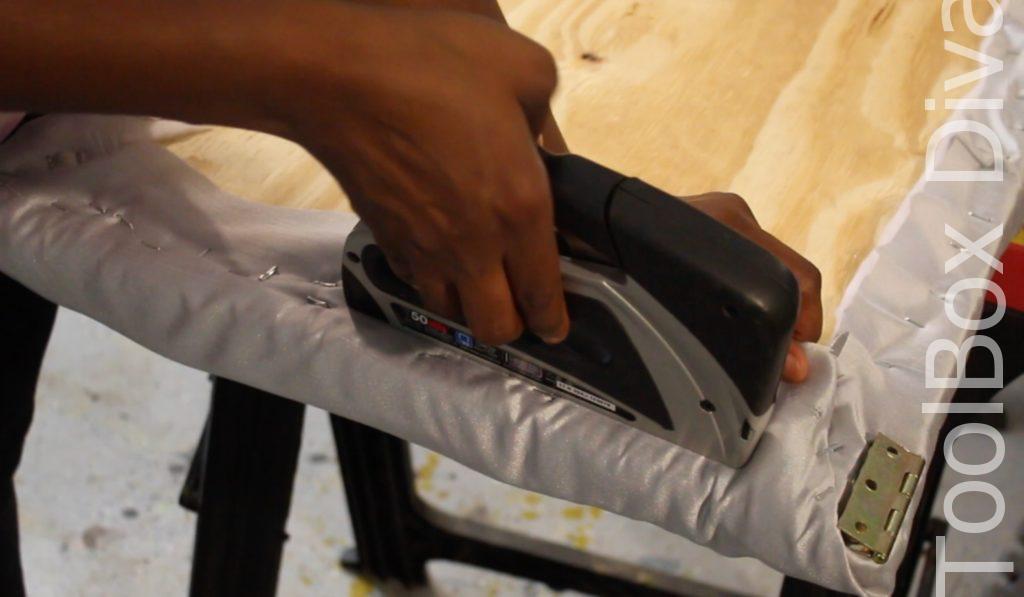
Step 11: Trim excess fabric.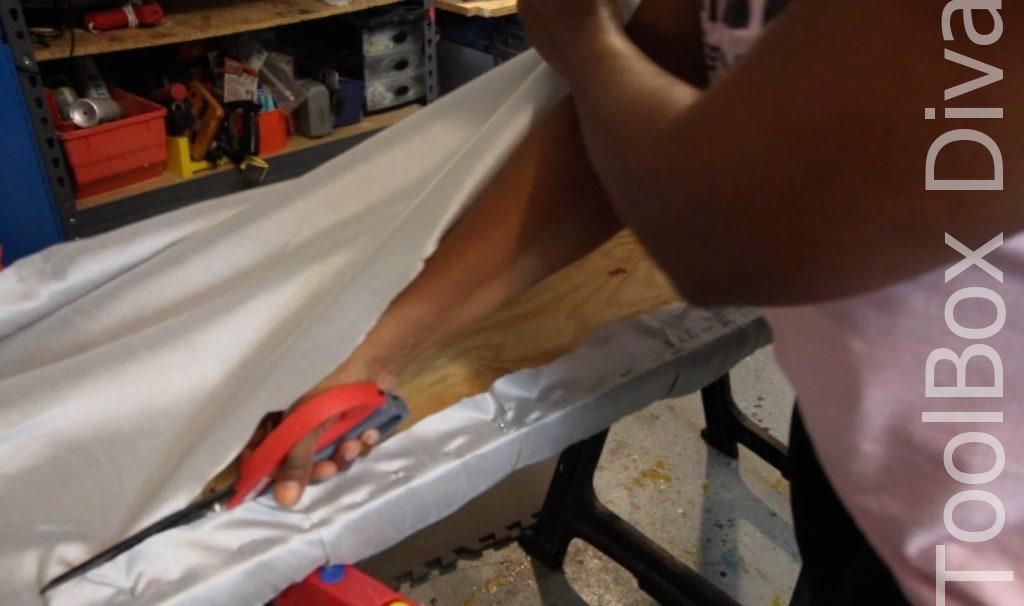
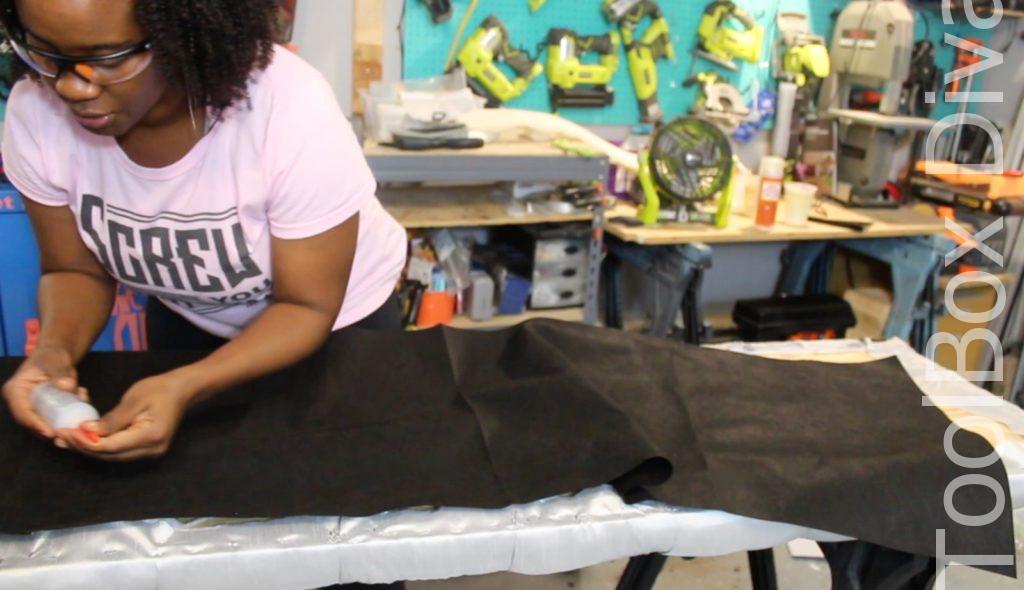
Step 12: Cover staples with fabric underlayment.
Using fabric glue cover the staples.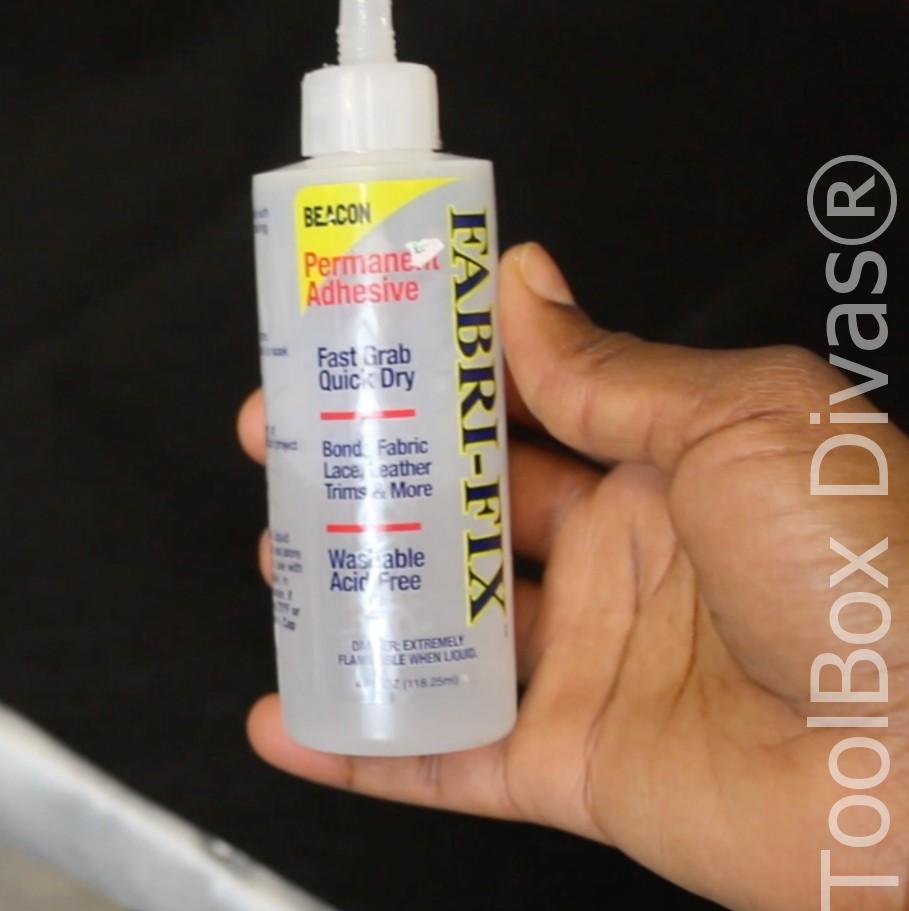
Step 13: Cover the buttons.
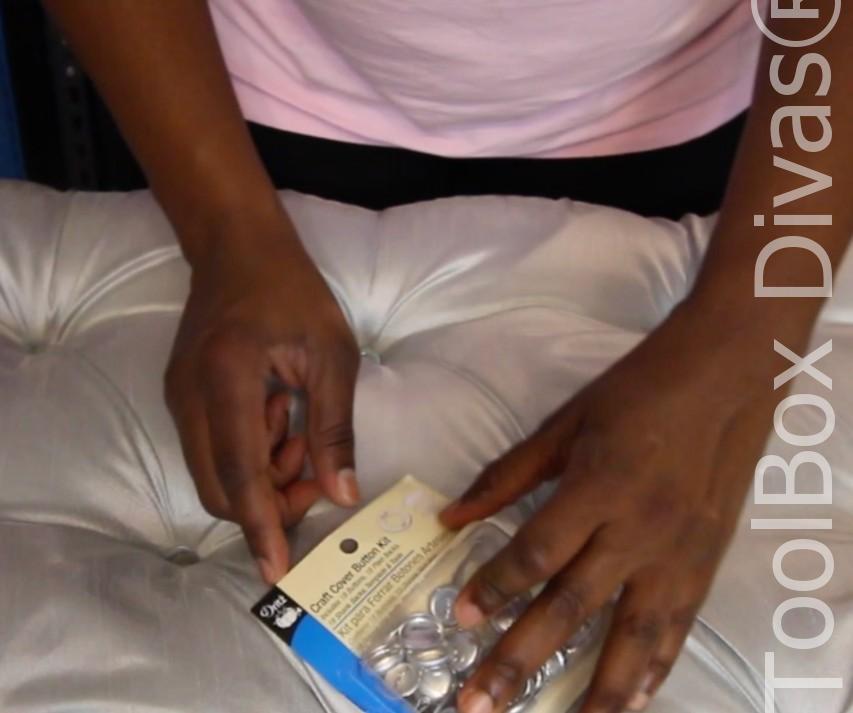
Using the craft cover button kit, follow the outlined instructions on the package and cover the buttons using excess fabric.
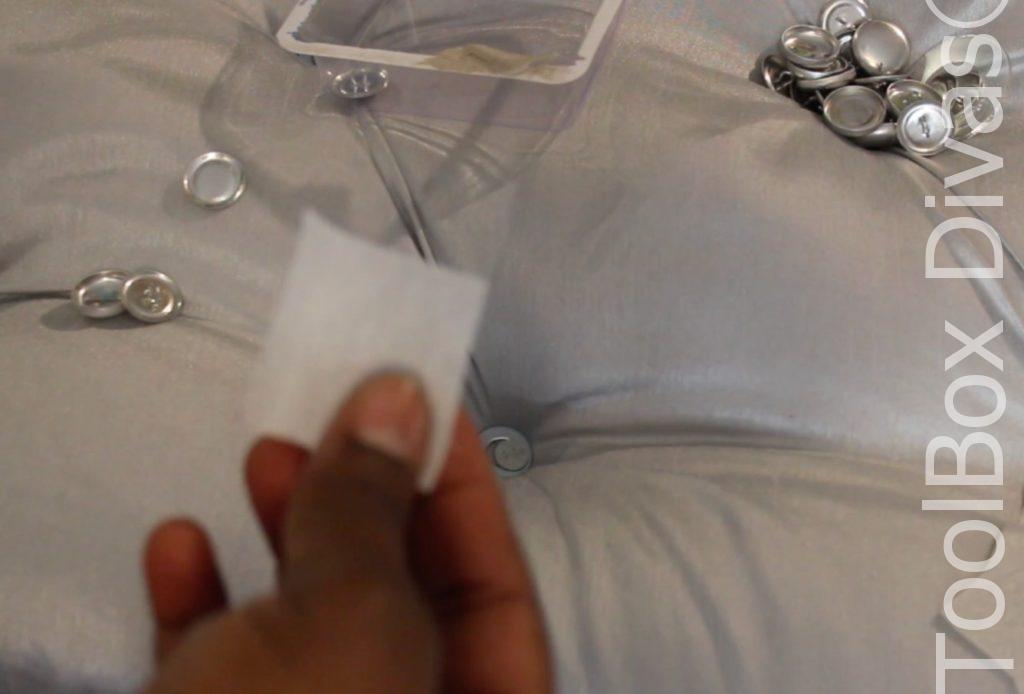
This is a super easy process. It just takes forever because it’s a lot of buttons that have to be covered. Take a small fabric square. Place it into the plastic button cavity.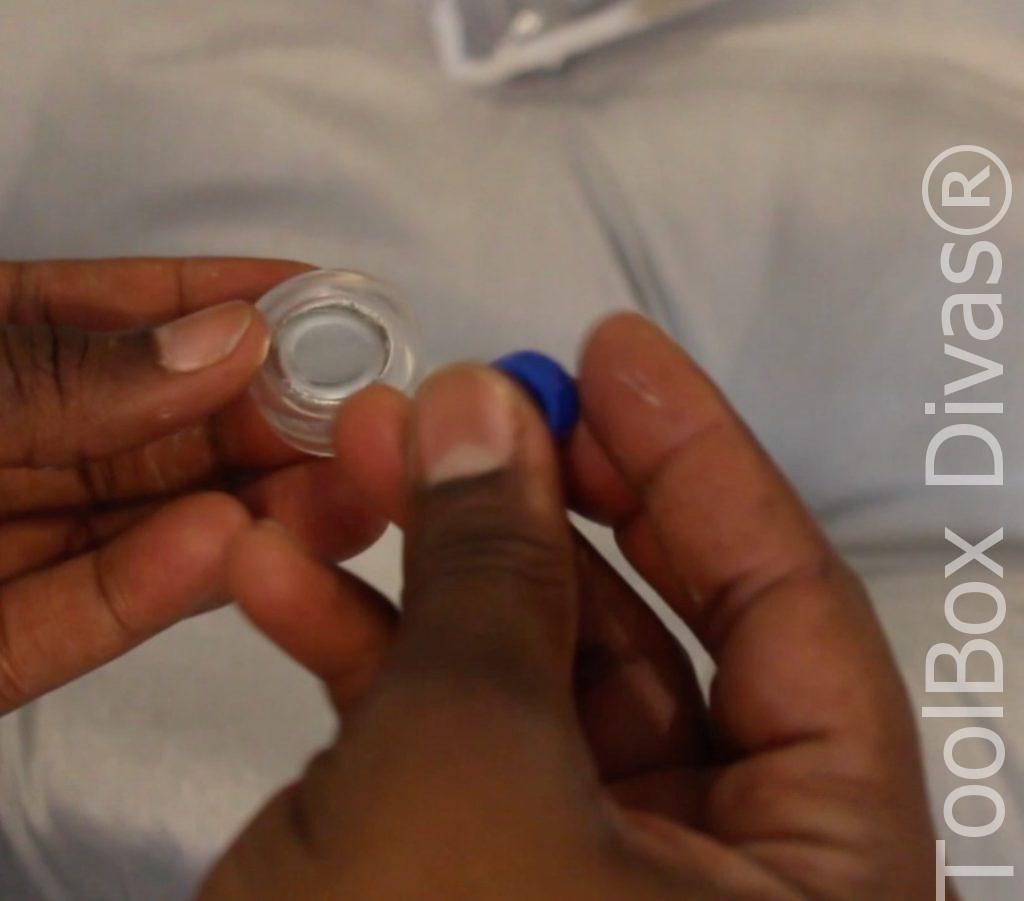
Using the plug press the button backing together. 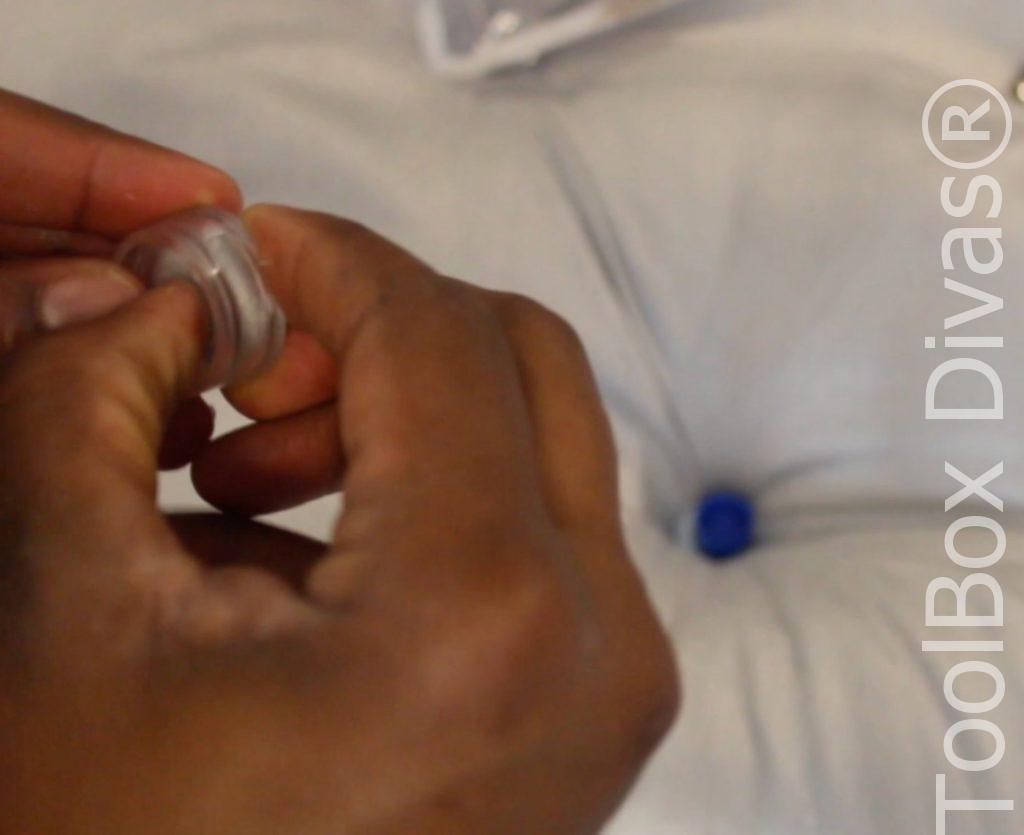
Pop it out and you have 1 covered button. 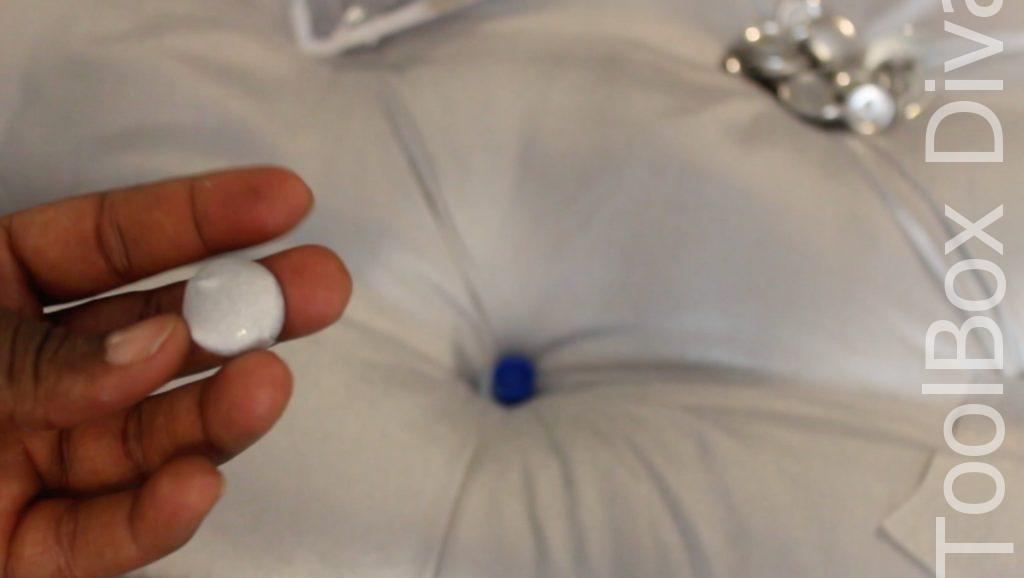
Step 14: Glue button to nail.
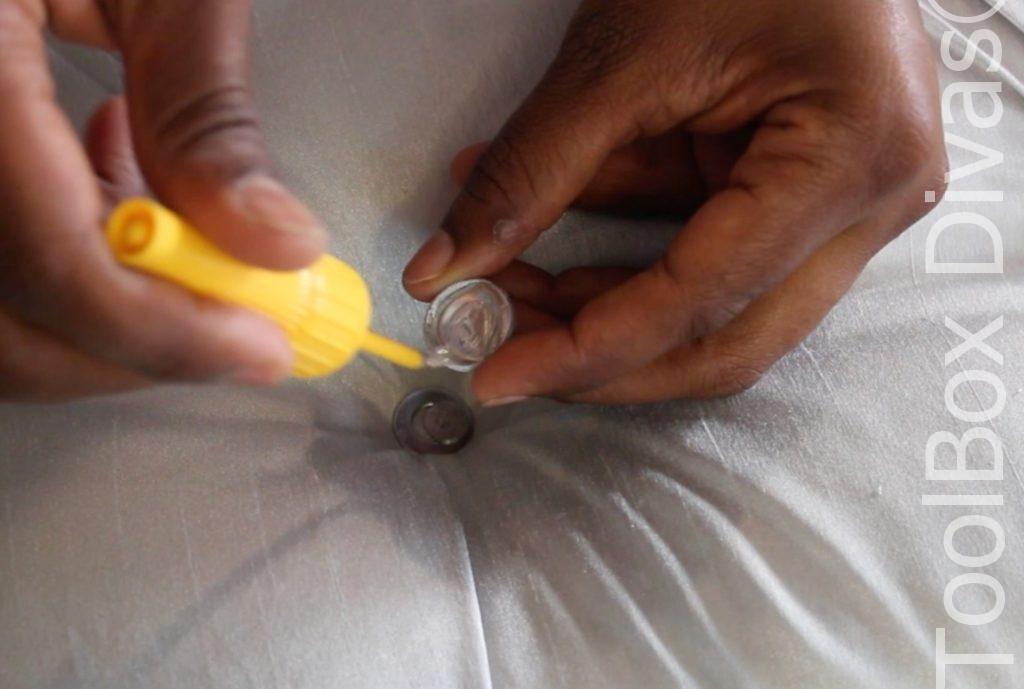
Using Gorilla glue, glue the button to the nail head. I recommend using a glue with a brush. 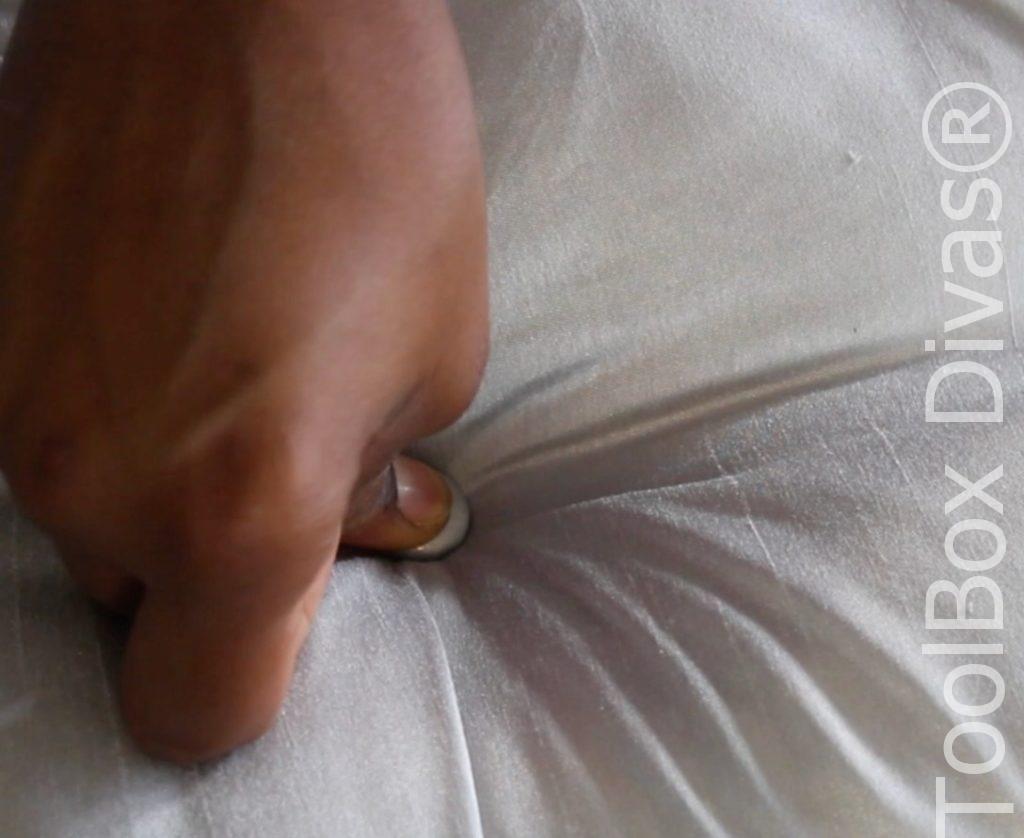
Step 15: Trim the edges.
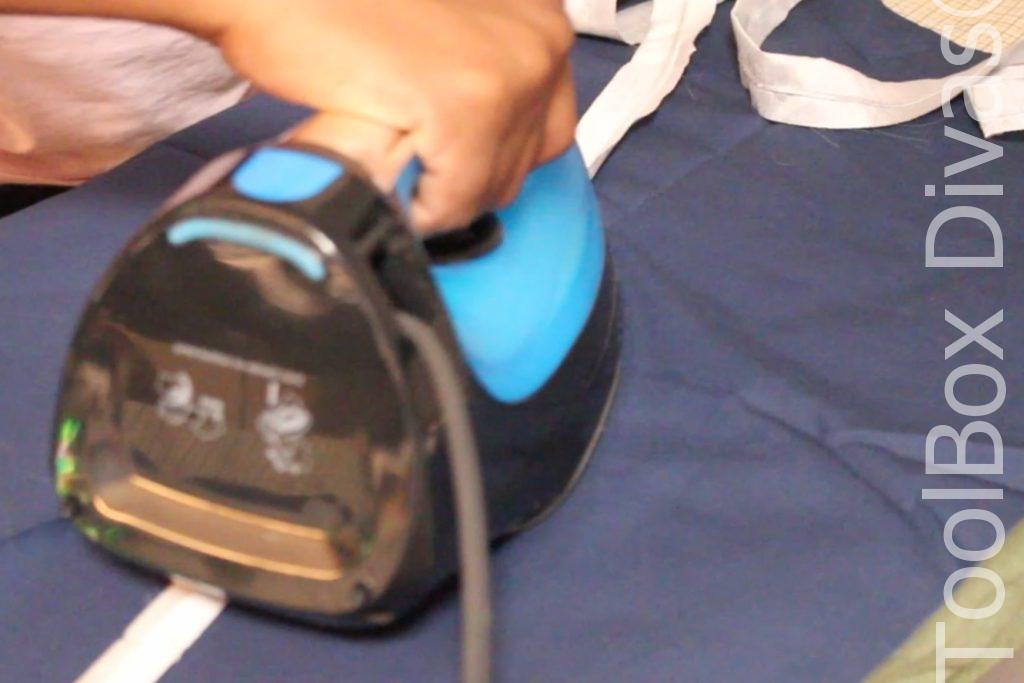
Now, Cut the hemline from the drapes and using the iron fold it so that it’s perfectly straight.
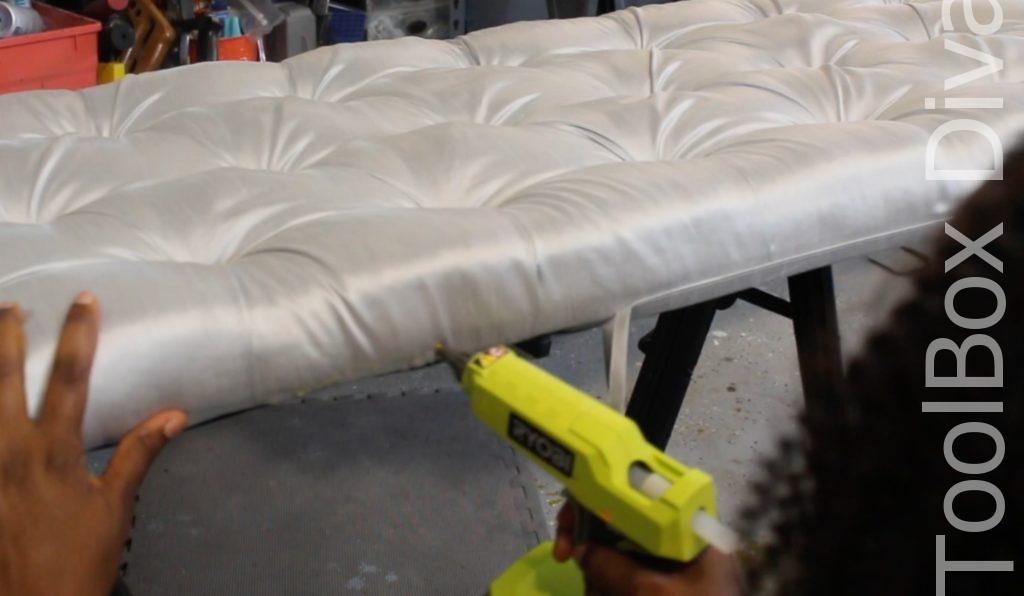
Now using the hot glue gun, glue it around the edges of the bench seat. This is a finishing touch that I think makes the bench. For a headboard you can trim with push nails. 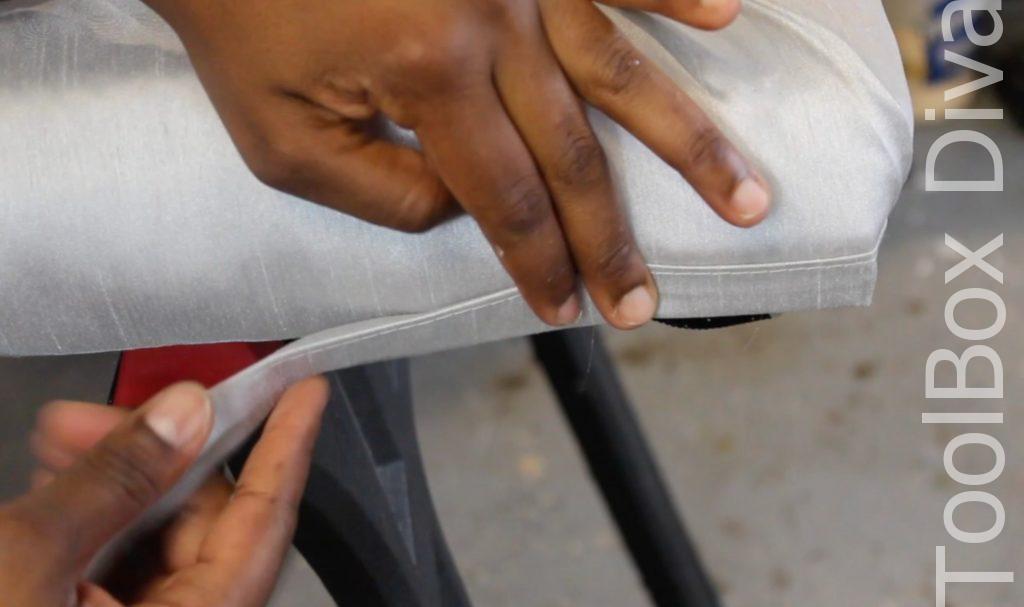

This is an amazing tutorial! I will have the buttons covered with textile before fixing it! Great idea!
Wow, thank you so much! I’m really glad you found this tutorial of value. Really appreciate it!
Gorgeous bench top, wonderful tute! So glad I found this – now I can go ahead and buy the bench I wanted & make it comfy!
Thank you so much Barbara! I so glad I was able to provide some inspiration.
Holy Moly one of the best tutorials I’ve ever seen on the whole wide web! I’ve looked over DIYs for a decade now, so I’m quite impressed! It was so easy to read this page, which made it an extra plus because many others are a headache to scroll through. You’re amazing!
Oh wow Jennifer! You just made my day. Thank you so much! 😊I’m so glad you found the tutorial helpful and easy to follow. Please let me know if you have any questions.
Can you do this to an existing bench ? I would like to recover. Do I have to strip the old fabric off? What is the most quick and easy effective way to recover a bench? Thanks so much! Loved the tutorial.
I dont see why not. But yes I would remove the old fabric. This is pretty fast
Absolutely stunning tufted bench!! Also directions are make precisely for each step of this tutorial!! Thank you the no sew option because sewing isn’t my craft by choice!
Thank you so much, Jennifer! I always feel like so many tutorials leave out the details. My goal is to get to each point and make it as simple as possible to follow. So thank you so much! I appreciate it.
Beautiful bench and a wonderful easy to follow tutorial. Kudos on your ingenuity!
Thank you so much Karen! I am so glad you found it helpful. I hate sewing so I had to find another way. 🙂
Gorgeous! its really professional looking as well as very glam. I love, love, love your work shop!!!! YOU are the tool lady!
Heyy Mary! Thank you so much! You are the absolute best! I will tell you I surprised myself by the way it turned out. Hahaha! Thank you 😉
Beautiful and a job well done. Very professional with your instructions. I’m thinking, will the roofing nails not pull out? Do you use something to fasten the nails to the back?
Thank you so much! No the nails won’t pull out of the plywood base. Once it’s in its in. Hahaha
Thank you Juju! No the roofing nails won’t go anywhere once firmly nailed in place.
this was not only informative, but you are fun to watch and do not waste time, just talking. I appreciate, not being talk down to.
Thank you so much! I really appreciate it.
What a beautiful bench. People will not understand the work you put in to do this but I tell is so much work and you’ve really done a great job.
I got inspired by your great work and I decided to make a tufted bench too, which I recently made and I would like you to see it and tell me what you think?
Here is a link: https://sassymirrorbyhilda.com/2019/03/01/tufting-hack-how-to-make-a-solid-buttoned-tufted-bench-that-will-last-long/
Holy S#!T! You are a genius! Incredible! Thank you so much!
Hahaha thank you 🤗
Thank you Jennifer for Great easy step by step tutorial one of the best I have seen
Well explained and good photos. Well done xx
I think you are AMAZING! I am a DIY person myself, this project took DIY to another level! Well done and your personality is precious♥️
Thank you so much Darcie! I really appreciate your saying that and taking the time out to view my tutorial.
Hi Jennifer
It’s been a year plus since you posted this swesome tutorial, and I’m so happy to have found it.
Not only are you a creative crafter, but a gifted teacher, really!!! I’ve seen other tutorials on the the “how to tuft” that were not nearly as clear in description, but your addition of excellent photos are invaluable!!! I write for all those crafters with ADD who struggle following instructions. You’ve given me the support needed to take the challenge to make a tufted headboard I’ve longed for. Please know how appreciated you are!!! Many thanks, Marcia J.
Cape Cod, MA
Wow! Thank you so much!!! I actually never know how someone would relate to one of my tutorials and sometimes I wonder if I’m providing enough detail. Thank you so much. I’m a visual person so I always think I need to provide enough instructions where I could follow myself. Thank you and I appreciate your support!
Absolutely stunning!
Thank you! It’s one of my favorite pieces.
Fantastic!! Thank you for such a great step by step!! It truely is a beautiful classy looking piece!!
Thank you so much!
Verrrry nice! I would have thought some sewing was involved. I want to put a cushioned top on a cedar blanket chest I have all the materials but lacked confidence. You’ve inspired me. Thank you.
Thank you and Go for it!!
If there is such a thing as a PERFECT tutorial, this is it!!! Thank you so much. I didn’t even have a plan to do this sort of thing buy my mind is racing now 🙂 Thank you for sharing!! I’m signing up to follow you!
Thank you so much, Linda!! I really do appreciate your support and am so glad you found the tutorial helpful.
BRILLIANT! Your finished product is beautiful…………AND……………you gave us clear instructions and detailed photographs for us to follow. I only wish that others, who are posting their projects can learn the communication skills from you. Thank you for posting.
AWWW thank you so much Rena! I really appreciate you saying that. Thank you!
You are a beautiful, independent, creative woman! Thank you for posting such an easy to follow tutorial on such a classic, elegant design. I am looking forward to reading more inspirational ideas from your site!
Aww thank you so much Melissa! You’re so sweet. I really appreciate your support!
I don’t think the washer link is correct. The link goes to very large 1.5 inch washers, which is not what’s shown in the video. Looks like I’m making a second trip to Home Depot… 🙁
I’m sorry! I made a change on the washer in the written post. I found a washer with a smaller center hole worked better.
Definitely the best diy tufting tutorial I have seen and I’ve been doing my research! I think I will be tackling my diy headboard this weekend.
Awww thank you so much!! I really appreciate your saying that.
Work smarter not harder!!! Now I’m ready to reupholster and tuft!
Exactly! Awesome!
Mattress topper- WHAT?!?!! That’s brilliant
Hahaha thank you!
Thank you, thank you, thank you, thank you, thank you!!!! You and you’re talent are amazing!!!!
Thank you so much for sharing. I love this !
Finally! Another chick who isn’t afraid of a power tool! Yay, Us!!
I’m so proud o see women who have learned that they don’t need to be blushing and weak to create beauty, and and even bigger fan of ladies, like you, who share the wealth so freely!
I’m an artist/industrial salvage rat and I do everything from watercolor painting and gift paper to welding giant components together to make funky are art, so I am diggin’ the Diva vibe! I’m nearly 60, but as long as I can move I can MAKE! I spent a lot of years thinking iI had to have help with the stuff I wanted to use, only to find out that was the furthest thing from the truth. Add to that, what’s hotter than a smart woman making cool stuff? Hah! Nuthin’!
Latest project? Cast 6″ concrete balls for small fish and stuff (craw dads, etc., lol) that stack with pots for water flowers and each other to make fishy little apartment for my koi oond ( which was apron the 2ears ago.). I love concrete work only slightly less than torches, so I look forward to seeing a and reading all of your blog!
I ended up here looking for a cheap, pretty way to both dress up and repurpose some tired rattan furniture for a yard sale, and I gotta say, you had me at, “ToolBox Diva!”
Thanks again!
Mwah!
CC~