Before and After: My Budget Kitchen Remodel
I’m going to show you my DIY kitchen remodel before and after that can be done on a budget.
*This post is sponsored by The Home Depot and contains affiliate links and I will be compensated if you make a purchase after clicking on my links.
So while home on maternity leave, I started the plan to renovate my kitchen. I will provide more details on the layout and cabinet selection later. But I will tell you my budget was VERY lean. My kitchen cabinets were literally falling apart. I had to totally gut my kitchen and rebuild it for under $5000-$6000 max. This meant I had to get creative, very creative.
Before
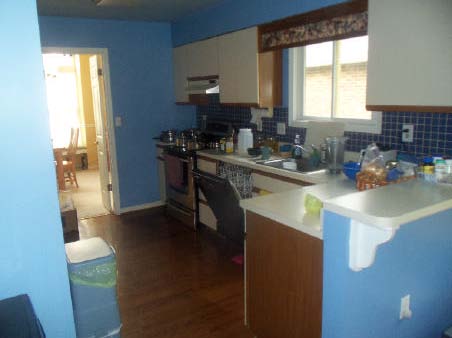
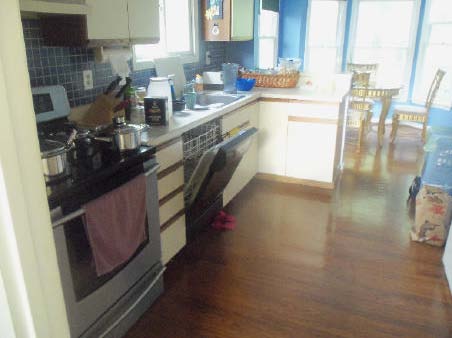
I bought my house a little over 8 years ago with the intention of one day totally renovating my kitchen. It was beyond dated. And the blue ceiling was disgusting!
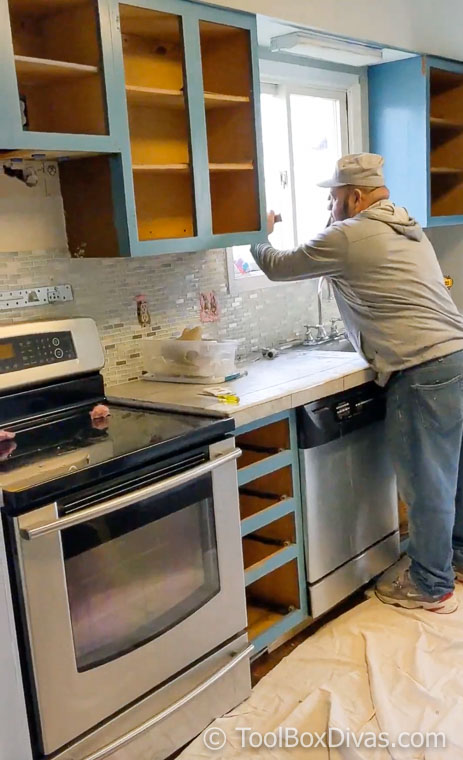
I updated it multiple times over the years by removing the ugly blue tile, painting the existing cabinets and I even tiled over the existing countertops. But there are so many times I could put a bandaid over something that is falling apart and lacked the usability I need.
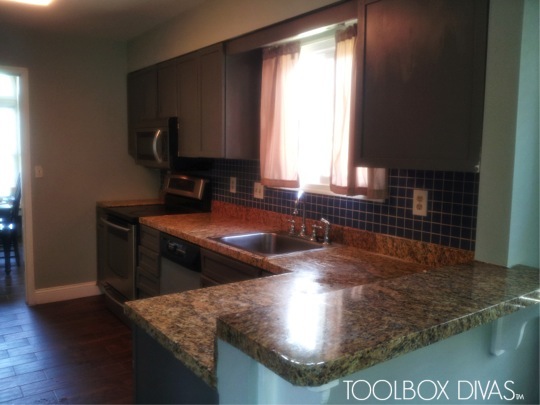
My 1st try at updating my kitchen ended in a big flop! 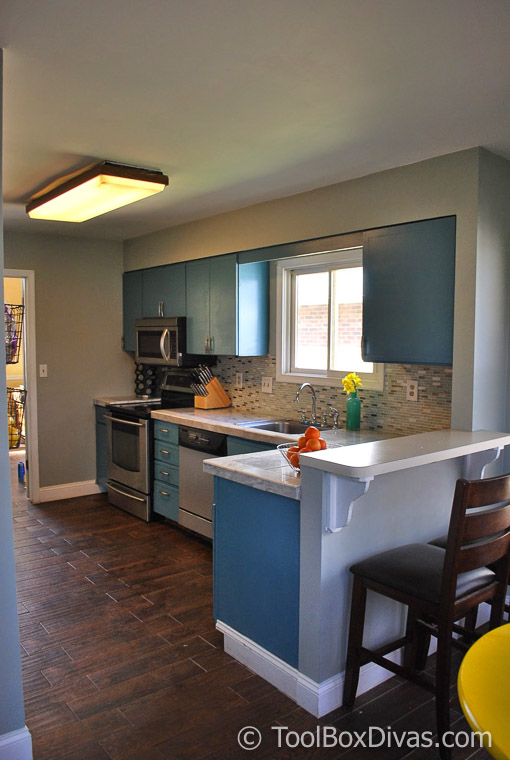
I updated the kitchen by changing the tile and painting the cabinets. I also tiled over the laminate countertops.
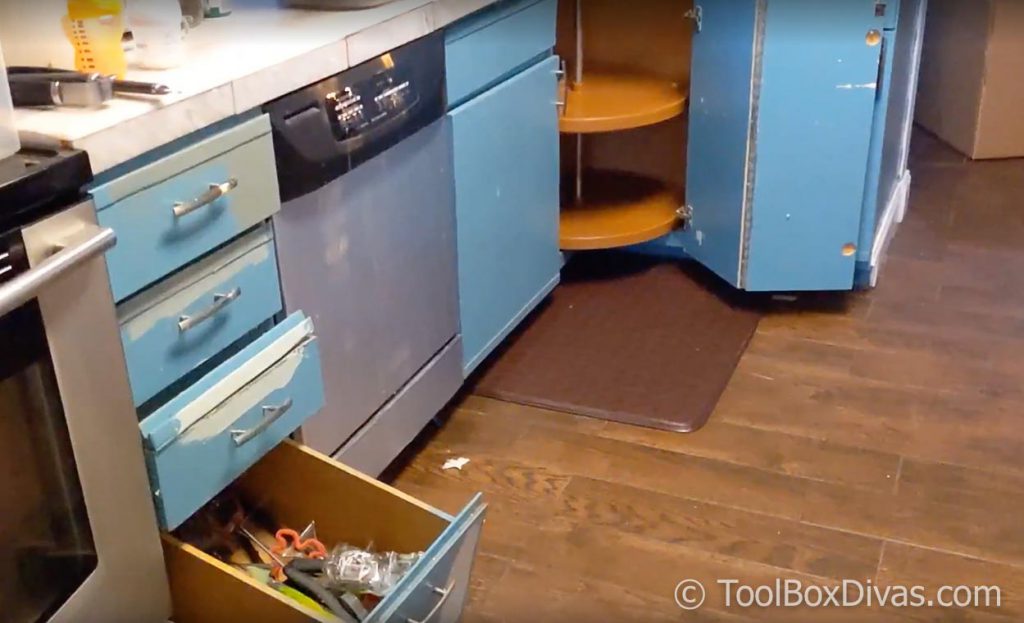
The kitchen cabinets layout and style didn’t work for me. I had no room for my huge tea collection (I have a tea obsession). And why did people put in soffits? I HATE soffits. I mean give me back my wall and ceiling space. I’d rather taller cabinets.
So I partnered with The Home Depot to show you how you can totally transform a kitchen on a small budget using in-stock cabinets and a fresh coat of paint. We took the kitchen down to the studs and transformed the space into something you’d see on Airbnb. Hahaha.
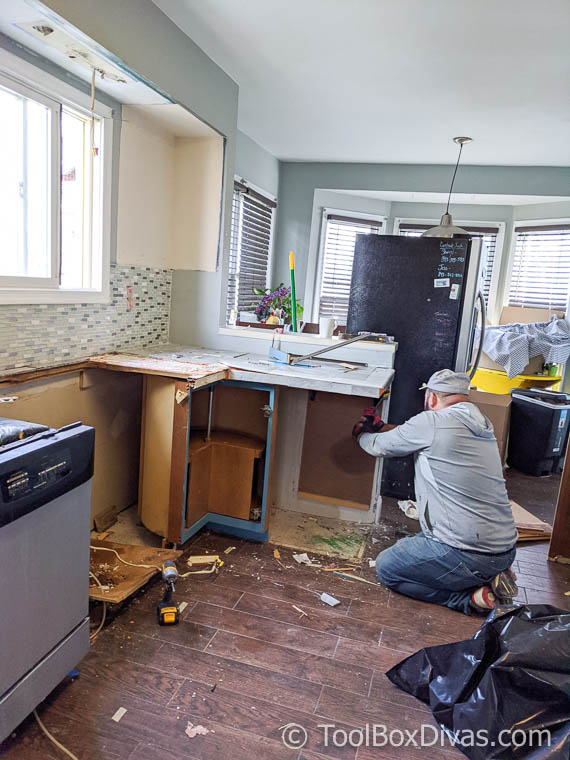
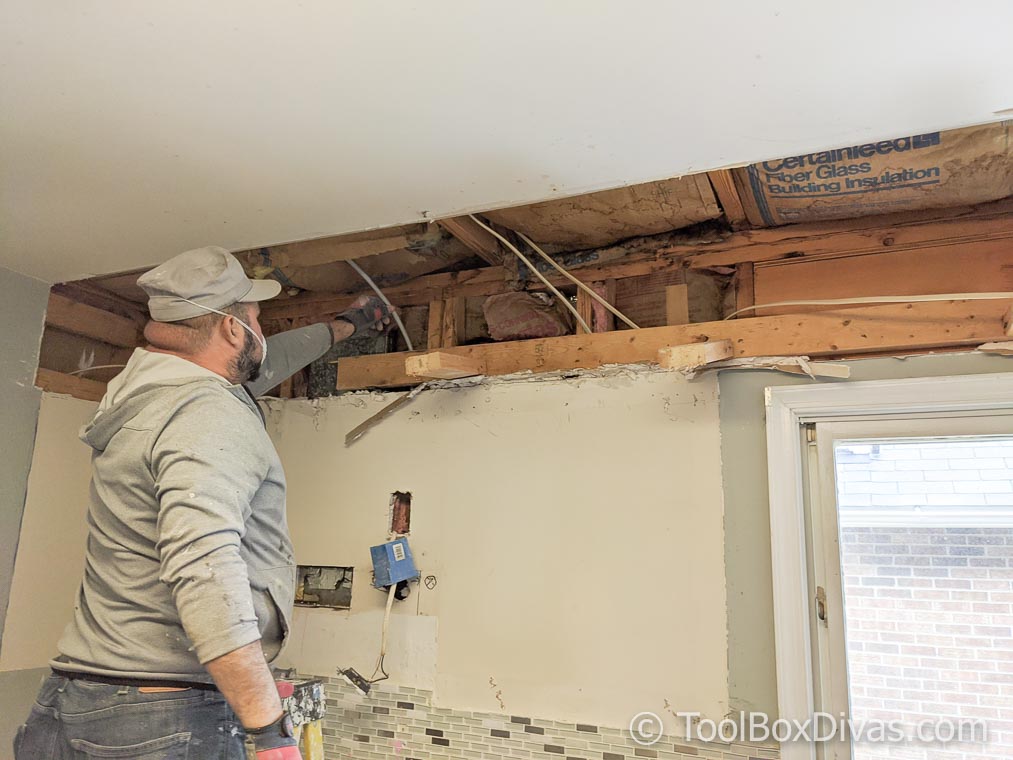
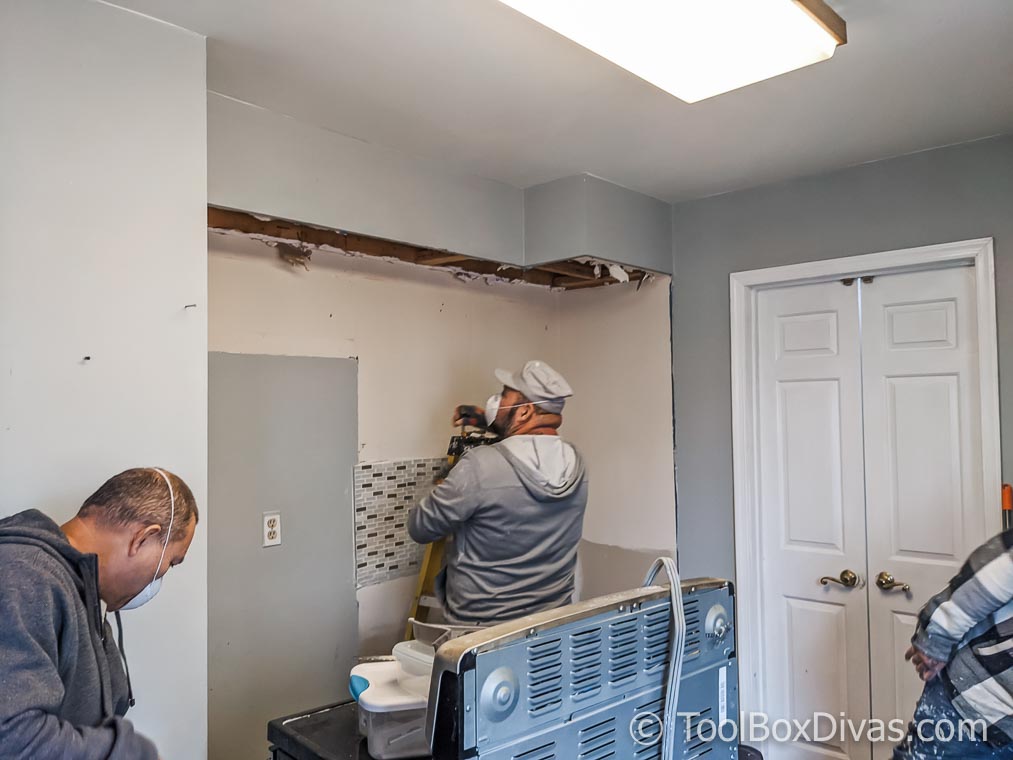
Demo
For this project, I enlisted the help of my friend, once again to help me with the demolition and the heavy lifting. I also worked with him to do my deck renovation. So I work full time and I have a newborn. So the idea of me trying to tackle this project all by myself, well it just wasn’t happening. LOL I have to be realistic. Knowing you can do it, doesn’t mean you have to actually do it all.
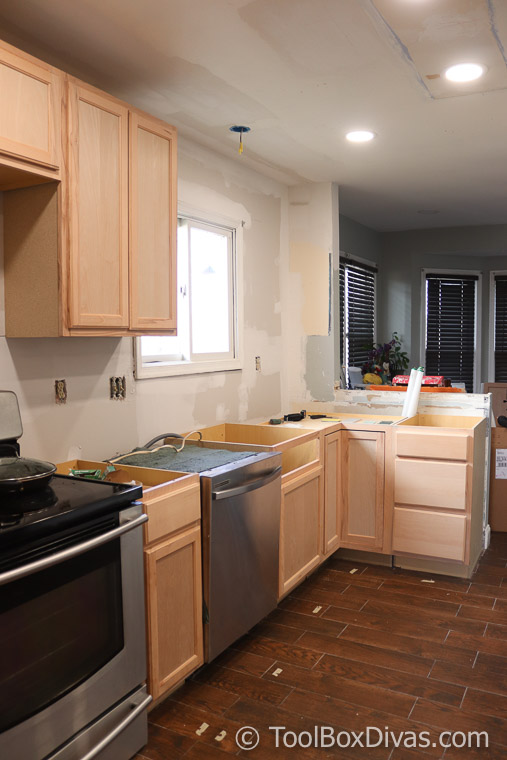
With help, I was able to demo the kitchen in one day.
Install
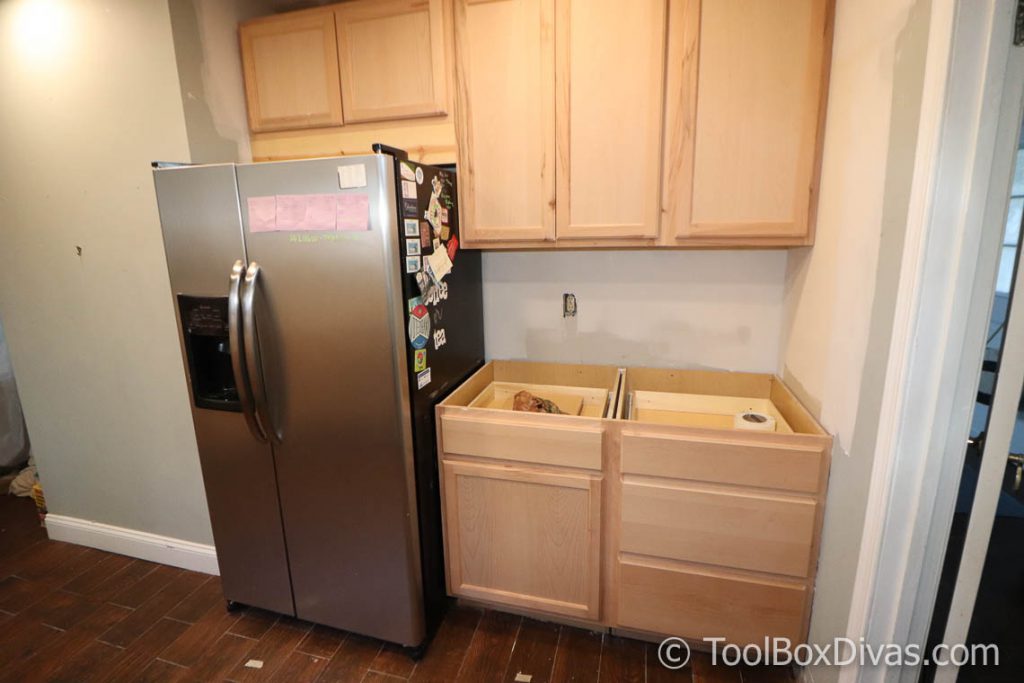
We maintained the basic layout of the kitchen to cut down on any additional costs. That also made cabinet selection a lot easier.
With the walls back up and the cabinets in place, I could start to see my vision come to life. I just didn’t know what color the vision would be. Hahaha.
ProjectColor™ App
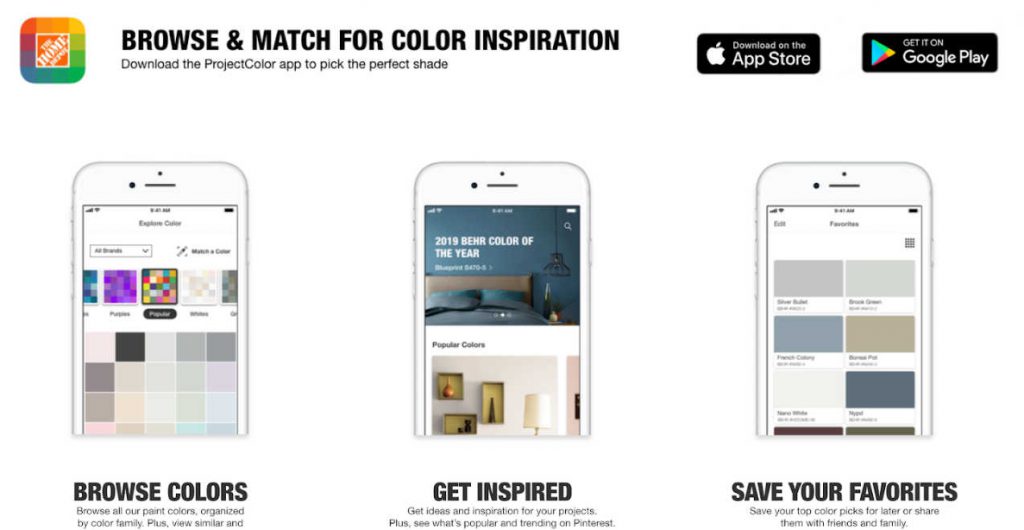
I was all over the place in terms of what color I wanted to paint the walls and cabinets. I couldn’t decide on a color. But luckily I was able to plug the images of the kitchen into The Home Depot ProjectColor™ App and test out a whole variety of color combinations without picking up a paintbrush.
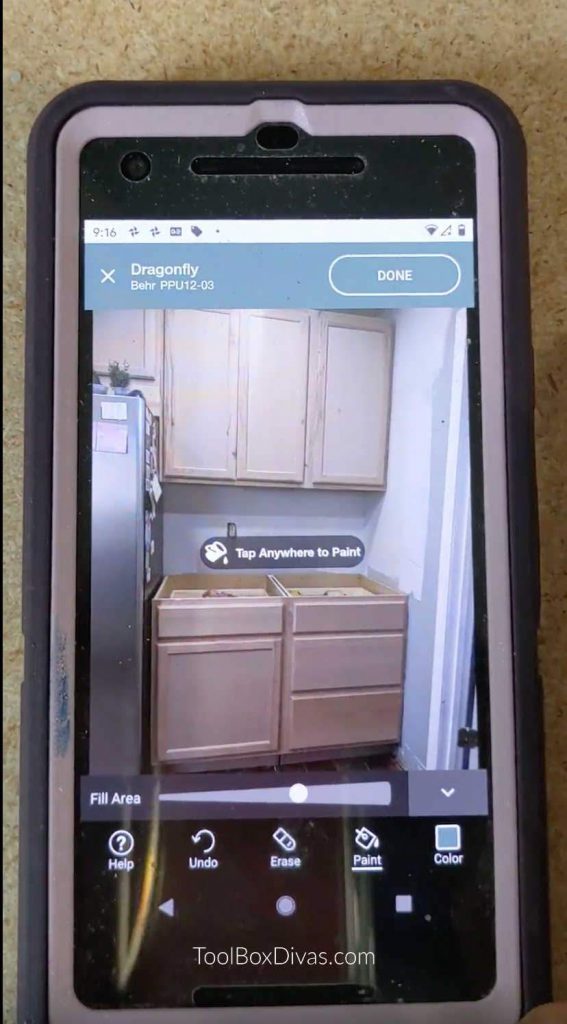
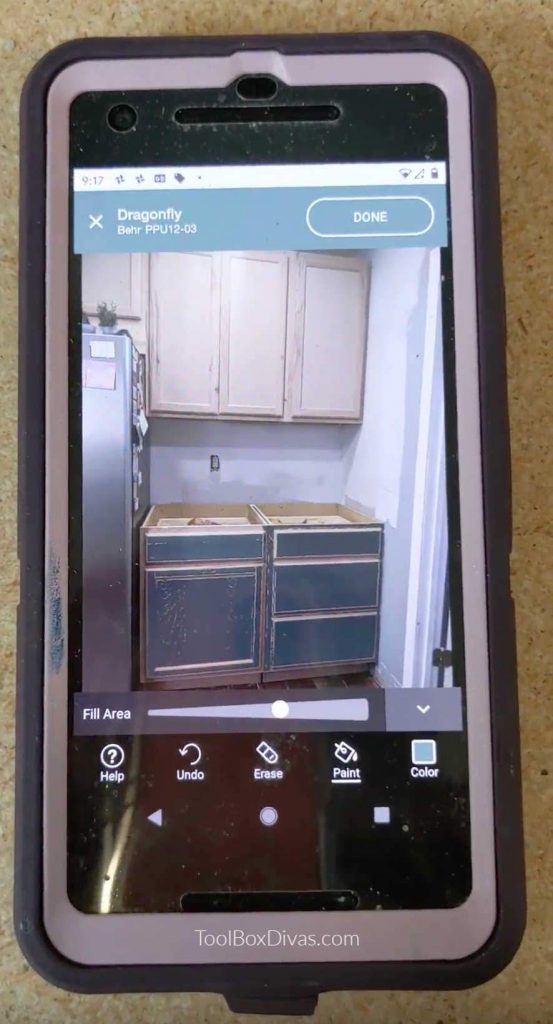
Just tap on the cabinet and the color fills the object
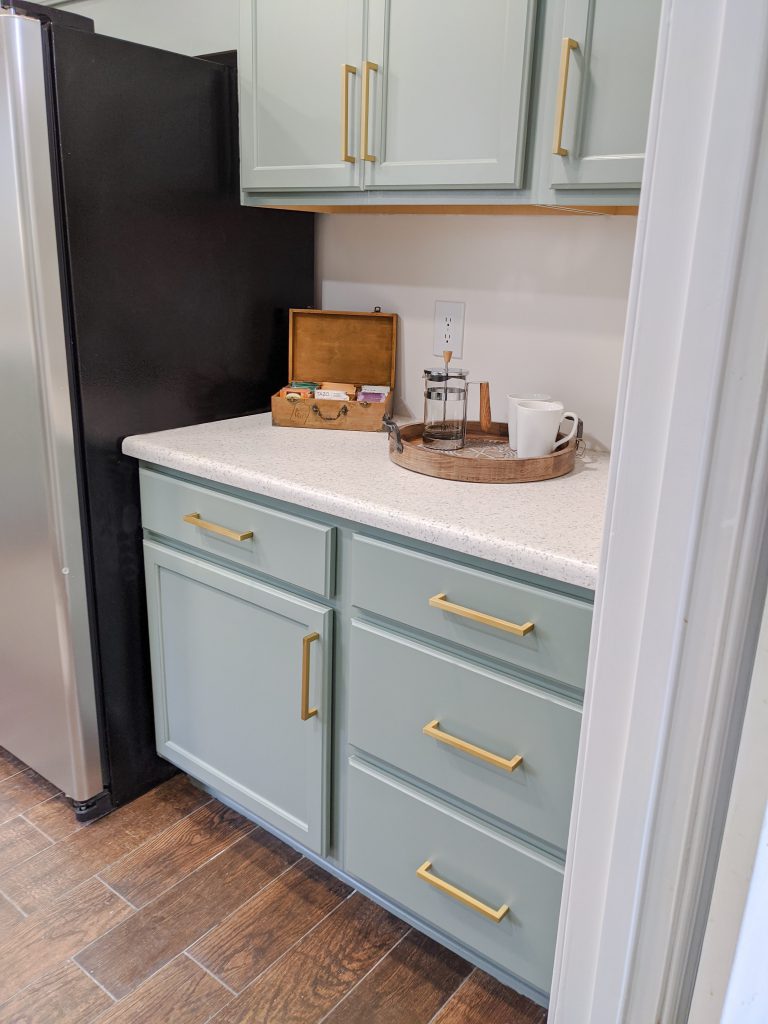
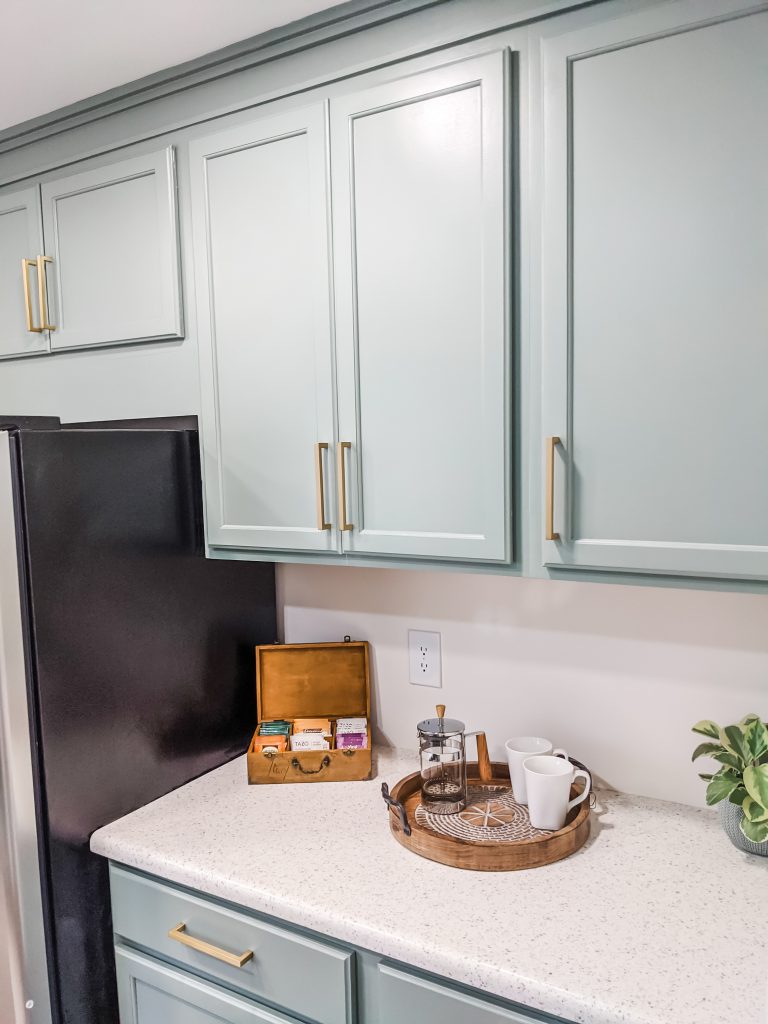
At the end of the day, I decided on Smoky White for the walls and Nature’s Gift for the cabinets.
Customization
I customized the stock cabinets by adding a decorative molding I made using 1x3s and 1×4 lumber. I also added a board as a filler above the refrigerator to make it look like a built-in. The countertop really took it to another level. I went with a High-Performance Marble Solid Surface called Birch Bark. I then paired the cabinet color with gold accents like the gold handles and faucet.
The Paint
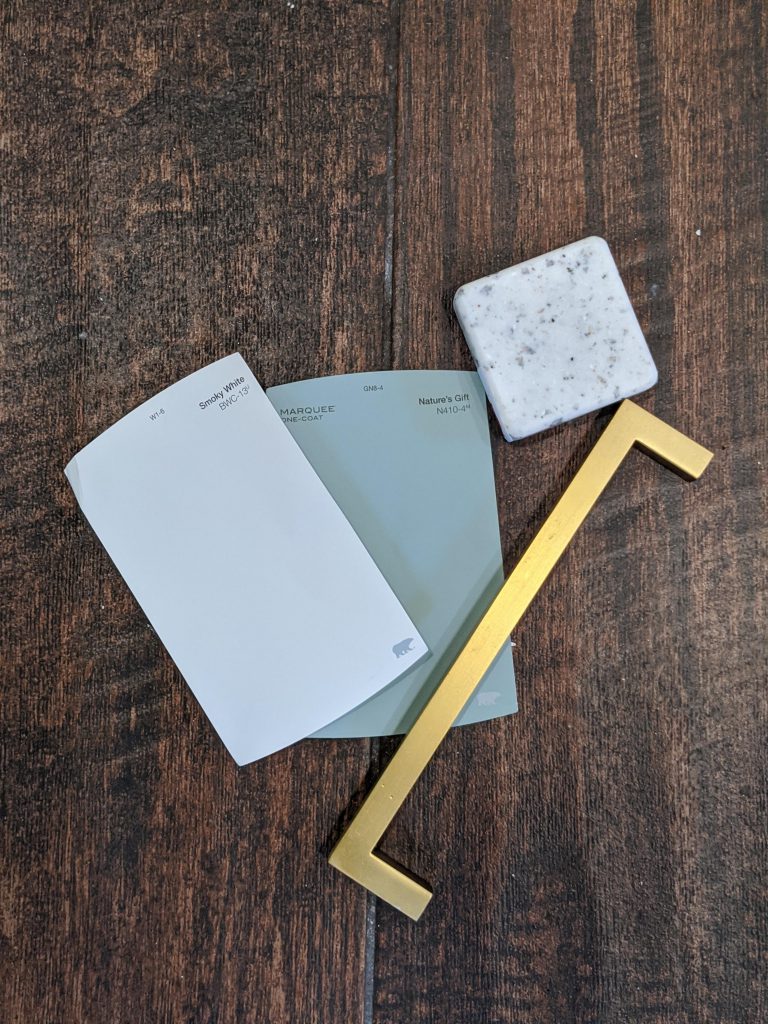
- Walls – BEHR ULTRA 1 gal. #BWC-13 Smoky White Satin Enamel Interior Paint and Primer in One
- The Cabinets – We used a BEHR Urethane Alkyd Semi-Gloss Enamel Interior/Exterior Paint in Nature’s Gift because this type of paint is specially made for cabinets.
- Ceiling – BEHR PREMIUM PLUS 5 gal. Ultra Pure White Ceiling Flat
- Primer – KILZ Adhesion 1 Gal. White Bonding Interior/Exterior Primer
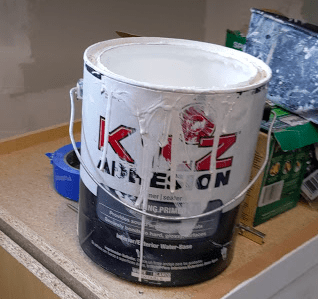
The Primer for the Cabinets 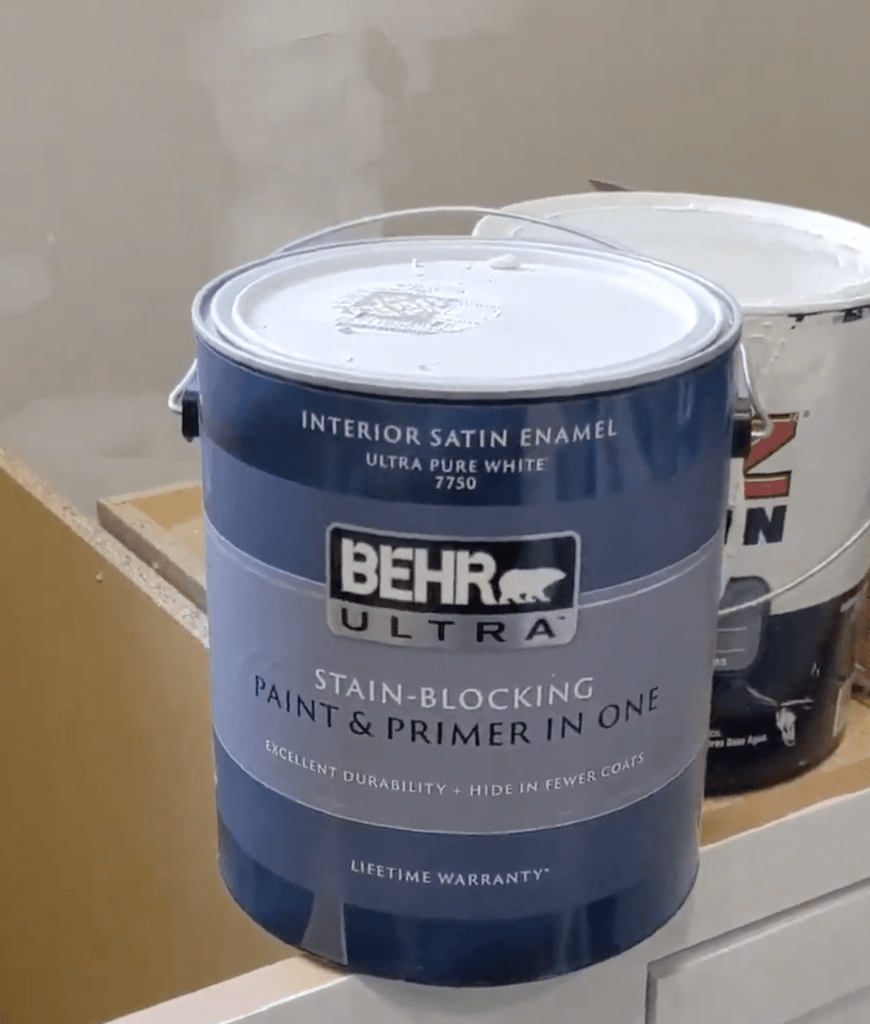
The wall paint 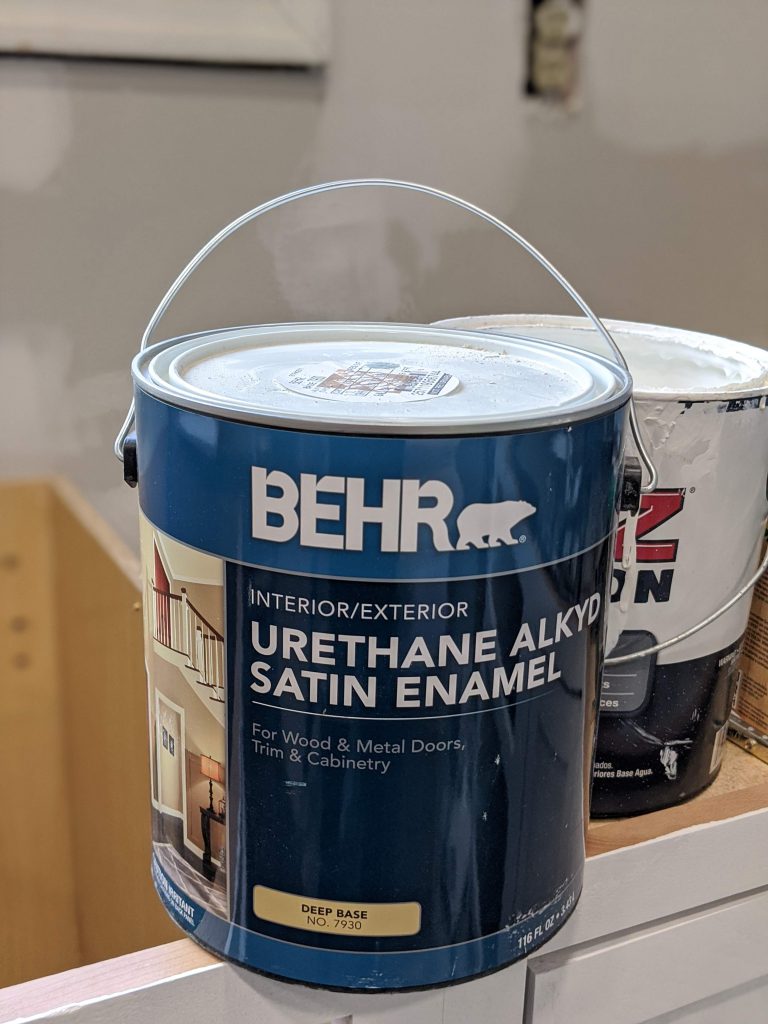
The cabinet paint.
After – The Big Reveal
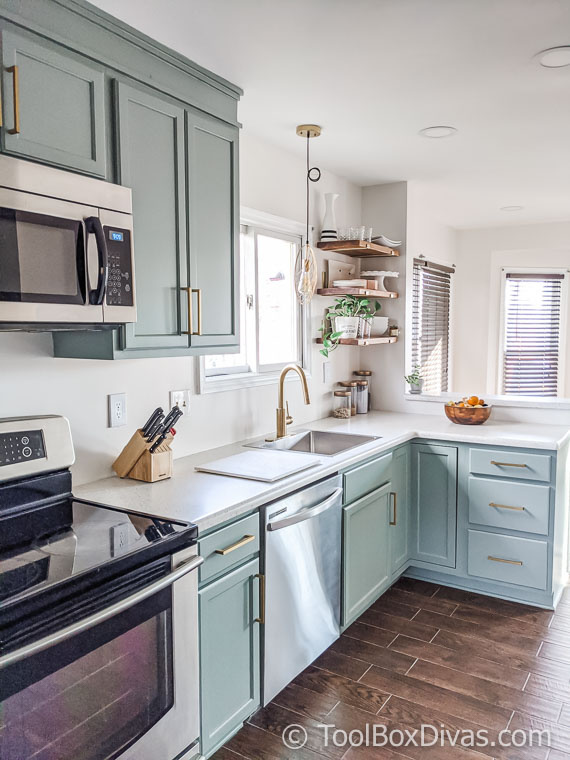
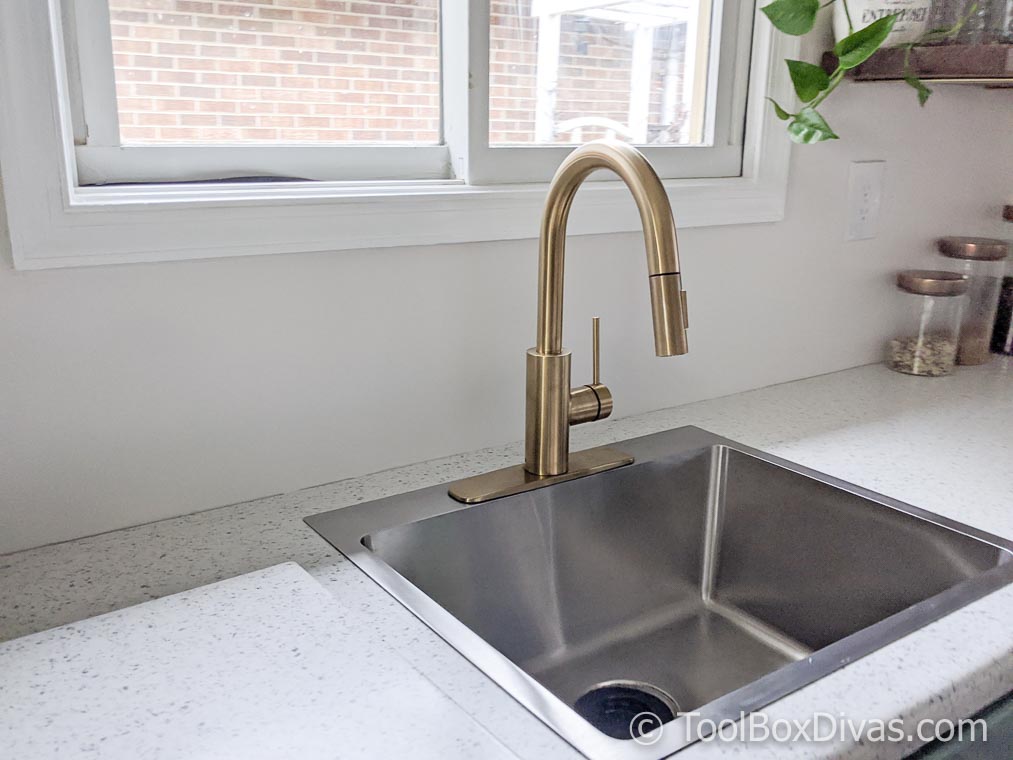
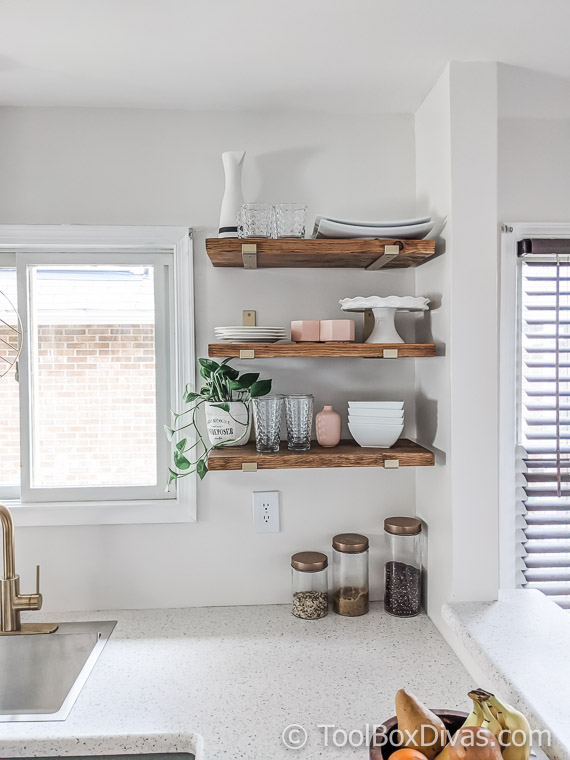
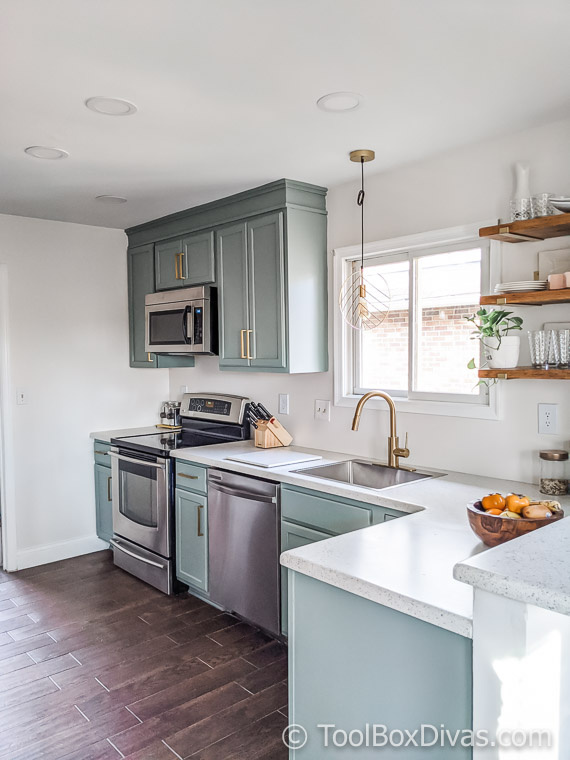
Time for a Staycation! Till Next Time. ~T.
Materials I Used
- The Cabinets – In-stock Unfinished Cabinets
- Cabinet Door Handles – GlideRite 6-1/4 in. Satin Gold Solid Square Slim Cabinet Drawer Bar Center-to-Center Pulls (10-Pack)
- The Gold Faucet – KRAUS Oletto Single-Handle Pull-Down Sprayer Kitchen Faucet in Gold
- Shelf Brackets
- The Deep Sink – MR Direct Drop-in Stainless Steel 23 in. 3-Hole Single Bowl Kitchen Sink
- The Countertop – High-Performance Marble Solid Surface called Birch Bark
Tools I Used
- RIDGID Cordless Drill/Driver and Impact Driver 2-Tool Combo Kit
- RIDGID 18-Volt Cordless Brushless Drywall Screwdriver with Collated Attachment
- Bosch BLAZE 165 ft. Laser Distance Measurer with Bluetooth and Full Color Display
- Bosch 65 ft. Self Leveling Cross Line Laser Level with Plumb Points
- RIDGID 9 Gal. 18-Volt Cordless Wet/Dry Shop Vacuum with Filter, Hose and Accessories
- Dremel Saw-Max with Tile Blade
Like it? Pin it for later.

I acknowledge that The Home Depot is partnering with me to participate in the Home Depot Paint Program 2019. As a part of the Program, I am receiving compensation in the form of products and services, for the purpose of promoting The Home Depot. All expressed opinions and experiences are my own words. My post complies with the Word Of Mouth Marketing Association (WOMMA) Ethics Code and applicable Federal Trade Commission guidelines.


How did I miss this? It’s stunning!! Love the blue and gold combo and the countertops and open shelves are so pretty!
Thank you so much Kathy!! The open shelves and gold hardware might be my favorite part.
What a transformation! I’m glad I found your web-site, as I’m ready to start using power tools! Where did you guy the wooden shelves?
Thank you so much!! I am so glad to have you here. I actually made the open shelves. I will post the tutorial shortly. It’s super easy and affordable.
This is such a beautiful remodel! I’ve been helping a friend plan a kitchen remodel and this is one of their inspirations now!
Thank you so much! It was a project I kept putting off for way too long. And now that we are in this Pandemic I’m so glad I did it before all this came about. I hope I can continue to provide inspirational projects.
I love seeing your projects! Thank you for sharing them!
Looks great. What color paint dud you use for cabniets ?.
Awesome!! I want to do the very same thing but don’t have a lot of $$$ to spare. You inspired me!
Great job! Beautiful work on a budget — I’ll be using this as inspiration.
Thank you so much! I am so glad I was able to provide inspiration.
A pretty excellent pictorial representation of the kitchen renovation process. It gives me a clear idea of what to do and how to do it. Thanks for sharing the process.
What a great process! You gave me some ideas that I could use with my kitchen. Thank you!
Umm… that’s impressive work. What a great budget remodel. I’m impressed!
What an amazing transformation. Your budget kitchen remodeling is simply unbelievable. The photos are gorgeous and loved the way of your step-by-step explanation. Awesome work.
Thank you so much! I really appreciate it.
Stunning transformation!!! I am in the middle of attempting to remodel my eyesore of a kitchen. Thank you for sharing that Home Depot App for color picking, I will be using that! Also, LOVE the tea station. Fantastic job!
Thank you so much
Wow! Love the color palate and the gold accents, such a serene combination!
Thank you so much! I do enjoy this space.
How long has it been? How are the cabinets holding up?
Hi, It’s been 2 years and the cabinets are still looking great! I am finally selecting a tile backsplash so I’ll have an update coming soon.
I love this, especially the fact that you were able to do it on a budget! I’ve been wanting to refinish my kitchen for ages, but have never had the money to hire a professional. This is definitely making me consider trying it on my own again. Thanks for sharing!