How to Make A Two-Tiered Cupcake Stand
Build your own cupcake stand with these easy steps.
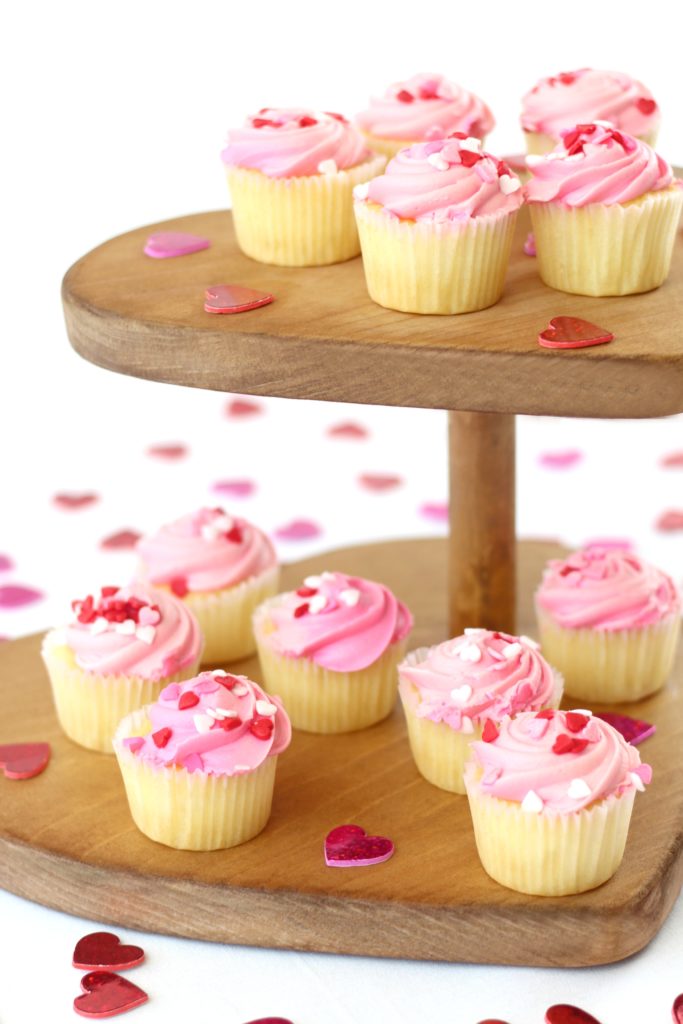
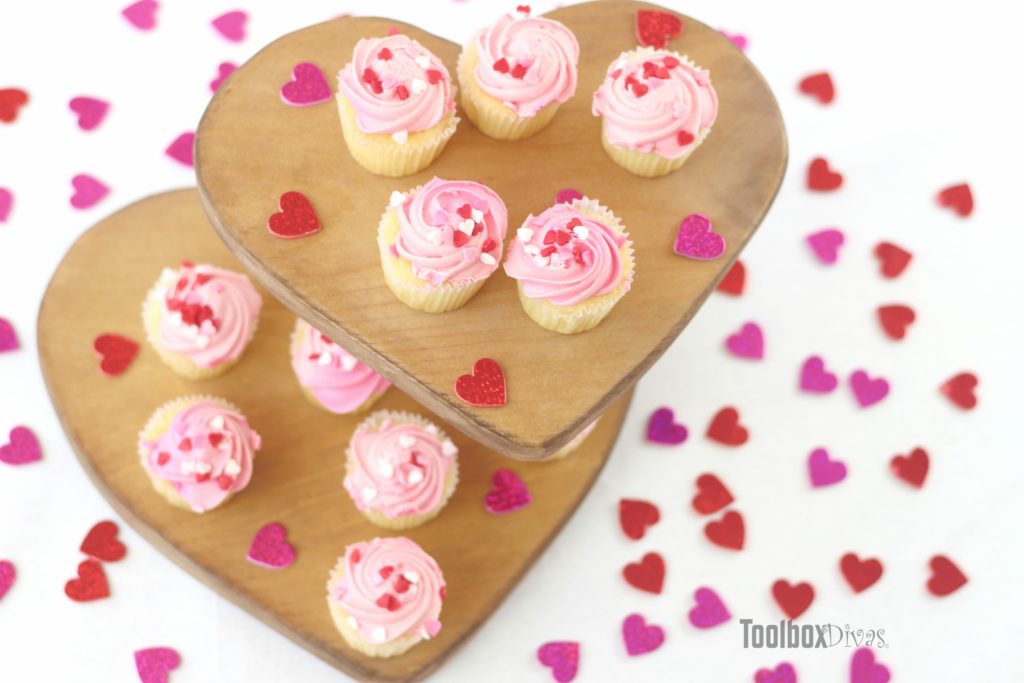
Are you planning a party soon? When serving cupcakes at your next gathering, the stand upon which the cupcakes are served on is just as important as the cupcakes. The overall appeal of the cupcakes increases when placed on a cupcake stand. In this tutorial, I’m going to show you how to wow your guests at your next gathering by making a Two-Tier Cupcake Stand that holds mini cupcakes and regular sized cupcakes alike. This DIY Cupcake stand is inexpensive. It cost me under $10. This heart-shaped cupcake tower is fitting for Valentine’s Day party, a wedding or bridal shower.
Materials
- 2 – 1×12 boards cut to 12 in.
- wood glue
- 7/8 wooden round dowel cut to 5 in.
- TransTint Dyes, Dark Mission Brown
Tools
- Bandsaw or jigsaw
- rotary cutting tool
- sander
- drill or drill press
- 7/8″ Forstner bit
OK, Let’s Get Dirty!
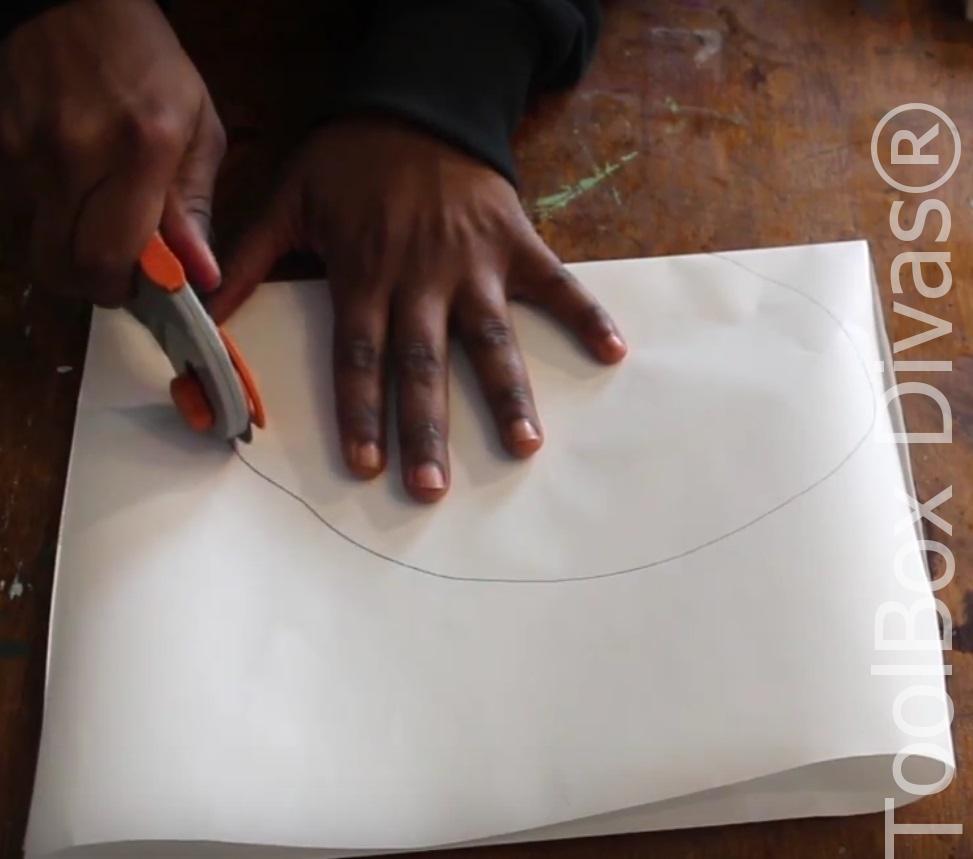
Step 1. Cut out the heart template.
Here is the heart template for the cupcake stand. The print size can be enlarged or shrunk to fit the size of your cupcake stand. Link: Heart template for cupcake stand
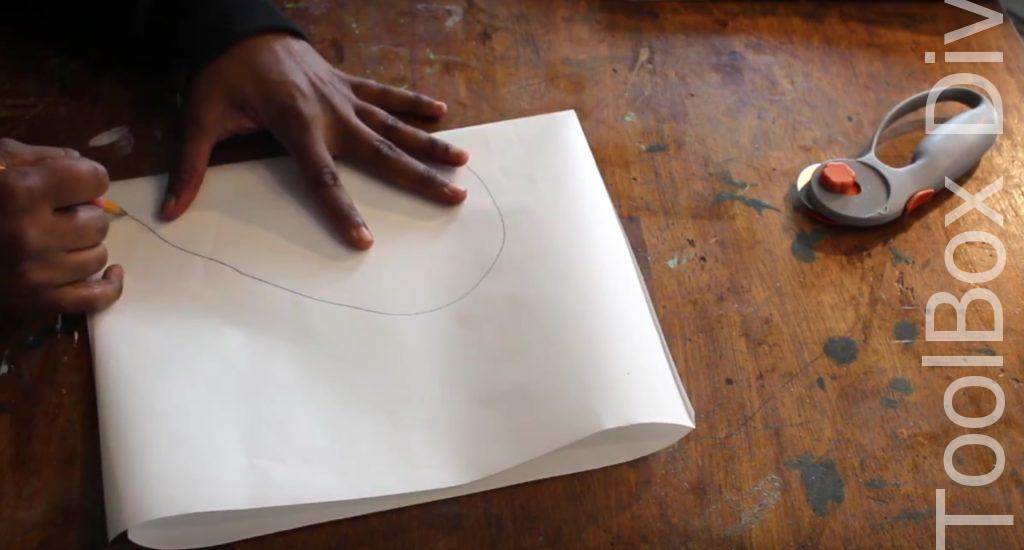 Using the rotary cutter, it made cutting out the template a breeze. You can also trace the template out onto the wood.
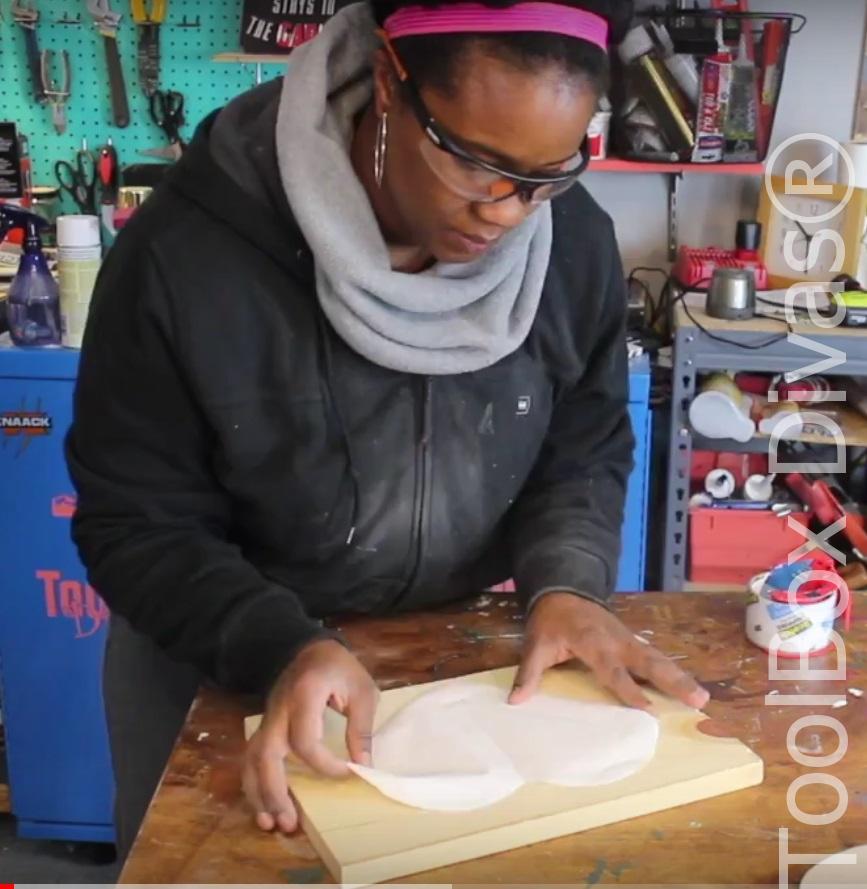
 Step 2. Attach the template to the 2 boards.
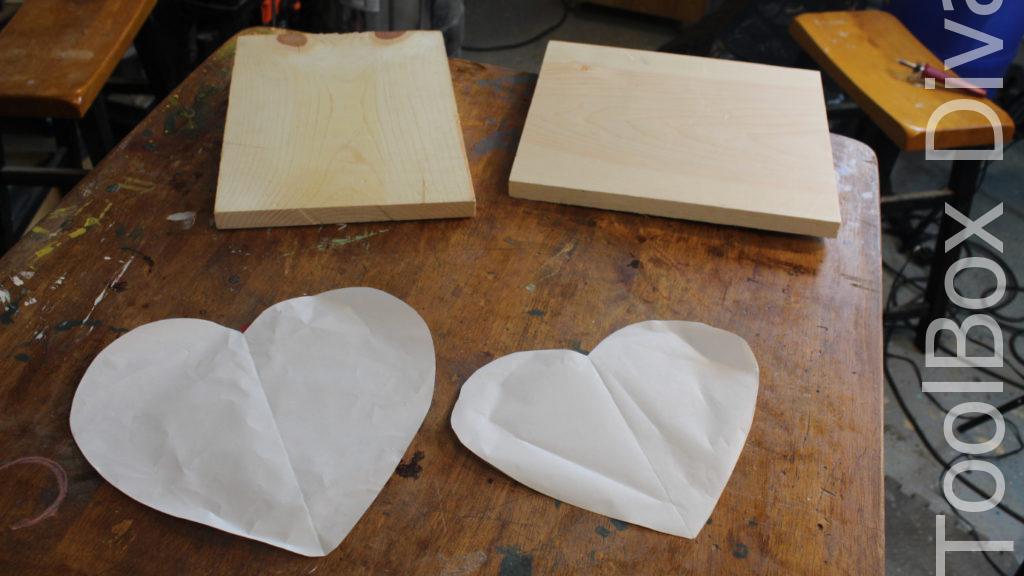 I’m using tape. But this can easily be accomplished with glue.
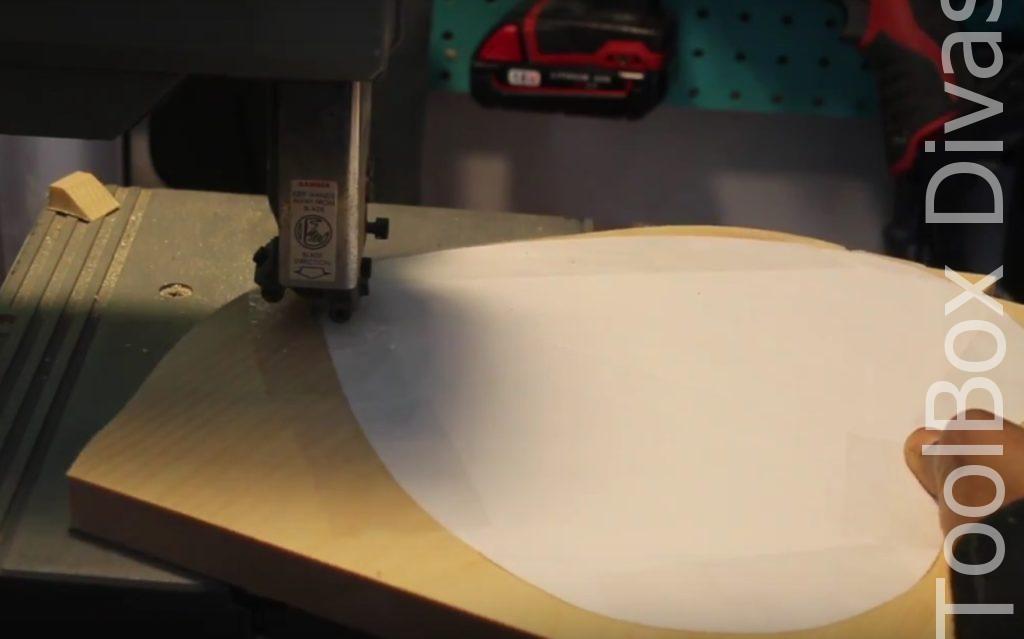
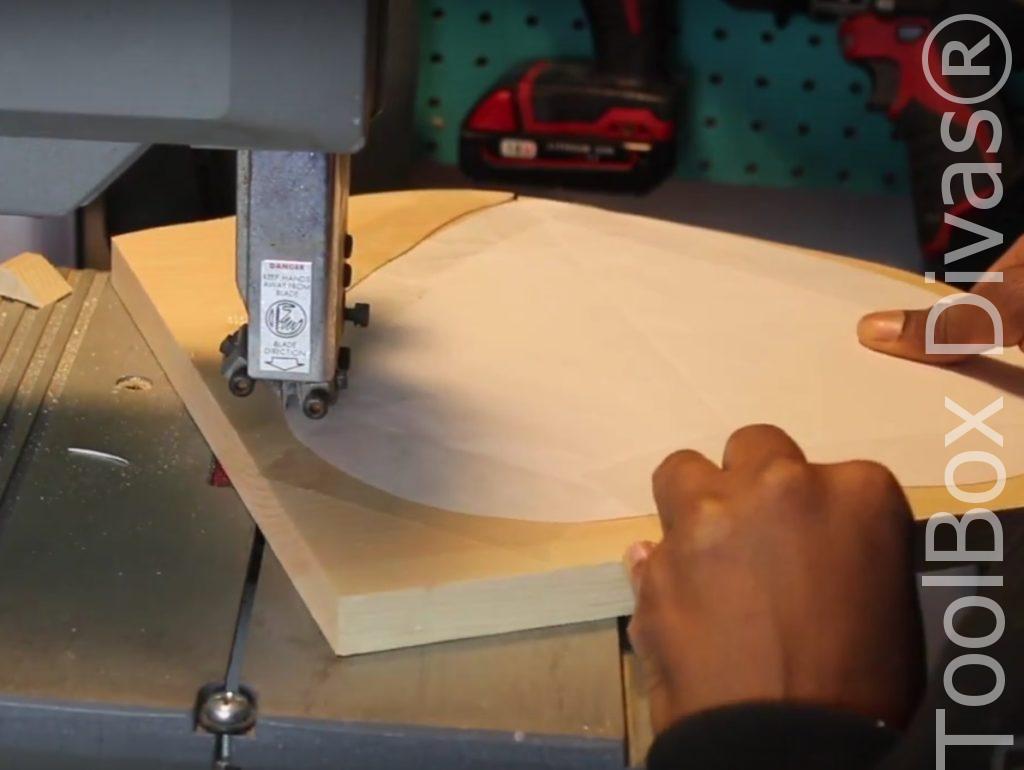
Step 3. Cut out the two hearts.
I am using a bandsaw to make the cuts but this can be accomplished using a jigsaw.
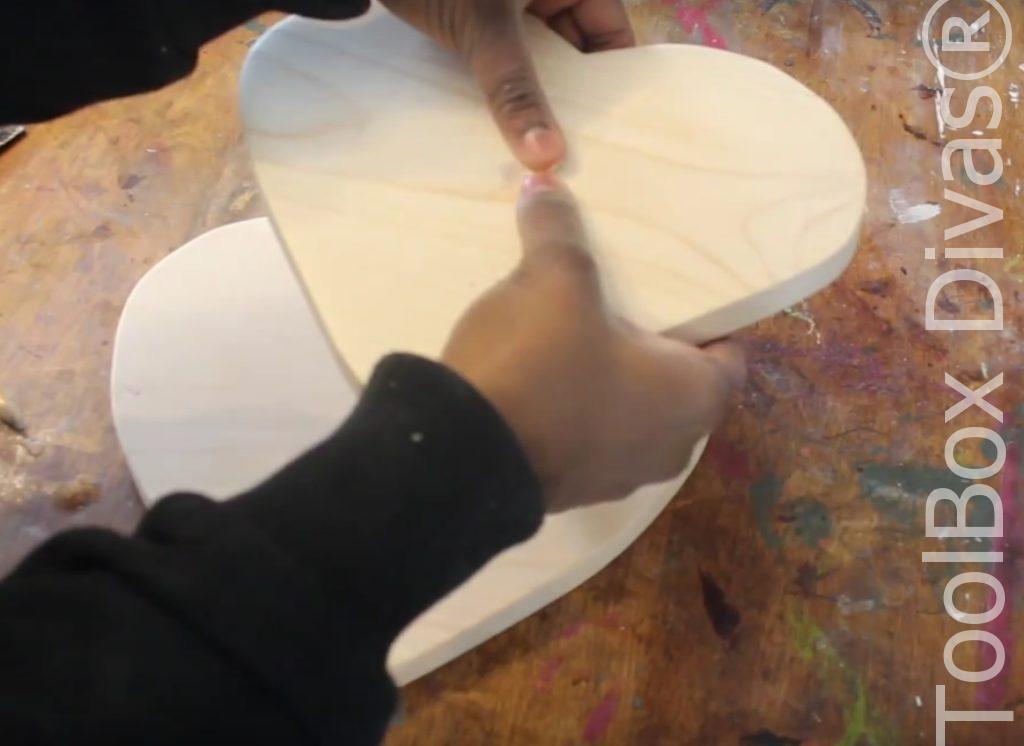
Step 4. Sand the hearts for the two tiers of the cupcake stand.
I started out by smoothing out any rough spots with the combination sander. 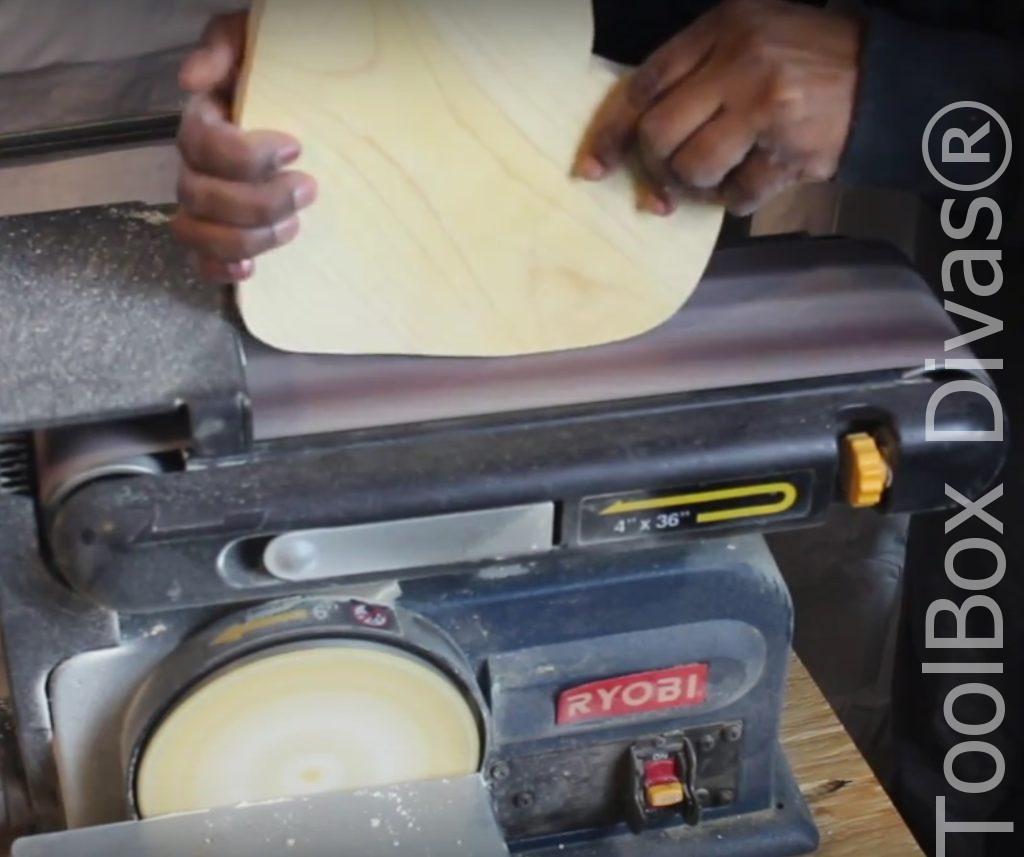
Then using an orbital sander I rounded out the edges of the heart tops.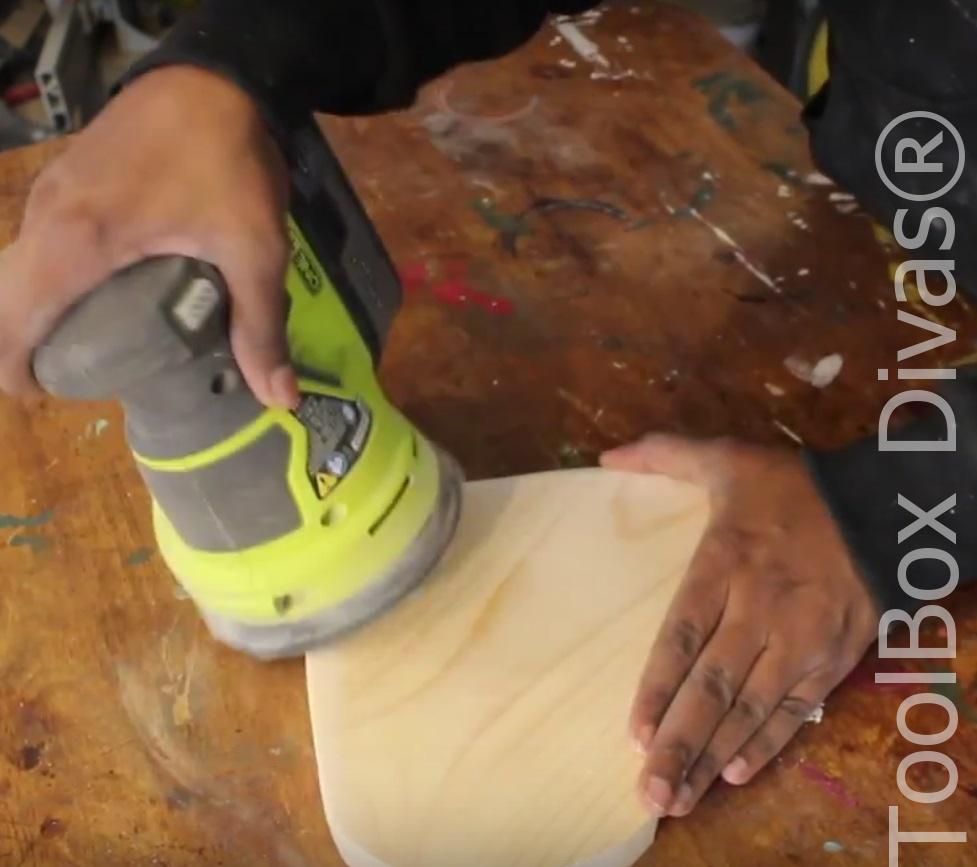
Step 5. Mark the drill points.
It was time to prepare the cake stand for assembly with both the top and bottom heart cut and sanded.
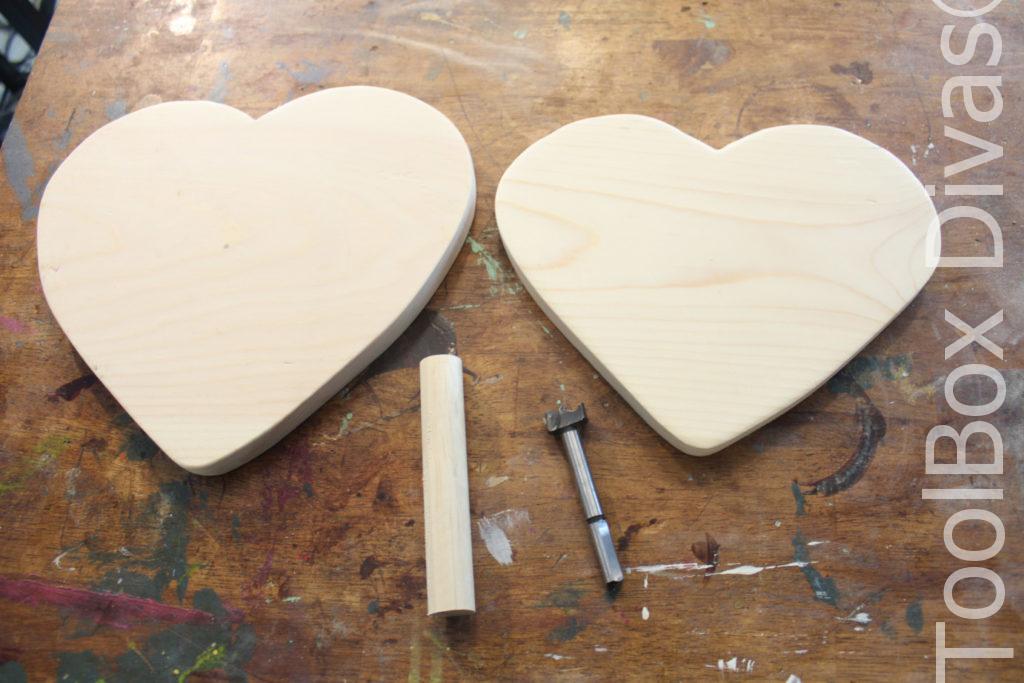
Using a speed square I marked the center of the smaller heart on the bottom side. This is where the wood dowel will be connected to the larger heart. 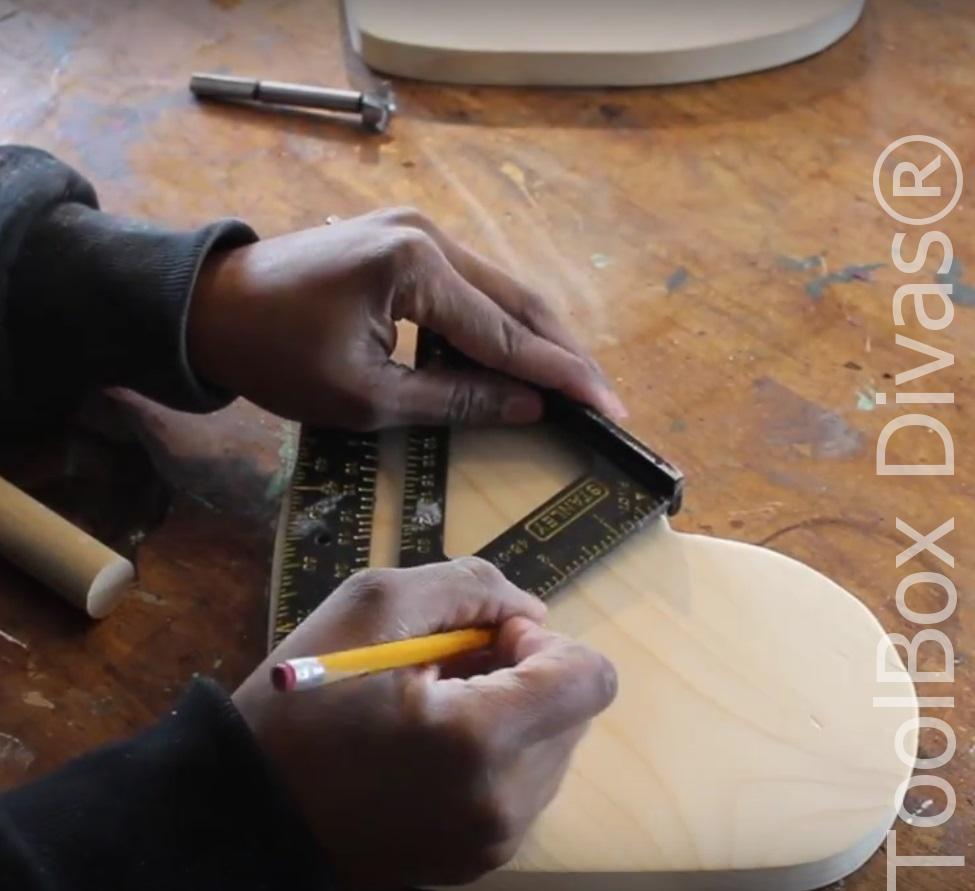
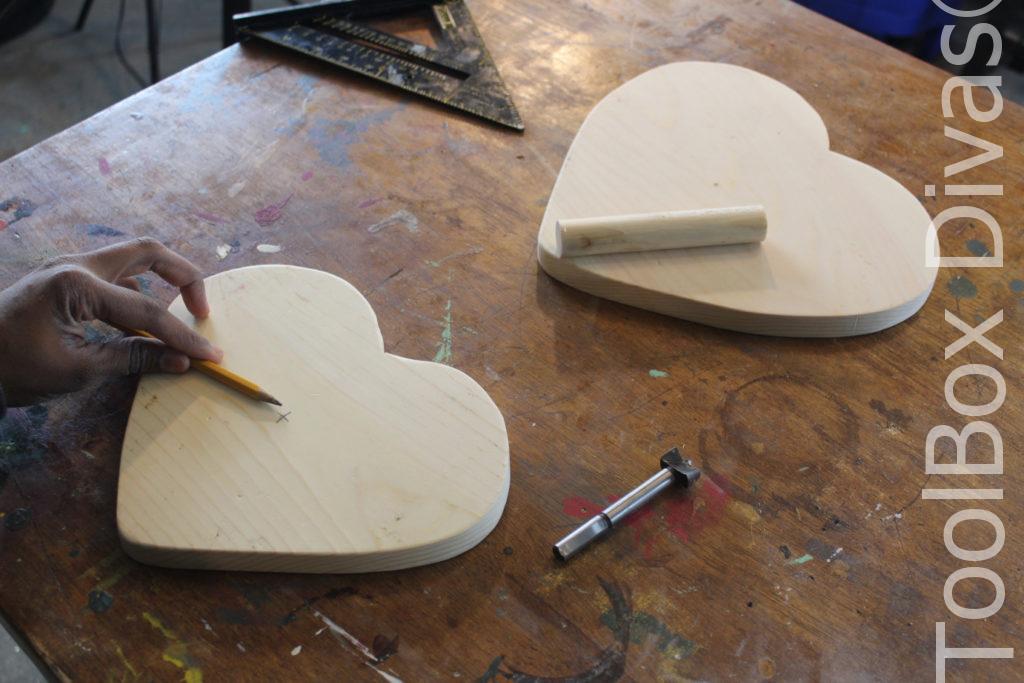 On the bottom lower tier (the larger heart) I marked a spot in the top right corner on the top facing side. I wanted my heart tiers to be off centered.
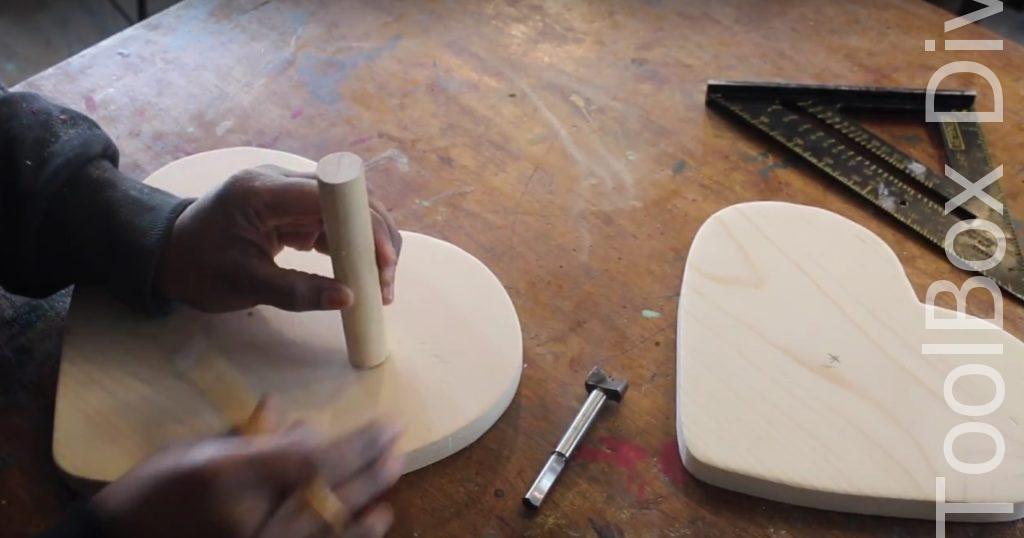
Step 6. Drill the holes for the wooden dowel.
Using a 7/8″ Forstner bit I drilled into each heart 1/2″ into each board. Be careful not to drill all the way through.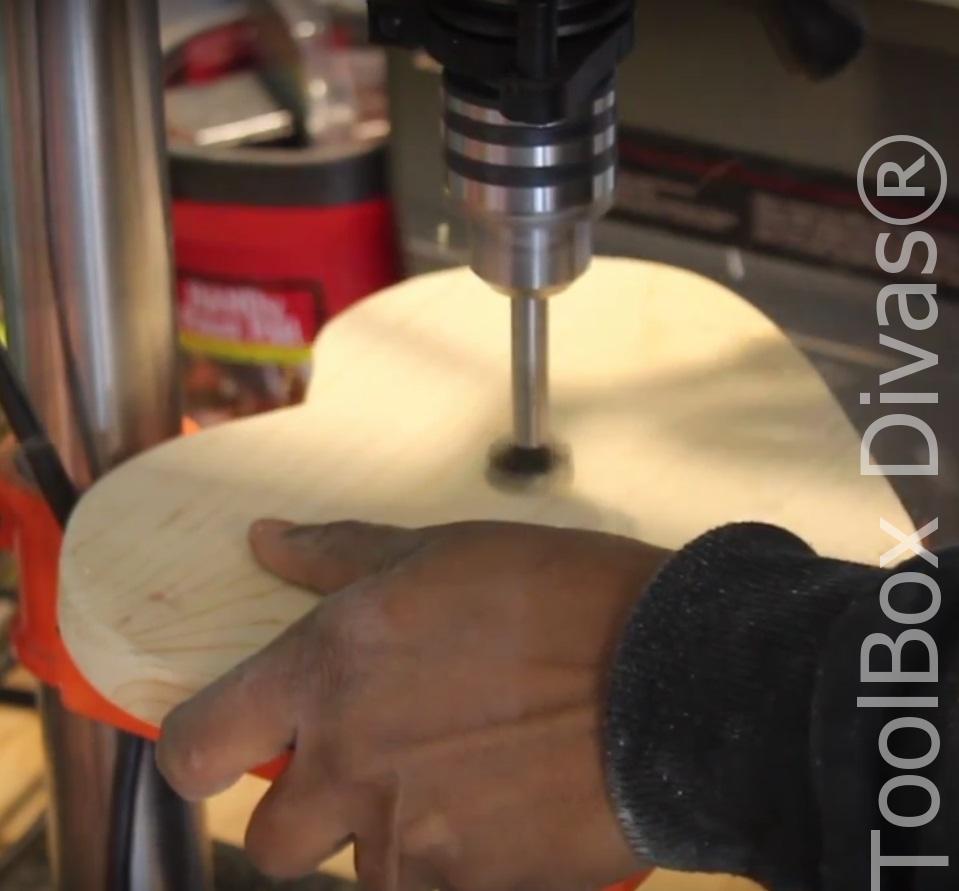
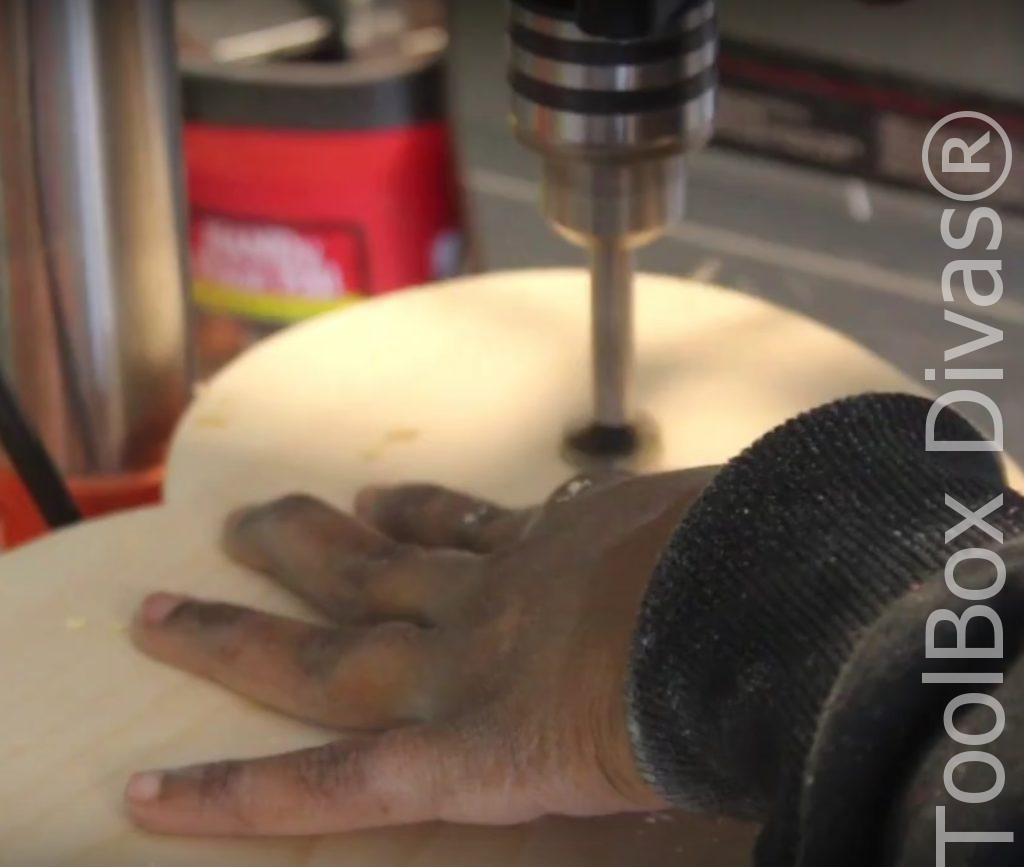
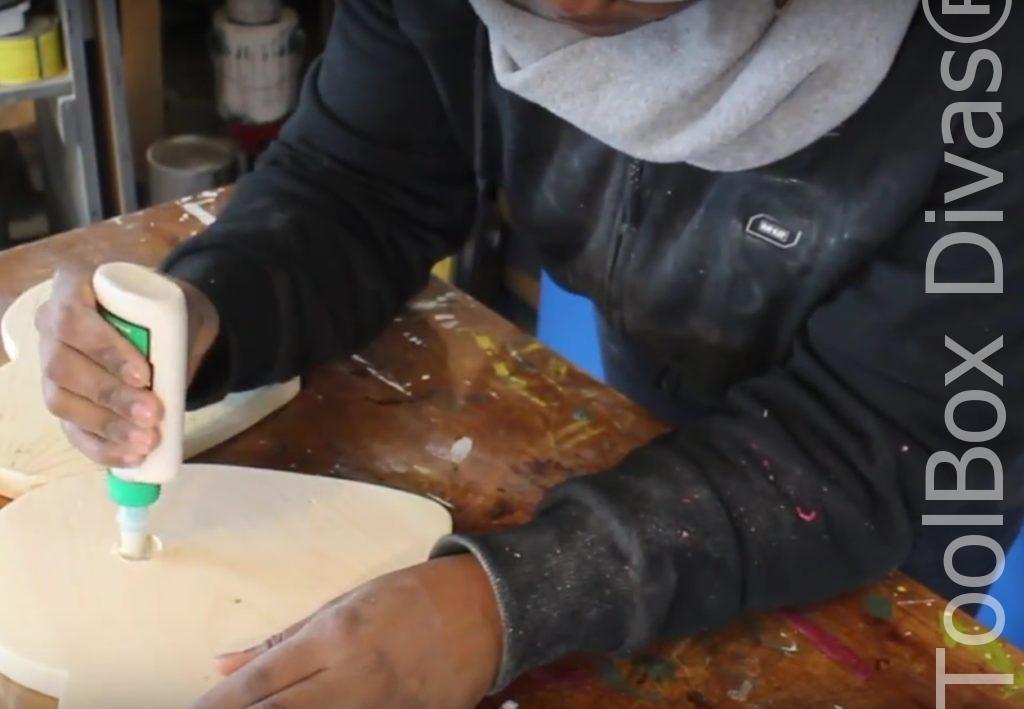 Step 7. Assemble.
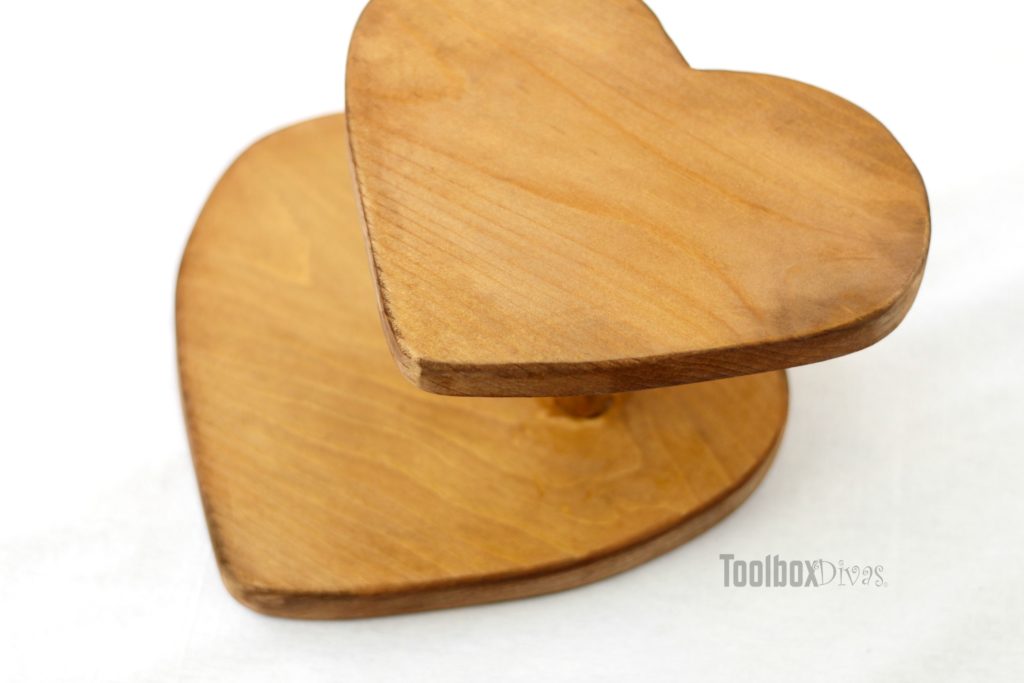
Using the wood glue attach the wooden attach the wooden dowel into the hole drilled into the lower tier 1st. Then apply glue and attach the upper/top tier of the cupcake stand.
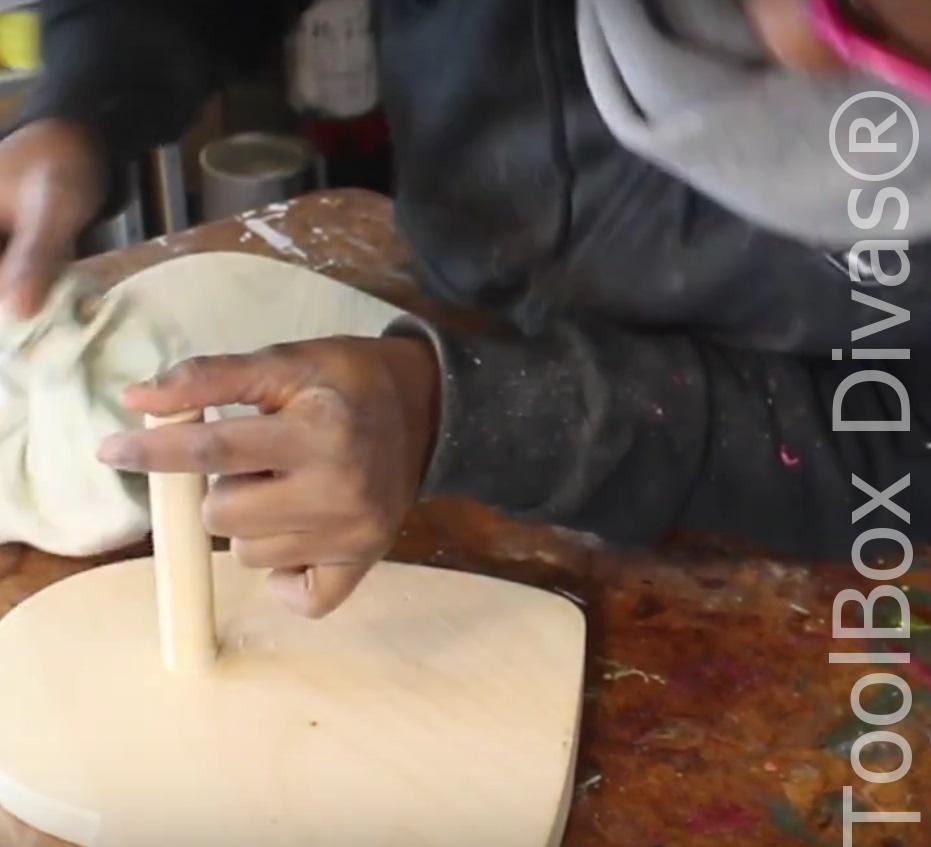 Allow 24 hours for the glue to set.
Step 8. Stain or Paint and Seal.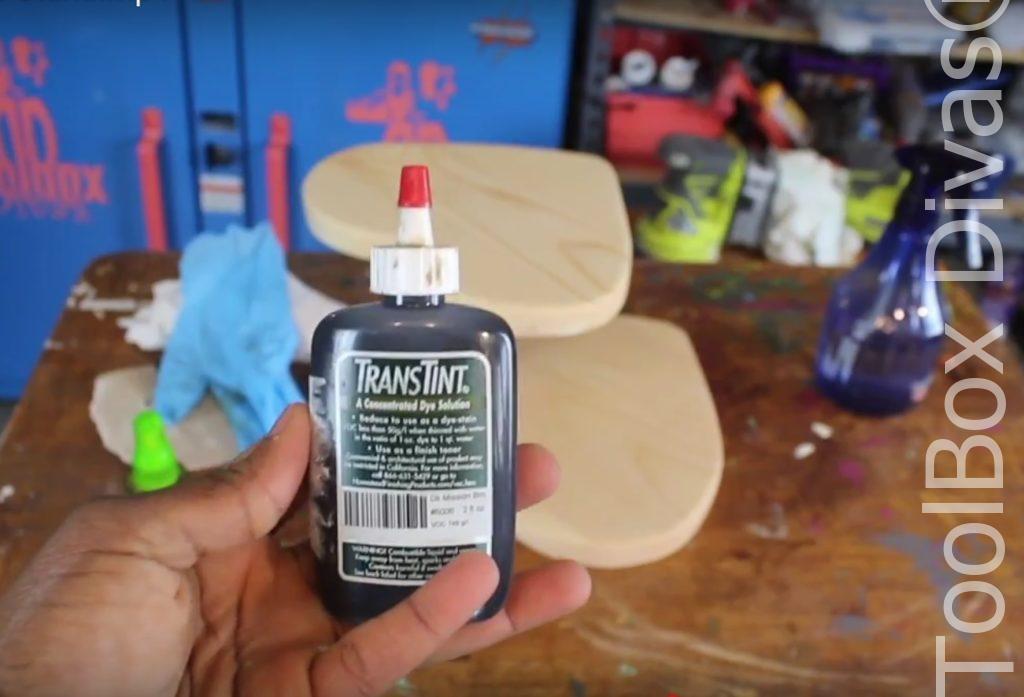
For this project, I decided to go with a wood dye. I used TransTint Dyes in Dark Mission Brown and I loved it. Currently, I am testing out the use of various wood dyes and finishes. I found this to be one of my favorites and highly recommend it.
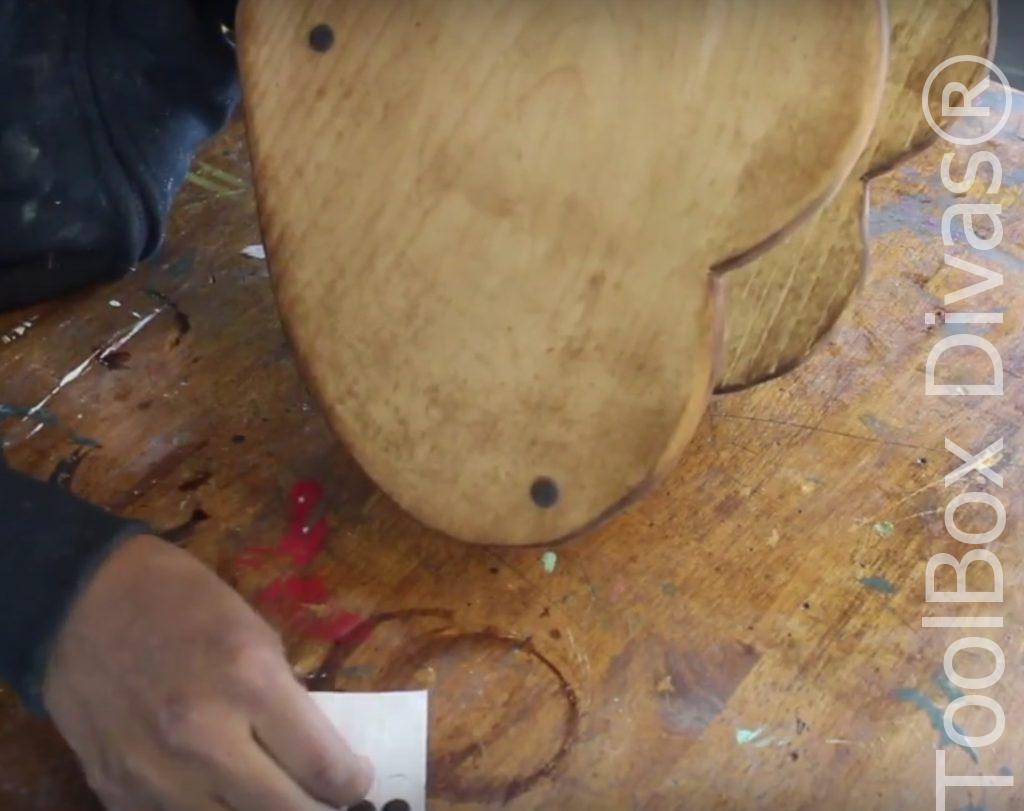
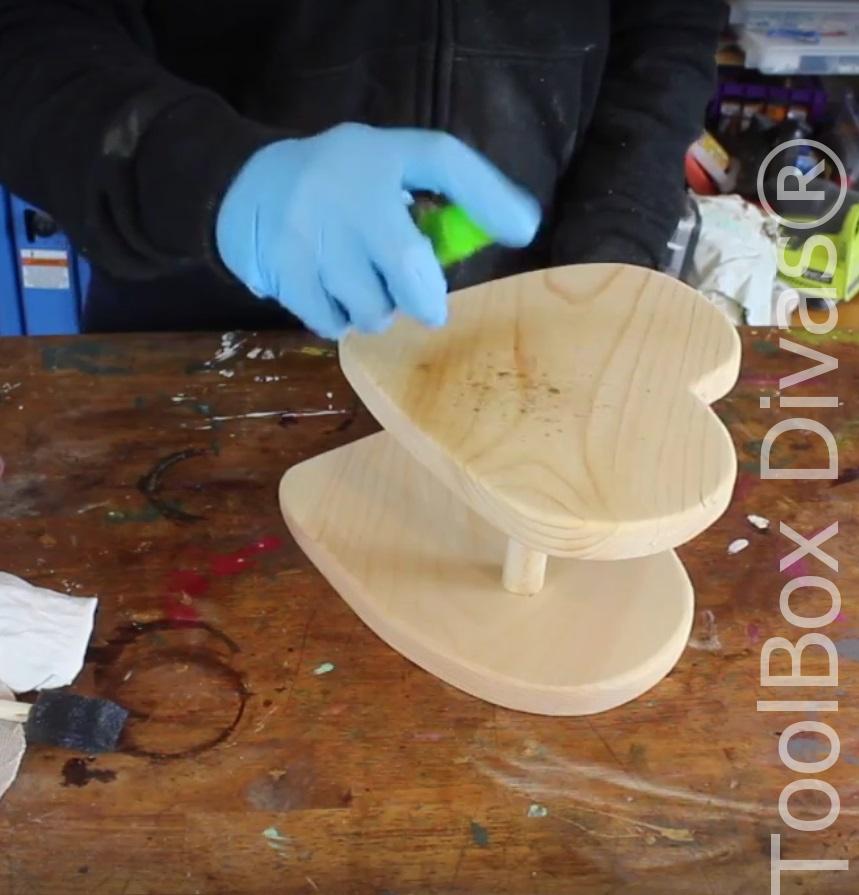 I added felt stickers to the bottom, sealed the cupcake tower with clear lacquer and allowed it to fully cure.
Alright Guys, Eat Your Heart out with Cupcakes! Till Next Time. ~ T.
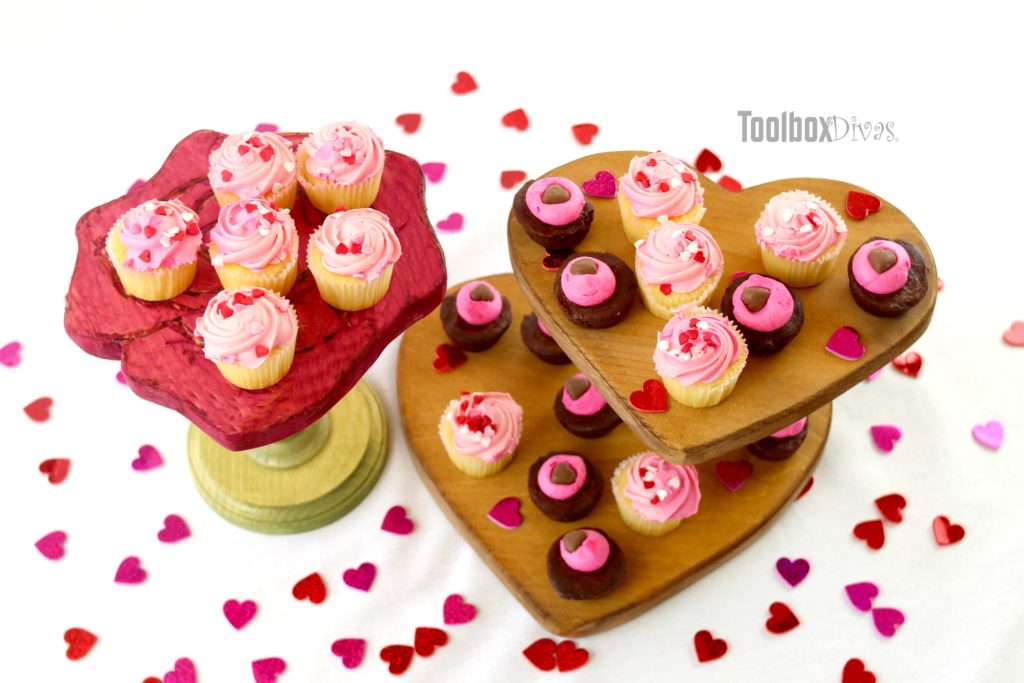
Interested in knowing how I made this rose shaped mini cake stand? Check it out



One Comment