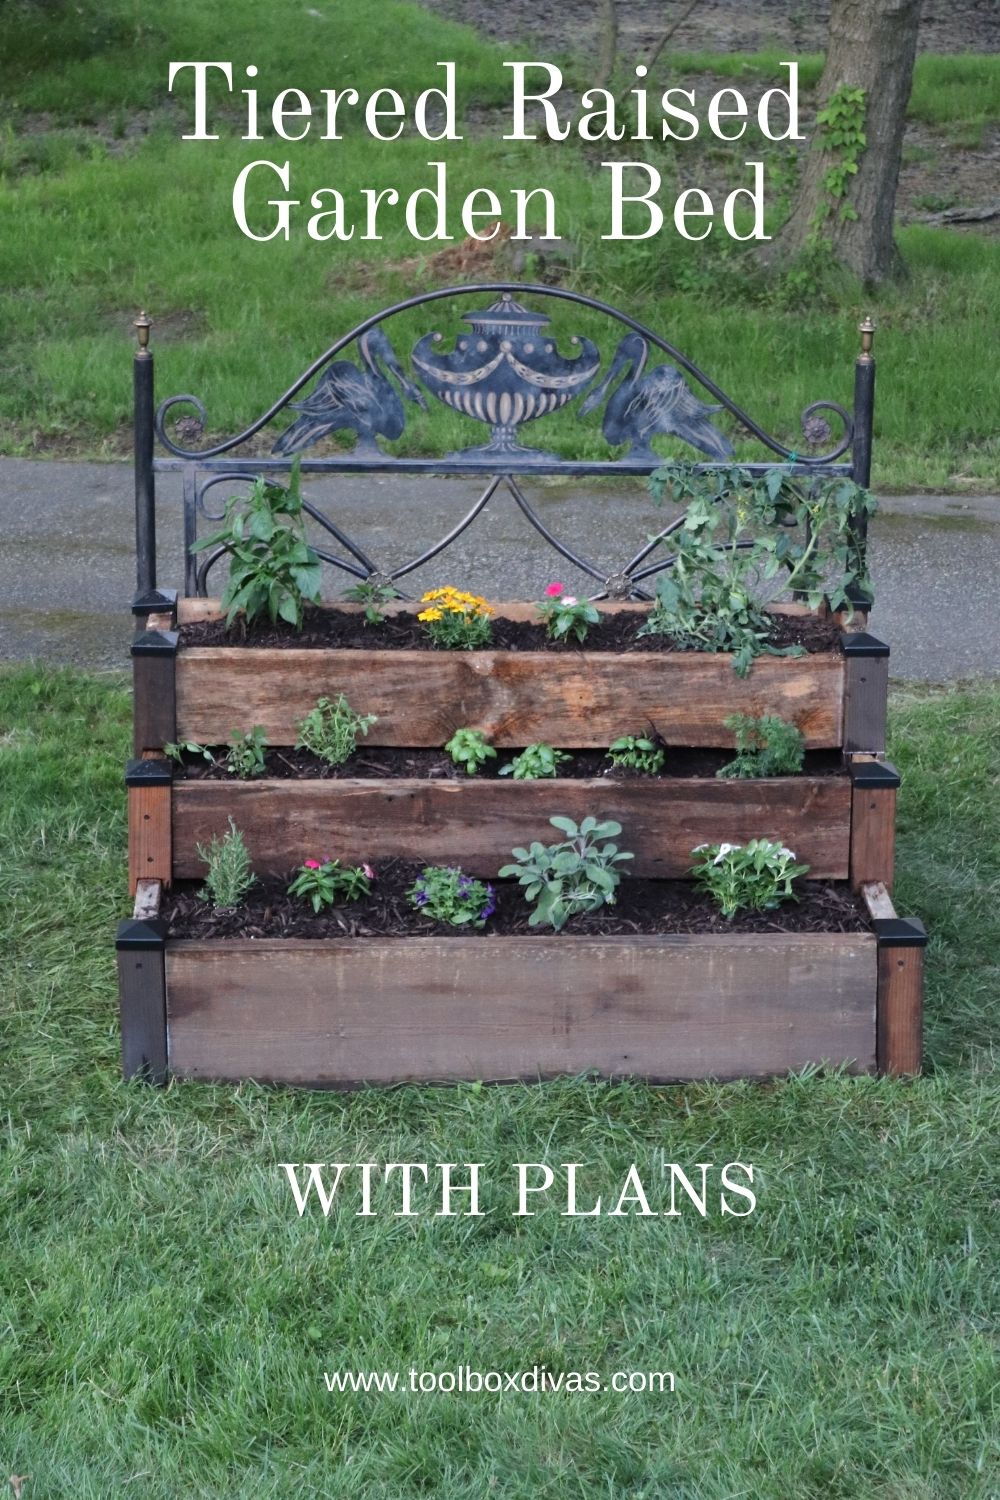
Tiered Garden Bed from Reclaimed Materials
Do you want to grow your own vegetables, but you don’t have a place for a garden? This tiered garden bed is for you! You can build it in a weekend and be on your way to growing your own vegetables with the plans and video tutorial.
This raised planter is a project I had been wanting to do for a long time. I wanted to be able to grow my own vegetables and I wanted a contained space to do it in. One that didn’t require me to do a lot of bending over and that wouldn’t mean digging up the yard to plant it.
Researching
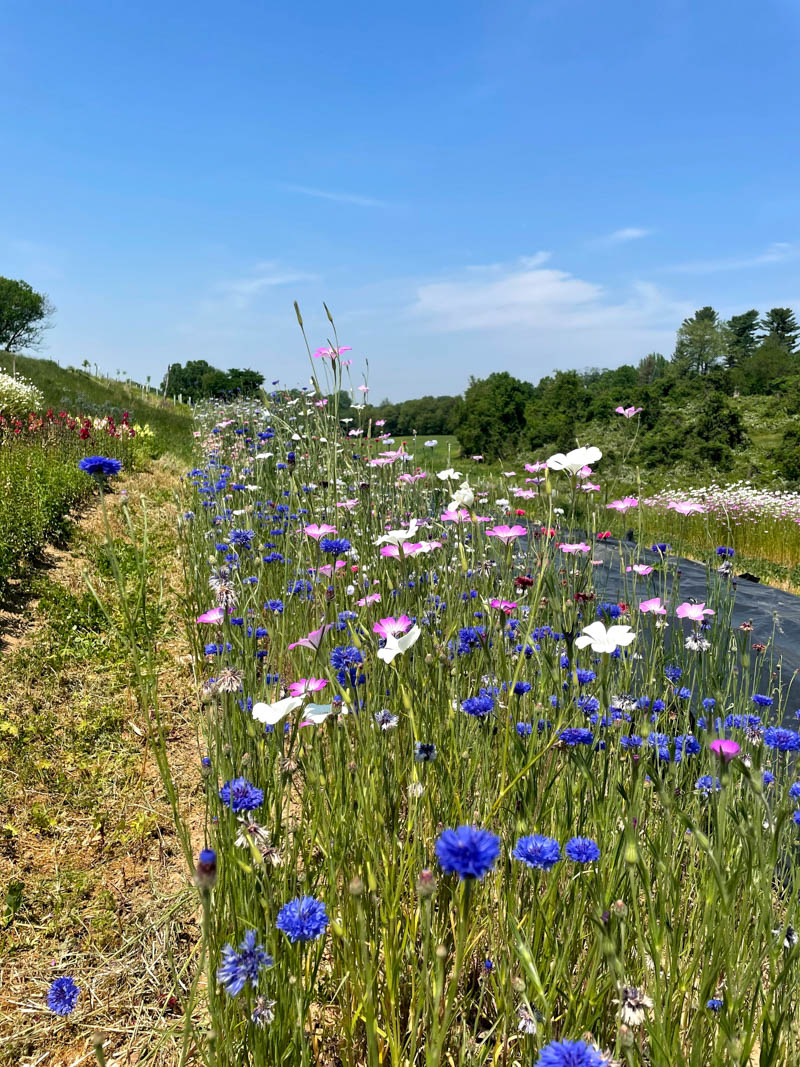
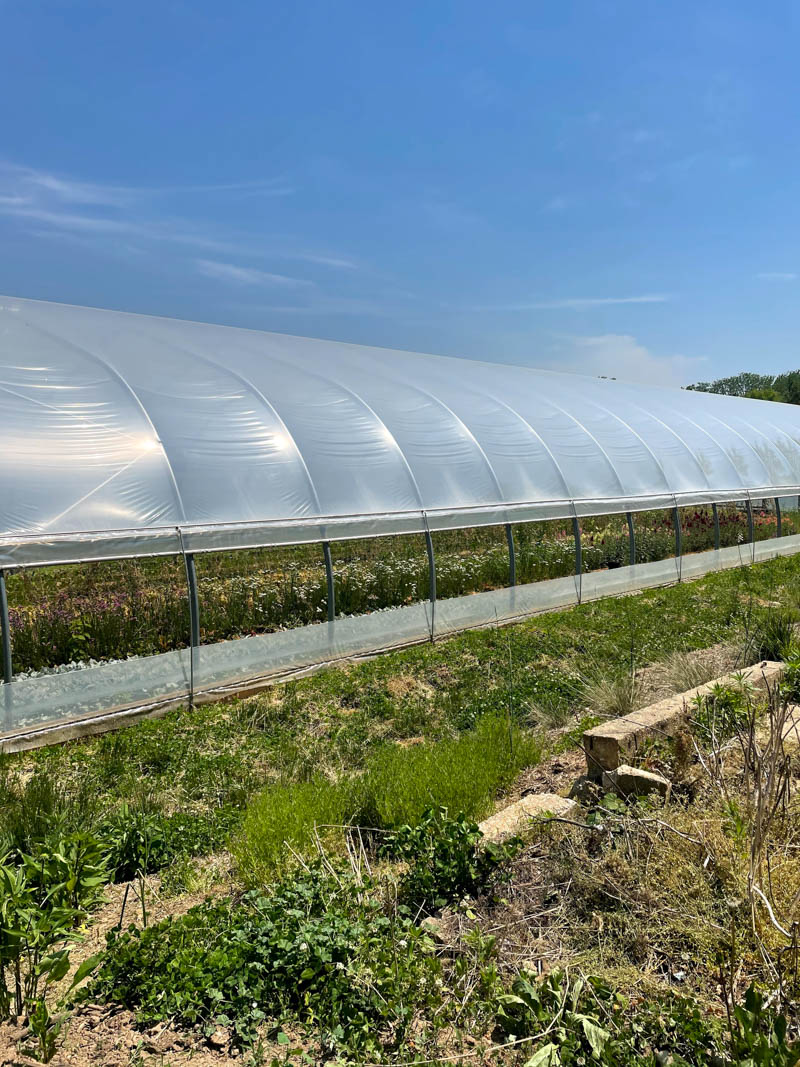
Before I started this project, I really didn’t know a lot about gardening or raised garden beds. I did what I always do before I start building something, explore, ask questions, and get inspired.
I visited a local organic flower farm and a farm specializing in produce. I learned such great information from both visits and they gave me ideas of what I needed to do with my tiered garden bed design.
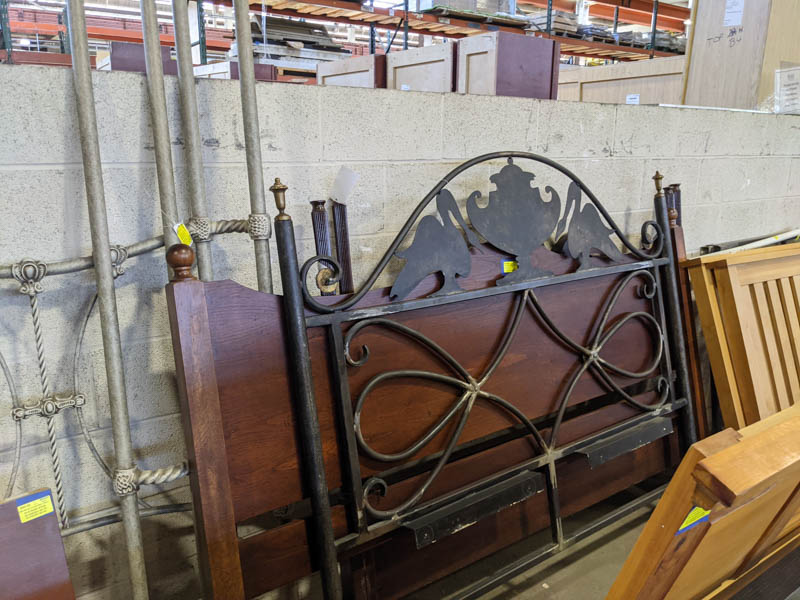
Sourcing material for the tiered garden bed
I went to one of my favorite places for sourcing salvage and second-hand material in Baltimore. The place has literally everything you could possibly think to find. I found a great iron headboard to use as a trellis on the back of the tiered garden bed.
Next up on my shopping list was reclaimed lumber. I wanted to use lumber that didn’t have a lot of chemicals in it and after hearing about old-growth lumber, I knew that was exactly what I wanted to use!
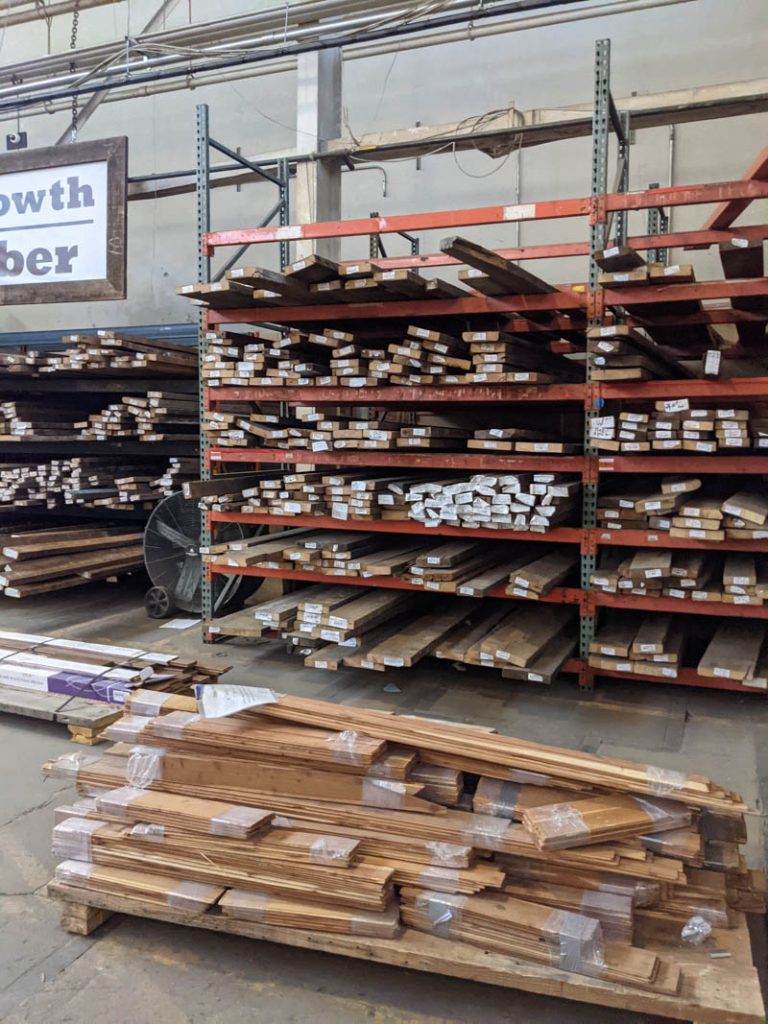
Building a tiered garden bed from reclaimed materials
Be sure to check out the video below to learn more about gardening and what you need to have a successful raised garden.
This was my first episode of Weekend Woodworking done with Better Homes and Gardens. It was an amazing experience and I can’t believe all the hard work that goes into making an episode. Make sure to subscribe to their YouTube channel for future episodes!
Get the Tiered Garden Bed Plans
Let’s get dirty!
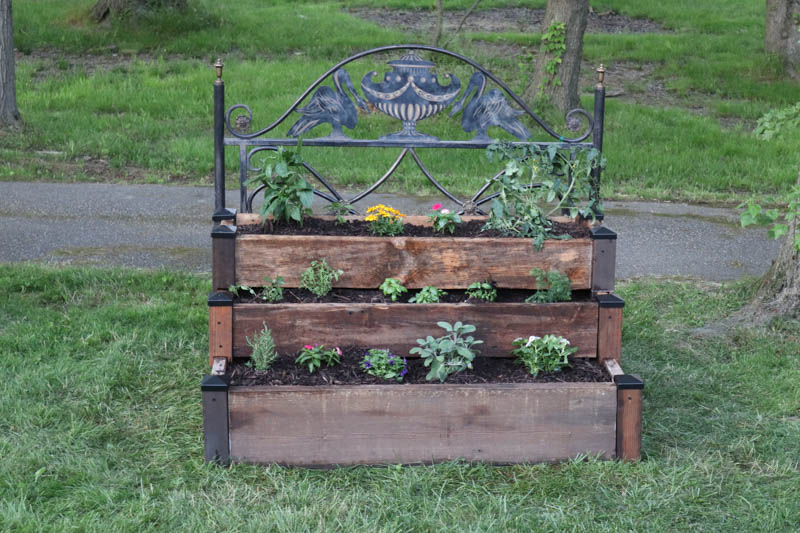
The design of this garden bed will sit on the ground to allow me to grow larger vegetables with deeper roots, but it will be tiered so I can easily reach the top levels without bending over too much.
The first thing I did was to identify where I wanted to place my raised garden bed. I needed a spot in the yard that was relatively flat because I didn’t want to have to level any ground. That would be way more work than I signed up to do.
Now for the building!
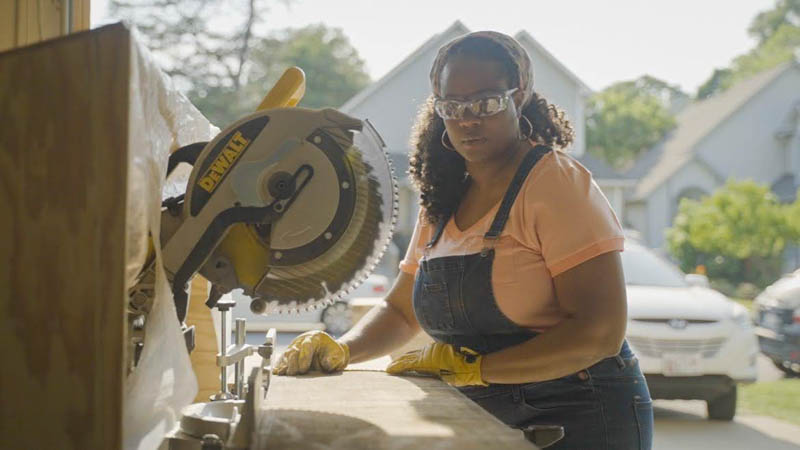
1. Make the cuts
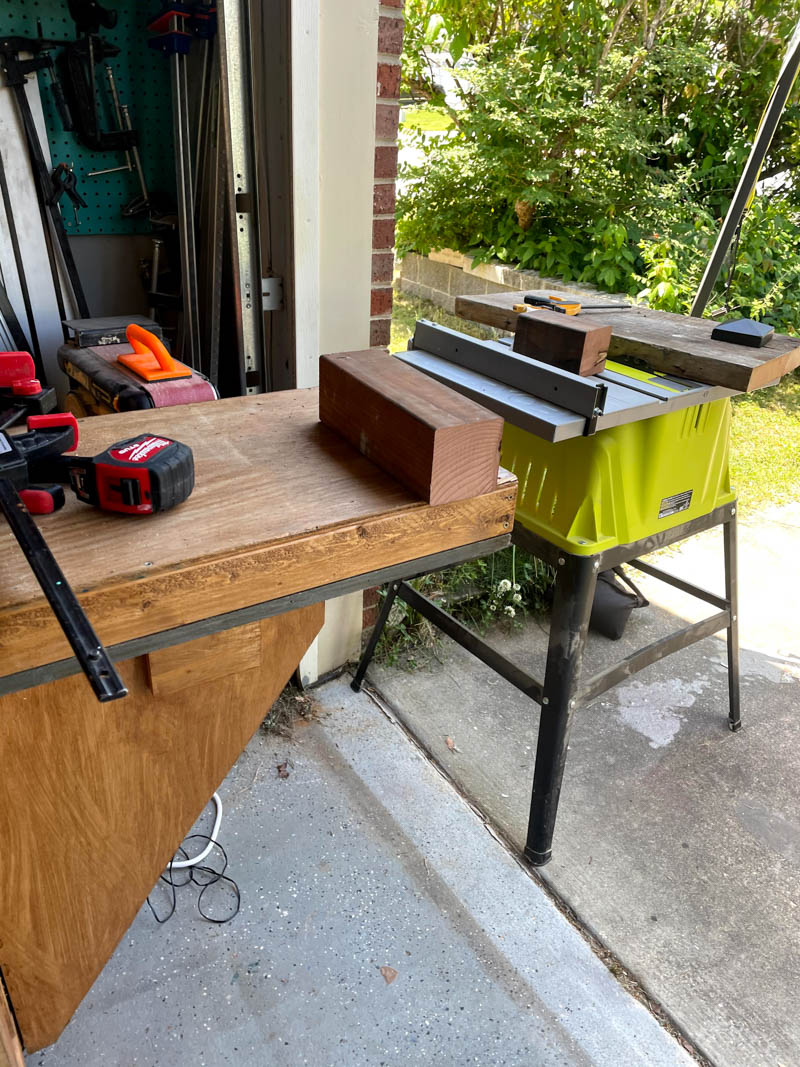
Make the cuts according to the plans. I used old growth redwood for the posts and old growth oak for the sides. Take into consideration that when using old growth lumber, not every edge will be completely straight.
Make sure to cut a straight edge on the sides before you measure out the actual size of the piece of lumber. I also like to mark each piece with its measurements to help me identify it when I go to put the project together.
2. Pre-drill all the holes
I pre-drilled the holes because I was dealing with really old lumber and it is really hard and dry. Pre-drilling reduces the risk of having the wood split.
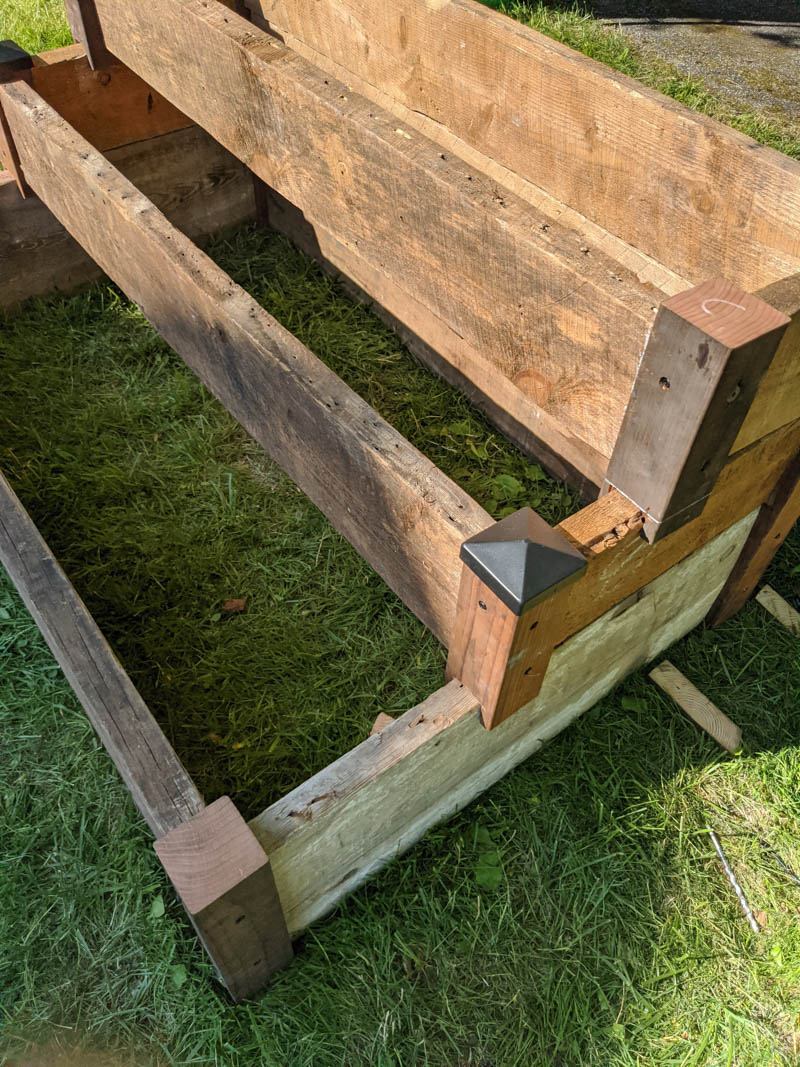
3. Assemble your tiered garden bed
- Attach the front and back posts to the bottom side panels. Next, attach the two side panels using the 55 inch 2×12 bottom ends, which is basically the back and the front of the planter.
- Add the middle sides to the raised planter by attaching each side to the back post, then putting in place one of the four top and middle posts that we cut earlier. Next, add the middle and the front.
- Finally, add the two side panels followed by the back and front for the top tier.

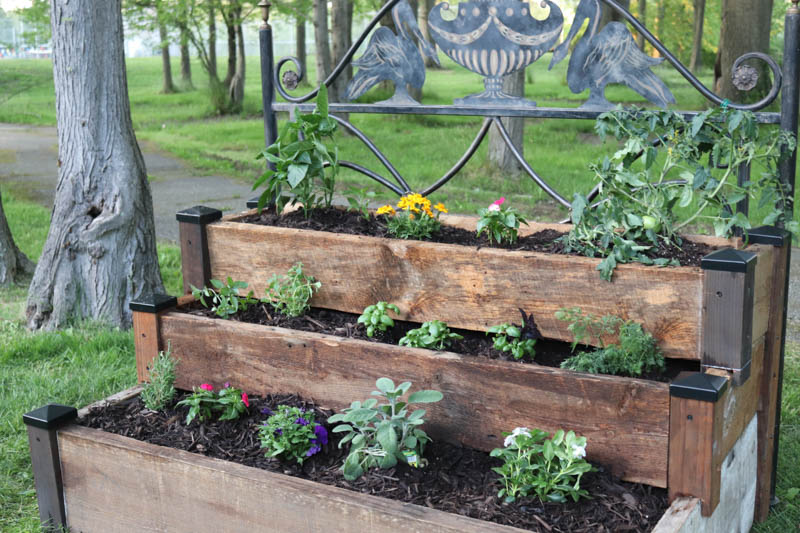
4. Add the trellis
Adding a trellis is optional, but it will give vining plants a place to grow and it will add a unique feature to your tiered garden bed. I used the old iron headboard (it is a garden BED after all) I found at the salvage store and attached it using bolts.
5. Add soil and plants
Your bed is ready for planting! Add soil and mulch to your planter levels. Mulch will help keep the soil moist. Add your choice of vegetables and flowers and you’re ready!
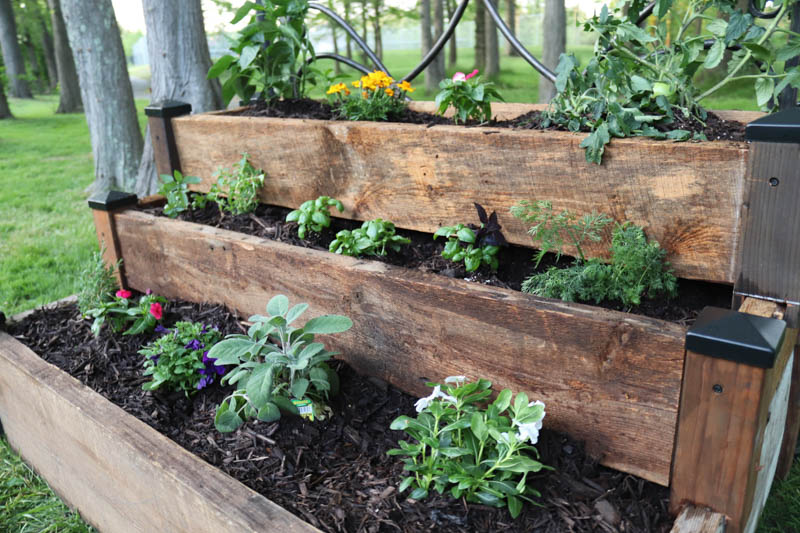

There is something so satisfying about growing your own vegetables. Knowing where they came from and that you grew them with your own two hands, there’s no feeling like it!
What vegetables will grow in your tiered garden bed? Let me know in the comments below!

How cute is this! It won’t require enough space and can be placed anywhere. Plus, It can give a really cute look to your garden.