How To Make a Solar Garden Light at Home
Create a DIY garden solar light that looks great at night and during the day.
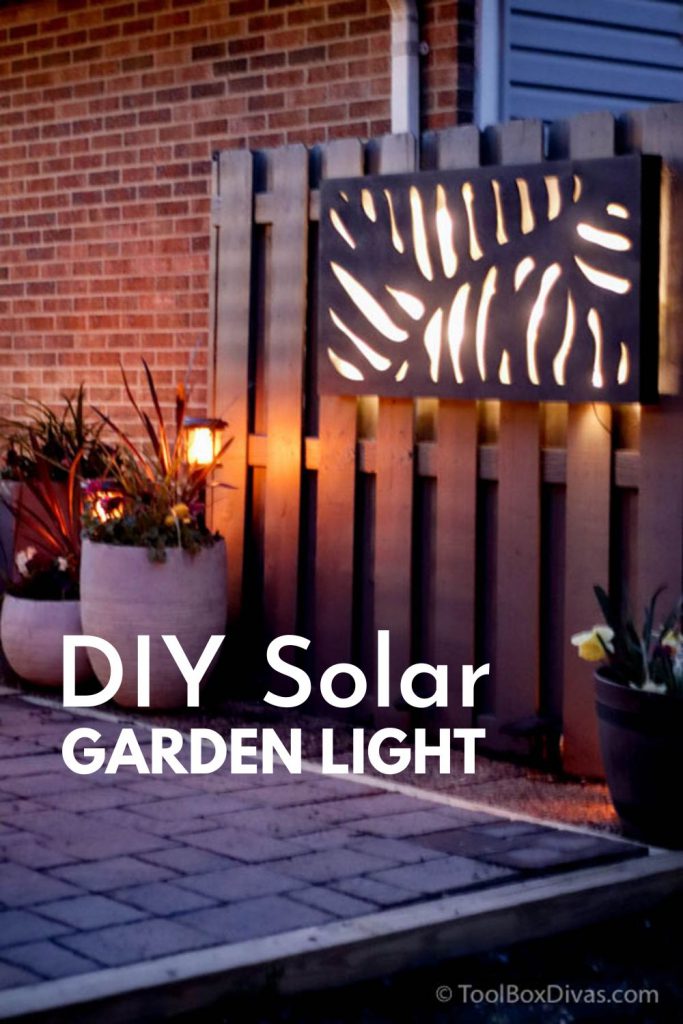
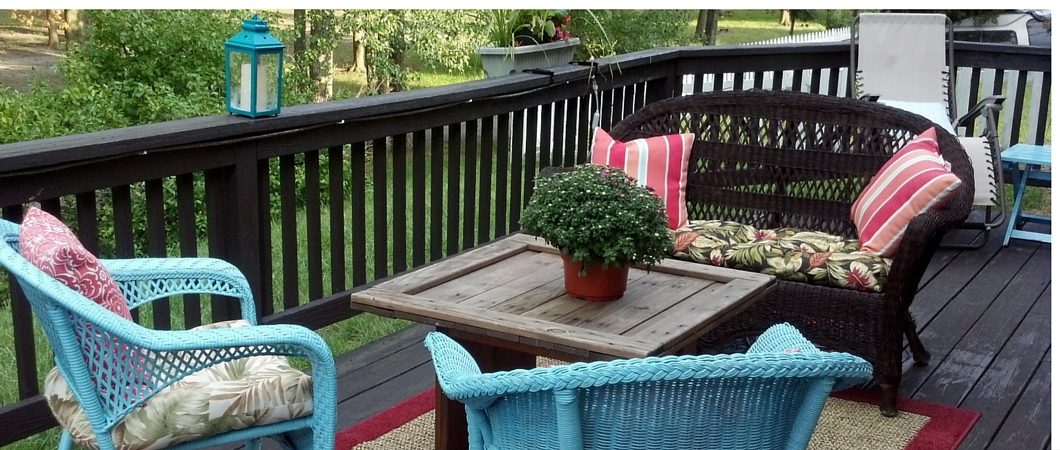
We finished up our new patio area, and it needed a little something extra. So I created this DIY solar wall light that doubles as garden art! Learn how to make your own with this step-by-step tutorial.
Enjoying the outdoors is wonderful, but after the sun goes down I don’t want to sit out in the dark. I want to be able to enjoy my outdoor living space after the sun goes down.
So I added a bunch of solar lights to our outdoor patio area, but there was still something missing. I came up with this idea for an outdoor solar garden light that also doubles as wall art. The idea is another version of my DIY nursery nightlights. I made them for Sydney’s room and thought why not make a grown-up version for the backyard?
This is an easy beginner woodworking project that anyone can make. The best part? You don’t need electricity to power your garden wall art, it’s all run with solar lights!
This post contains affiliate links. If you purchase from a link from this post, I will receive a small commission at no extra cost to you. Thank you for supporting the brands that make this blog possible.
How to Make a Solar Garden Light
Supplies
- 2×4 boards
- Modinex charcoal gray decorative panel
- Construction adhesive
- French cleat
- 2 1/2″ exterior screws
- Solar lights ( I got these and these)
- 4 Acetate sheets
- Miter saw
- Drill/driver
- Forstner bit
- Black paint
Let’s get dirty!
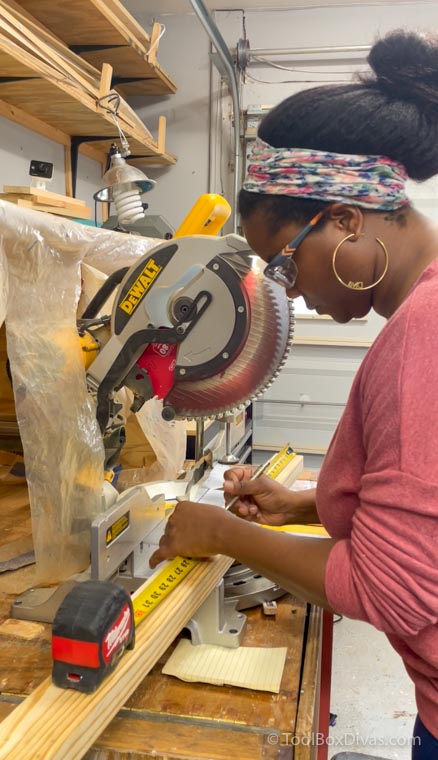
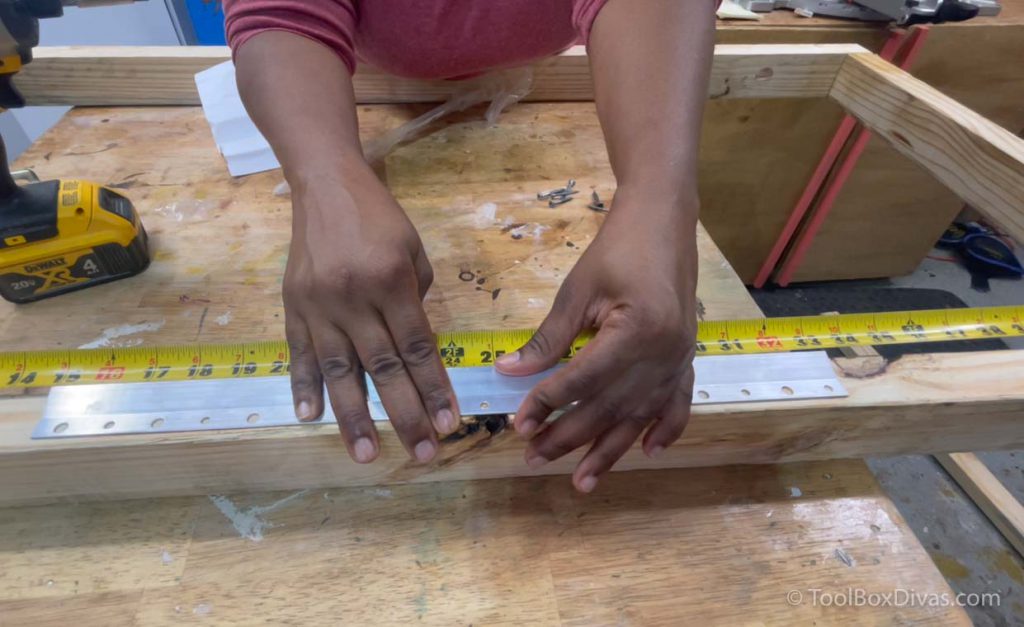
Step 1. Make your cuts
Cut your 2x4s into 2 – 48″ and 2 – 21″. You will use these to make the frame for the solar garden light.
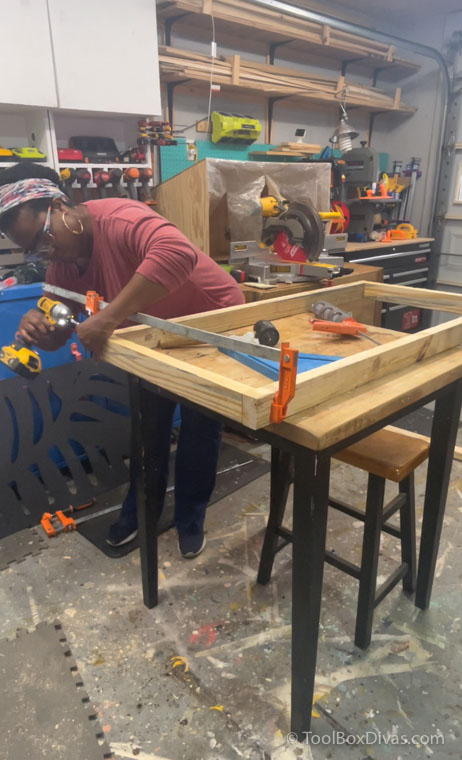
Step 2. Build the frame
Clamp your boards together and join them using 2 1/2″ exterior screws. This will be hanging outside and we don’t want the weather to cause the screws to rust. Make sure your frame is nice and square.
Step 3. Add French cleat hanger.
Measure and mark the middle of the back of the top of your frame. Add your french cleat hanger. Now, I know I should have done this after I painted, but what’s done is done. No one will see the back of it anyway.
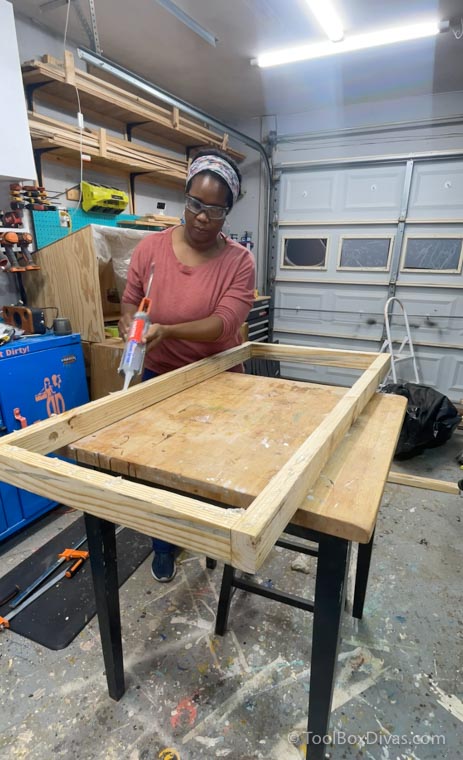
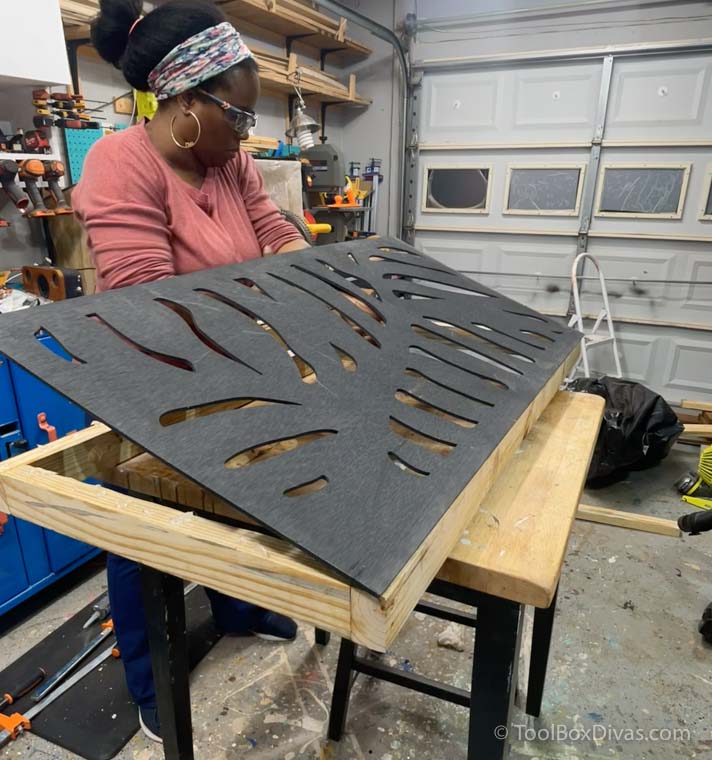
Step 4. Add the decorative panel
Flip the frame over and apply construction adhesive all around the frame of the solar garden light. Carefully position your decorative panel onto the frame and press firmly all the way around to get a tight bond. Allow to dry.
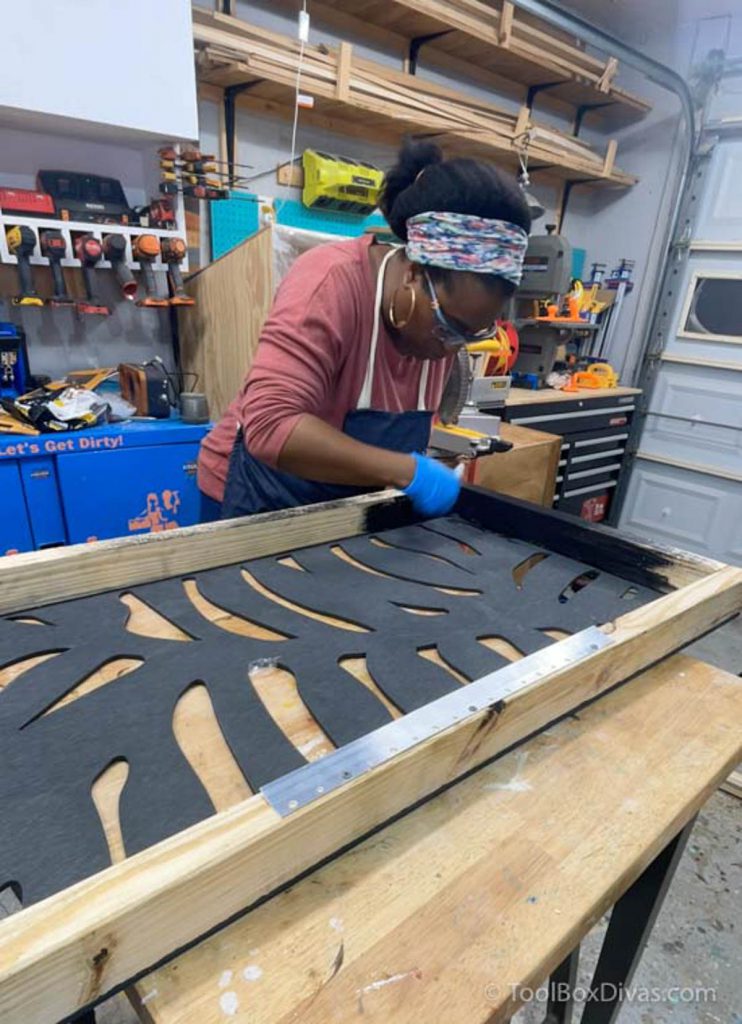
Step 5. Paint
Once the panel is glued in place and dry, paint the frame black. You can paint it any color you want, but I wanted it to match the decorative panel.
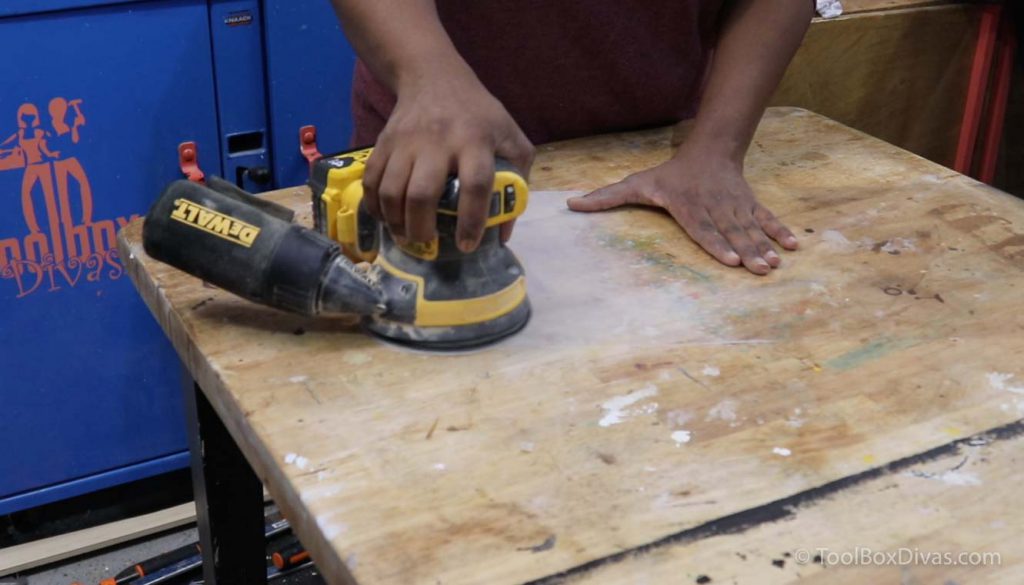
Step 6. Prep and install acetate sheets to your garden solar light.
Using your sander, sand your sheets of acetate to give them a matte finish. These sheets will diffuse the light of your solar lights.
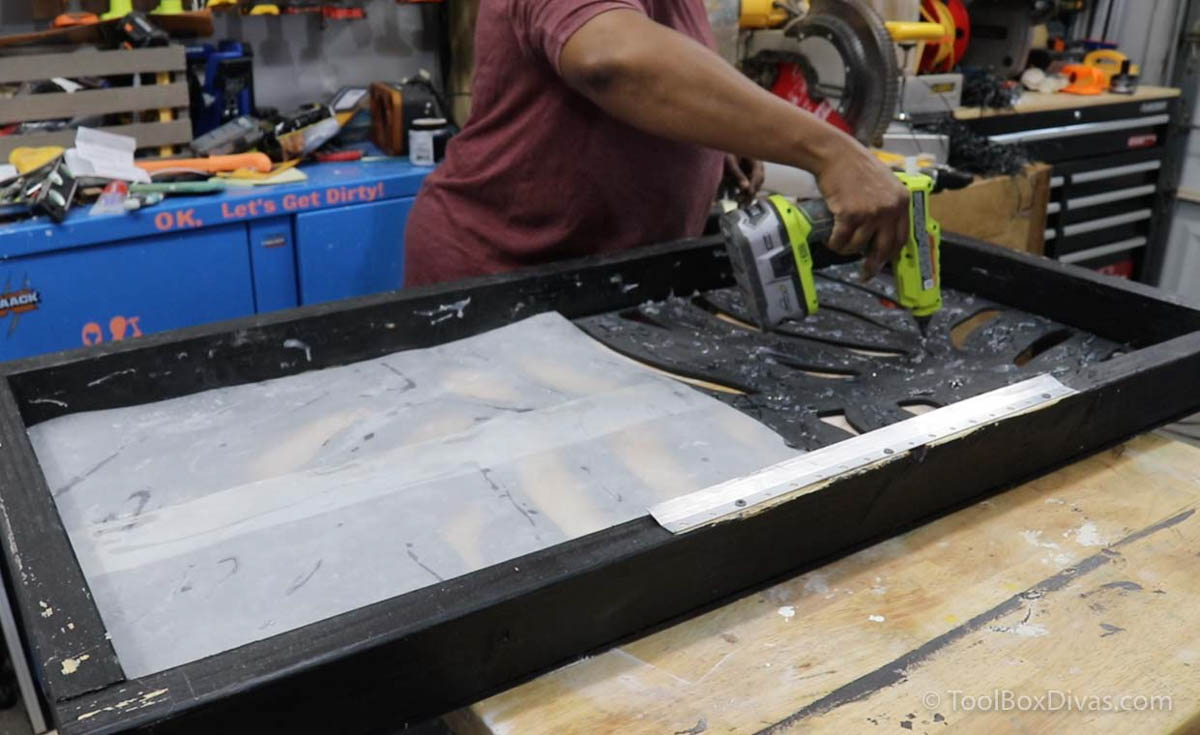
Using hot glue, adhere the acetate sheets to the back of the decorative panel.
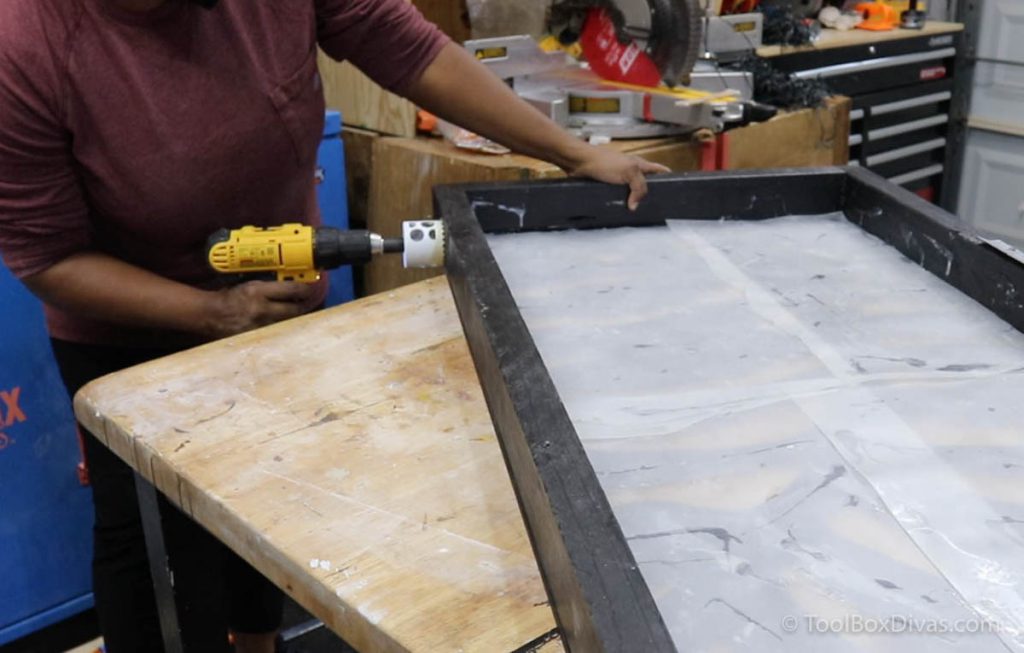
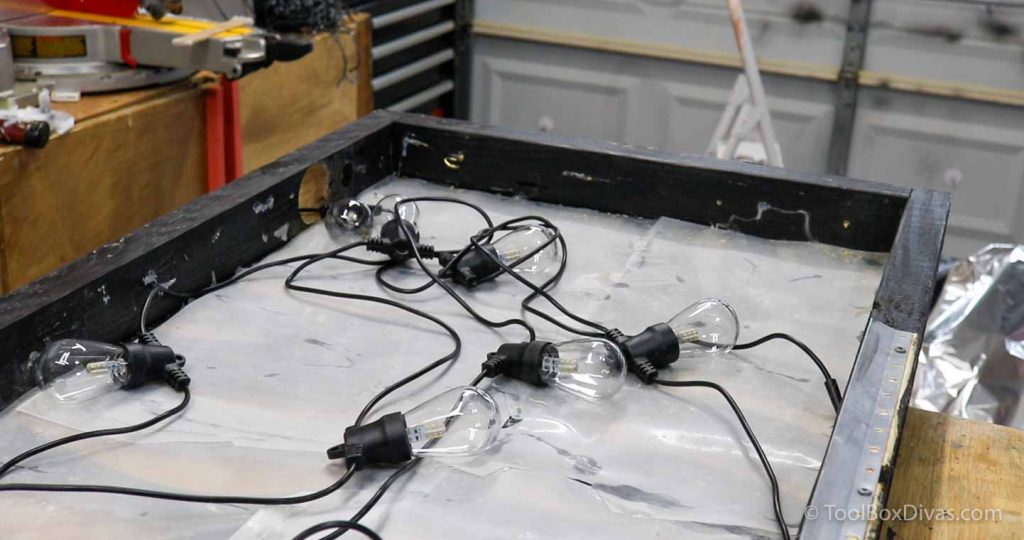
Step 7. Add solar lights
Now it’s time to add the solar lights. I used two kinds of lights in my solar garden light. Large string lights, and outdoor Christmas lights.
First, drill a hole in the bottom of the frame to allow the cords to come through
Next, add the large lights spacing them out around the edge and into the middle of the frame.
Then using cup hooks, string the Christmas lights back and forth across the frame. The more the better!
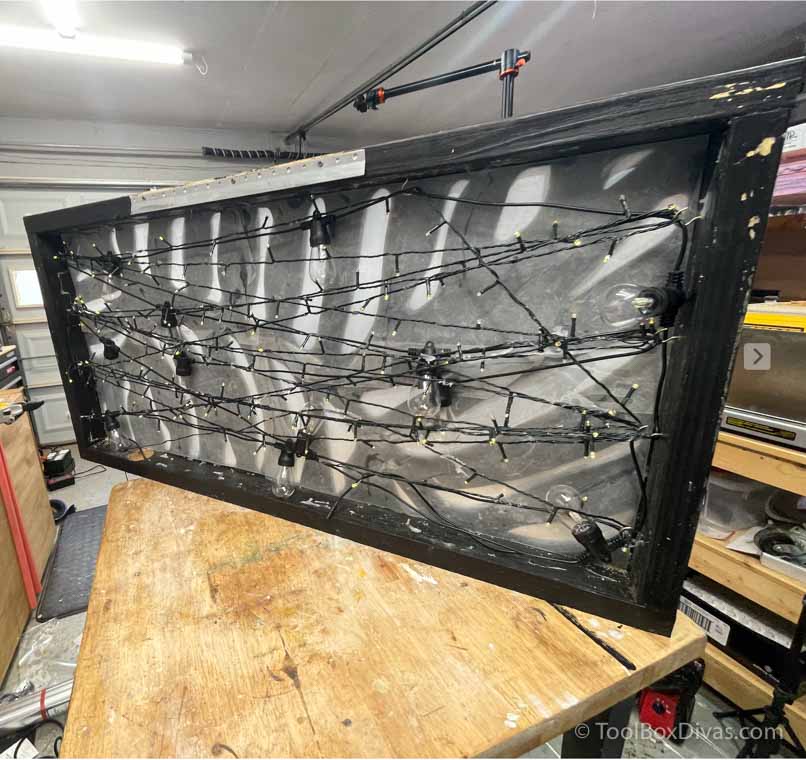
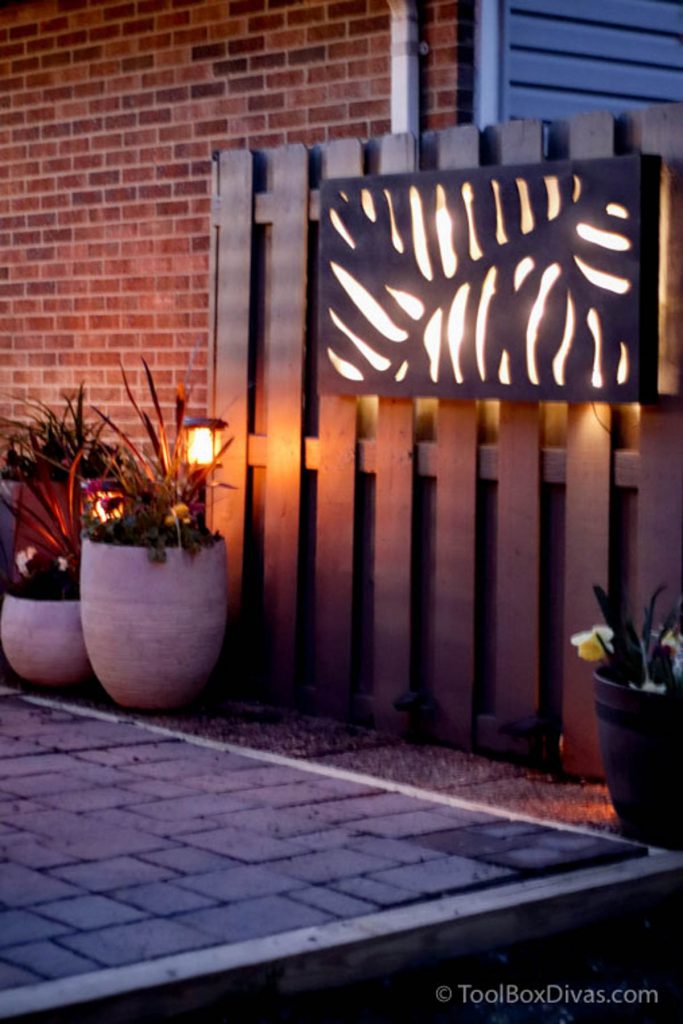
Step 8. Hang your garden solar light and enjoy!
Hang the French cleat on your fence then hang up your solar garden light and plug it into the solar panel.
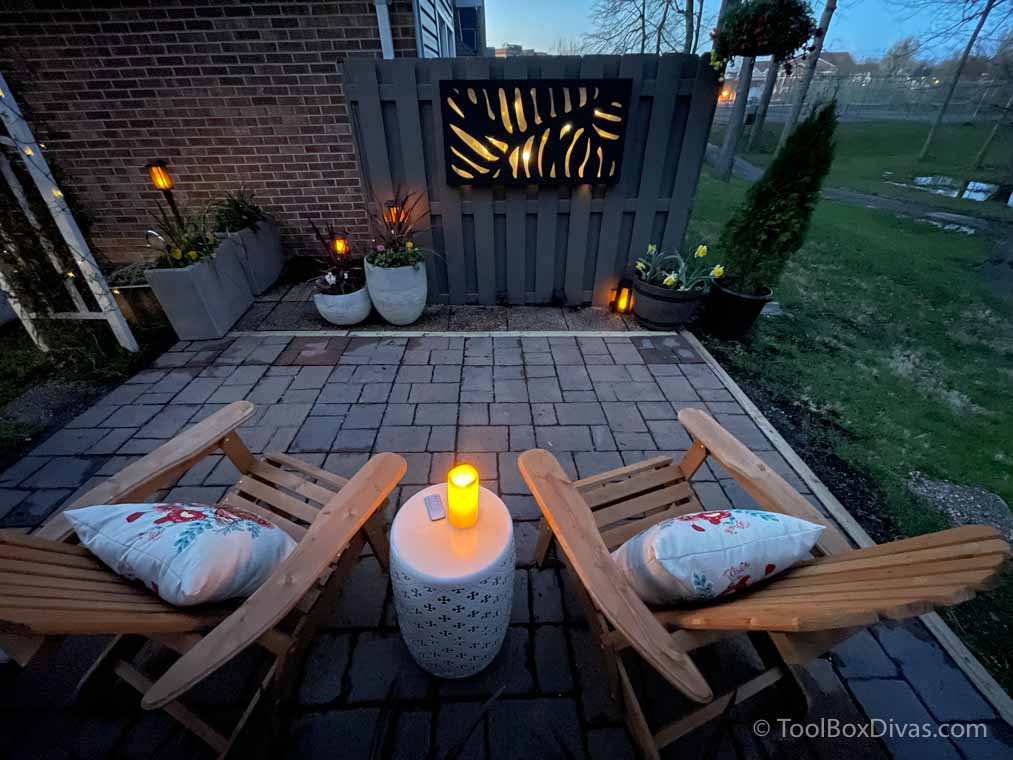
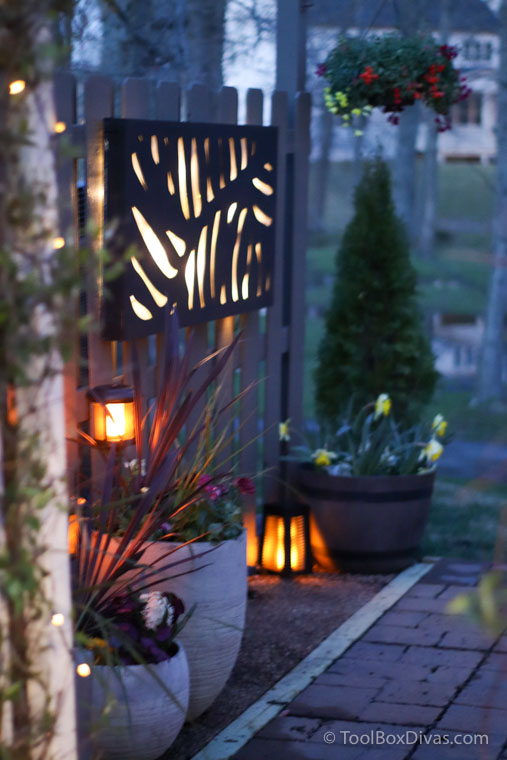
I just love how this turned out! It looks great during the day as garden wall art, but when the sun goes down…
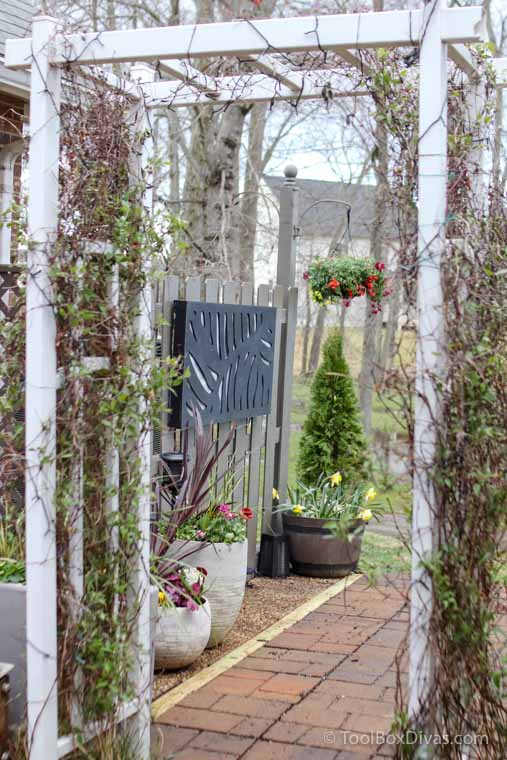
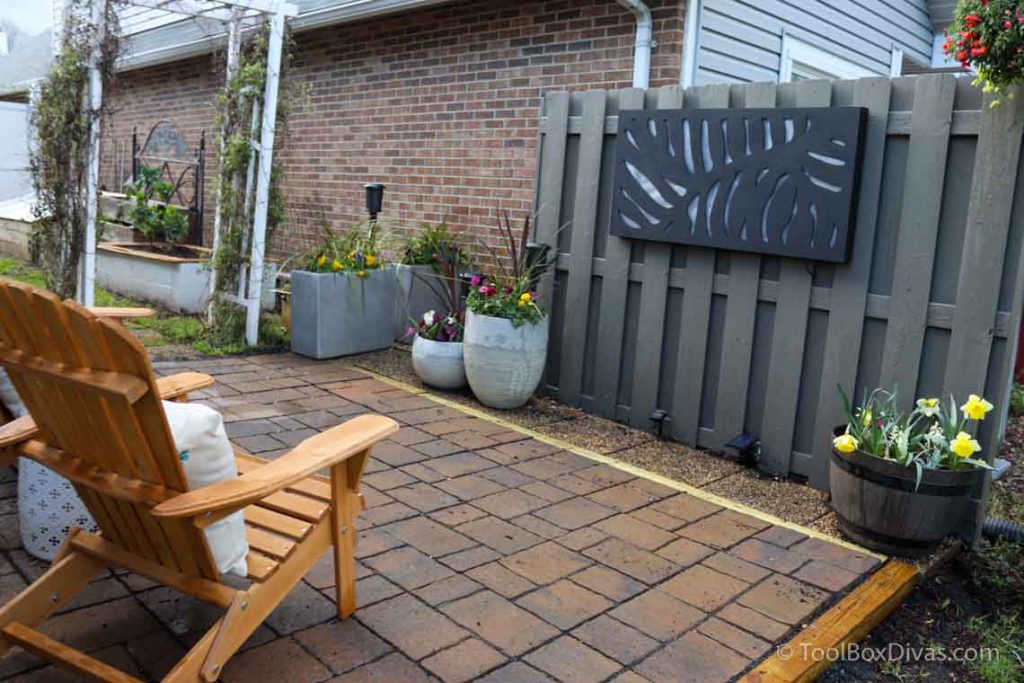
That’s when the magic happens! I love our cozy outdoor patio space. All of the solar lights brighten the space at night, but the solar garden wall art panel is for sure the best light of them all!
DON’T FORGET TO PIN FOR LATER!