How to Make a Set of Solar Lanterns
Learn how to make a set of wooden solar lanterns to add to your outdoor living space.
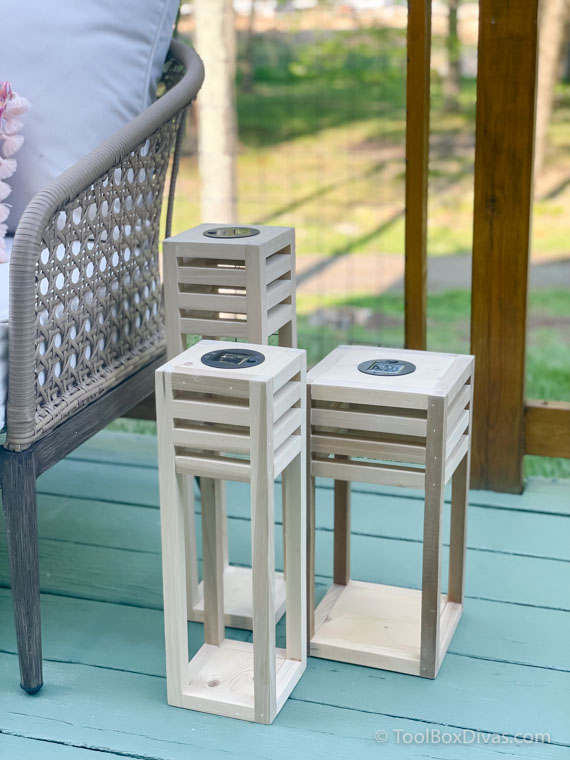
In this blog post, I’ll be going over how to build a set of modern wooden solar lanterns. These are great for lighting up your yard or patio and make a nice addition to any outdoor space. They’re relatively easy to put together and you can customize them with different colors if you want. Create some unique outdoor decor pieces that will help light up their backyard at night while also being eco-friendly.
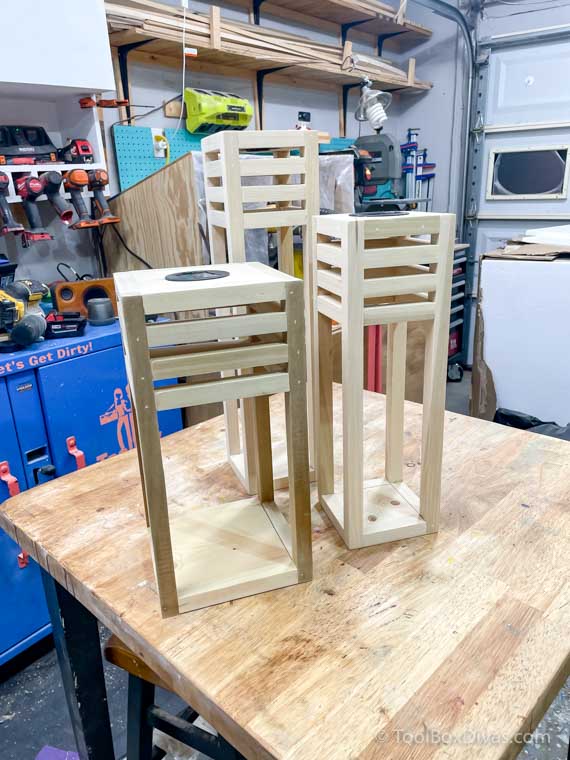
We’ll be making 3 solar lanterns of various heights and widths. The plans outline the cut list specific to each lantern by height.
GET THE PLANS
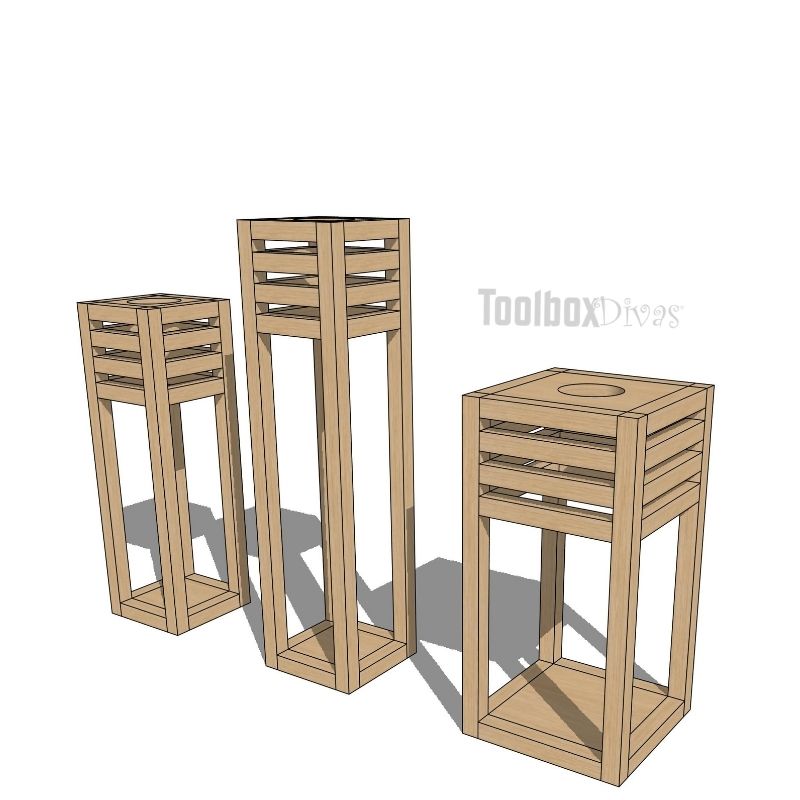
Materials
- 5 – 3/4 in. x 3/4 in. x 8 ft. square wooden dowels.
- 1 – 1″ x 4″ x4′
- 1 – 1″ x 6″ x4′
- Solar Light Insert
- Wood Glue
Tools
- Drill
- Miter saw box
- Hole Saw
- Brad nailer
- Clamps
- Speed Square
- Tape Measure
- Pencil
OK, Let’s Get Dirty!
Step 1. Cut the pieces for the solar lantern to size.
For this, I used what I had on hand which is poplar. Poplar isn’t exactly the best wood for outdoors. But I didn’t want to spend a lot of money given the current surge in wood prices. So for these, I made sure to seal the wood with an exterior sealant. This is a very simple project.
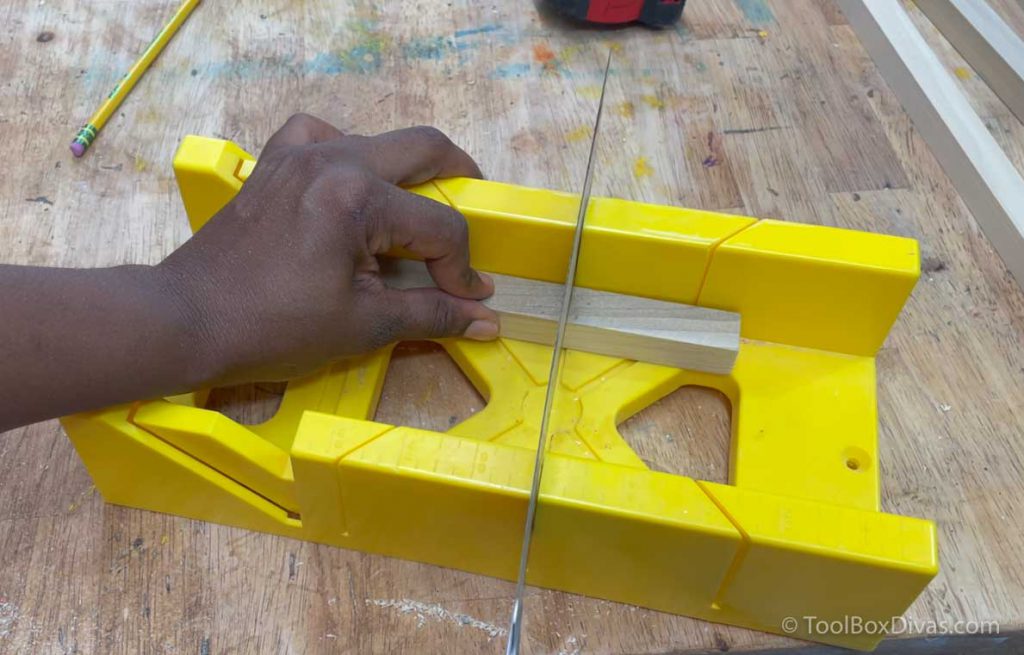
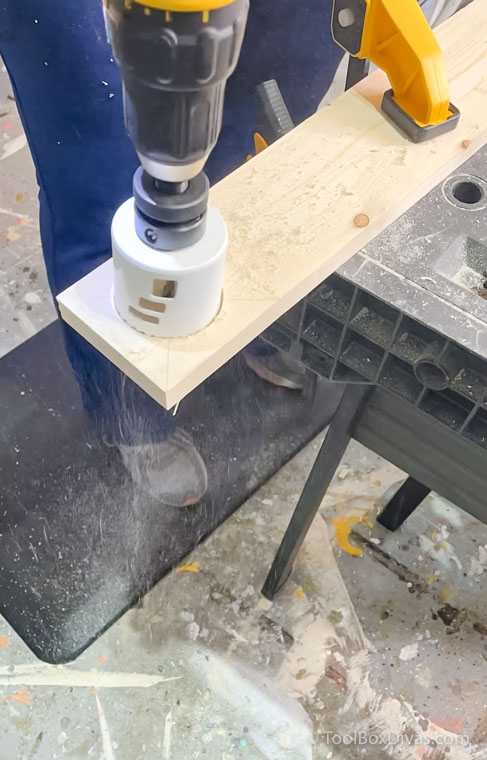
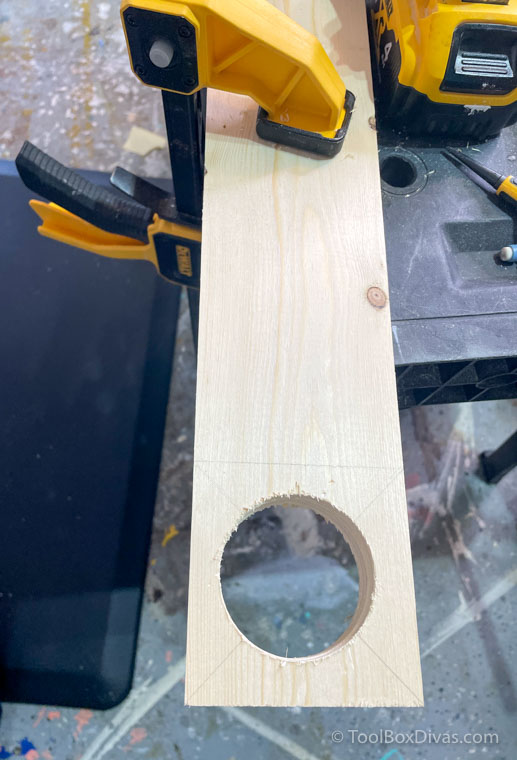
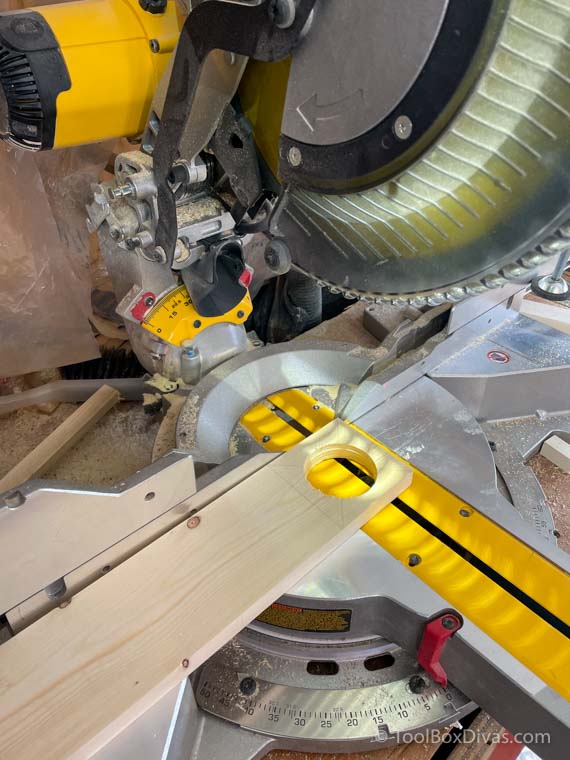
You can actually make all the cuts by hand with a saw and a miter saw box and or straight edge guide. In fact, I prefer cutting the 3/4in. square dowels by hand. Before cutting the top piece for the top of the lanterns I found it was best to drill the hole in the 1×4 or 1×6 top piece for better control over the wood.
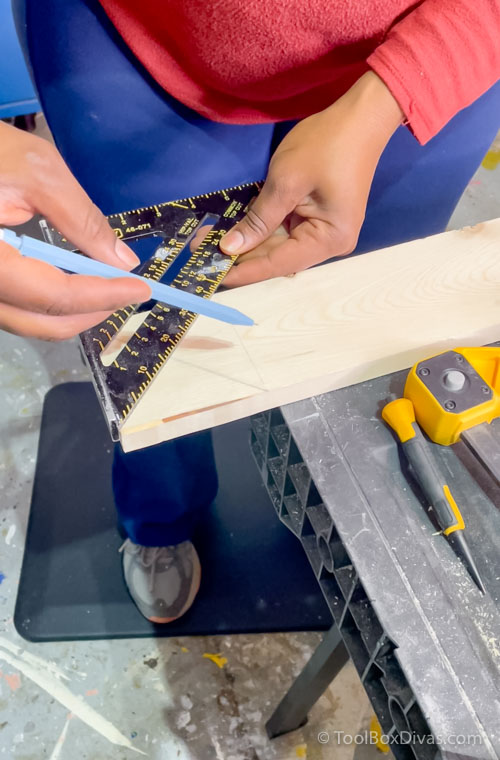
Use a speed square to find the middle of the top piece and drill using the hole saw directly into the center of that piece. Once the hole is cut, cut the top for the lantern to size to create a square piece.
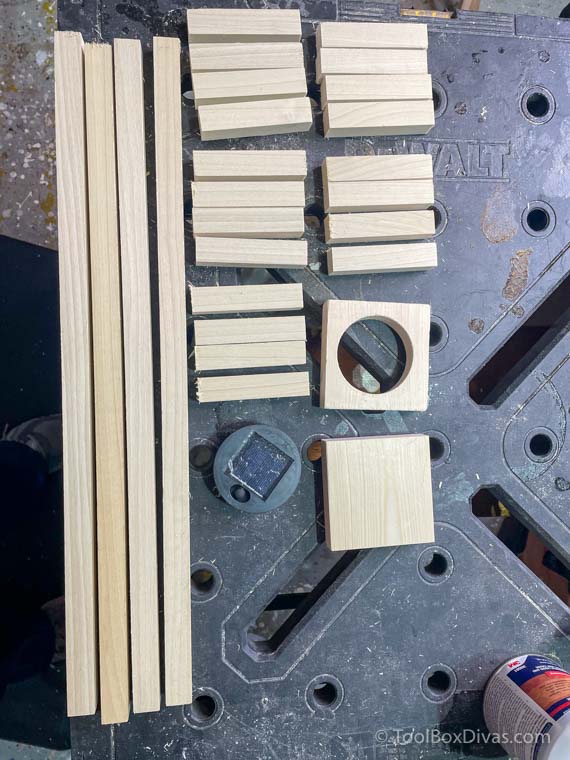
Once all the pieces were cut, I laid it all out on the table to make it easy to grab the necessary piece needed for each step.
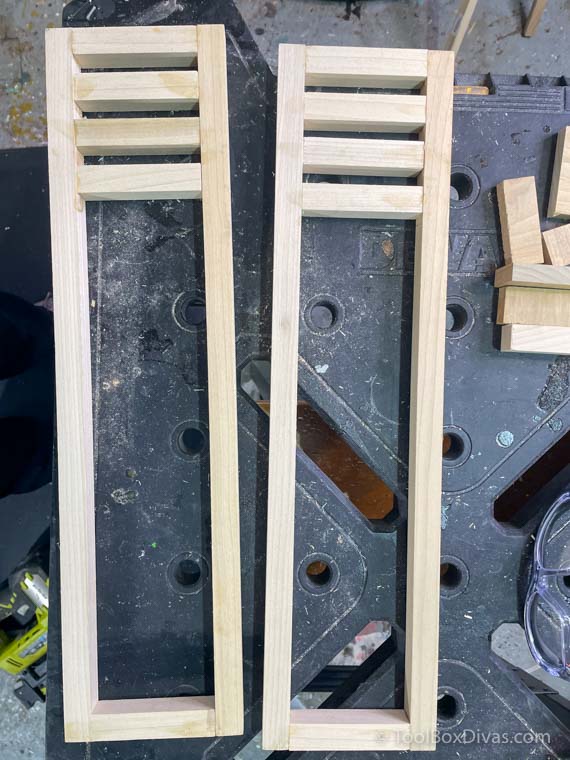
Step 2. Assemble the 2 side frames.
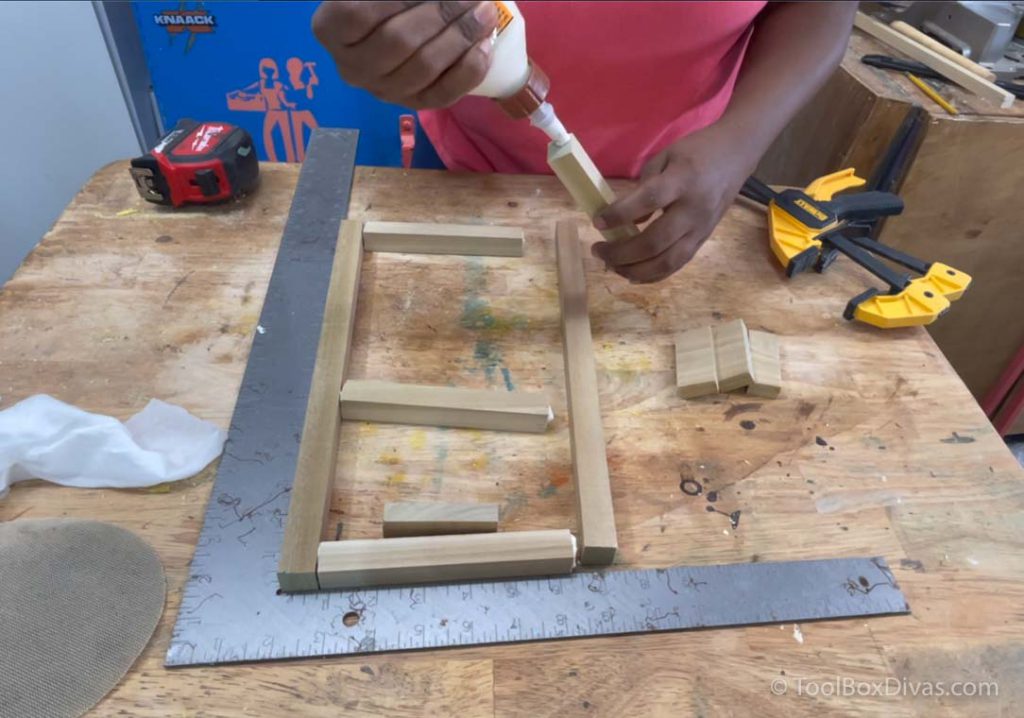
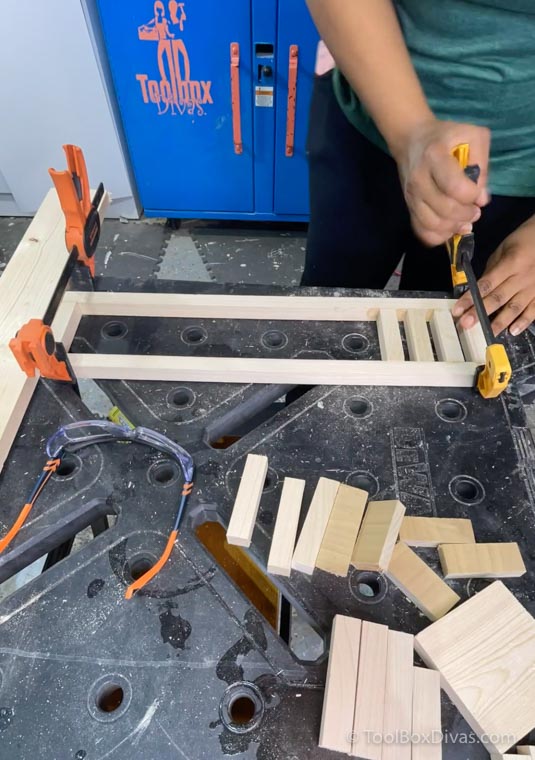
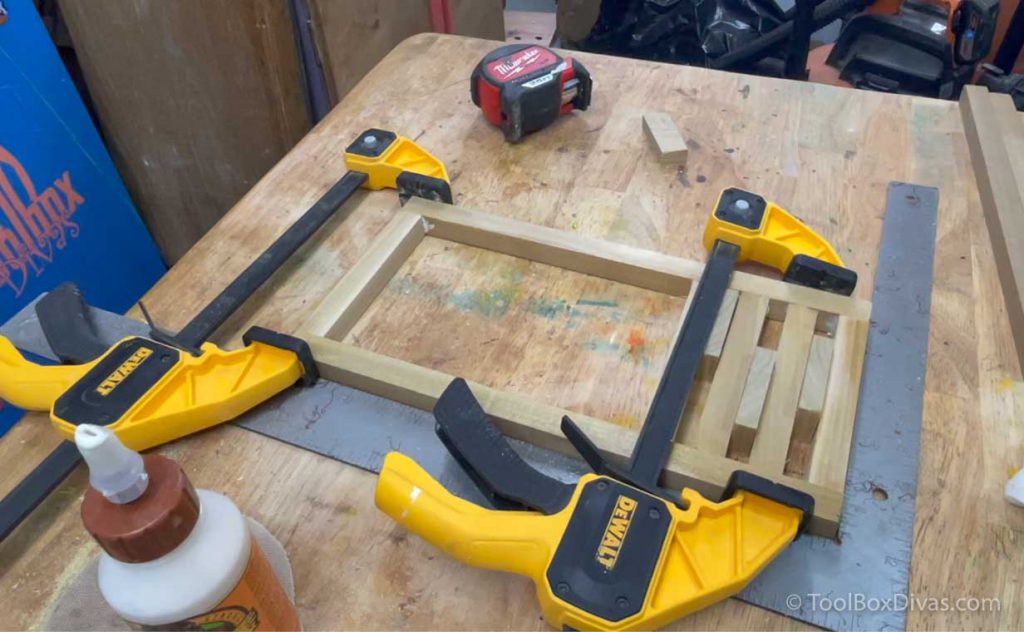
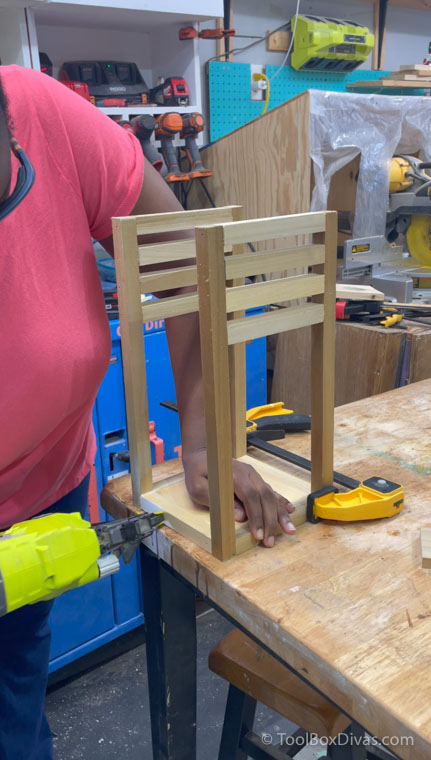
I used primarily wood glue to join the pieces of the frames, starting with the top and bottom rails to ensure each frame is square. I used scrap pieces of wood that’s 1/2 in thick to use as spacers between the rails then clamped all the pieces together while the glue dried.
Step 2. Assemble the Lantern.
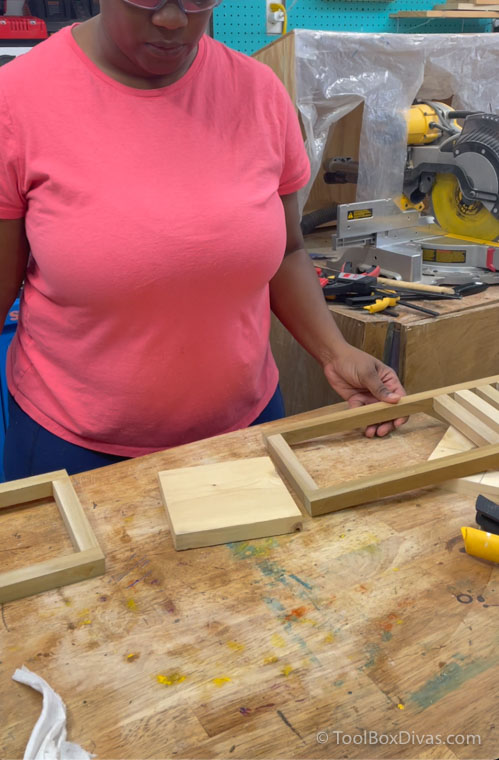
Once the 2 frames of the solar lantern were dry I proceded with the assembly of the lantern.
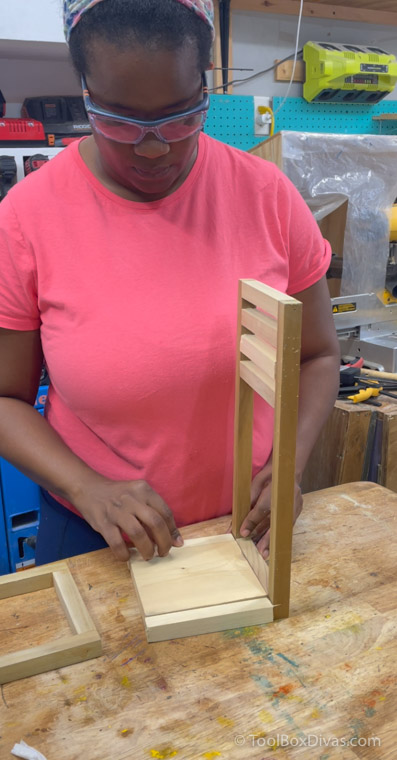
I started with connecting the two frames with the bottom portion of the lantern. To speed things up I used wood glue and a brad nailer.
Then I put in place the side connecting rails of the lantern.
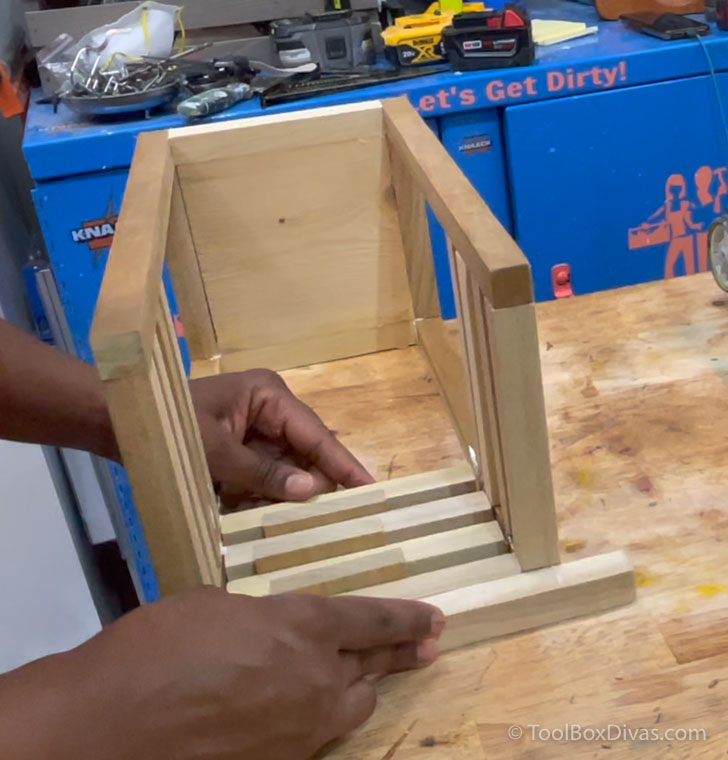
And finally secured the top of the lantern where the solar lantern would sit.

Step 3. Apply wood filler and sand down lantern.
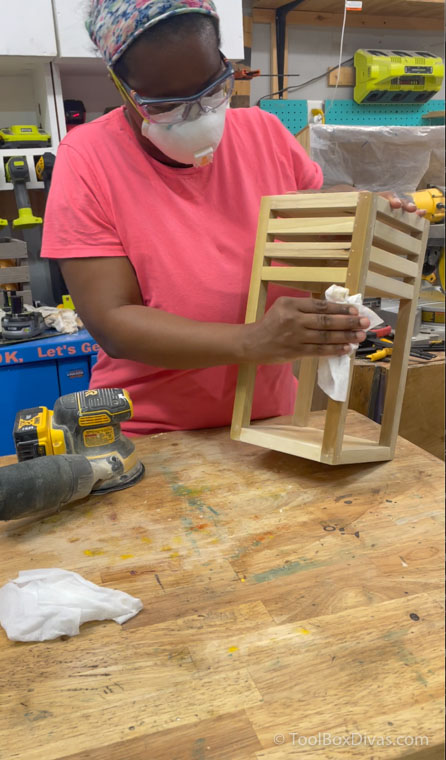
Secure the solar light with silicone.
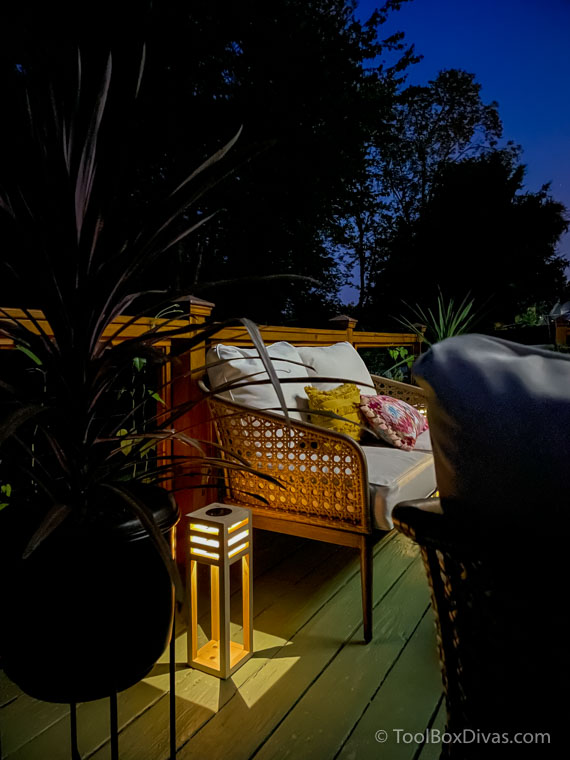
The Night View
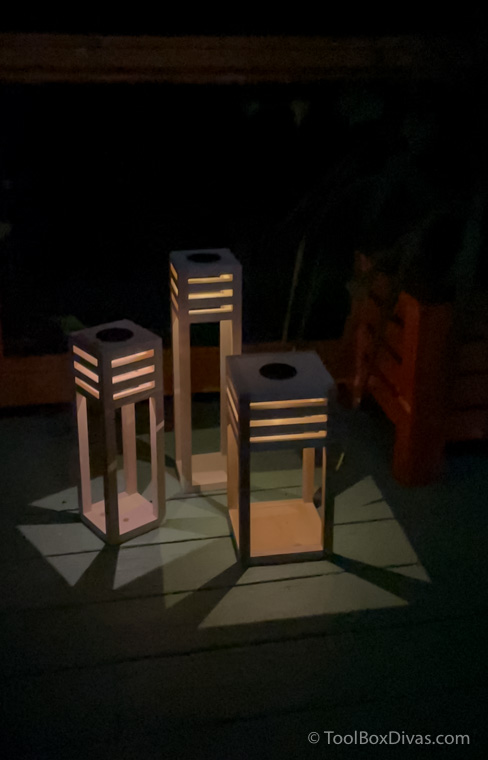
You can group them or display solo.
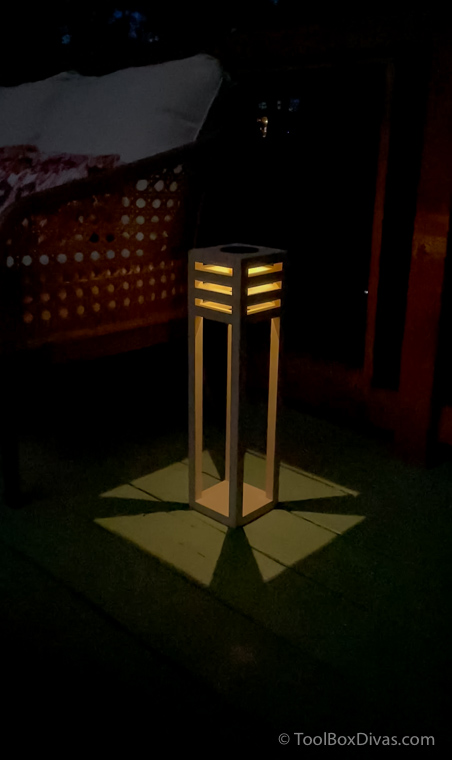
I especially love love how these look at dusk.






Hi! Like this idea and know what you mean about the Price of wood. I’m thinking of renovating my deck. Going to use the pressure treated spindles to make a few of the lanterns. That should save some money there.
Hi I like this idea, I’m looking to brighten up my deck and these lanterns should save me money.
how do I get the plans for these lanterns?? I love them.
There is a link at the bottom of the post for the plans
I’ve been trying to get the exact measurements for the solar lanterns and it’s not showing. What are the exact sizes for each one?
Hi it is outlined in the plans.