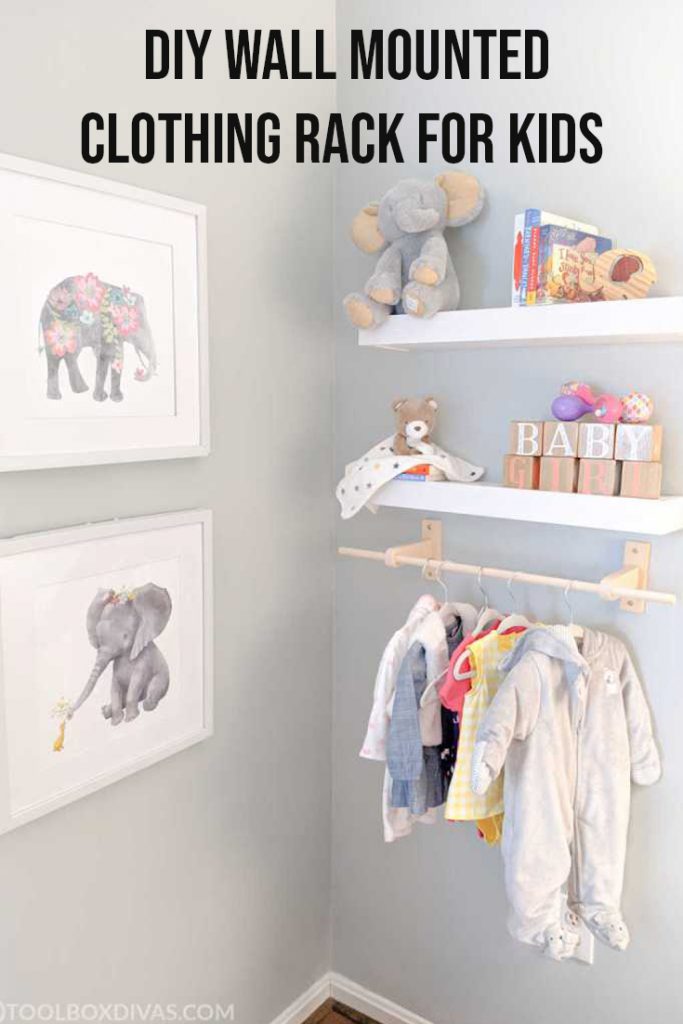
DIY Wall Mounted Clothing Rack For Kids: A Nap Time DIY
Learn how to make this easy DIY wall mounted clothing rack for kids. Add a cute little touch of storage to your little one’s nursery.

Welcome back to another edition of Nap Time DIY. A series of simple DIY projects you can do in an hour or less while your little one sleeps.
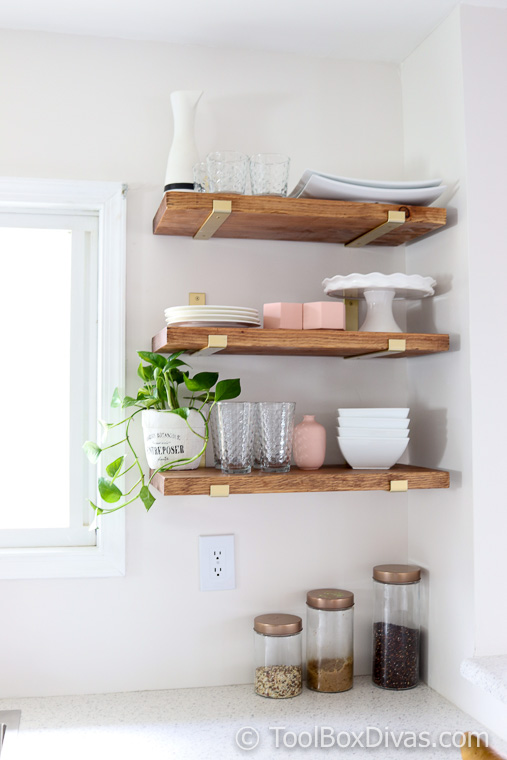
Be sure to check out my other Nap Time DIY projects. Abstract marble wall art using shaving cream, how to build a modern desk with hairpin legs, and DIY faux floating shelves.
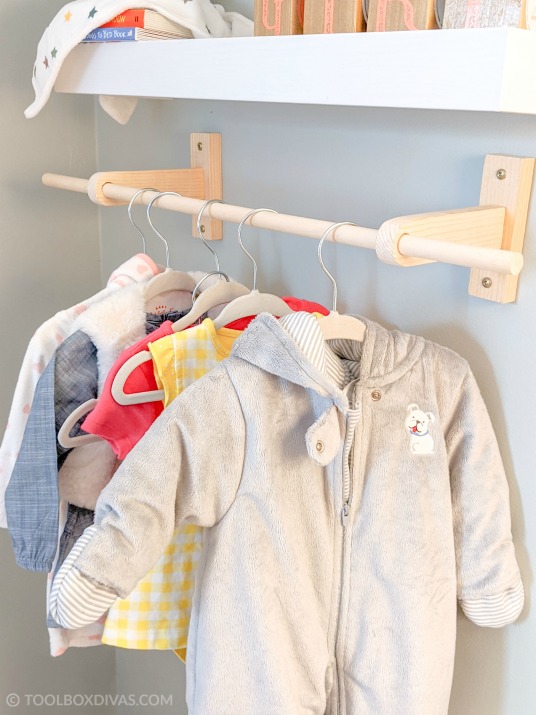
Today’s project is this easy to make wall mounted clothing rack. I wanted a place I could hang some of my little diva’s clothes where they would be easy to get to.
You know, the ones I put her in the most. The ones that are super cute. I didn’t want to have to go digging in the closet every time. I wanted them to be where I could get to them easily.
When you’re a busy mom, juggling ALL THE THINGS, this little piece of organization makes life run a little smoother.
As she gets older she will be able to hang accessories on it or her school bag (please let the time pass slowly so I can enjoy her being little!).
Watch me make this quick little DIY and if you’re not already following along, follow me @Toolboxdivas on Instagram.
Materials and Tools Needed for Wall Mounted Clothing Rack
Materials
- 1- 1x2x8 board ( Cut to 2- 5″ in pieces and 2 – 6″ pieces)
- 1 – 1/2″ round dowel (Cut to 26″)
- screws (4 – 2-1/2 in. Wafer Head Screws and 4 – 2″ Flathead screws)
Tools
- drill
- 1/2″ drill bit (for the dowel)
- Sander / combination sander
- Miter Saw or Hand saw
Let’s Get Dirty!
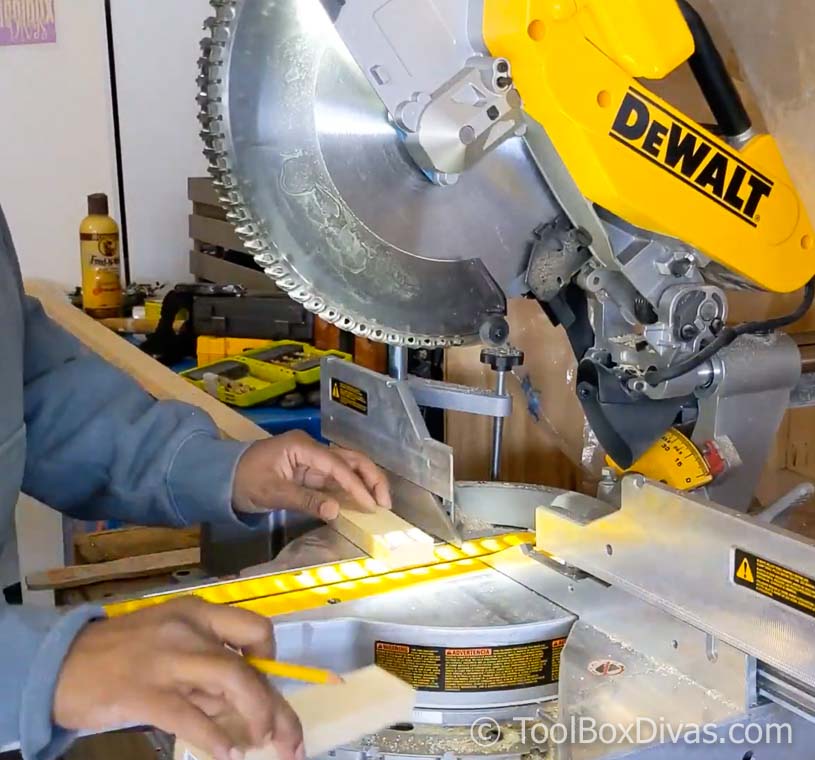
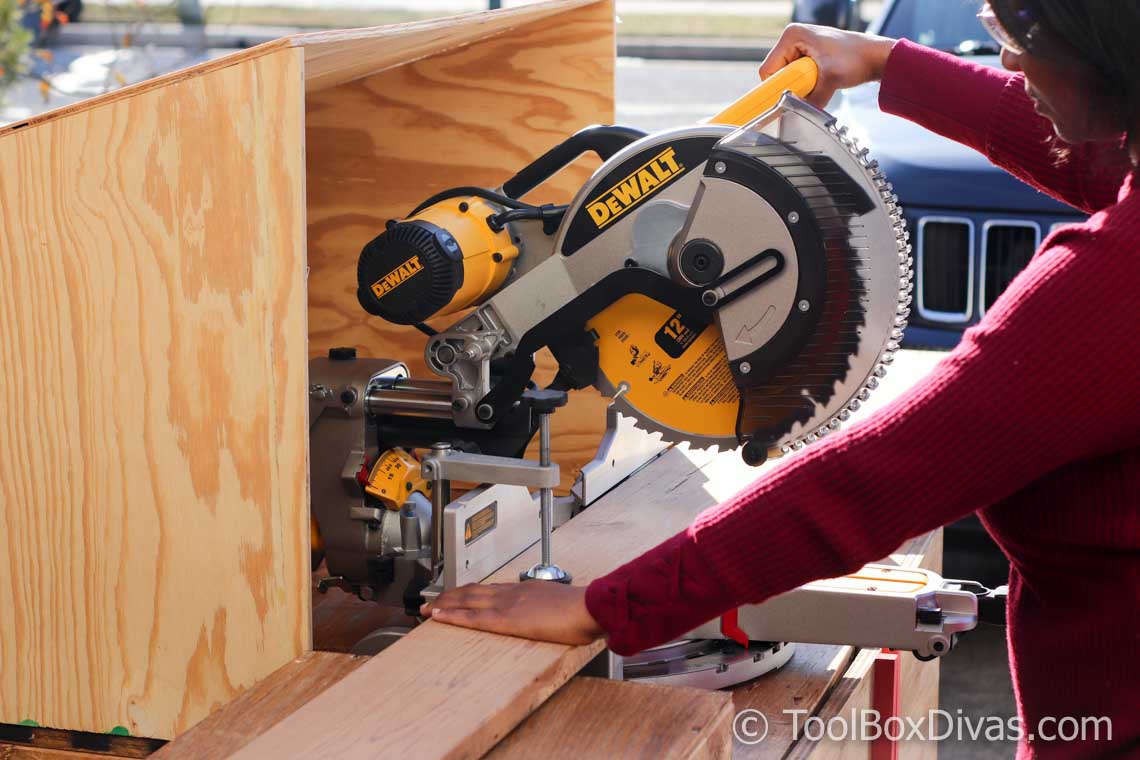
- Using a miter saw, cut two 5″ pieces from the 1x2x8 board
- Cut two 6″ pieces from the 1x2x8
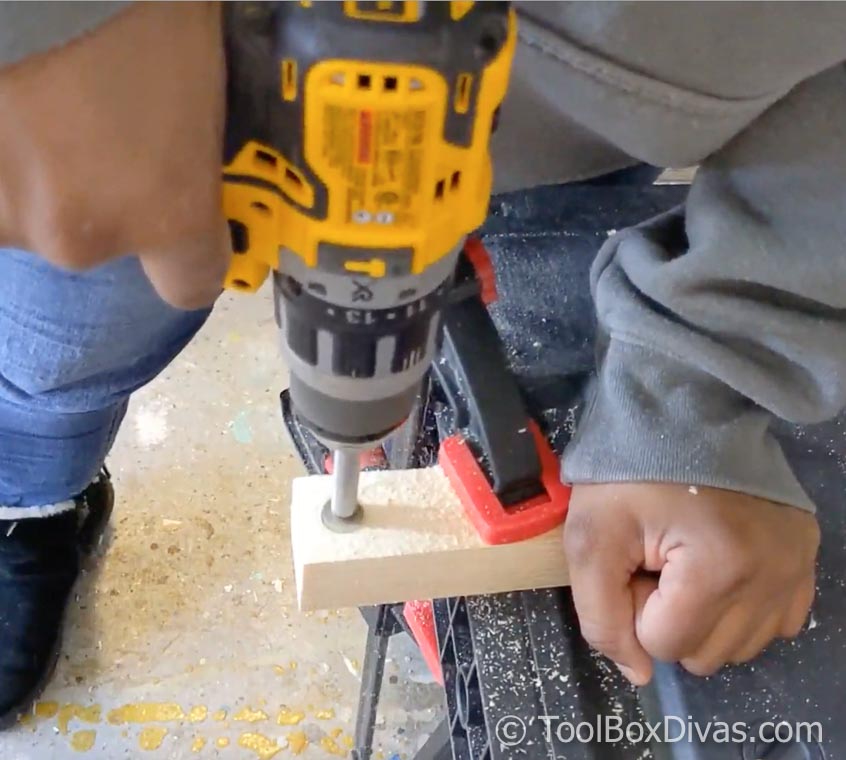
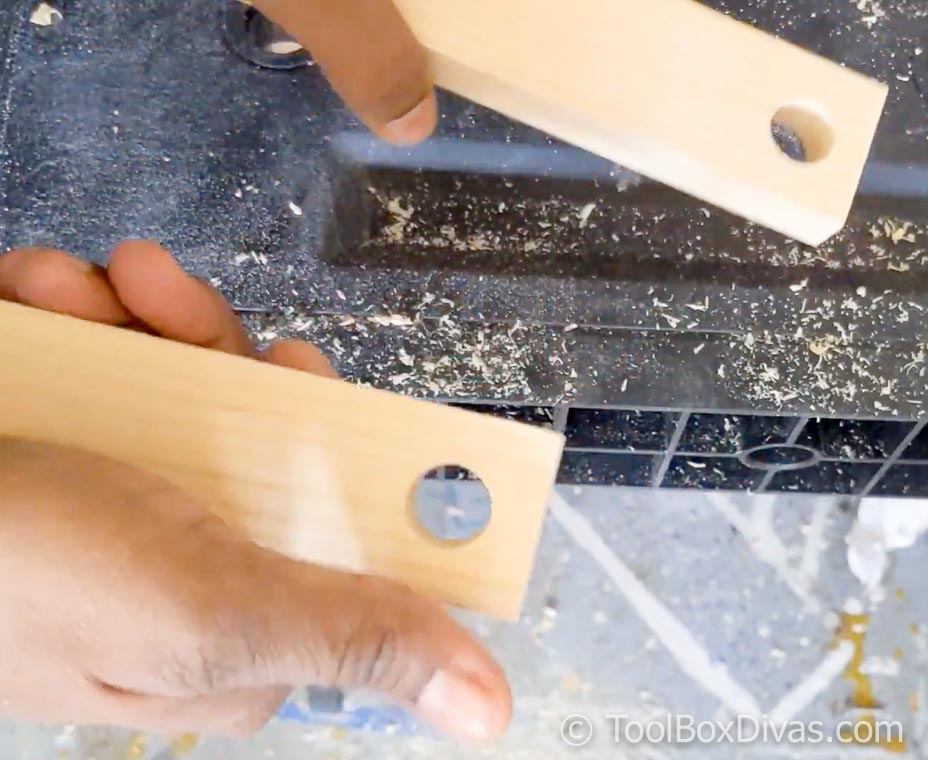
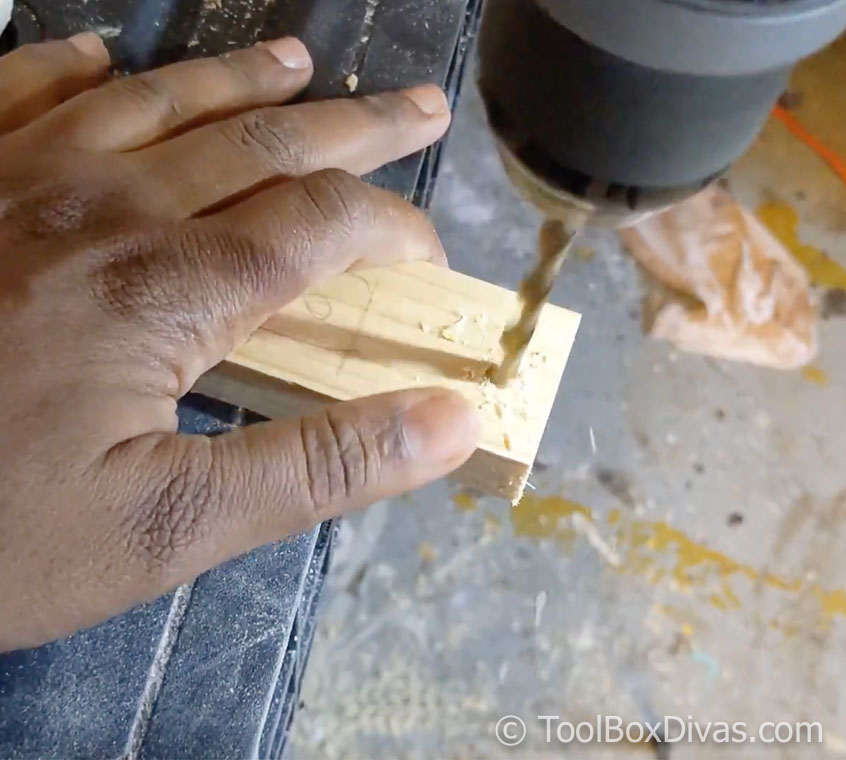
- Using a 1/2 inch drill bit, drill holes in the 6″ pieces for your dowel rod to fit through. I used a Forstner bit to get a nice clean hole. They should be at least 6″ long to allow the clothing hangers to not hit the wall.
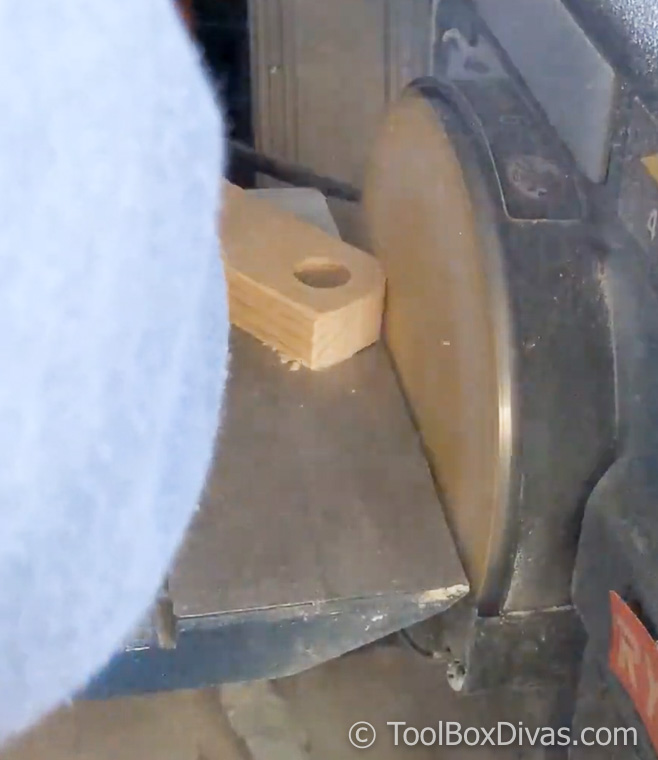
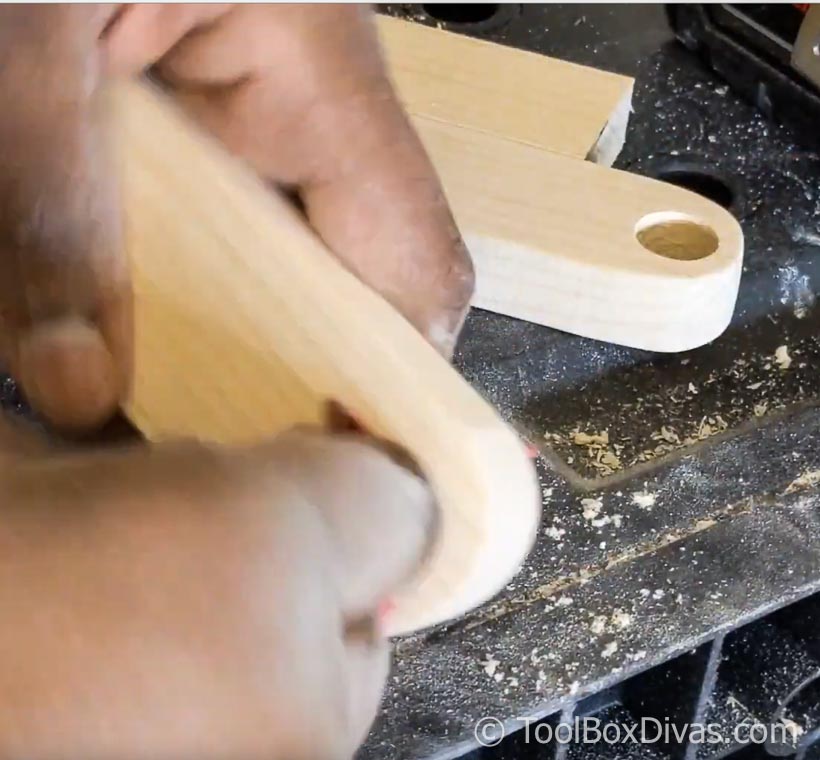
- Sand the edges to a smooth round shape using a combination sander.
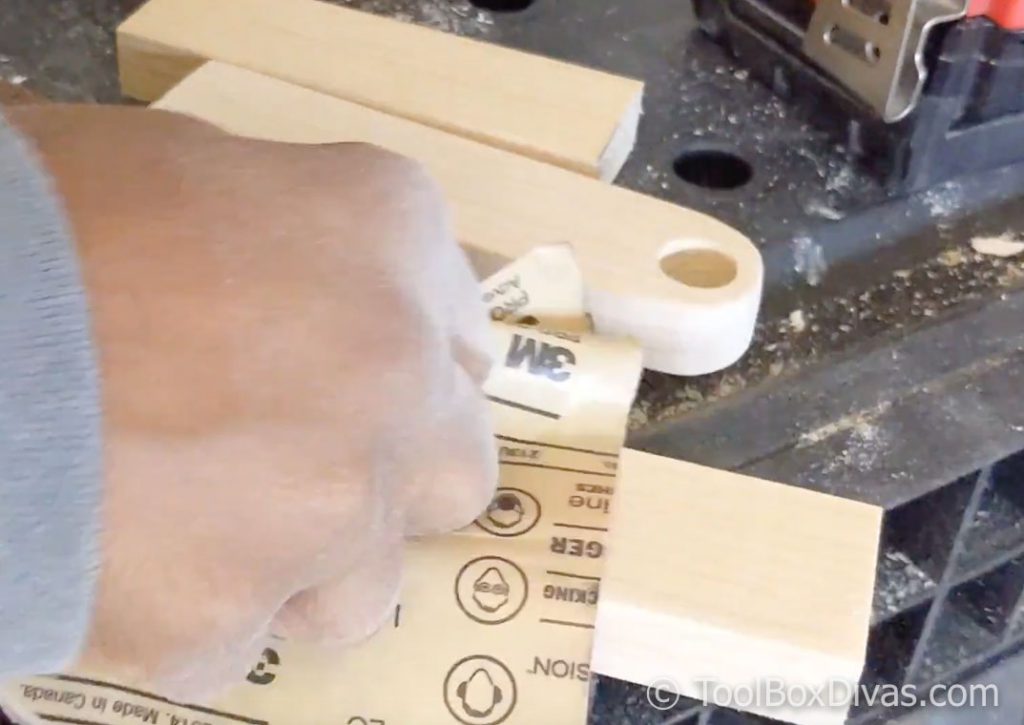
- Using sandpaper, smooth the inside of each hole.
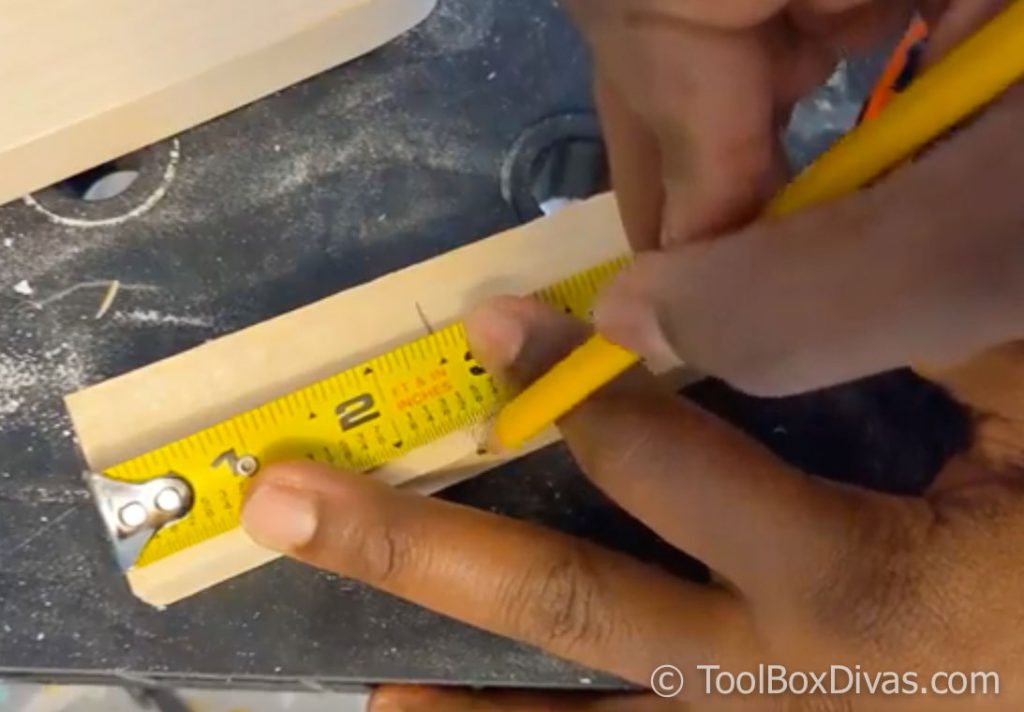
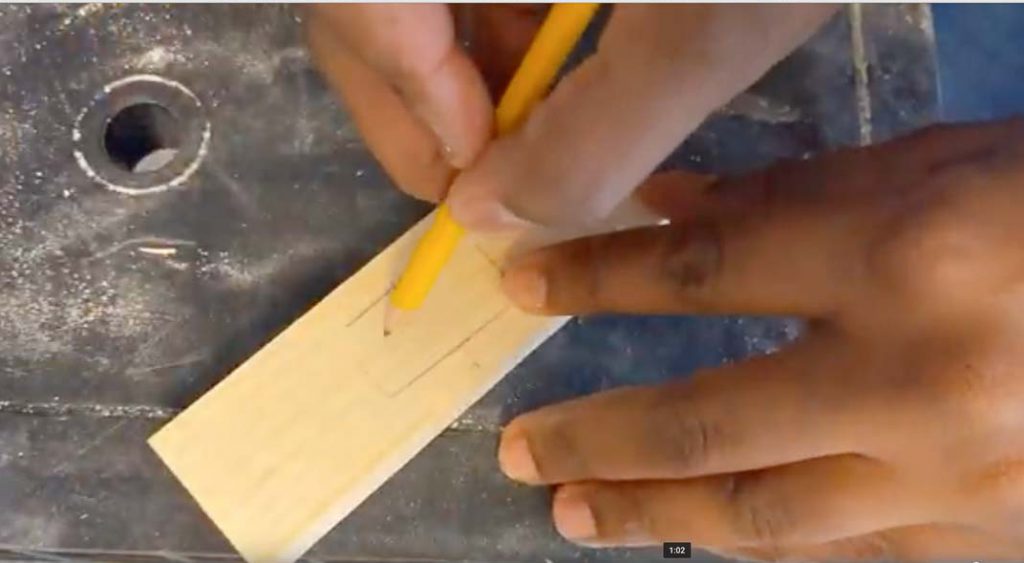
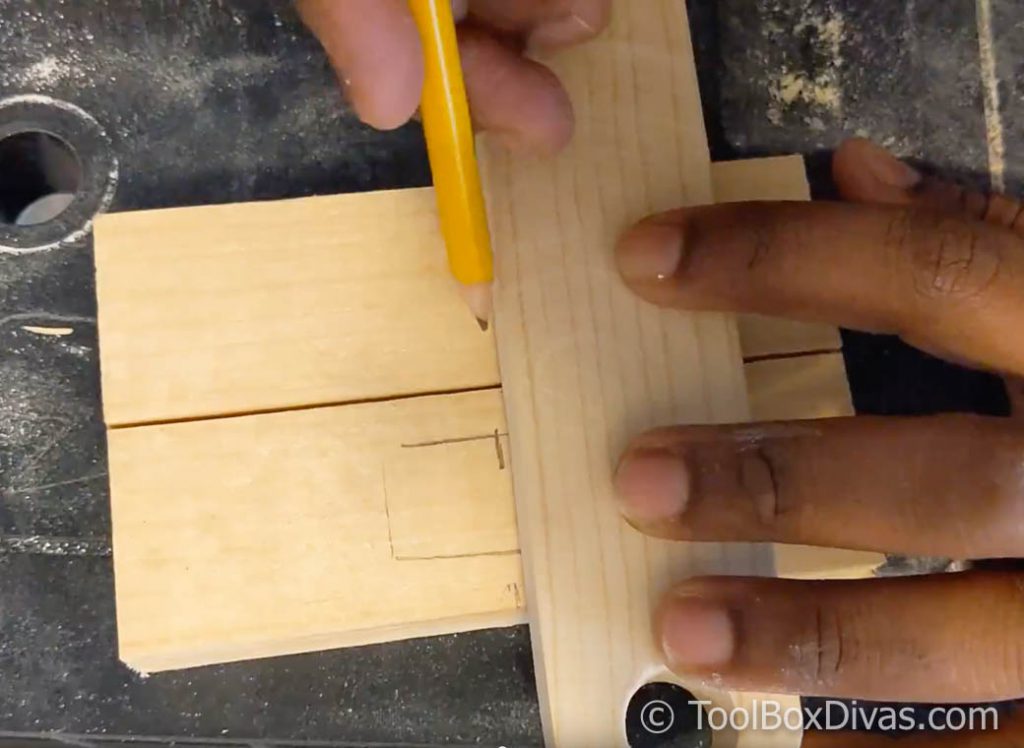
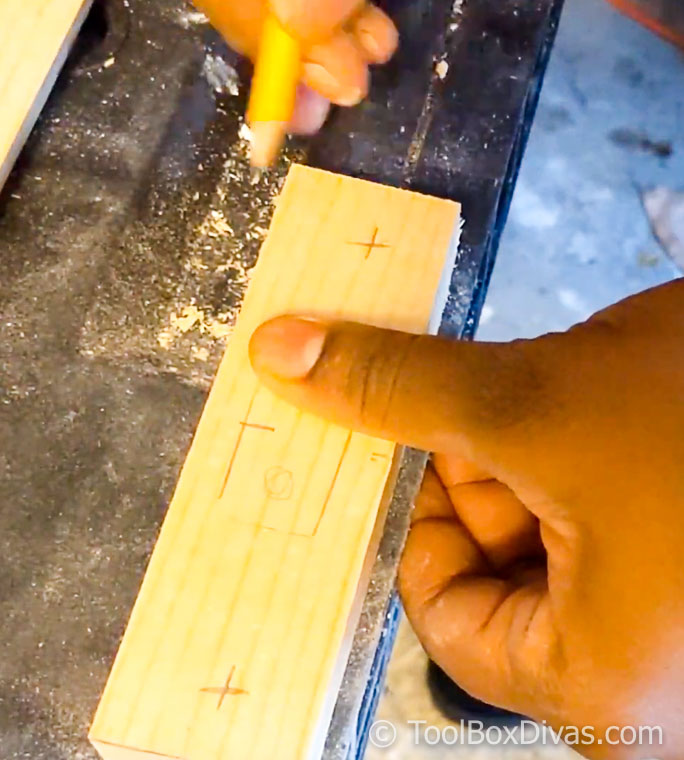
- Mark the 5″ pieces for placement of the dowel holder in the center and on the ends to attach to the wall.
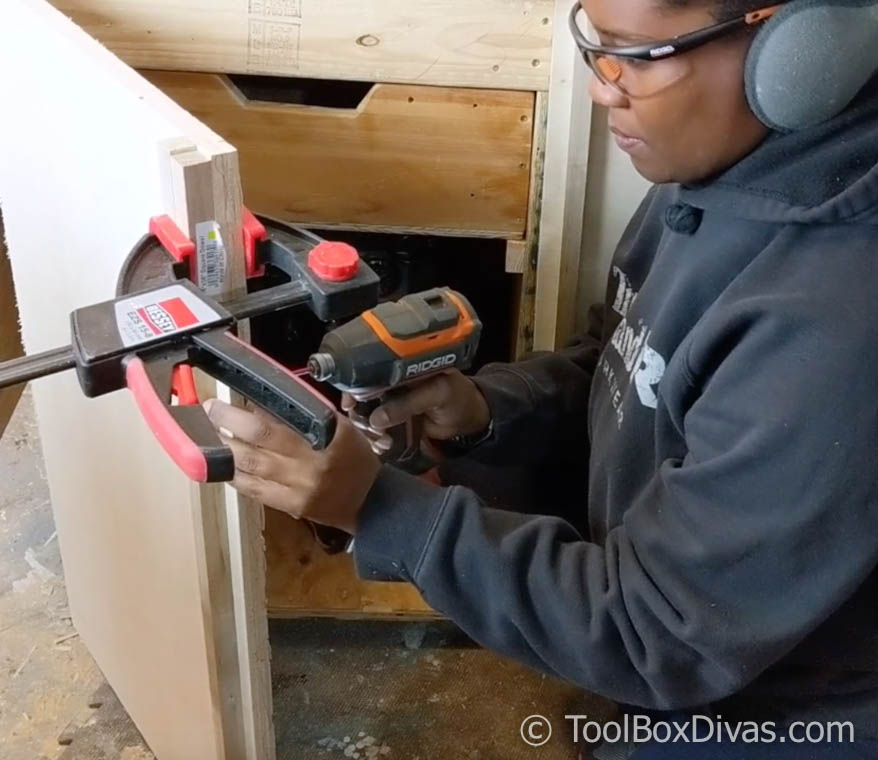
- Pre-drill the holes for the screws. This helps to make sure that the screws will go in easier and straighter. There is nothing worse than when they go in crooked!

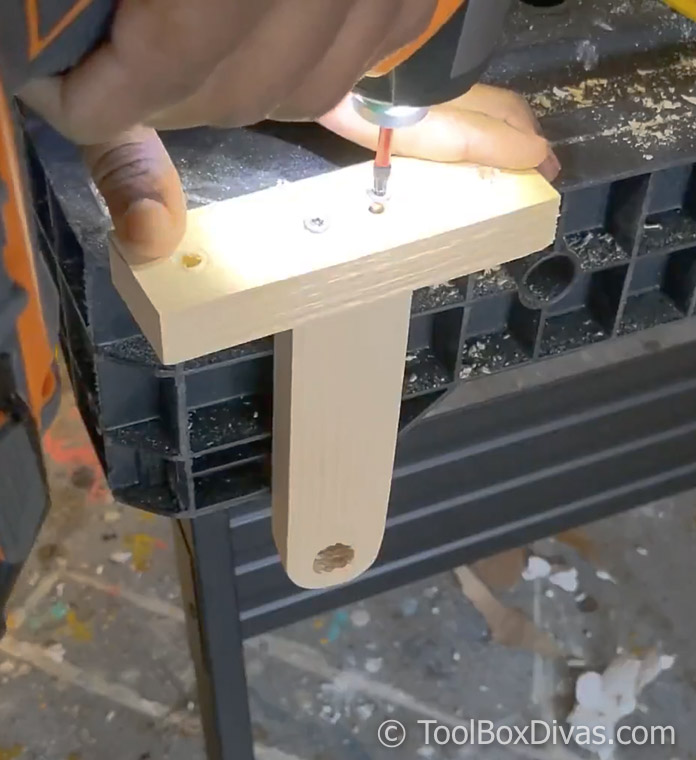
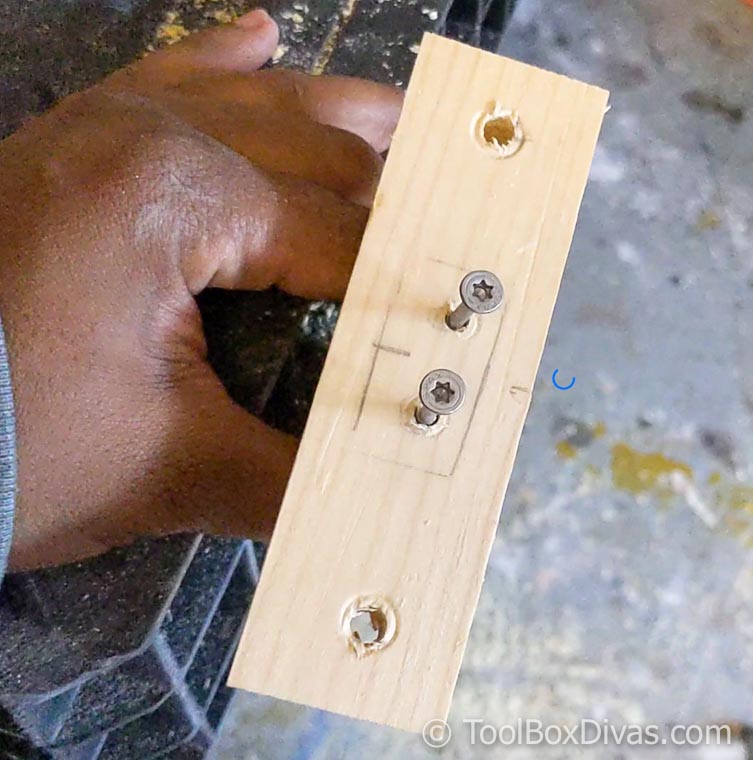
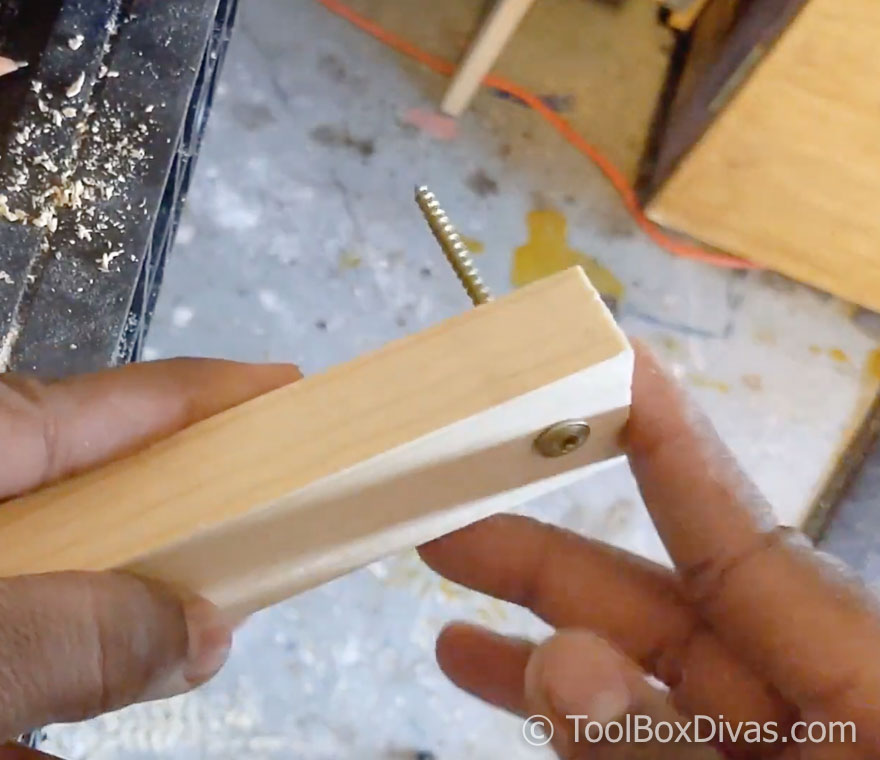
- Attach the hanging arms to the wall mounts using 2″ Flathead screws. This will make sure that it sits flat against the wall.
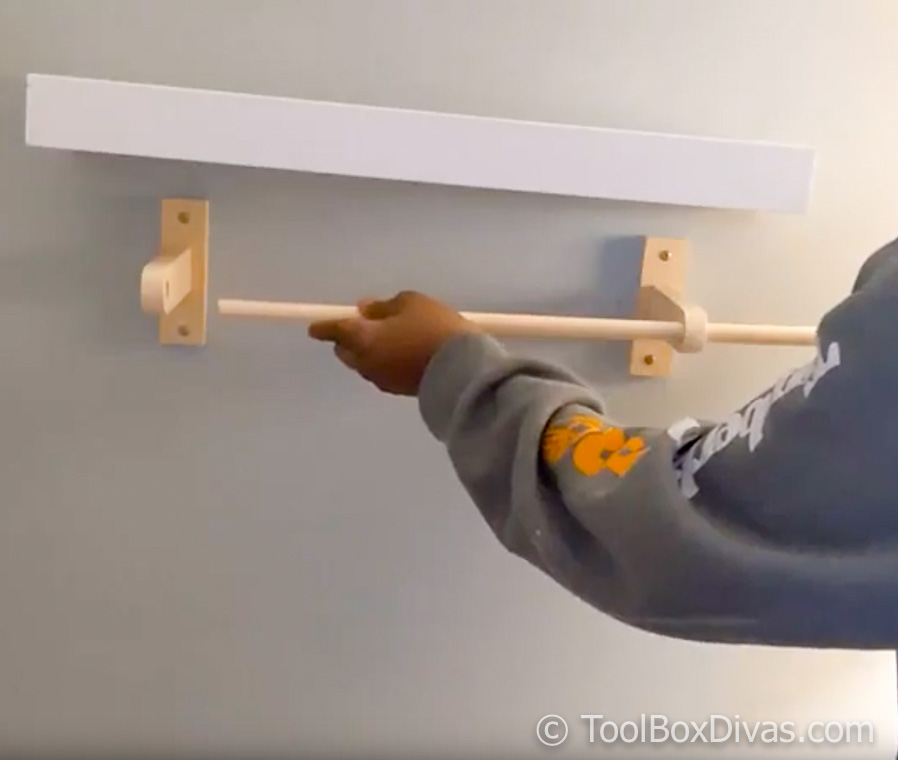
- Attach the hanging arms to the wall using 2-1/2 in. Wafer Head Screws. You can space your hanging arms as far apart or as close together as you want to, but it is best to secure them to the wall where there are studs. If you don’t attach them to studs, make sure to use drywall anchors to keep them secure.
- The dowel I used is 26″ long. I wanted to make sure I had plenty of overhang on the outside of the hanging arms to keep it from sliding through and falling out. Also, I can just throw her coat on the end or a towel to dry.
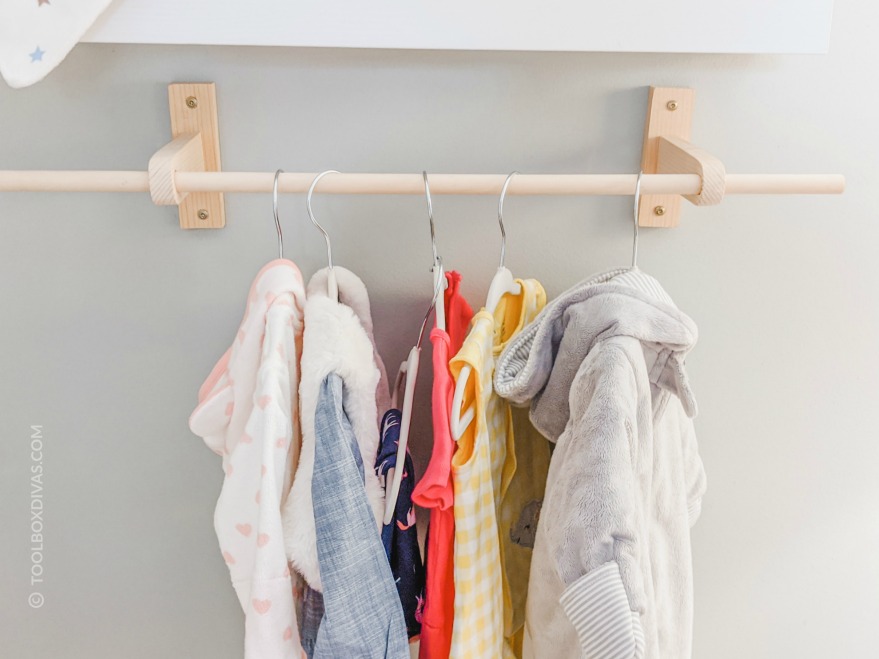
And that’s it! This is the best addition to the nursery!
Where would you use this easy to make DIY wall mounted clothing rack? And what would you use it for? Let me know in the comments below!
Like it? Pin it to Pinterest!