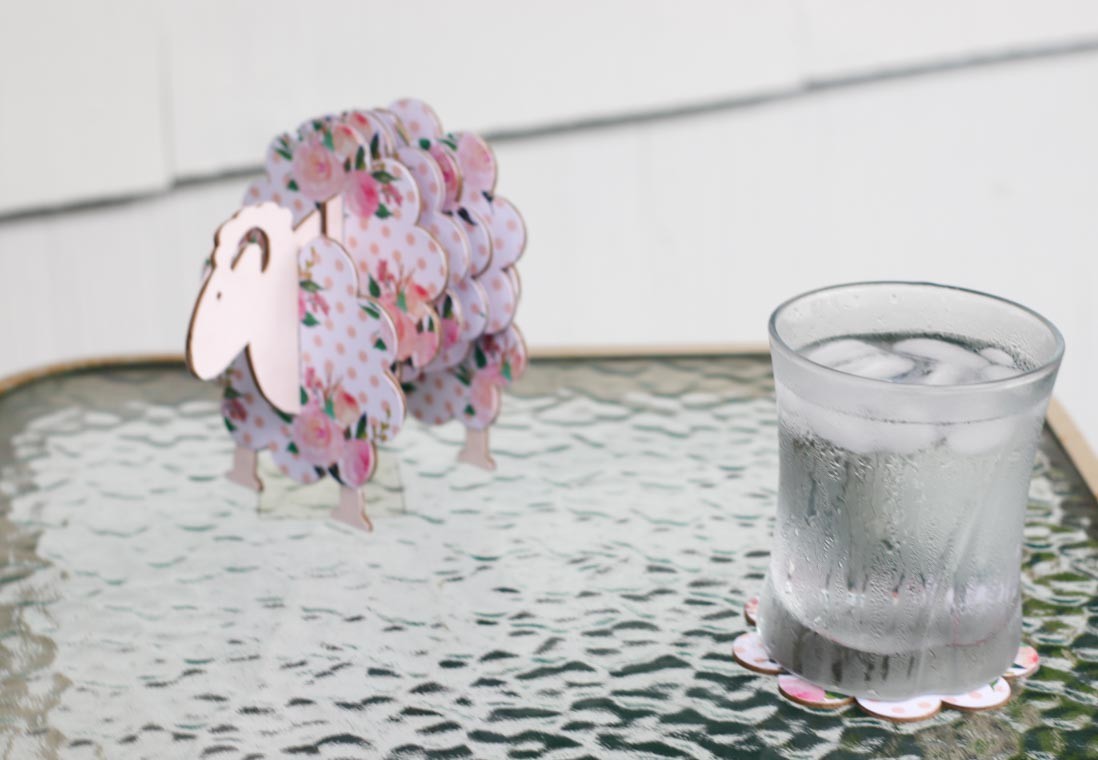
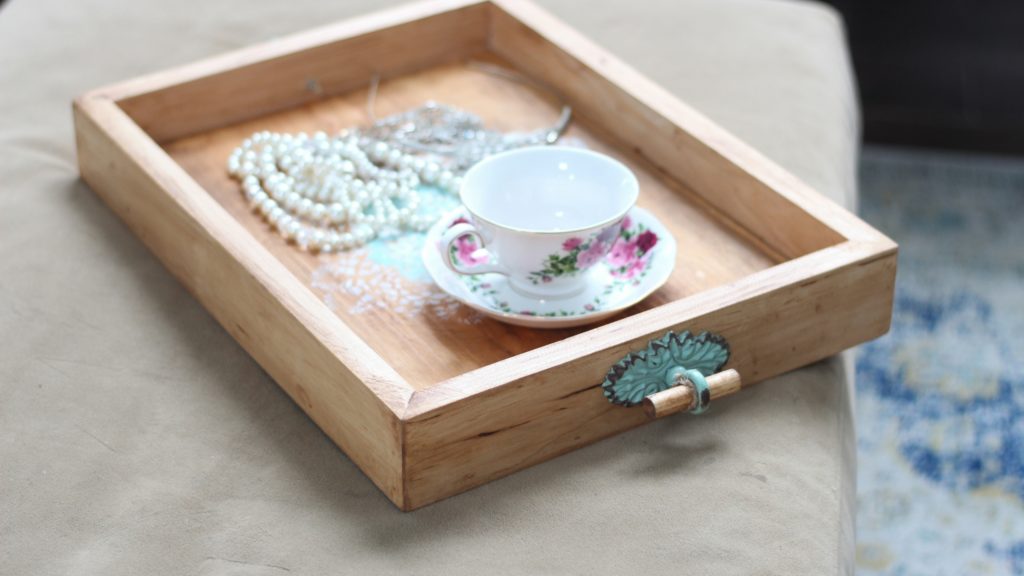
How To Make a Stylish Serving Tray
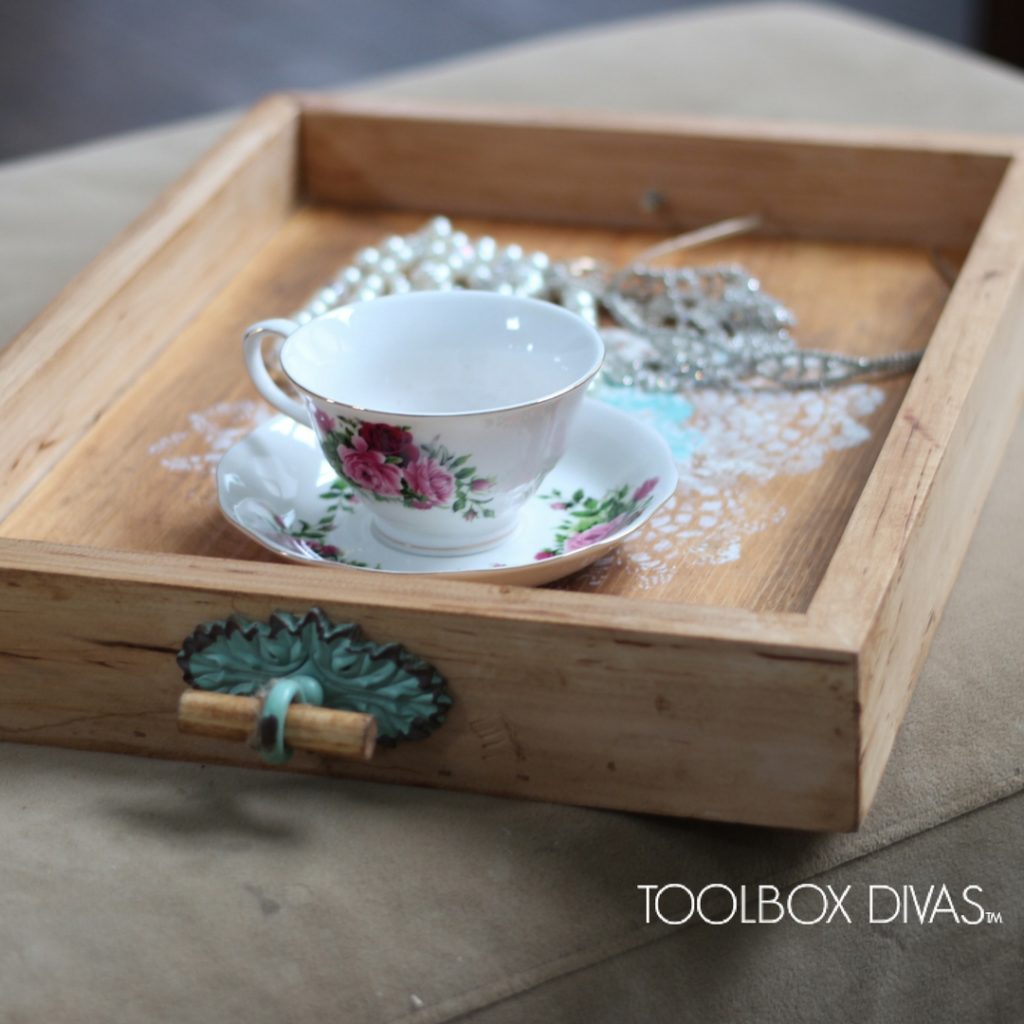
Start with this easy DIY serving tray. It’s perfect for hosting parties, to give as gifts and serving beverages and beginner woodworking projects.
Spring is coming and soon we will be entertaining outdoors carrying drinks and such to the patio. Why not carry your drinks and such on a handmade serving tray. Your guests will think you are definitely think you are the hostess with the mostess for sure!
Here’s What You’ll Need:
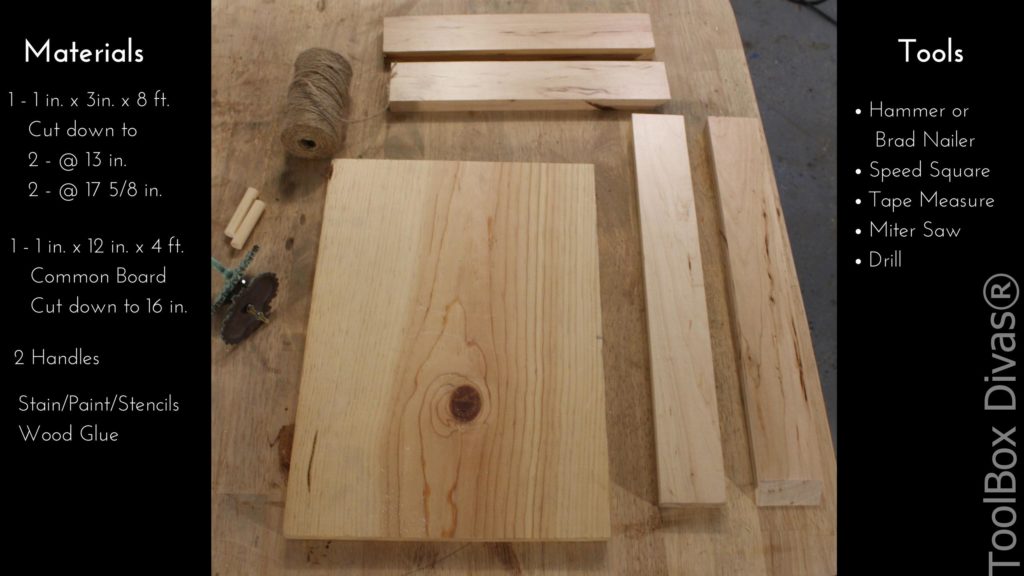
Materials
- 1 – 1 in. x 3in. x 8 ft.
Cut down to
- 2 – @ 13 in.
- 2 – @ 17 5/8 in..
- 1 – 1 in. x 12 in. x 4 ft. Common Board
Cut down to 16 in.
- 2 Handles
- Stain/Paint/Stencils
- Wood Glue
Tools
- Hammer or Brad Nailer
- Speed Square
- Tape Measure
- Miter Saw
- Drill
- Safety googles
- Respirator
- Speed square
- Right angle picture frame clamp
Steps
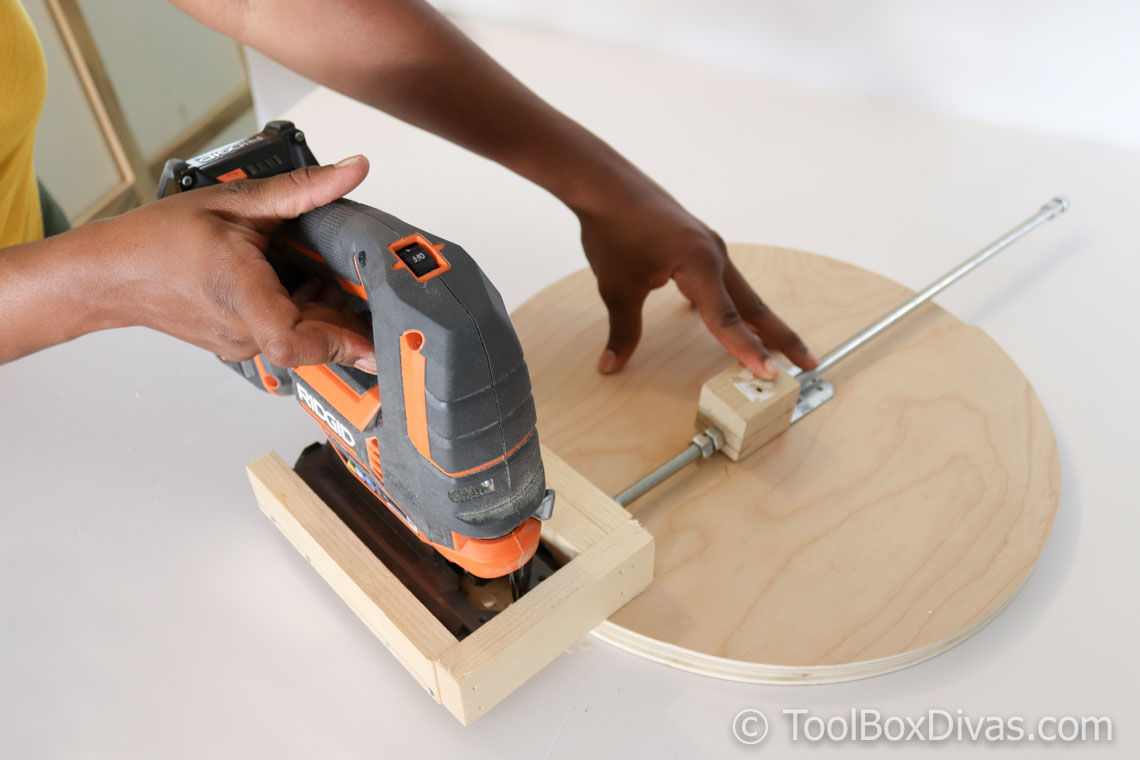
Step 1: Cut the pieces to size. We are going to be cutting the corners at a 45 degree angle

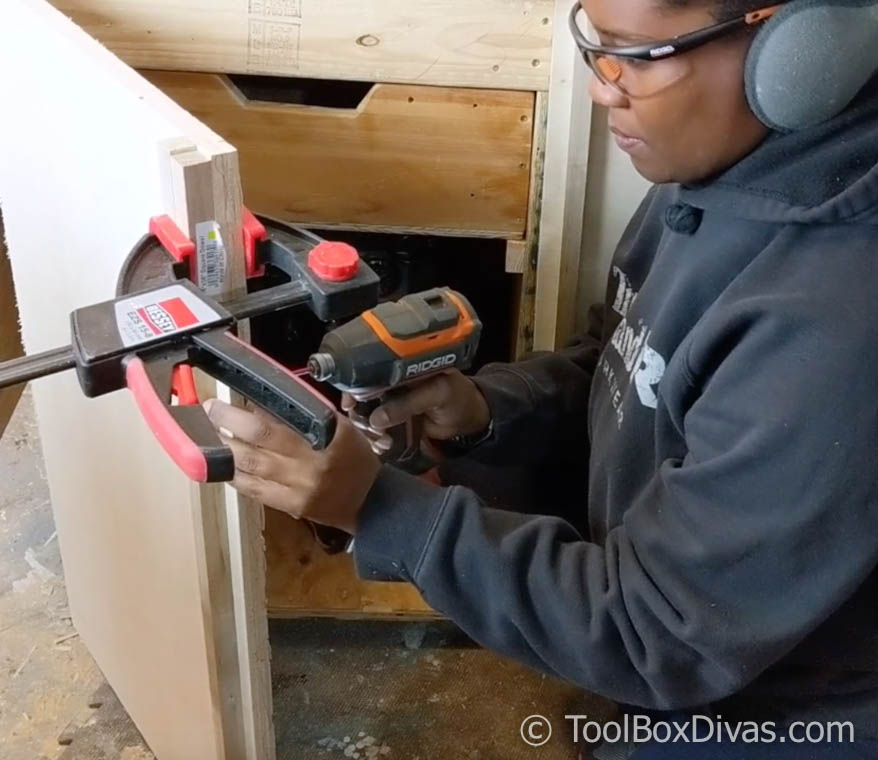
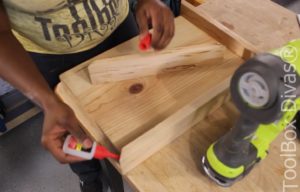
Step 2: Assemble the tray.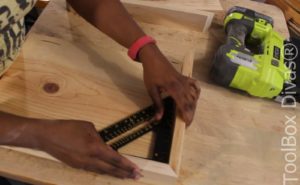 Using wood glue and brad nailer attach the sides to the tray base. If your having problems connecting the angles by hand try using a right angle clamp to help with holding the 1x3s in place while you nail them together.
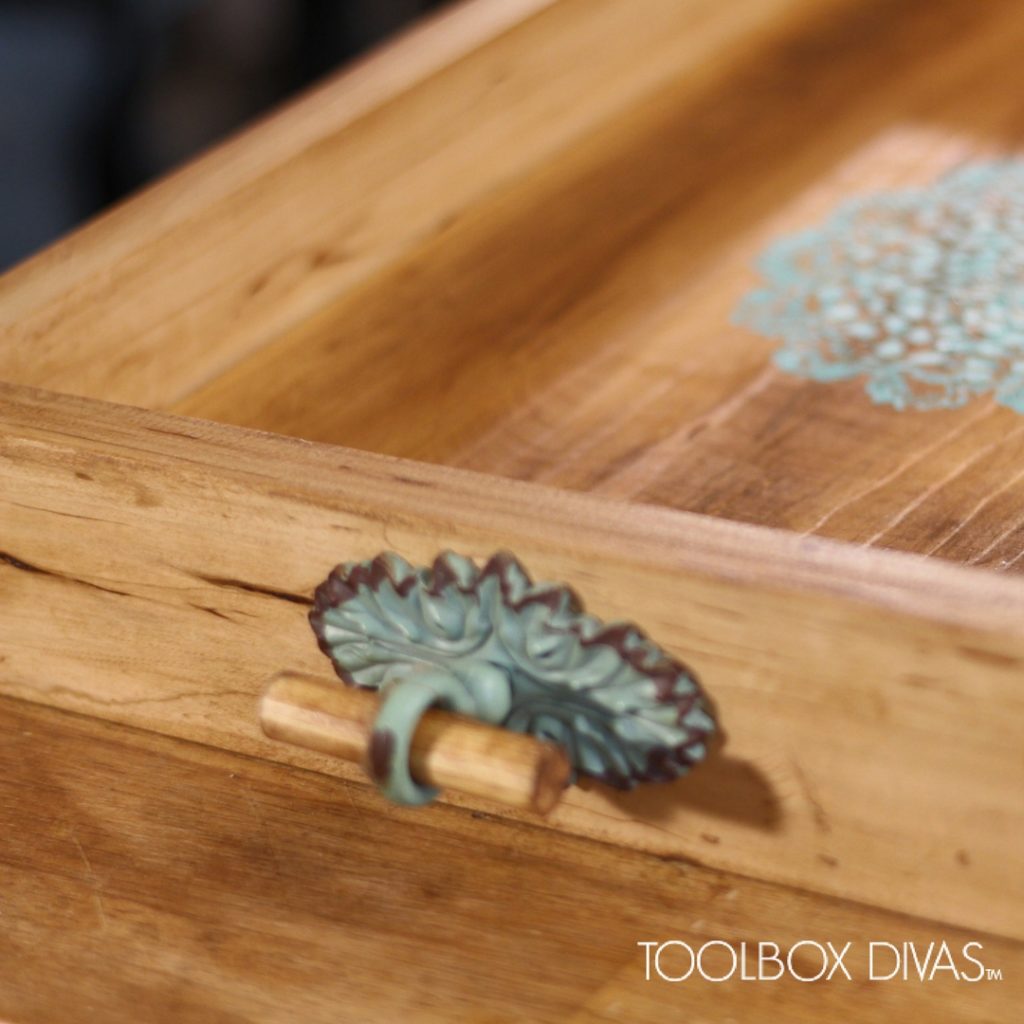
Step 3: Drill the holes for the handle in the center of each side.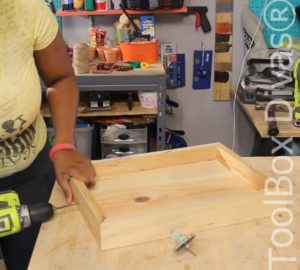
Step 4: Fill the holes in the tray created from the nail gun. Allow the wood filler to dry.
Step 5: Sand the tray.
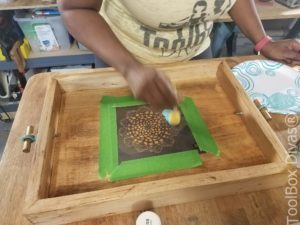
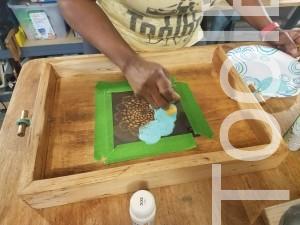
Step 6: Stain or paint the tray. 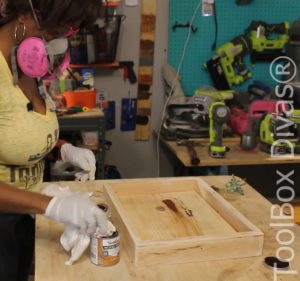
Step 7: Now its time for the fun part. Make it pretty! Add personality to your tray by adding hardware and decorating the center of the tray with a stencil or decal.