Small Hanging Planter Using a Hot Glue Gun
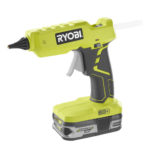
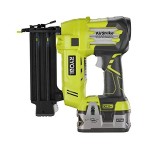
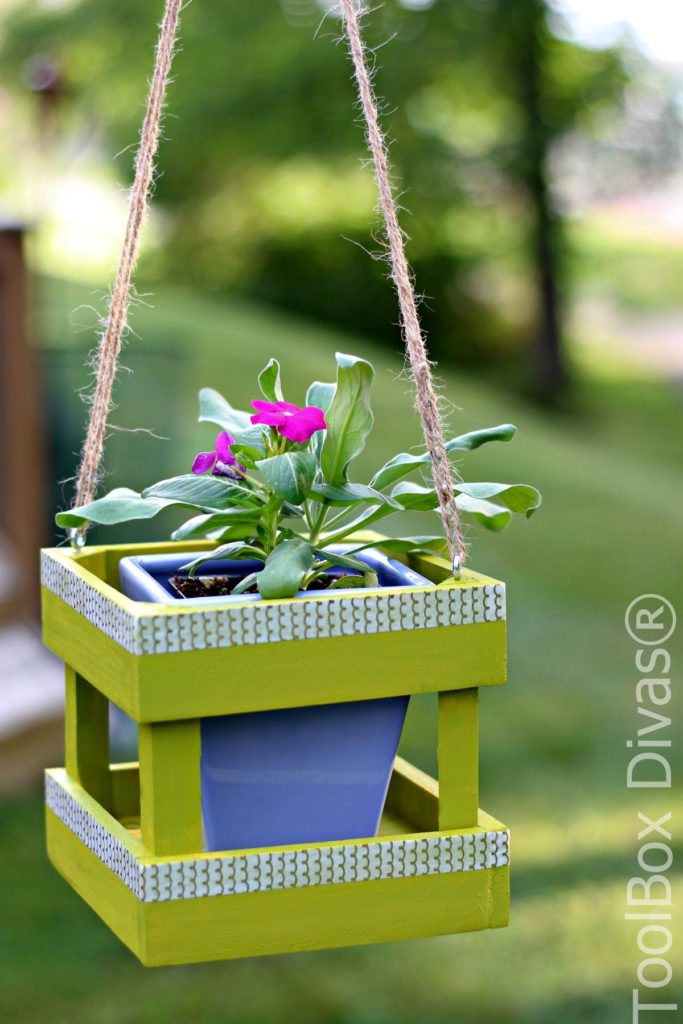
Hey guys, I made the most adorable planter last weekend! I am feeling recharged and bumped up. Last weekend I attended the 2017 Haven Conference in Atlanta, GA. It’s a DIY bloggers conference where DIYers meet, talk shop, share ideas, tips and brands showcase their latest products and services. Well, Ryobi was one of the brands in attendance. They offered DIY classes where people could use some of their new tools. One of the classes offered wash building a small hanging planter. I absolutely loved the build because not only did it allow the attendees to use the Ryobi brad nailer, it showed the user the versatility of its new cordless hot glue gun. I’ll admit my favorite Ryobi tool changes…possibly weekly, but my cordless hot glue gun AKA “The Beast” is possibly the best thing since…..well my discovery of wood glue sticks ![]() .
.
Aside from the fact that it’s just so stinking cute; It’s the perfect project for the beginner in woodworking.
Here’s how we made these hanging planters.
Materials
- 1x2x48 craft board (8 @ 5 7/8″ for the slats)
- 3/4″ x 36 square dowels (2 @4 7/8″ for the posts)
- 1x6x36 (1 @ 5 3/8″ for the base)
- 2 eye screws
- Hot glue sticks for wood
- Stain/paint
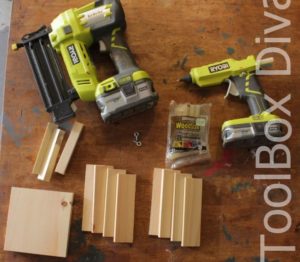 Tools
Tools
Steps
- Attach the slats to the base using the glue gun.
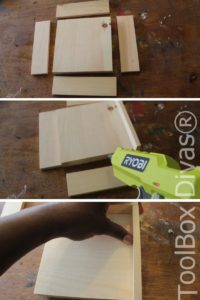
- Using the 4 remaining slats assemble it into a square.
- The two square dowels should be cut in half diagonally, creating a triangular dowel.
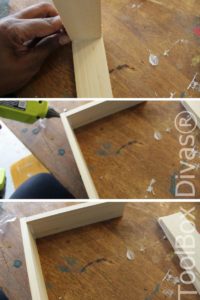
- Using the glue gun attach the 4 triangular dowels to the 4 corners of the square created in step 4.
- Now attach this to the base using the hot glue gun.
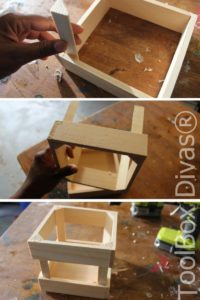
- Go back and secure the pieces using a brad nailer.
- Fill the nails holes with wood filler. Allow time for it to dry.
- Sand and Paint or stain.
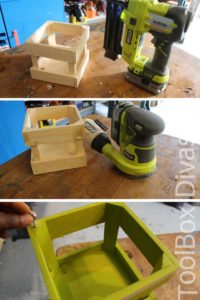
- Screw in the two corner eye screws.
- Hang it up by running rope or jute through the eye screws and place your plant in the center.
** Plans and planter kit provided by Ryobi Power Tools.

