How to Stain Your Deck in a Weekend
Learn how easy it is to stain your deck in just one weekend.
How to stain your deck in a weekend is sponsored by The Home Depot.
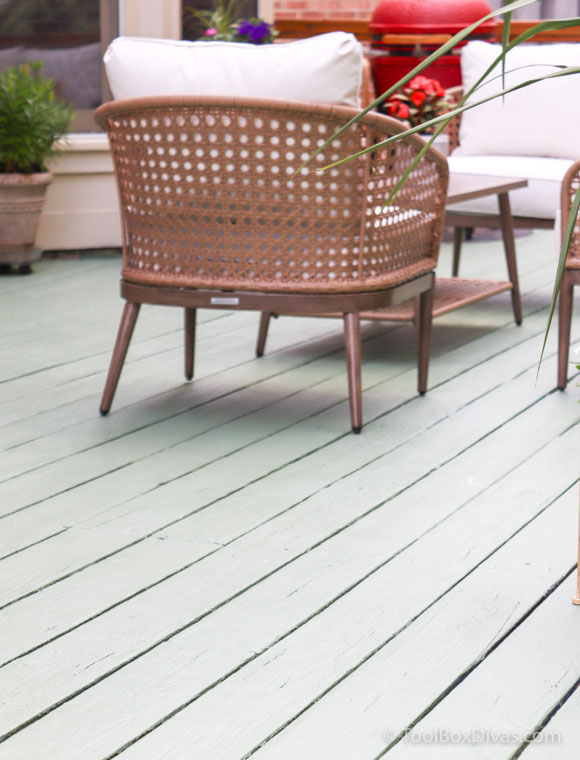
A few years ago I updated my backyard and redid my deck railings. At the time I stained the deck railings in a neutral clear sheen. For the deck floor, I went bold with a moody blue. After a couple of years, I was so over the blue and decided it was time for a much-needed update. So it’s time for a change. Here’s how I restained my deck and selected the perfect color to compliment my new backyard theme.
Here’s What You’ll Need:
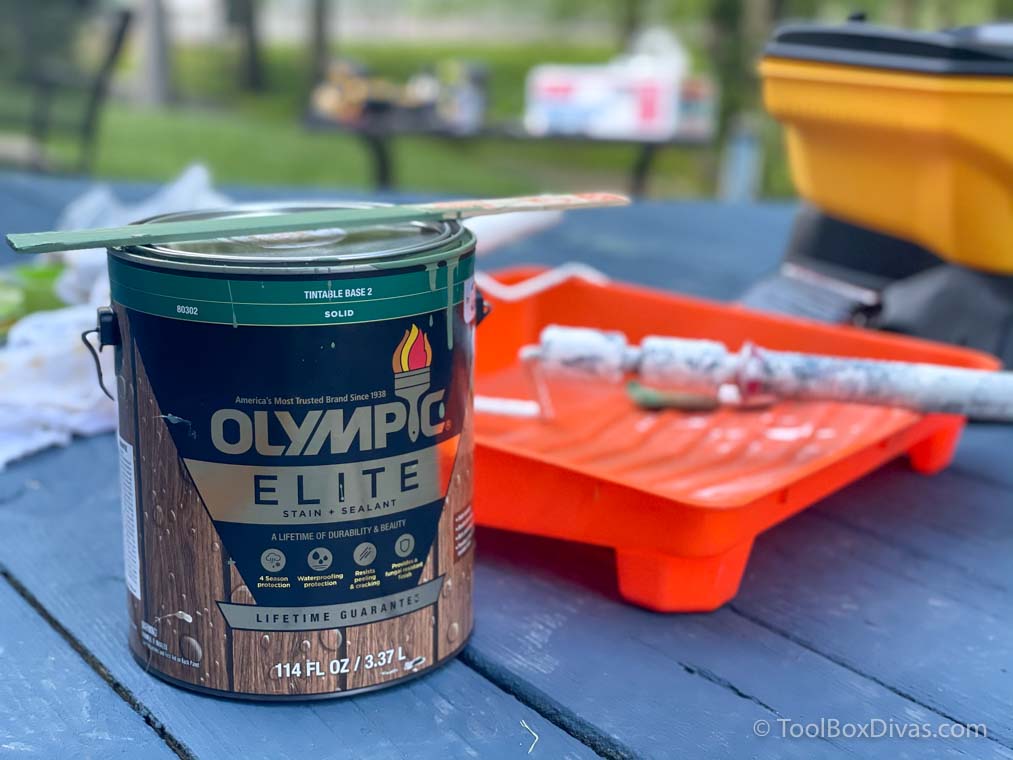
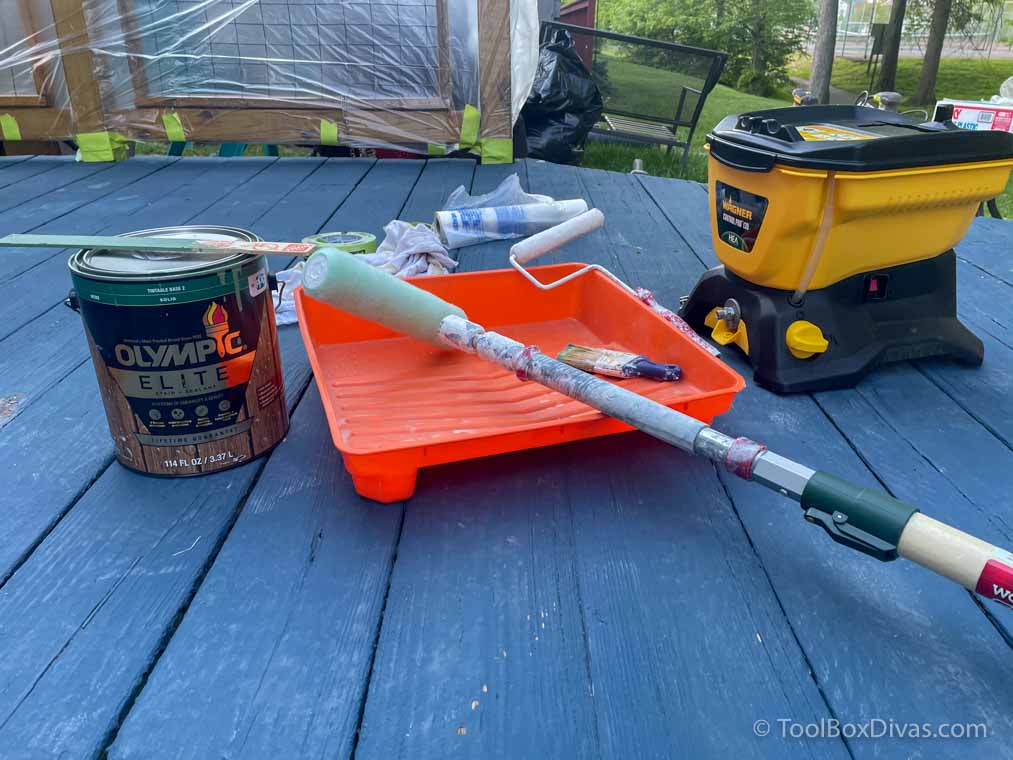
- Stain -I used both Elite 1 Gal. Base 1 Solid Advanced Exterior Stain and Sealant in One in Woodland Green for the Deck Floor and Maximum 1 Gal. Clear Exterior Waterproofing Sealant for the Deck Rails
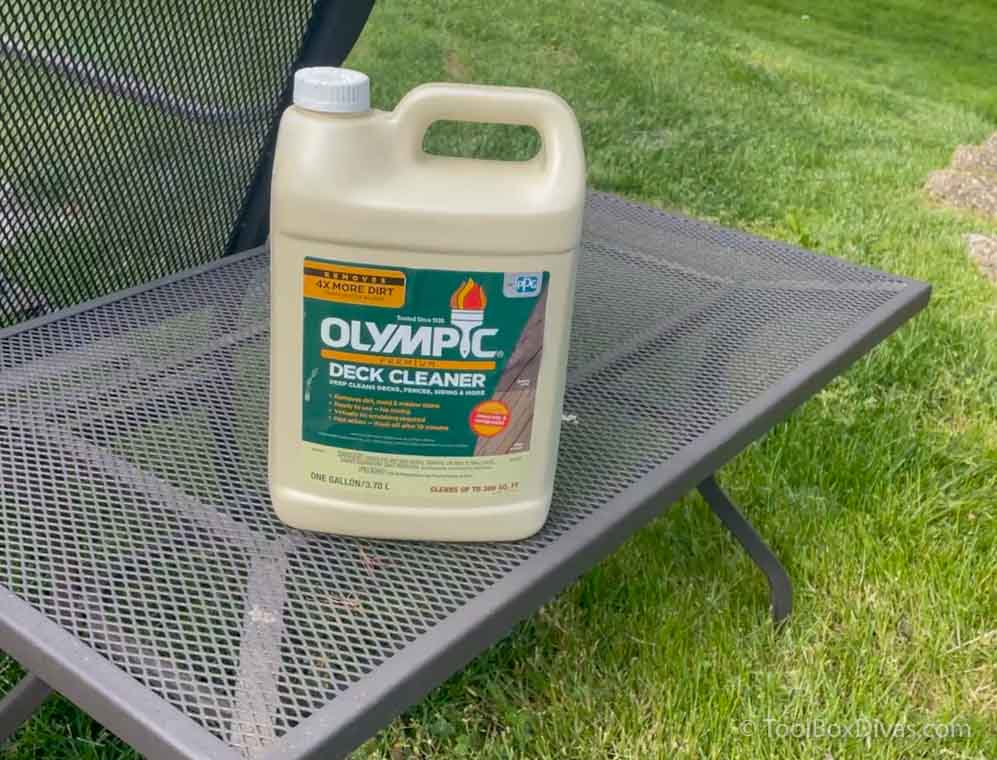
- Cleaner – Olympic Premium Deck Cleaner
- Paint Brush
- Roller and Extension pole
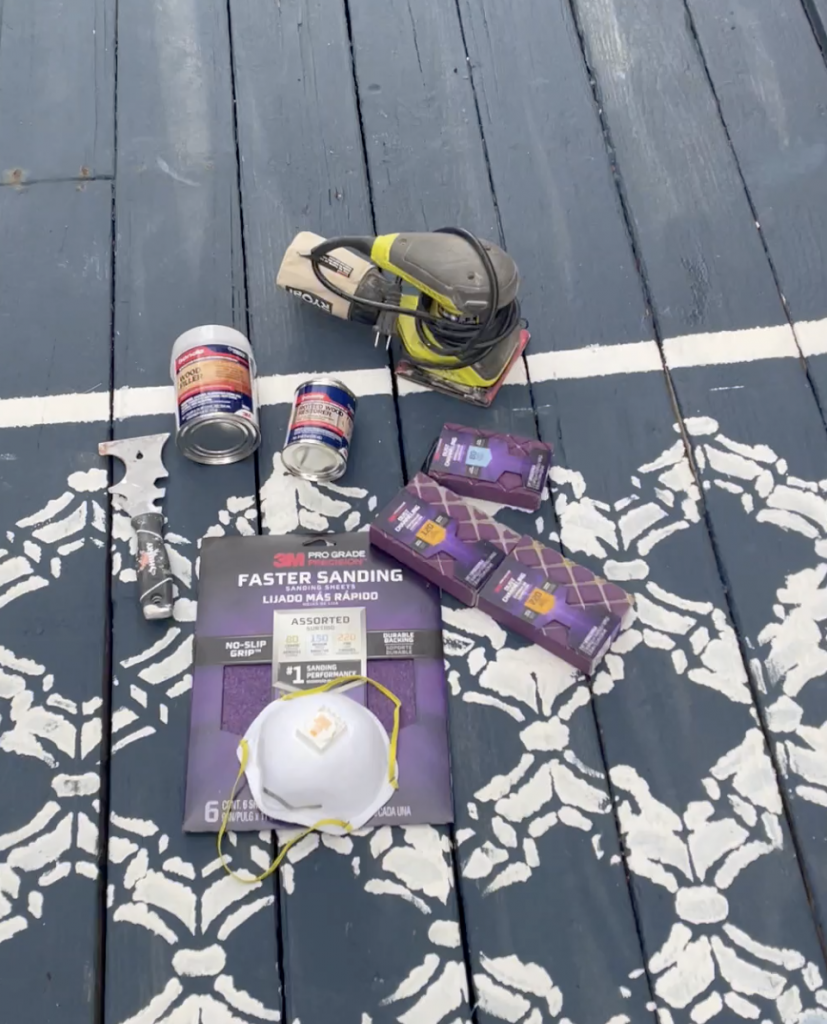
- Sander and Sandpaper
- Painter’s Tape
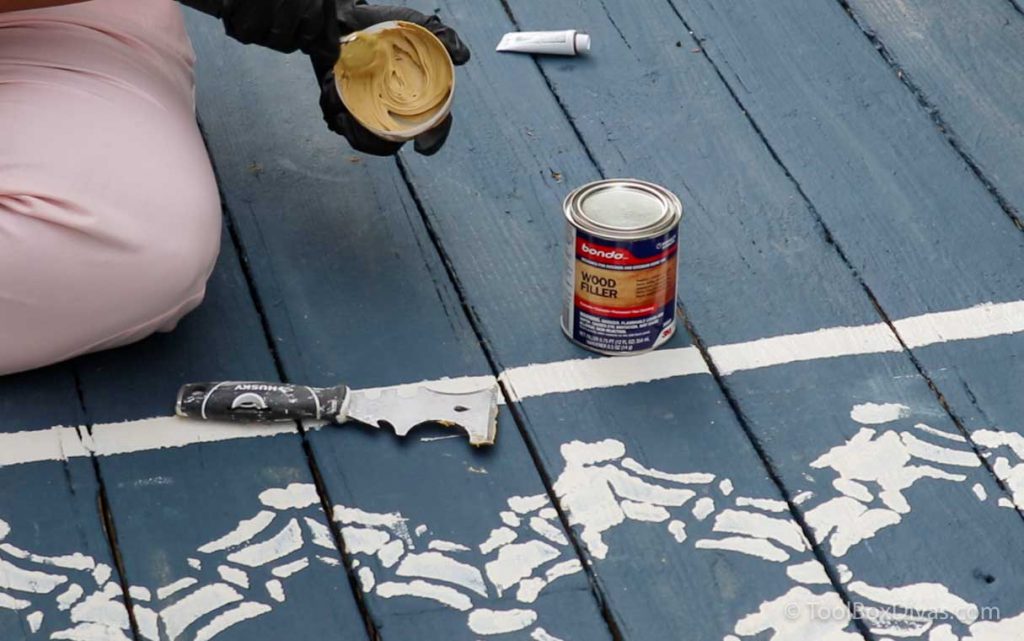
- Wood Filler/ Restorer
- Paint Sprayer (Optional) I’m using the Control Pro 130 Power Tank Airless Stand Paint Sprayer by Wagner
- Knee pads – In my opinion are essential
Let’s Get Dirty!
Select a weekend where there is no rain in the forecast.
Step 1. Remove all your furnishings.
I started by removing everything from my deck, including my Mini Me.
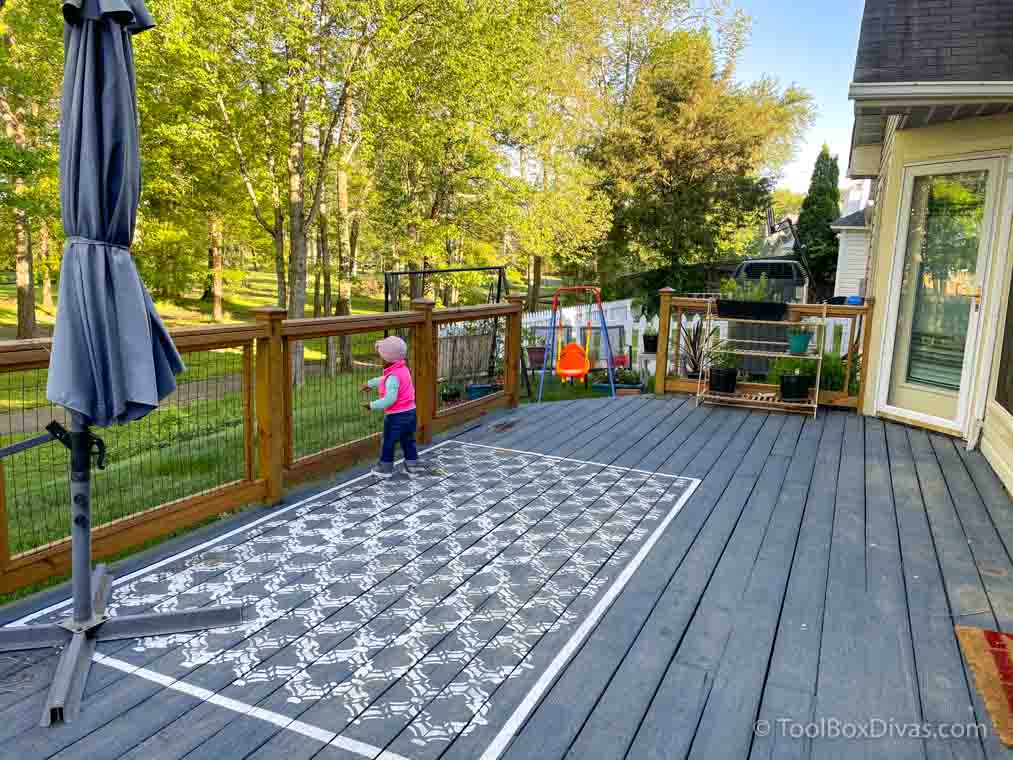
Step 2. Prep the deck.
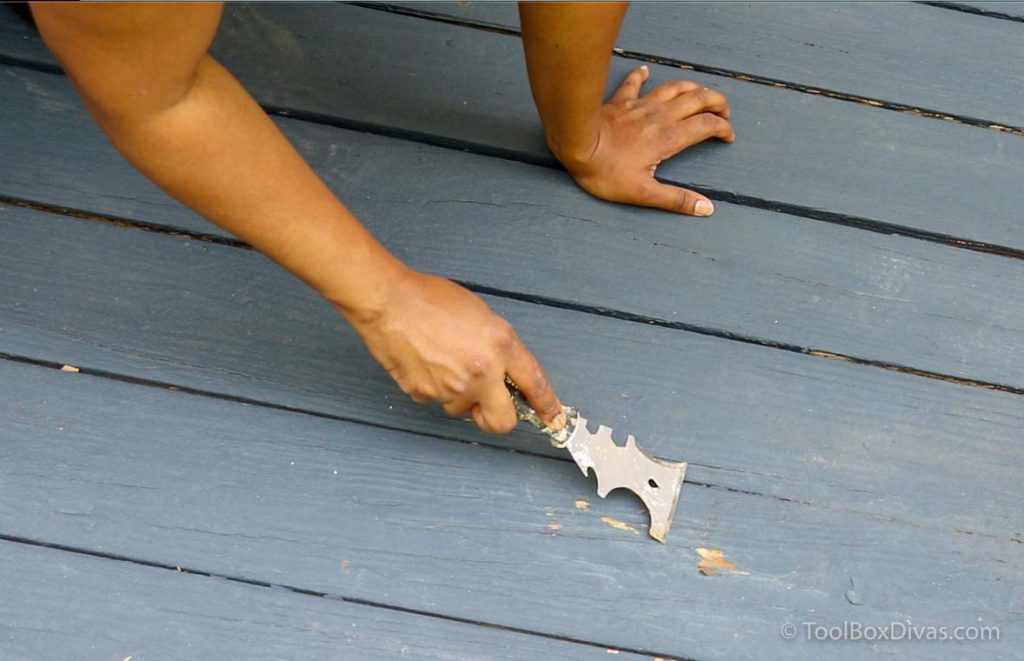
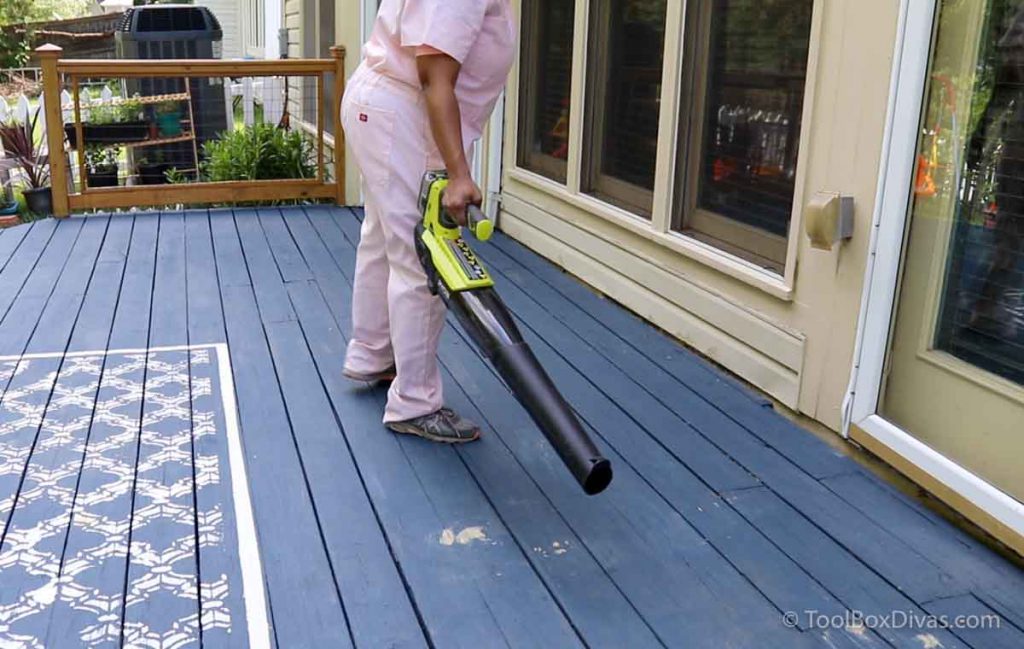
Next to prep the deck for stain, I filled holes left from bolting the umbrella to the deck with wood filler. When working outdoors I highly recommend an interior/exterior wood filler like Bondo. Then using a scraper I removed any paint that was chipped or peeling. I followed up my sanding down the deck floor and railings with a light to medium sanding paper. Then removed the excess dust with a broom and a blower.
Step 3. Wash the deck.
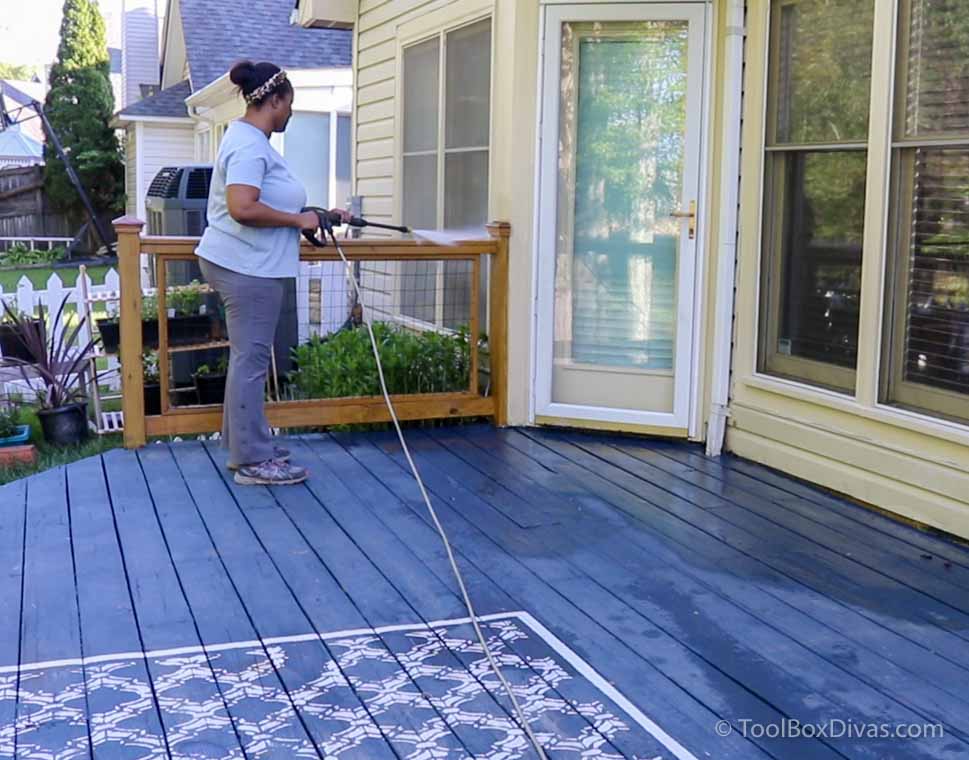
This is a pretty self explanatory step, but the Olympic Premium Deck Cleaner made this step simple. It’s a ready to use mix that is fast acting and removes dirt, mold and algae.
Step 4. Stain the Railings.
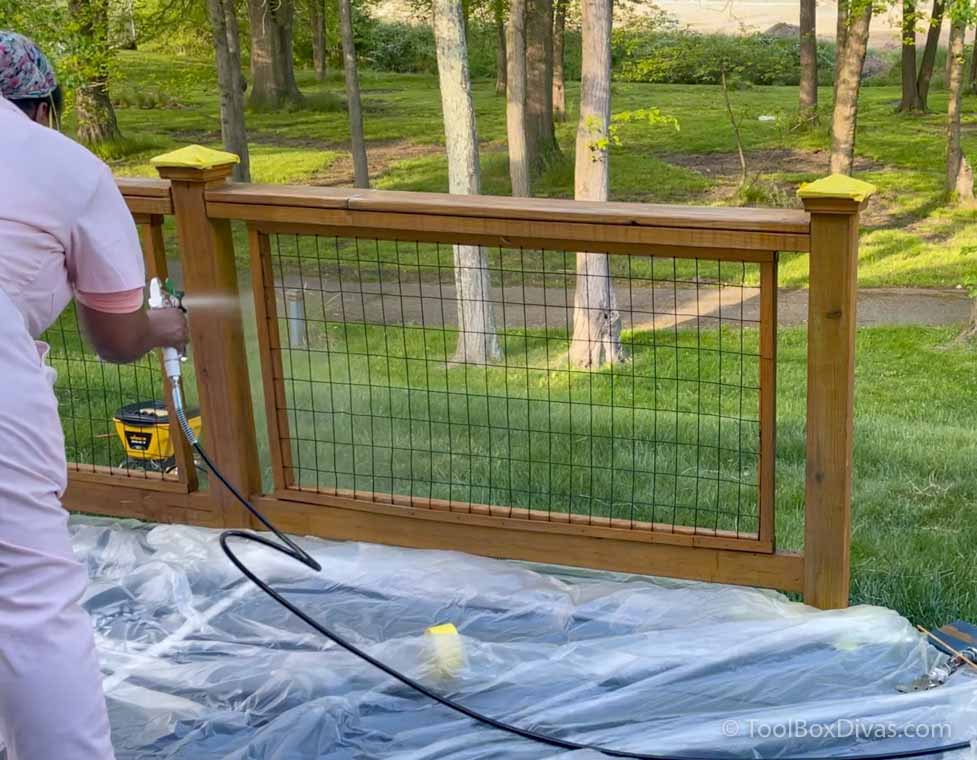
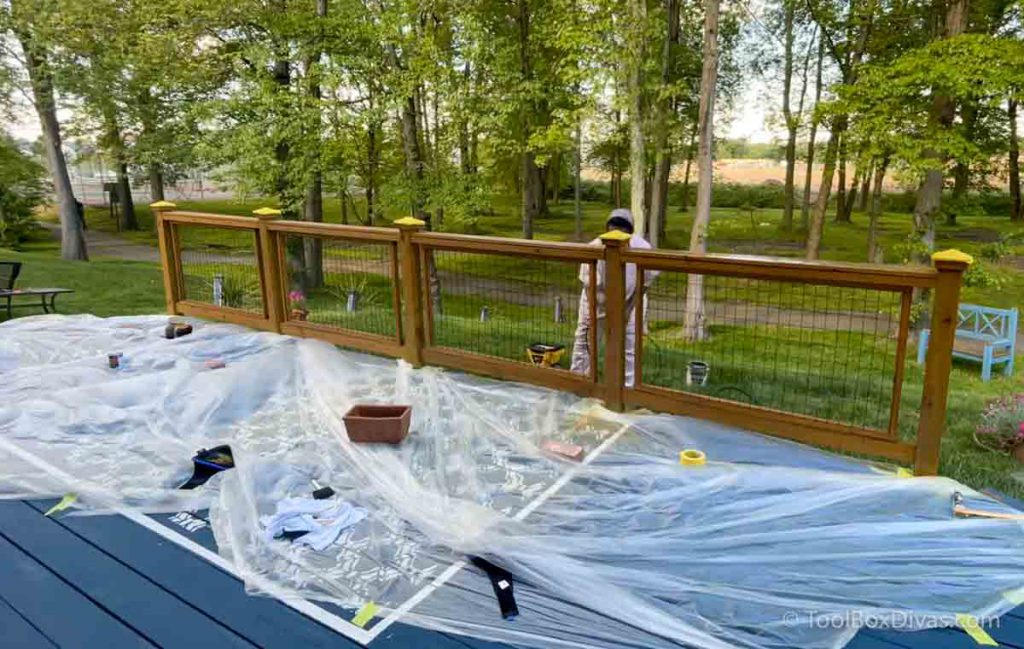
I always found starting with the railings the best approach when staining the deck. I taped off the deck floor with painters table and lined it with plastic.
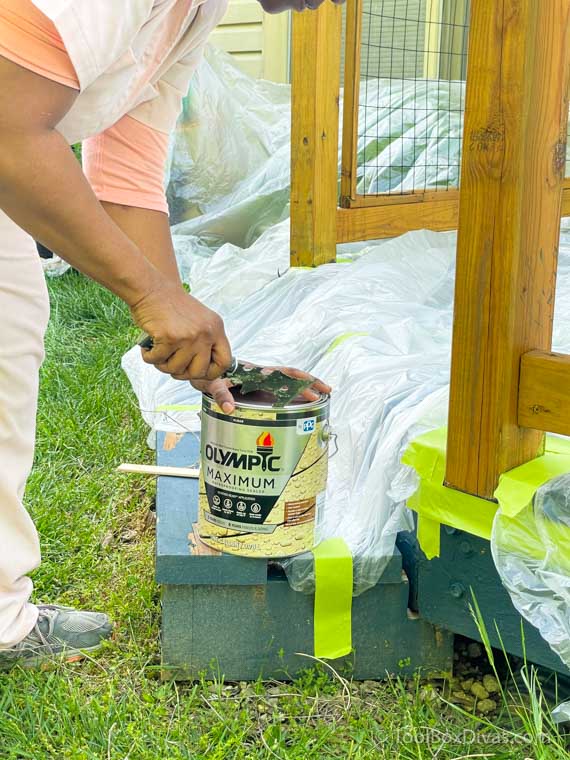
Then using the paint sprayer applied Olympic Maximum 1 Gal. Clear Exterior Waterproofing Sealant. It’s a durable stain that is the #1 rated clear sealer. It will allow added protection to my railings and provide waterproofing and advanced sunblock UV defense. Best of all, this sealant can be applied to damp wood and is rain-ready in 8 hours.
Step 5. Stain the Deck Floor.
The COlor Selection
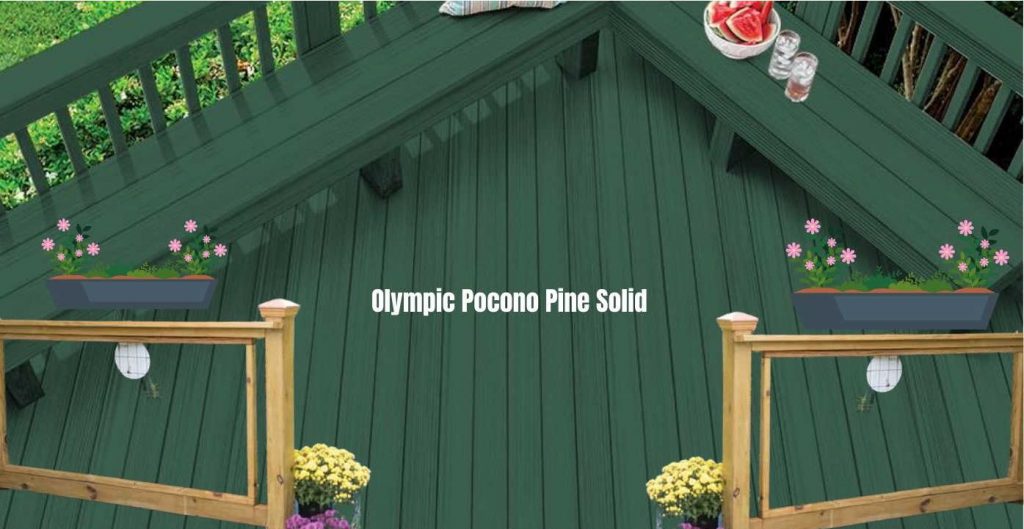
Before I get into how I stained the floor of my deck let me share with you how I selected the color. Honestly I was having a bit of a rough time deciding what color to stain the deck floor. I knew I wanted to achieve a beachy coastal vibe. But the question I asked myself was, ‘Do I stick with blue or go in a totally new direction?’
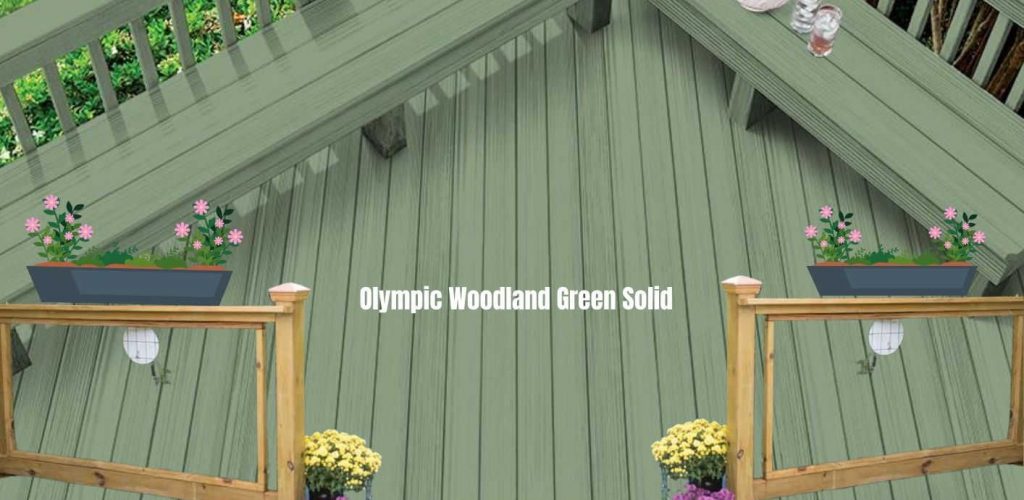
To help make my decision and settle on a color I opted for digital solution. I made several mood boards where I incorporated some of my favorite color options within the Olympic Elite lineup. And at the end of the day I went totally away from blue and selected a green, Woodland Green to be specific.
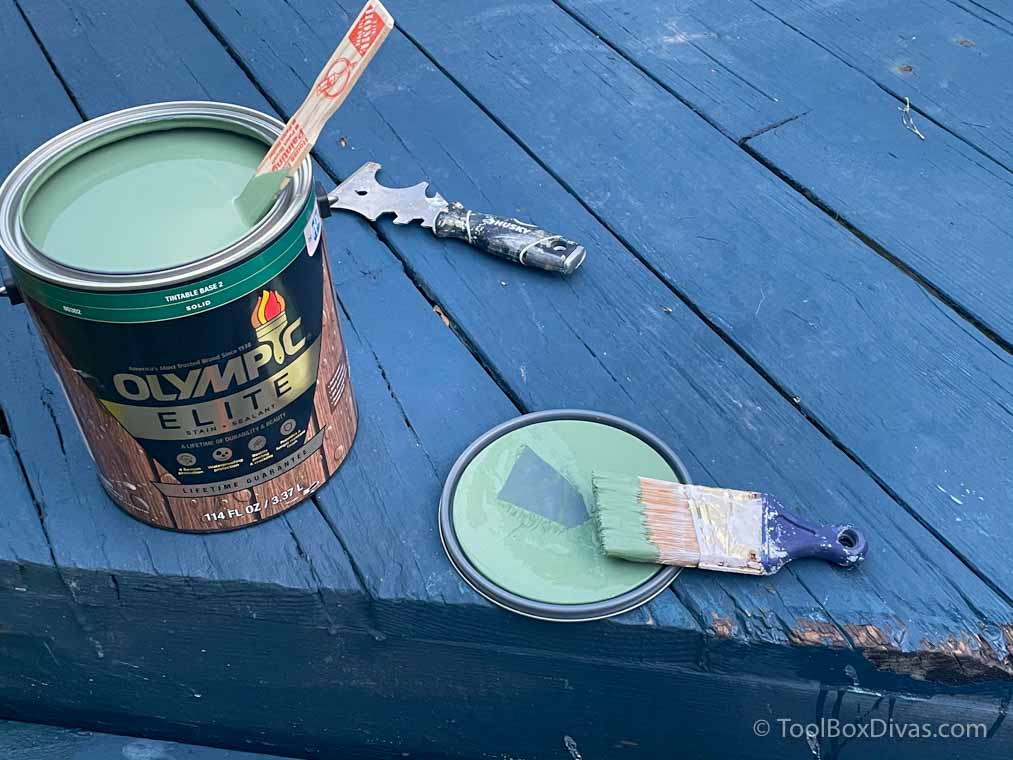

Now I’ll be honest when I tested this out on my deck at first, I thought I’d made a huge mistake. It was just so much brighter than in the pictures.
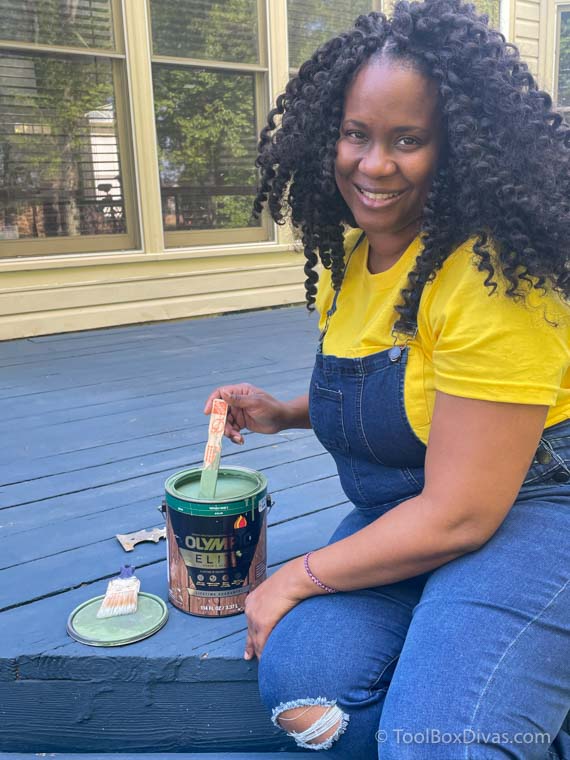
But as it dried and as the day changed, so did the color. Throughout the day it went from bold to neutral.
Option 1: Paint brush and Roller
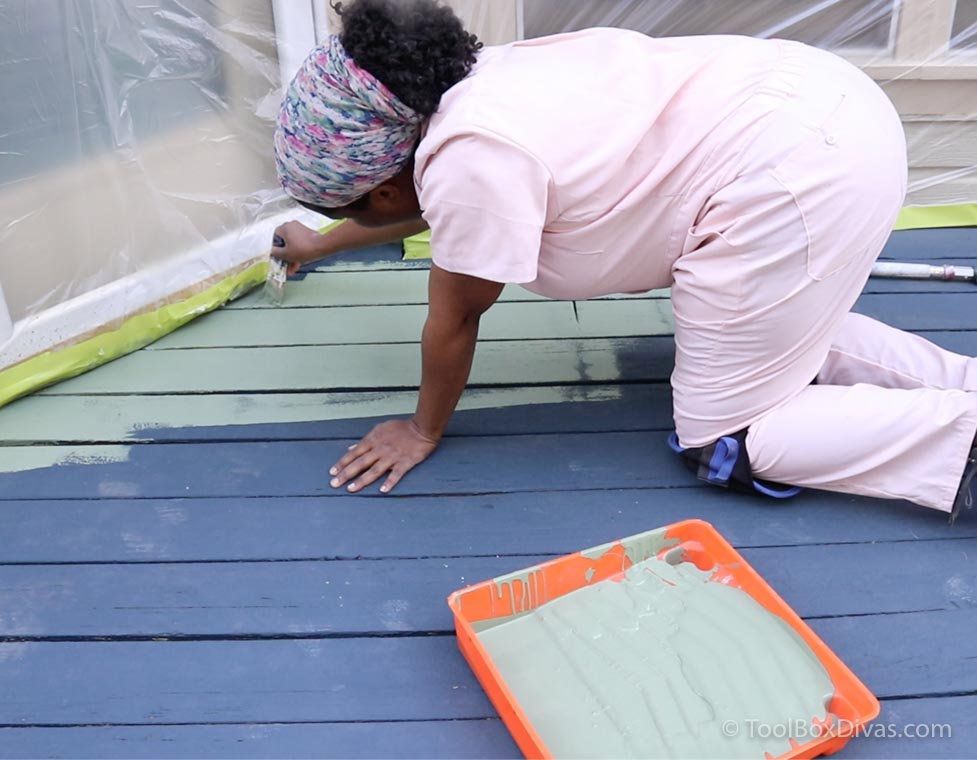
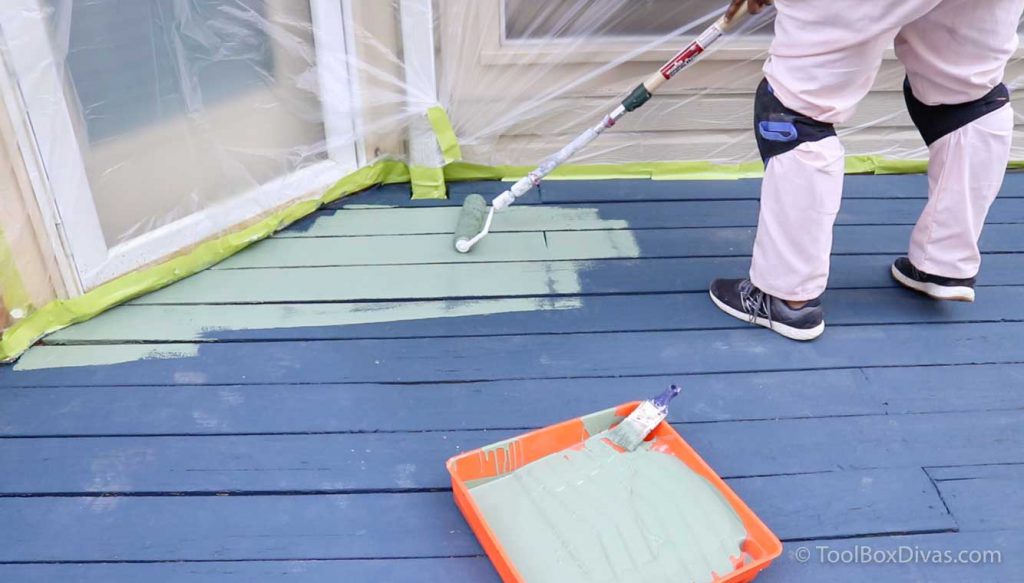
Apply the stain to the deck floor using a paintbrush (for the edges and crevasses) and roller. You can never go wrong with this approach. Also with this approach, you won’t need to tape off as much of the walls. But it does take a little longer. And I highly recommend some good knee pads.
Option 2: Paint SPrayer
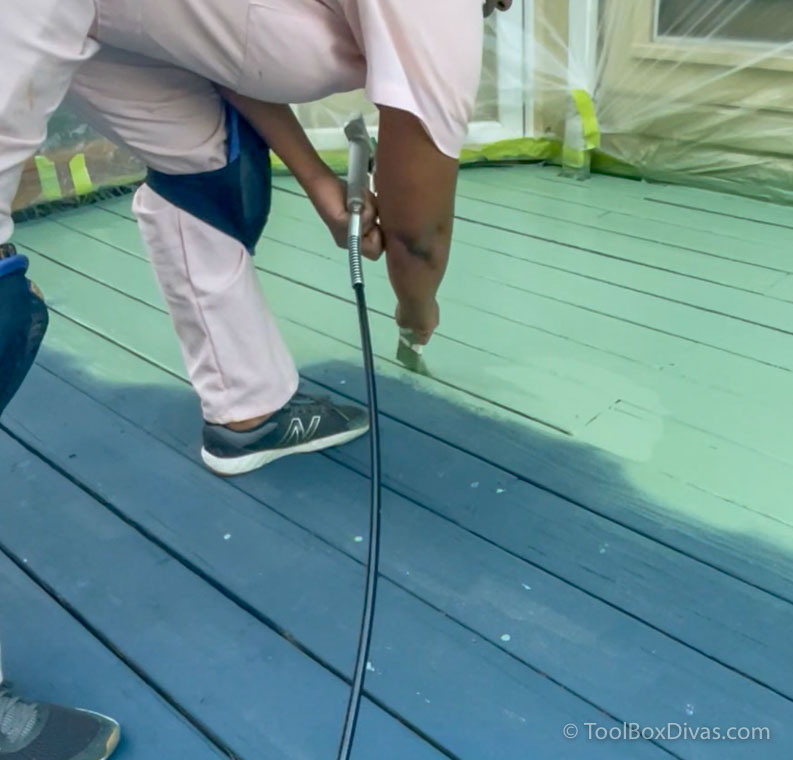
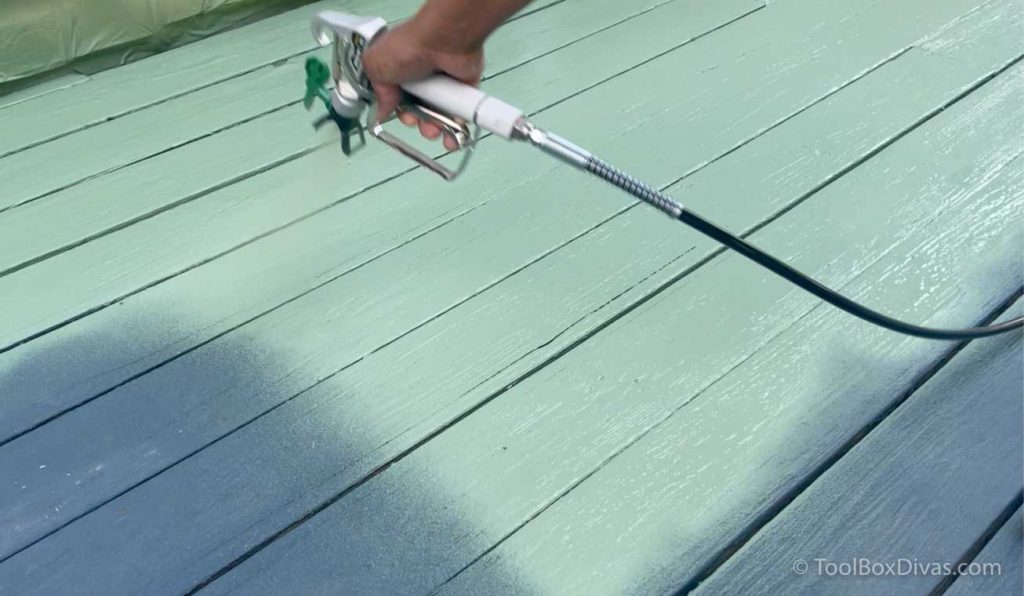
For my deck I used the paintbrush and roller around the perimeter and opted for an airless paint sprayer for the vast majority of the deck, while still using a brush to take care of any overspray and the crevasses. This was my first time using a paint sprayer to do this and I’m wondering why. It took roughly an hour or less to do the entire deck. And the color was evenly distributed.
It helps that the Olympic Elite has such a deep penetrating color that is resistant to peeling and cracking. It also provides a fungal resistant finish.
Step 6. Allow 24 hours to dry and Enjoy.
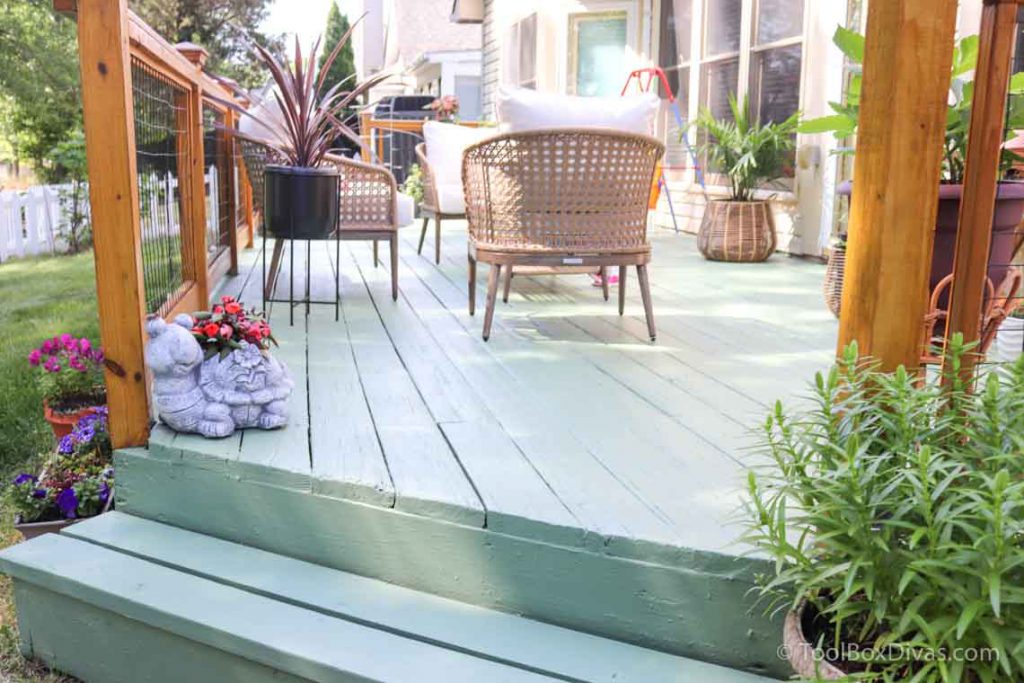
The Olympic Elite, the #1 rated stain, in Woodland Green is so rich and vibrant. It instantly transformed my outdoor space enhancing the beauty of the wood.
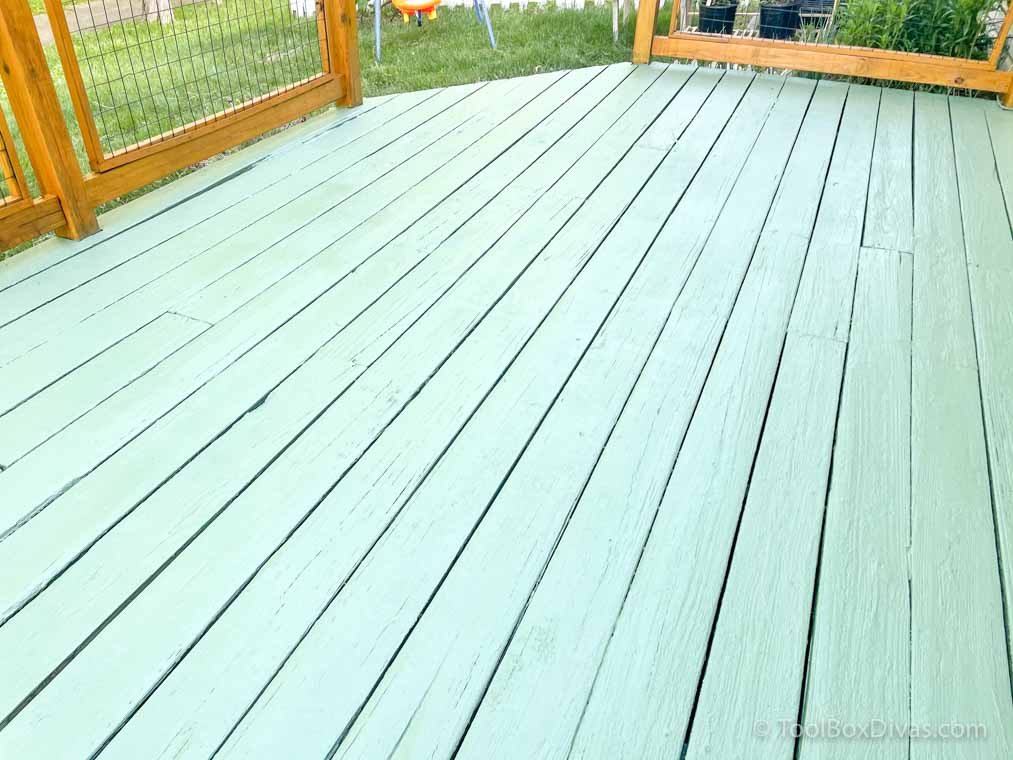
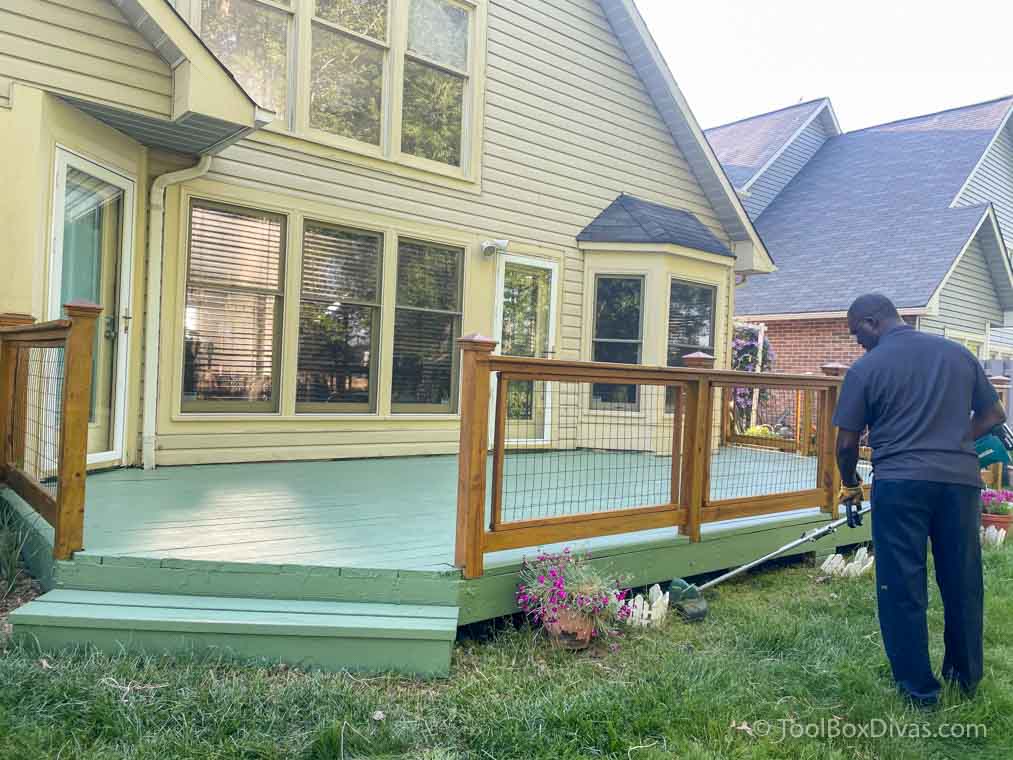
I am looking forward to using this outdoor space this Summer.
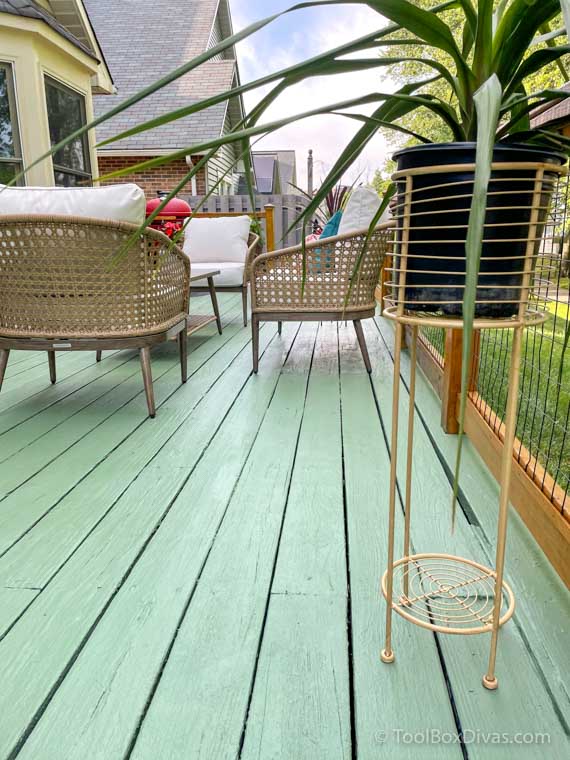
I a haven’t totally narrowed down how I intend to fully style this space but this color is speaking to me and giving off all sorts of coastal boho beach vibes.
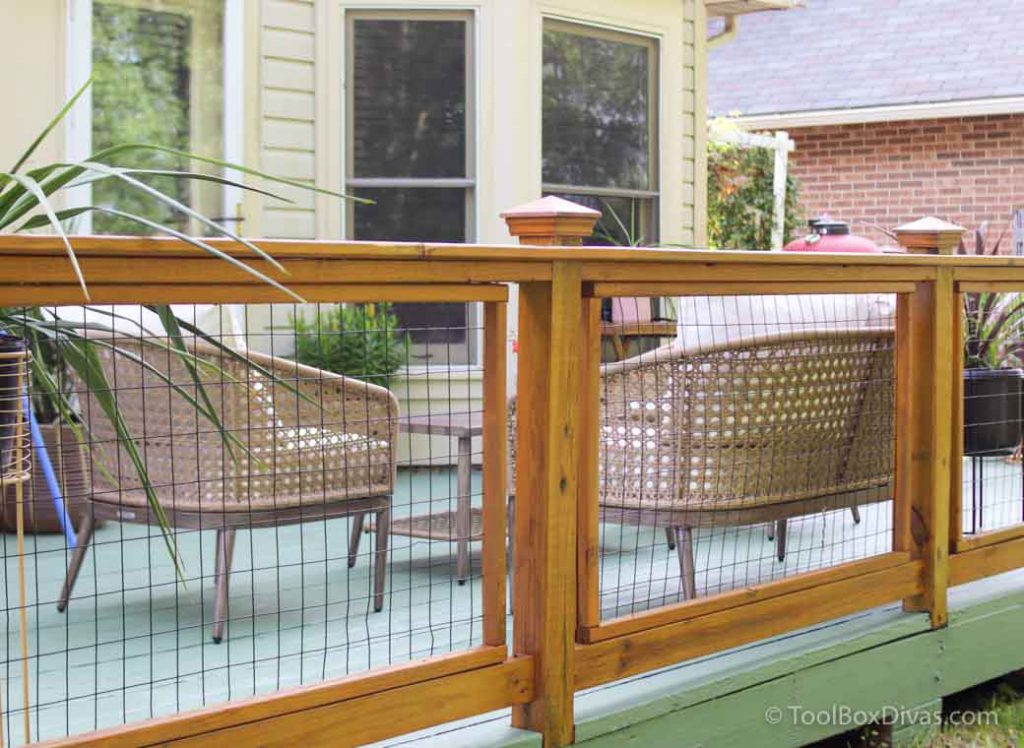
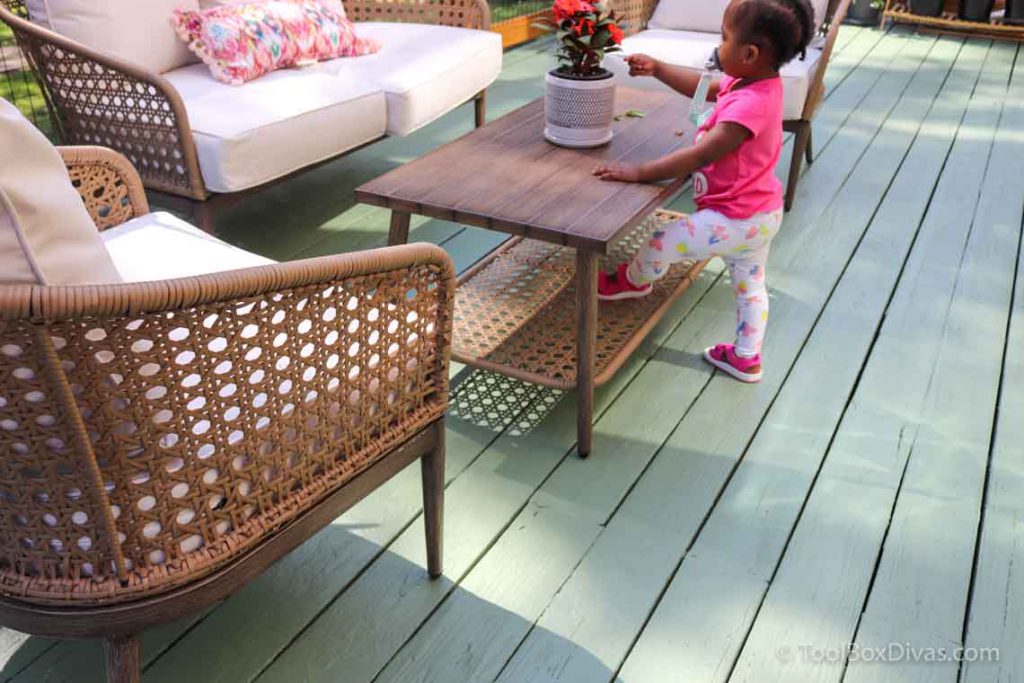
Stay tuned for more details on how I fully style and decorate my new outdoor space.






This is incredible and exactly what I’ve been looking for! My deck is in desperate need of being refinished before winter comes, but I’m so nervous to do it myself and don’t really want to pay someone lots of money to come do it for me. I loved your guide and I think it will definitely help me refinish my deck with all of the right tools! Thanks for sharing!