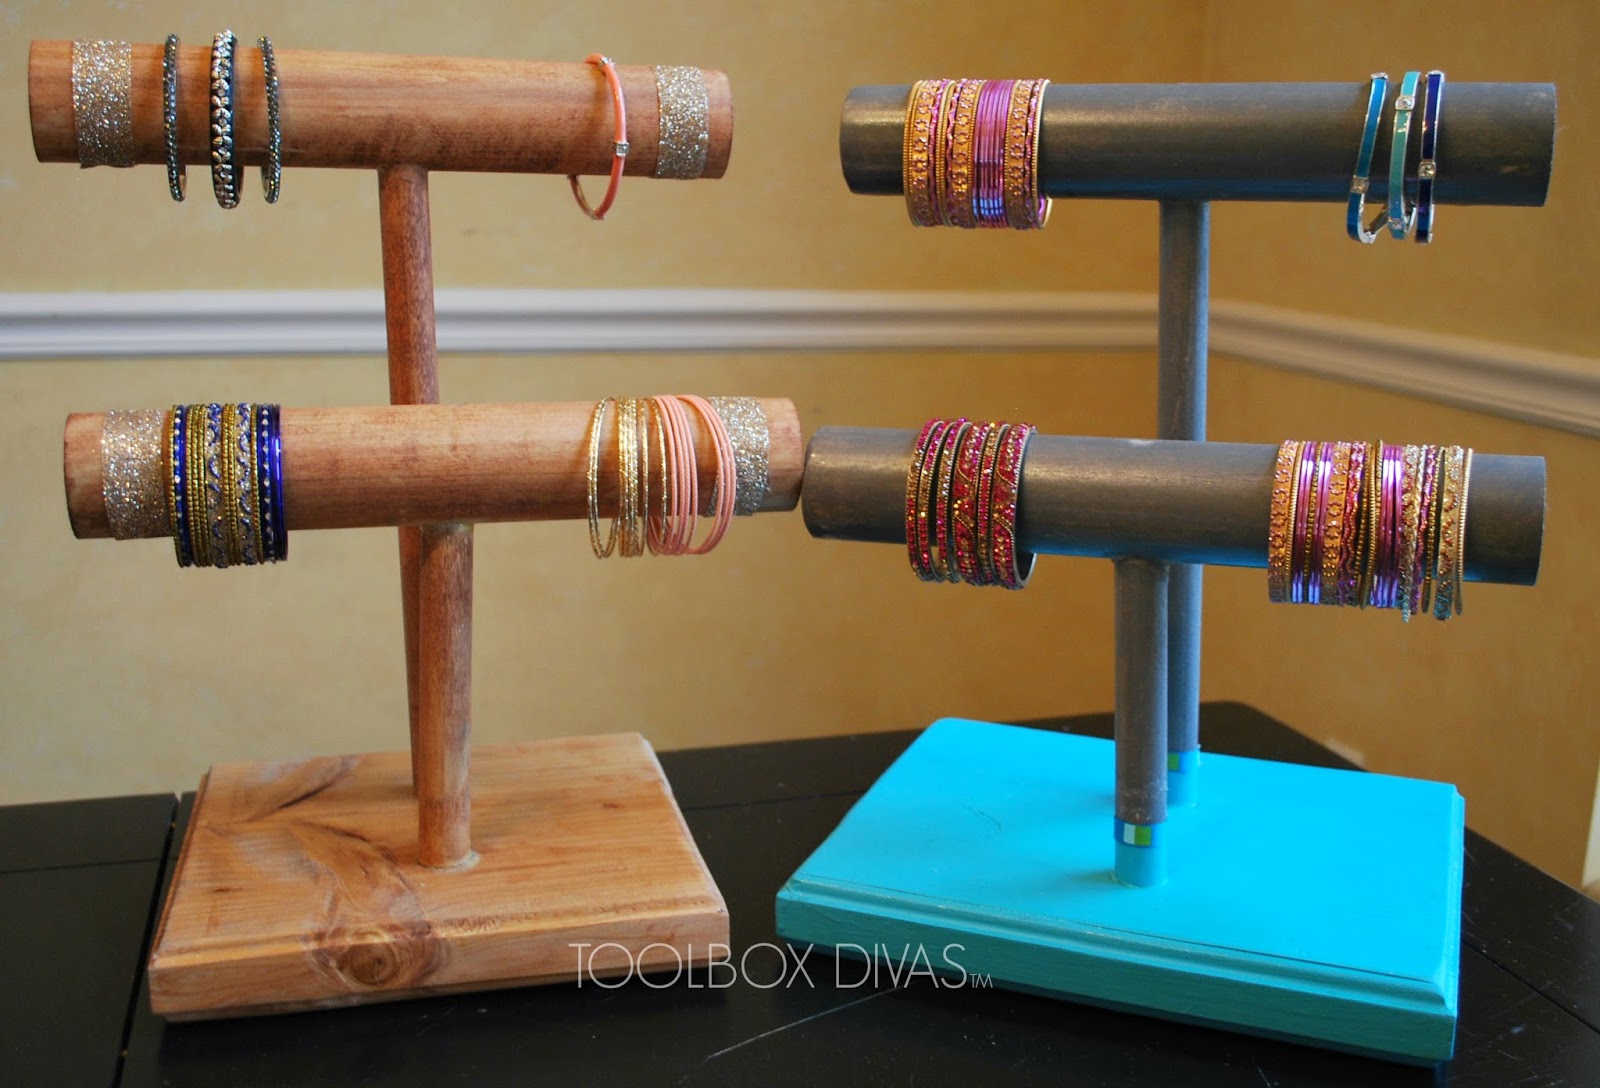
DIY Wooden Bracelet Holders
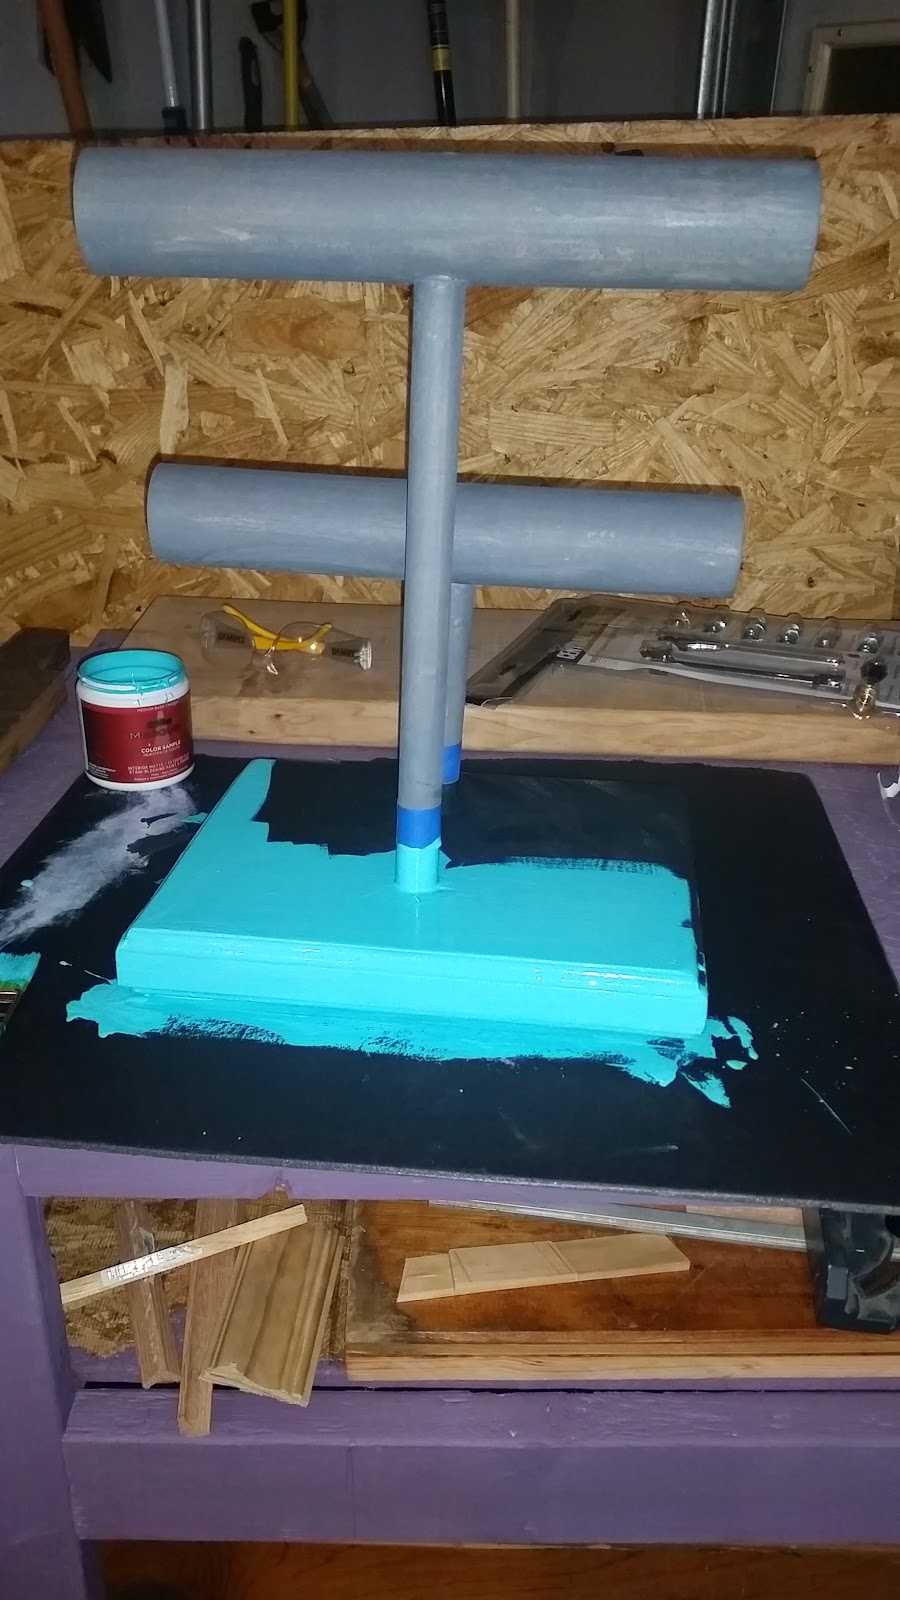
Learn how to make cute and stylish wooden bracelet holders in this easy to follow step by step tutorial.


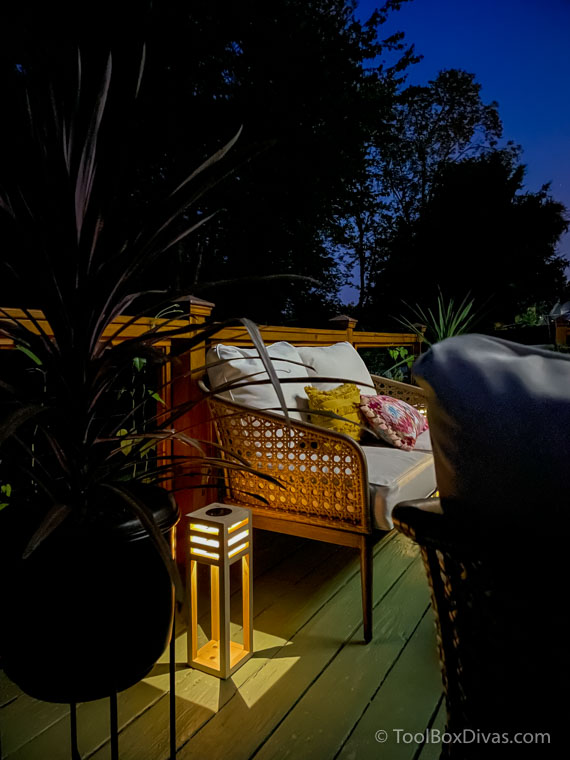
Learn how to make a set of wooden solar lanterns to add to your outdoor living space. In this blog post, I’ll be going over how to build a set of modern wooden solar lanterns. These are great for lighting up your yard or patio and make a nice addition to any outdoor space. They’re…
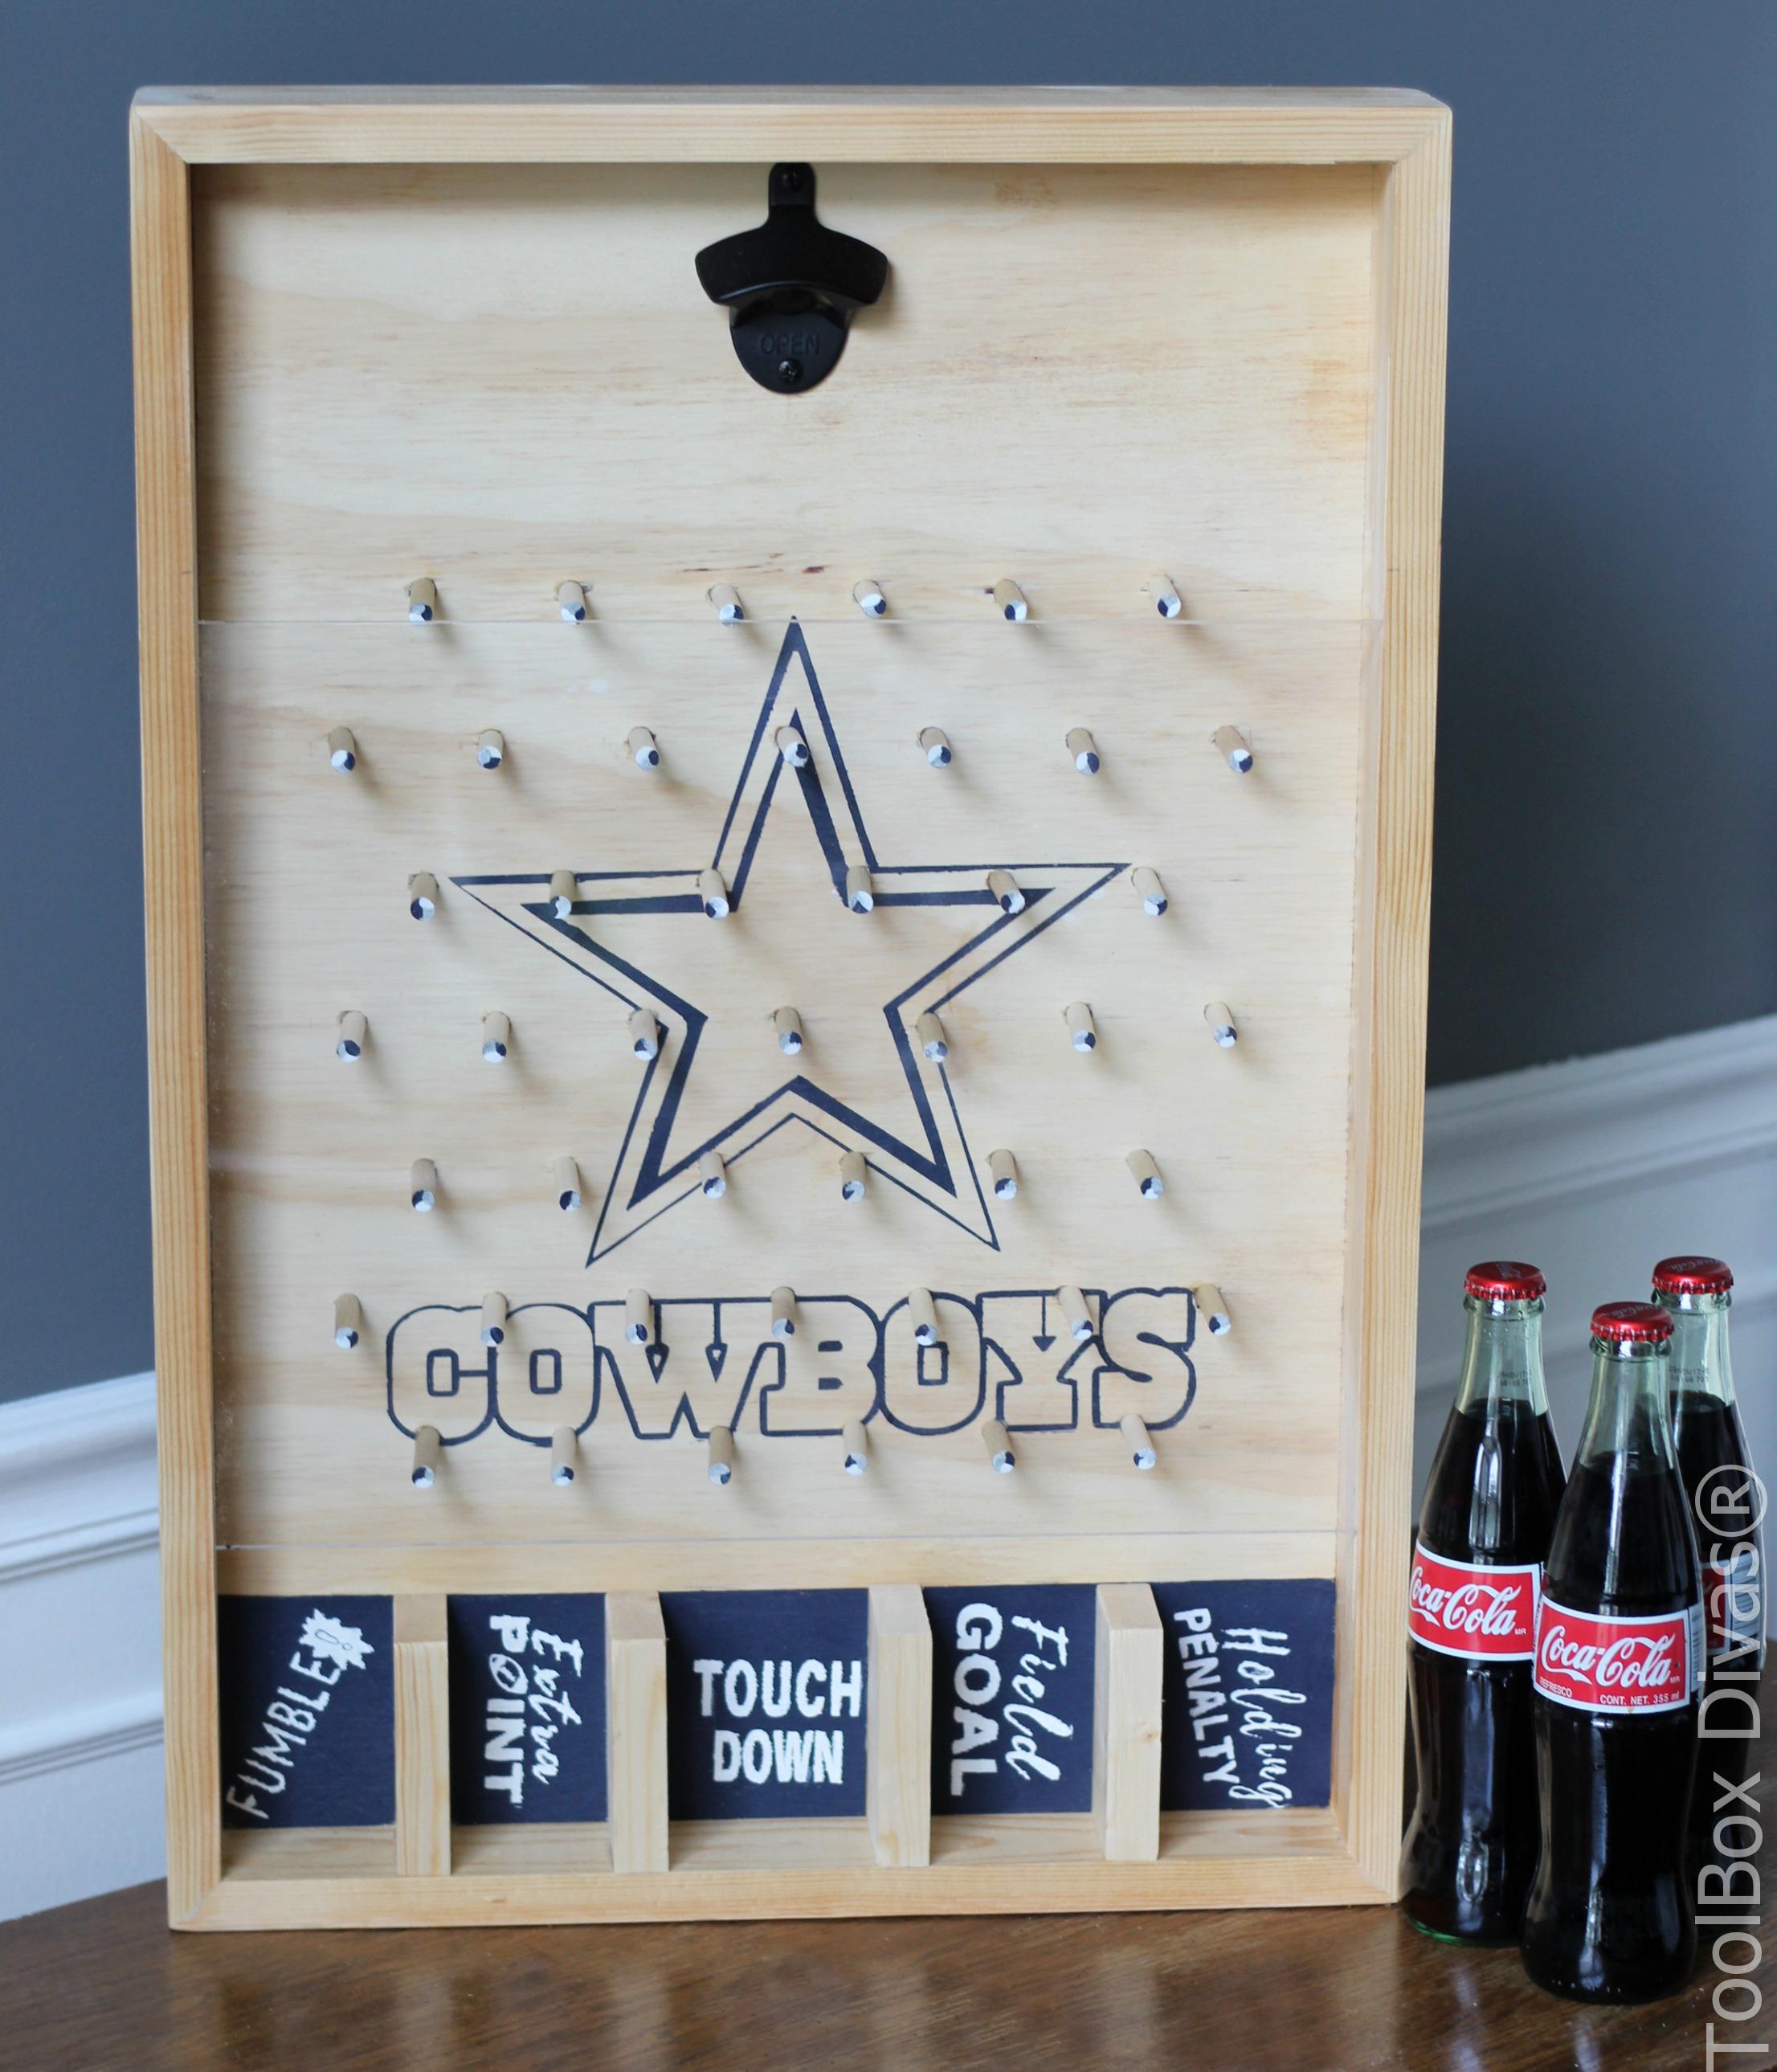
Turn a wall mounted bottle opener into a cool game. This post is sponsored by The Home Depot It’s Monday Fun Day! Today, myself, and 9 other very talented bloggers are going to be showcasing some of the ways in which you can put your own creative personal touch on your Bottle Opener Game. Last week,…
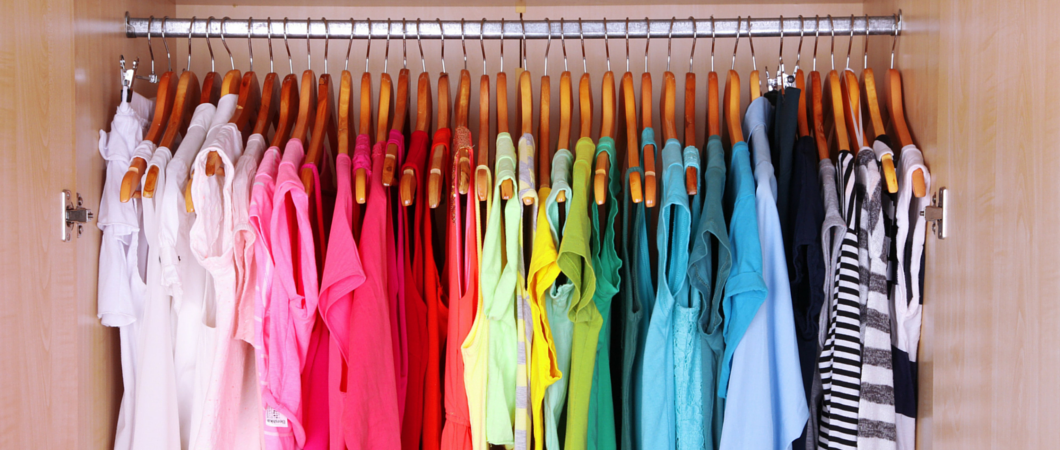
Do you suffer from wardrobe anxiety every morning? Does this sound familiar? ” I have absolutely nothing to wear.” Here are a few tips that will help tailor your closet and keep you inspired at the same time. First things first – Find a few of your best friends, turn up the tunes and get the libations…
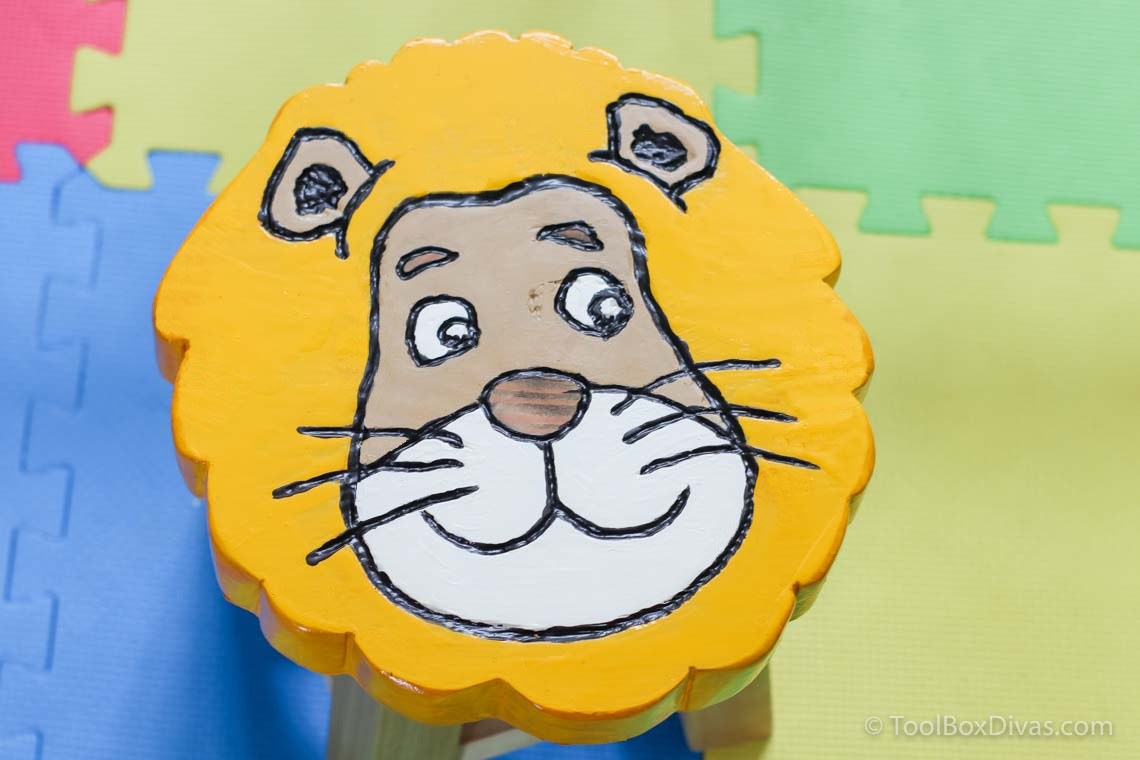
This blog post is going to show you how to make an adorable children’s wooden stool in the shape of a lion. How to Make a Lion Shaped Wooden Animal Stool is sponsored by The Home Depot and contains affiliate links and I will be compensated if you make a purchase after clicking on my links. What do…

How to Install Inexpensive wainscoting using picture frame moulding with these wainscoting ideas to glam up any space. Determine wainscoting height and width with these simple guidelines. Thinking about freshening up a boring mundane space. Consider this inexpensive wainscoting solution. What is wainscoting you ask? Well it’s wooden paneling that lines the lower part of the…
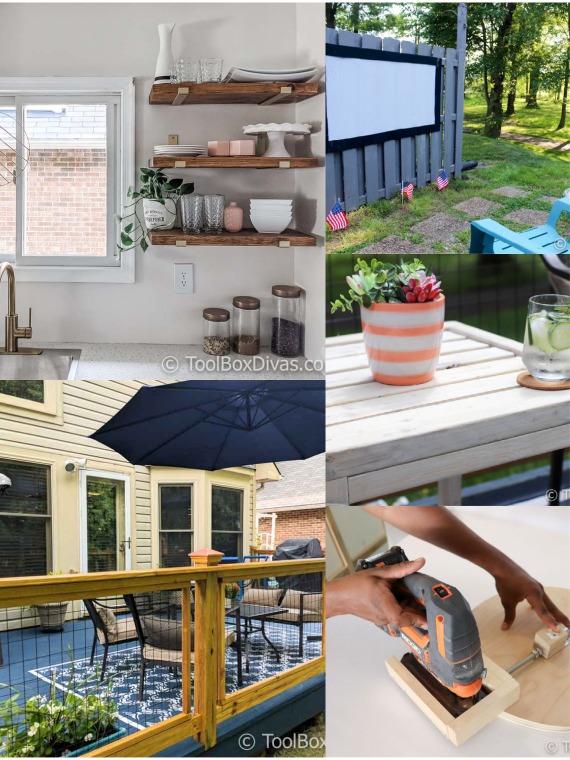
I wanted to take this chance to thank all of you for being here, for supporting me all year long. It’s been a crazy year to say the least, but I want to share with you the reader favorites from 2020. Looking back over this past year, I thought to myself, I haven’t done much….
really cute! I am going to have to make a few of these
Awesome! Thank you! Please send me pictures when you do or tag me on Instagram @toolboxdivas
Hi Timisha! Stopped by your blog through Twitter. I'm a DIY girl myself. Like fixing things and creating things. Loving this bracelet holder. I don't wear a lot of jewelry, with the exception of a bracelet here and there. So, I love this! From one Maryland girl to another…..keep creating!
Sharon
Make It or Fix It Yourself!
Thank you so much!!
Such a fantastic idea! Great way to reduce the clutter on dresser drawers and display your bracelets and necklaces. Thanks for Hosting at the Oh My Heartsie Girl Wordless Wednesday! I look forward to seeing you again next week!
Mary
Jingle Jangle Jungle
Thank you Mary! You too!
Will share this post on facebook when I get home. On my iPhone at the moment. Great post.
Just an awesome idea!
It will help me to decorate my bracelet. I will make it for my self and share this picture on my Instagram wall.