How to Install an Alternative to Cane Webbing
This is a sponsored post written by me on behalf of Arrow Fastener. All opinions are 100% mine.
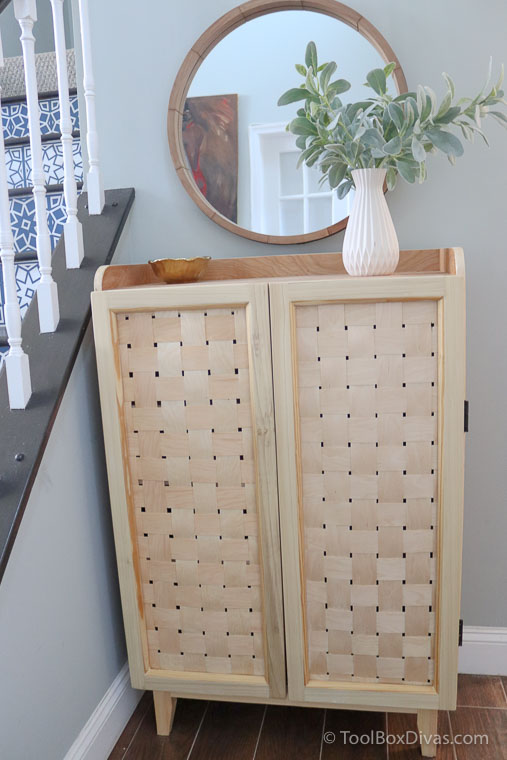
Using wood veneer or edge banding, woven together, this blog post shows you how to create an alternative to cane webbing for the doors of this modern shoe cabinet.
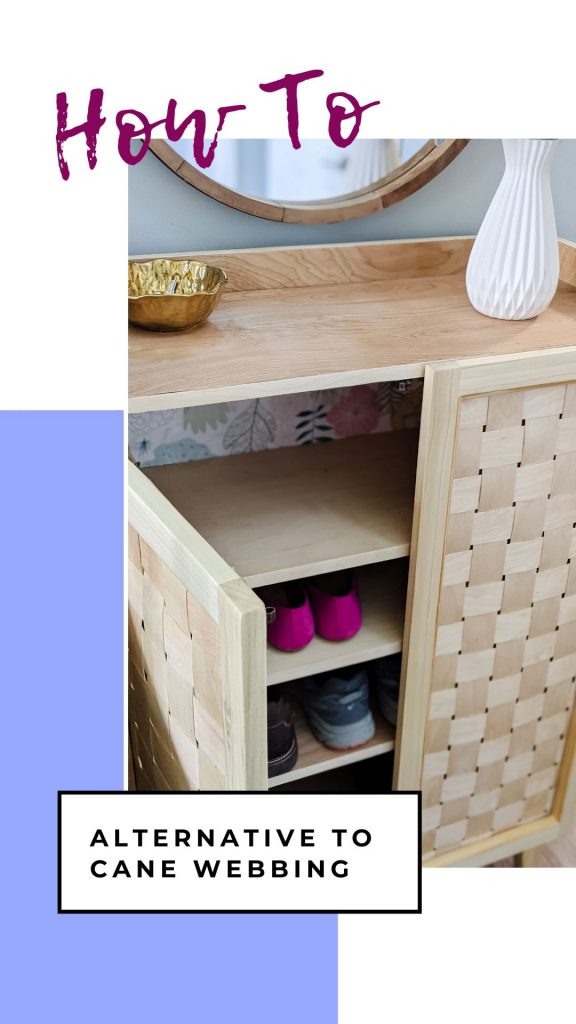
‘m making an entryway shoe cabinet to eliminate the piled-up mess of shoes at my front door. I want to add an interesting feature to the doors of the cabinet. I considered using cane webbing for the interior of the doors. But I realize while cane furniture is nice, it wouldn’t compliment my entry. So I decided to experiment with strips of wood veneer or edge banding. Using the Arrow Fastener T50HS and 2-inch edge banding, I’m going to show you how to create woven cabinet doors for a new shoe cabinet. I also used the Arrow’s GT30Li Cordless Glue Gun to come up with a no router hack for the door assembly. Arrow Fastener’s line of tools offers a full line of manual, electric, and cordless versions of staple guns, rivet tools, glue guns, nail guns, grommets, and hammer tackers for every pro, maker, and DIYer.
OK, Let’s Get Dirty!
The door frame.
There are two ways in which you can create the frame for a door with a woven insert. One way would be to route the interior frame of the door, to seamlessly hide the fasteners or staples used to secure the veneer webbing. The 2nd way would be to attach the wood veneer webbing to the frame without using a router. This is the most simplistic approach.
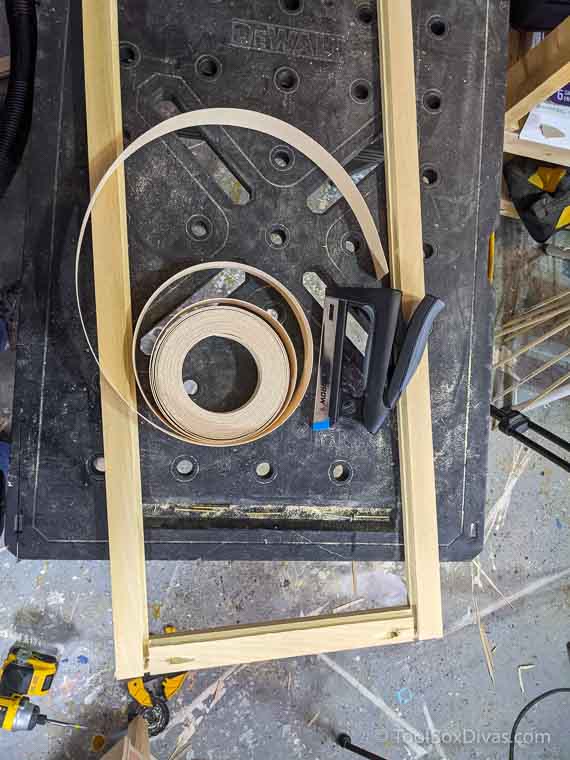
Step 1. Start by cutting the 1×2 boards down to size (4 – 37in. & 4 – 11 15/16in. pieces) to create the frame of the door.
The routed approach.
Using a router and a 1/4″ straight bit, create a ledge on 1 side of each 1×2. This will be the interior of the door where you’ll staple the ends of the wood veneer webbing.
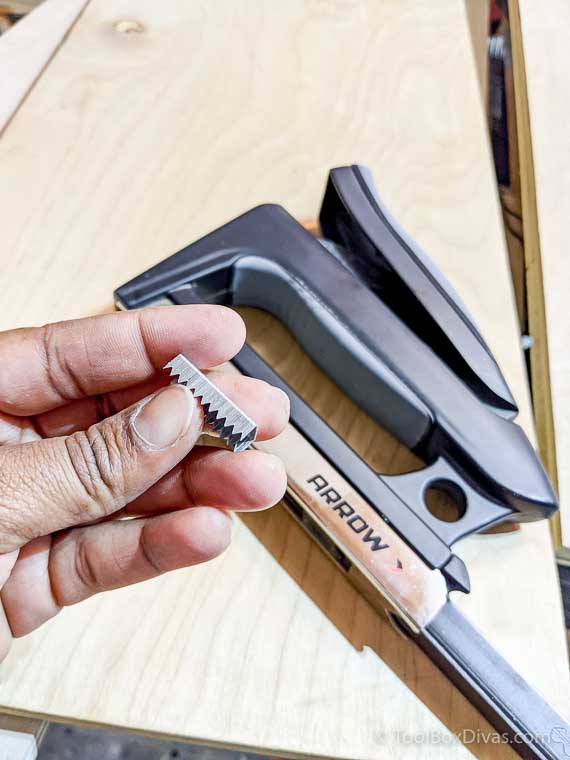
Use 1/4″ staples.
Step 2.
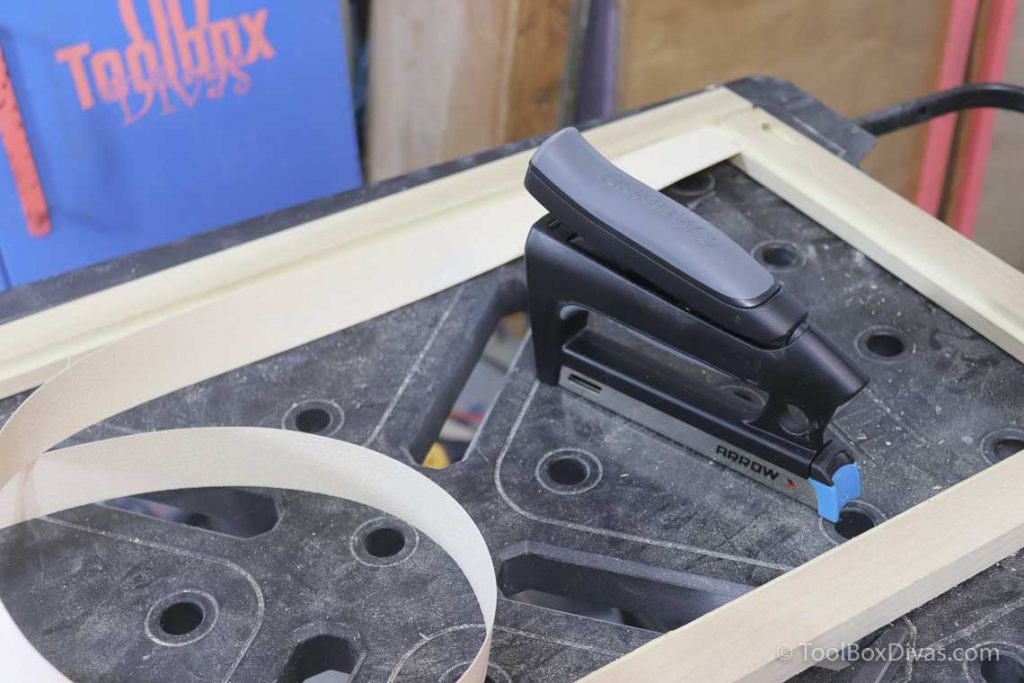
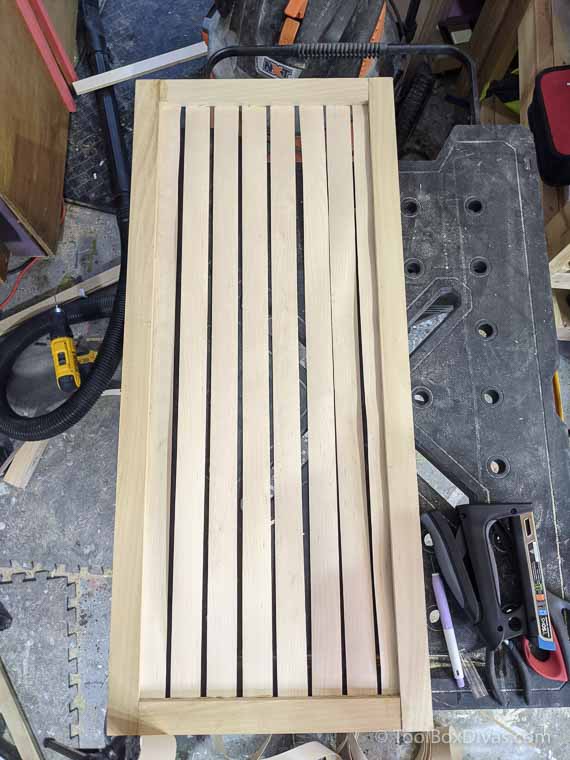
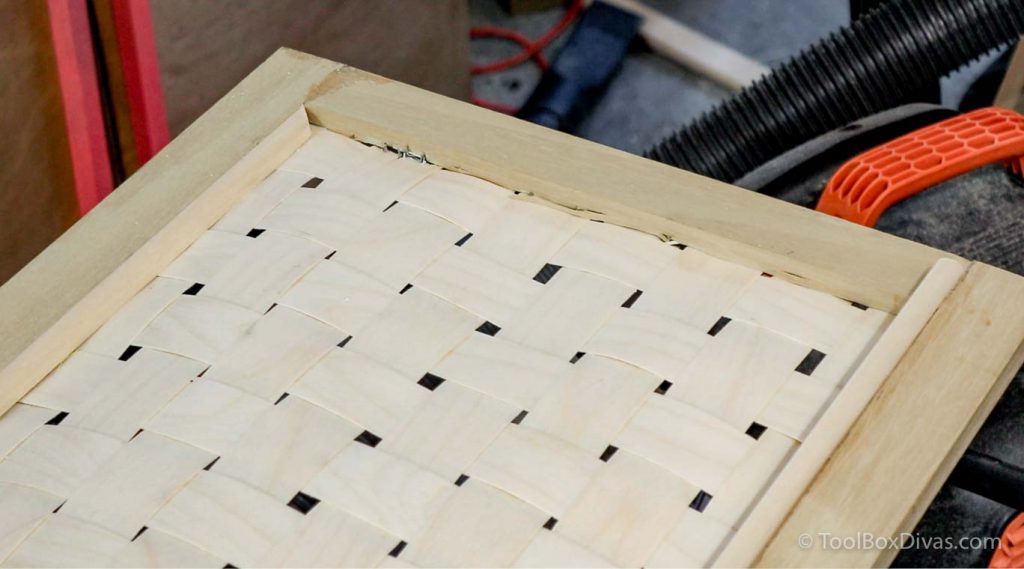
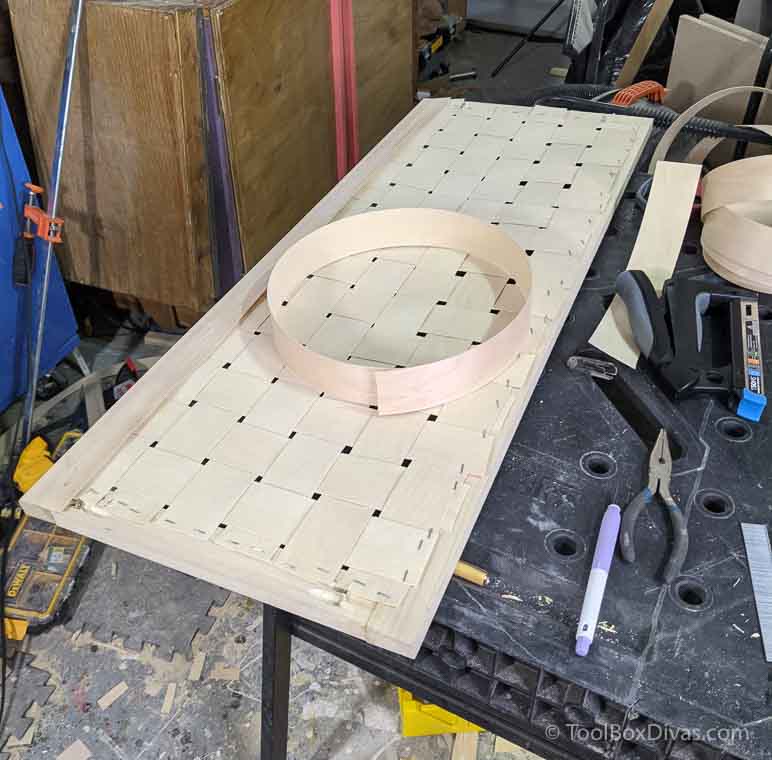
Start by running one strip of veneer from top to bottom. Use the Arrow Fastener T50HS to staple the edge banding in the routed groove. But it right up against the edge.
Space each strip about 1/4 in. apart. You want to pull the veneer as snugly as possible. Don’t worry if it sags a little in the beginning. Once you start weaving horizontally, it will tighten with each strip.
Step 3.
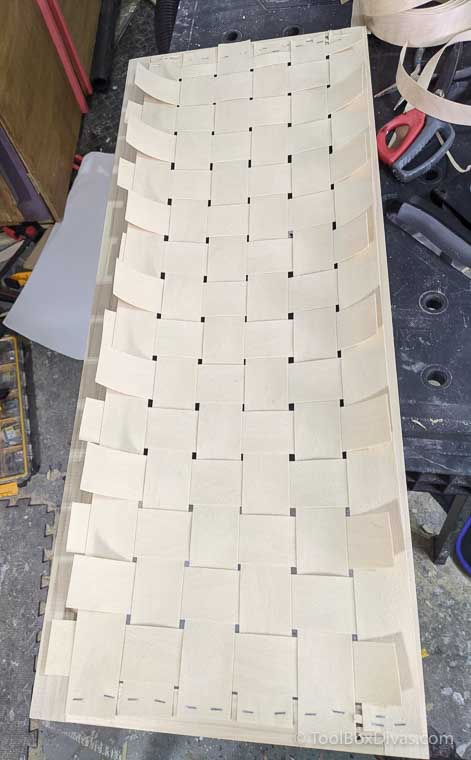
Once the strips are in place vertically, from top to bottom, it’s now time to weave the wood veneer over and under in a horizontal fashion starting from the very top or bottom of the door.
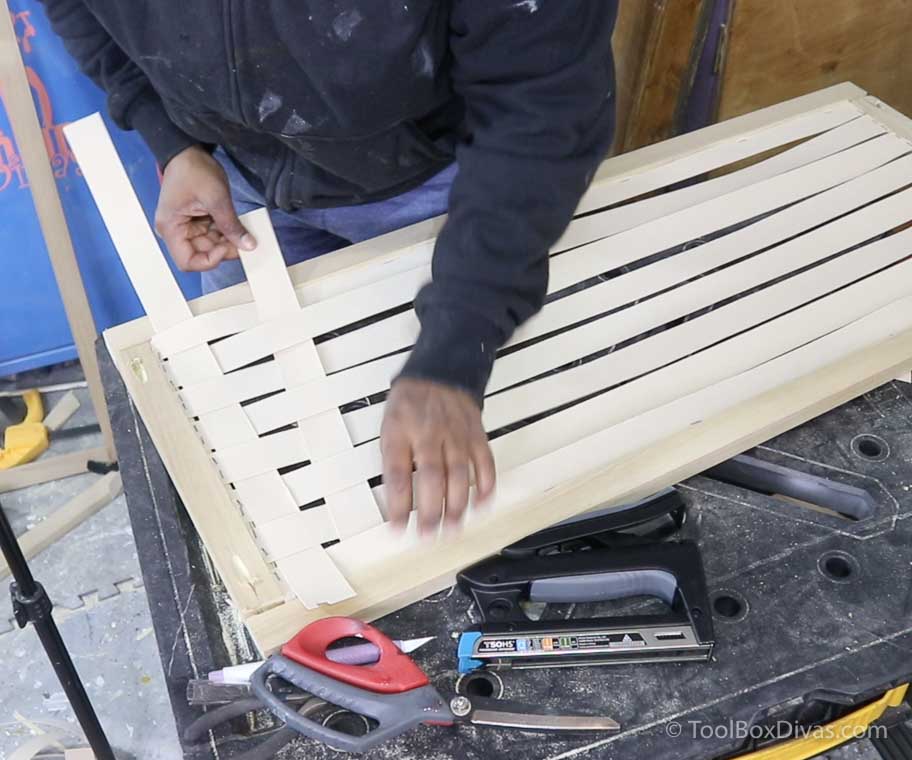
Shimmy the strips close together to tighten the bond within the weaving of the material. Space the strips out about 1/4 in. as you go down the door.

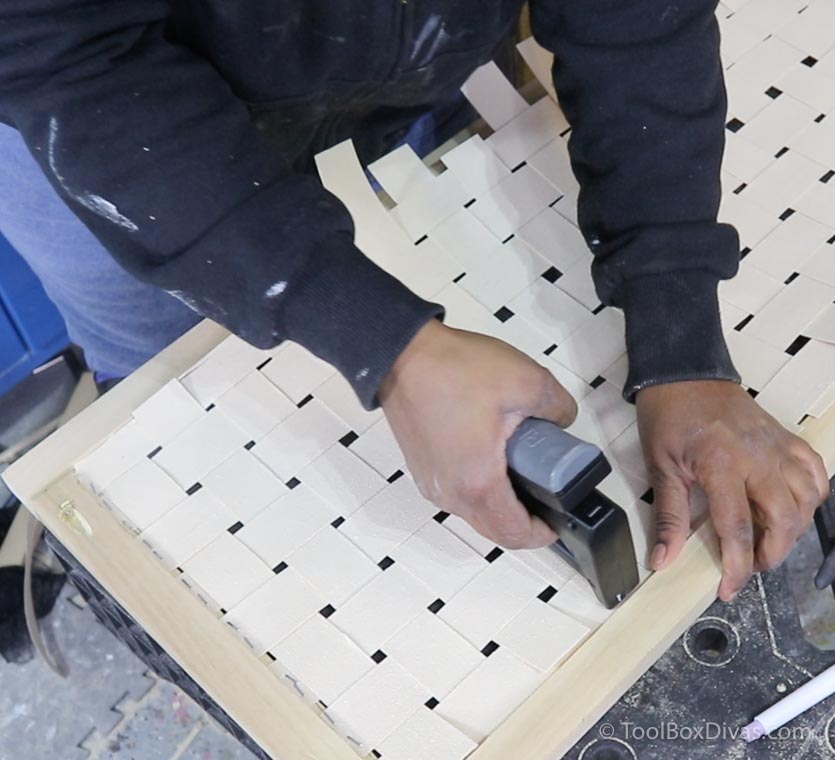
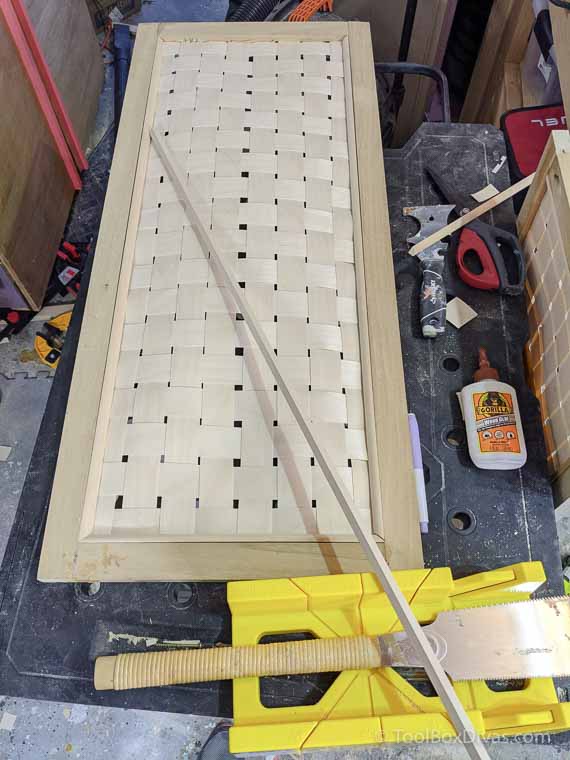
Once all the horizontal pieces are woven in and at the desired spacing, trim any excess veneer with an exact-o knife or razor blade, then staple in place with the Arrow Fastener T50HS.
Step 4.
Now that the wood veneer webbing is in place cover the staples by applying wood glue to the routed edge and clamping a thin 1/4in square dowel over the opening allowing it to set.
This creates a nice seamless edge in the inside of the door.
Step 5. To cover any exposed staples on the front of the door, trim the interior with 3/8″ quarter round trim molding. The trim made the doors look even better.
Limited tools alternative no router.
Ok now for the 2nd way of installing this alternative solution to cane webbing, it doesn’t require the use of a router. Simply follow steps 1 – 3 for creating the door.

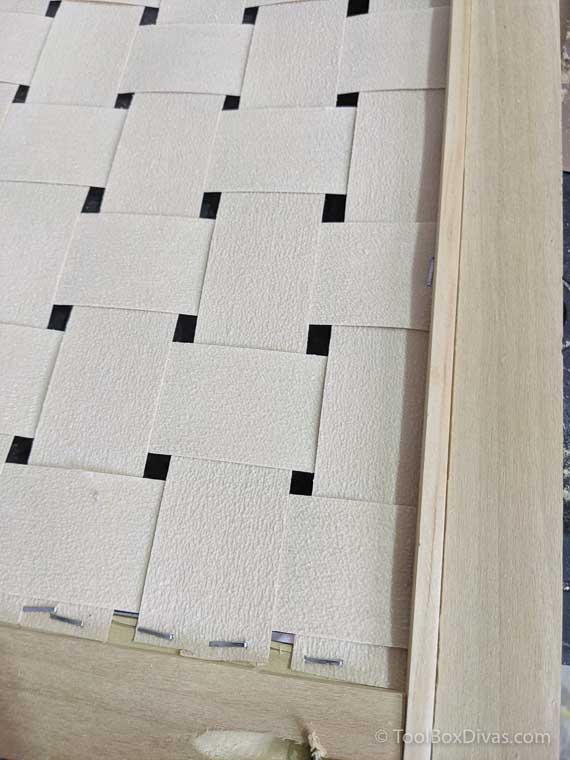
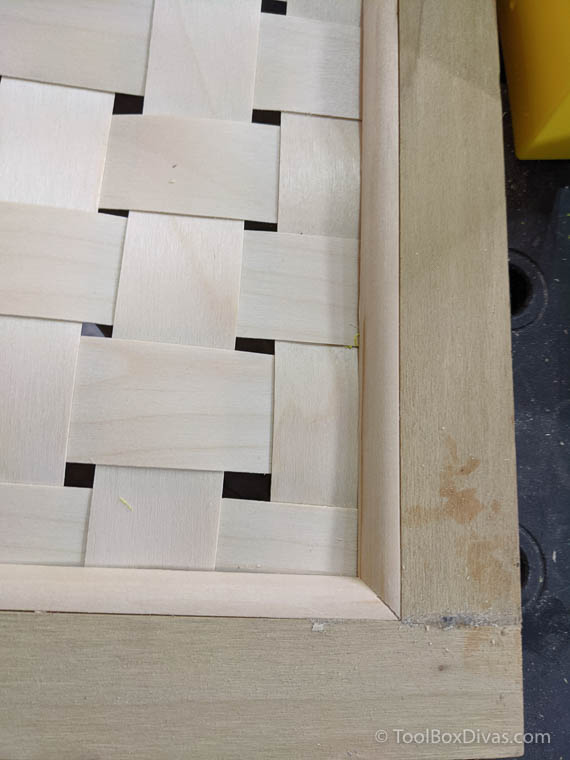
The webbing will rest on the frame of the inside of the door.
It’s a very simple way of creating the webbed interior of the door. But you need to cover the exposed staples inside of the door. And as I thought about how you can do this I thought why not use what I the veneer?!
Normally with edge banding or veneer you would secure and cover the edge of exposed plywood by applying heat with something like an iron. But in this case, I wouldn’t want to risk distorting the woven pattern of the wood veneer strips. So using the Arrow GT30Li Cordless Glue Gun, glue the veneer around the edge of the frame to cover the staples. Make it as flat as possible because the addition of the veneer slightly alters the thickness of the door. This thickness may affect the hinge you decide to use to attach the door to the shoe cabinet. Sandra of Sawdust Girl has a really great tutorial on choosing cabinet hinges.
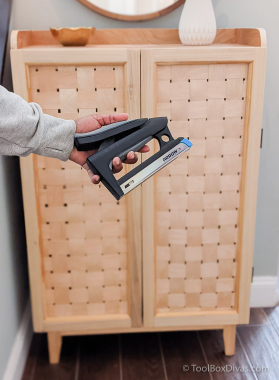
I hope this provides some inspiration for an alternative solution to cane webbing. Get creative and think outside the box. All you need is the right material and a powerful staple gun like the Arrow FastenerT50HS, and you can come up with all sorts of substitutes for caning.
Pin It. Save It For Later.
Check out more easy DIY builds like this simple $10 outdoor side table, a wooden bench with a woven fabric seat, and other #MadewithArrow projects.