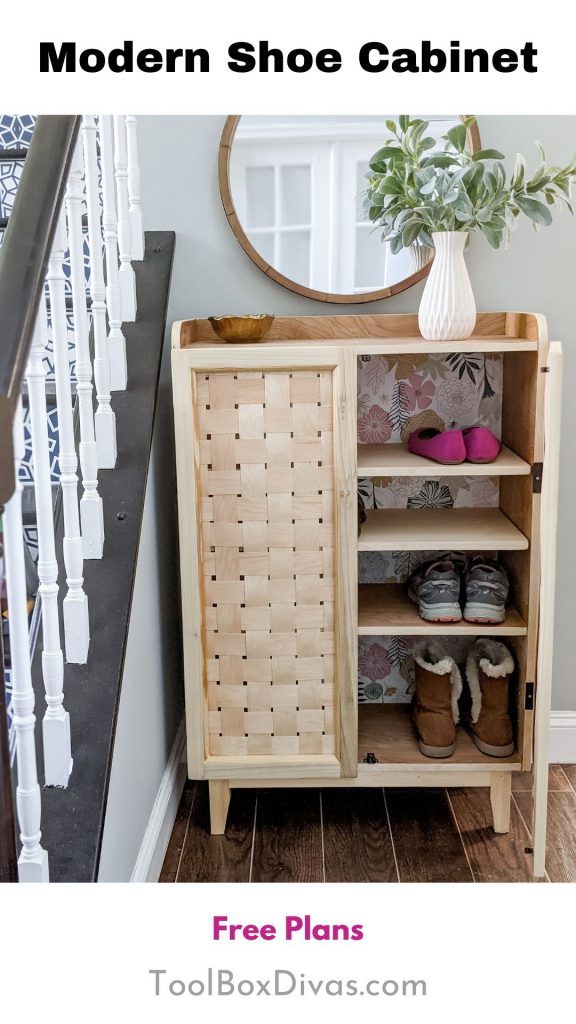
How to Make a Modern Shoe Cabinet
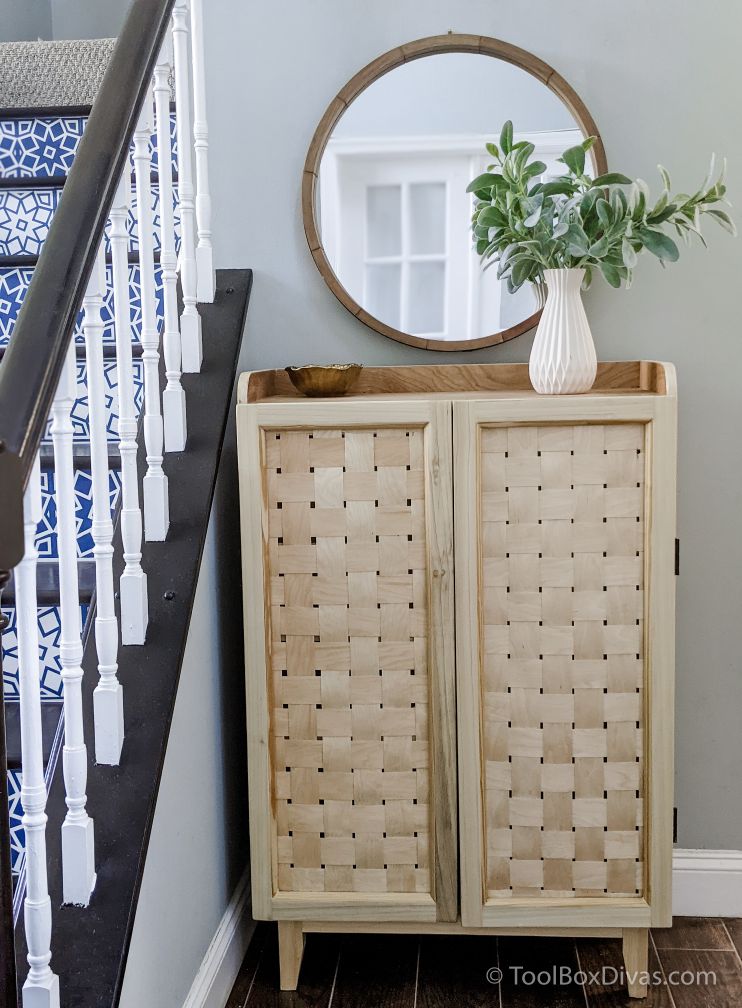
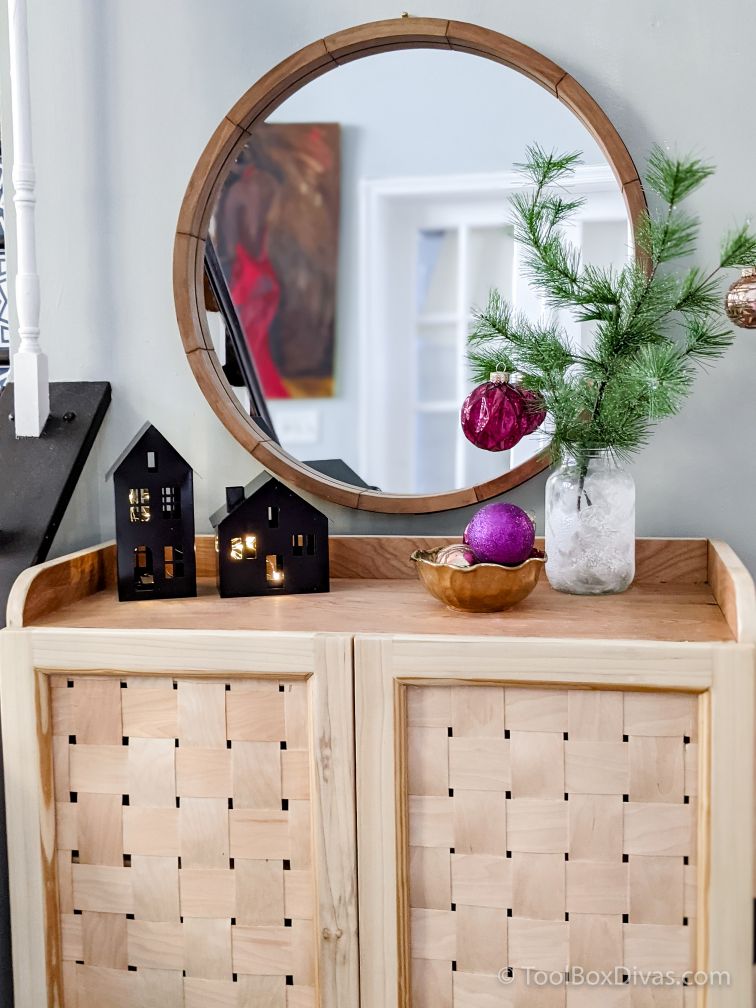
Clean up and organize the entryway with a beautiful modern shoe cabinet.
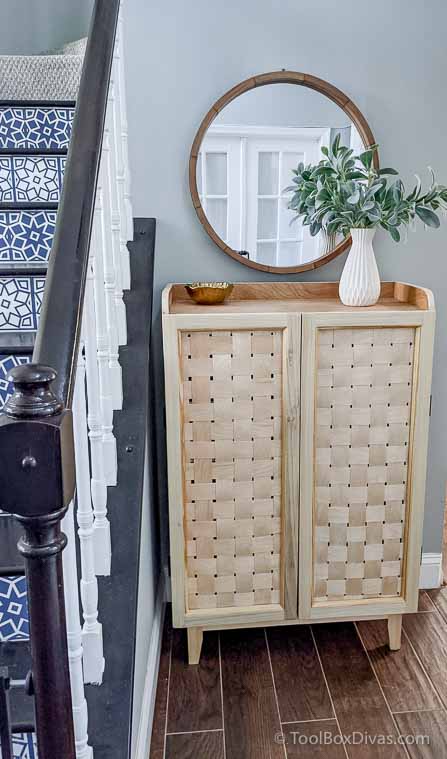
I’ve found a new stylish solution to shoe storage with a beautiful modern shoe cabinet. I’ve always hated walking in the door and leaving my shoes out in the open at the bottom of the stairs. It’s ugly and just messy. And with a toddler running around, looking to put everything in her mouth, it was just not practical. So I came up with a shoe storage solution that is elegant and simply transforms my entryway.
Materials
- Download the PLANS
- 2 – 3/4 in x 48 in. x 96 in. Plywood
- 1 – 2 in. x 2 in. x 3 ft. Lumber
- 3 – 1x2x8 Lumber
- 70 – #8 x 1-1/4 in Woodscrew for Pocket Holes
- 30 – #8 x 2in Woodscrew
- 2 – 1-1/2 in. Wood Veneer 50 ft. or 2 – 2in. Wood Veneer 50 ft.
- 1 – 3/4 in. Wood Veneer 25 ft.
- 2 – 2-1/2 in. Hinges
- 2 – 4 – Ball Tension Catch or Roller Catch (I used one at the top and bottom of each door as a way of baby proofing the doors. It works!)
- 2 – 1 in. Knobs (I opted for no knobs at this time)
- Wallpaper (Optional)
- 3/8 in or 1/2in quarter round trim
- 1/4 in square dowels optional or cut thing pieces of the plywood
- Arrow T50 1/4 in. Leg x 3/8 in. Crown Galvanized Steel Staples (1,250-Pack)
- Zinsser Universal Sanding Sealer (optional)
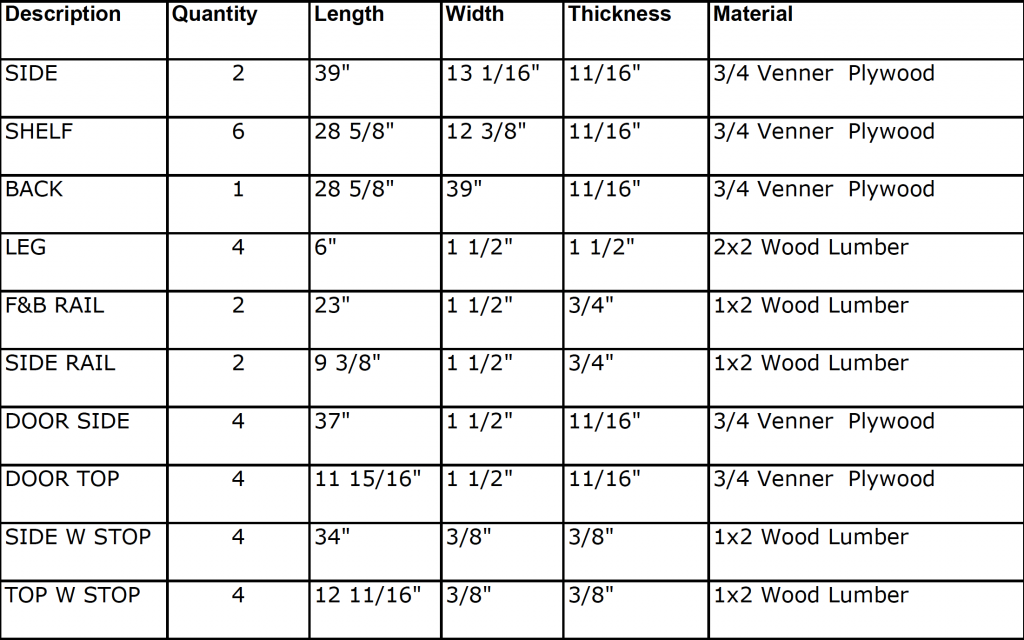
Cut List
Tools
- Arrow Fastener Model #T50HS
- Miter Saw
- Circular Saw
- Kreg Rip-Cut
- Router
- Level
- Kreg Shelf Pin Jig
- Drill/Impact Driver
- Iron
- Exacto Knife
- Tape Measure
- Kreg Pocket Hole Jig
- Jigsaw
- Speed Square
- Clamps
OK, Let’s Get Dirty!
GET THE PLANS
Been a long since I’ve said that. Hahaha!
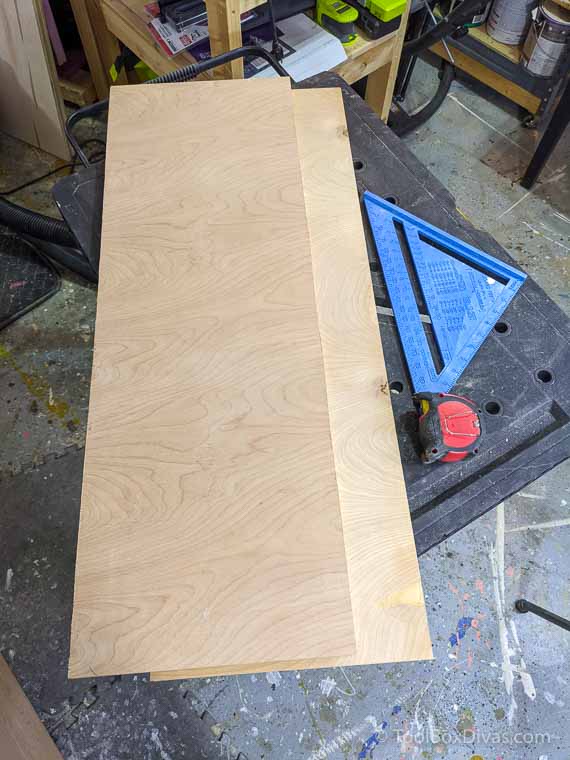
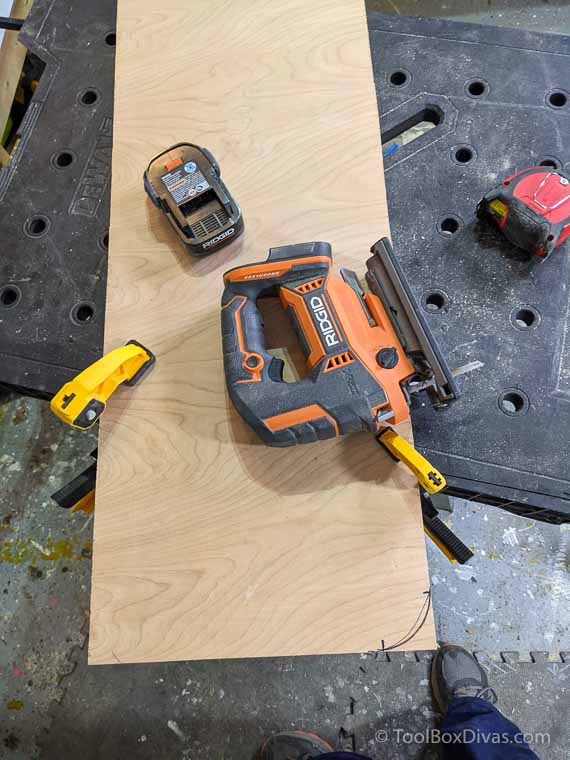
Step 1. Cut the boards to size as outlined in the cut list.
So for this build, I’m trying to reduce my trips to the hardware store for obvious reasons. So I have 1 full sheet of birch ply and half of another. I’m going to make it work using the birch for the body/frame of the shoe cabinet. I completed all the rip cuts with a circular saw and a Kreg Rip-Cut or straight line jig.
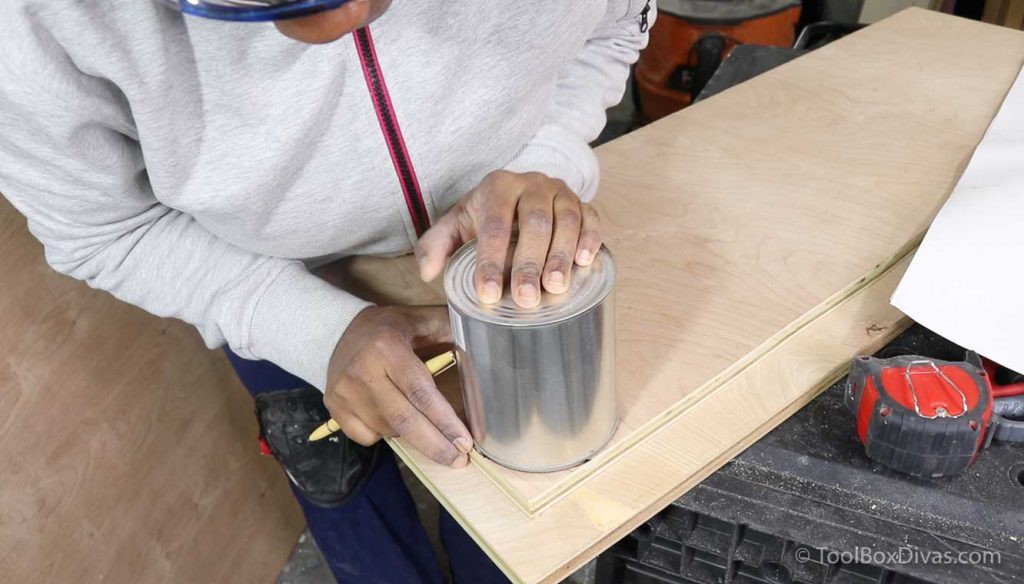
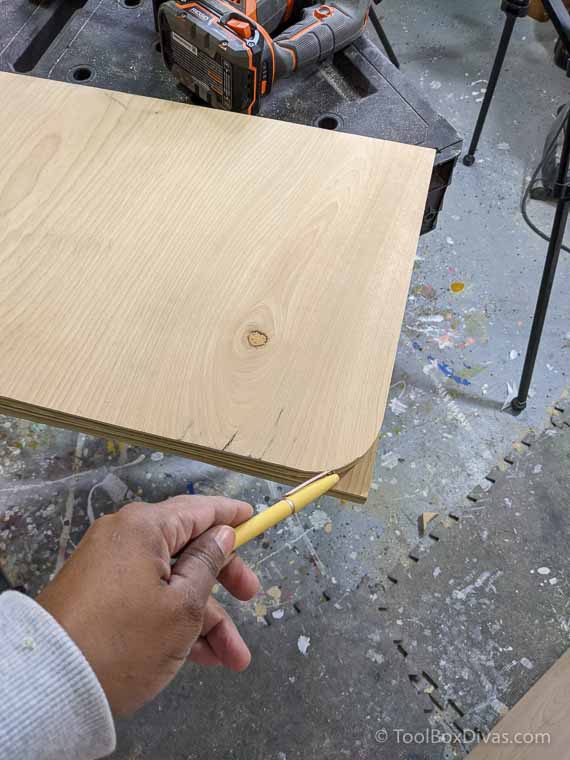
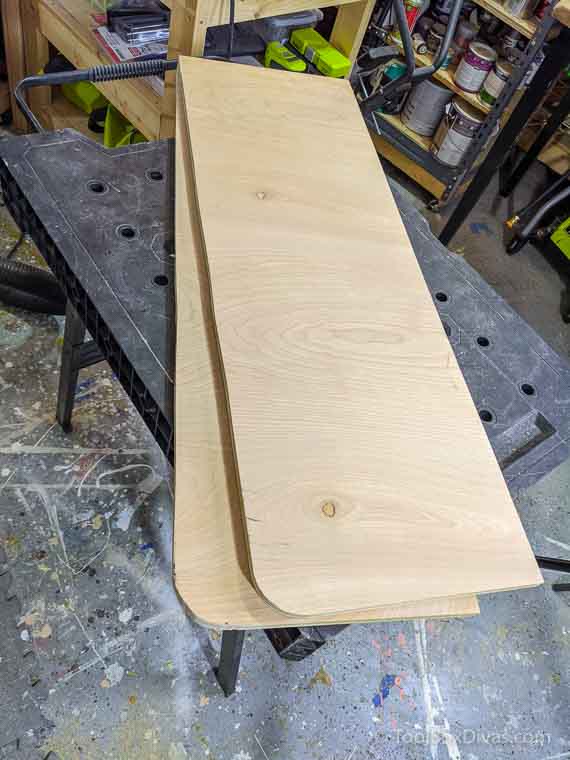
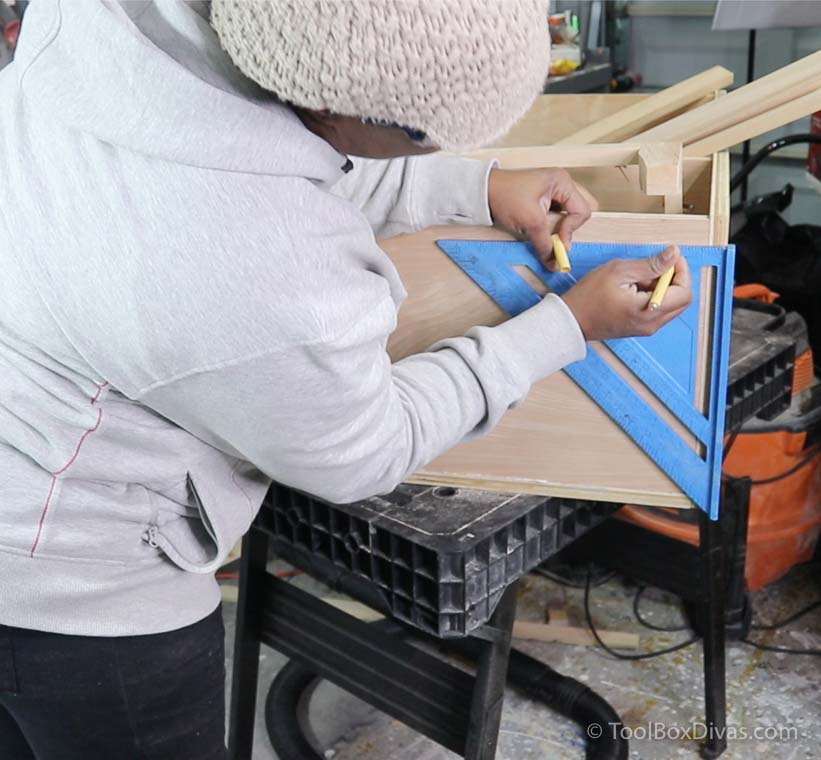
Step 2. Shape the side panels of the show cabinet.
Starting with the side panels I used a paint can to trace out the front corner curve. Then using a jigsaw cut the curve. I will shape up any rough spots later with a sander.
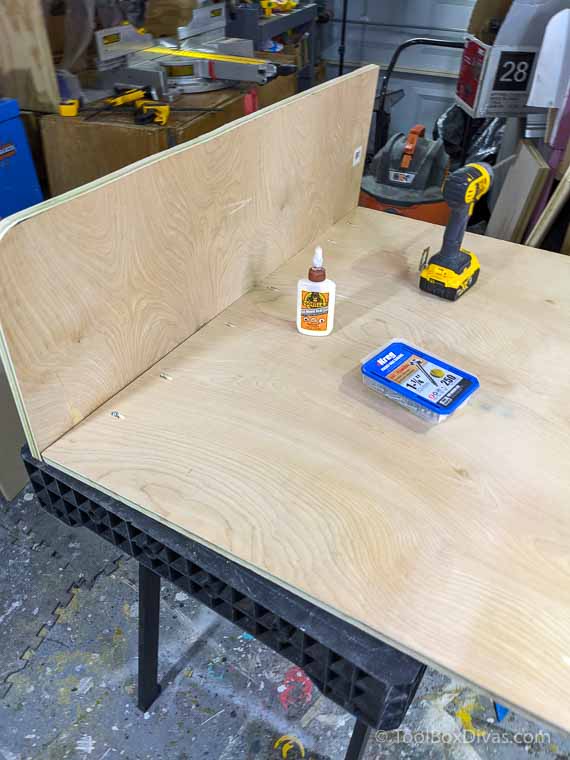
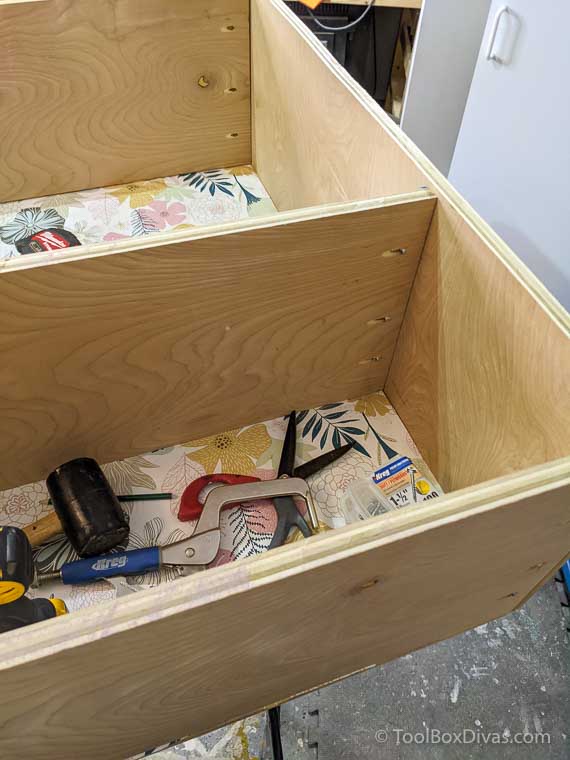
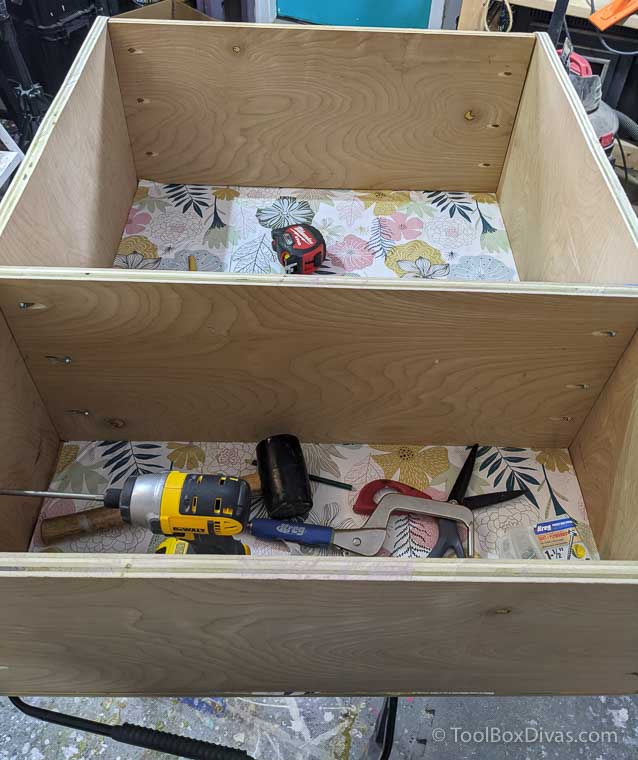
Step 3. Attach the sides to the back of the shoe cabinet.
Next, using pocket holes I attached the side panels to the back of the shoe cabinet. And remember the wallpaper from the bathroom renovation earlier this year? I told you I’d find a way to use it at some point. Hahaha. Well, I adhered it to the back of the shoe cabinet. This will give it a cute and whimsical feel when you open the door to the cabinet. And note, Yes I did a horrible job rolling it back up after taking it down from the bathroom. LOL But luckily this peel and stick wallpaper is forgiving to a certain degree and I’m going to stretch it out.

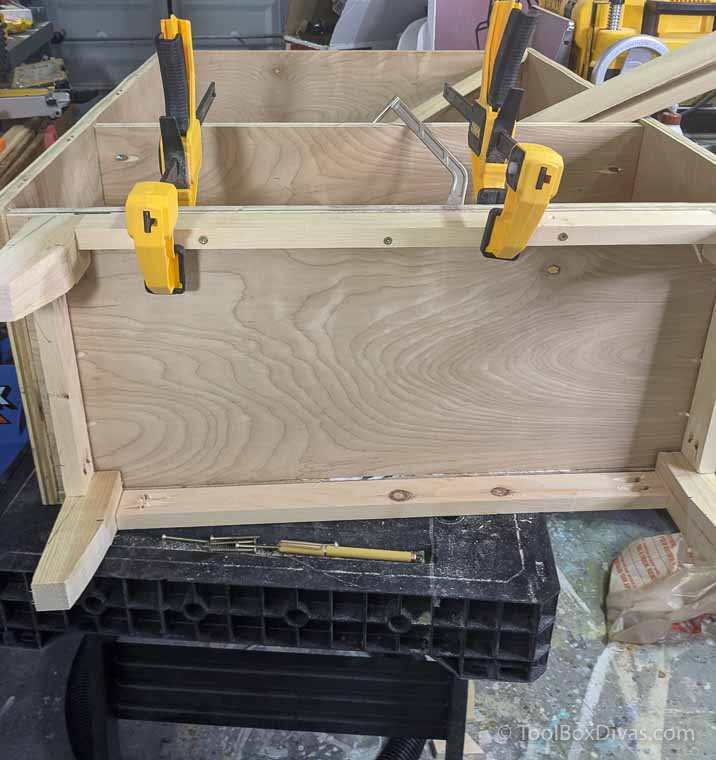
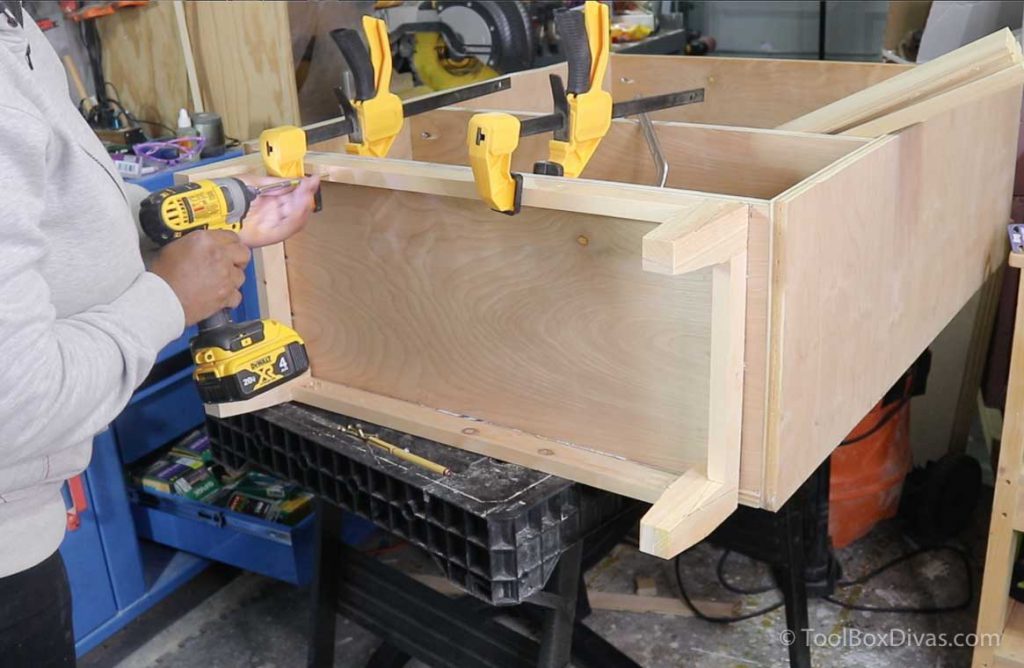
Step 4. Attach the top, middle and top shelves.
I only permanently secured one shelf in the shoe cabinet. This to make room for winter boots and work boots. But you want to make sure the shelves are nice and level and the cabinet is square at all times. A large clamp is very helpful in holding the boards in place while your screw them together.
Step 5. Drill the shelf holes in the side panels of the shoe cabinet.
Shelf pins provide flexibility for different size shoes. And a Shelf Pin Hole Jig makes this process so simple.
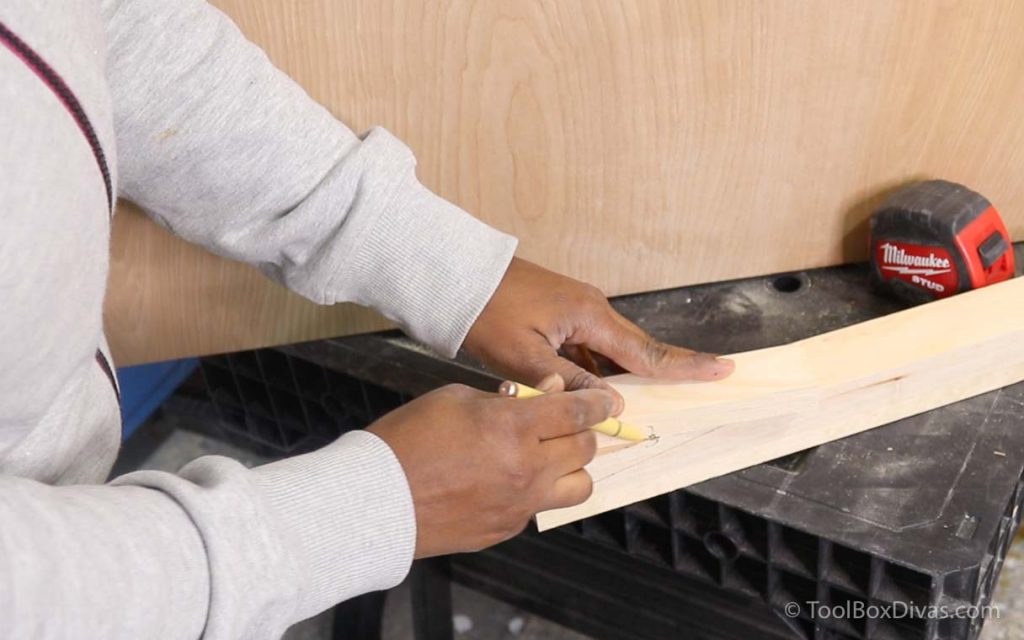
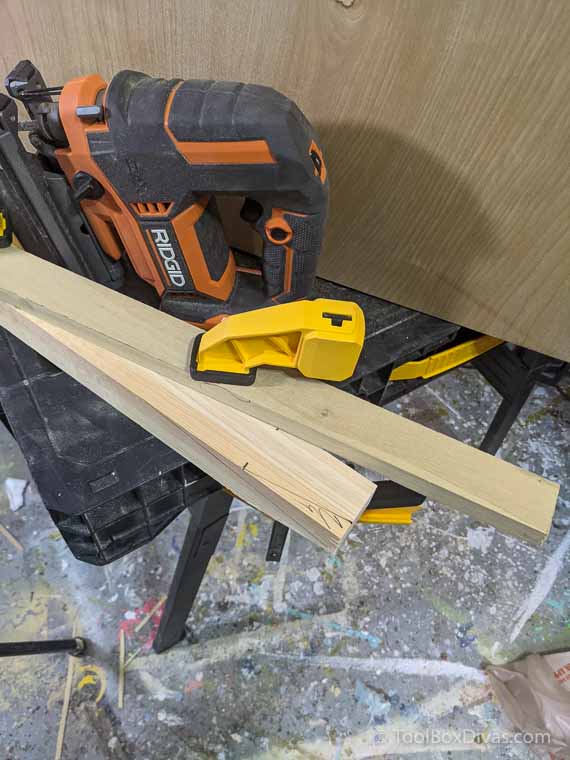
Step 6. Cut and taper the 4 legs.
I then taped the legs using a method I learned from Jenn on Build-Basic.com. She has an excellent, easy to follow tutorial accompanied by a video that you can check out on how to taper the legs using a jigsaw.
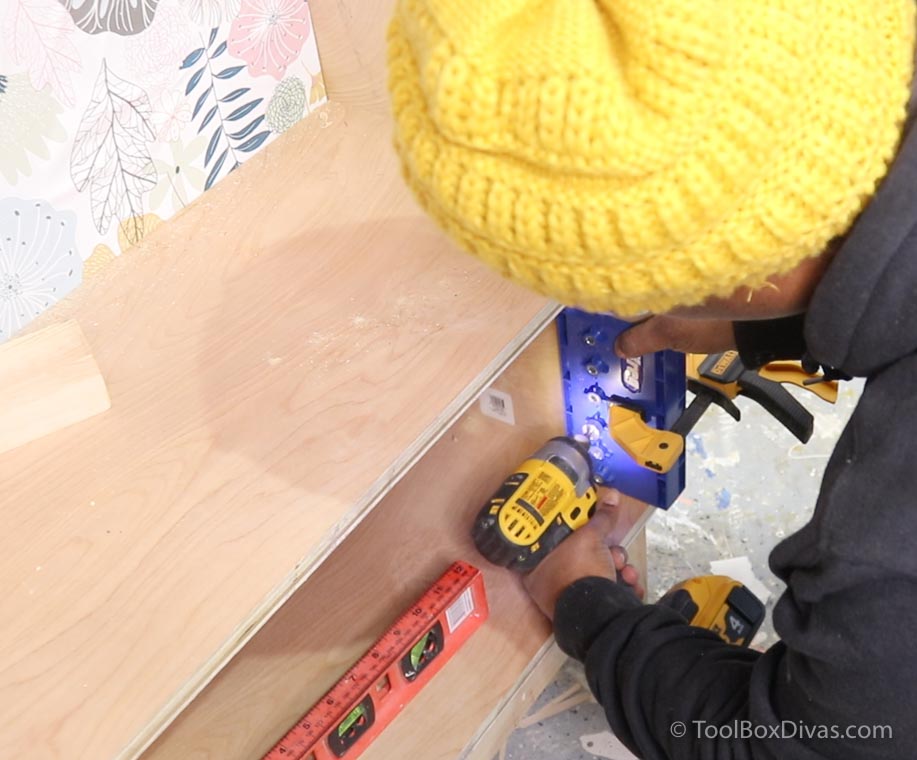
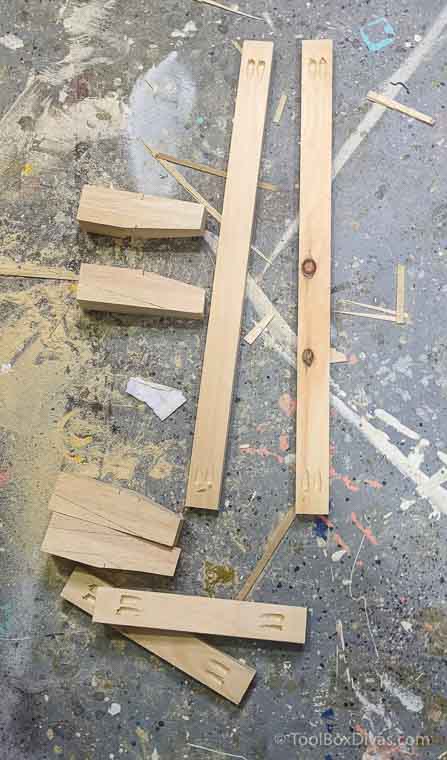
Step 7. Assemble the base.
Once all the pieces are cut and the legs are tapered assemble the base using pocket holes and 2 in screws. Then place in the middle of the bottom of the shoe cabinet 1 1/2 in from either side and screw in place. I recommend drilling a starter hole before drilling in place.
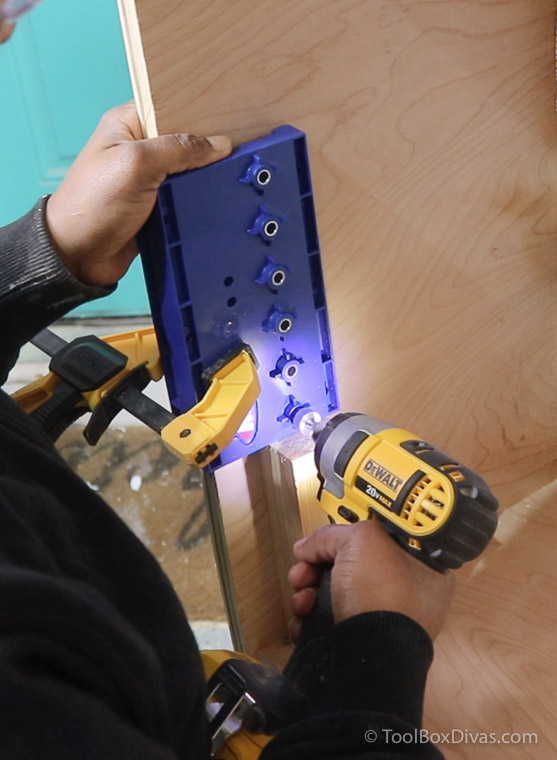
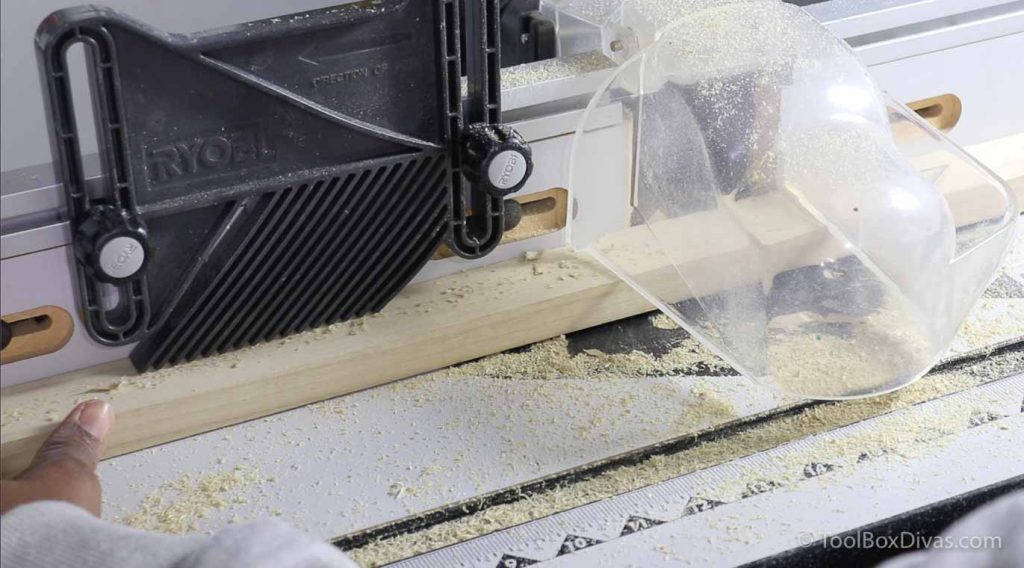
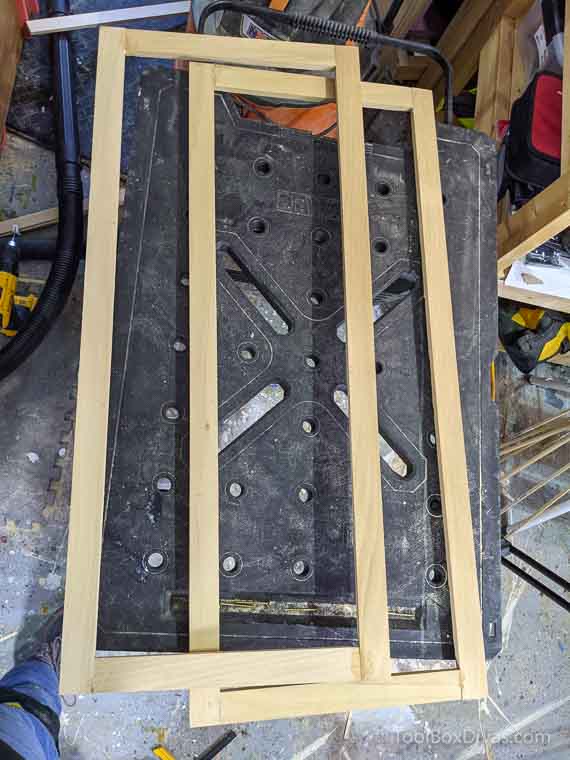
Step 8. Assemble the door frames.
Using 1×2 boards cut the pieces for the frame of the door. Use a router to create a lip for the veneer weaving strips. about 1/4″wide and deep.

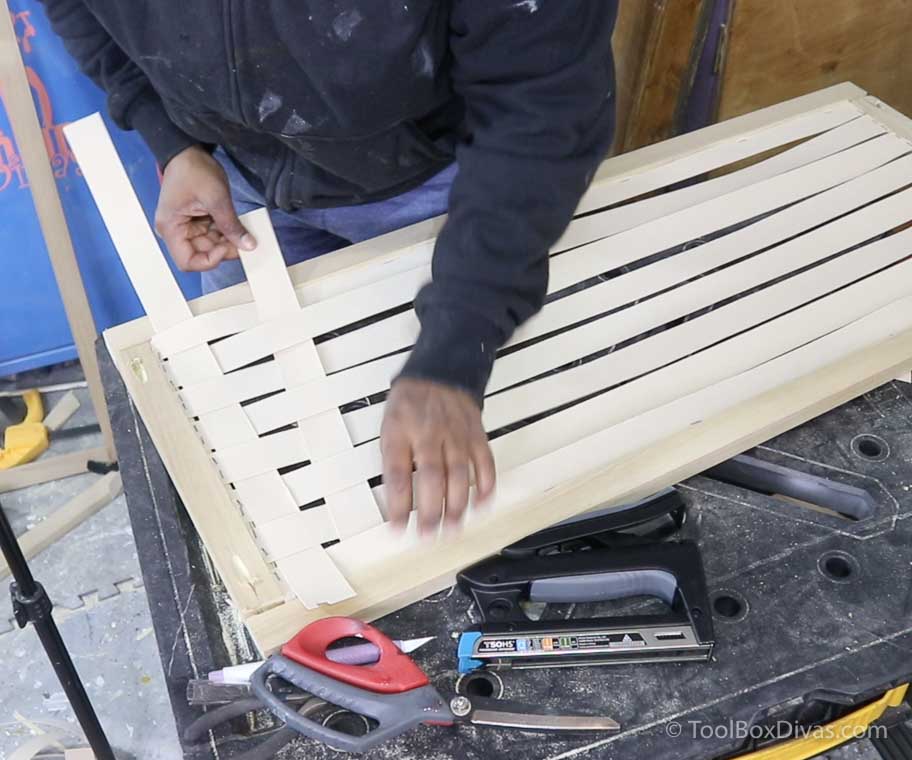
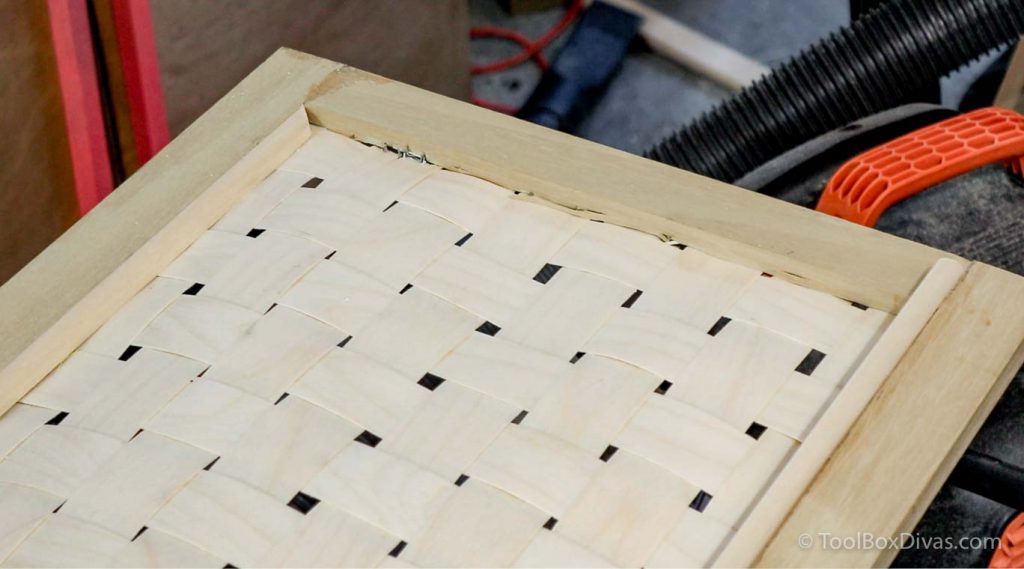
Step 9. Weave the veneer in place on the door frames.
So here is the interesting part. So I wanted the doors to create a statement. I wasn’t really feeling the cane webbing for this. So I thought I’d trying something outside of the box and use wood veneer edge banding to create a webbing for inside the frame of the door. And I am so glad I went ahead with this experiment.
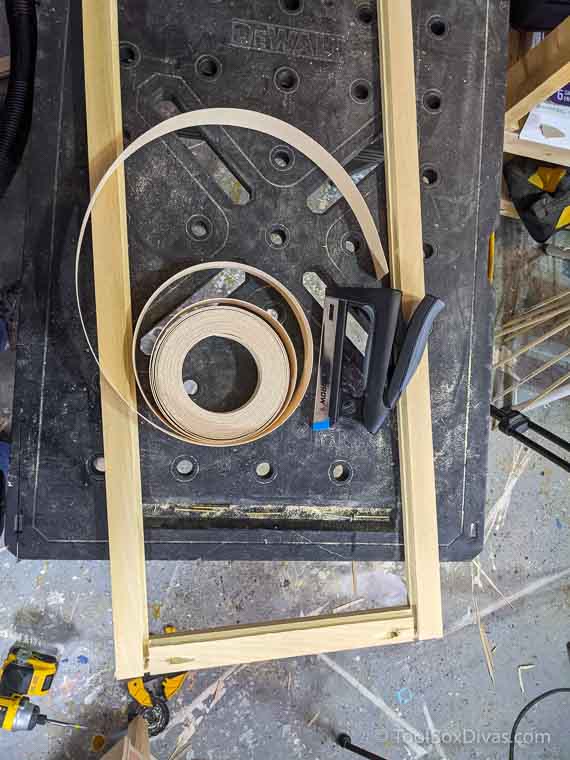
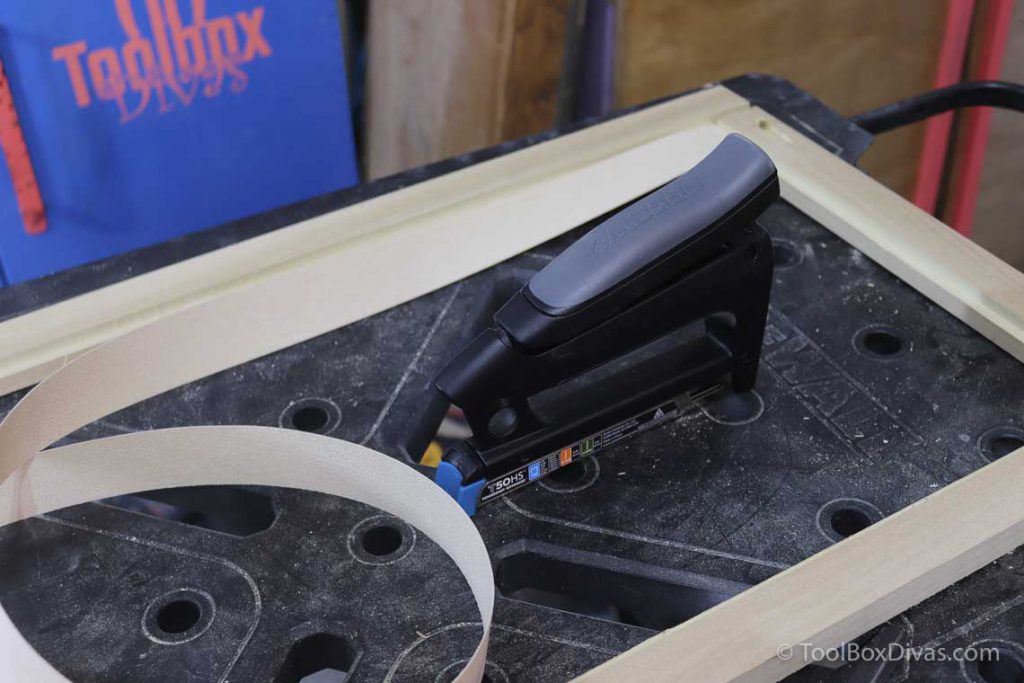
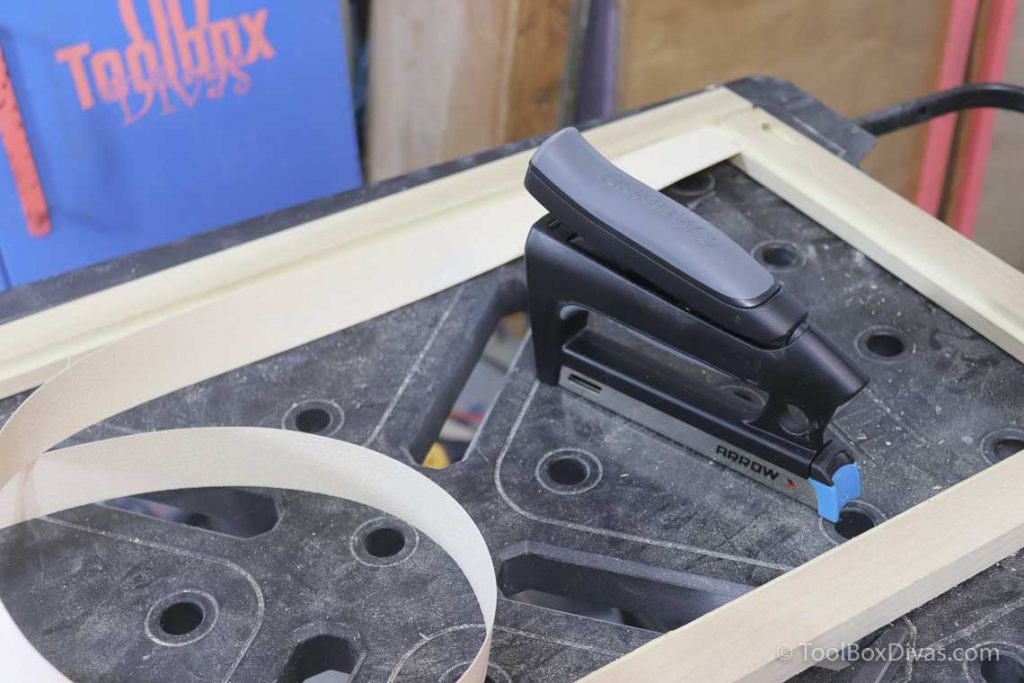
Using the Arrow Fastener Model #T50HS I started long ways from top to bottom securing the veneer tightly from one end to the next. I will say in the beginning I looked at this and was like, ‘what am I doing?’ LOL But I kept on.
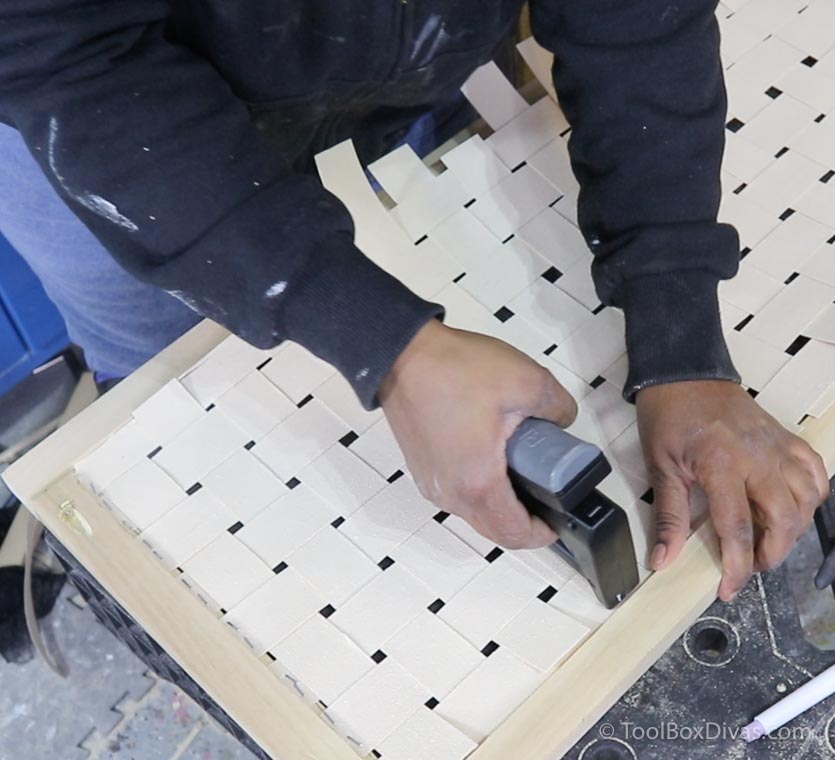
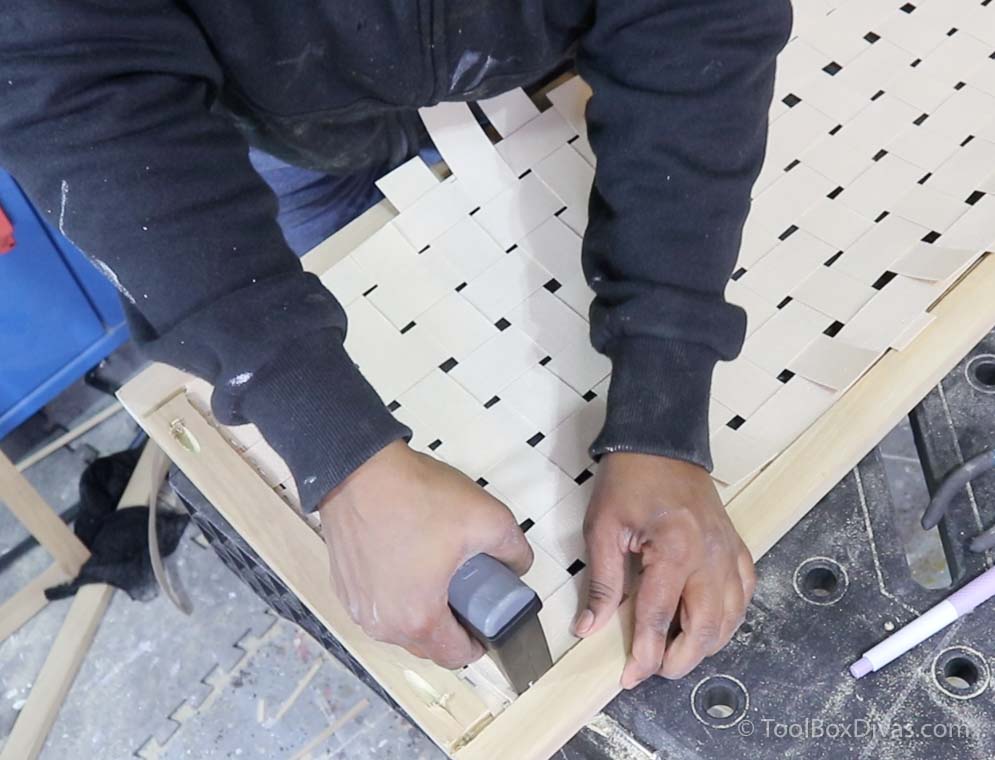
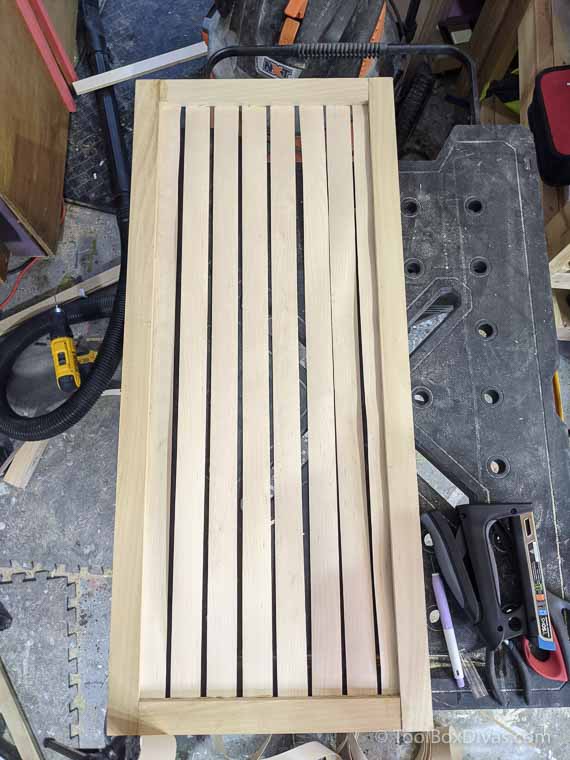
Weaving the veneer strips from side to side everything started to take shape. The veneer started to stiffen creating a tight webbing and it was looking pretty darn good. I then covered the routed edge and the area where I stapled with a thin 1/4 in. square dowel, holding it in place with wood glue.
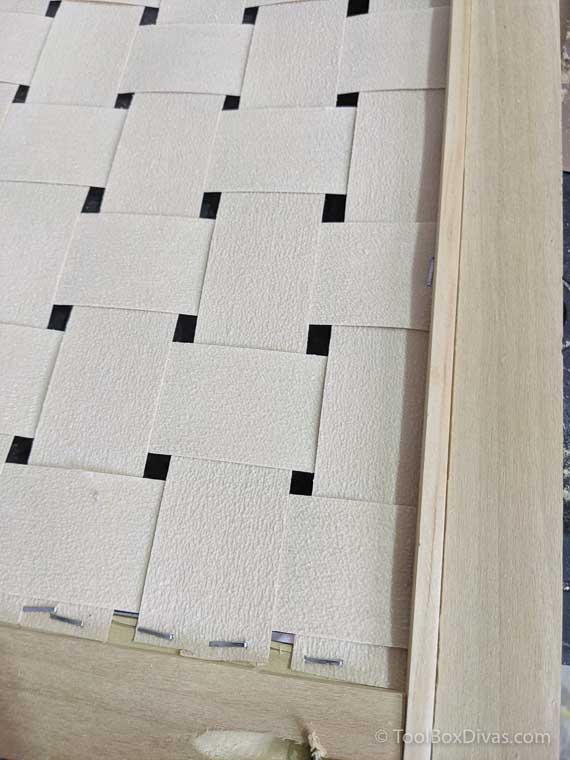

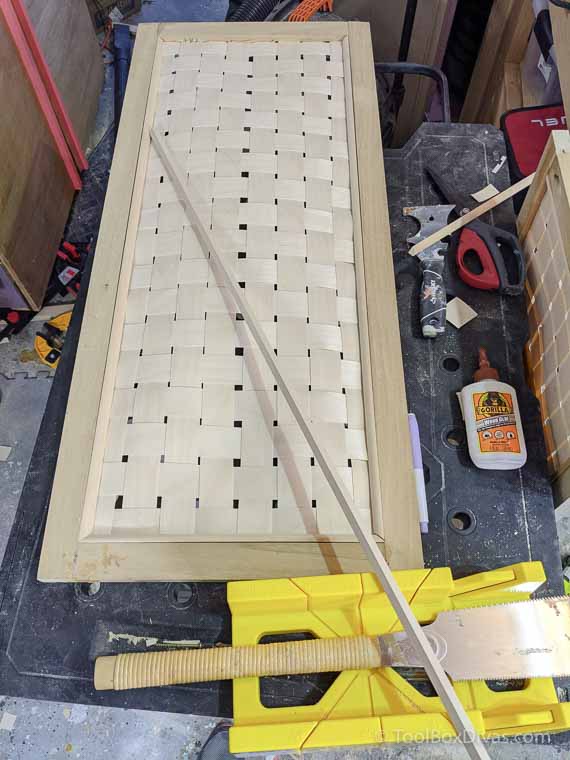
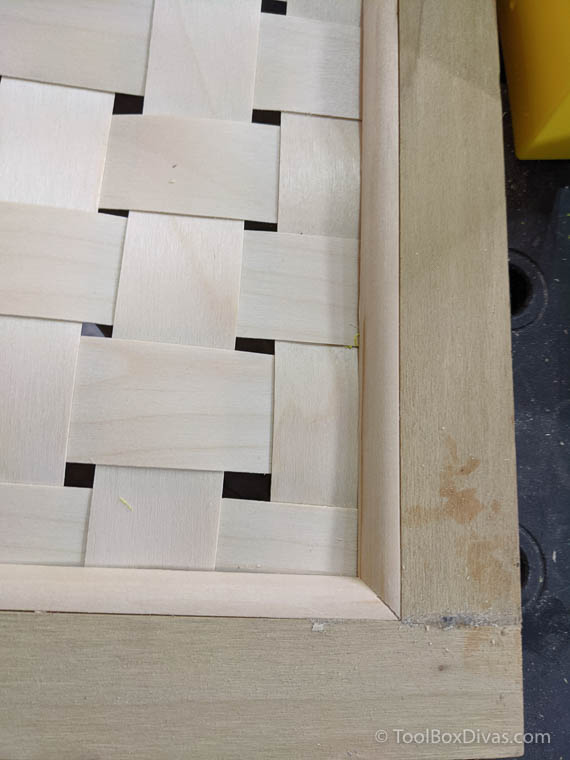
The only thing I ran into was when I flipped the doors of the shoe cabinet back over you could see where the staples came through the thin board due to my routing down the thickness. To overset that I decided to trim the inside the door with 3/8″ quarter round trim molding. The trim made the doors look even better. I loved every part of it.
Click HERE for more details on creating this wooden woven door including how to make this door without a router.
Step 10. The finishing touches.
- Add the doors to the frame of the shoe cabinet.
- Apply the 3/4in veneer edge banding to the exposed plywood edges. including the shelf inserts
- Fill any nail holes, sand down, stain, or paint.
Originally I was planning on staining everything, especially since I used several different wood species. But after I sanded it down and applied the Zinsser Universal Sanding Sealer, I stopped and noticed how beautiful all the different natural tones look together. So, for now, the no stain, no paint.
GET THE PLANS

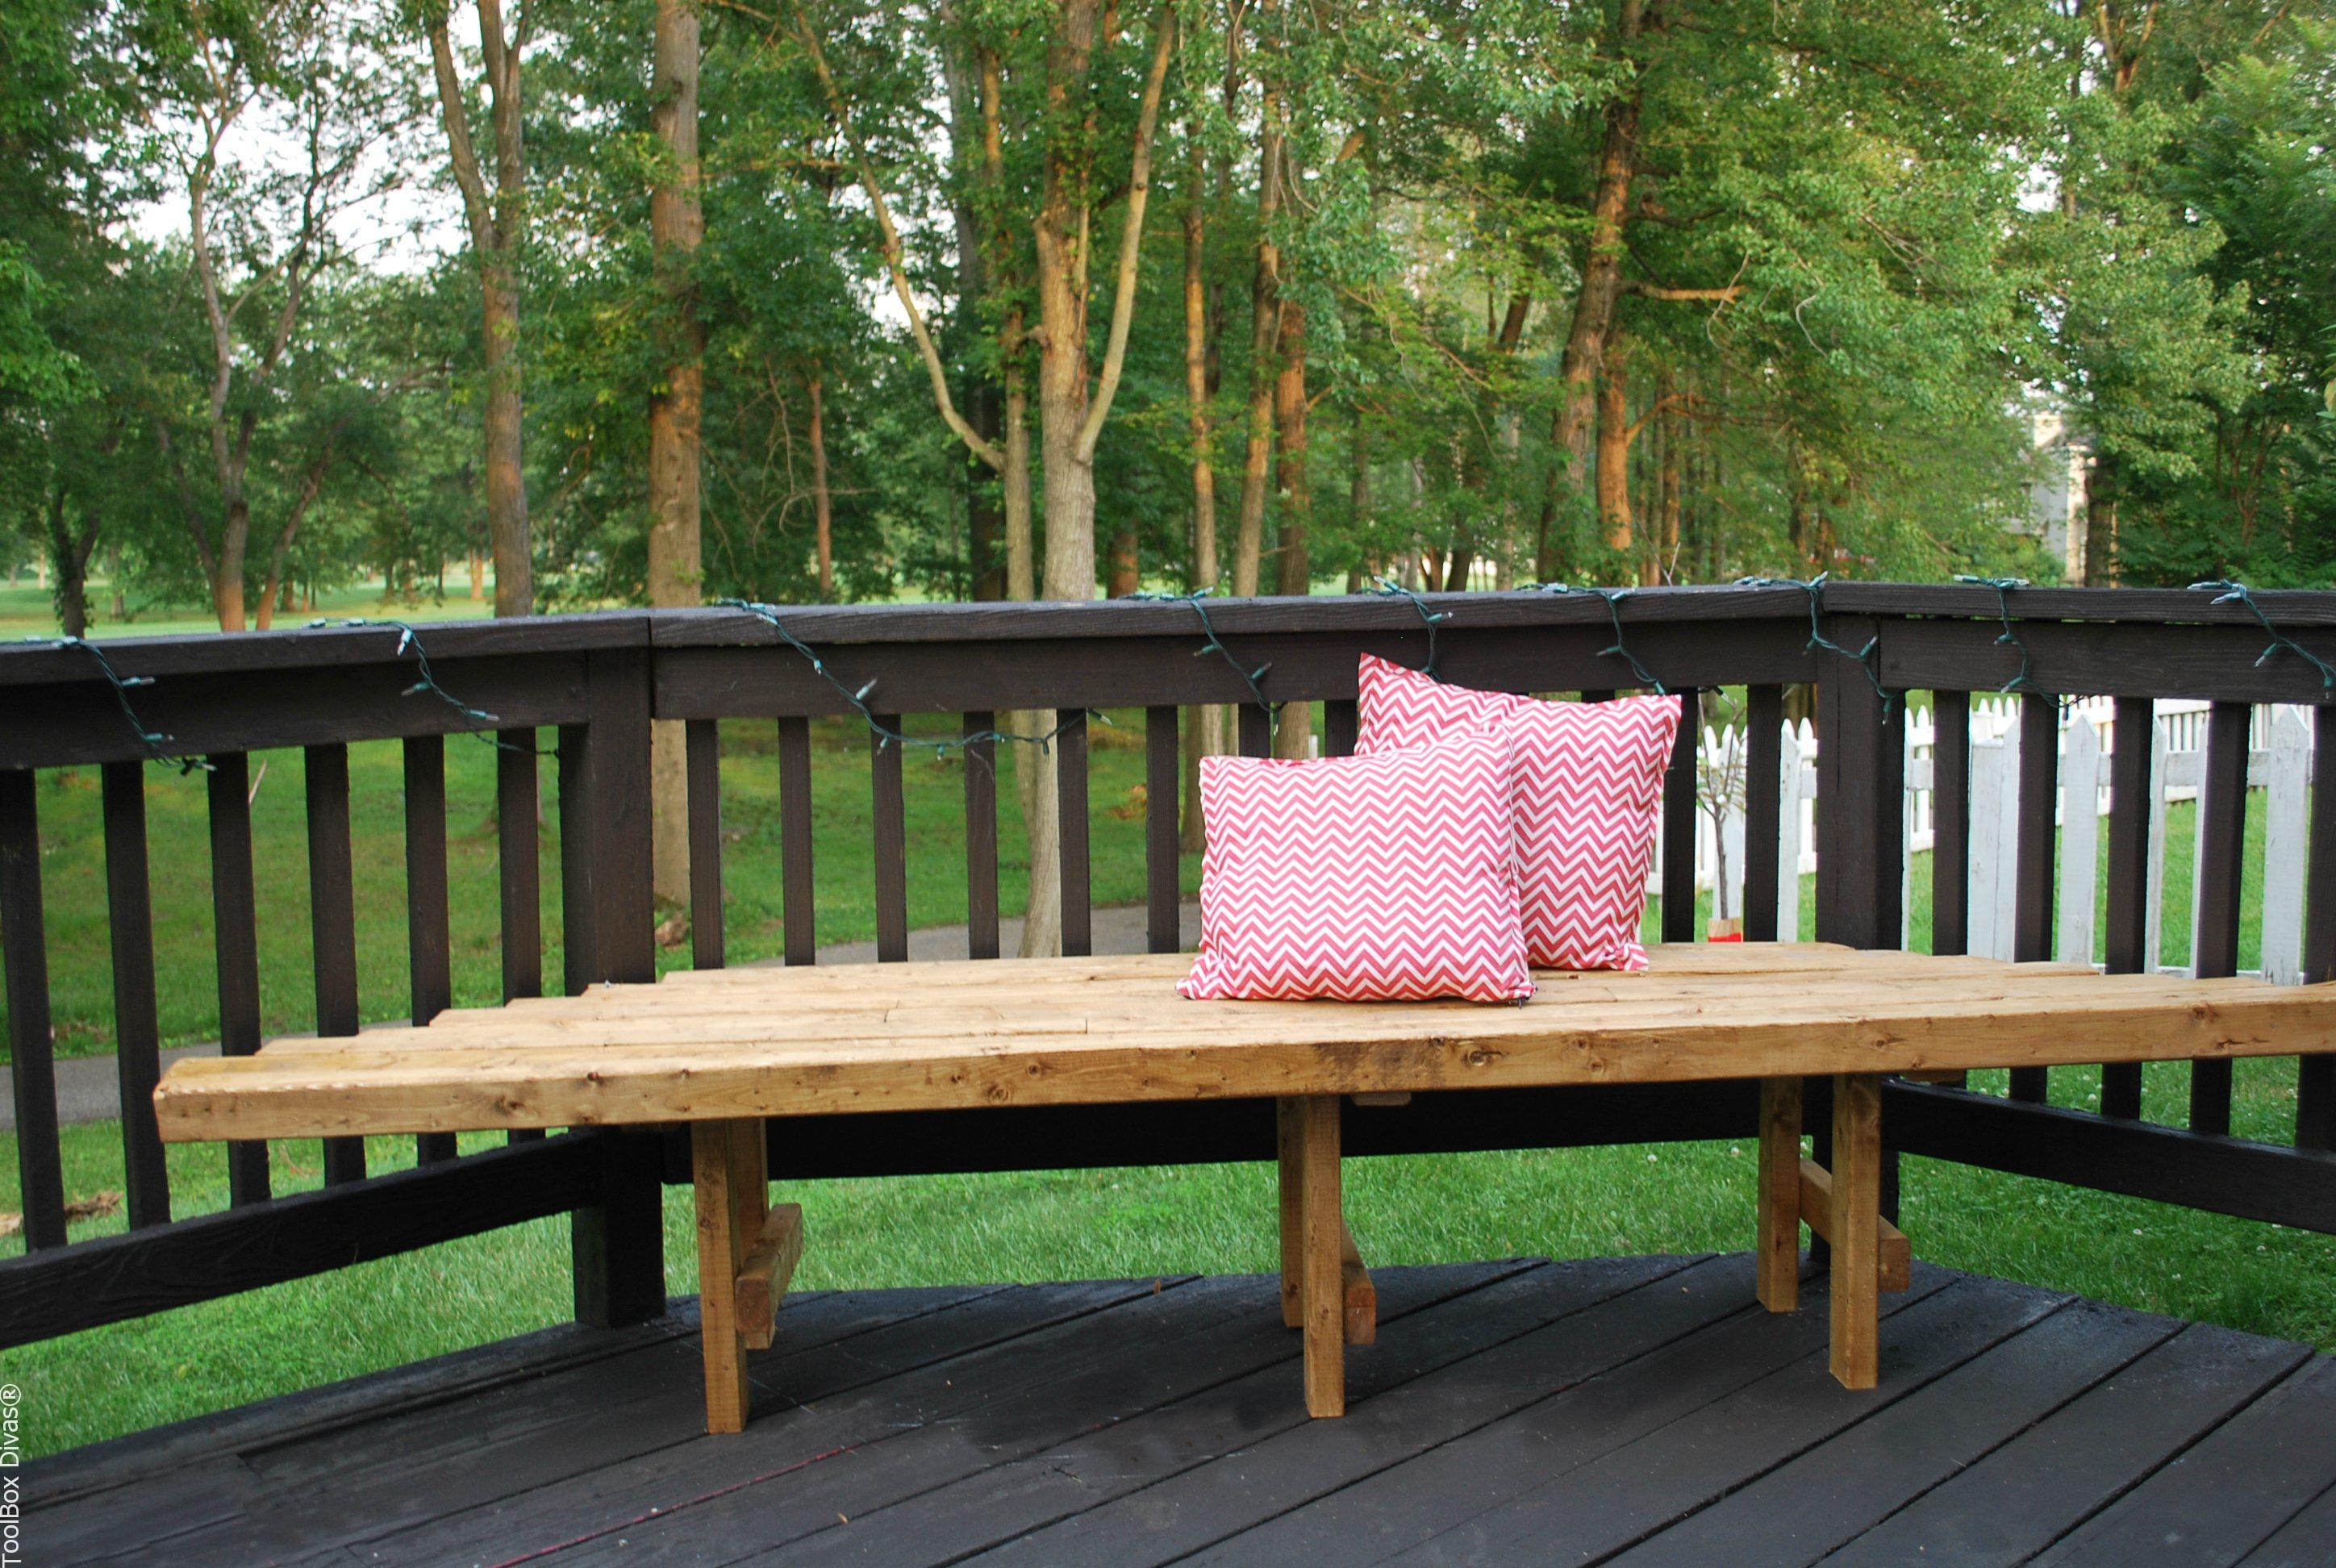
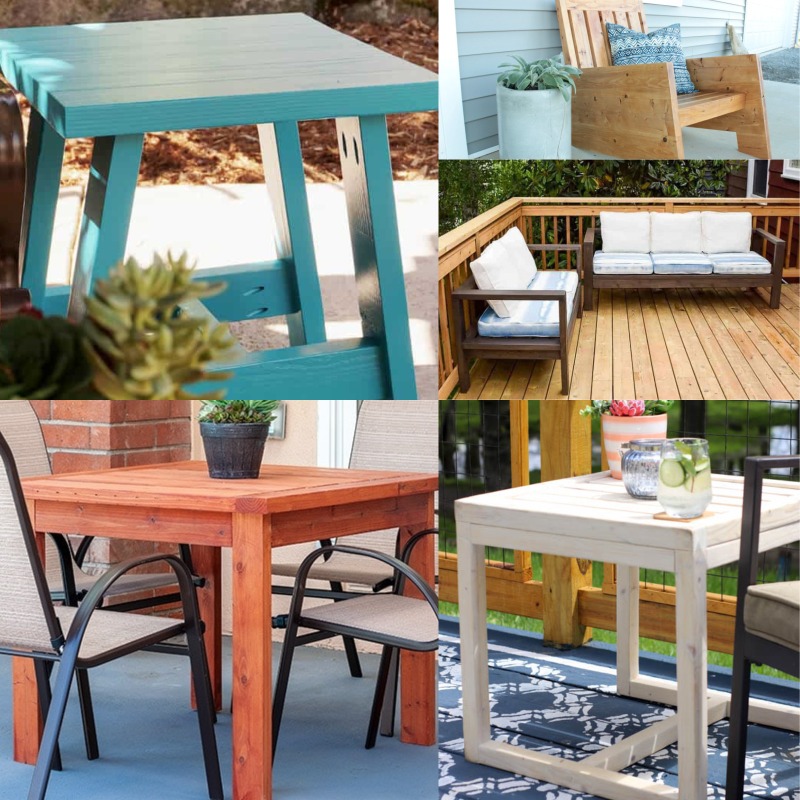
Check out more easy DIY builds like this simple $10 outdoor side table and a wooden bench with a woven fabric seat.
Save It. Pin It For Later.

Các trò chơi luôn được sắp xếp qua các hạng mục riêng biệt nên thành viên tham gia dễ dàng tìm kiếm. 188v bet .com còn cung cấp cả hai hình thức cược casino là truyền thống và live trực tiếp. Tùy theo nhu cầu, điều kiện tham gia cá cược mà anh em có thể lựa chọn hình thức chơi phù hợp. TONY04-17