DIY Piggy Bank Idea You Can Make With a Cricut
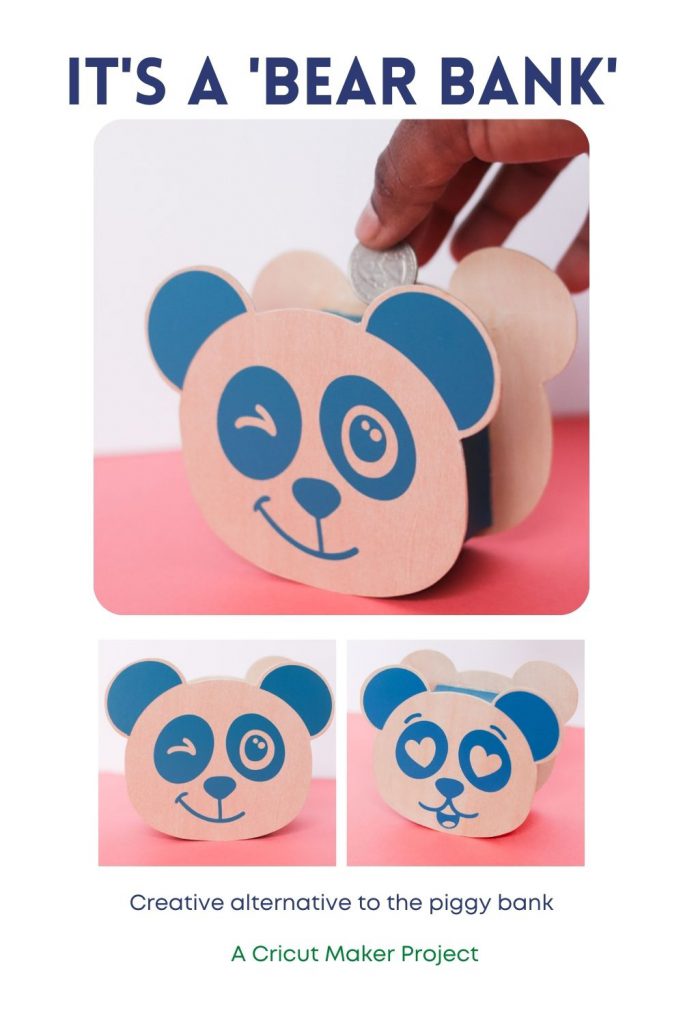
Learn how make an alternative to the traditional piggy bank using the Cricut Maker.
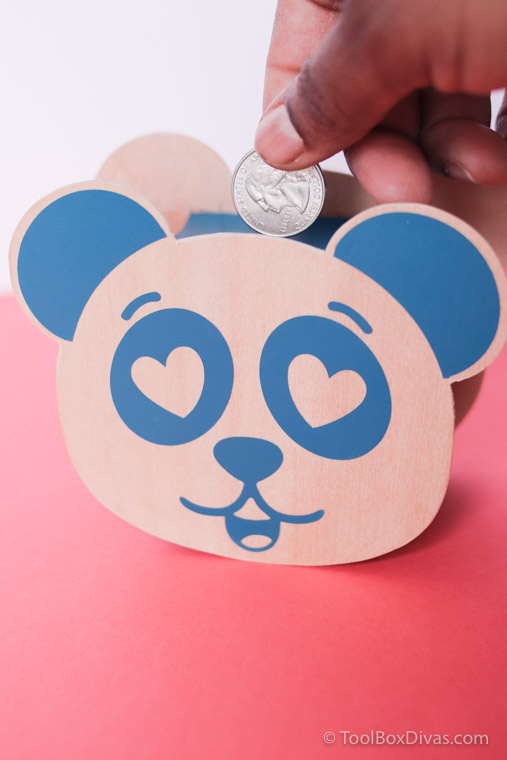
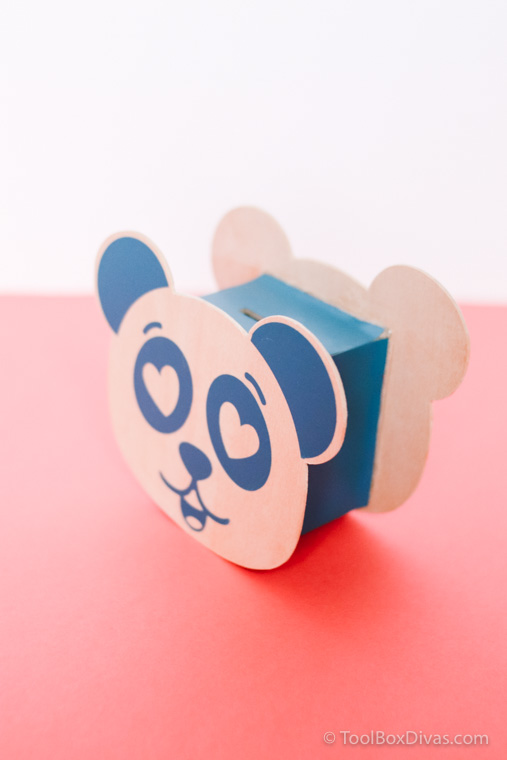
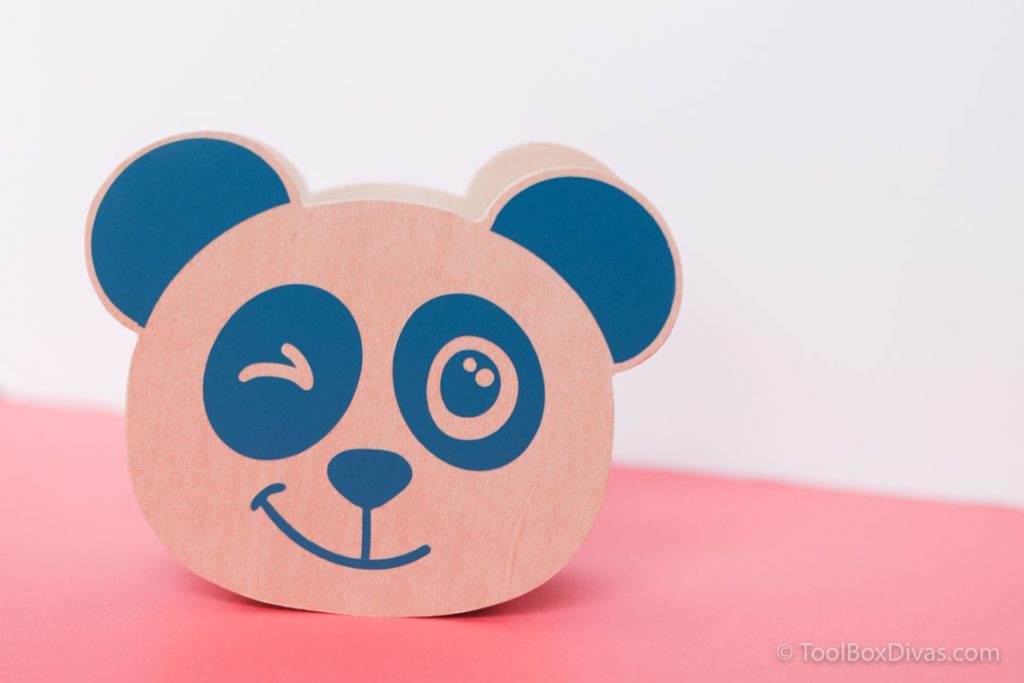
In this tutorial I’m showing a creative solution to the coin bank by putting a spin on the traditional piggy bank. The possibilities of what you can make using the Cricut Maker is really endless. I love incorporating some sort of wood into my Cricut craft projects and this project is no different. Learn how to make this playful adorably cute coin bank in the shape of a panda bear. It’s a perfect craft for bigger kids or a baby shower gift.
Materials
Craft Tools
Ok, Let’s Get Crafty!
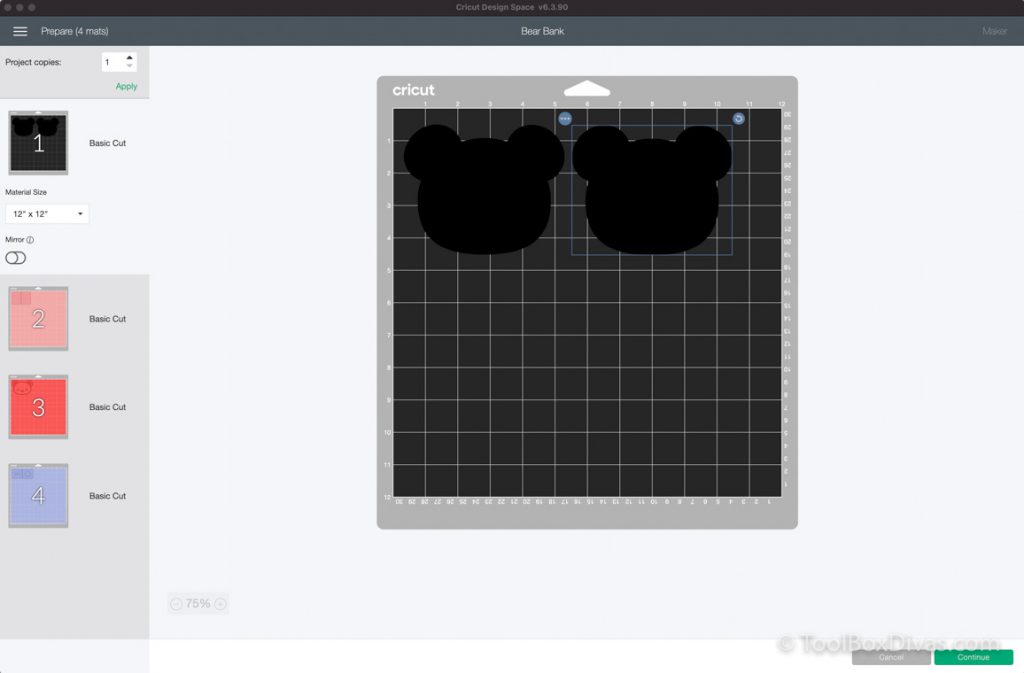
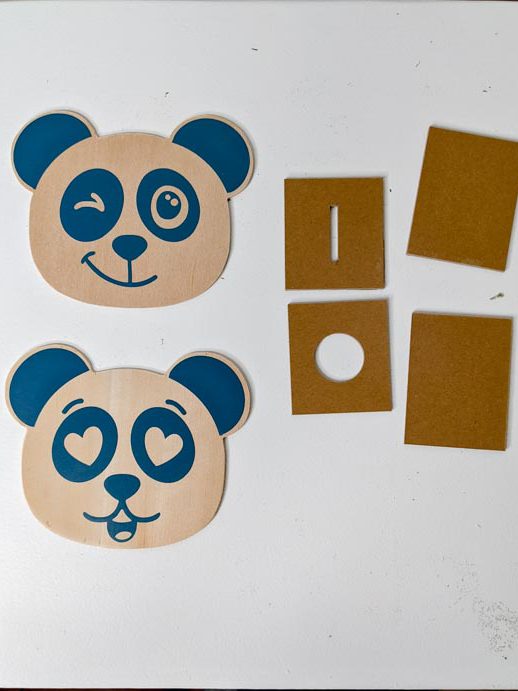
Images in Black – Basswood
Images in Pink – Chipboard, 2mm
Images in Blue – Vinyl
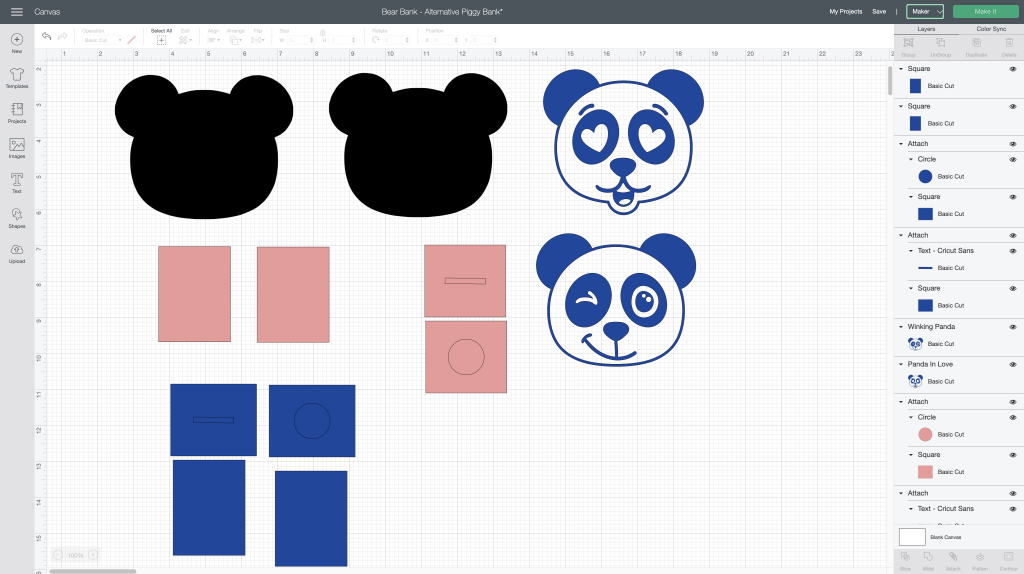
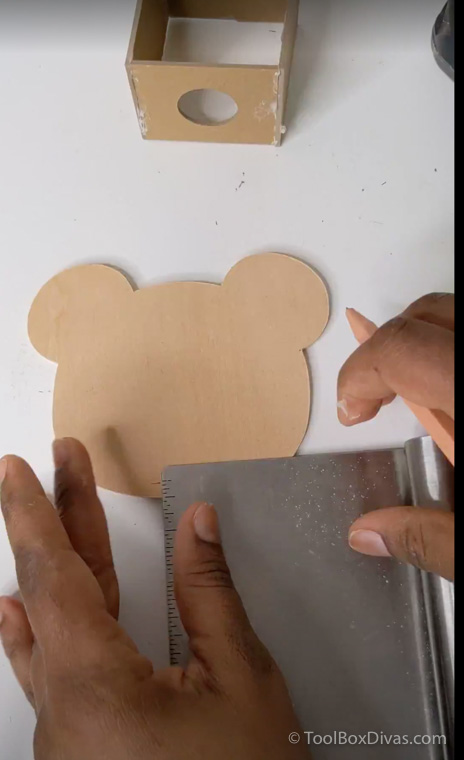
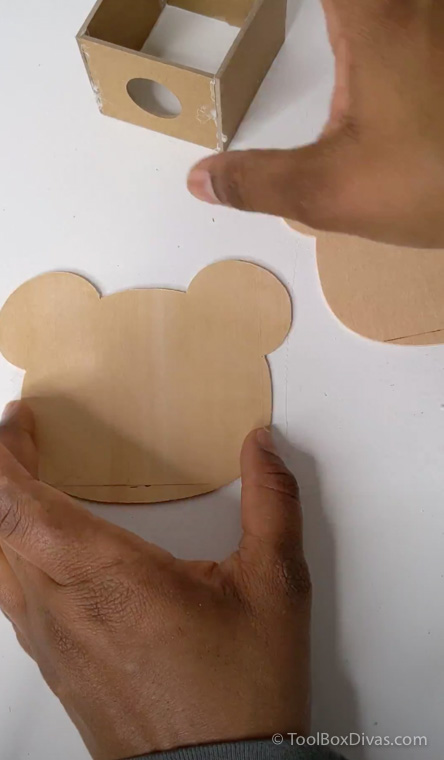
Step 1. Start with the heads.
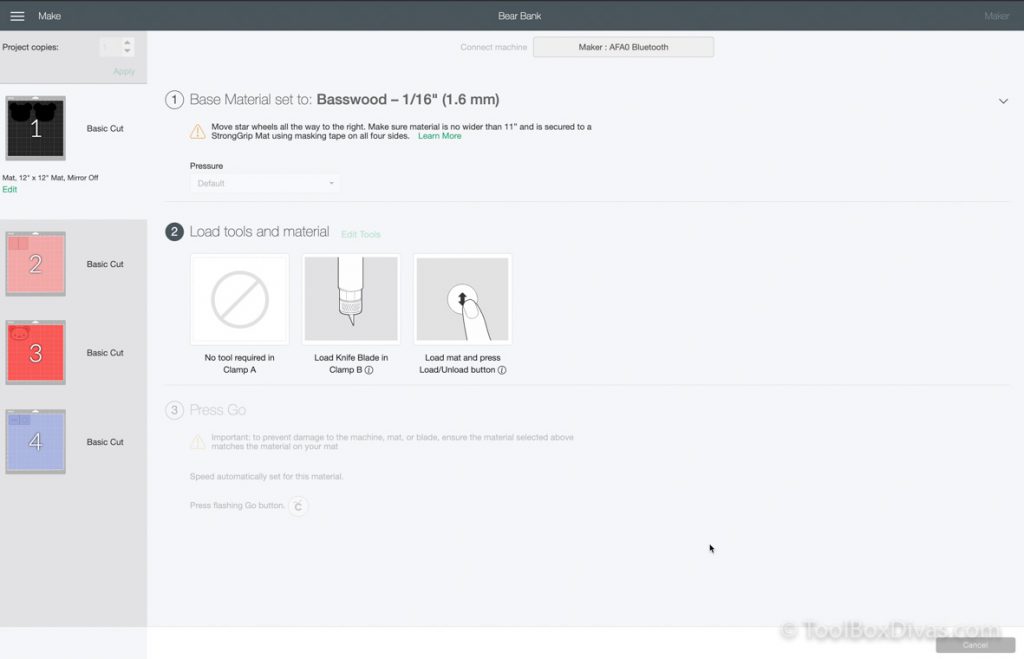
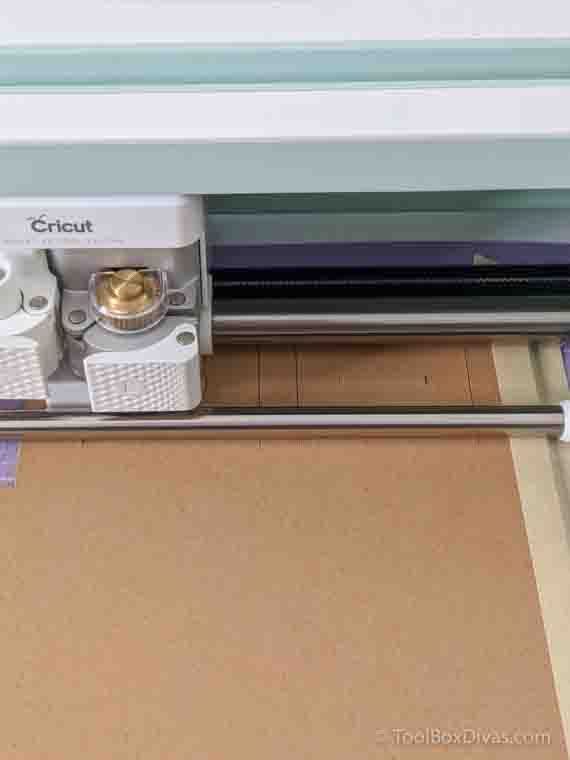
First cut out the two heads of the bear bank using basswood. Attach the basswood sheet to the StrongGrip mat.
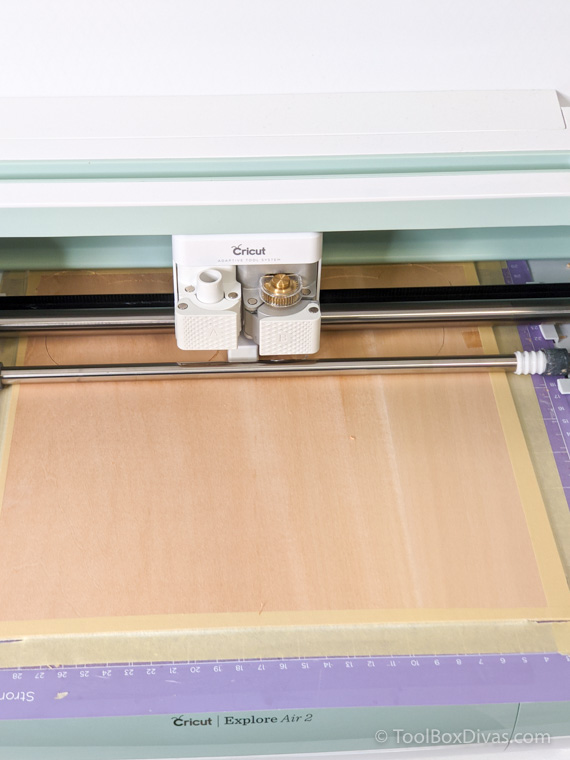
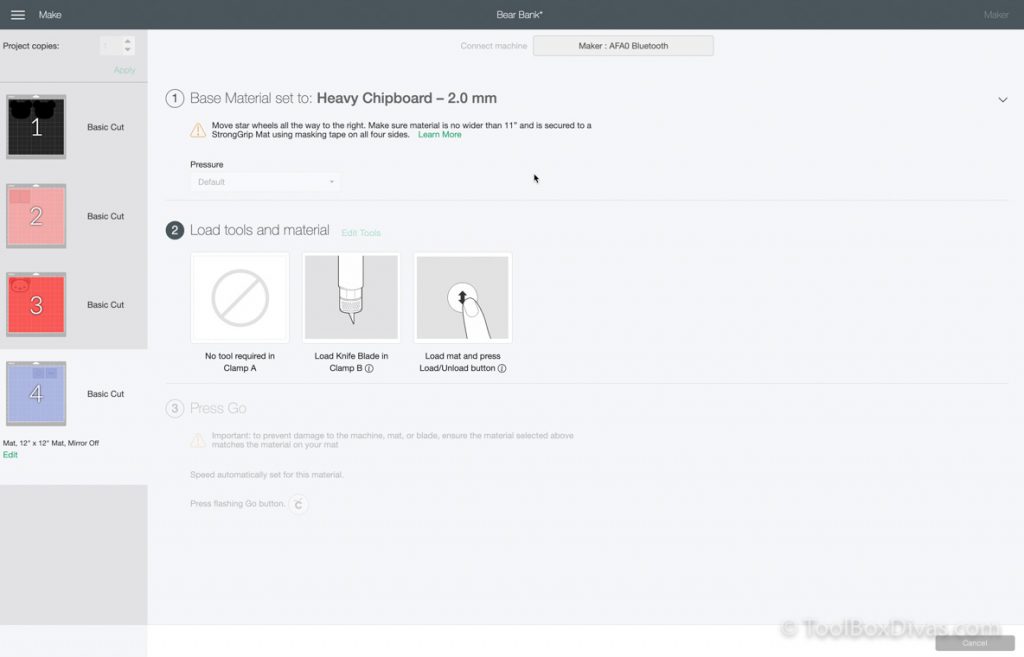
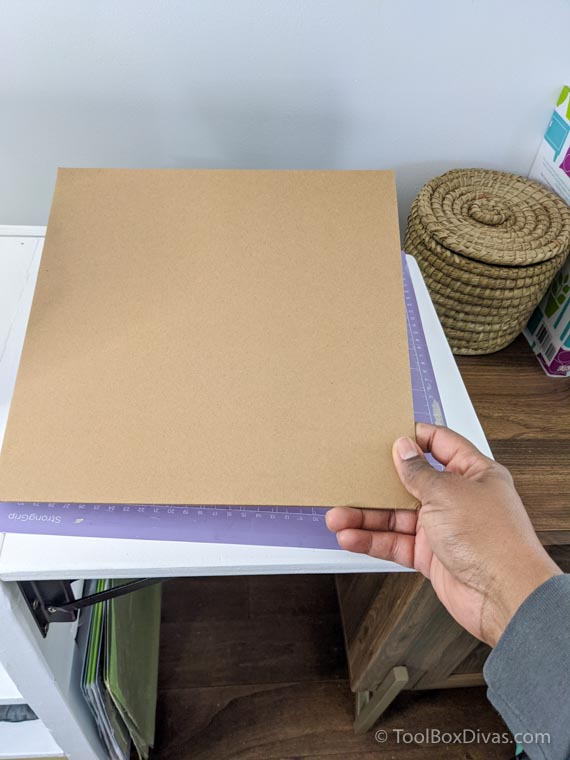
Step 2. The “Body” of the Bear Bank
Next let’s cut the of the piggy bank. Break it up in sections. I like breaking up the pieces that I am cutting. I’ve found it makes it a lot quicker because if the knife blade gets stuck you don’t have to work through every single piece. Load the Chipboard on a StrongGrip mat to the Cricut Maker.
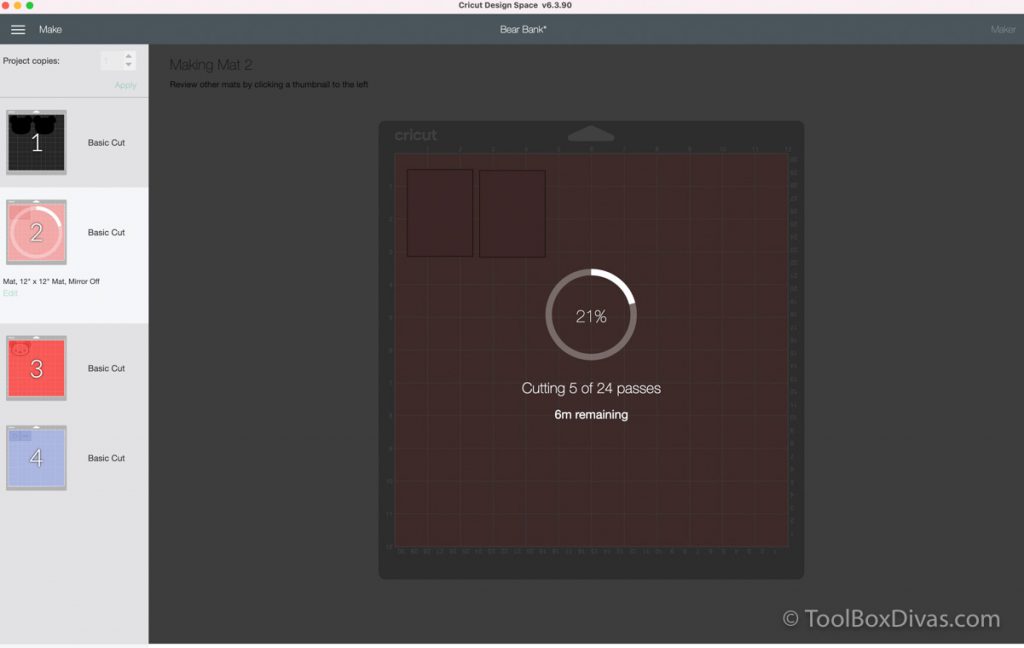
I first cut the sides of the coin bank body. Then without removing the chipboard from the mat move, cut the top and bottom of the coin bank.
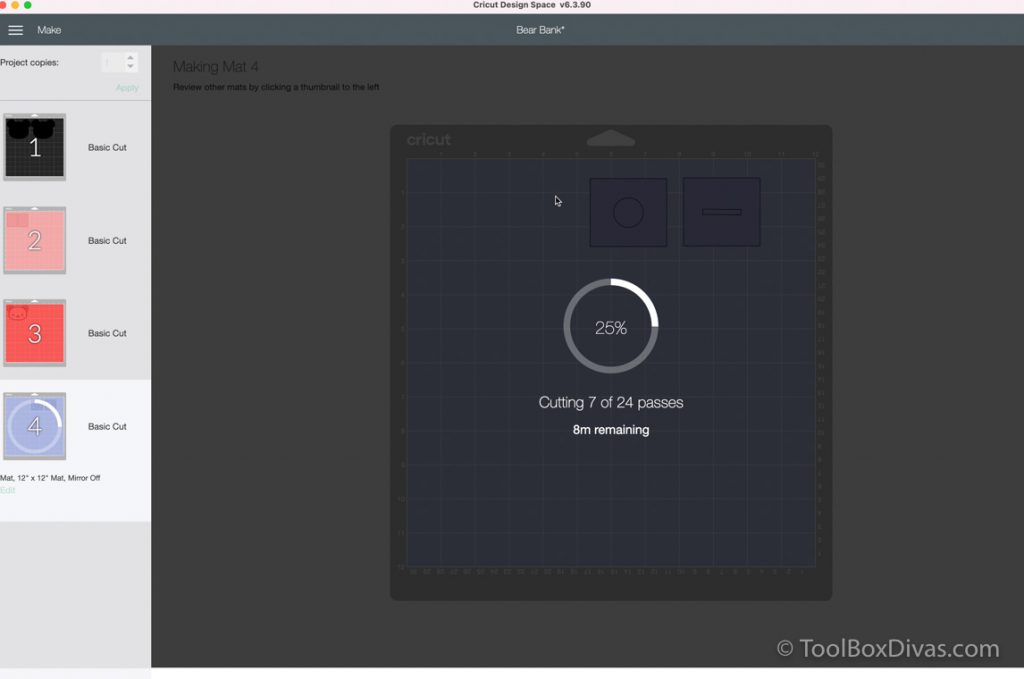
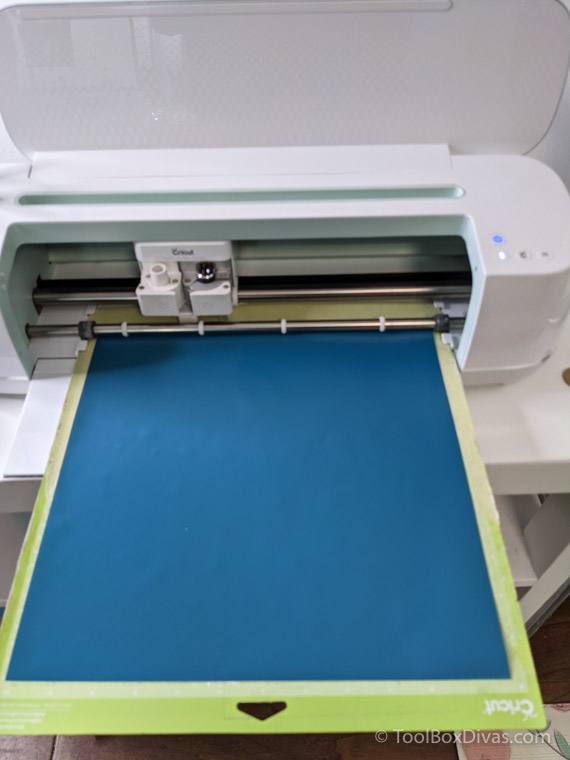
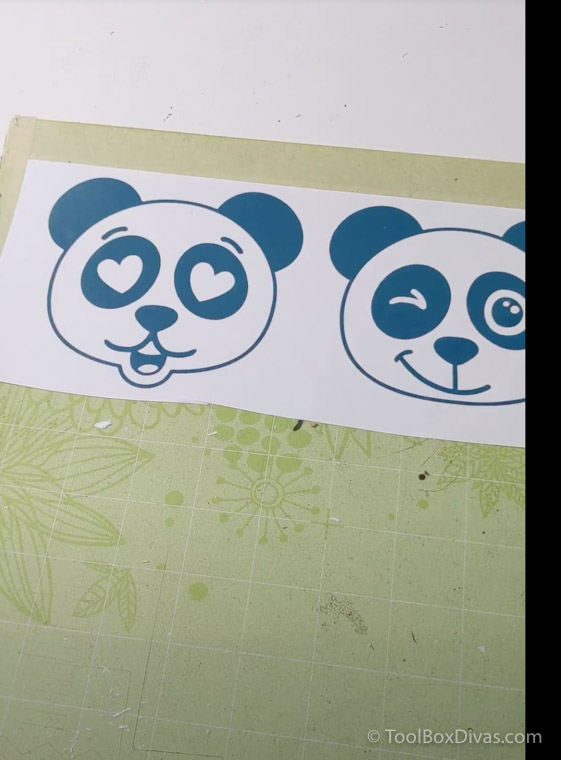
Step 3. Cut out vinyl.
Next using a standard or light grip mat, cut the vinyl for the Panda face.

Weed the vinyl once the cut is complete. I removed the outline of the panda face since I only needed the facial expressions and cut the ears from the outline.
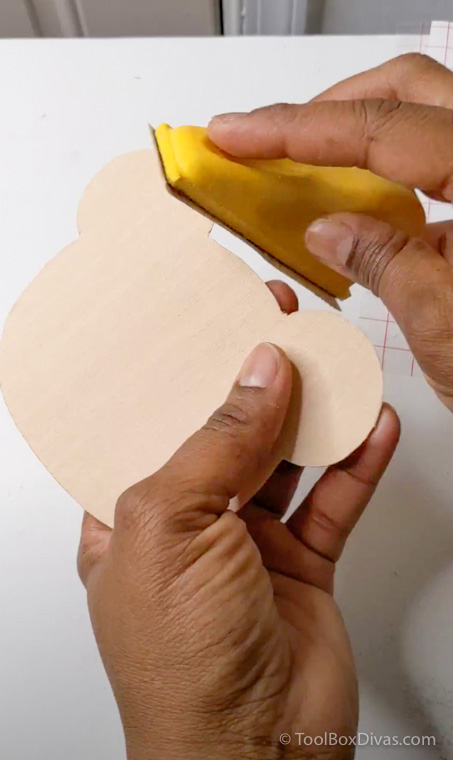
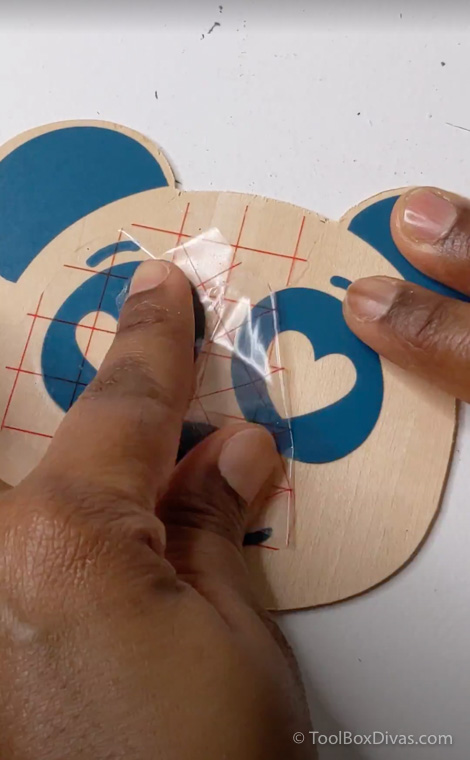
Step 4. Sand and add Vinyl to heads before assembly.
lightly sand the edges of the face of the piggy bank or “bear bank”, then adhere the vinyl expressions.
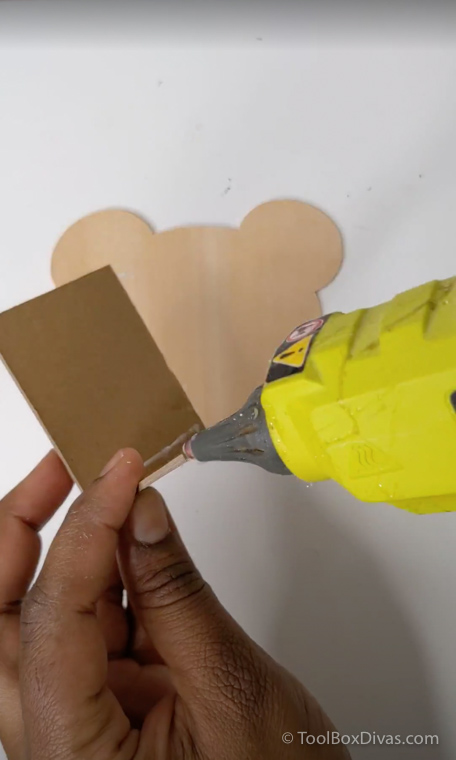
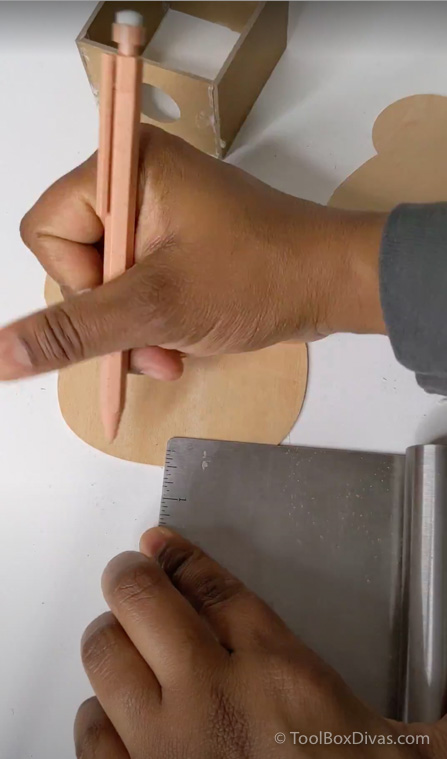
Step 5. Assemble the Bear Bank.
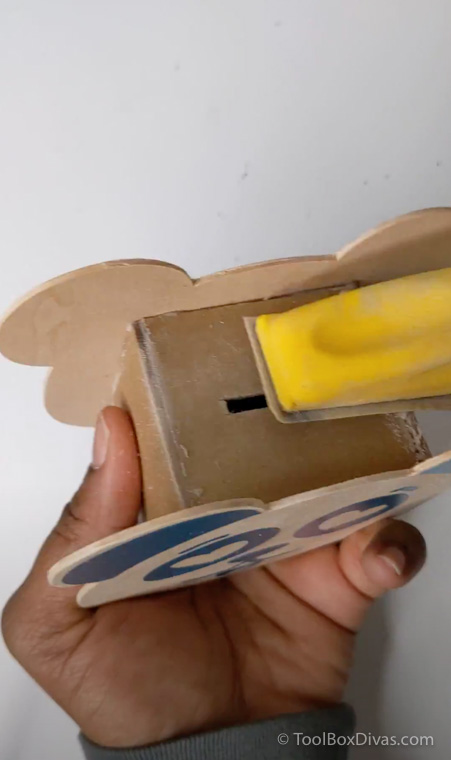
With all the parts cut and prepped its time to assemble your piggy bank or “bear bank” in this case. Glue together the coin bank first. Next, mark from the bottom of each head where you’ll place the coin bank so that it’s evenly placed on both sides of the panda face front for the piggy bank.
Step 6. Sand and apply vinyl.
Lightly sand down the hot glue.
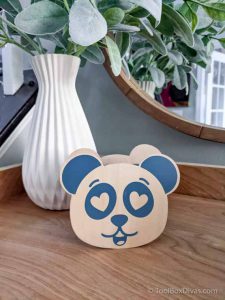
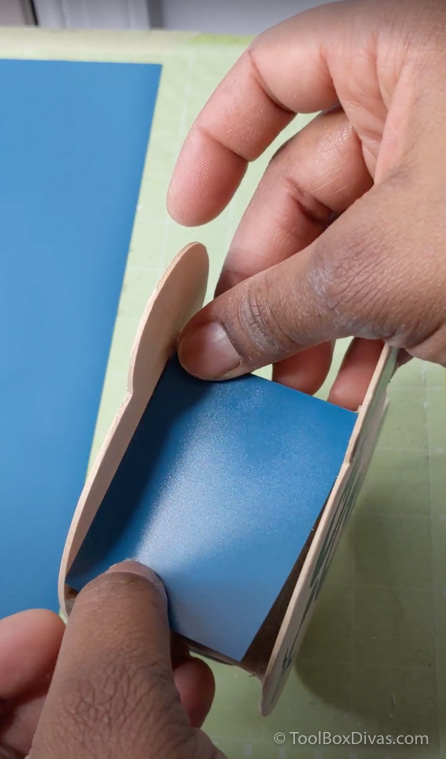
Place the vinyl on the body of the bank. The body can easily be painted but I wanted the color to match perfectly with the face of the piggy bank.
Step 7. Insert the hole plug into the bottom of the bank.
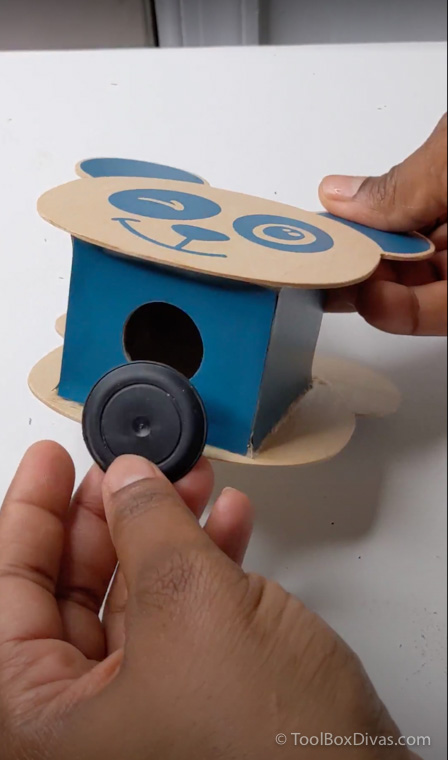
Enjoy and teach the value of saving at an early age.
Pin It For Later.