DIY Sheep Coasters Made with Cricut
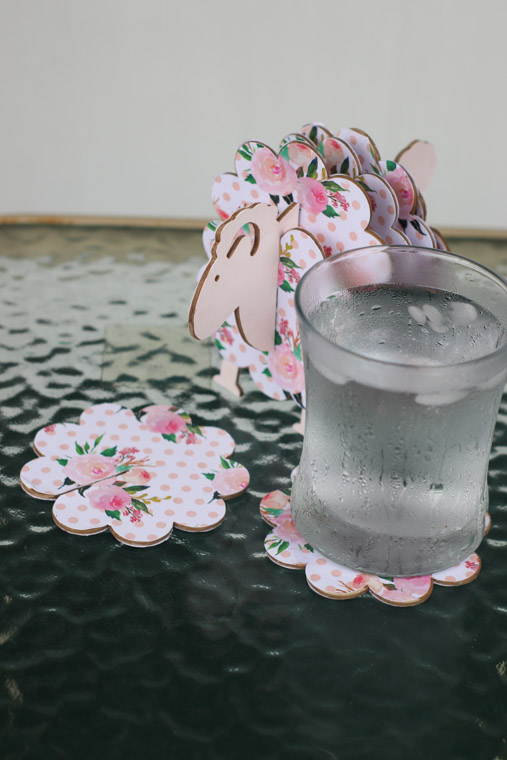
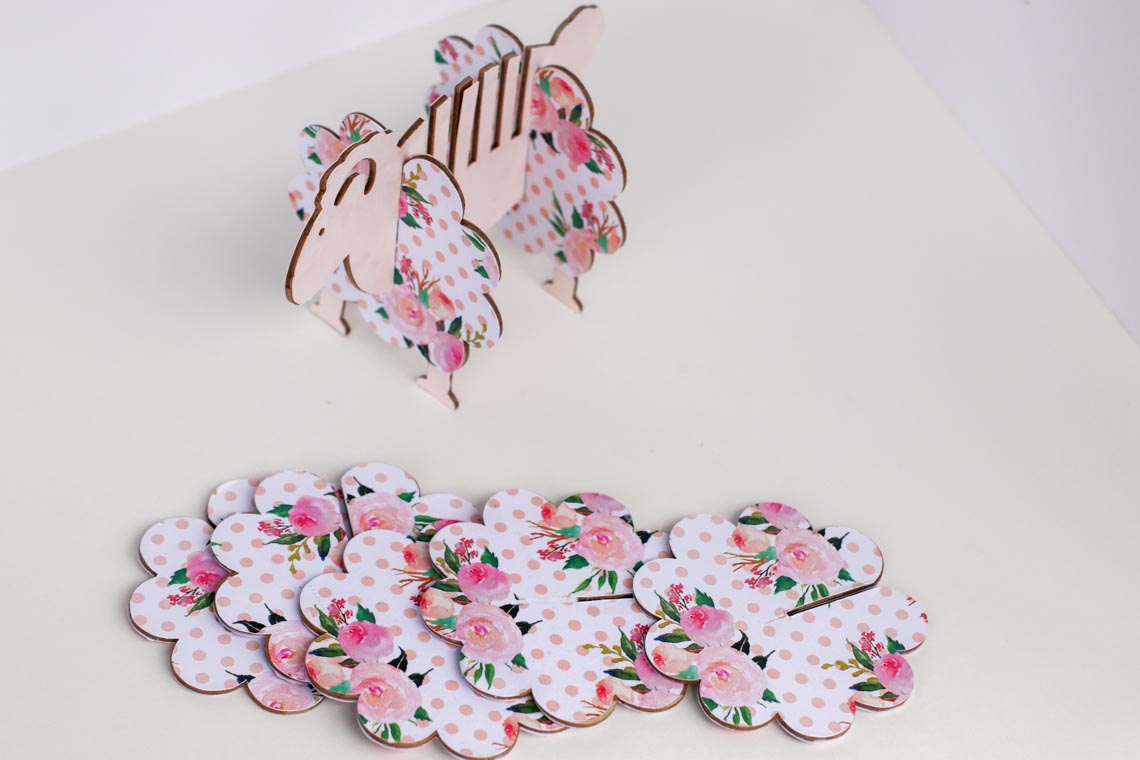
Create your very own DIY sheep coasters using basswood and vinyl and your Cricut machine. These cute little coasters are perfect to give as gifts or you may just want to keep them for yourself!
For more Cricut projects check out these DIY Basswood Christmas Ornaments and this cute DIY Wooden Elephant Pencil and Phone Holder.
I am really enjoying using my Cricut machine. The things you can do with it are endless! For this project, we’ll be using the Cricut Maker. After making this pencil/phone holder, I decided I wanted to make some coasters. I love me some corally peach and I had this pretty paper and decided it would be perfect to use on my coasters. I might give them as a gift or I may just keep them for myself.
See the video below and the following written tutorial to make your own!
Materials
Tools
- Cricut Maker® Machine, Mint
- Weeder
- StrongGrip Machine Mat, 12″ x 12″
- StandardGrip Machine Mat, 12″ x 12″
How to make DIY Sheep Coasters
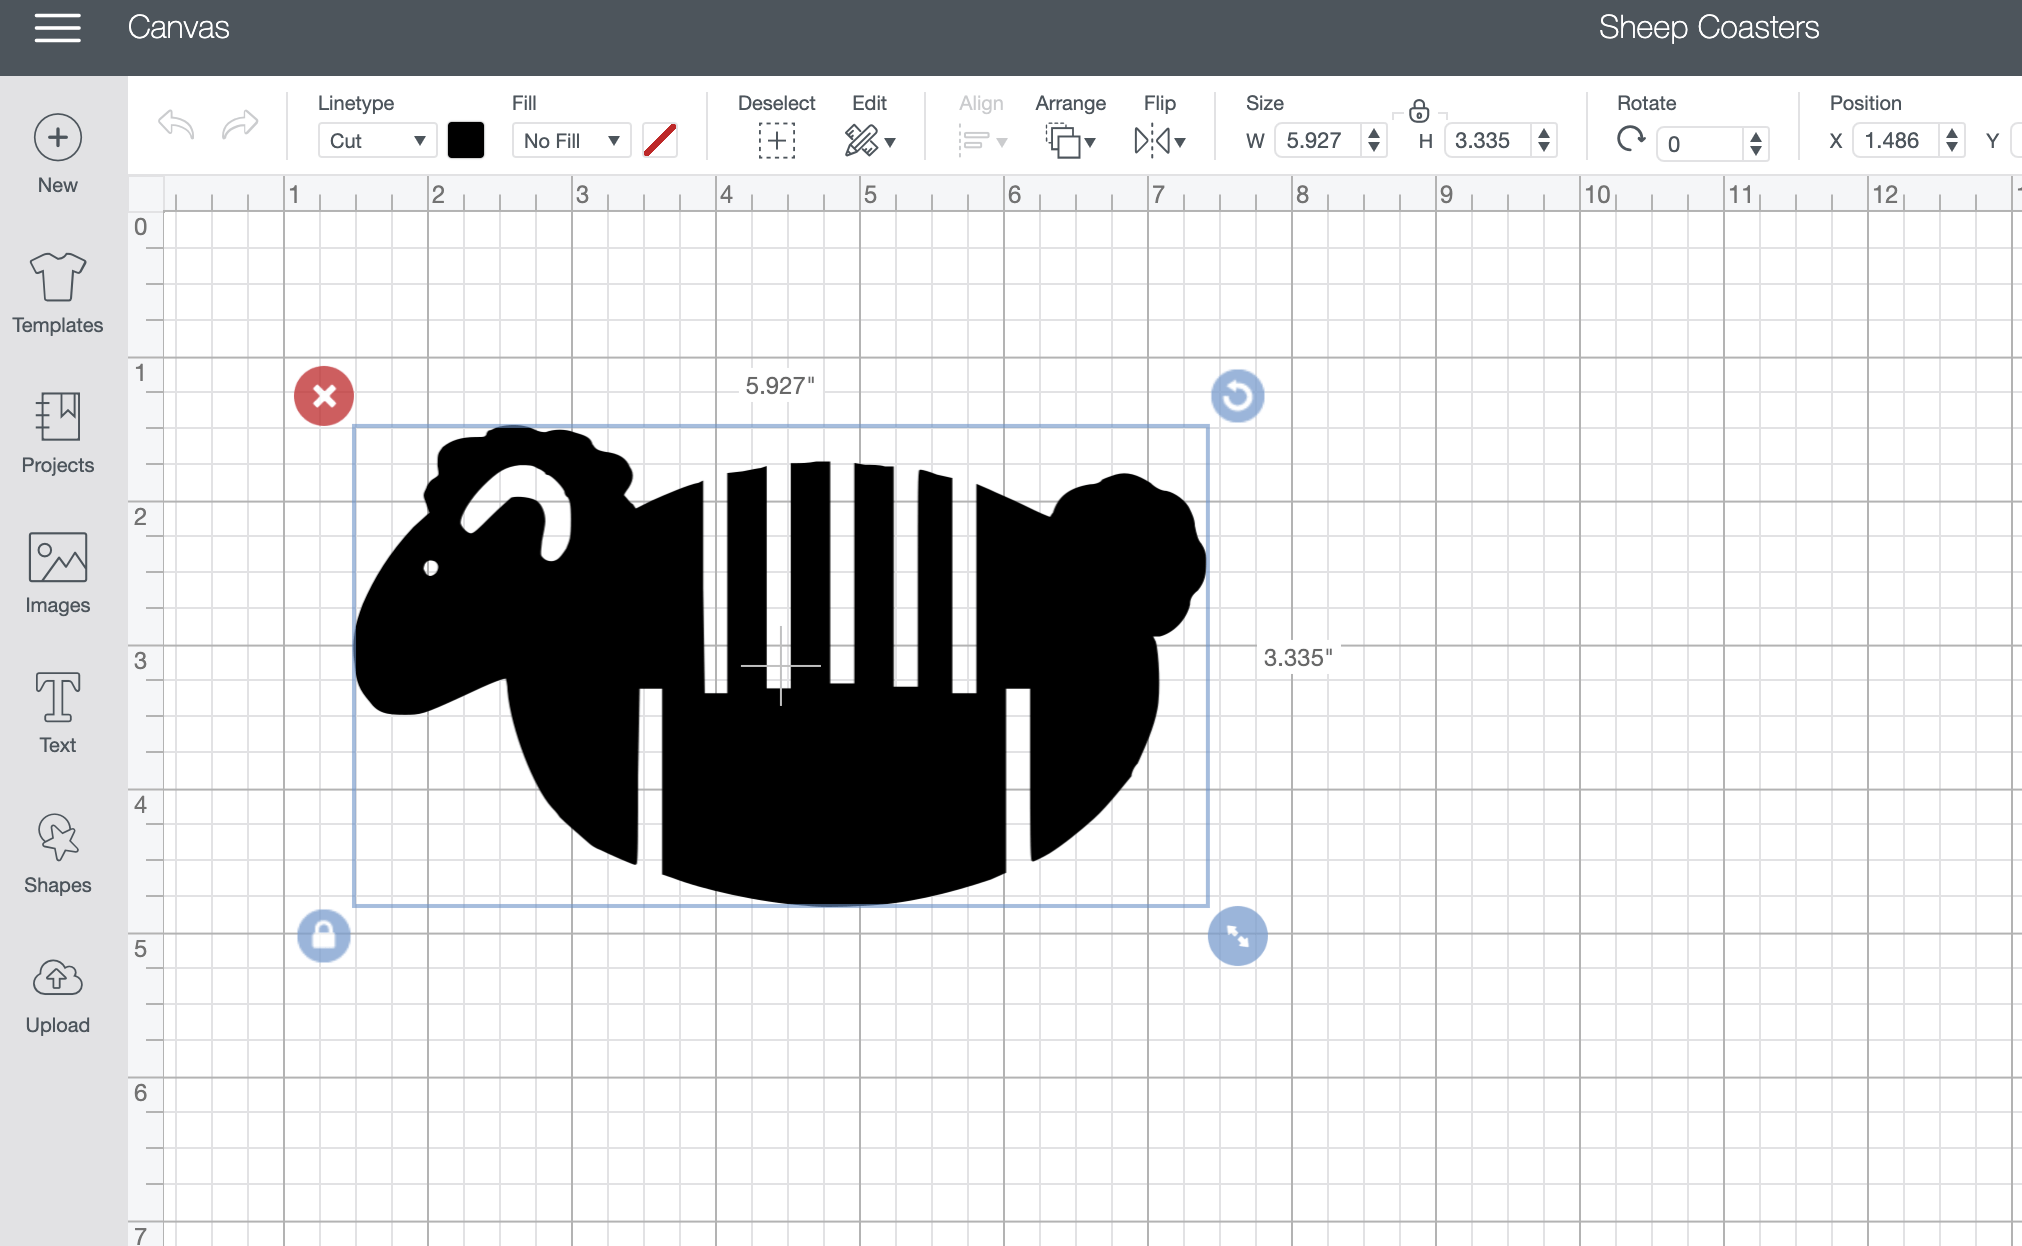
- Step 1: Upload the SVG file into Cricut’s Design Space.
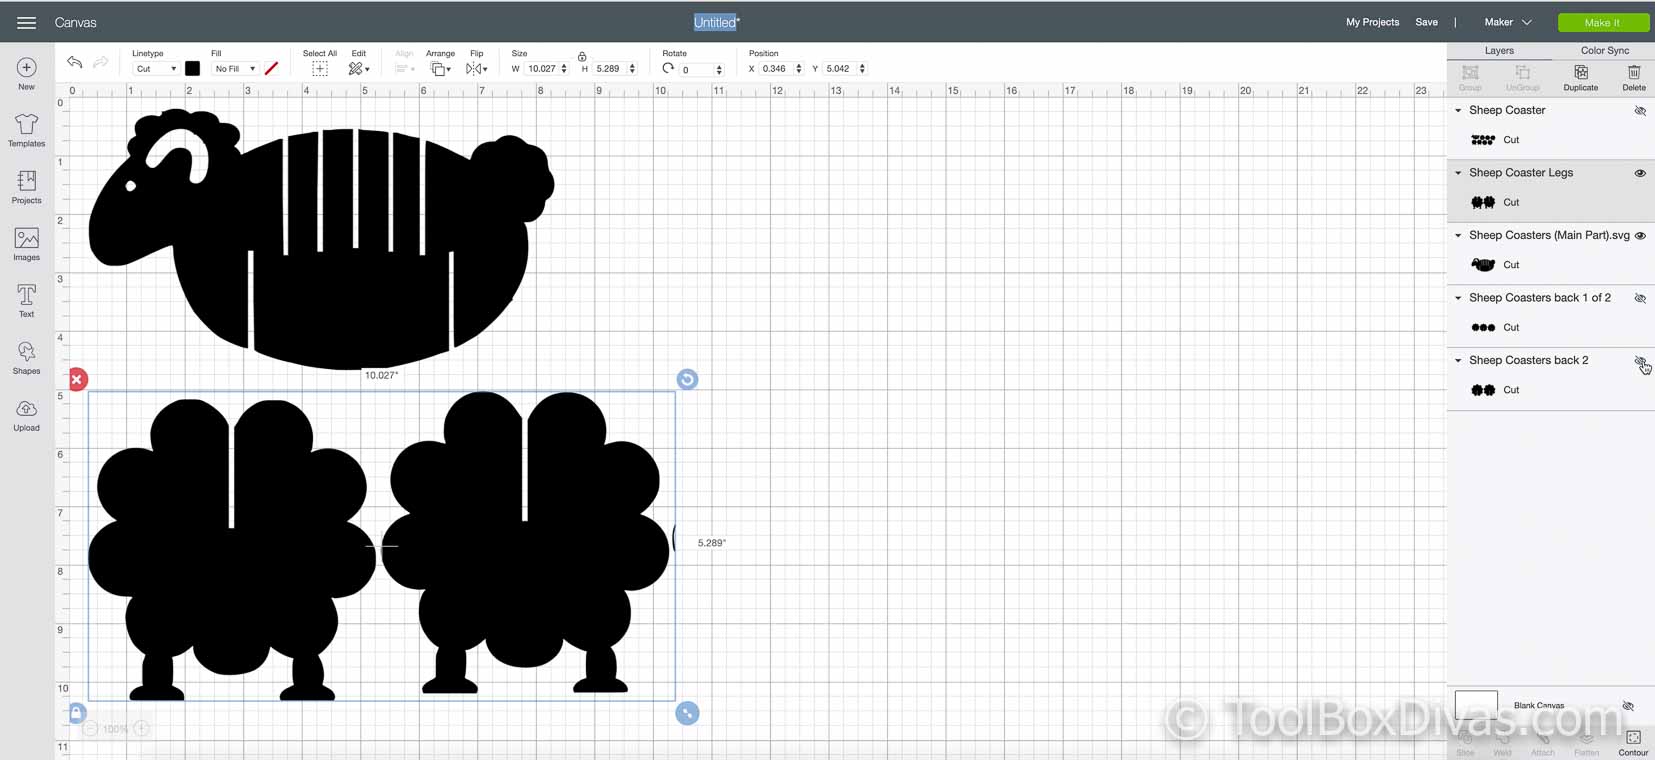
- Upload the SVG file and adjust it to the desired size. You can upoad the file with all the pieces all at once or in pieces. If you upload all at once you will need the 12″ x 24″ StrongGrip Mat. I found that it was easier to break up the pieces and cut a portion at a time. This may sound tedious and take longer but it was actually a lot easier and led to fewer issues wit the blade sticking or jamming. So I’m providing the SVG files broken apart as well as all together.
You can get your free files below
Get the Free Sheep Coaster File
-
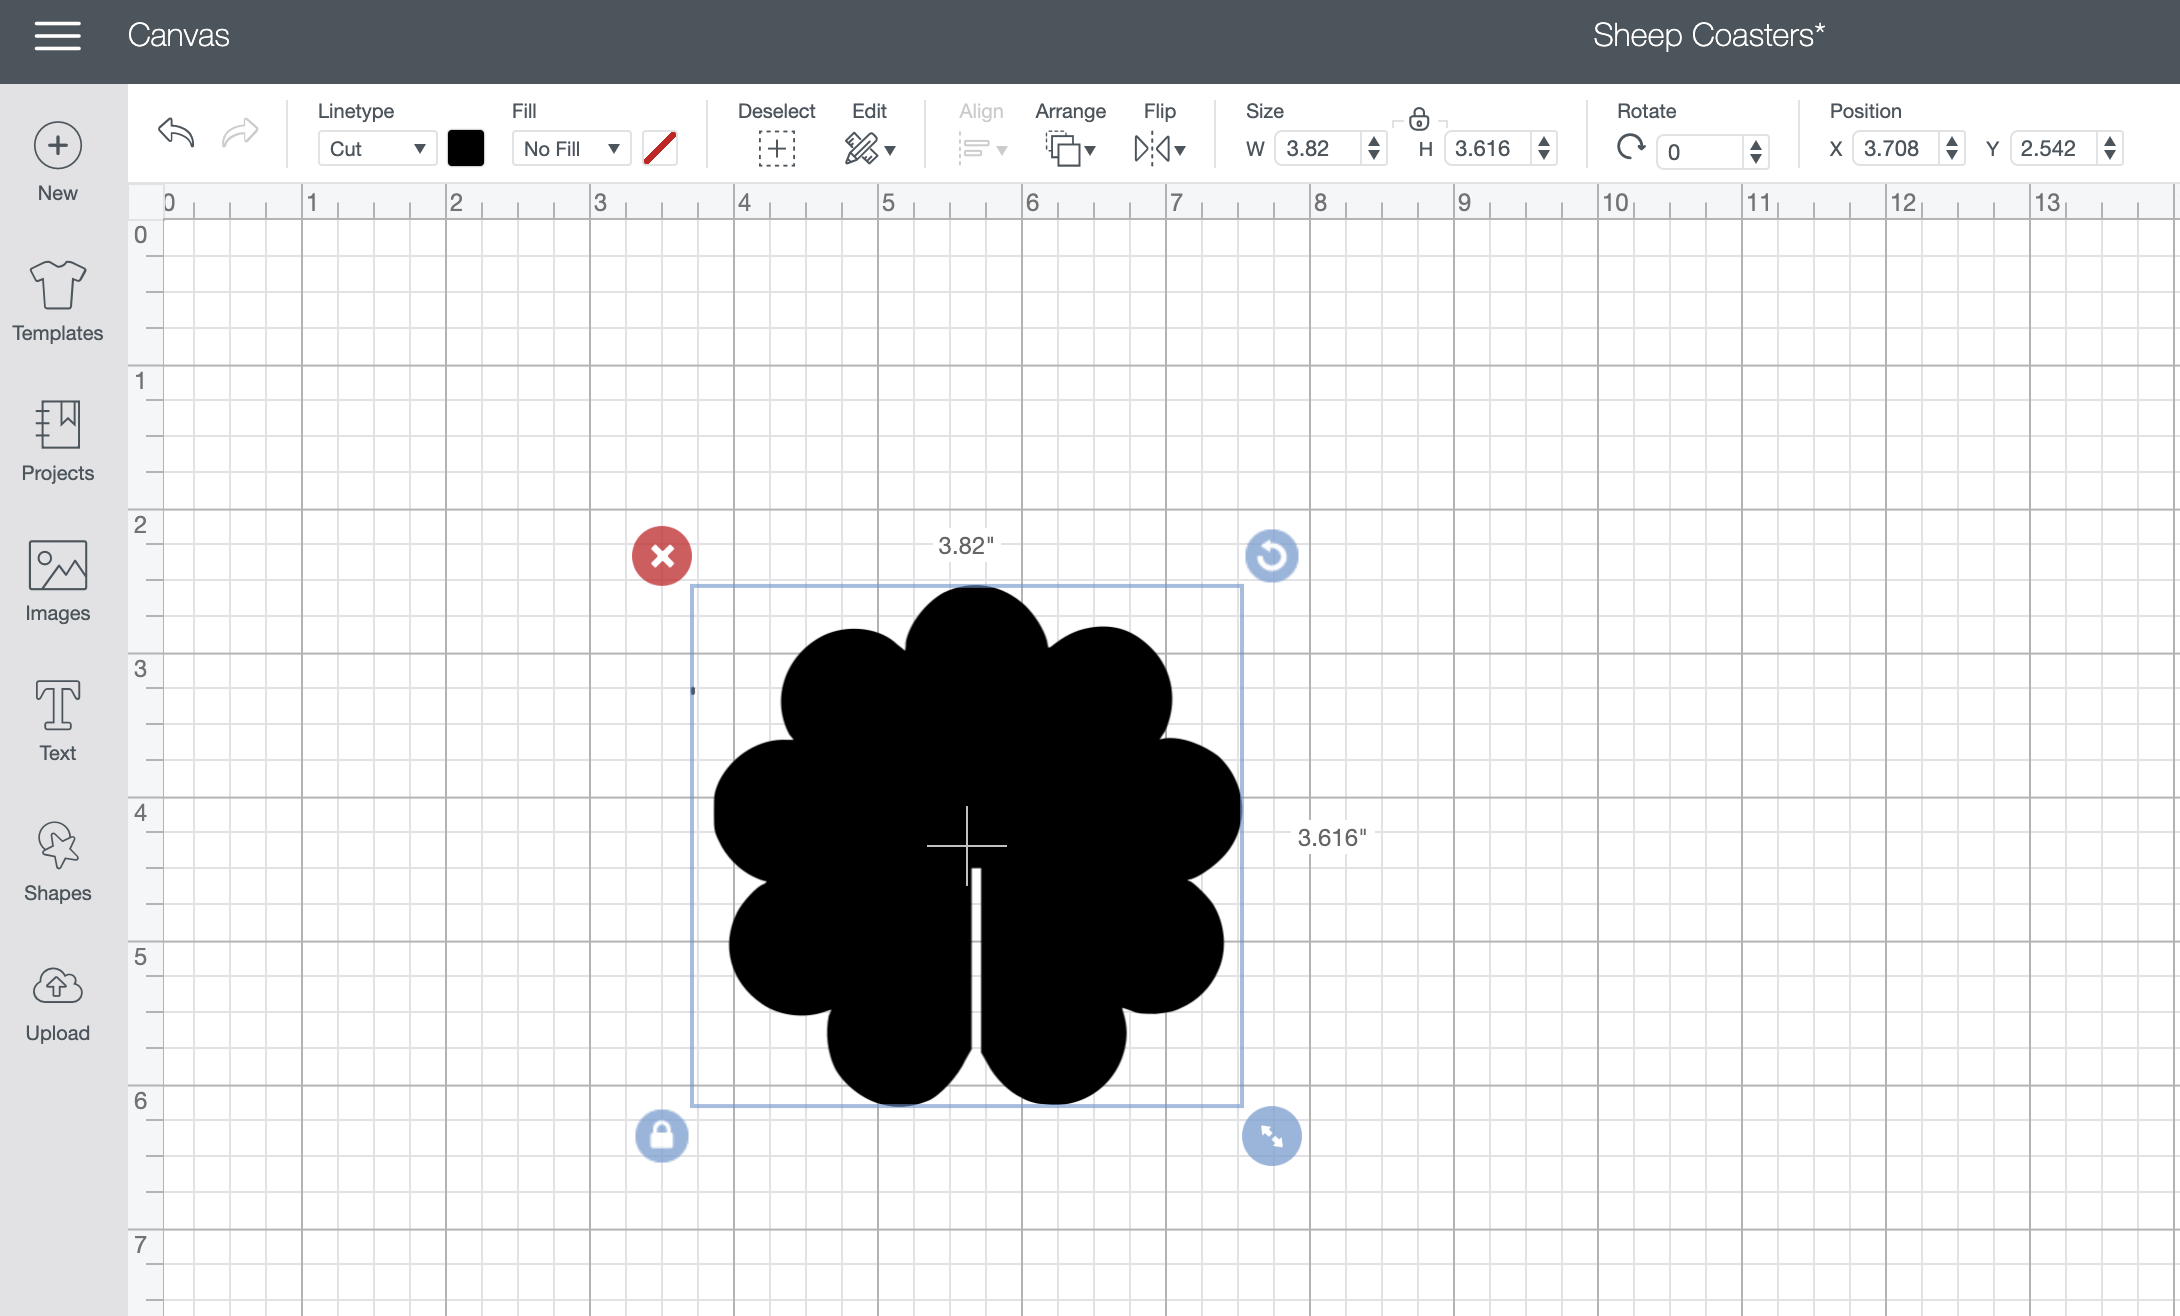
- These are the sizes I used if uploaded piece by piece. In addition, you will find I widened the slots in the body of the sheep to account for the extra thickness caused by gluing construction paper to the chipboard.
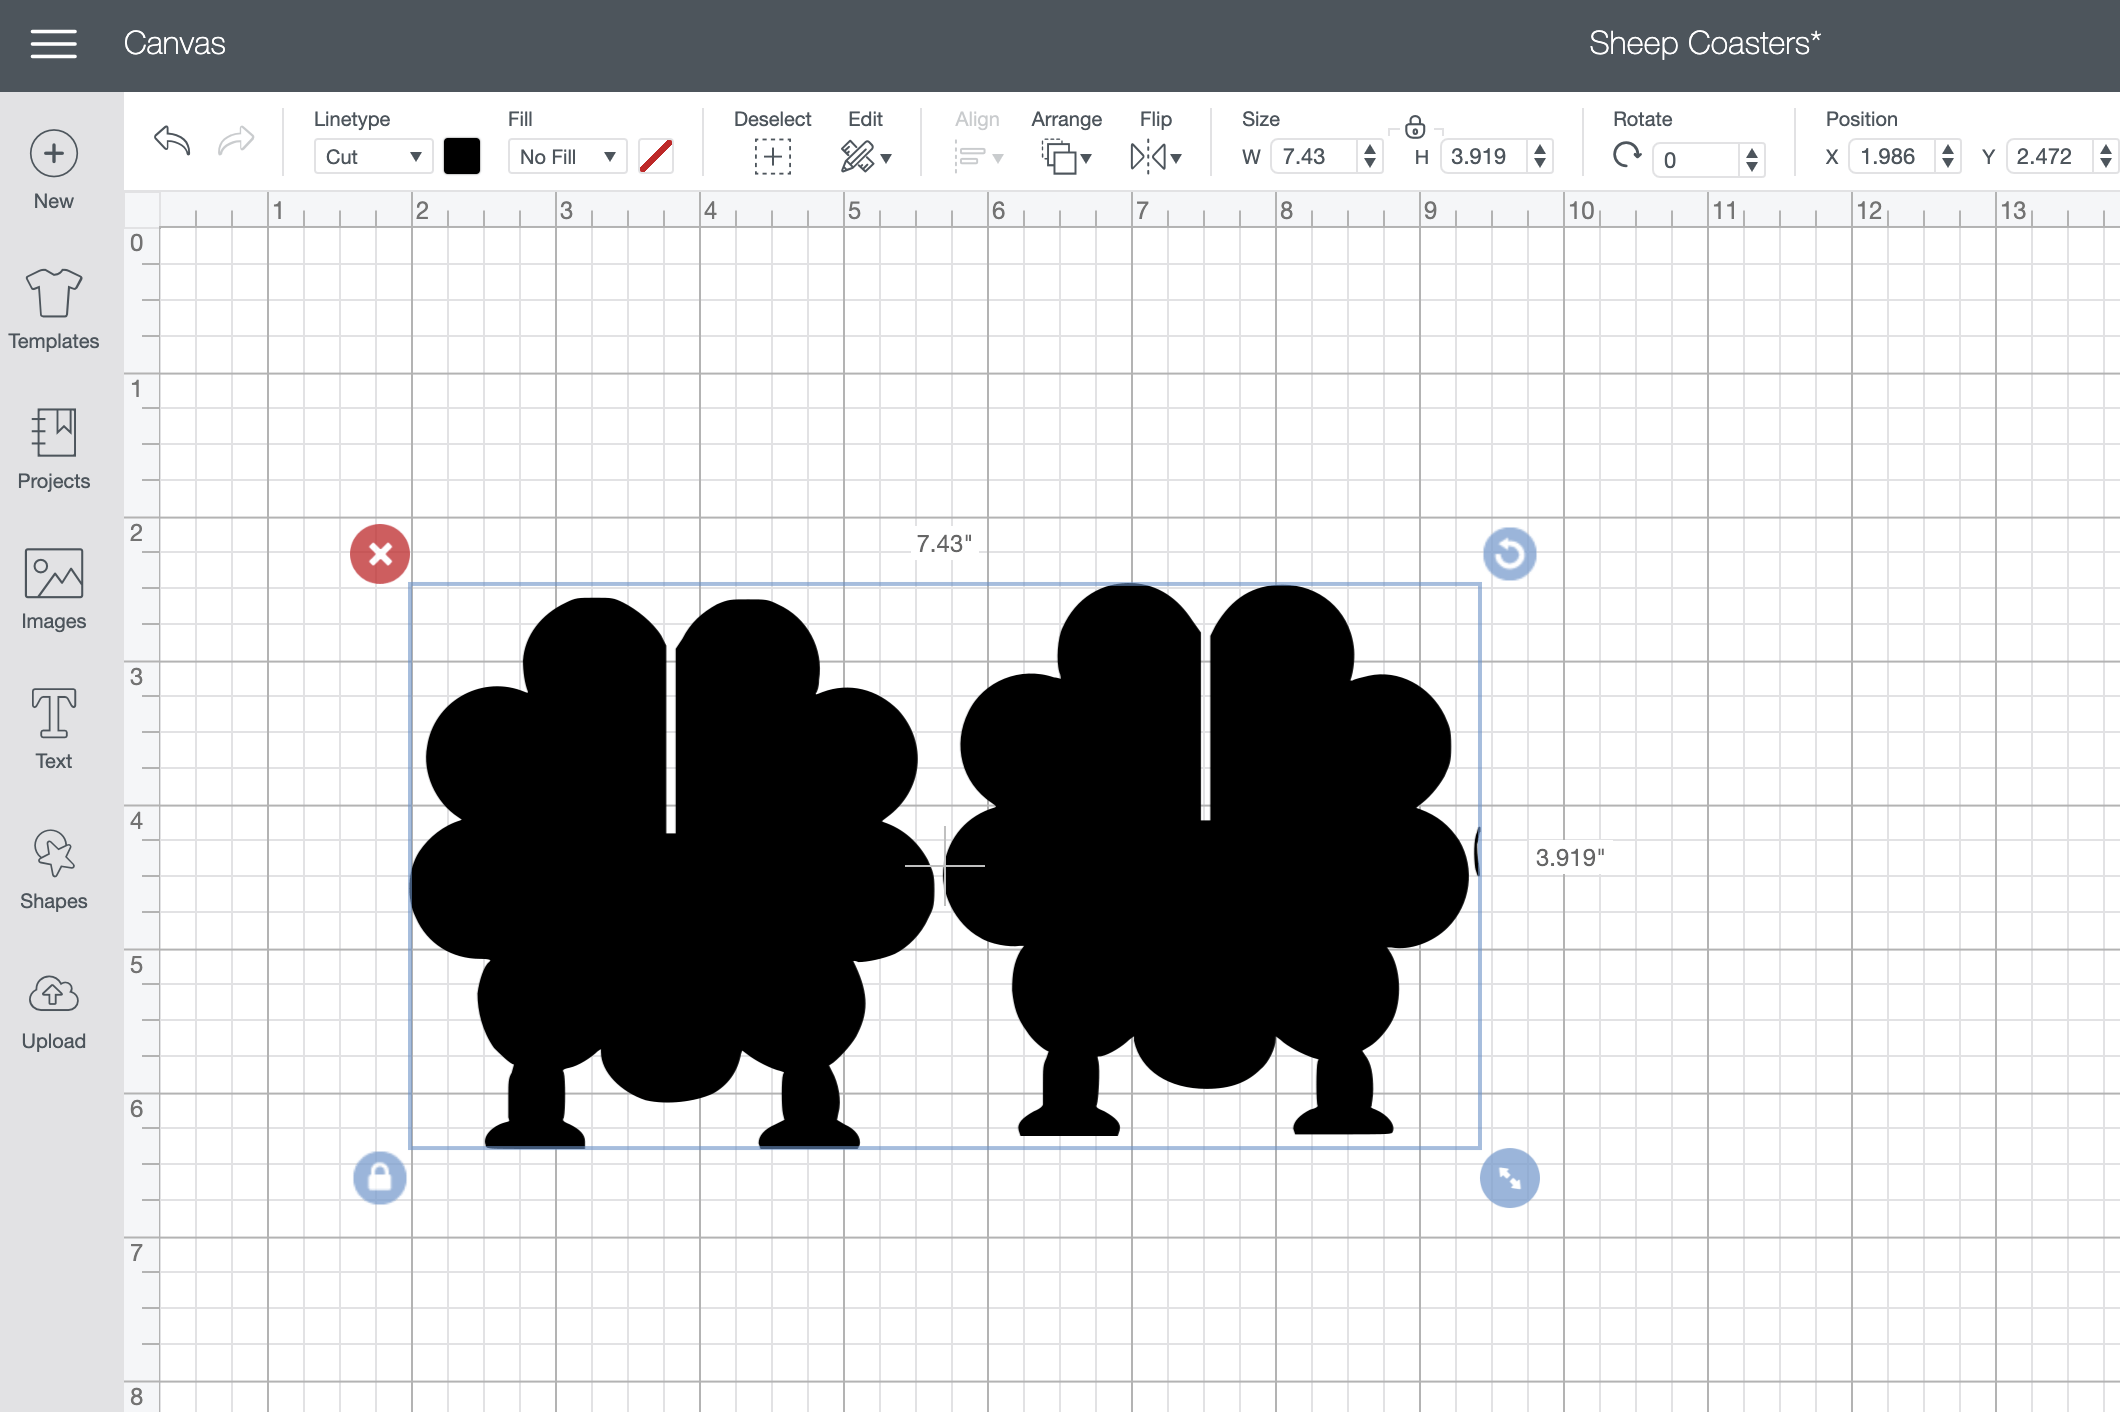
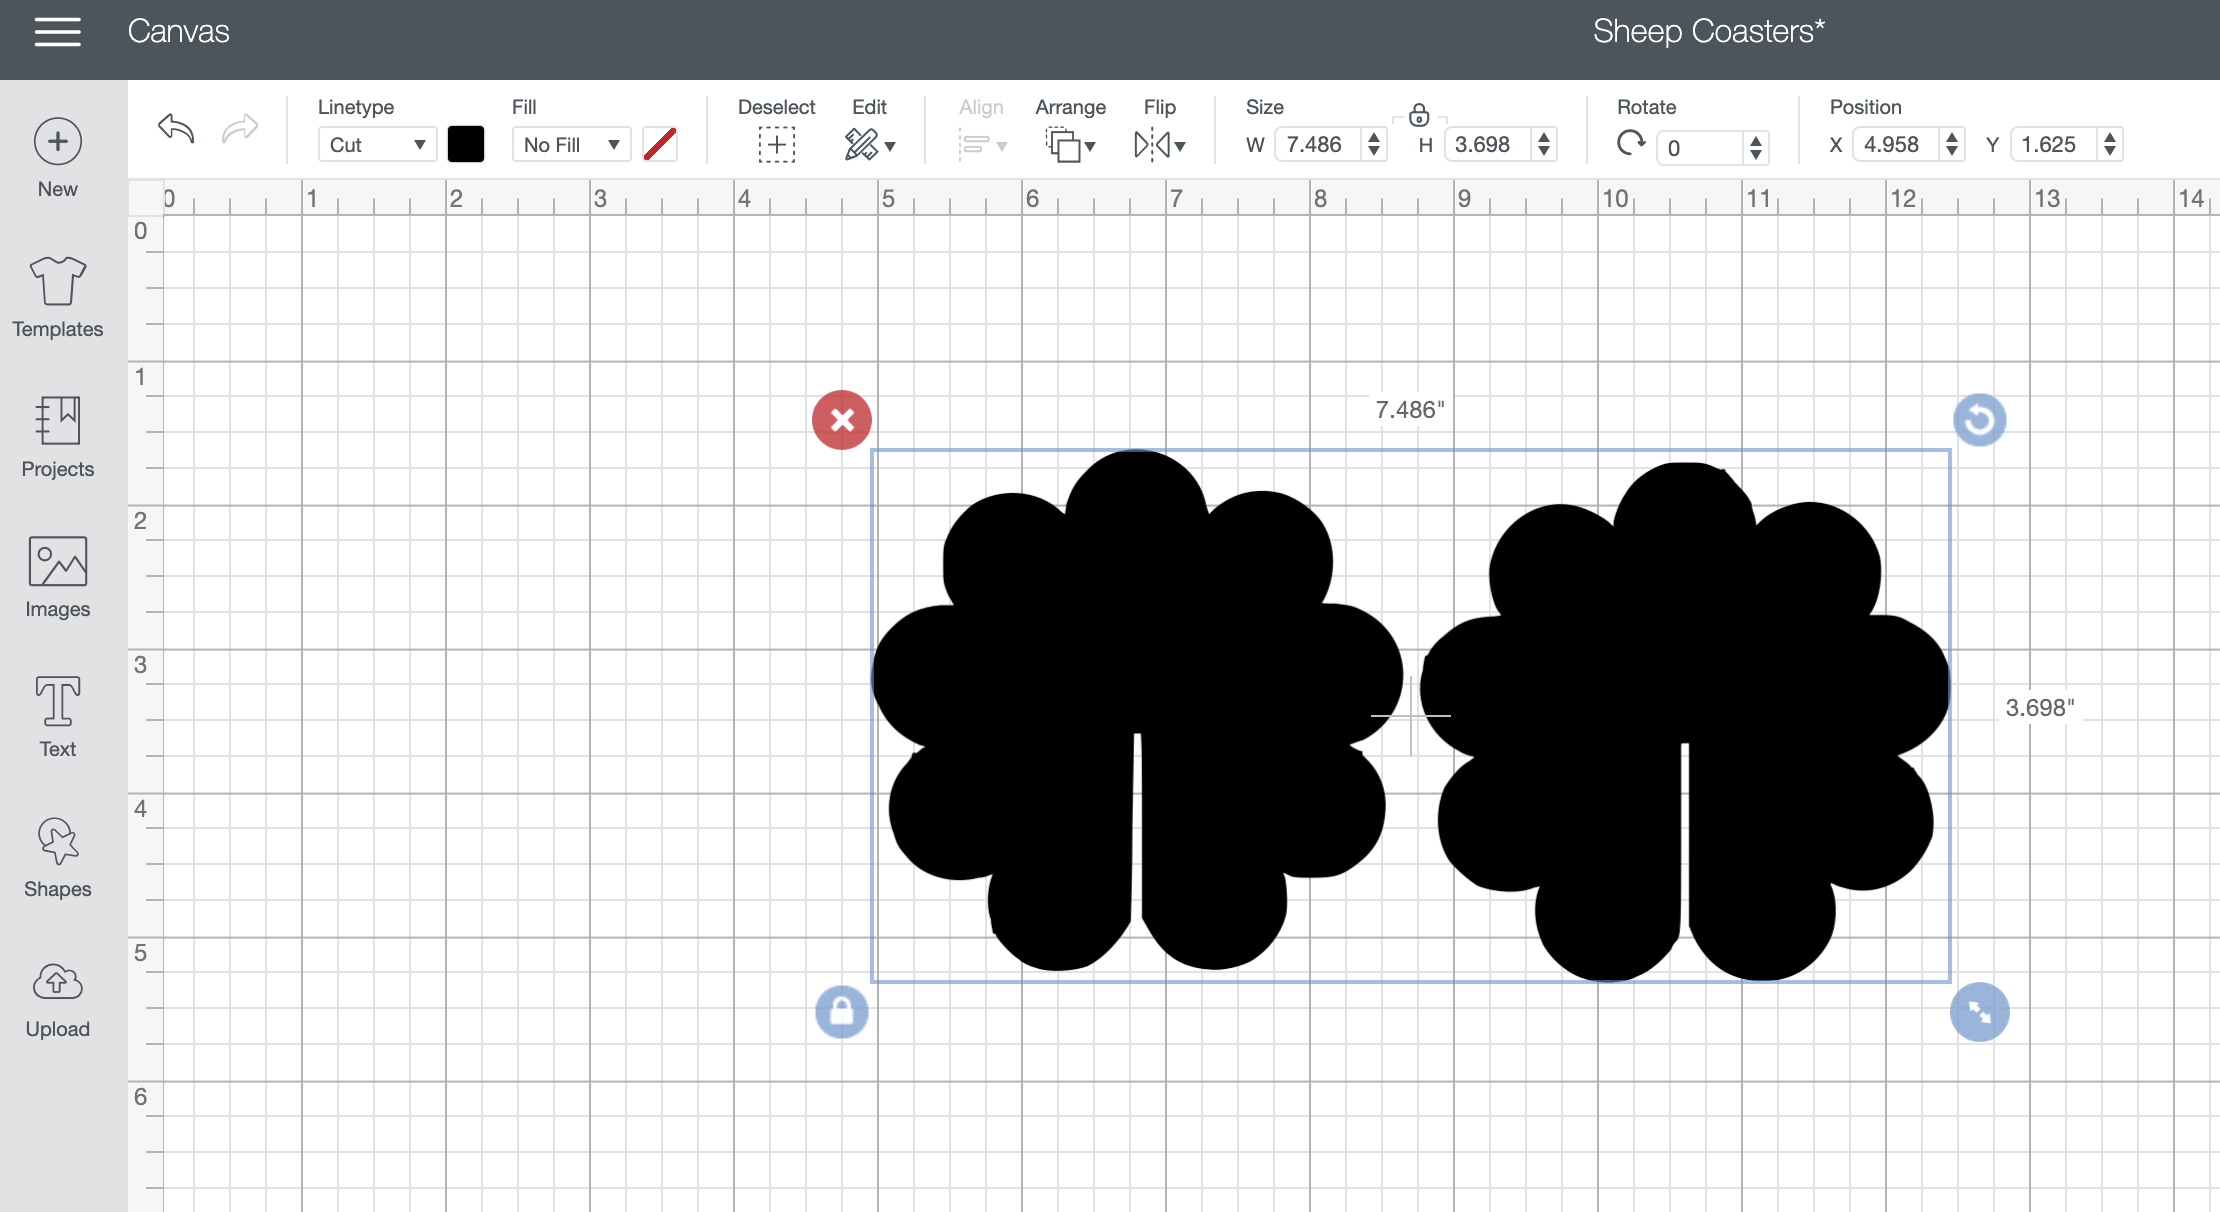 Once sized make a duplicate of these two sides.
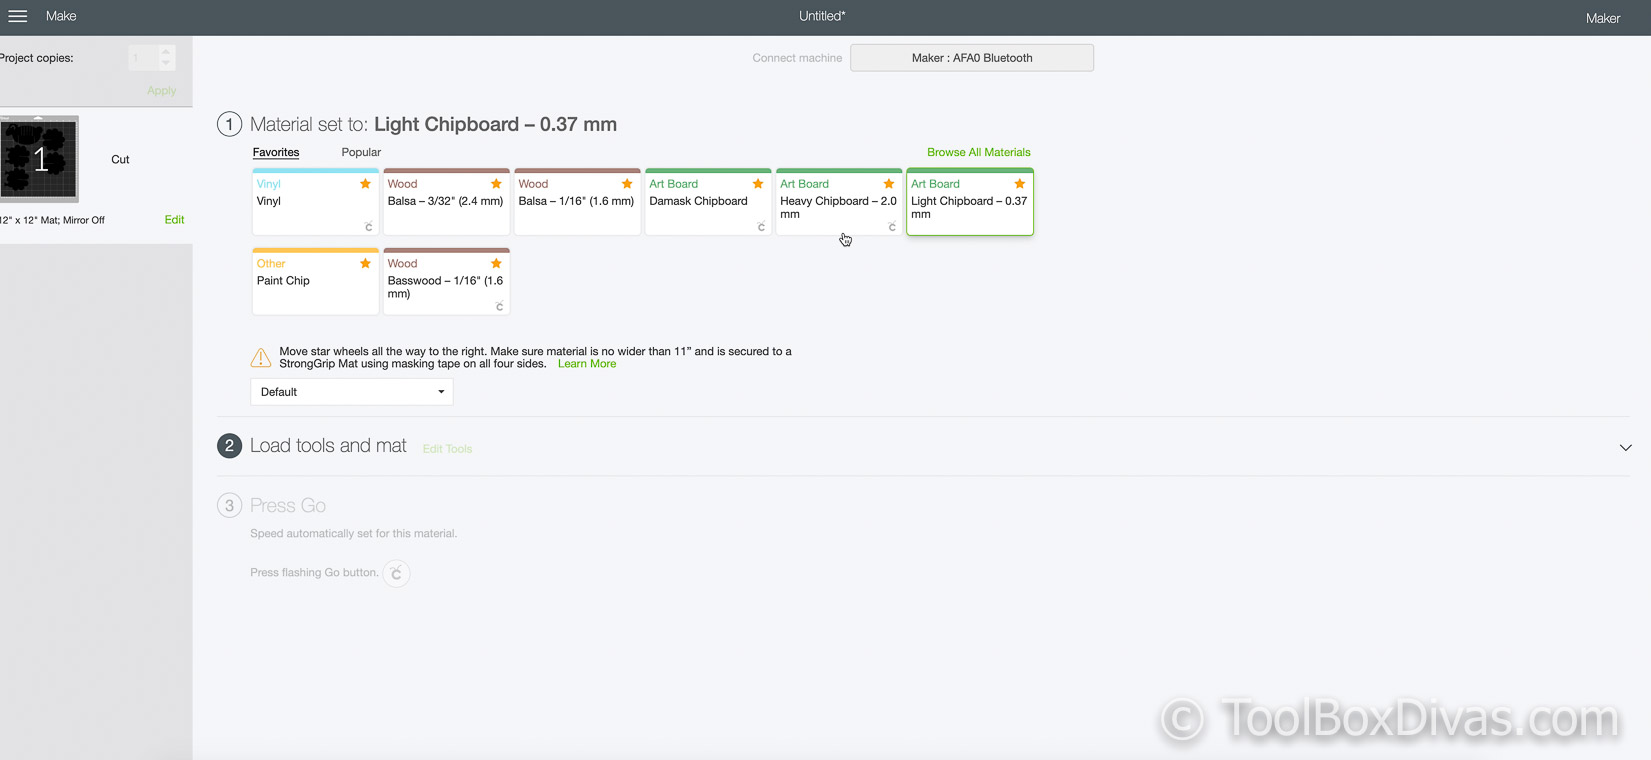
- Step 2: Choose your material.
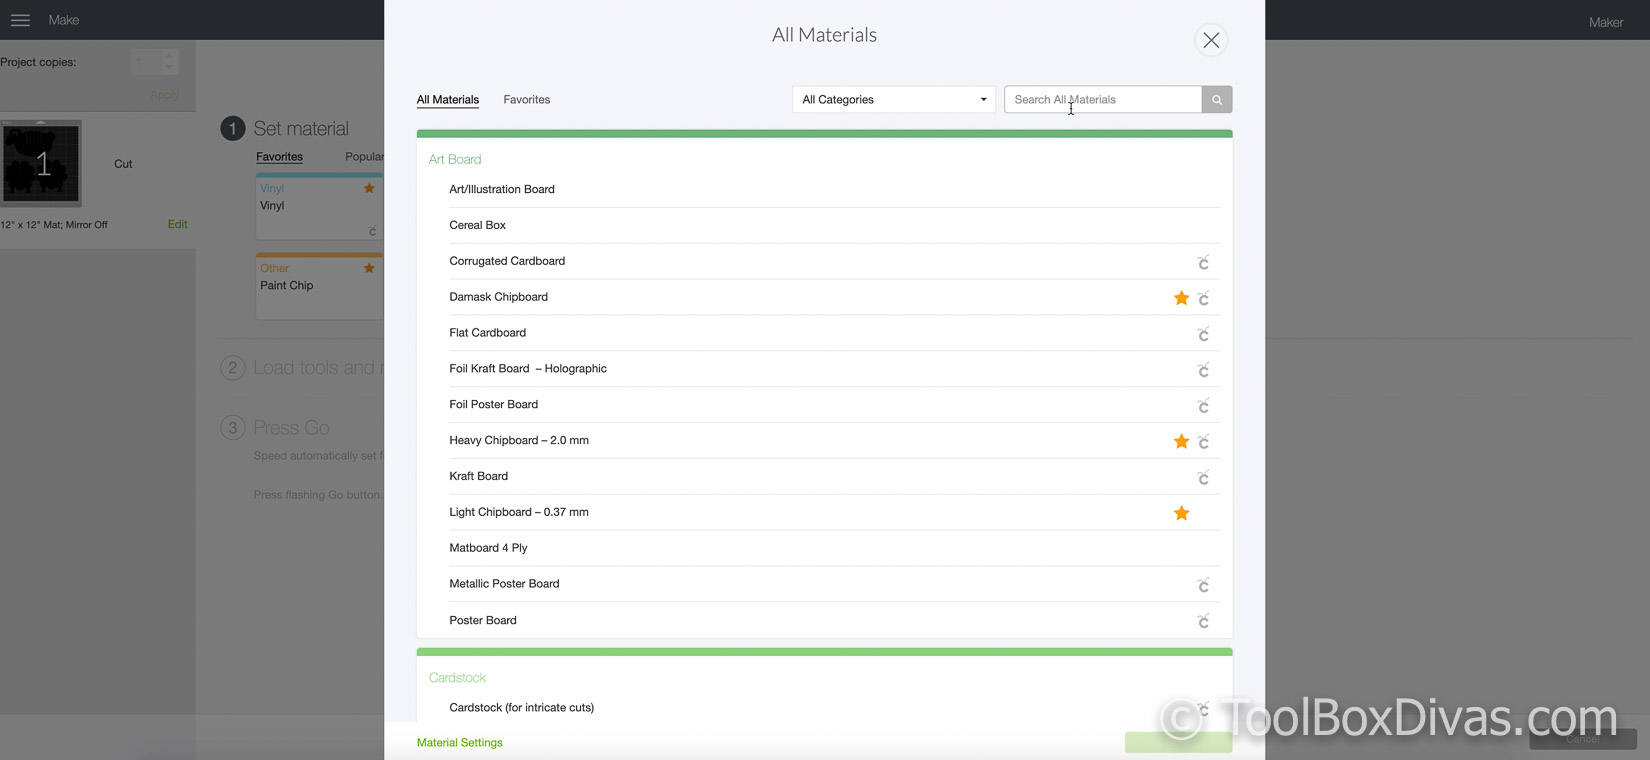
- Choose a 1.5mm chipboard as the material you will be using. It is best to do a trial run with cardboard to make sure that the design will cut like you want it too. Chipboard isn’t cheap and you don’t want to ruin it.
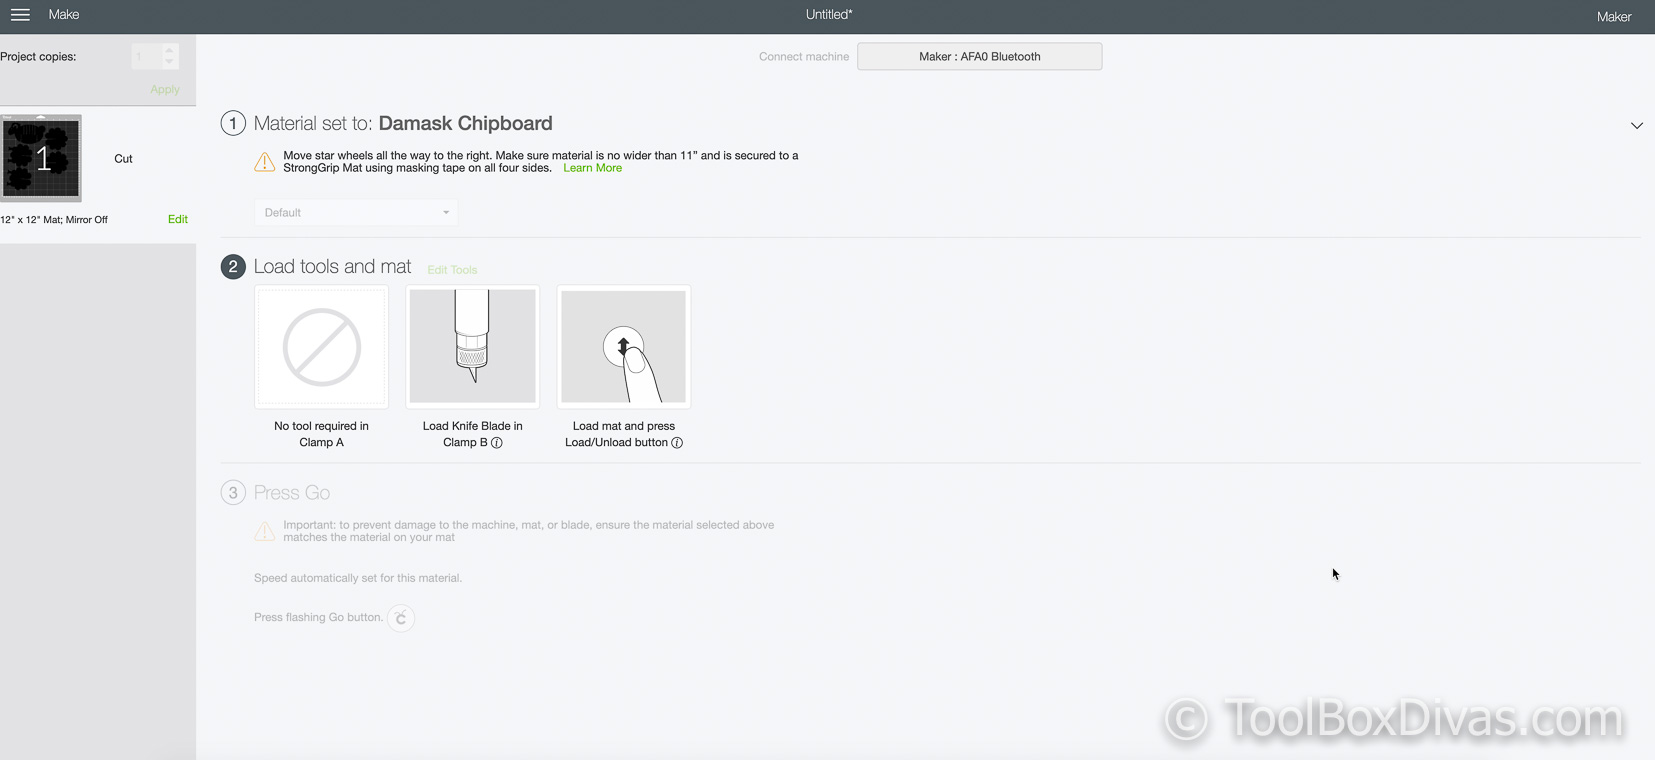
- Step 3: Load your knife blade and choose your mat.
- Load your knife blade into your Cricut Maker
- Step 4: Make your mat.
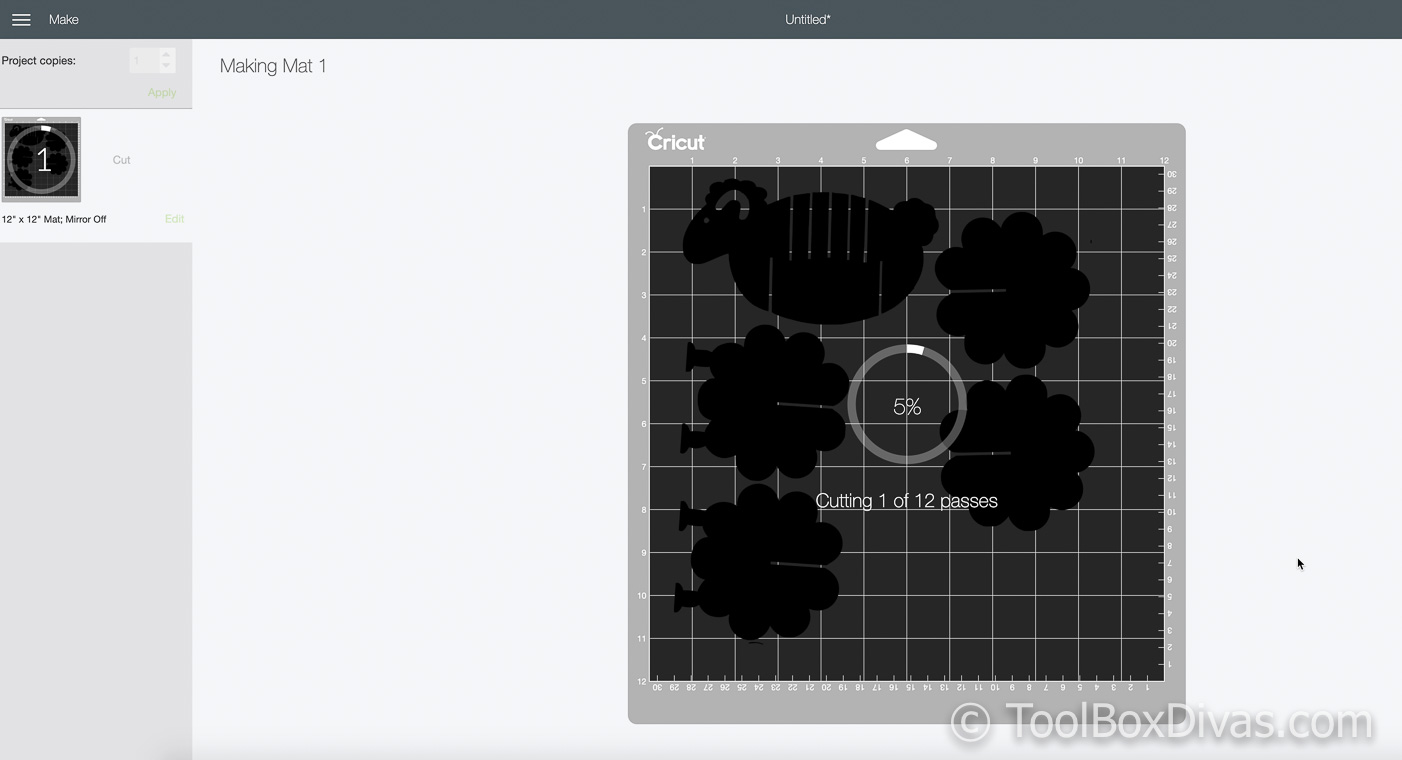
- Arrange in Making Mat screen how you would like the pieces cut on your chipboard. This step is important because it’ll help you use the material more efficiently.
- Step 5: Prepare and load your chipboard.
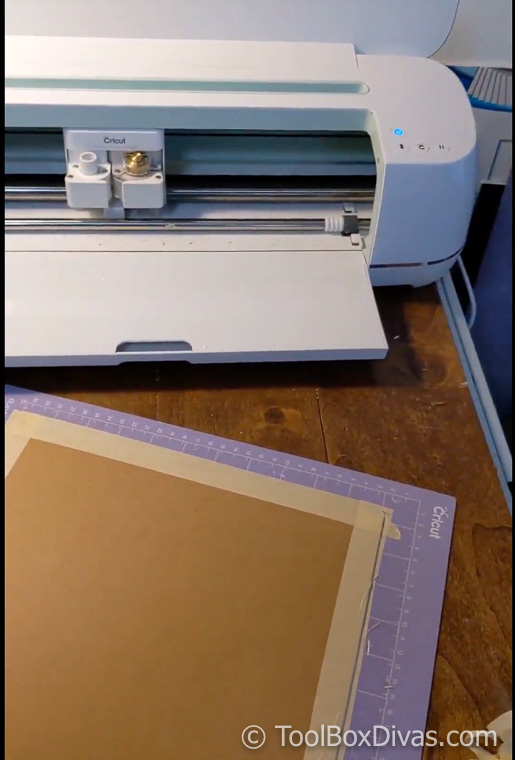
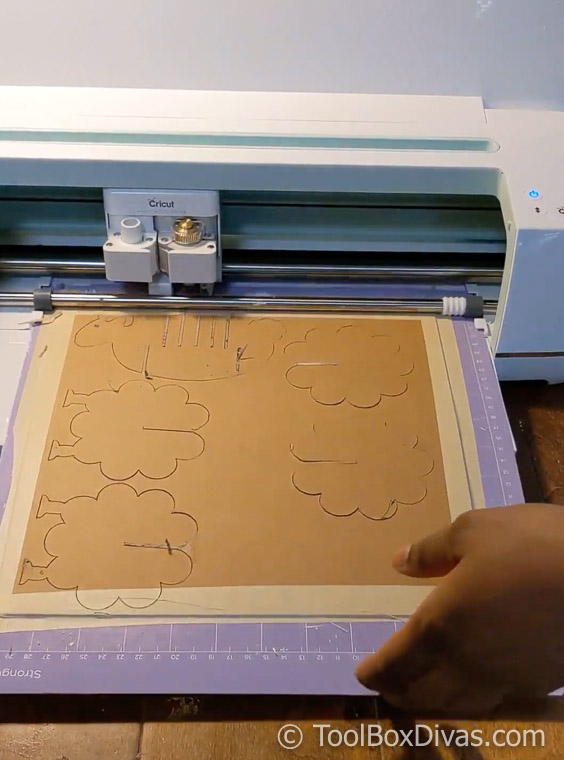
- Lay your chipboard on a stronggrip mat and secure with masking tape on the edges. Trust me on this one. You don’t want that chipboard moving around.
- Load the mat into your Cricut Maker.
- Step 6: Cut your design into your chipboard.
- Simply press cut and the Cricut Maker does all the work. It doesn’t get any better than that!
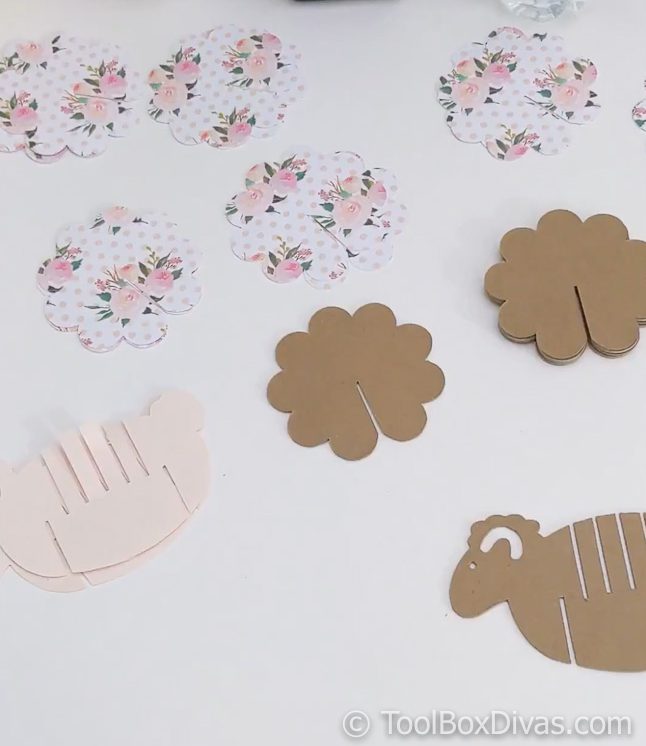
- Step 7: Cut your construction paper
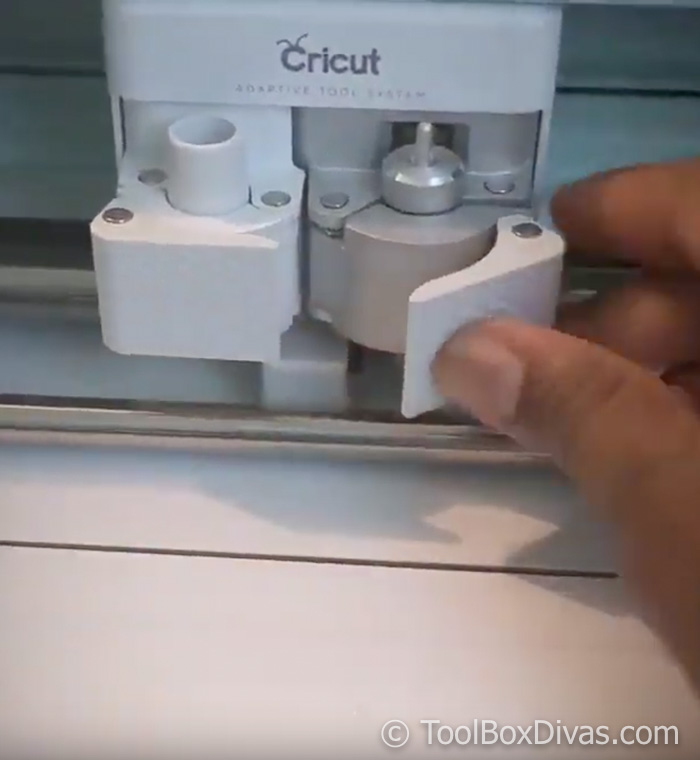
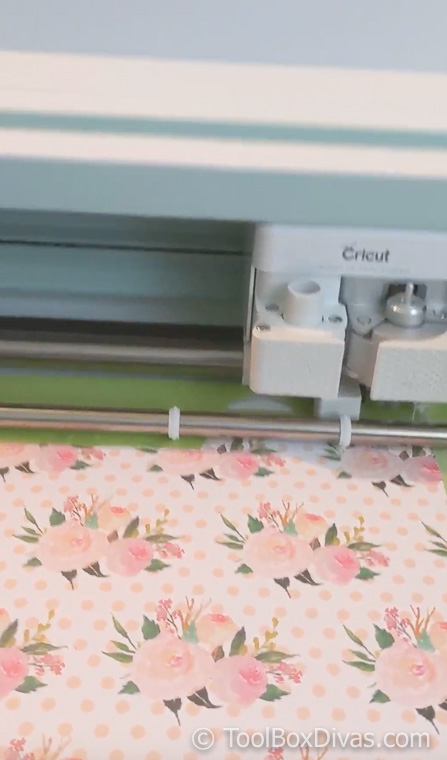
- Using the same steps as above, cut the same design out in the construction paper of your choice. Remember to change the blade to the fine point blade.
- Use a standard grip map for your construction paper. Cricut will walk you through the setup.
- Step 8: Apply decorative paper to your chipboard DIY sheep coasters
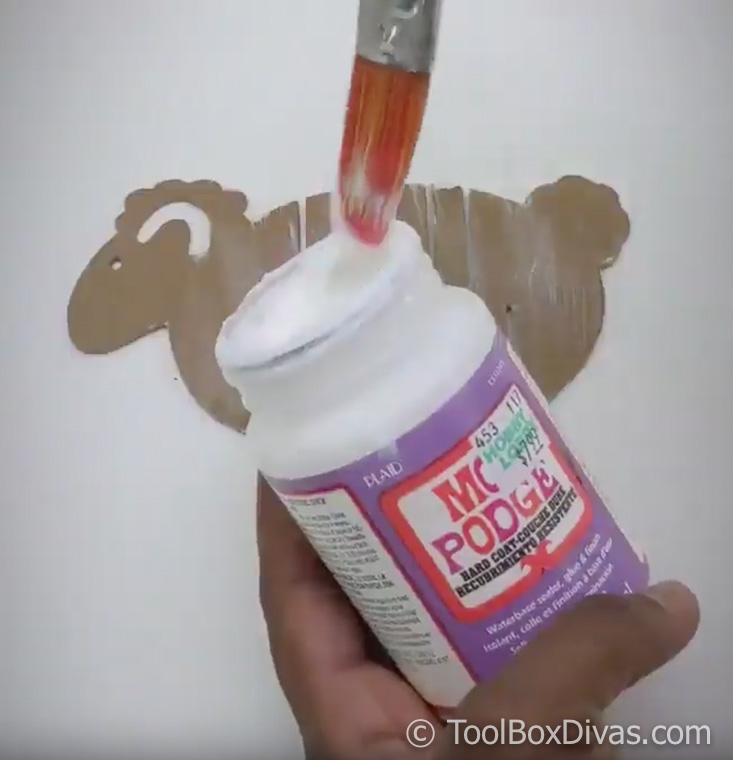
- Apply mod podge to your chipboard cutouts and your construction paper.
- Carefully apply the construction paper, making sure everything lines up. Smooth them out to get rid of any wrinkles or air bubbles.
- Allow to dry.
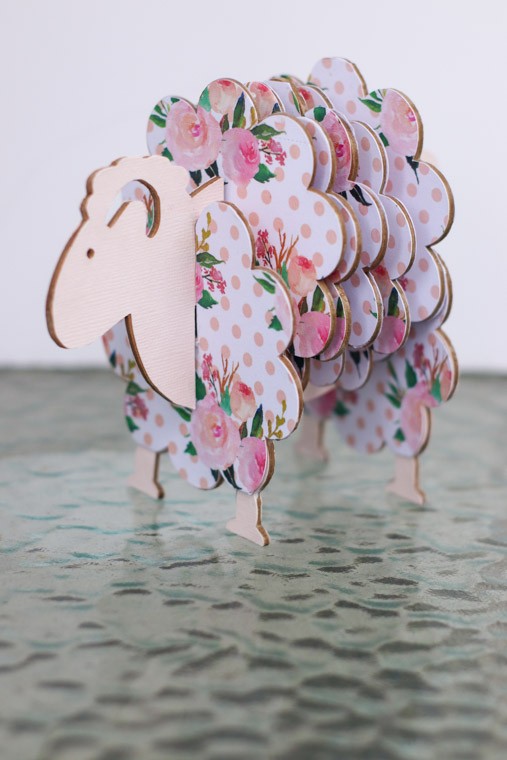
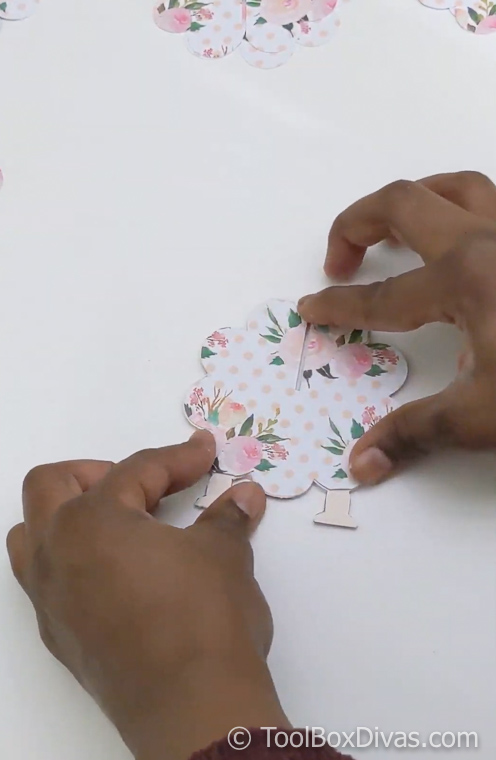
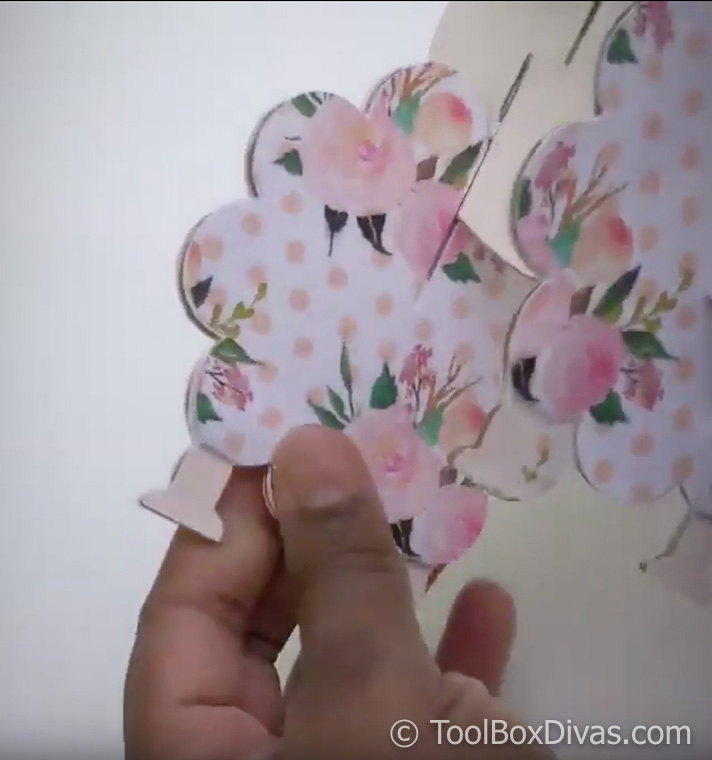
Step 9: Slide the front and back legs into their slots then slide your coasters into place and you’re done!
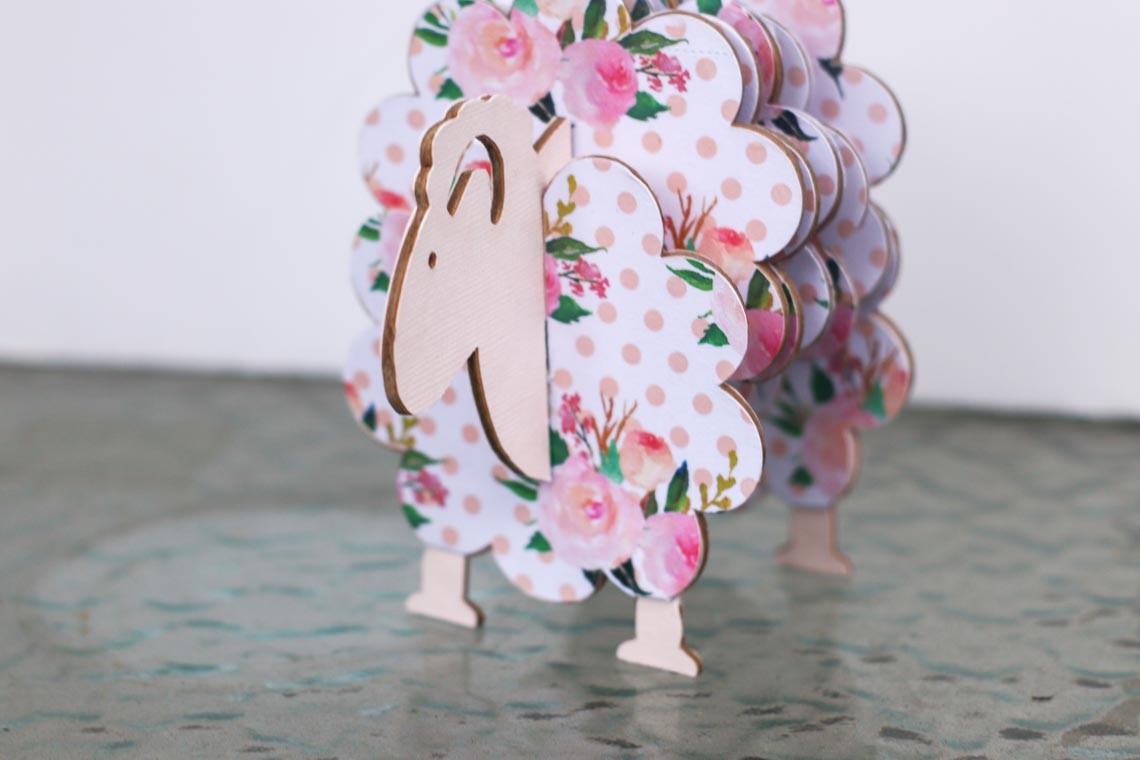
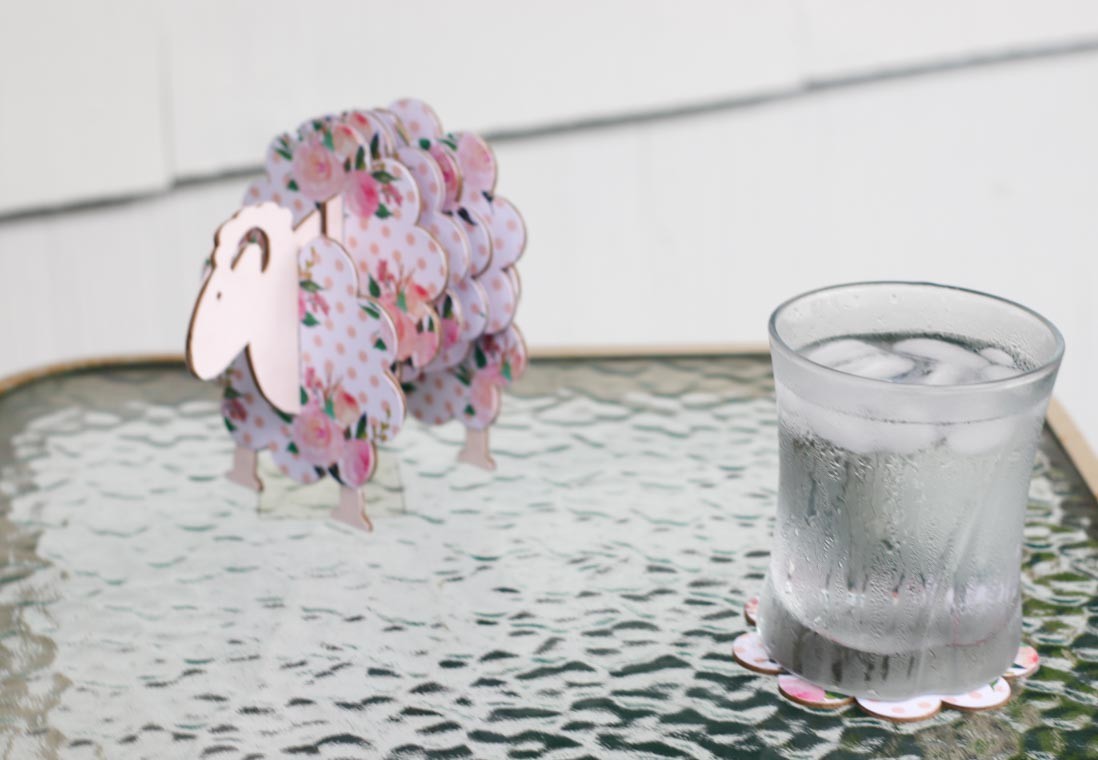
How cute is this little girl?! I love how she turned out!
Get the Free Sheep Coaster File
Love these DIY Sheep Coasters? Pin them for later!
For more craft and Cricut projects


This is THE CUTEST thing. Thank you so much for your sweet generosity.
Tv
Thank you! I’m so glad you like it.
These are absolutely adorable! I’ve scoured the page three or four times and on different browsers, I cannot for my life find the link to the SVG files – where are they?
Thank you!!
The link is in between two pictures…the one with the glass of water and the one with the set all laid out. Hope that helps you.
Thank you so much for the SVG!! I used it yo make my mother in law who loves sheet this coaster set. I had to modify it a bit to work for me as I have the Cricut Explore Air 2. But, I think it turned out great and can’t wait to gift it❤️❤️
OH that is wonderful to hear! So glad it worked for you. I’d love to see pics. Please share @toolboxdivas on IG or Facebook