DIY Basswood Christmas Ornaments
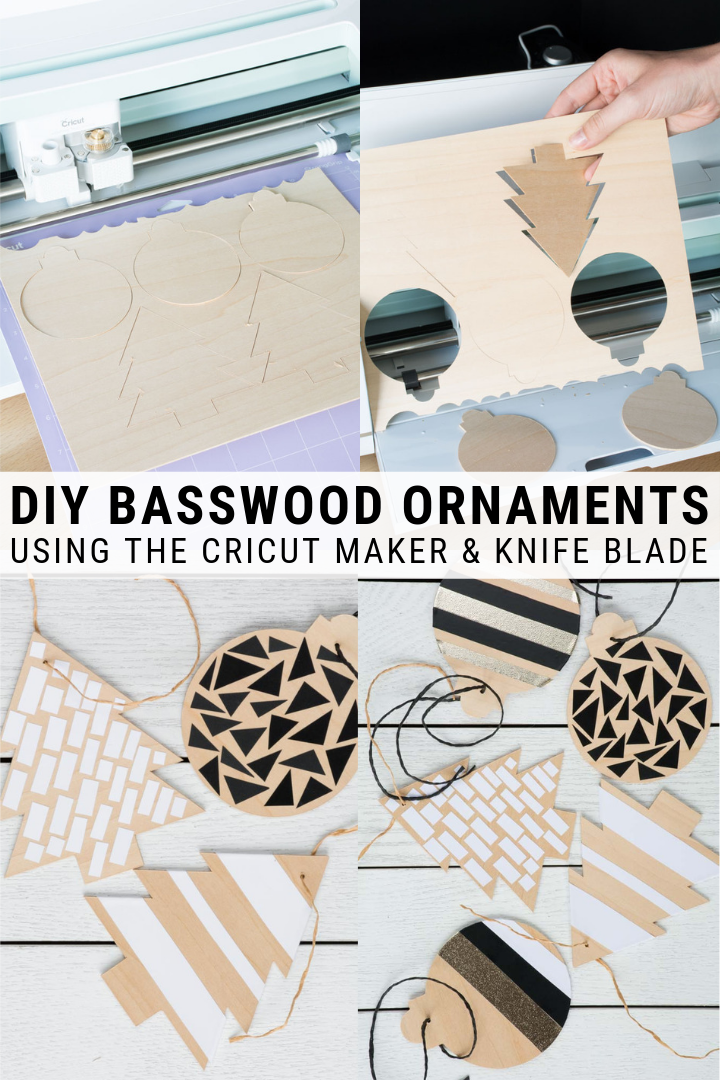
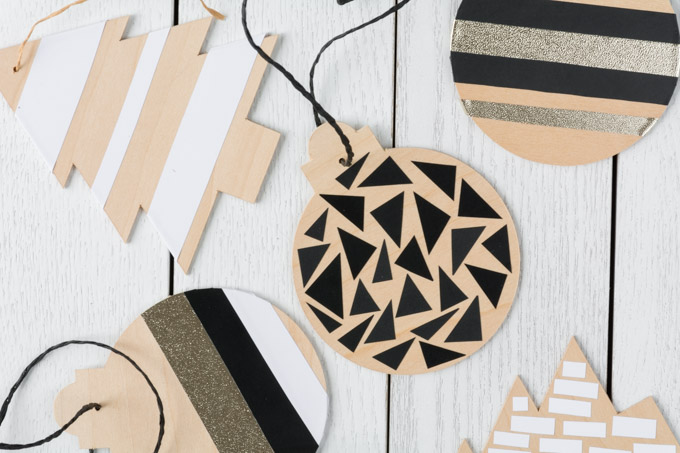
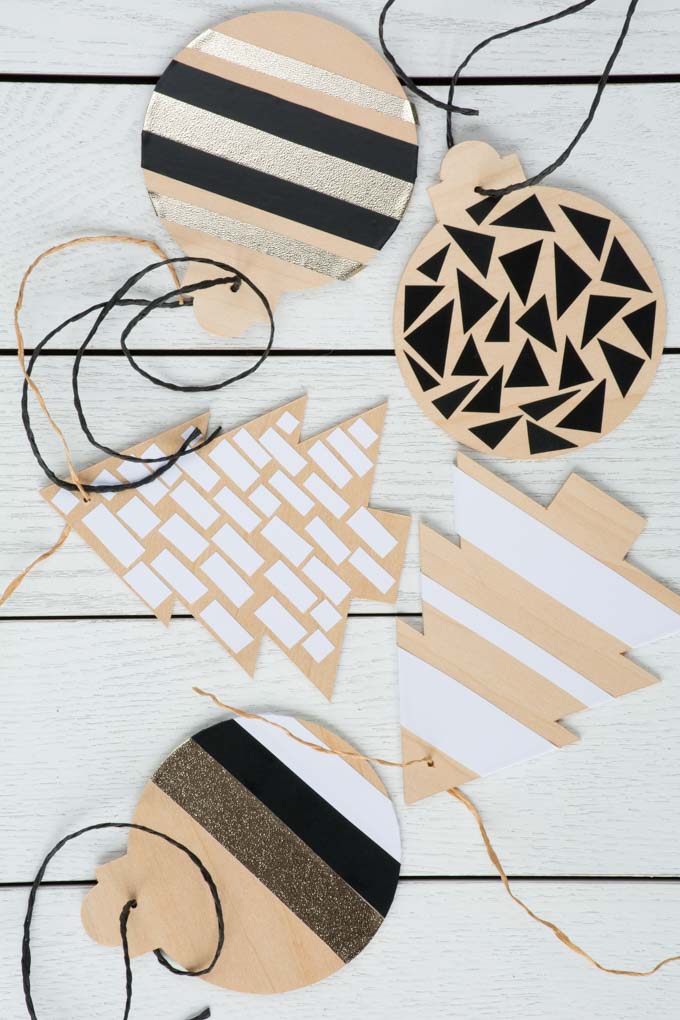
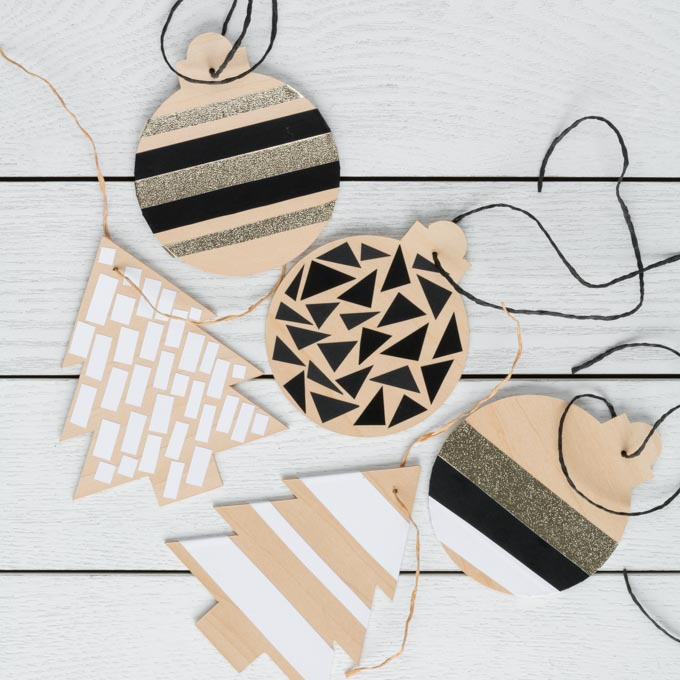
This post shares how to make DIY basswood Christmas ornaments using the Cricut Maker, including how to easily customize it using vinyl scraps!
Hey all! Brittany here from by Brittany Goldwyn, a modern DIY, planting, crafting blog where my goal is inspiring others to live creatively. This is my second post as a contributor here on Toolbox Divas (see the first one here), and I’m really excited about this one. I’m sharing DIY basswood Christmas ornaments that I made using my Cricut Maker. Have you guys ever used a Cricut? There are a few different Cricut machines to choose from, but they are all smart cutting machines that you can use to make a variety of different crafts.
You can design things from scratch or choose from thousands of ready-to-make projects in the Cricut Design Space. Whichever route you choose, making a project is easy: you set it up on your computer in Design Space, place the material you’re cutting on a mat, insert it into the Cricut machine, and then the machine handles the rest. It’s pretty cool.
A lot of people think that Cricut machines are just for scrapbooking or crafting with vinyl. While they are awesome for both of those things, they can do a lot more. Especially the Cricut Maker, which can cut thicker materials like wood, chipboard, corrugated cardboard, leather, and more. Today I’m using the Cricut Knife Blade to show you guys how I made these adorable DIY basswood Christmas ornaments!
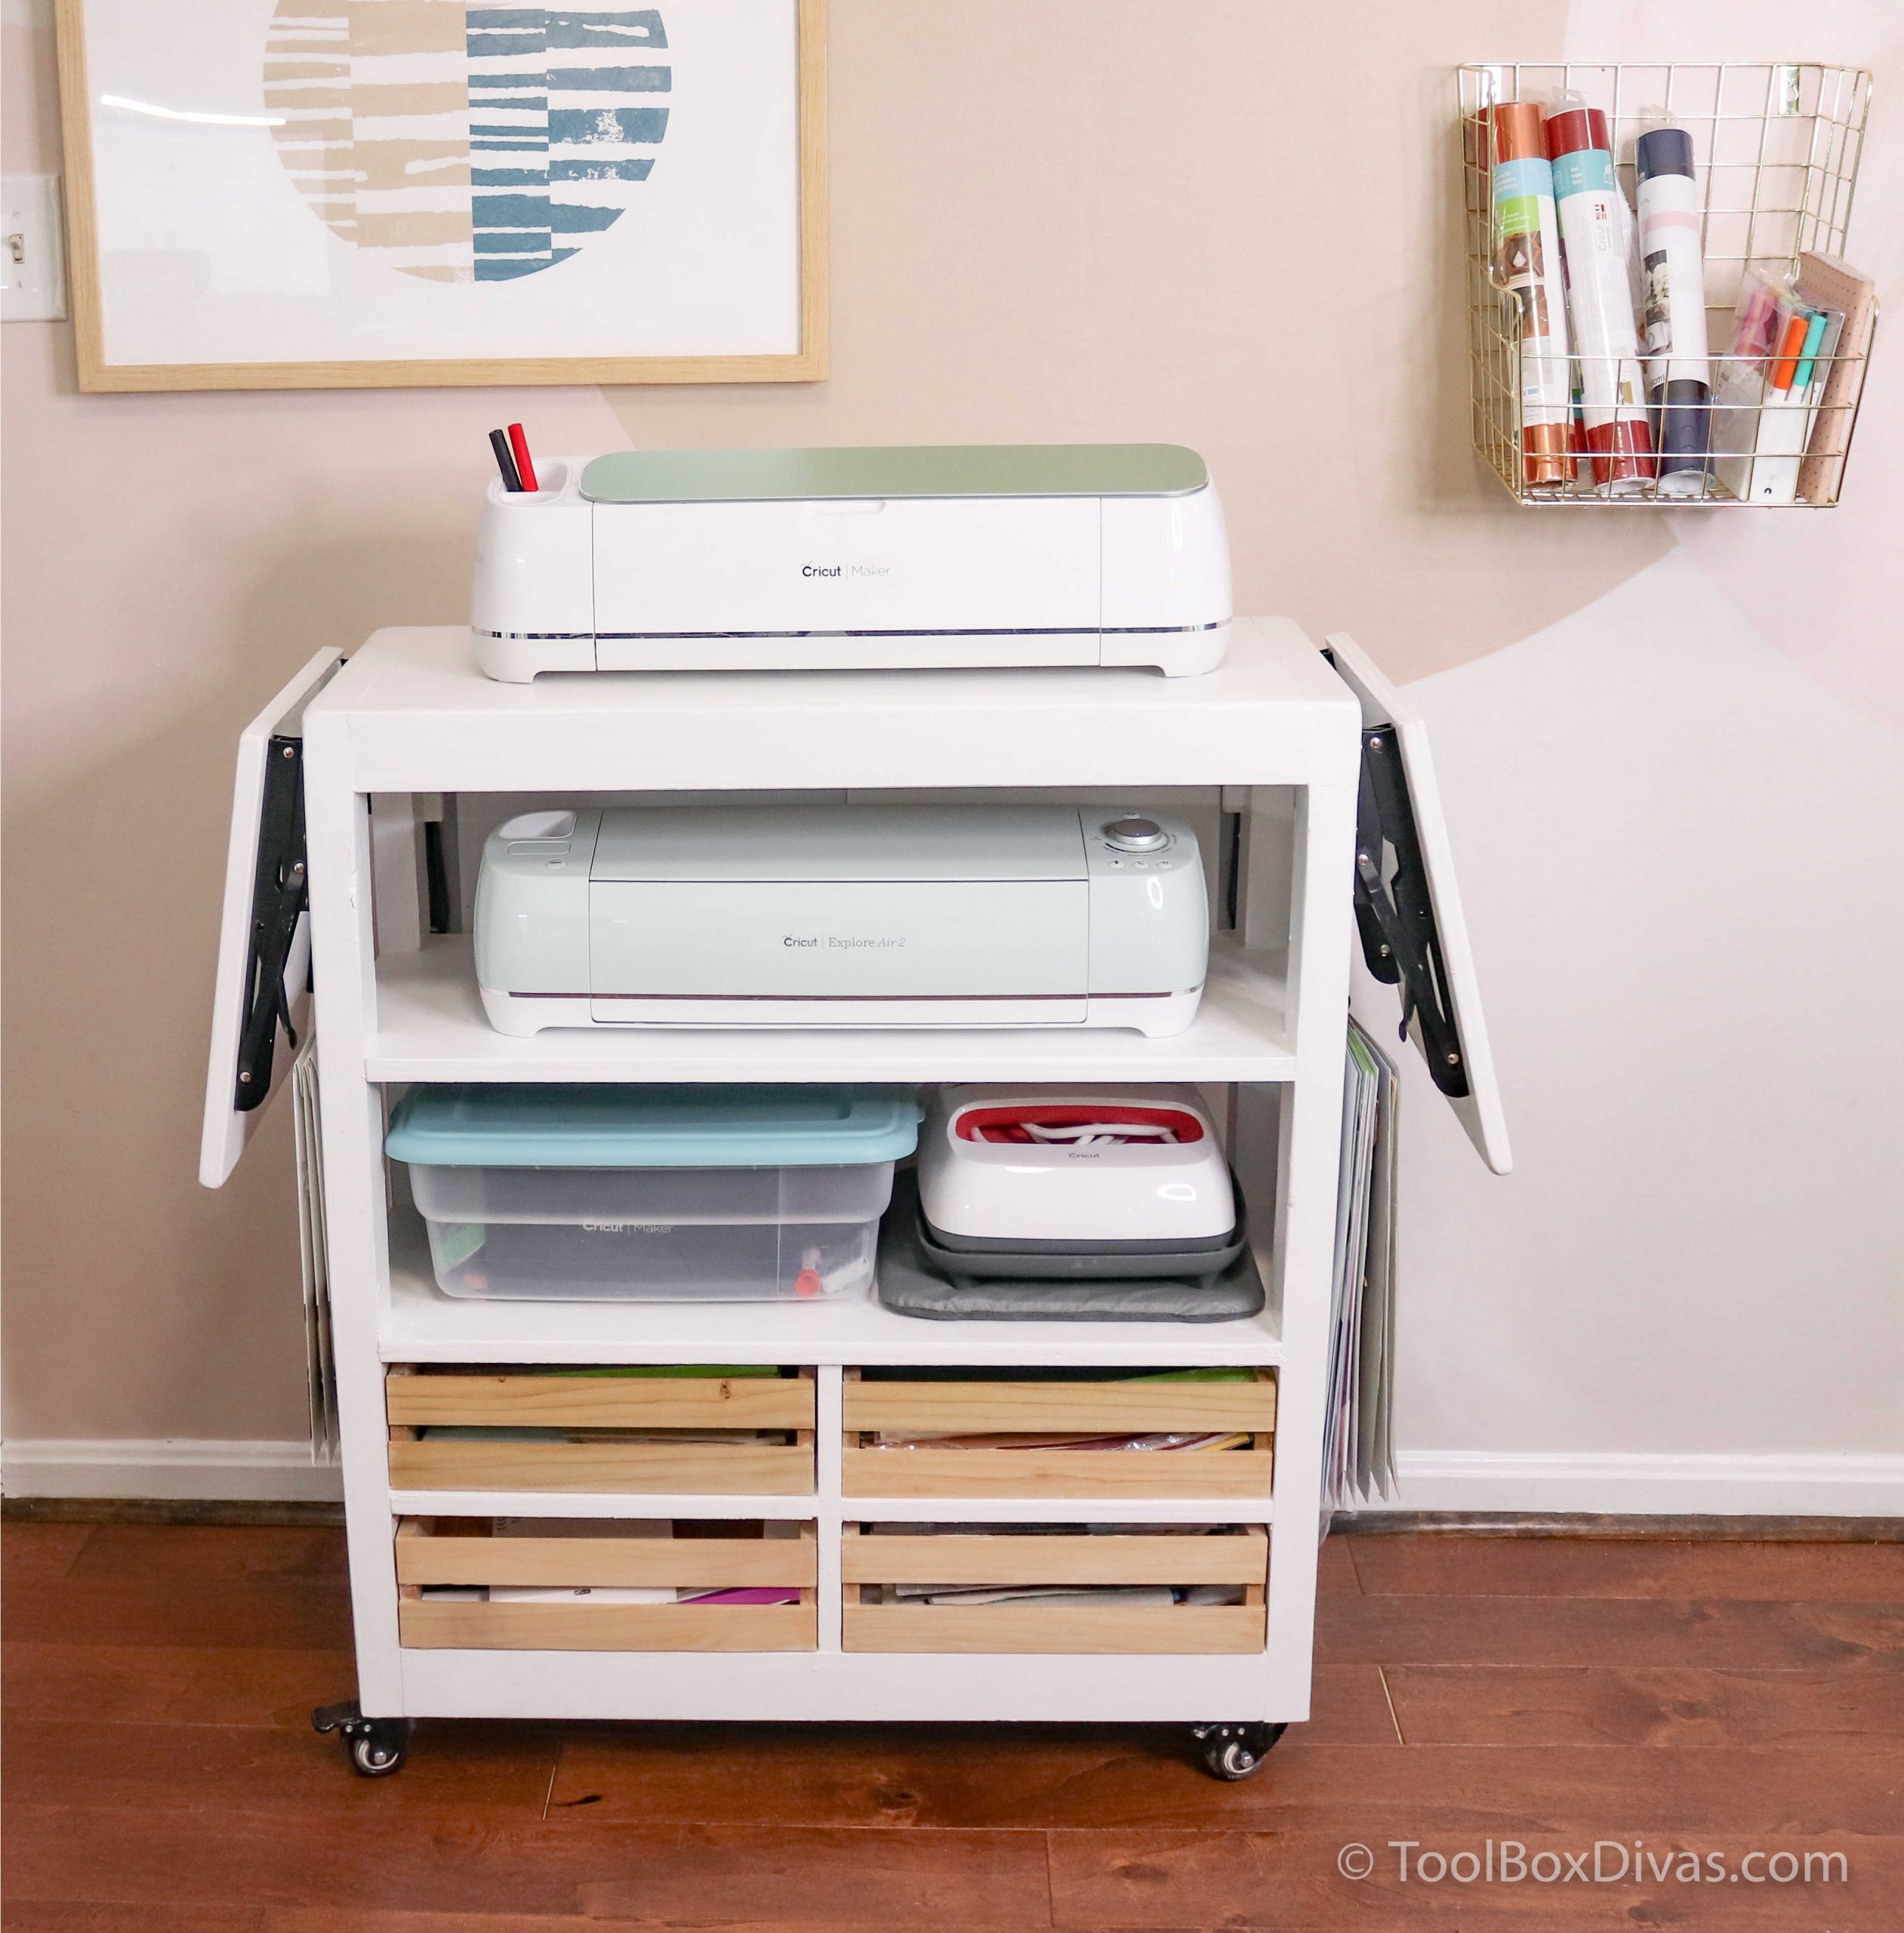
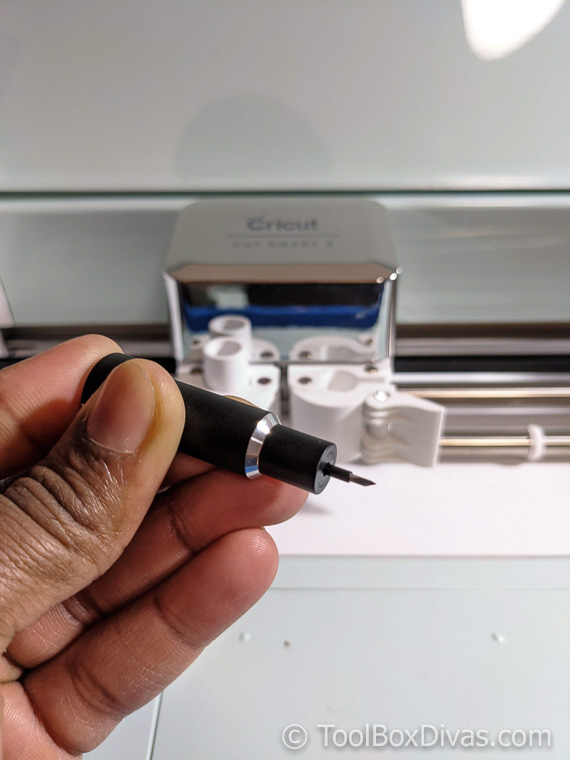
If this is your first time working with a Cricut Maker or the knife blade, make sure to read my post about the Maker and my ultimate guide to using the Cricut Knife Blade to cut wood.
Supplies
- Cricut Maker
- Cricut Knife Blade
- Cricut-brand basswood
- StrongGrip mat
- Black vinyl, white vinyl, and gold vinyl
- Twine
- Drill and small bit the size of your twine
- Fine-grit sandpaper
- Tree and Ornament .svg files
Step 1.
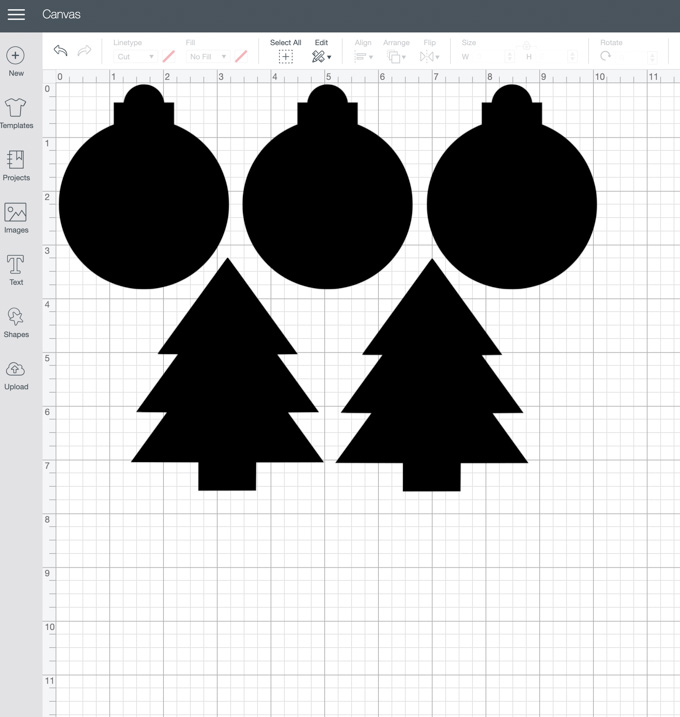
First, download the tree and ornament .svg files and upload them into Cricut’s Design Space, then create a new project. An SVG file is already designed as a cut file, so you don’t need to do anything else other than arranging the images in design space.
I’ve arranged them to minimize the amount of basswood waste I had when cutting, making sure I had enough clearance on all sides. (Remember that your material size when working with basswood is 11 inches, not the traditional 12-inch mat size.)
Step 2.
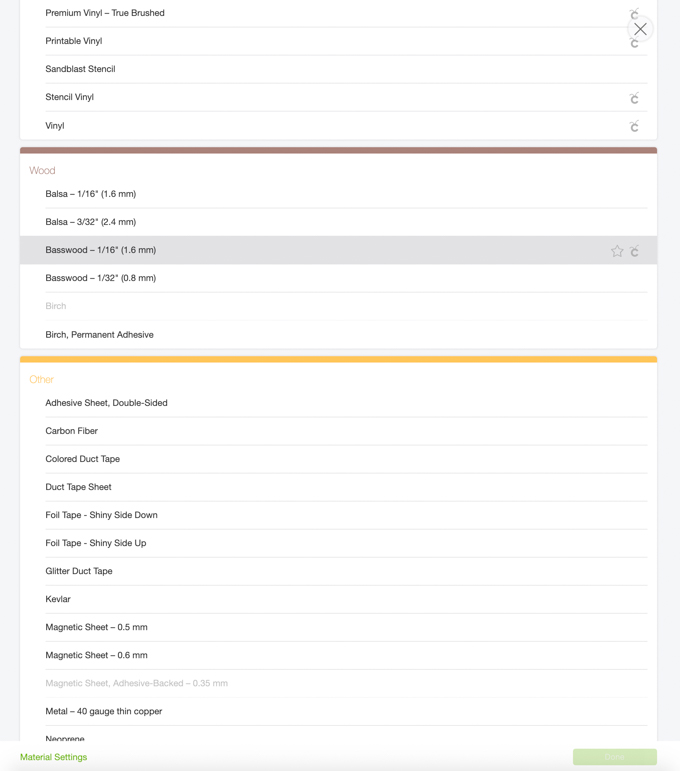
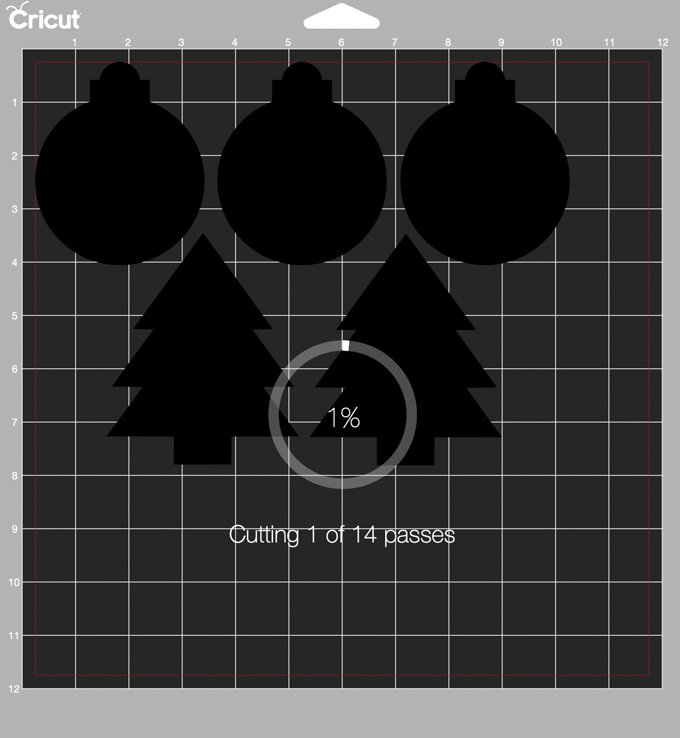
I loaded my knife blade into the machine and put my sheet of basswood on the strong grip mat. Then I selected my settings in Cricut Design Space, noting that I was cutting basswood. I loaded my basswood and mat into the machine and pressed go.
Basswood takes much longer to cut than thinner materials. You’ll get a warning about this in Design Space, as well as an estimate about how many passes your machine will need to make to cut out your design.
Step 3.
Once the cut process was done, I checked to make sure the design was cut all the way through, then I unloaded the mat from the Cricut Maker and remove the basswood. A few of the cuts popped right off; others needed a bit of help. Using fine-grit sandpaper, I cleaned up any rough edges.
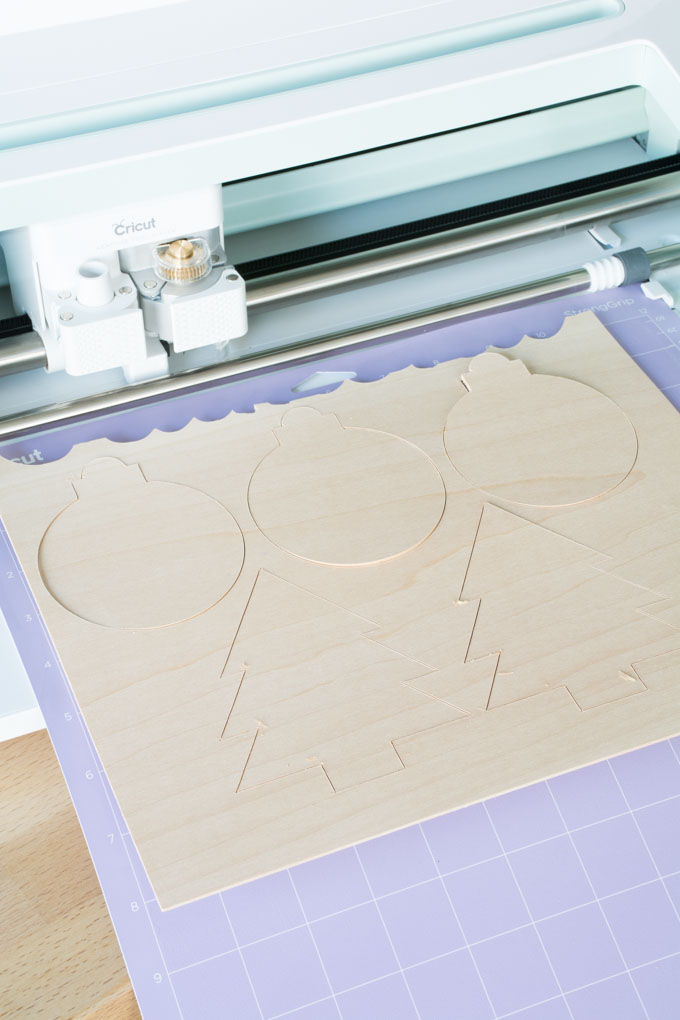
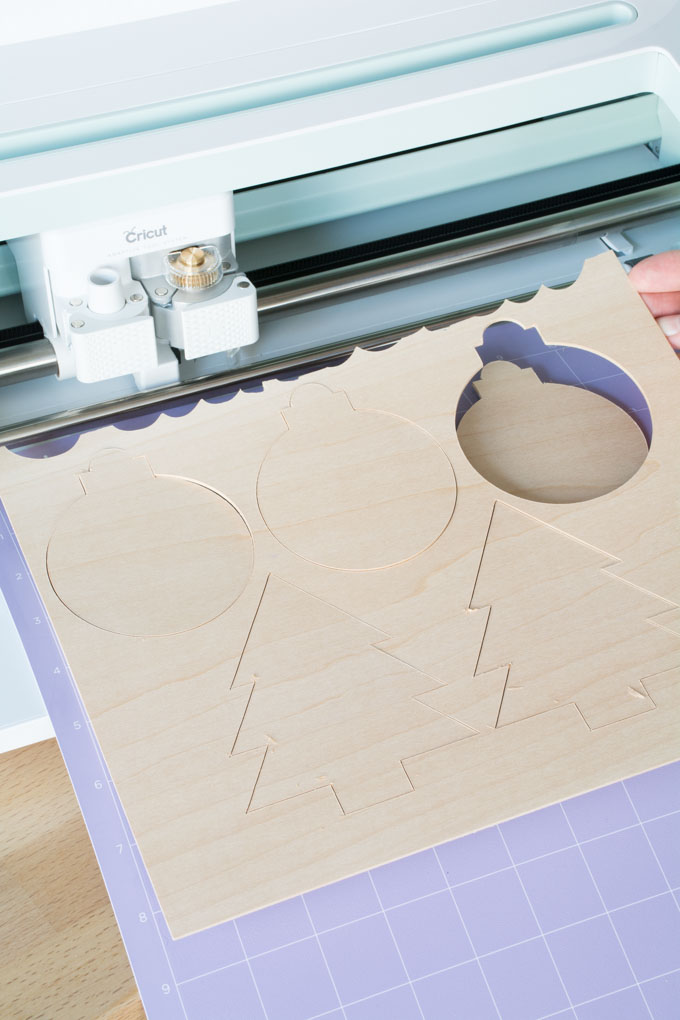
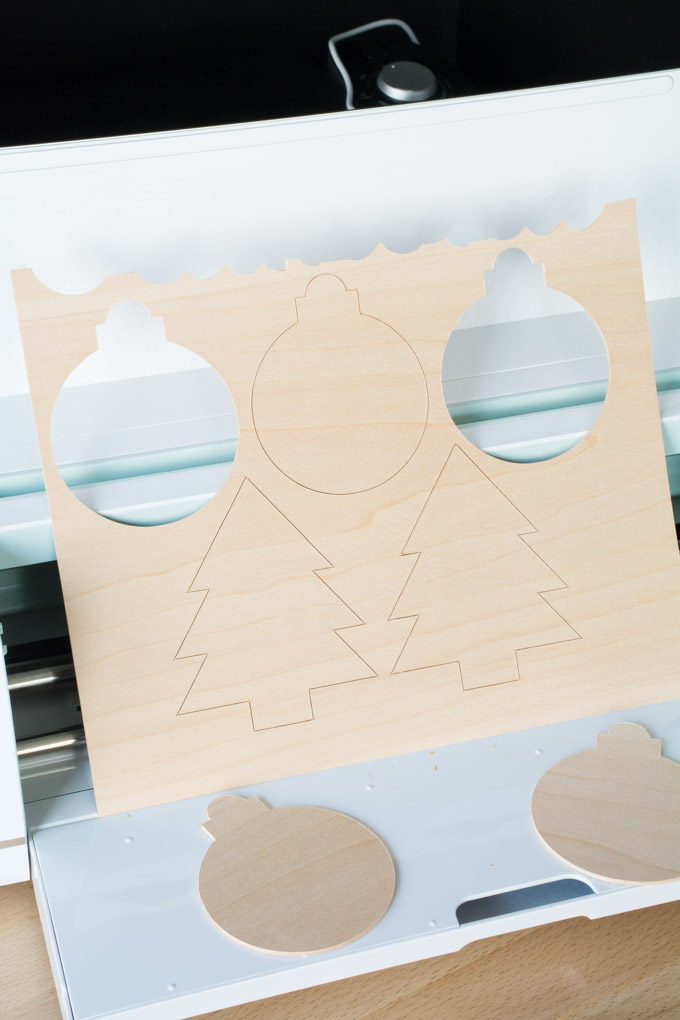
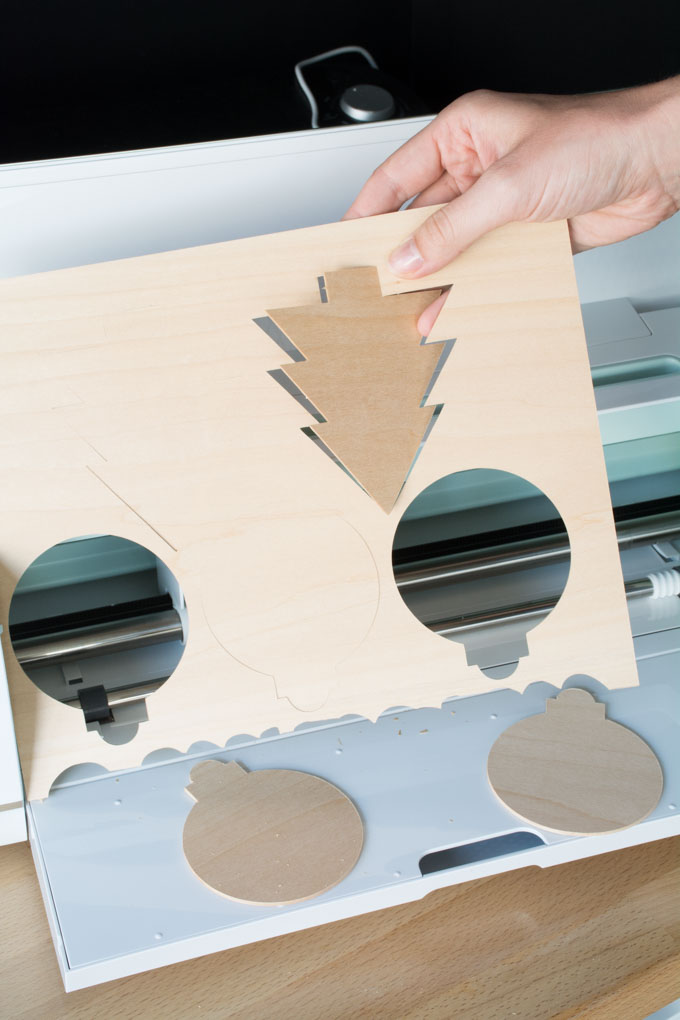
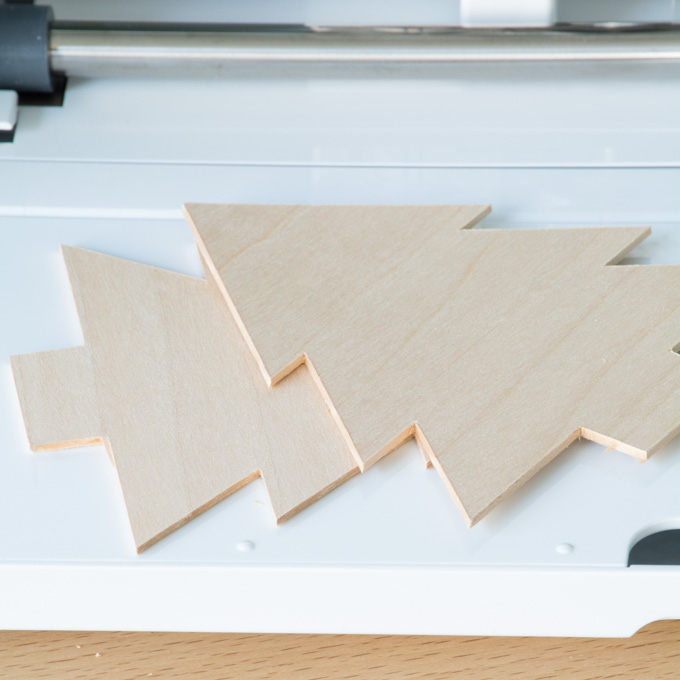
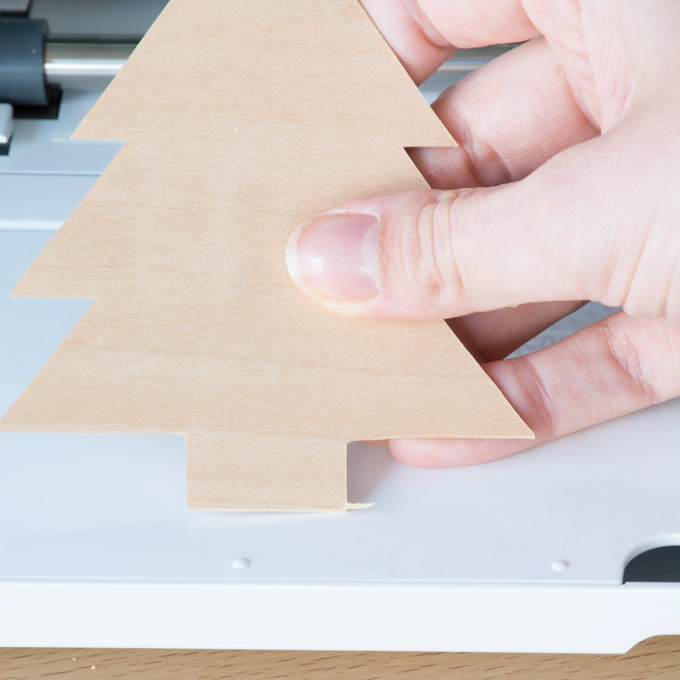
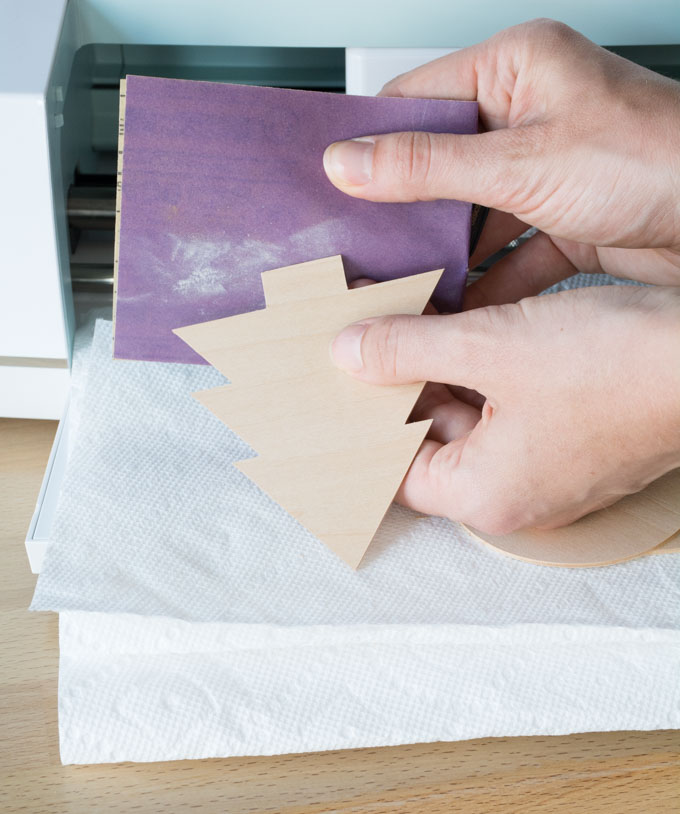
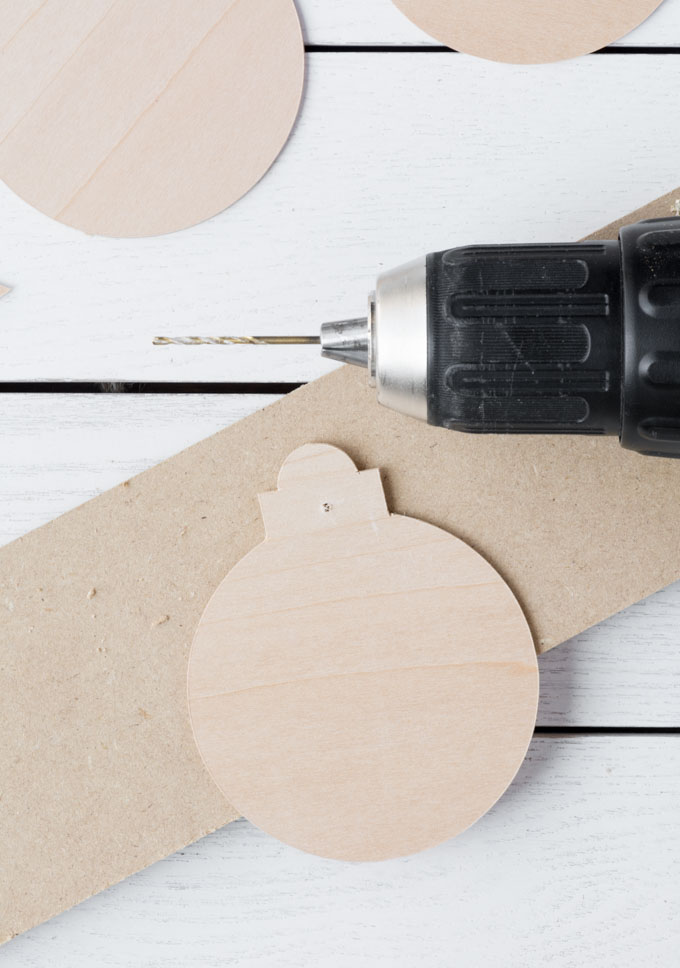
I chose to drill the hole for the string myself instead of having the Cricut do it. I just used my drill and a drill bit the same size as my twine. Take this slow—the basswood is fragile. Don’t drill the hole too close to the edge.
Step 4.
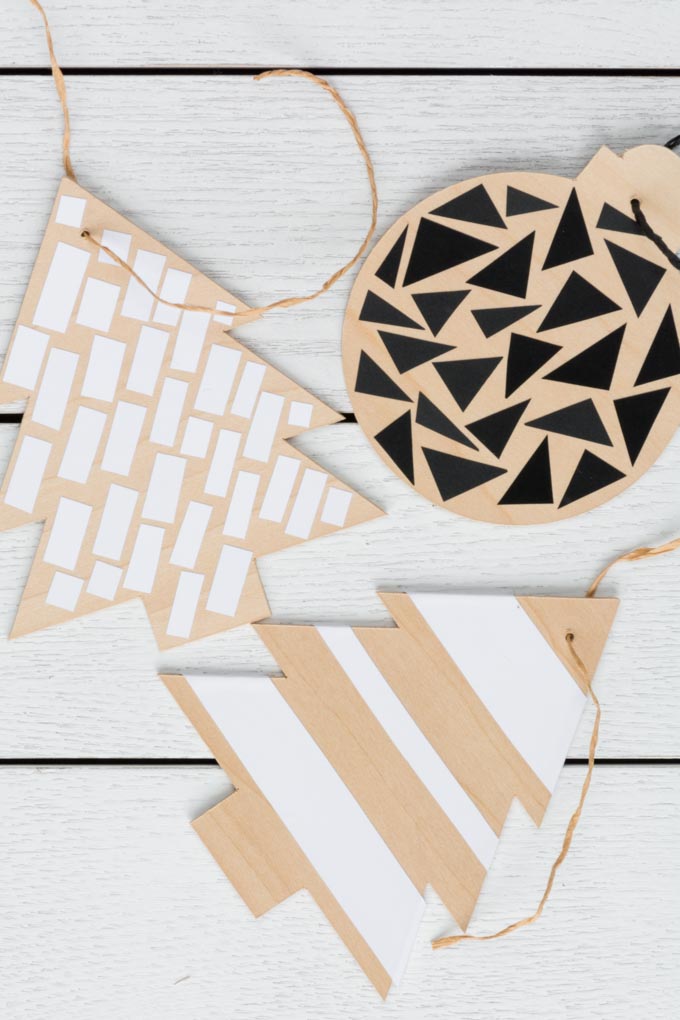
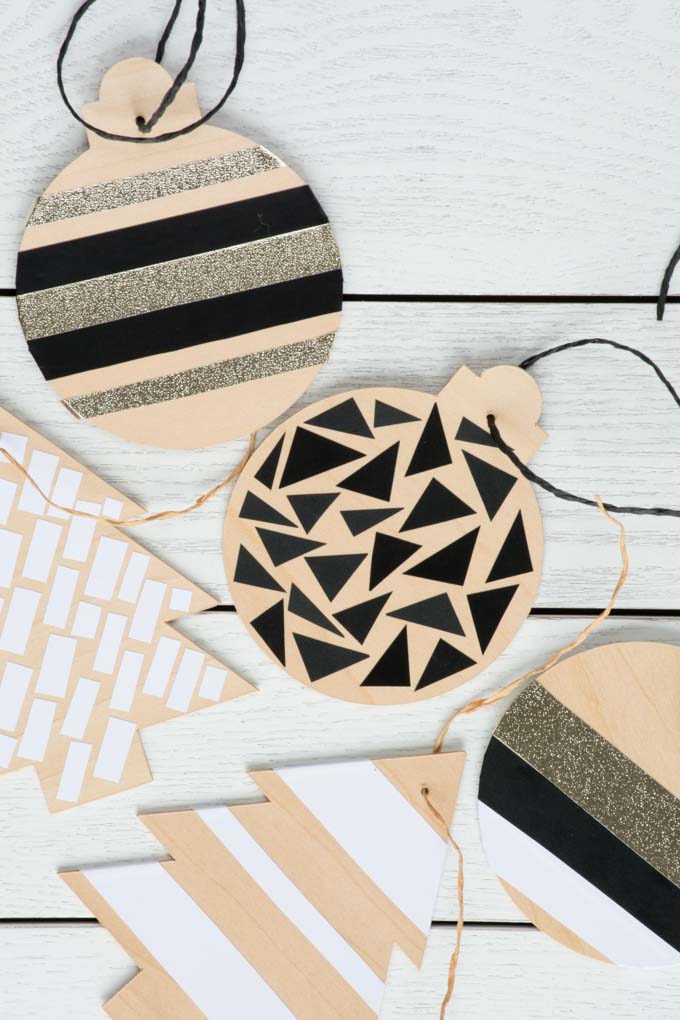
I used adhesive vinyl in black, white, and gold to add embellishments to my wooden ornaments. This is a great project for smaller scraps of vinyl that you can’t bear to throw away, too.
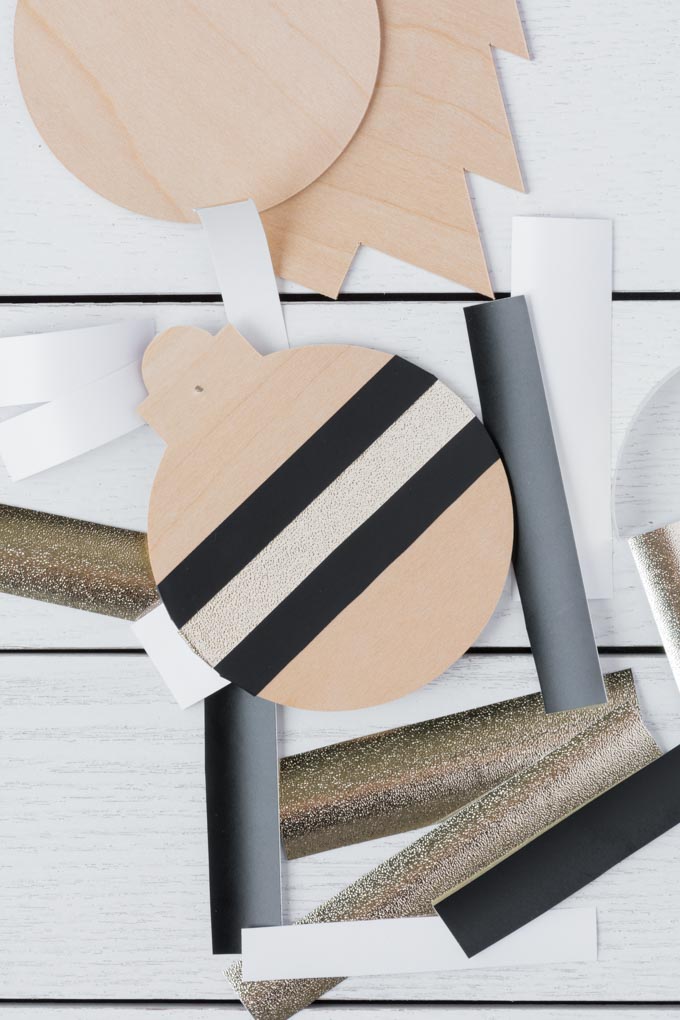
Add some string and they are ready to hang! What do you guys think? I love how they turned out.
For more Cricut projects, see my tutorial on using the Cricut EasyPress, as well as all of my cut file freebies including my bundles of feminist cut files, introvert cut files, cat lady cut files, little DIYer cut files, and more.
For more Christmas DIYs like this, check out my marbled clay ornaments and my DIY ornaments using clear bulbs, or how to make faux birch logs, DIY Christmas Stocking Holders and DIY Christmas Tree Trunk Candle Holder by ToolBox Divas. And once again, I’m Brittany here from by Brittany Goldwyn, find me on Instagram, Facebook, and Pinterest!
GET THE CHRISTMAS ORNAMENT SVG FILE!
Share my DIY Basswood Christmas Ornaments on Pinterest!
