How to Make DIY Faux Birch Logs
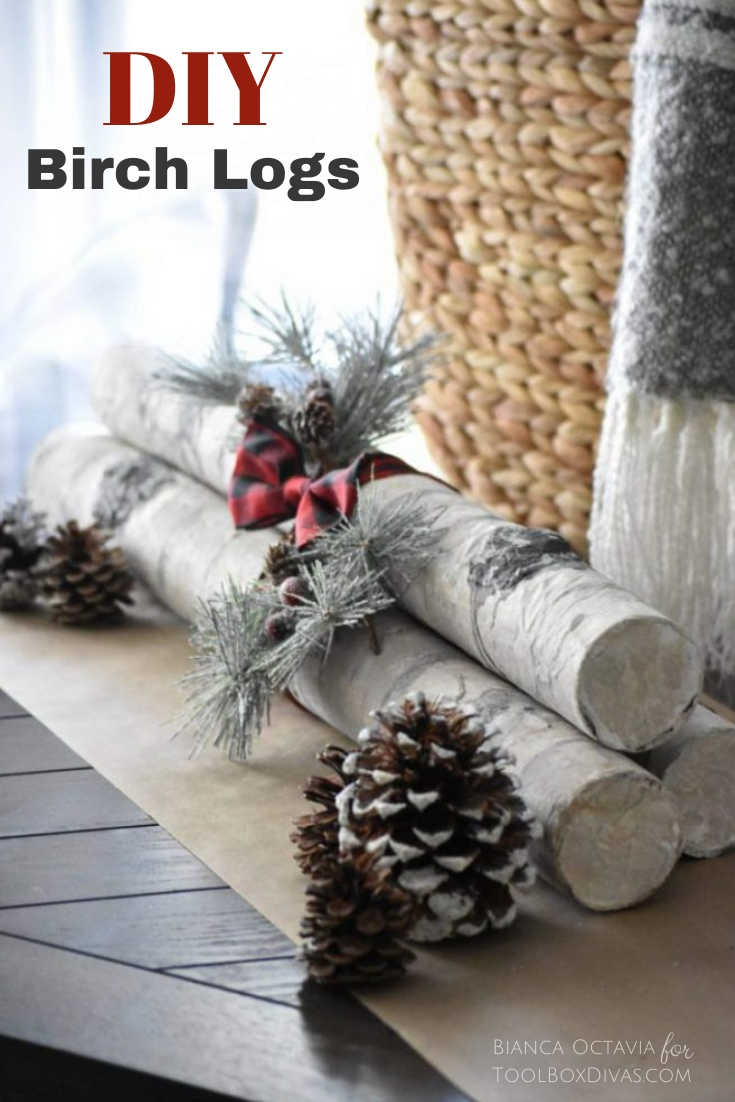
Learn how to make fake birch logs to decorate around the holidays using pool noodles.
Hey guys! It’s Bianca, an avid DIYer and I blog over at Bianca Octavia.
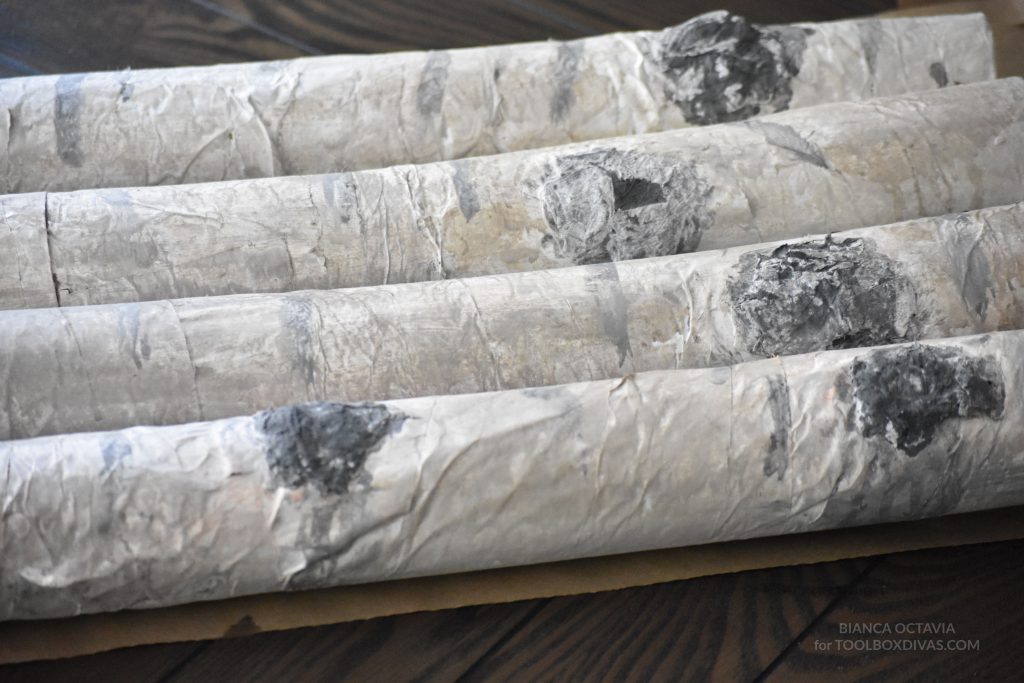
I recently found a bunch of pool noodles on sale for 10 cents each and needless to say as a crafter, I bought them all. At first I had no idea what I would do with 20-30 neon colored floats, but I actually came up with some really cool ideas and projects. In addition to using them for wreath making, I thought “Hmmm, what if these could be turned into wood logs?” After a little bit of painting and gluing, I had a bundle of birch wood sitting next to my fireplace in under an hour.
LIKE THIS PROJECT? PIN IT FOR LATER!
This project is cheap, easy to do, and it’s something that can be kept and used as holiday decor for the years to come!
Here’s what you’ll need: 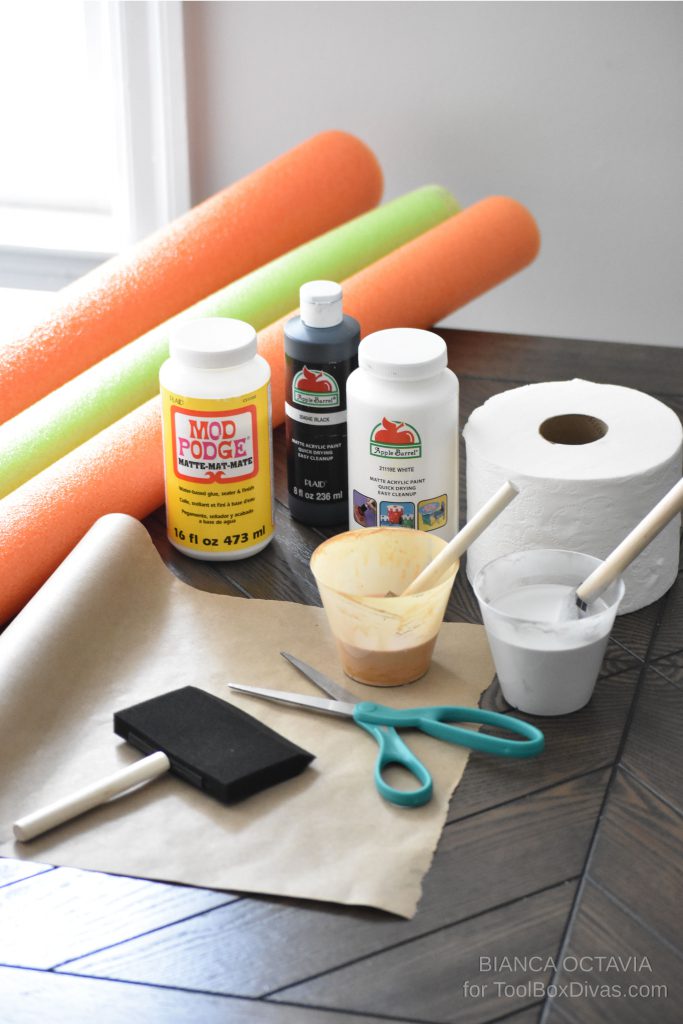
MATERIALS
- Pool Noodles
- Kraft paper
- Toilet tissue paper
- Mod Podge
- White, brown, and grey craft paint
- Foam paintbrush
- Scissors
OK, LET’S GET DIRTY!
Step 1.
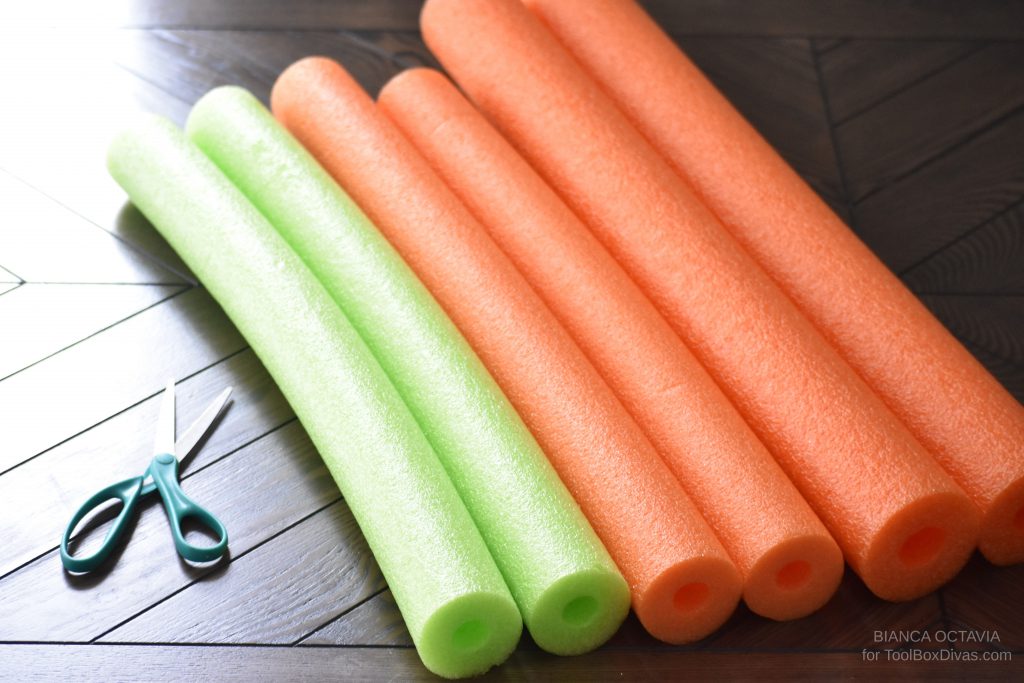
Use scissors to cut each pool noodle to your desired length.
- I cut my noodles at 2ft each so I could make a bundle that would easily sit in a basket or inside of the fireplace for decor purposes.
Step 2.
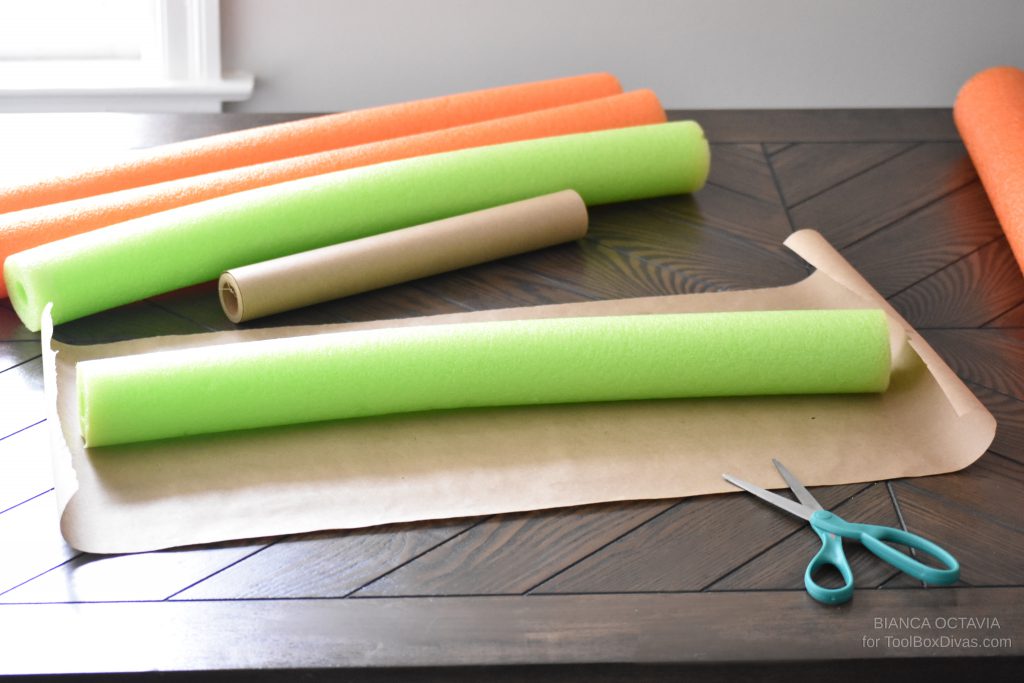
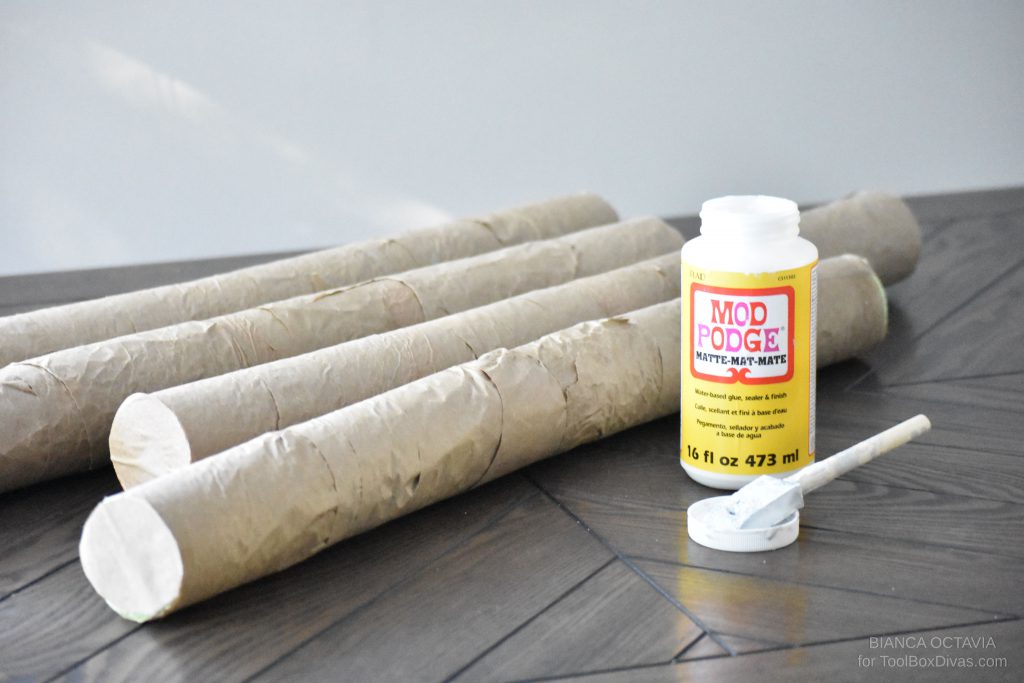
Wrap kraft paper around the pool noodle to measure how much paper you will need to fully cover it.
Step 3.
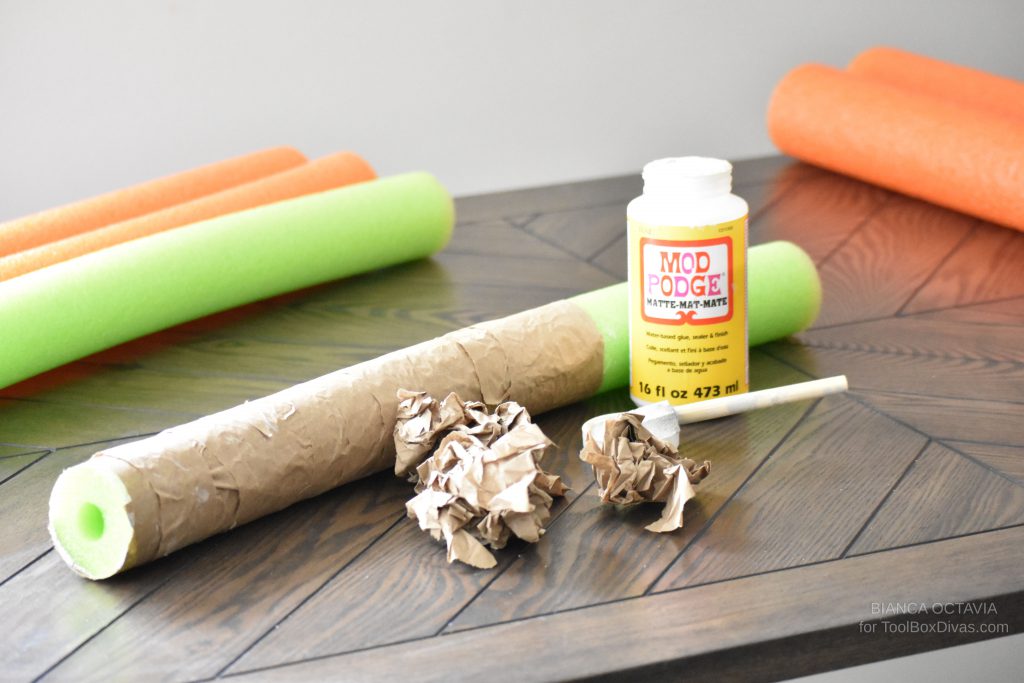
Once you have properly measured, rip the paper into horizontal strips and crumple them up to create a “weathered” look. Unball the wrinkled strips and wrap each one around the noodle using Mod Podge to secure them onto the foam.
- Cover the edges with remaining kraft paper by tracing the outline of your noodle ends.
Step 4.
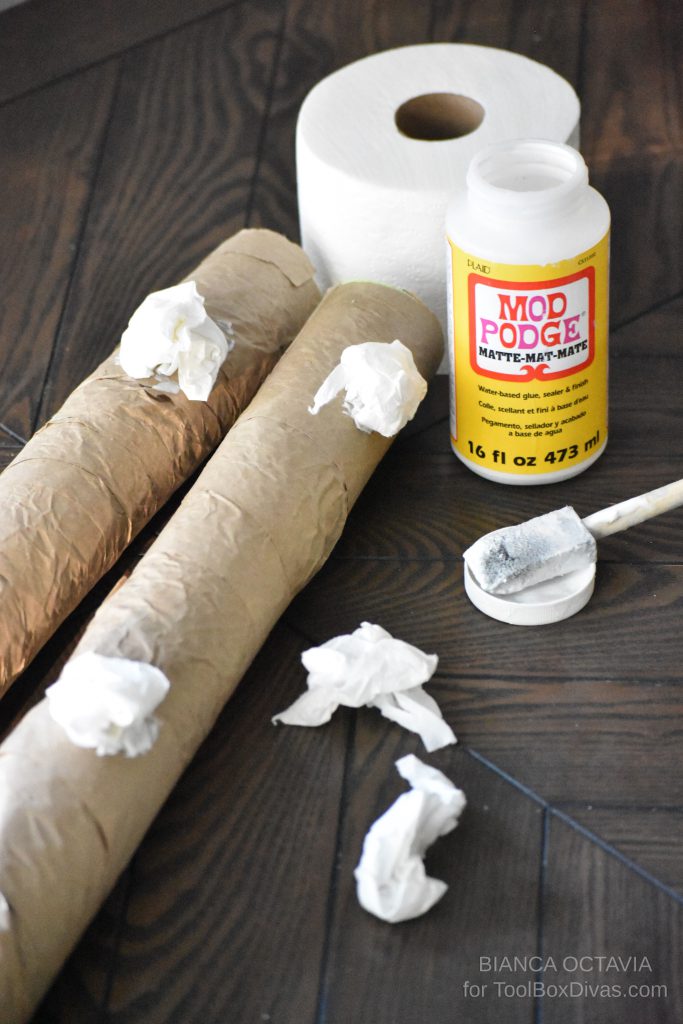
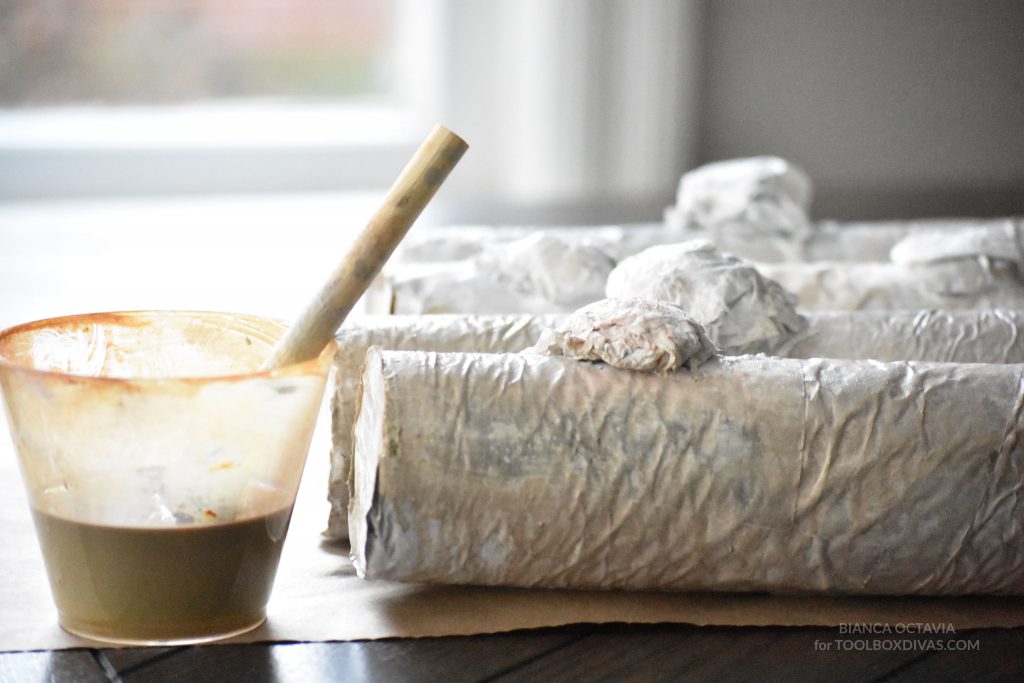
Take a sheet of tissue paper and rip it into strips. Crumple the strips into little wads, then glue them onto the log in random spots.
Step 5.
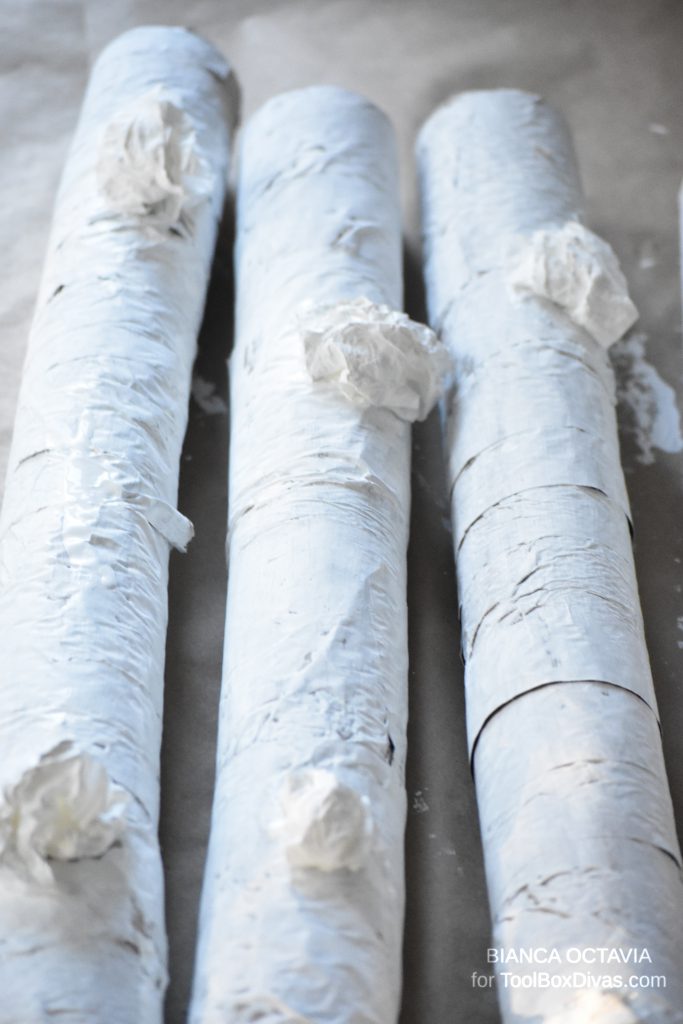
Paint the entire log with white craft paint and allow it to dry.
- No worries if the tissue wads are not completely covered with paint in this step.
Step 6.
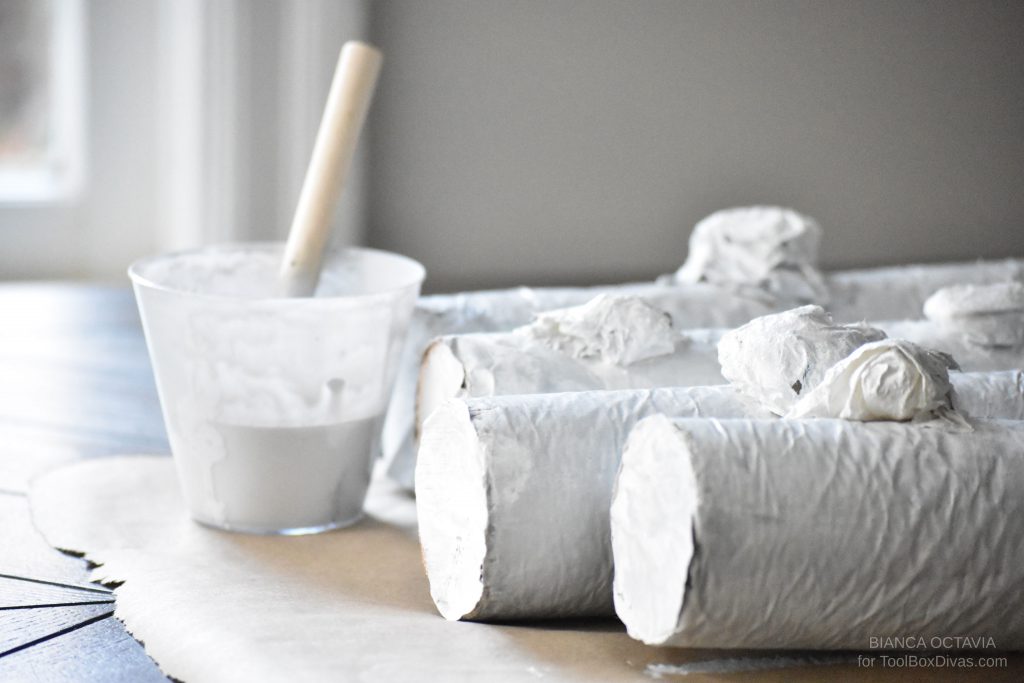
Once the white paint has dried, make a light grey/off white wash by mixing together grey craft paint and water. Paint the entire log and save the remaining grey wash for step 8.
Step 7.
Once the grey wash has dried, repeat the same process with a light beige paint wash.
Step 8.
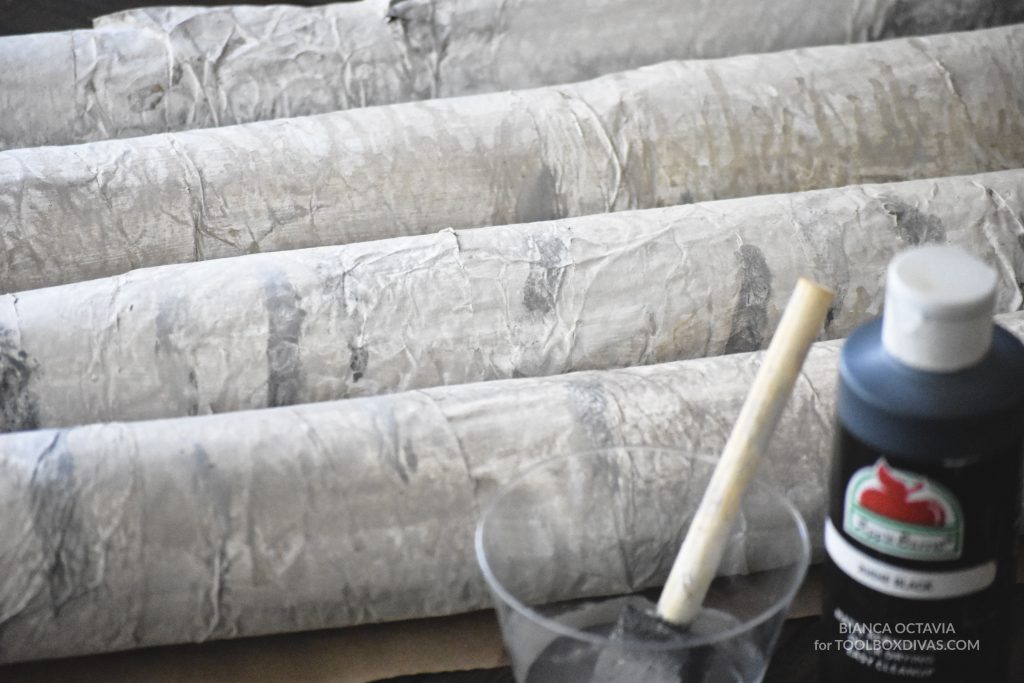
After the beige wash has dried, use the remaining grey wash to paint subtle stripes along the log.
- If needed, add about 5 or 6 drops of black paint to the grey wash to create contrast.
Step 9.
Use the dark wash again to paint the tissue paper wads. They will absorb the moisture and crumple up to create the knotted birch bark effect. Apply multiple coats until the wads/knots reach your desired level of darkness.
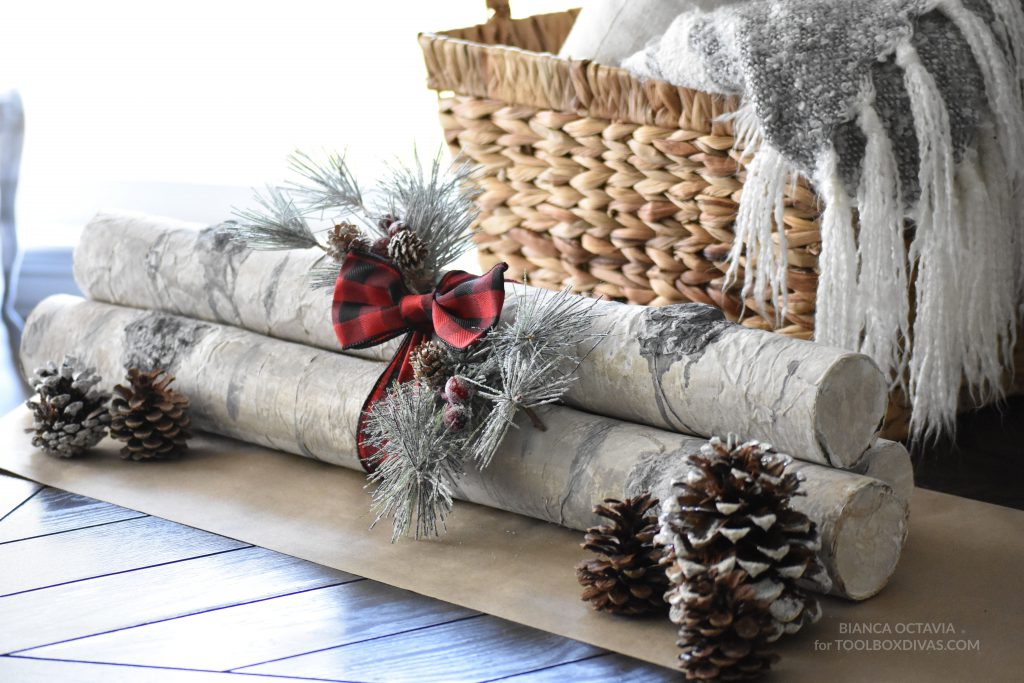
Add ribbon and garnish to your bundle of logs & done!
This faux birch log look is easy to achieve and a cheaper alternative to buying the actual thing.
Create a bundle and use it as home decor throughout the holiday season!
How to Make DIY Faux Birch Logs
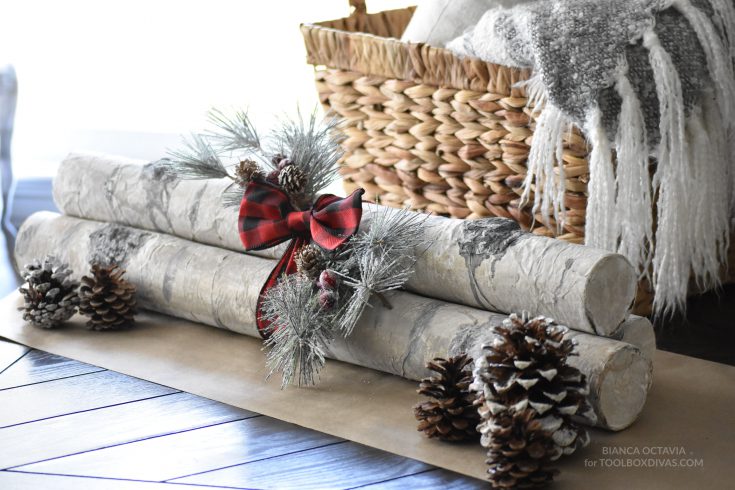
Birch logs are perfect for decorating a larger fireplace or to fill a large wood basket. It adds a rustic touch to any decor with the white birch. It's always a holiday decoration fave to using birch branches for Christmas decorating. Birch branches bundled together makes a bold centerpiece
Materials
- Pool Noodles
- Kraft paper
- Toilet tissue paper
- Mod Podge
- White, brown, and grey craft paint
- Foam paintbrush
Tools
- Scissors
Instructions
Step 1.
Use scissors to cut each pool noodle to your desired length.
I cut my noodles at 2ft each so I could make a bundle that would easily sit in a basket or inside of the fireplace for decor purposes.
Step 2.
Wrap kraft paper around the pool noodle to measure how much paper you will need to fully cover it.
Step 3.
Once you have properly measured, rip the paper into horizontal strips and crumple them up to create a "weathered" look. Unwrap the wrinkled strips and wrap each one around the noodle using Mod Podge to secure them onto the foam. Cover the edges with remaining kraft paper by tracing the outline of your noodle ends.
Step 4.
Take a sheet of tissue paper and rip it into strips. Crumple the strips into little wads, then glue them onto the log in random spots.
Step 5.
Paint the entire log with white craft paint and allow it to dry. No worries if the tissue wads are not completely covered with paint in this step.
Step 6.
Once the white paint has dried, make a light grey/off whitewash by mixing together grey craft paint and water. Paint the entire log and save the remaining grey wash for step 8.
Step 7.
Once the grey wash has dried, repeat the same process with a light beige paint wash.
Step 8.
After the beige wash has dried, use the remaining grey wash to paint subtle stripes along with the log.
If needed, add about 5 or 6 drops of black paint to the grey wash to create contrast.
Step 9.
Use the dark wash again to paint the tissue paper wads. They will absorb the moisture and crumple up to create the knotted birch bark effect. Apply multiple coats until the wads/knots reach your desired level of darkness.
Recommended Products
As an Amazon Associate and member of other affiliate programs, I earn from qualifying purchases.
-
 Brown Jumbo Kraft Paper Roll - 18" x 2100" (175') Made in The USA - Ideal for Packing, Moving, Gift Wrapping, Postal, Shipping, Parcel, Wall Art, Crafts, Bulletin Boards, Floor Covering, Table Runner
 -
 Fix Find 52 Inch Colorful Foam Pool Swim Noodle 5 Pack in Bright Jewel Tone Multicolors
 -
 Mod Podge CS11303 Waterbase Sealer, Glue and Finish,Matte,32 Ounce



OMG! I’m so glad that I found you on Pinterest! You are awesome!!! Thanks for inspiring me to do more than “just make crafts”–and go beyond to possibly making something like your wooden box for my grandson. Maybe I’ll tackle that next spring! You have truly inspired me to push my crafting limits much further! My husband will say…who is this person? Happy Holidays!
Hahaha! Wow Thank you Debra! I;m so glad I am able to provide some inspiration. You can totally do this. I can’t wait to see what you do. Happy Holidays to you as well!
What an incredible DIY! I am soooo impressed, with everything… The fact that this is a very inexpensive craft, that you used items nearly anyone has at home, and your lovely, upcycled use of pool noodles. Plus, using Kraft paper, tissue paper, and toilet tissue combined, (and the scrunching/wadding of paper), and the creative use of different colored paint layers, definitely makes these faux birchlogs look very, very close, to the real thing.
I can’t wait to try this out for myself. I’ll start on that tomorrow! You’re one crafty, resourceful chickie, and I’ll be checking your blog often. Thank you very much for sharing this awesome craft!
Thank you so much 💕! I really appreciate your support.
Thank you for sharing such an ingenious idea. If I can find noodles I will make these. They are so real looking!
I’m looking to make a craft table that will fold up and is wood. It needs to be 52” deep and 4-4’ long Height, maybe 40-42”. Everything I’ve looked at is always 48” wide and my healing mat hangs over the edge. I live in an apartment. I do not have space for my crafts. I can’t find anything!
Thank you so much for this technique! I wanted to make some round ornaments that looked like birch bark and this worked perfect!! They look even better than I expected. Kinda makes me want to “birch bark” everything! lol.
hahaha Go for it! Thanks for taking the time to read it.
This was a remarkable find! So easy to follow, accessible supplies and really economical! The results were also impressive. Thank you.
Good post guys!
nice post, thank you guys