Amazing Staircase Idea For Christmas
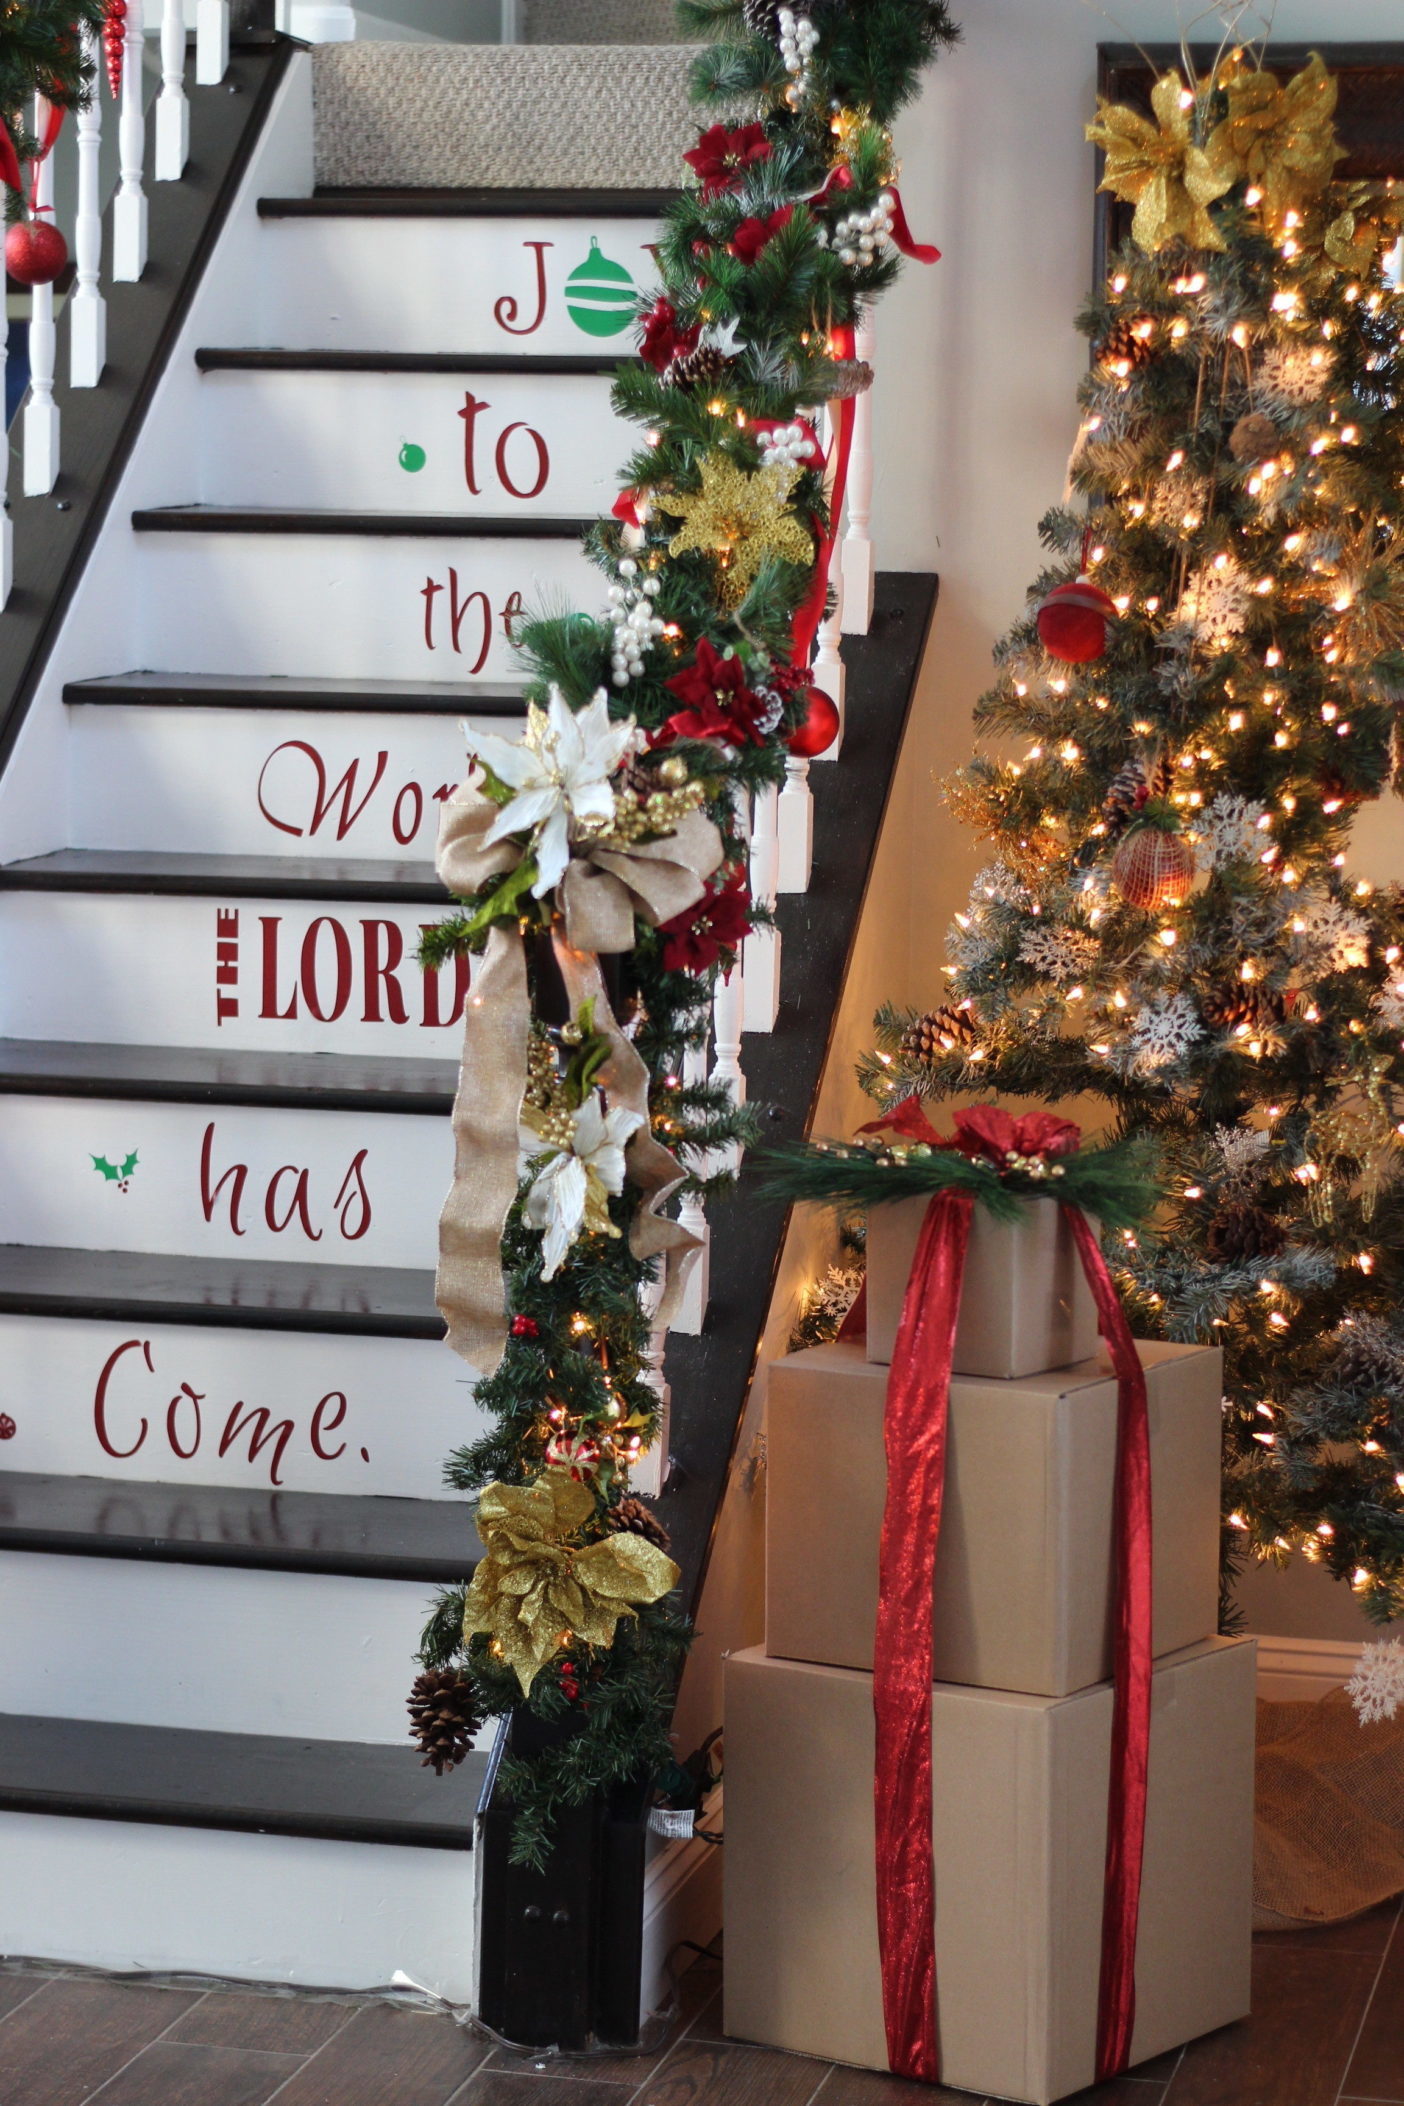
When decorating for the holidays we shouldn’t neglect the stairs. In my home my stairs are smack in the middle of the great room. It’s one of the first things you see when you walk into my house. So in my home I make it the star attraction. Here is how you can elevate your staircase to show stopper status for the Christmas holiday.
First thing’s first, clean the stairs. So If you have white risers, like I do, you totally know what abuse it gets with daily usage. So I first begun by cleaning and freshening up the paint before I would do anything. The last thing you would want to do is decorate dirty stairs. It’s not cute and the dirt will shine brightly through your decorations. Hahaha. So yea, first wipe down and clean your stairs. Touch up the paint is needed.
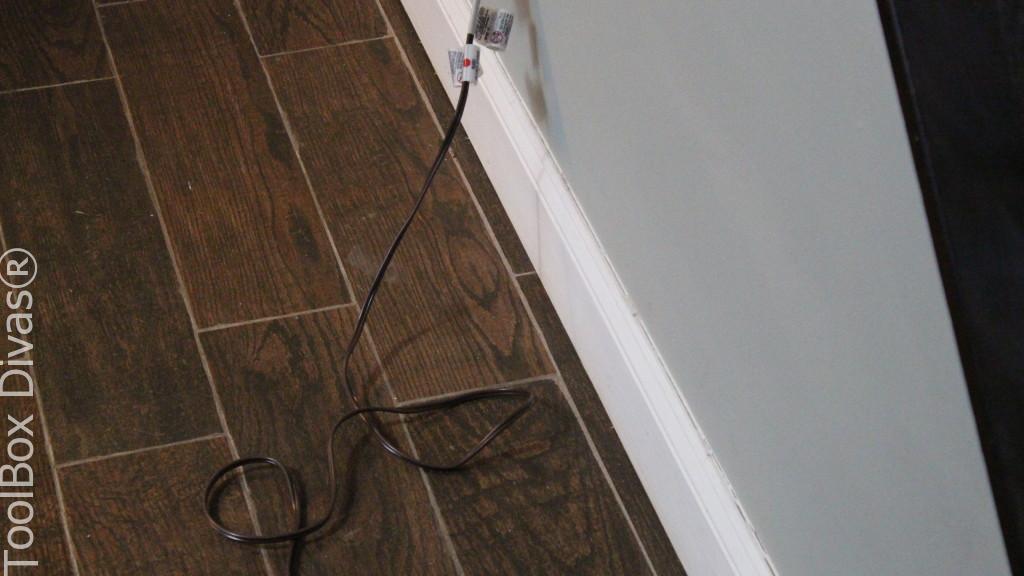
Plan out the lighting. I use to plug in string lights when decorating my staircase. For me it’s easier because I don’t have to worry about changing out any batteries and turning all the lights on or  off is just a matter of plugging in one cord. So before putting anything up, decide on the placement of your power cords. You don’t want to end up with an extension cord running down the side of the stairs.
Select your color scheme. This year I opted for a more traditional color scheme. It’s green, cream and cranberry red.
Set up the garland first. I am using basic generic inexpensive garland that can be found at Micheal’s or Walmart for about $3 each. 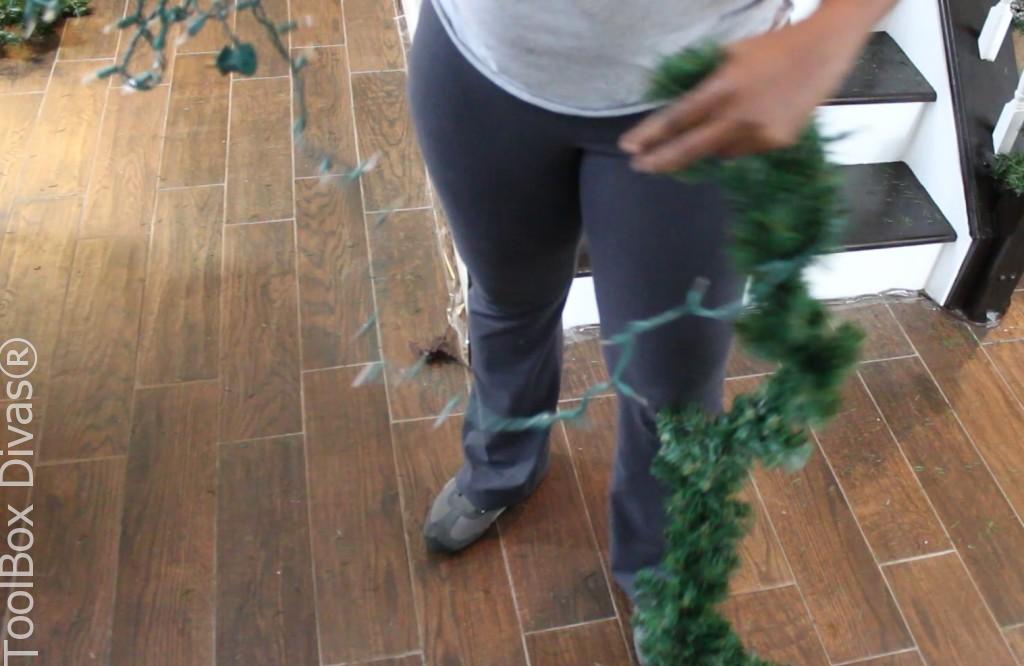 Wrap the string lighting around the garland before placing on the staircase. I don’t use pre lit
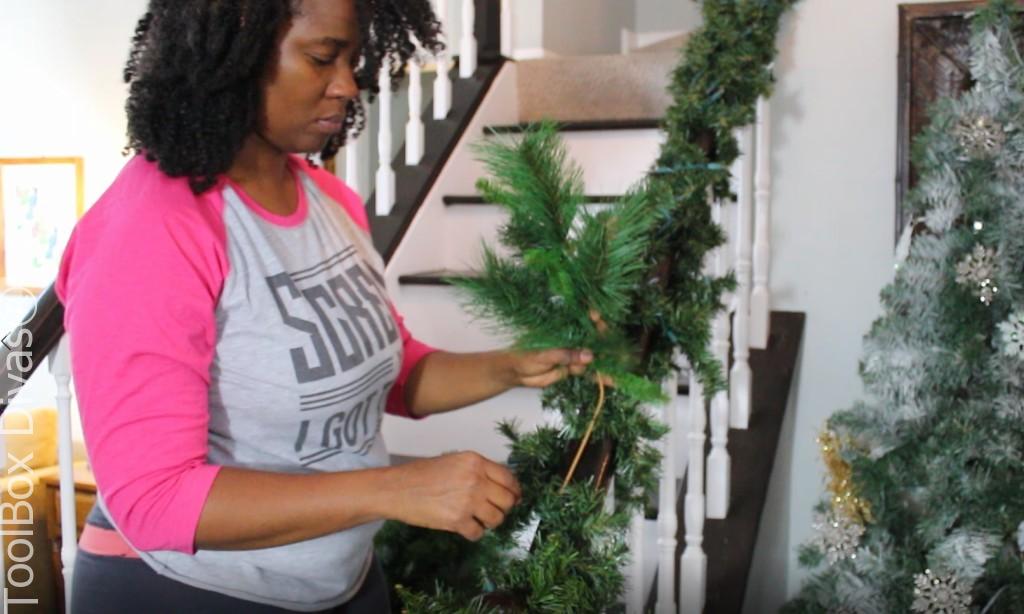
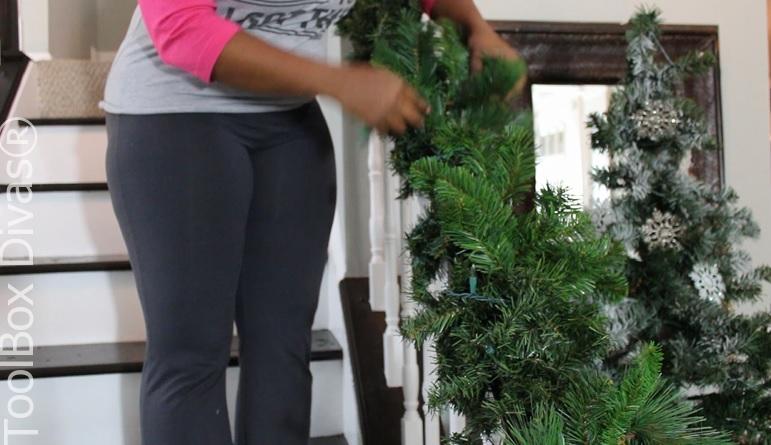
 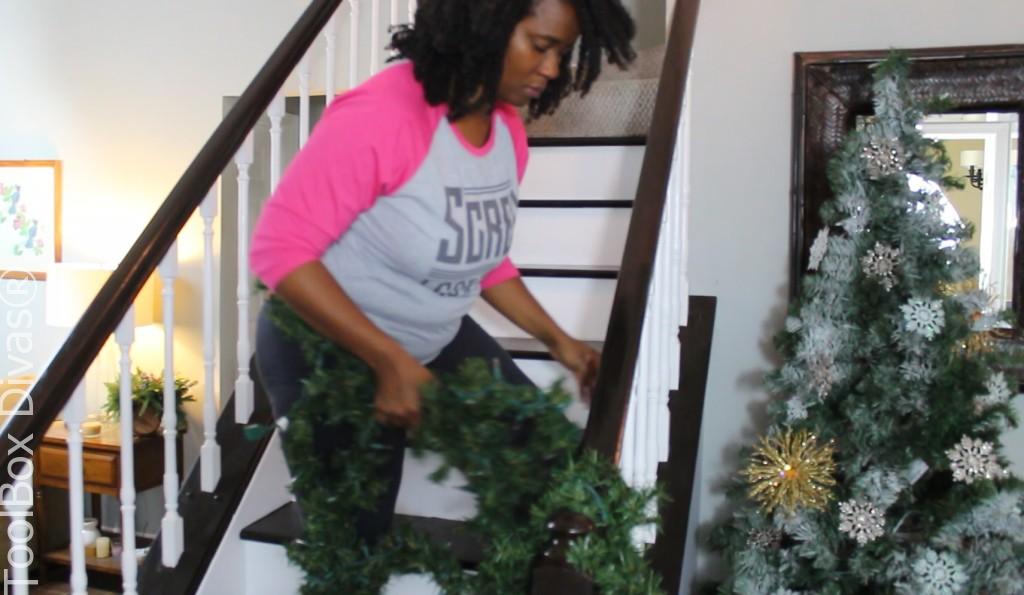 garland because it saves me a few pennies. Also once you’ve wrapped the lights around the garland you can leave it like that for years to come. Next place your garland around the banister in the pattern of your choice. You can even run the garland around the base of the spindles. This is totally a personal preference. You want your actual garland rolled out in the pattern in which you want it to in. Once it’s in place you can manipulate it by picking out the branches and add Christmas picks or swag.
Create a full effect using Christmas picks. To achieve the full effect of a full garland utilize Christmas picks or swag that you can pick up from your local craft store. Over the years I build upon my collection. They literally make this stuff in every possible color that you can think of. First I inserted picks that were like basic tree branches. That offered the thickness that I was looking for. Then I followed through with picks that included ornaments, berries, flowers. If the color worked I stuck it in there.
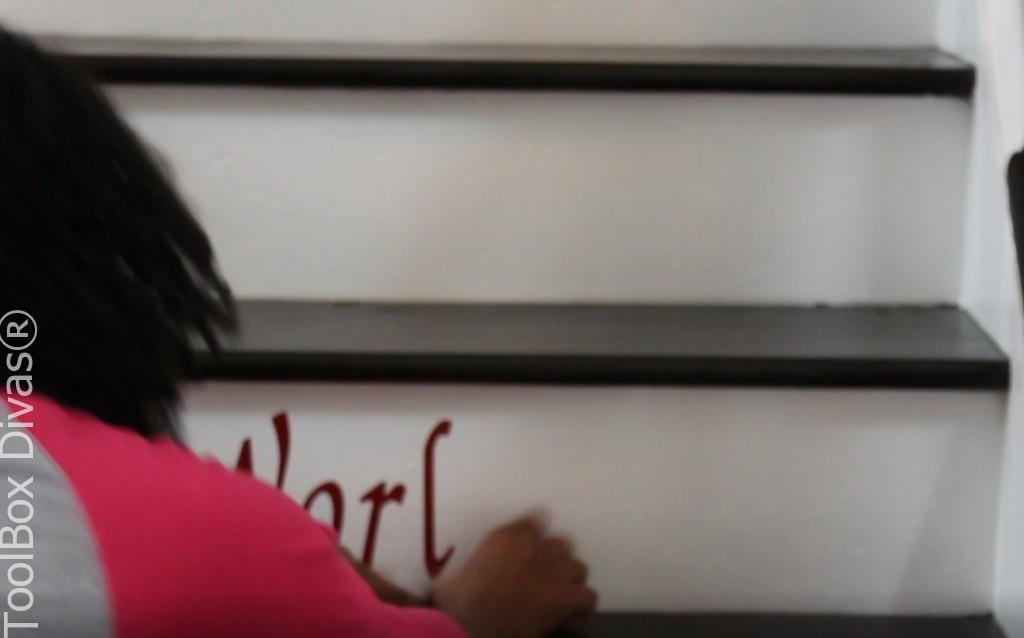
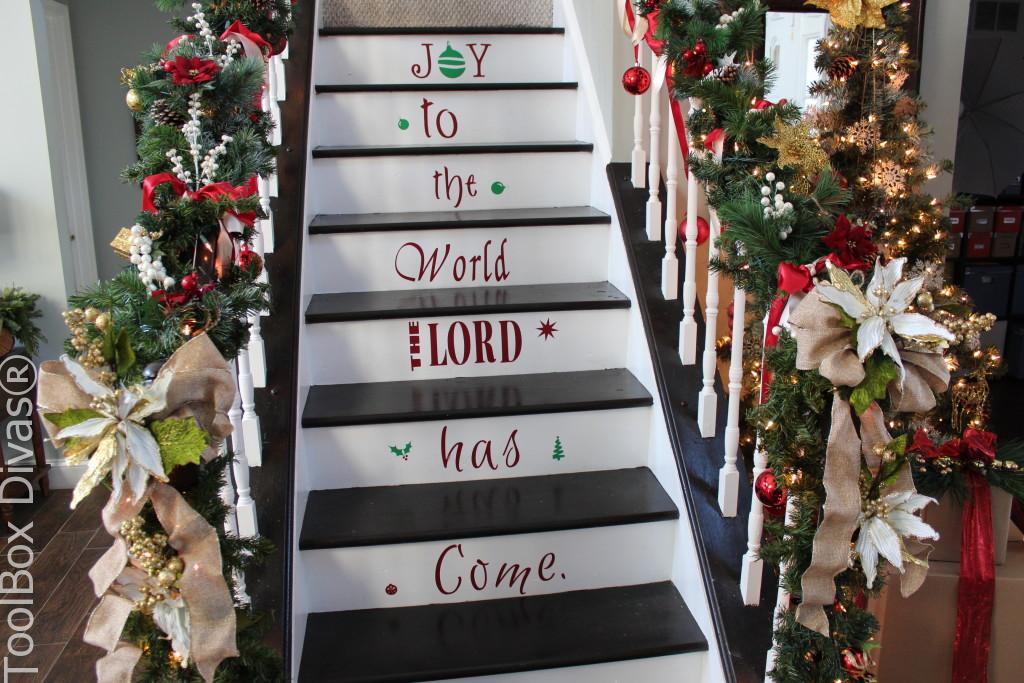
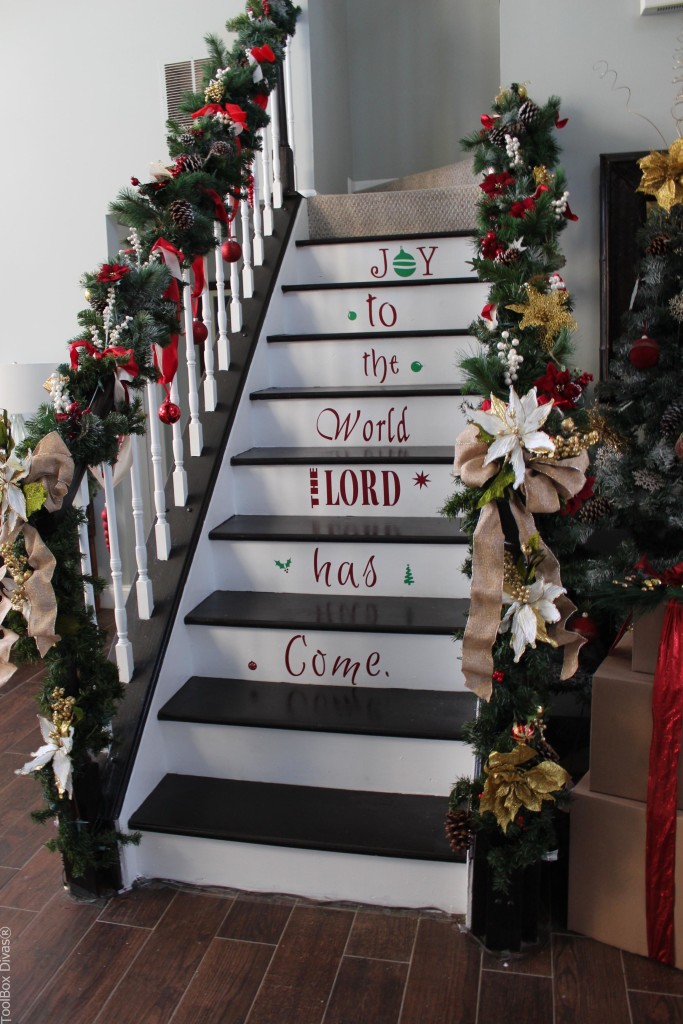
Rise to the occasion… Yep.. I made that very bad pun…  Utilize the risers. Dress up the stairs and make a statement….literally. Apply re-positional vinyl decals to your risers. I created my decals using my Cricut Explore. The prices start around $160. I found my Cricut used online. You can find custom decals on Etsy or Amazon.
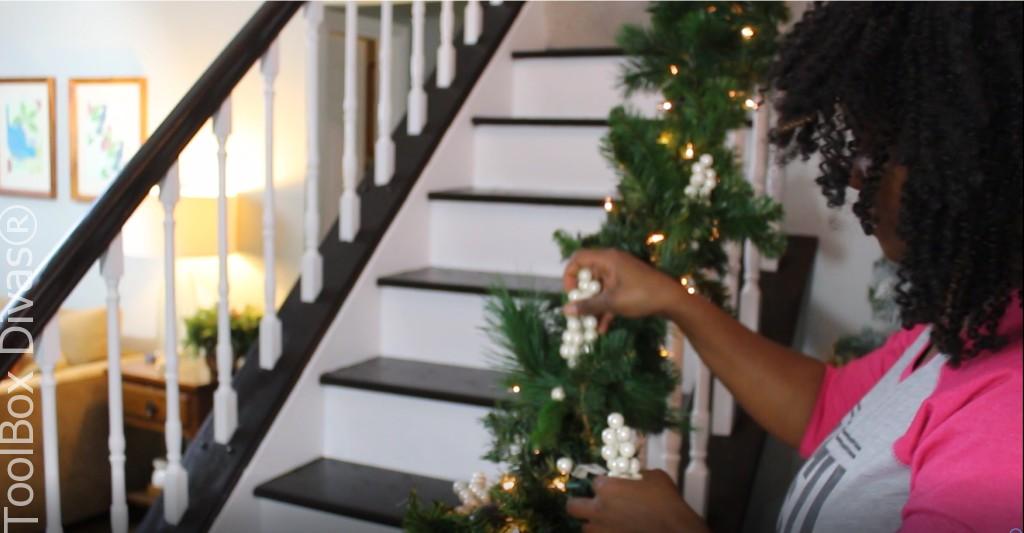
Layer it on! Hang ornaments in nontraditional manners.
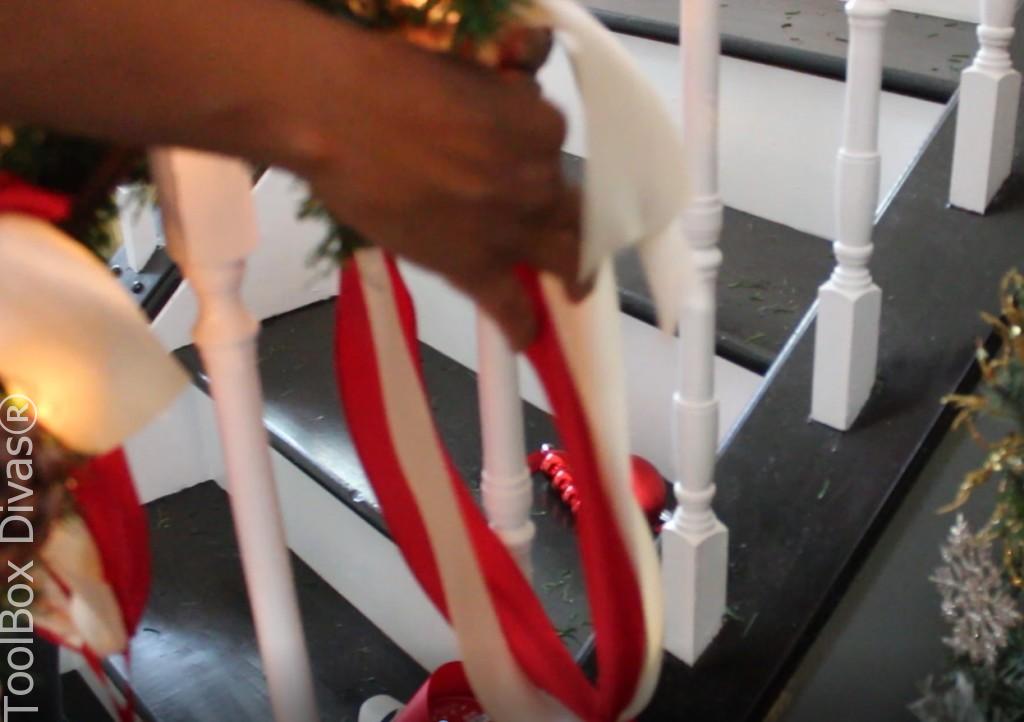
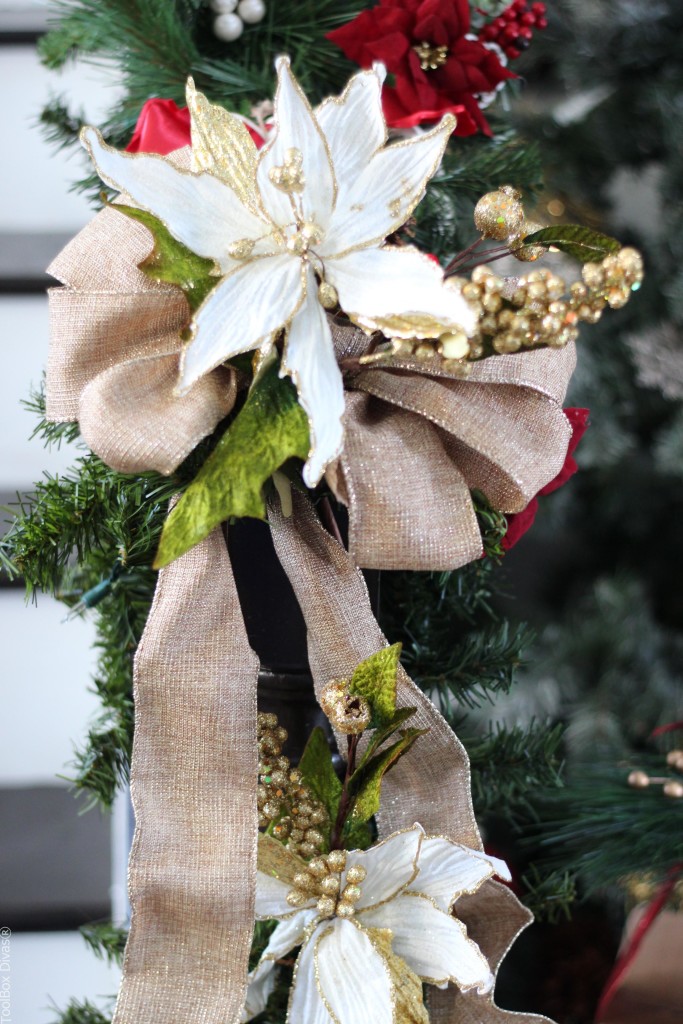
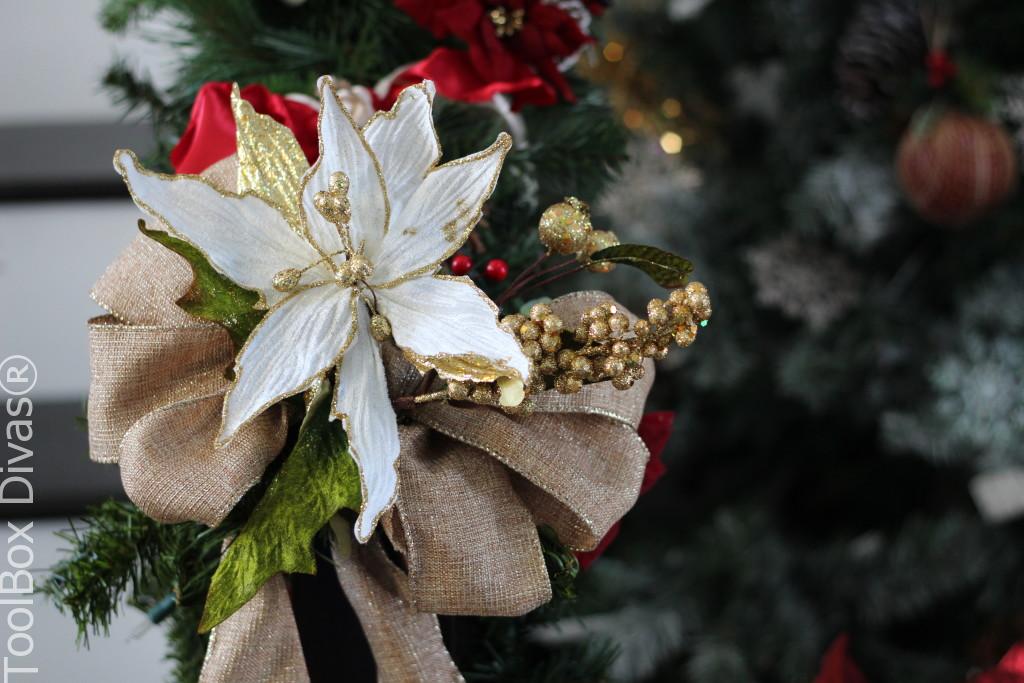
And finally top it off with a bow. A bow always brings everything together in my opinion. So make your own bow for each side of the staircase. You want to ensure there is symmetry between the two banisters. I added a flower at the center of my bow. You can add any Christmas swag you have to the center of the bow to give it character. It also acts as a great way to hide the twine used to create the bow.
OK and you are DONE! Well…Don’t be afraid to add more if you “need” more. But know when to say when. Because you really can go on all day with this. Check out the Facebook LIVE with Hometalk where I demo live how to create the staircase of your dreams for the holidays.
OK Guys, Till Next Time. ~T.
And Before I forget, Merry Christmas! Here are the graphics I used to create the decals using my Cricut. Simply download each image, upload it into your Cricut design space and remove the white background.















Timisha, this is absolutely beautiful! I love the decor on the railing and the decals are just perfect!
Thank you so much Karla!! The decals are my favorite part. 🙂