The Ultimate Tiny Bathroom Update in time for the Holidays
Update your tiny bathroom just in time for the holidays with this complete checklist of beginner and intermediate DIY projects.
This post is sponsored by The Home Depot but all opinions are my own.
As the holidays quickly approach, we are starting to prepare our homes for the season. One thing that often gets overlooked is the powder room. And the irony is it’s one of the most used rooms when guests come over. Well, it’s time to get that bathroom makeover done! In this post, you’ll find an overview of how I updated my own powder room space with little effort and a tight budget. I’ve created a list of DIY projects with materials easily sourced from The Home Depot, that will transform your bathroom into a place you and your guests will both love.
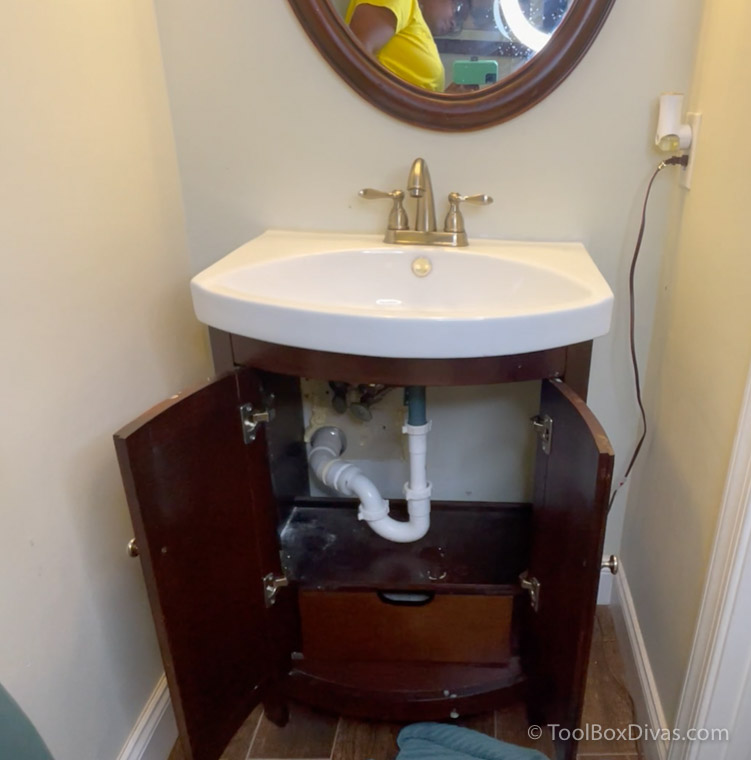
Before I started my bathroom, this tiny powder room was dark and uninviting.
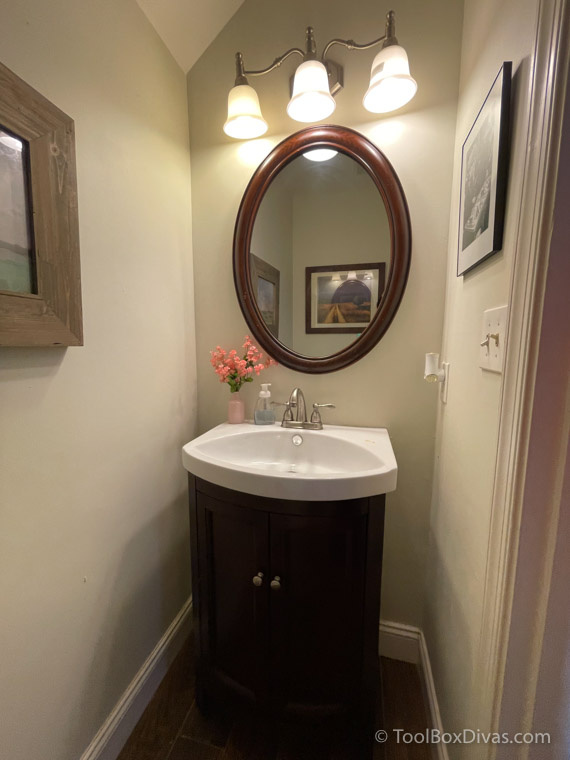
I didn’t want to be in there. So why would I expect my guests to want to use it? I wanted a space I could feel proud of, that spoke to who I am at this point in my life. My home office sits right outside my powder room. So these days I actually see it as more than just a powder room, it’s my office bathroom.
Here’s what you do:
Start by a adding a fresh coat of paint to the walls
You’d be amazed at just how different a space can feel with just a fresh coat of paint.
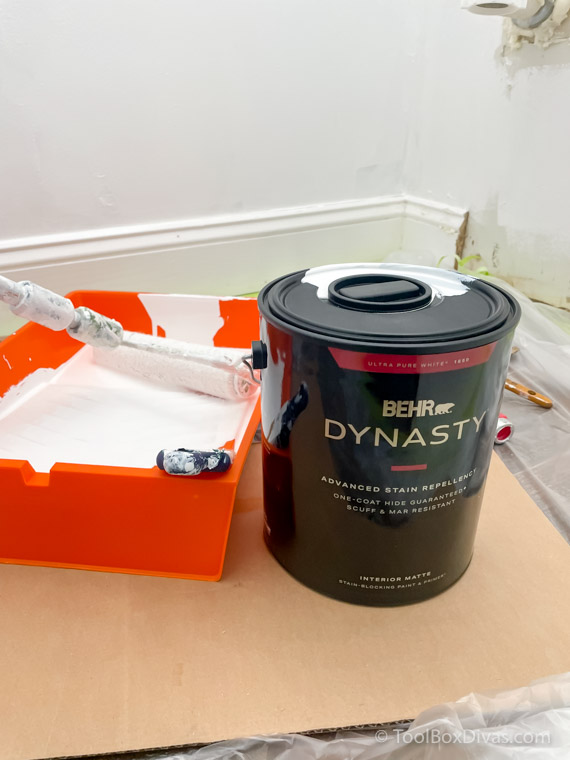
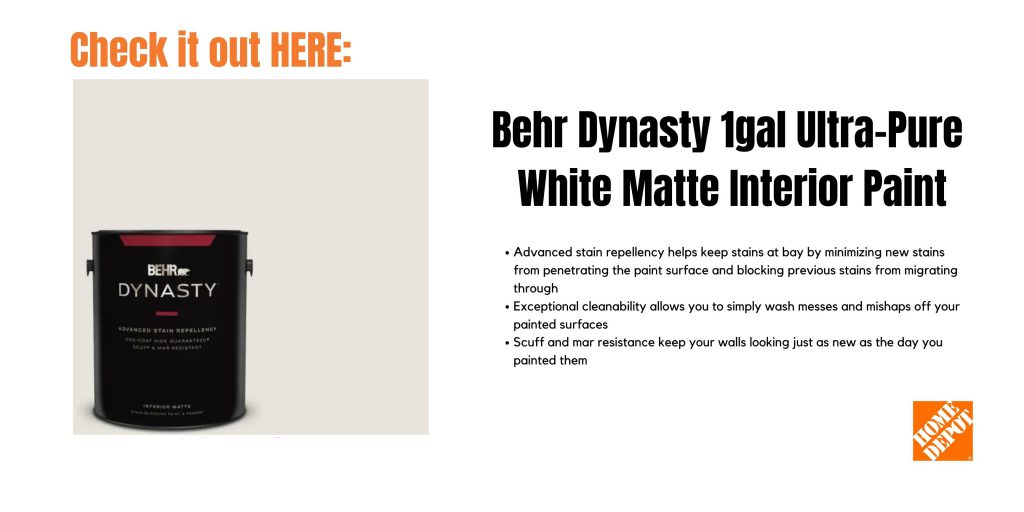
8 years ago I painted my bathroom this light greenish-yellow. In hindsight, I have NO clue why I picked that color (I don’t know, poor judgment hahaha). But although it was a light color, the tiny bathroom felt dark and uninviting. This time I went with Behr Dynasty 1gal Ultra-Pure White Matte Interior Paint. The white paint instantly made my small bathroom feel open, spacious, and clean. Clean is a good feeling for a bathroom Hahaha.
Create an accent wall with peel and stick tile
I love a little tile within a bathroom. Unfortunately, I don’t always want to take the time to actually tile a wall in the bathroom. And I know for some, it’s just not a project they’d like to entertain. However, If you can apply stickers, you can totally install these tiles.
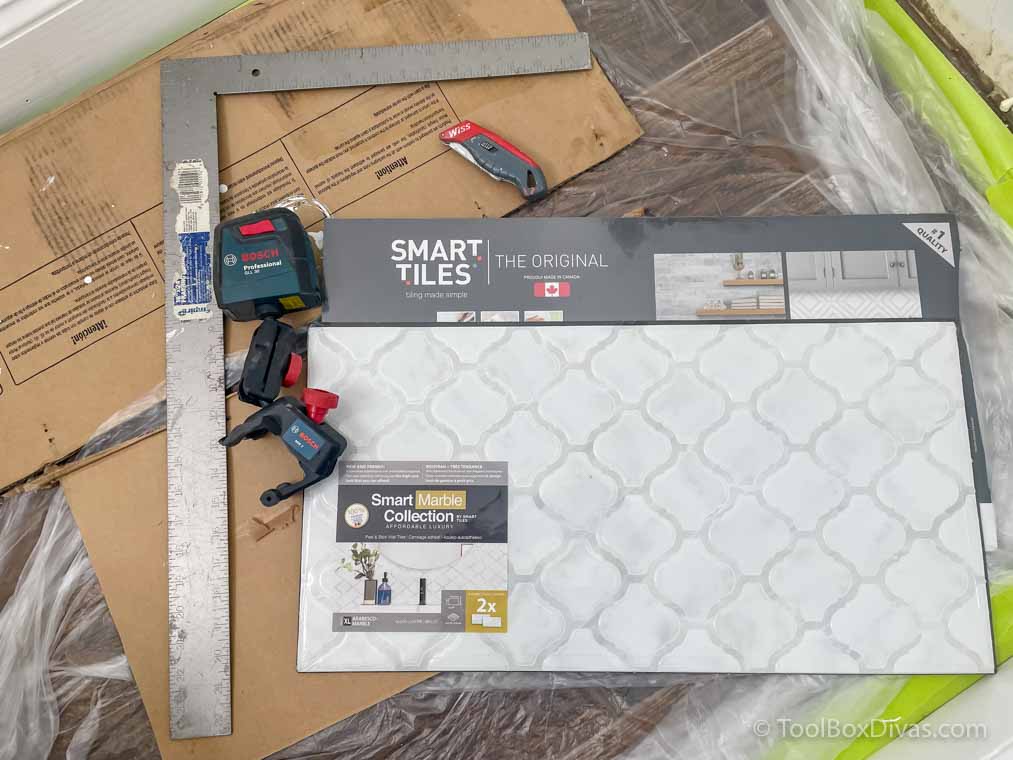
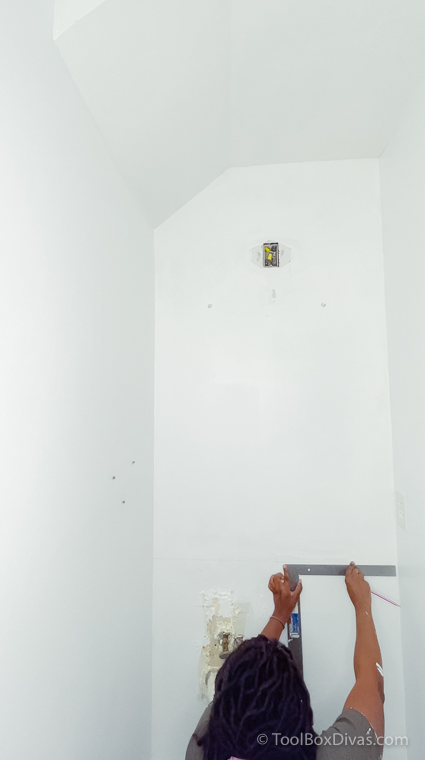
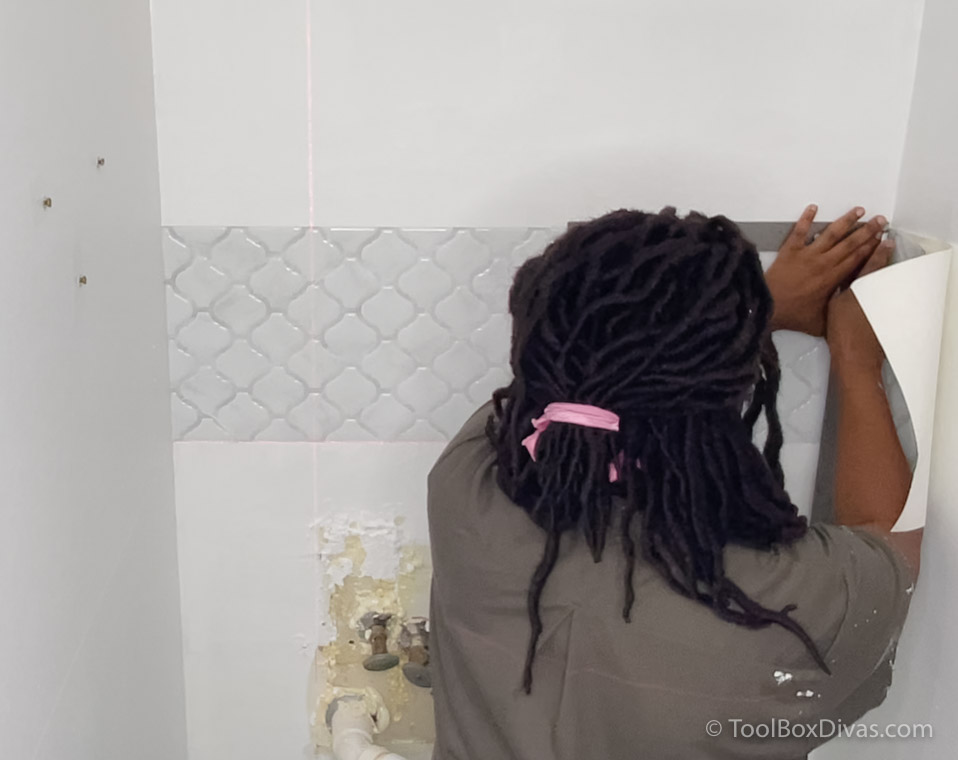
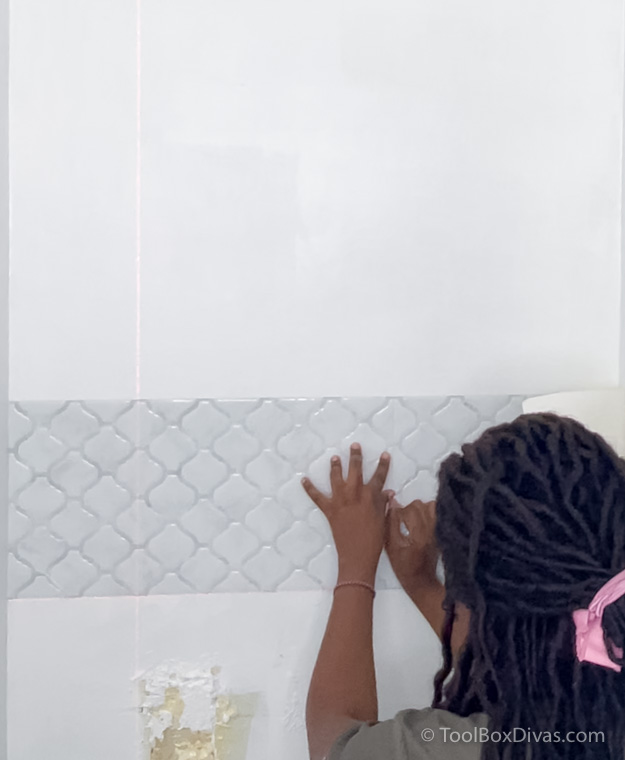
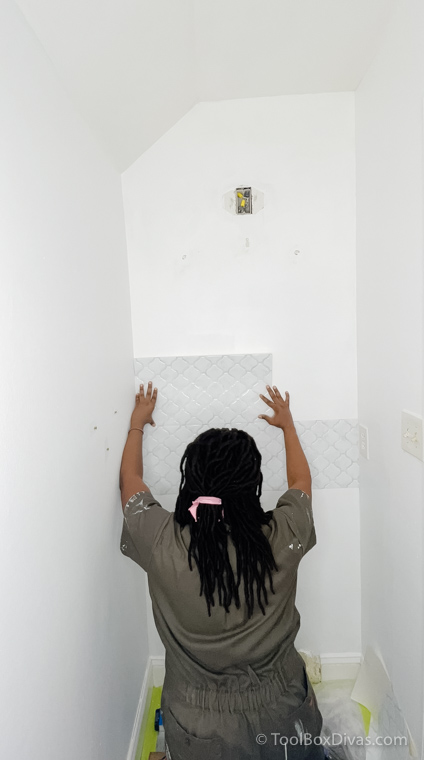
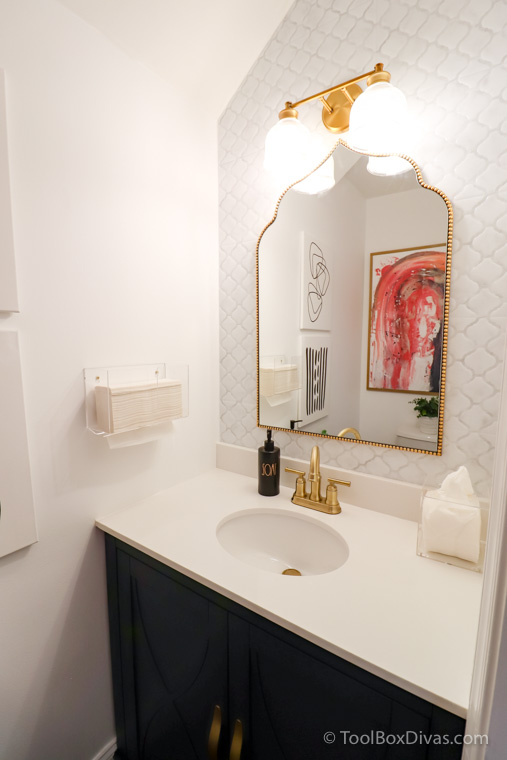
I used Smart Tiles Peel and Stick Backsplash Arabeco Marble tiles in my powder room behind the mirror as an accent wall. I was able to install the tiles in 30 minutes and all I really needed was a level, tape measure, and Exacto knife.

Shed light on the situation and install a new light fixture
Add style and illumination with new light fixtures. Lighting hugely affects the esthetics and overall vibe of a room. And it’s important to select lighting for a bathroom that actually illuminates the space. No one wants a dark bathroom when touching up their hair and makeup.
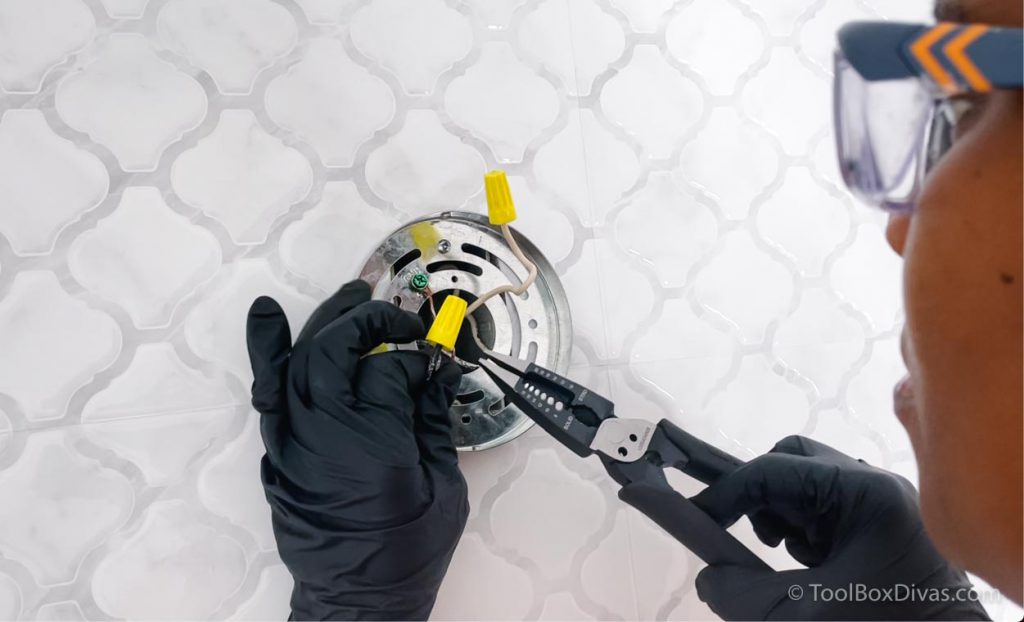
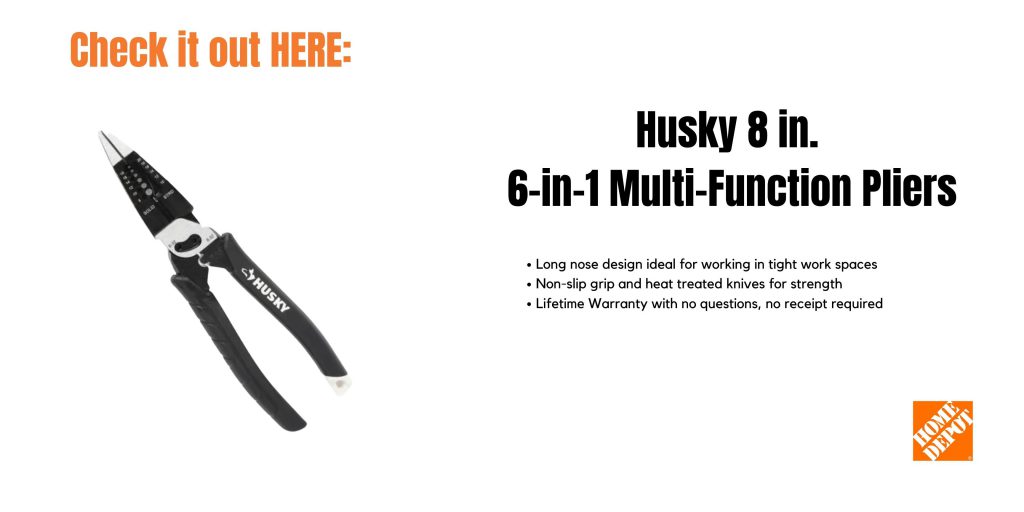
I used my favorite go-to pliers, Husky 6-in-1 Multi-Function Pliers, to install the new light fixture.
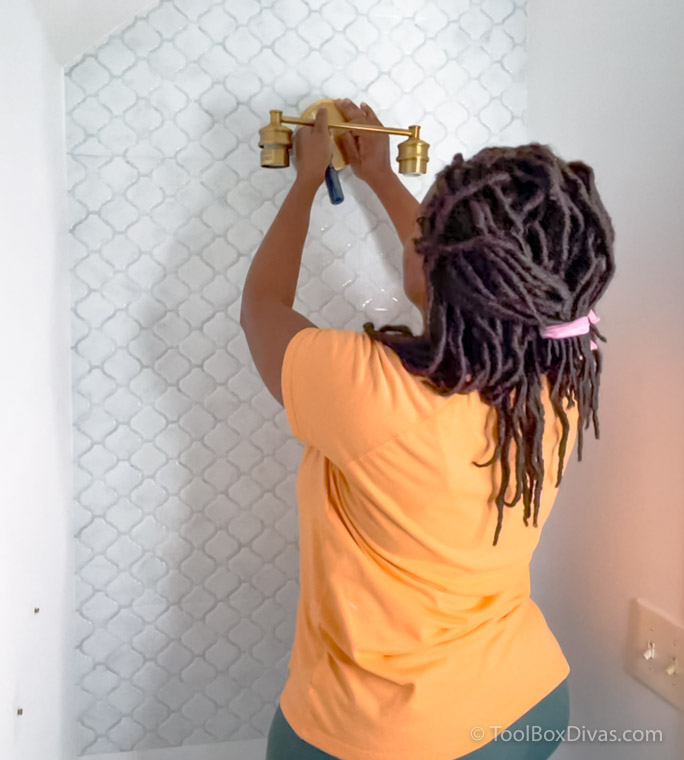
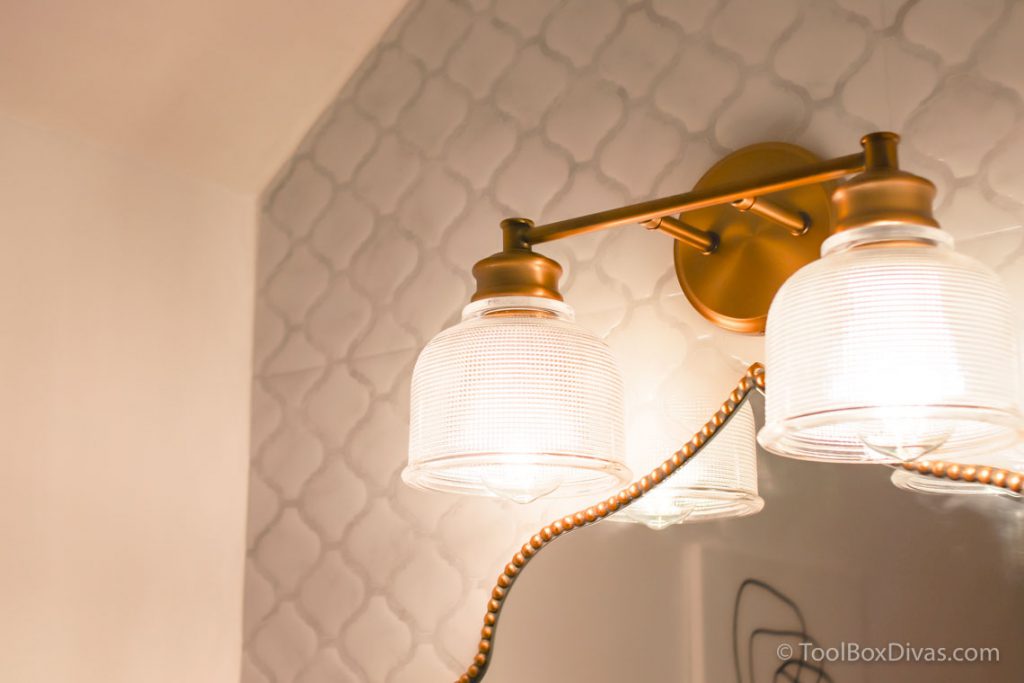
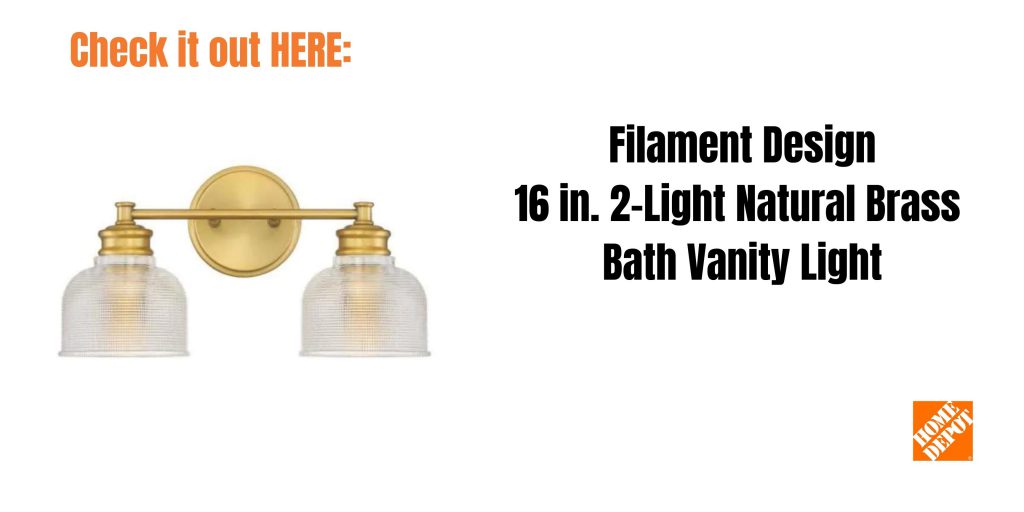
These days, I can’t get enough of gold accents. I always joke and call gold the new brass. I mix and match “gold” and “brass” accents all the time and I don’t think there is anything wrong with that. The light fixture I decided to go with is the Filament Design 16 in. 2-Light Natural Brass Bath Vanity Light . The reason I selected this light fixture is that it has a classic design and it pairs perfectly with the mirror I selected. And that brings me to my next DIY tip.
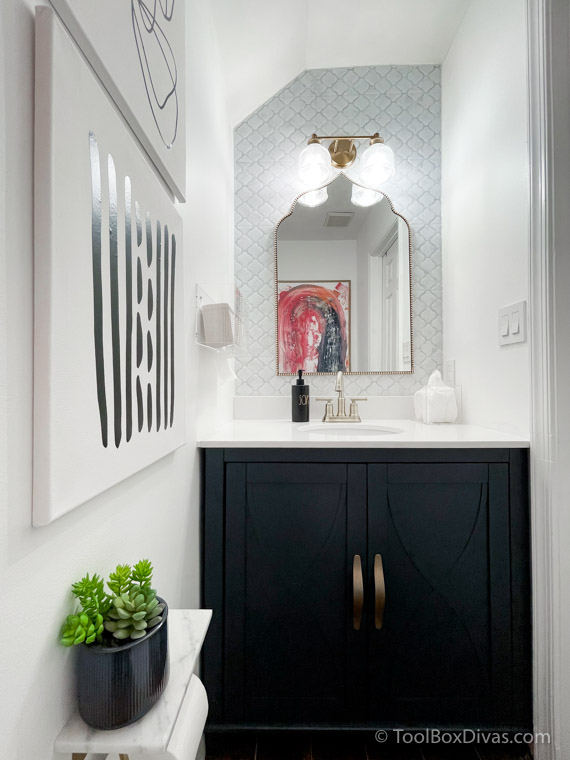
Bring the bathroom to life with a mirror that defines the space
I feel in love with the Home Decorators Collection Medium Ornate Arched Gold Antiqued Classic Accent Mirror from the moment I saw it on Homedepot.com. It was the arched ornate shape that made me think of my travels to Europe and Asia. I knew I had to have it in my new space. And this mirror became the inspiration for the entire powder room.

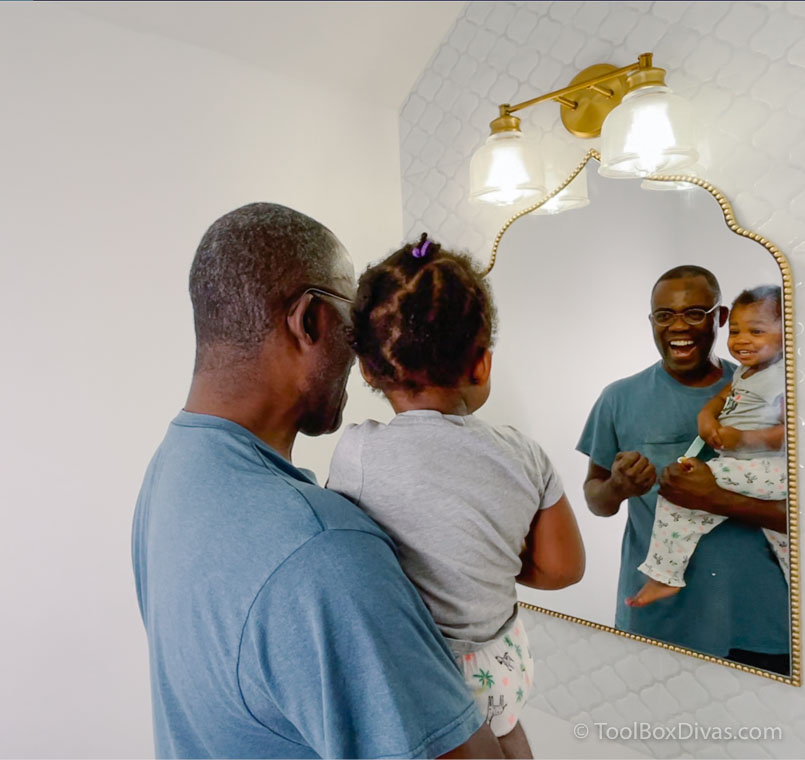
My husband and daughter also seem to can’t get enough of it as well. (Silly guys!)
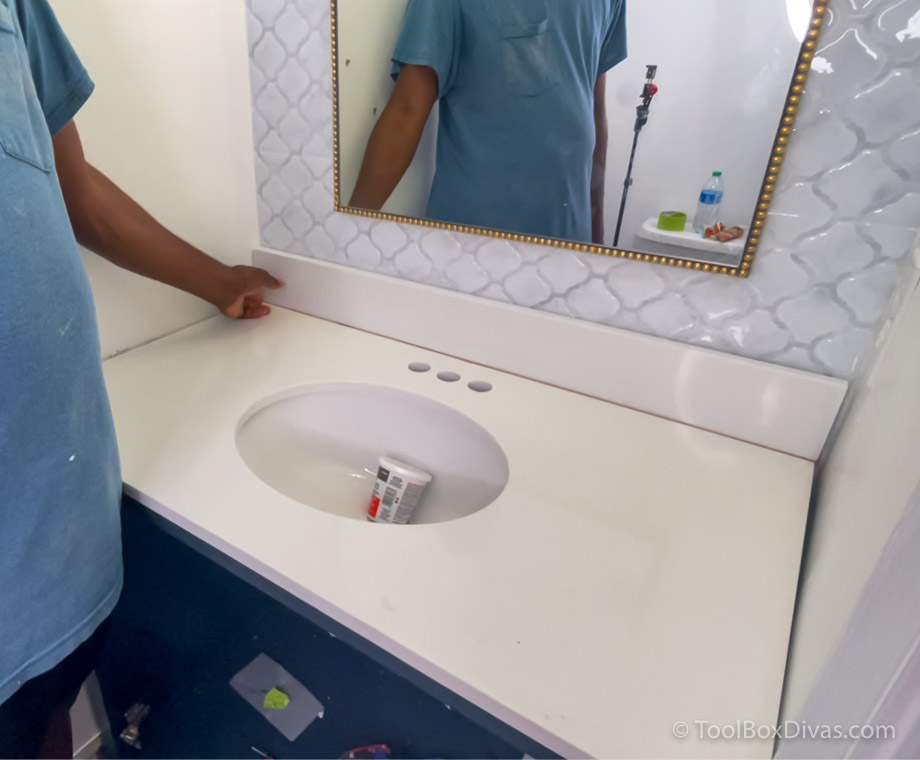
Replace the dated vanity and don’t be afraid to customize it
The idea of replacing a vanity sounds like a pretty big investment, but the truth is you don’t have to select an overly expensive vanity. An inexxpensive vanity dressed up with with the right hardware and faucet can transform a $100 vanity into one that looks like you spent $1000.
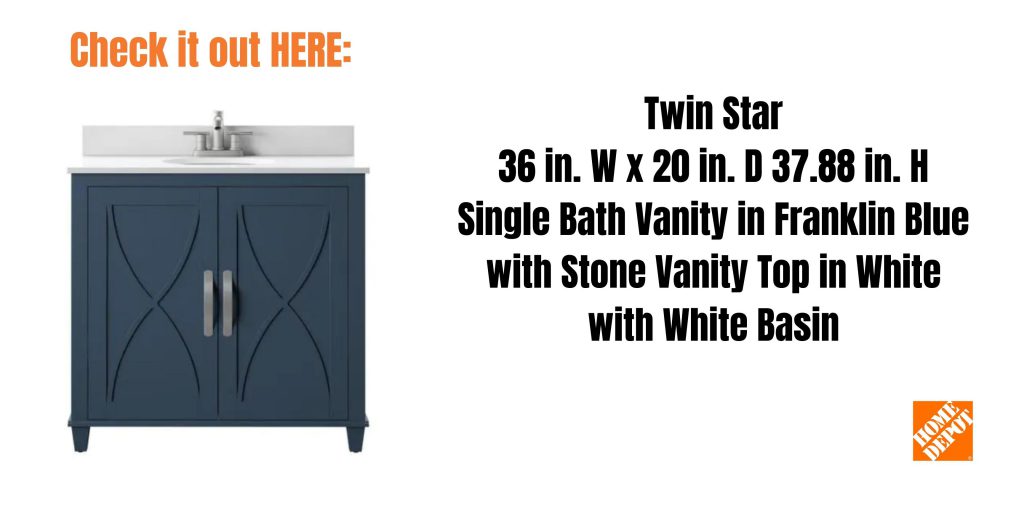
And to be perfectly honest, when I’m redoing a bathroom, I always opt for the vanity that’s on sale and I work around it to make it fit. For my tiny bathroom I wanted a vanity that would fill the entire width of the room and it couldn’t be too deep. When designing a small space and you’re not making everything custom, it’s essential to find what works best and customize it to the space. The vanity I went with is the Twin Star 36 in. W x 20 in. D 37.88 in. H Single Bath Vanity in Franklin Blue with Stone Vanity Top in White with White Basin.
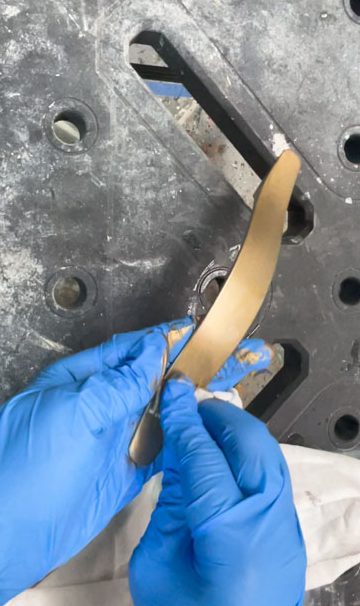
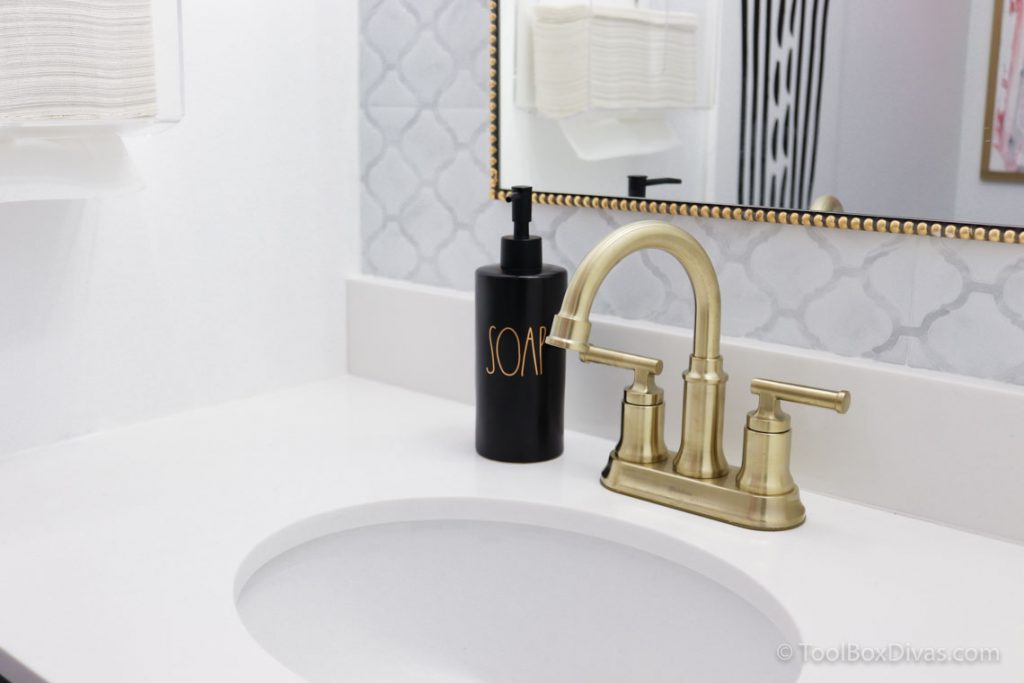
Most of the specs for this vanity were perfect. But it came with silver handles. I wanted gold. So instead of buying new handles, I decided to save money and paint the handles with a gold craft paint for metal that I had on hand.
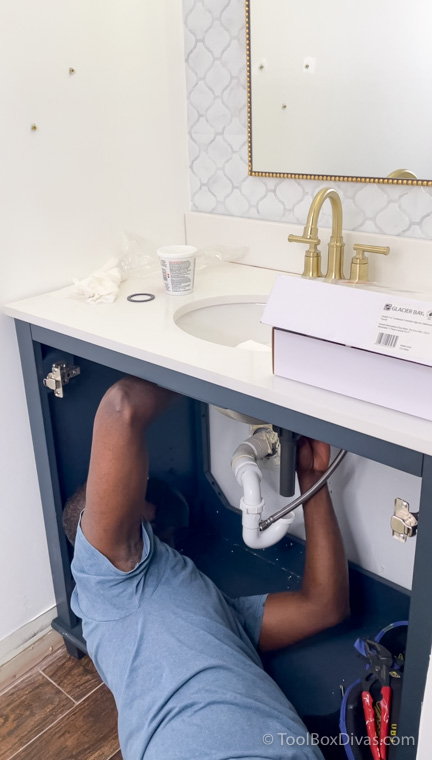
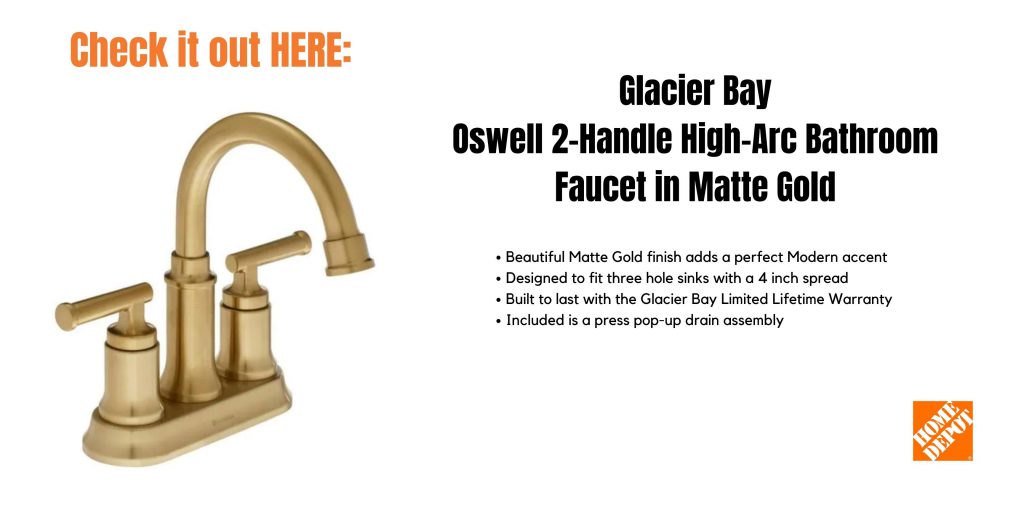
I then topped off the vanity with a jaw dropping faucet. Priced under $100, the Glacier Bay Oswell 4 in. Centerset 2-Handle High-Arc Bathroom Faucet in Matte Gold was an excellent buy and really easy to install.
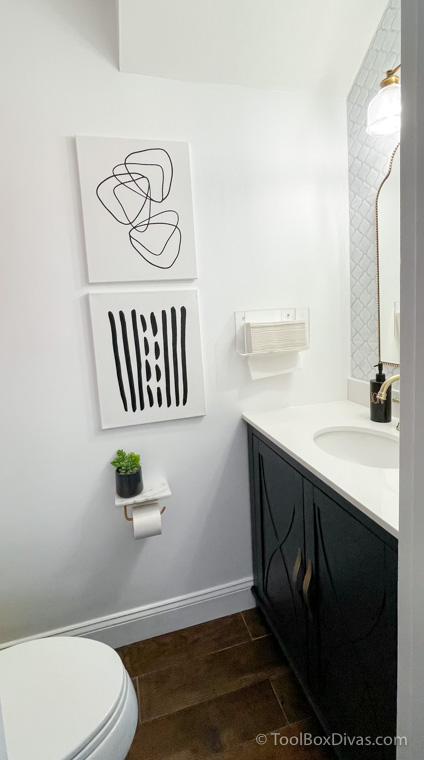
Make it personal and add your own personal style and flare.
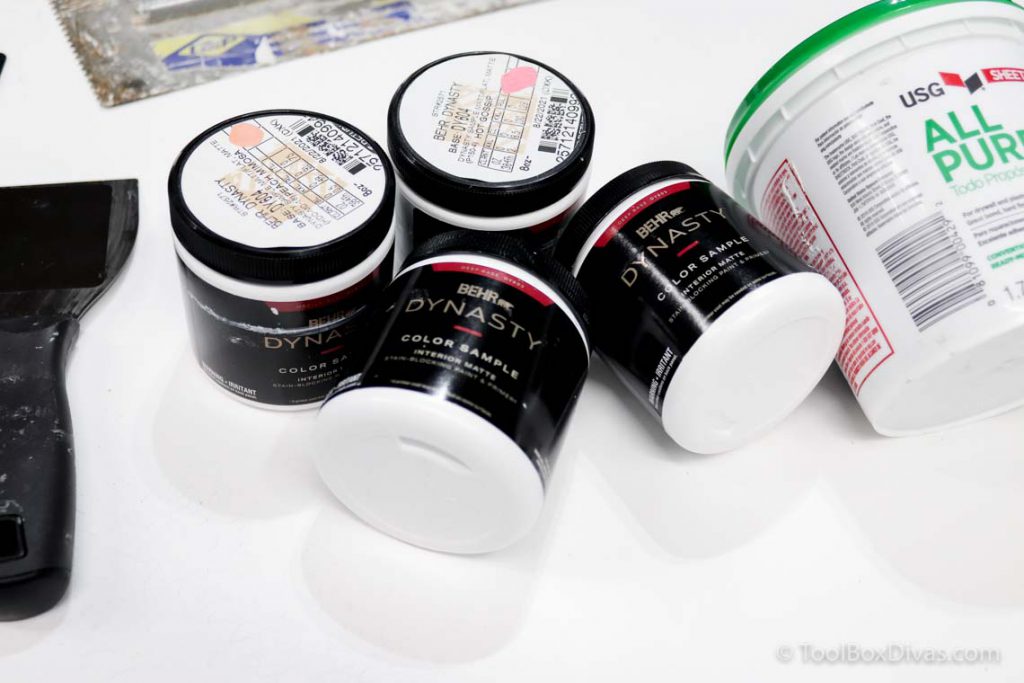
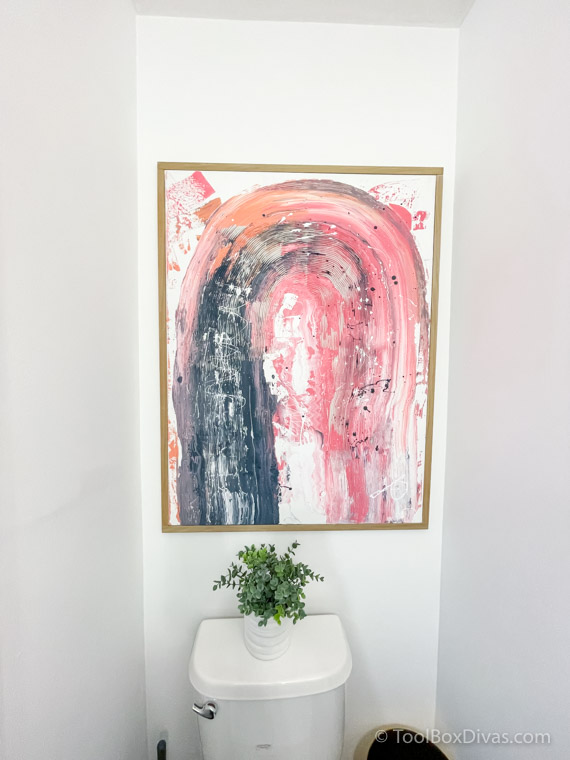
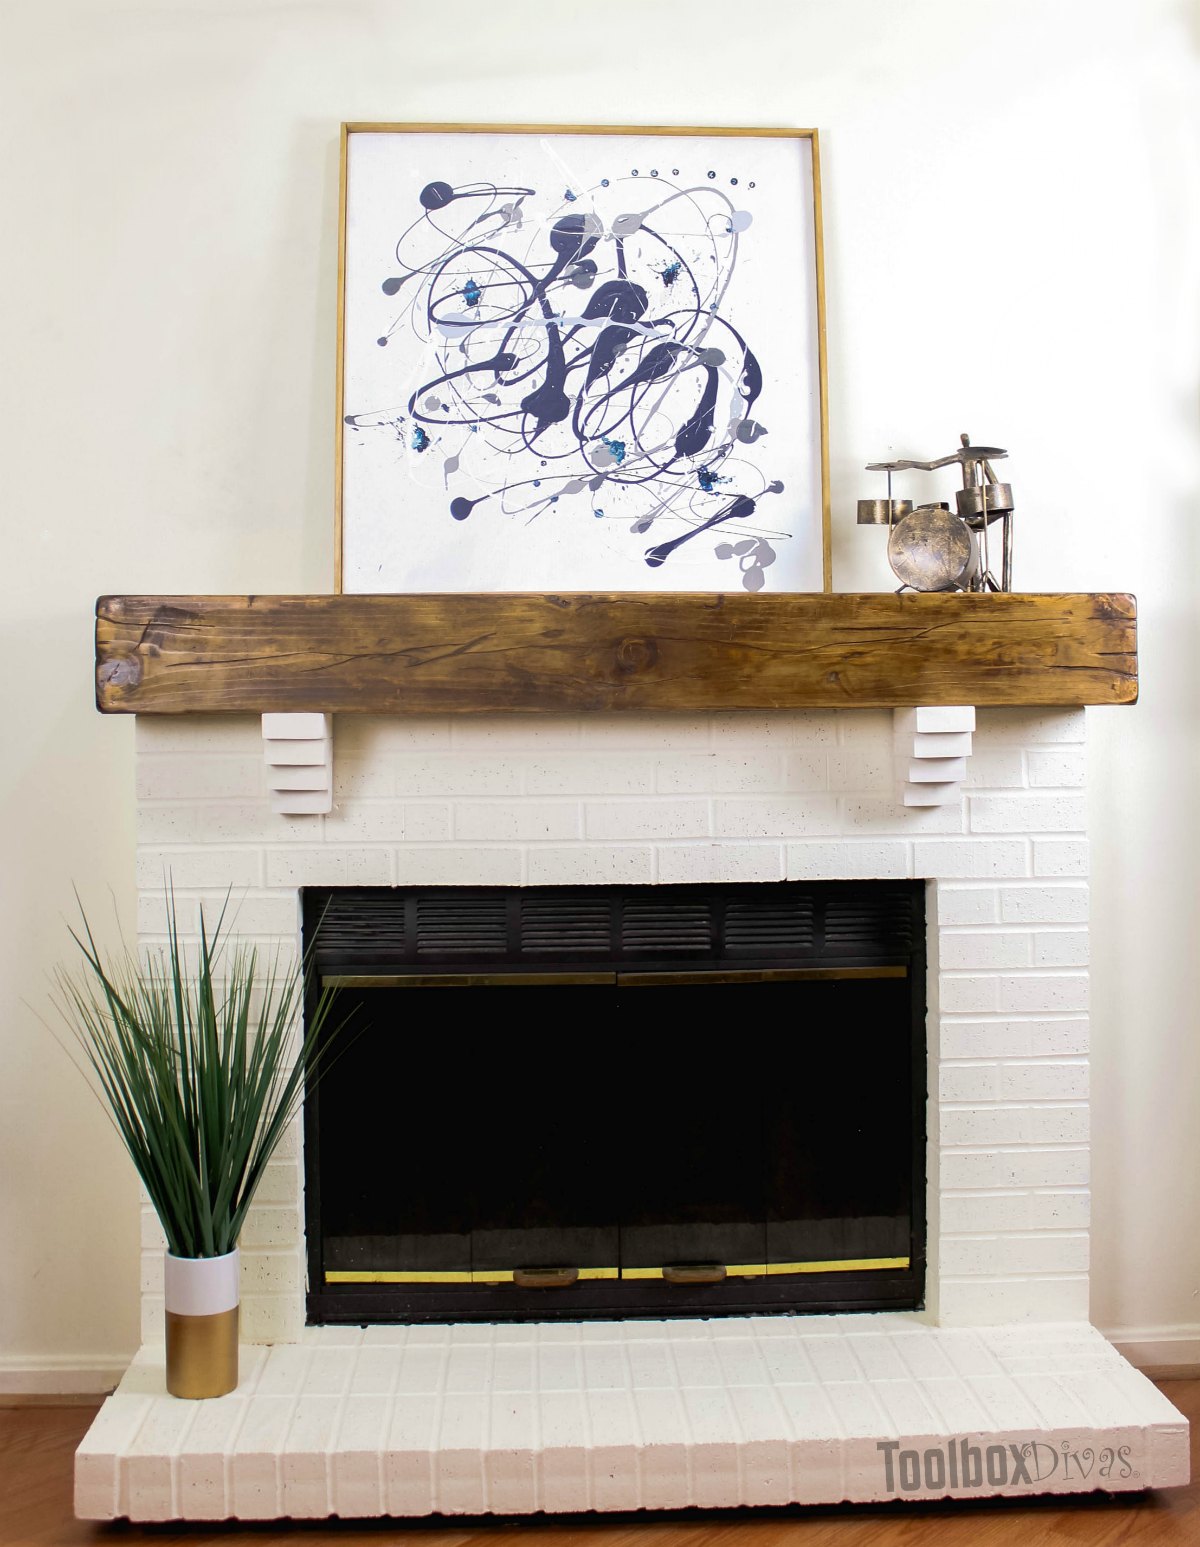
Finally, when dressing and styling your bathroom for family and friends this holiday, consider what you have on hand when making art. For me, I tend to always have paint samples on hand for various projects I might be working on. So I often use this paint to create art pieces. Yes, I use left over paint supplies to make one-of-a-kind custom artwork for spaces I design.
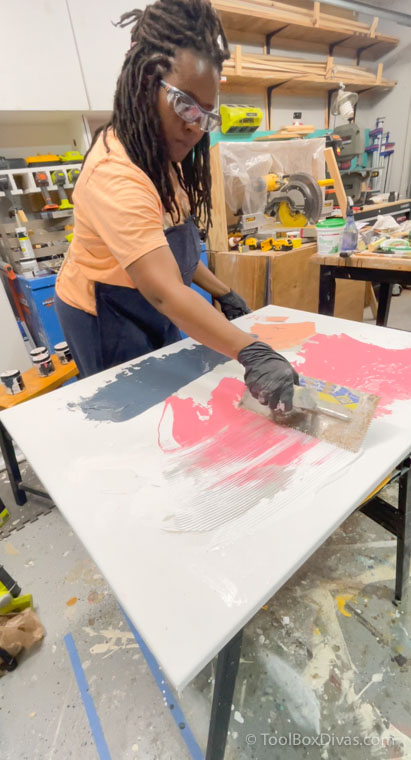
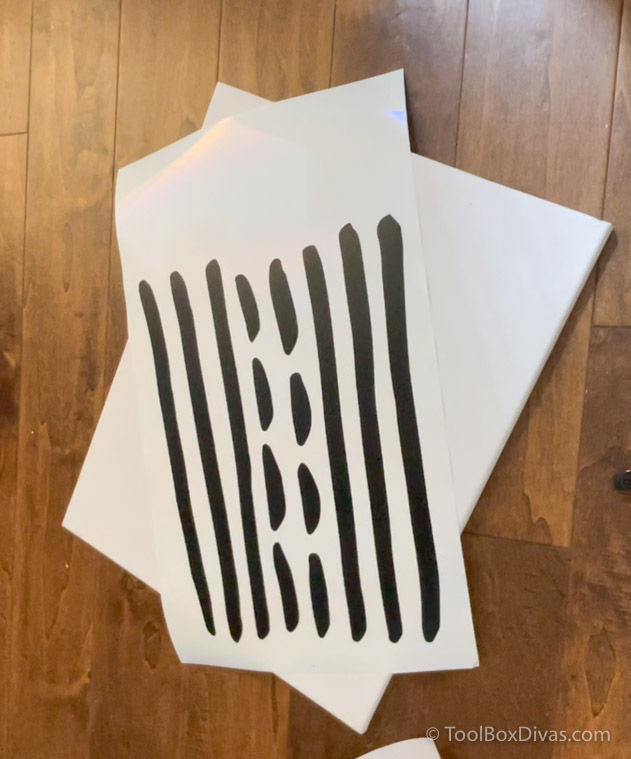
I pair the paint with plaster or joint compound to create various textures. Having starting college as an art major, art supplies were adding up. So over the years, I’ve developed different strategies that allow me to achieve the same look with “unconventional” art supplies. I also cut out random shapes and patterns in viynl and applied it to canvas. Art is what you make it. If you don’t want to paint anything, consider hanging framed personal photos like travel pictures.
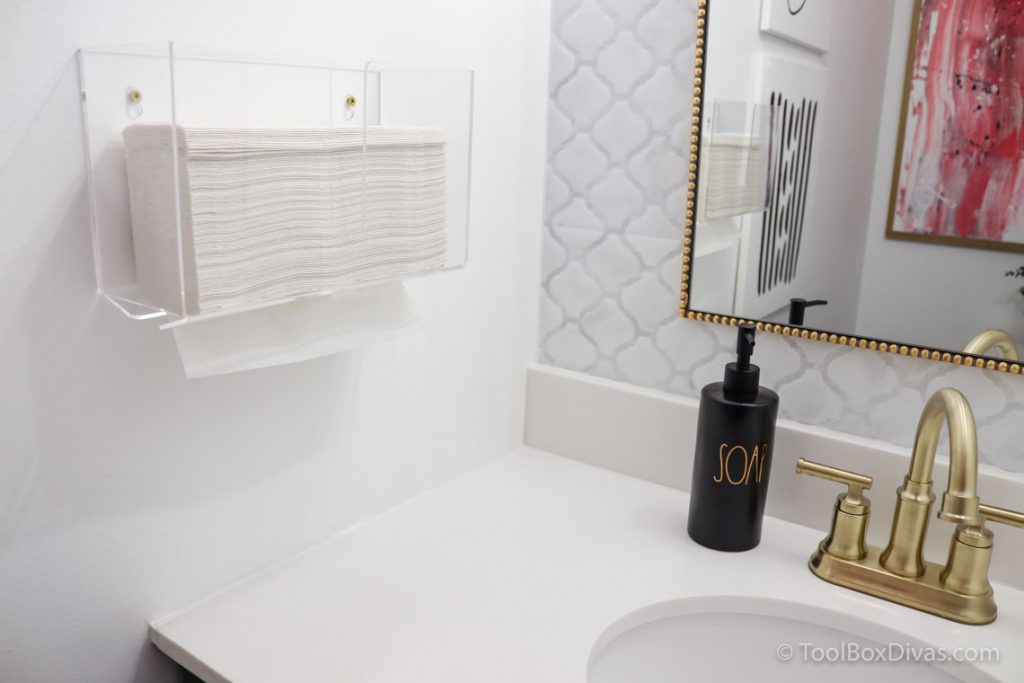
Add a towel dispenser, like the Alpine Industries Clear Acrylic Wall-Mounted Paper Towel Dispenser, that doesn’t detract from the overall feel and vibe of the space.
Let’s Do This!
So let’s be real, the holidays are the perfect opportunity for you to show off your home. Now is the best time of year to get those DIY projects done. Advanced DIY skills are not required. You don’t even need an abundance of tools or even free time. You can completely transform your powder room in 12 hours or less with proper planning and some basic DIY know-how. Before starting, be sure to head over to The Home Depot online or in person to plan out your space. You’ll find everything from paint, tile (real or faux), the perfect vanity to fixtures, faucets and toilets.
With these easy tips in mind, your family and friends will leave inspired by your tiny bathroom makeover, that is if you can get them to leave.
I hope you found this post informative and helpful! If you want to learn more details about each DIY project within my powder room, check out these posts:
- DIY 1 (Peel and stick tile)
- DIY 2 (Creating a masterpiece using left over paint supplies)
- Powder Room Before and After
Happy Holidays! ~T.

Ugh the dewalt circular saw would be my dream. Also this tiny bathroom guide will be so helpful for me when we get in our newbuild
Great choice! Thank you so much!
This is so fun! I have been wanting to make over my bathroom. Would absolutely try the peel and stick tile on the wall! Thank you for the fun inspiration!
Thank you so much! You should definitely go for it.
so lovely! Where did you get the toilet paper holder with a shelf?
Love it! Definitely pretty! I’m motivated to redo mine now!
Thank you so much! Go for it!
I’m curious, we want to redo our tiny bathroom, but the sink has a countertop that has a long ledge that goes over the toilet, and the whole thing has this giant mirror behind it. Would you recommend removing the countertop and going for a simpler countertop, or not?
Thanks for sharing this great idea!