Alphabet Blocks Inspired Play Table

Have you ever found yourself in a meeting or on an extremely long conference call that seemed as if it would last for days? It’s so dry and boring that you find yourself gazing over into the corner of the room, your eyes fixated on a piece of lint and you start to zone out.

Well like many bloggers..DIYers I have a 9 to 5. And sometimes I find myself daydreaming….about wood (yes wood, don’t judge me), woodworking and other DIY projects I could do around the house. Well one day I was in one of those meetings when I started doodling on a sticky note. I wasn’t really paying attention to what I was drawing. It was kind of my pen moving and my eyes fixated on a piece of lint in the corner. So then the meeting ends, I get back to my desk and I look down at my notes.
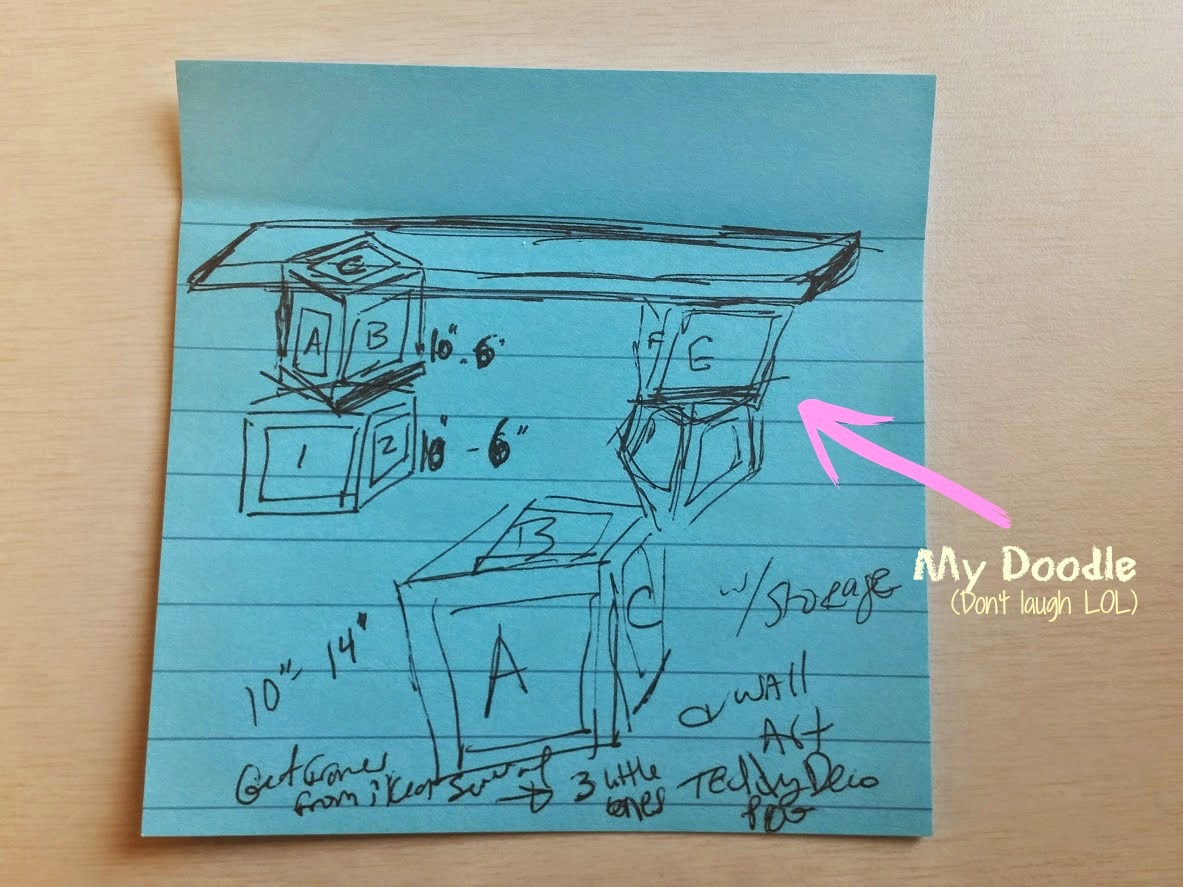
blanket ladders, alphabet wooden blocks and artwork for a nursery. Then it hit me. Why not make a play table inspired by alphabet blocks. So I went back home, made a few more sketches and I must say…I don’t always pat myself on the back, but I was very proud of the outcome of this project.

 Materials
Mini L brackets
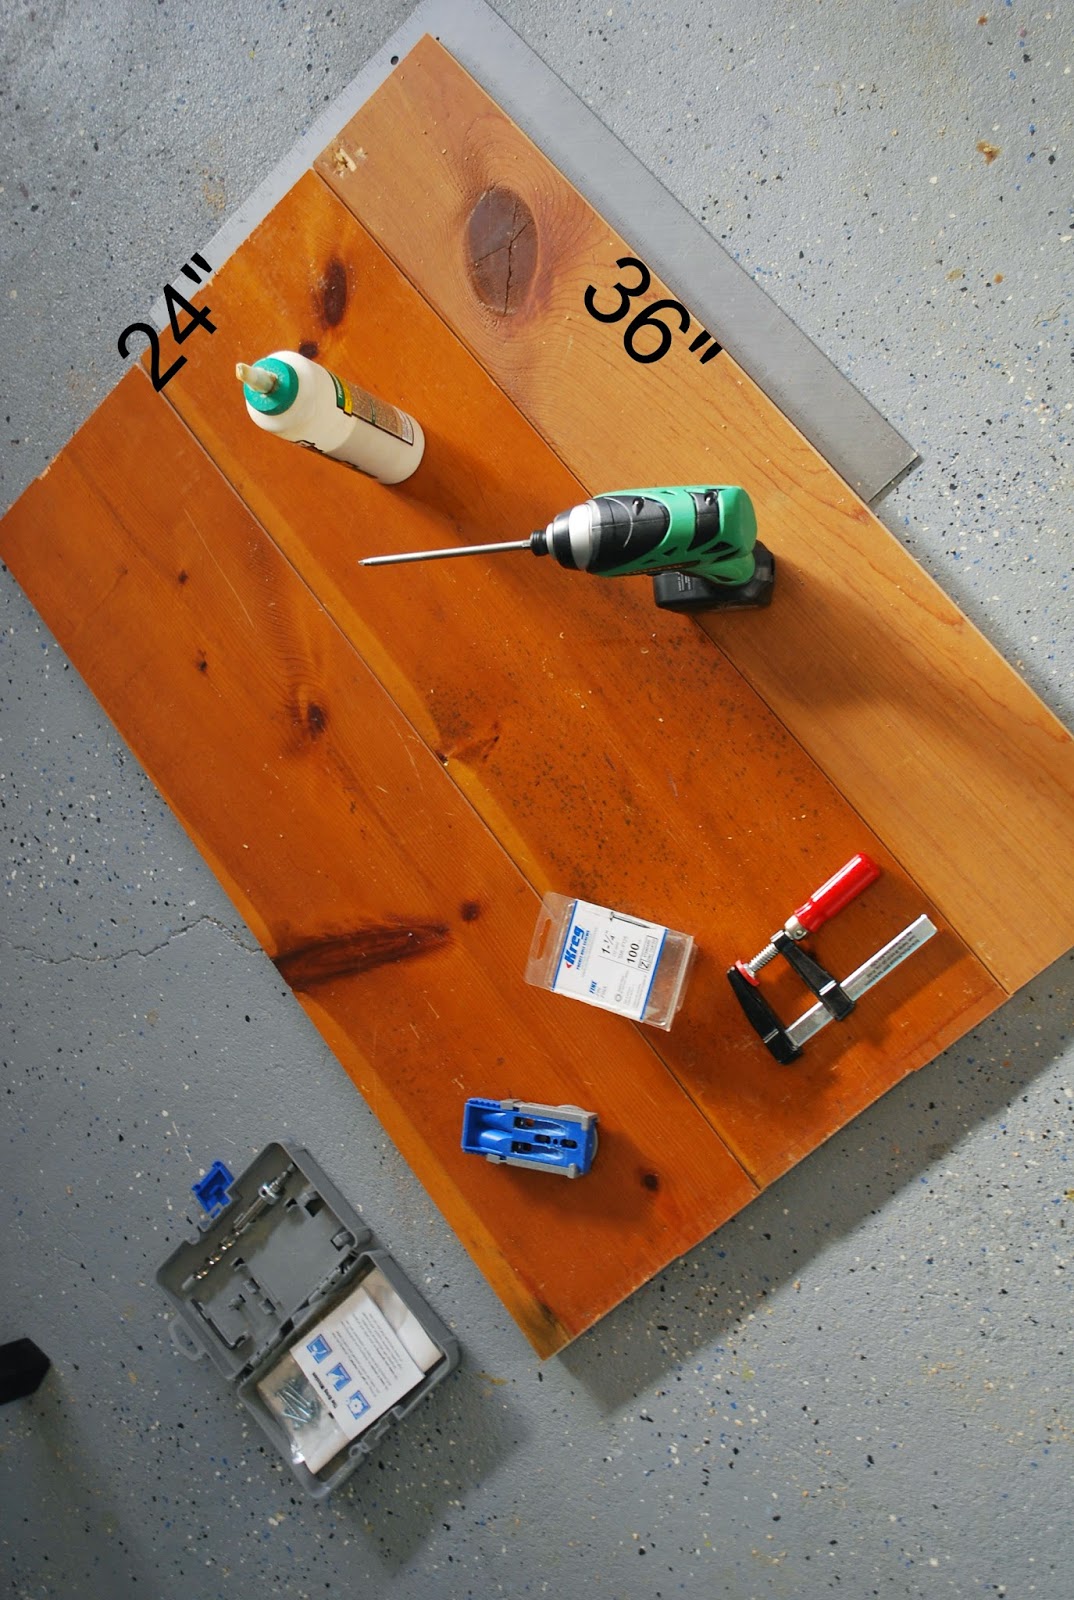

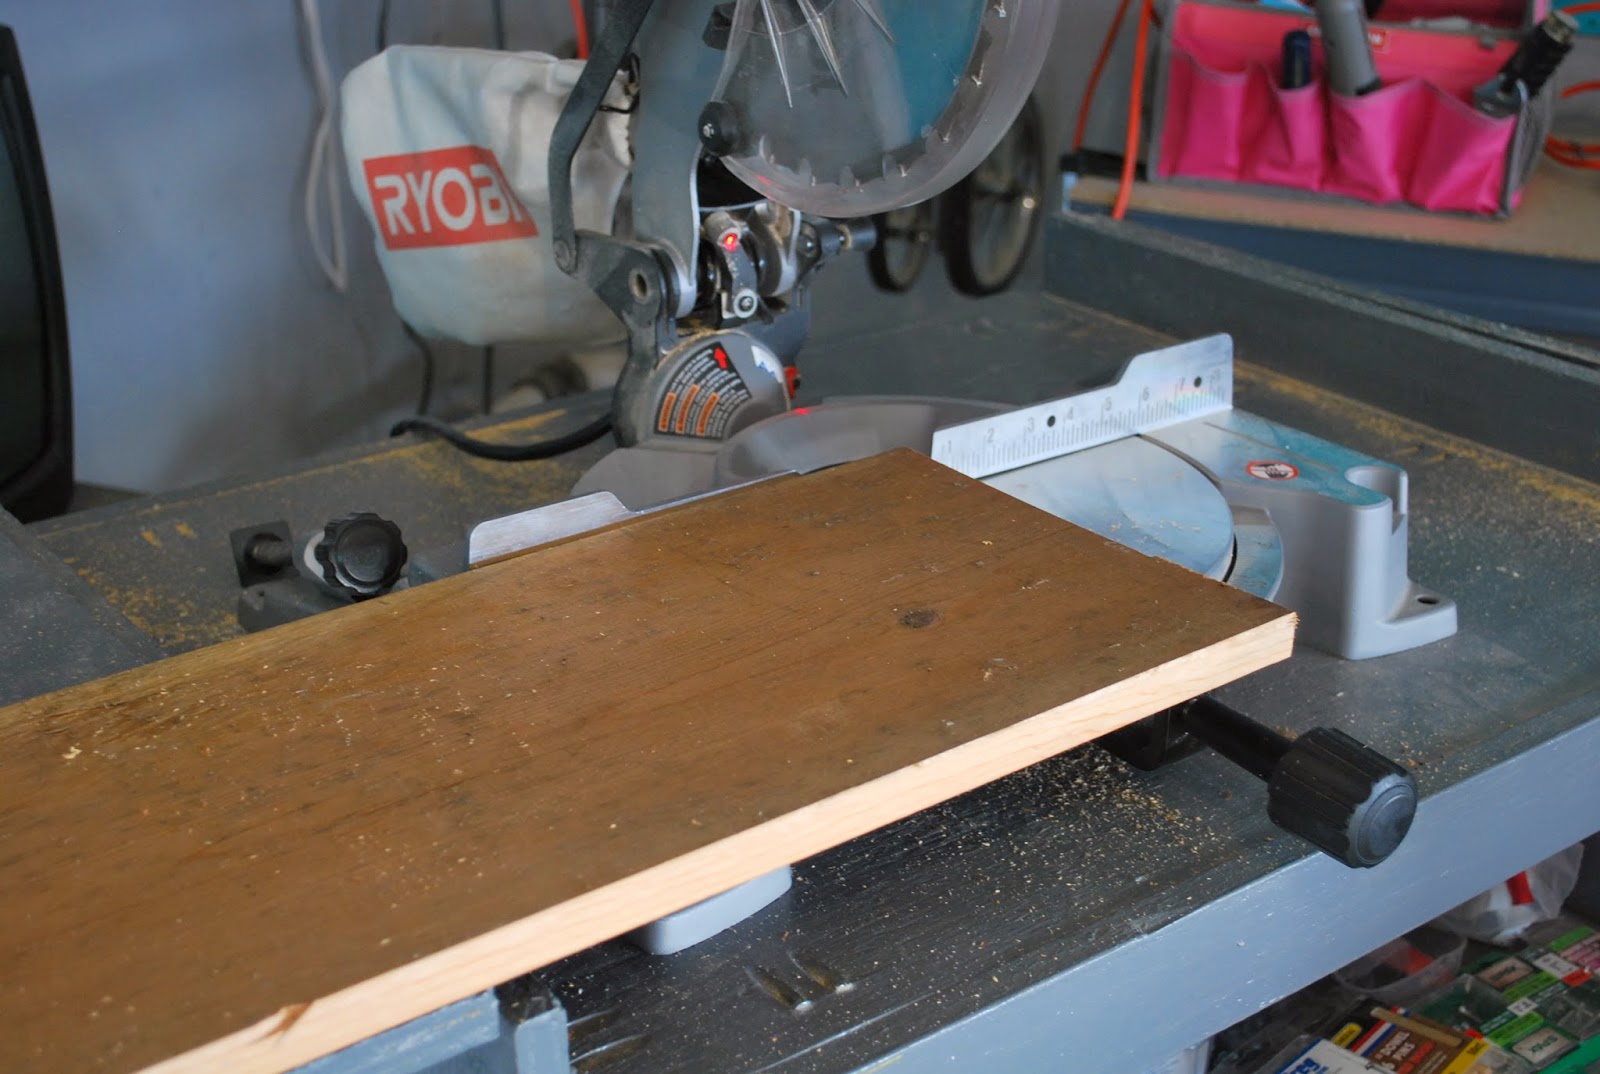
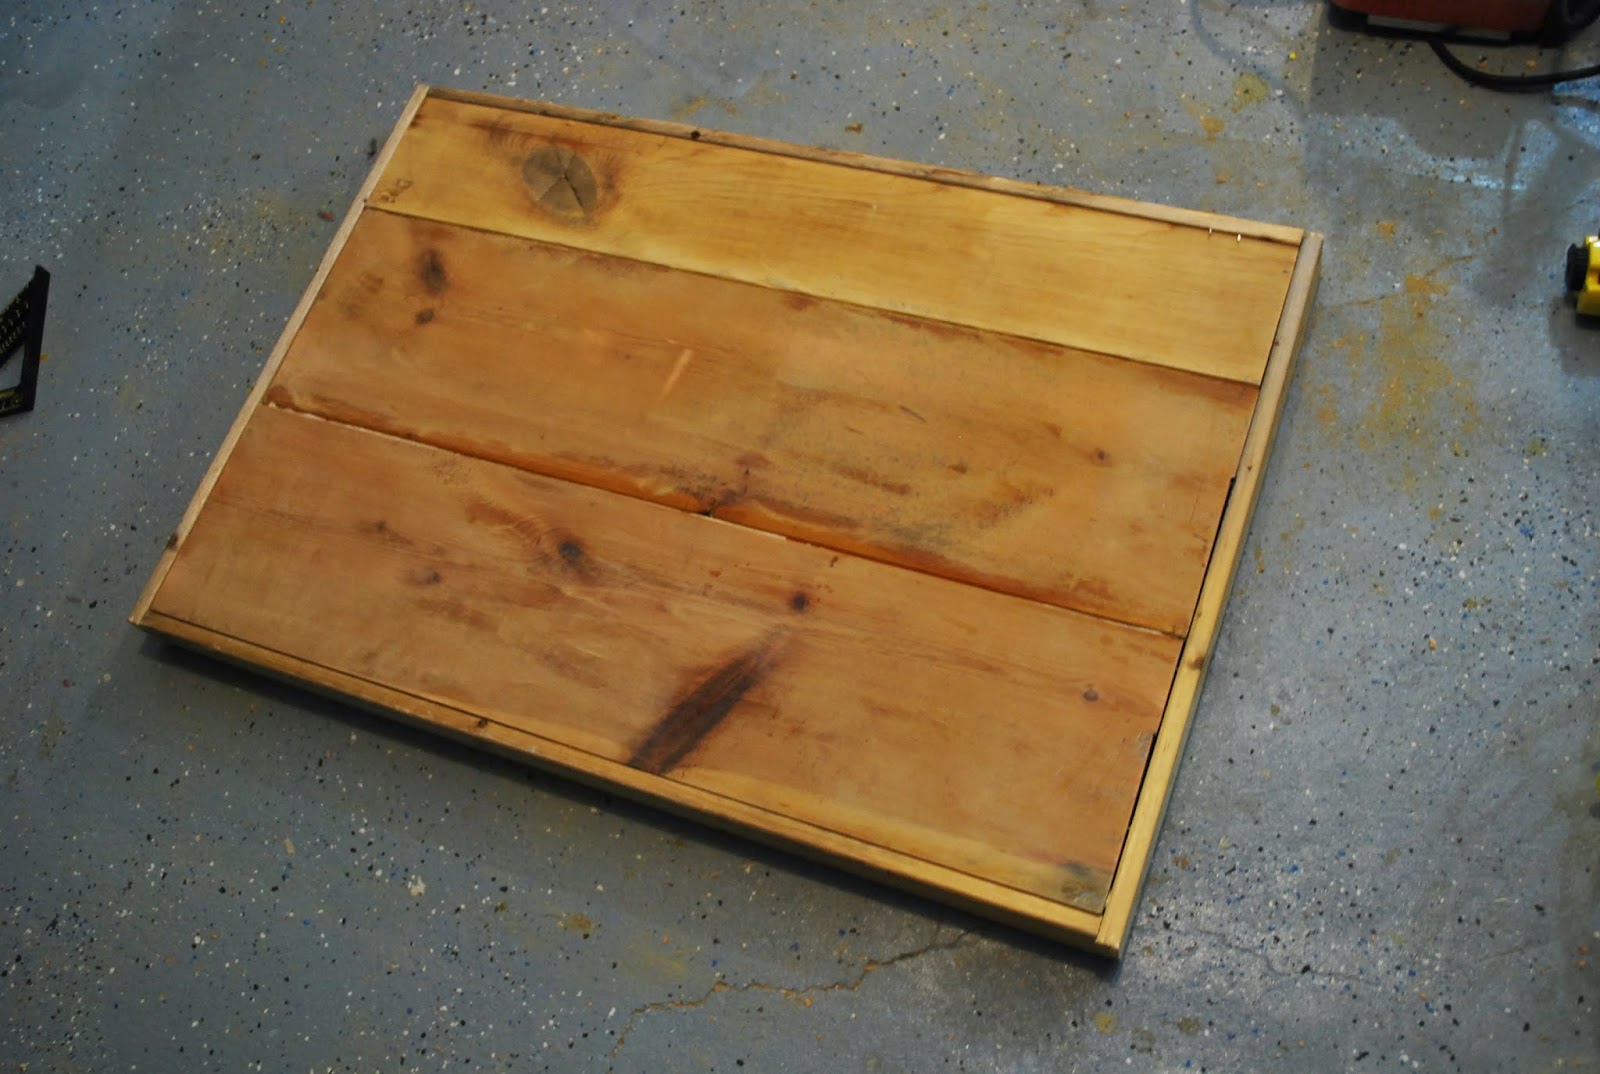
So for the table top I’m using reclaimed wood paneling I had stored in my workshop. In true ToolBox Divas fashion I’m always looking for ways to reuse something oppose to just going out and buying it. One, its cheaper, two, it adds character, and three its just good for the Earth. However if your using plywood for the table top simply cut the plywood down to 24″x36.”
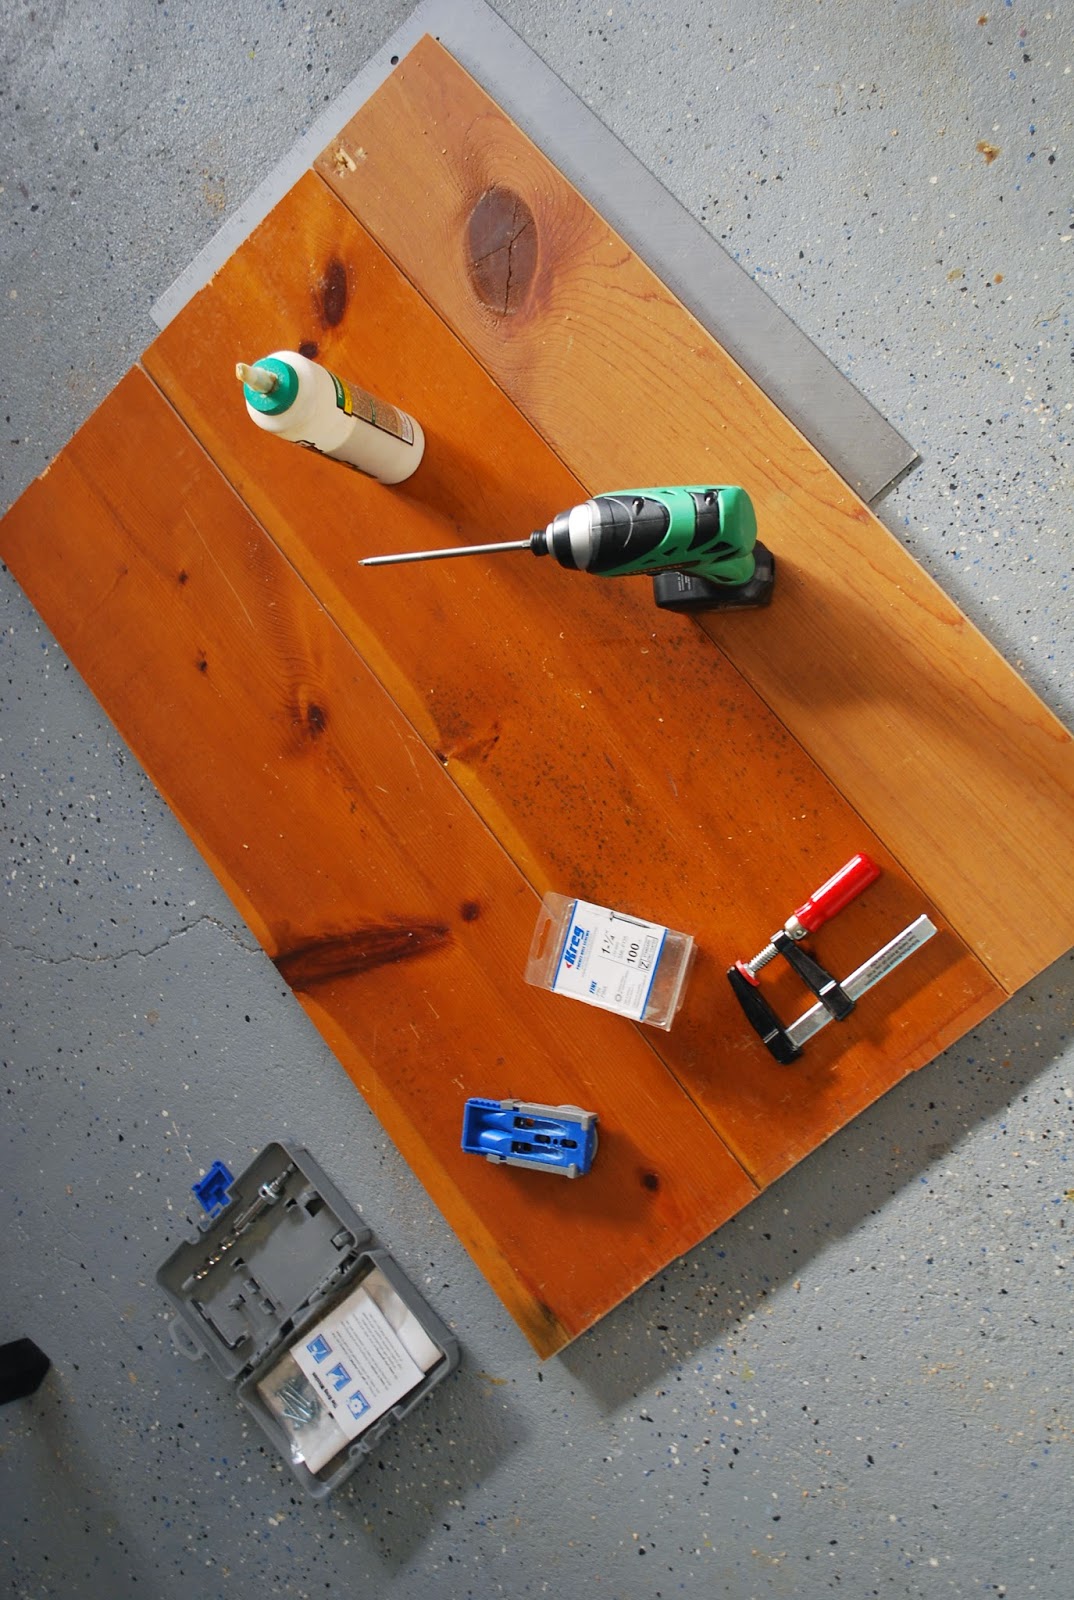
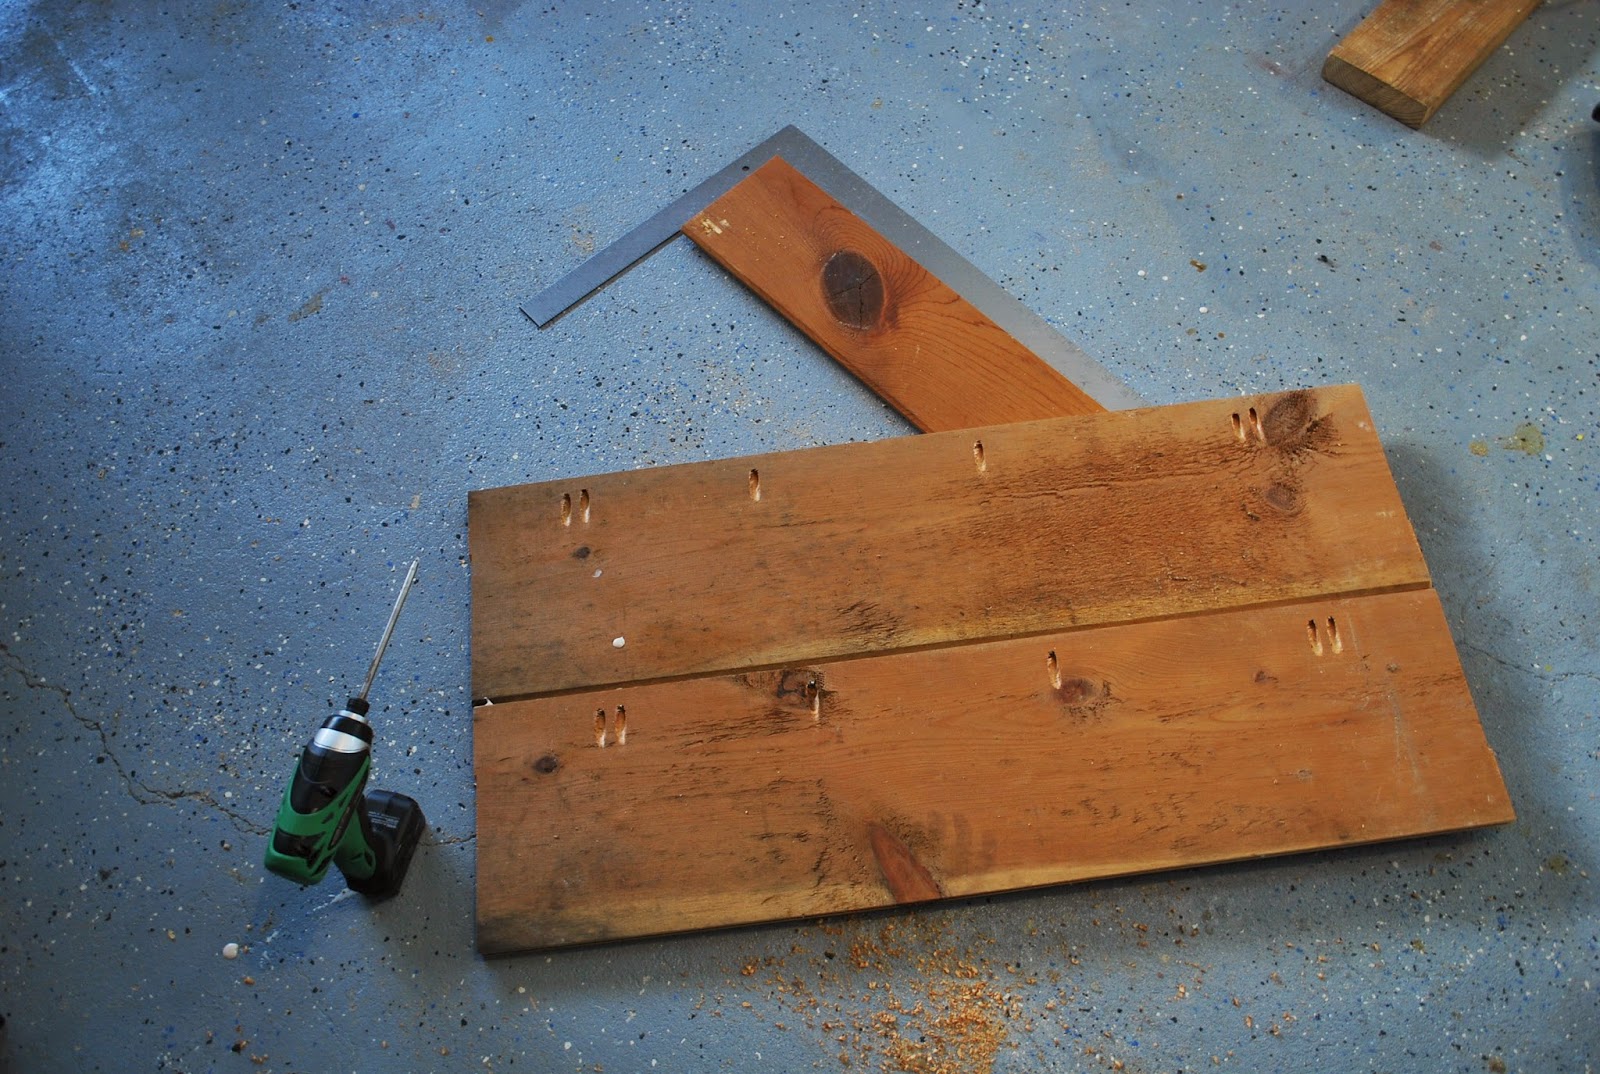
Using pocket screws and wood glue attach the wood paneling for the table top.
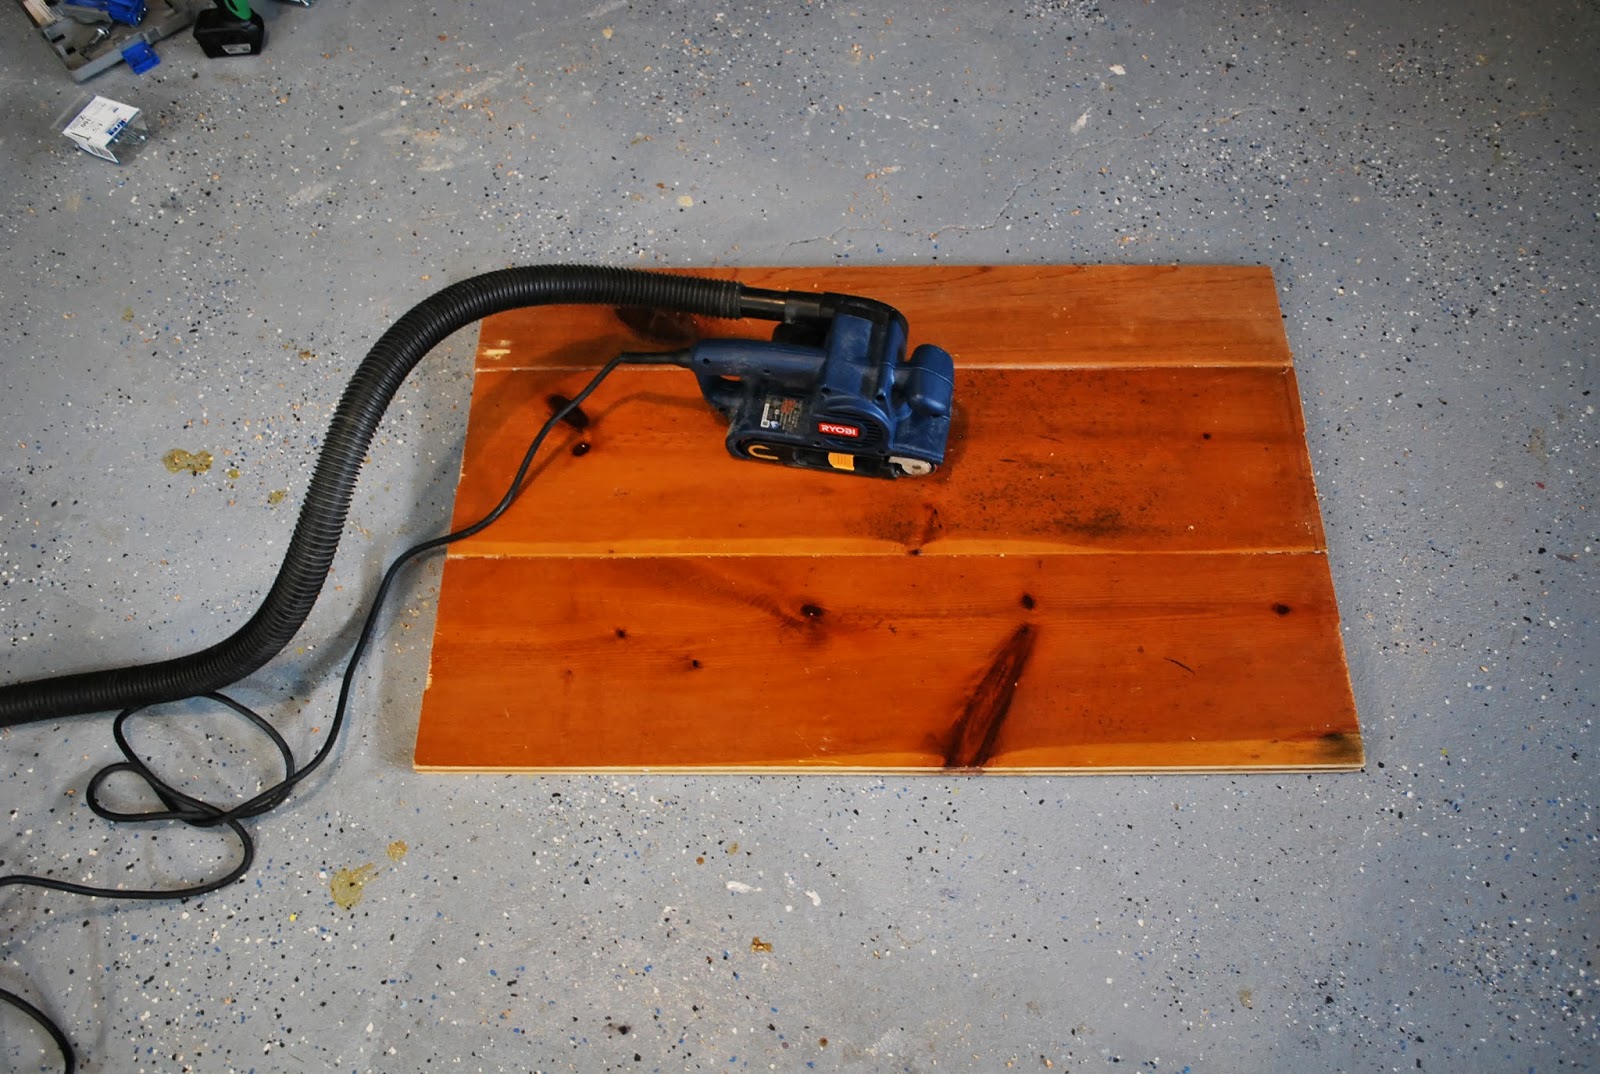
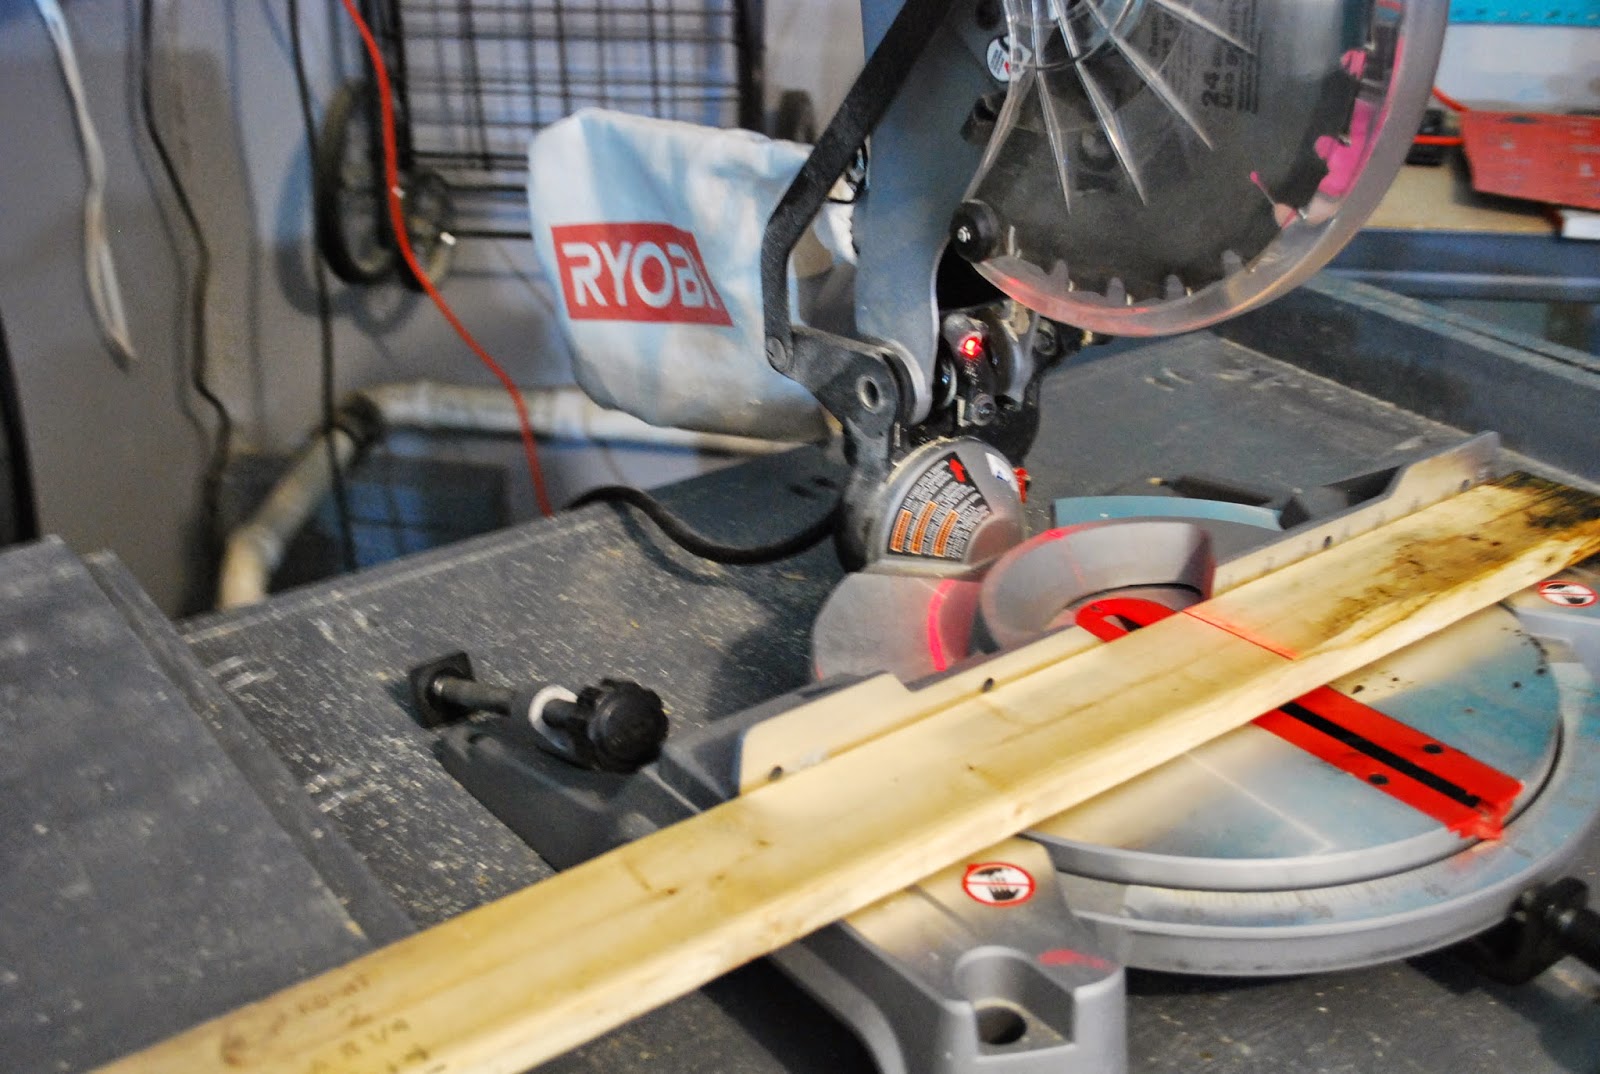
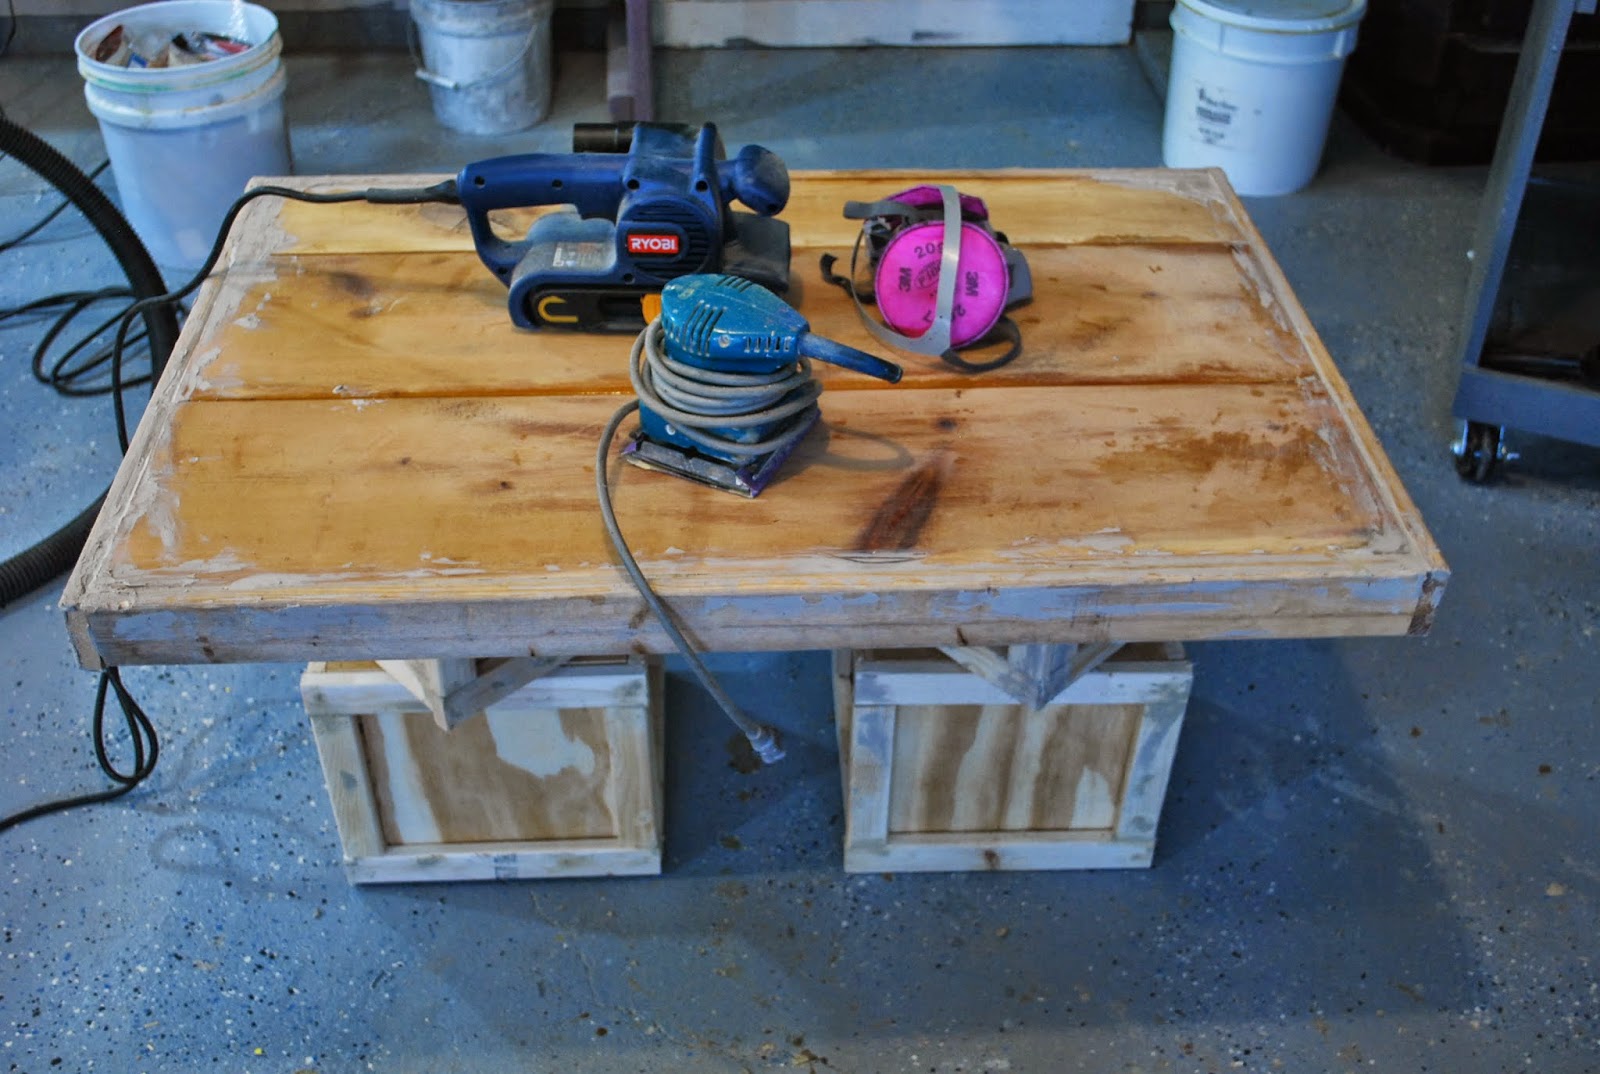
Flip back over. Using a band sander and regular orbital sander, I sanded the surface of the wood paneling, removing the old varnish. The belt sander allows a deeper sanding than an orbital sander. The orbital sander is better for light sanding and finishing work.

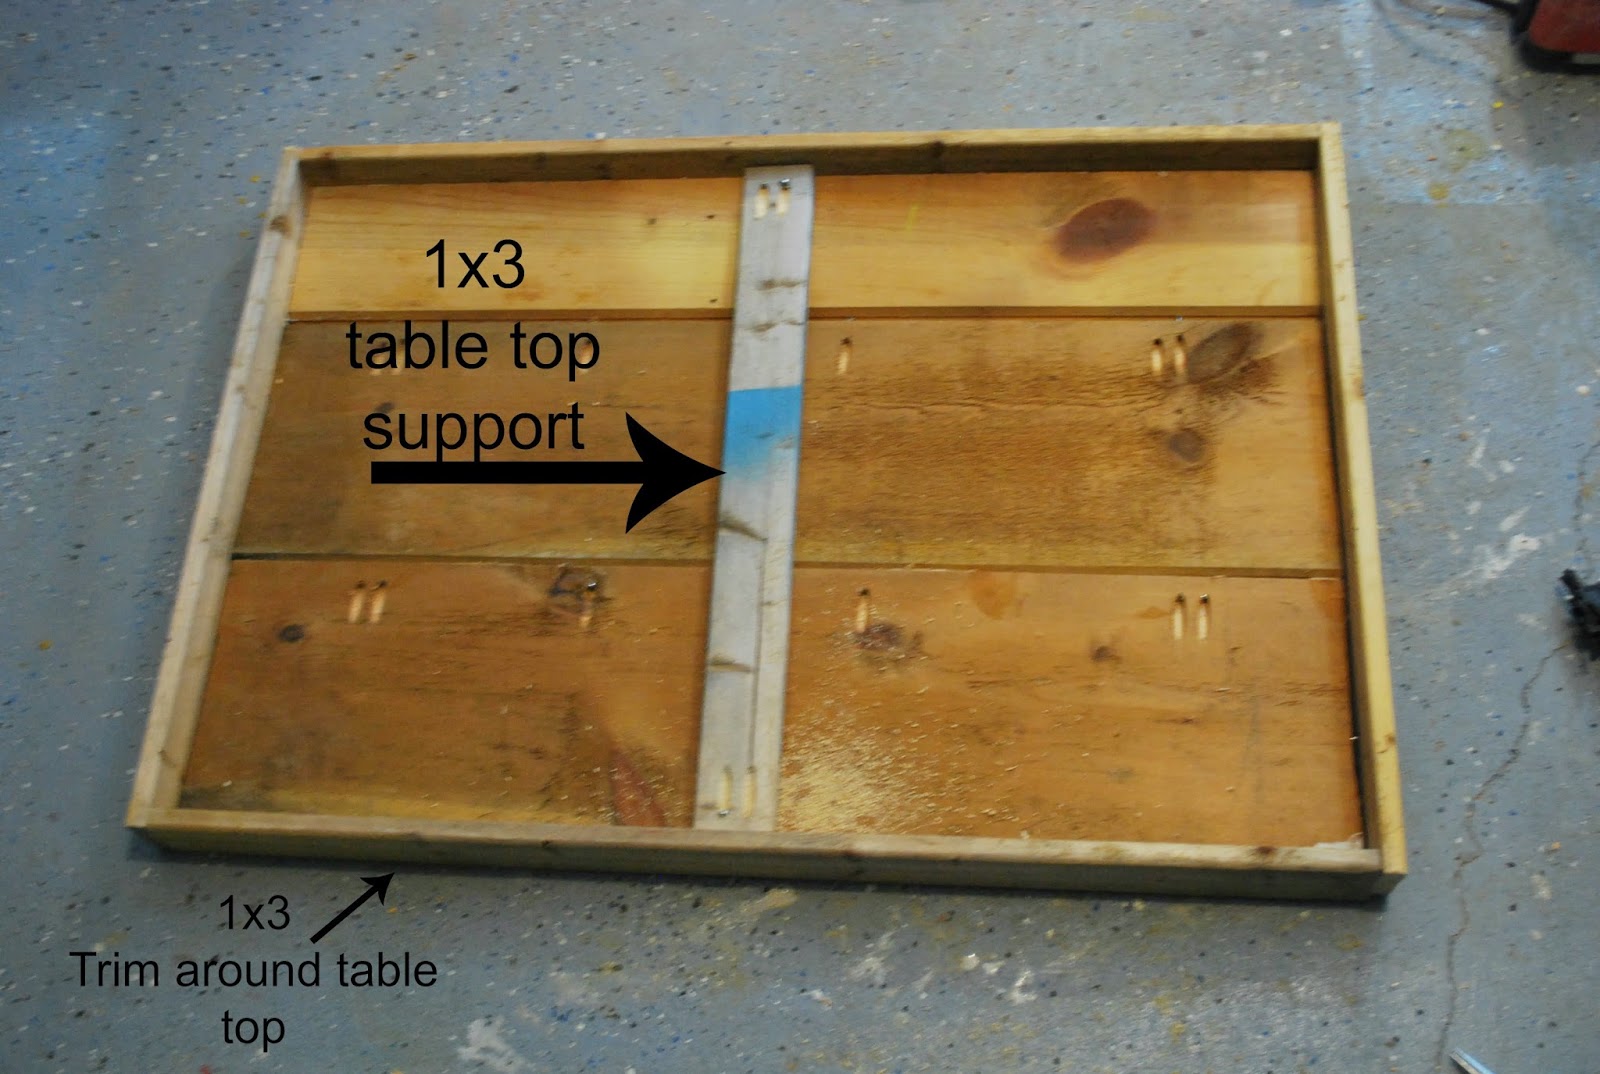
Next trim the table top with the 1×3. Cut to size. I am using old wood from a previous project I had stored in my workshop.

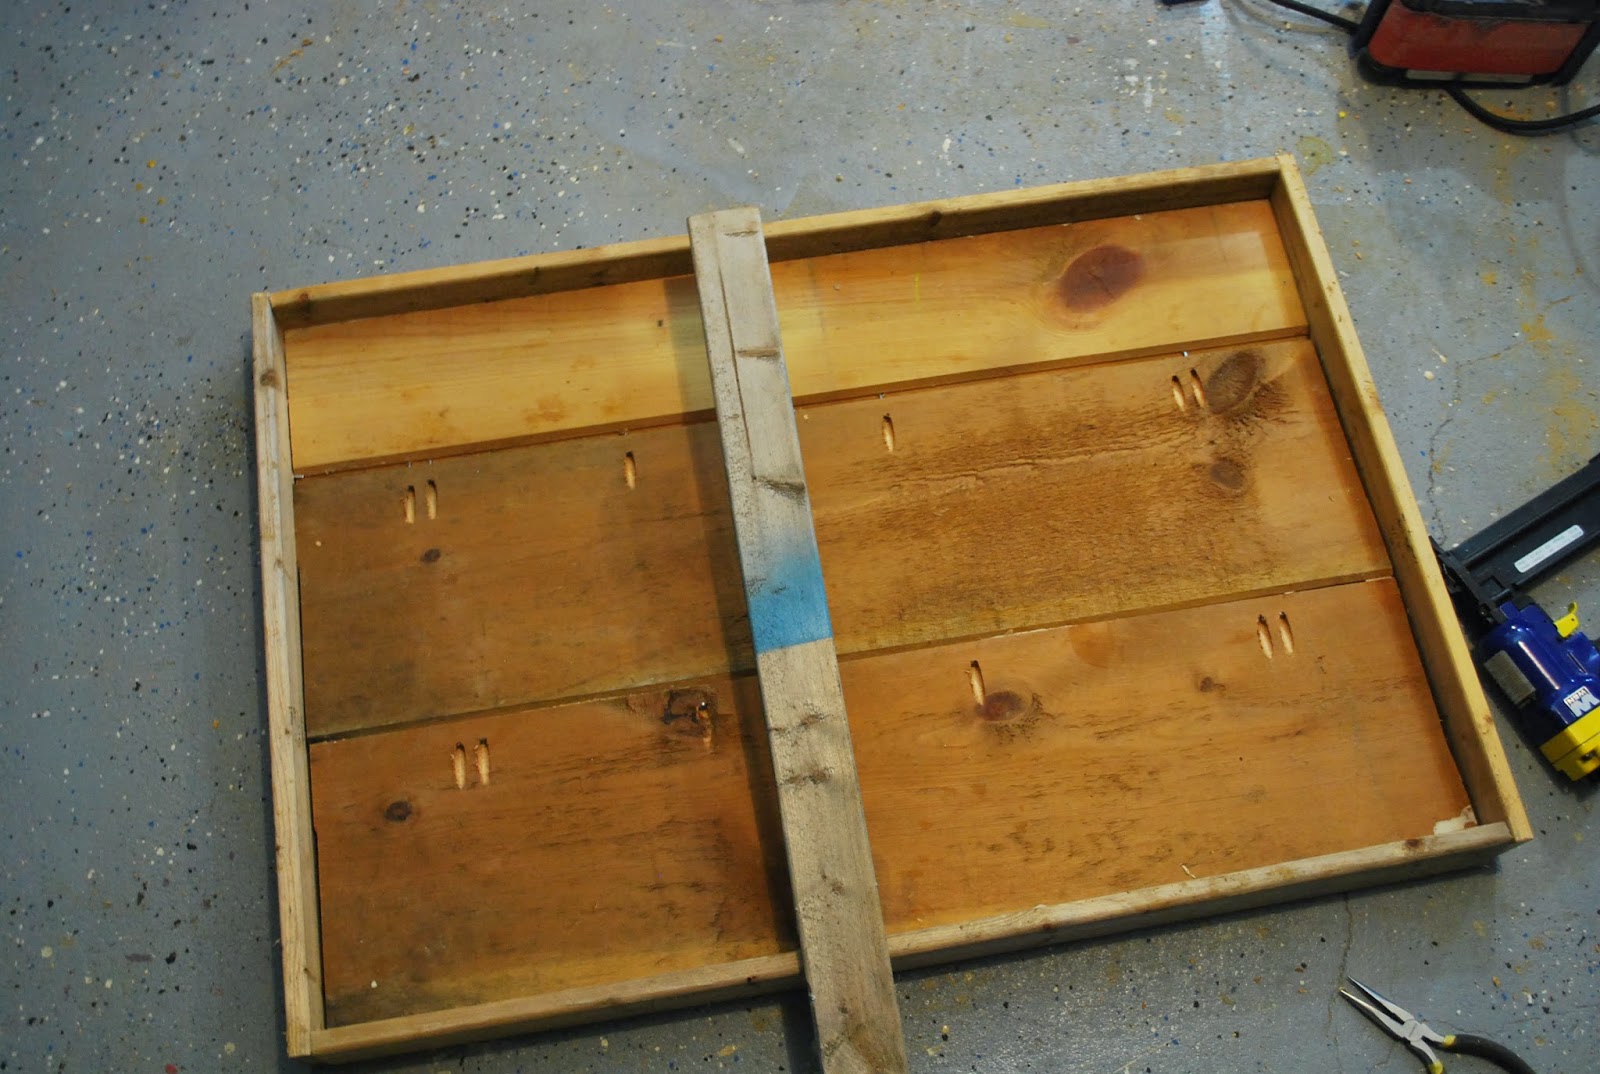
Place a supporting 1×3 board down the center of the table top attaching with pocket screws.
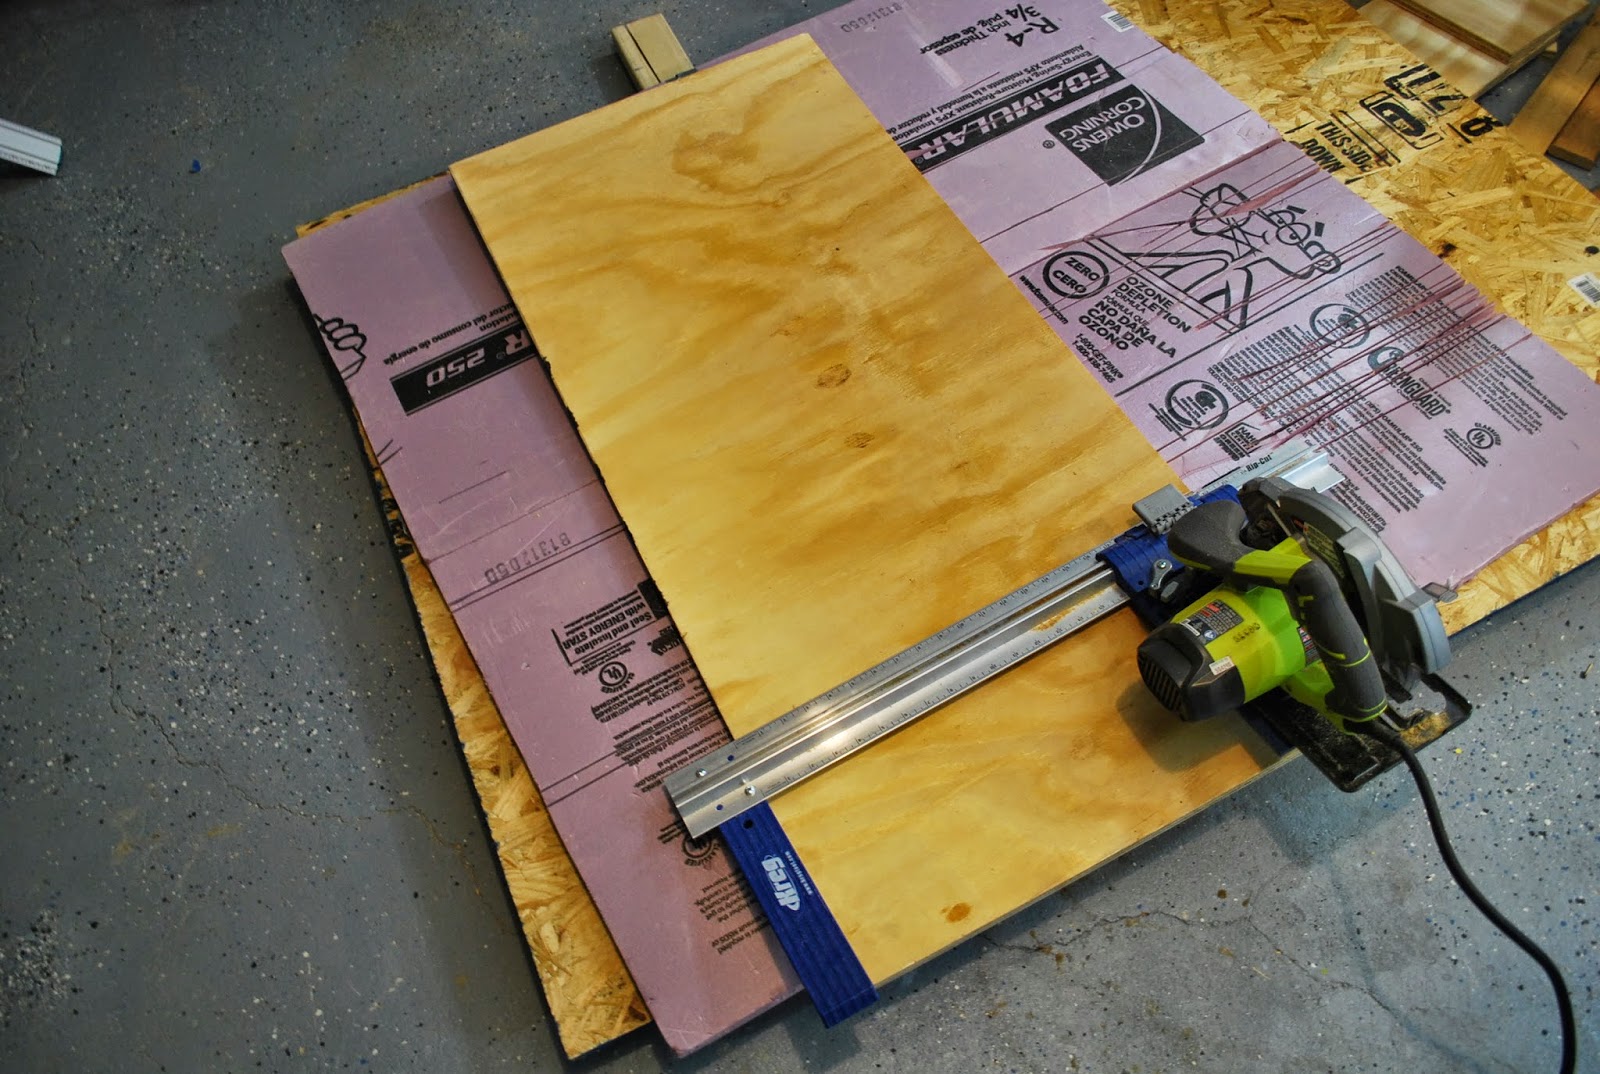
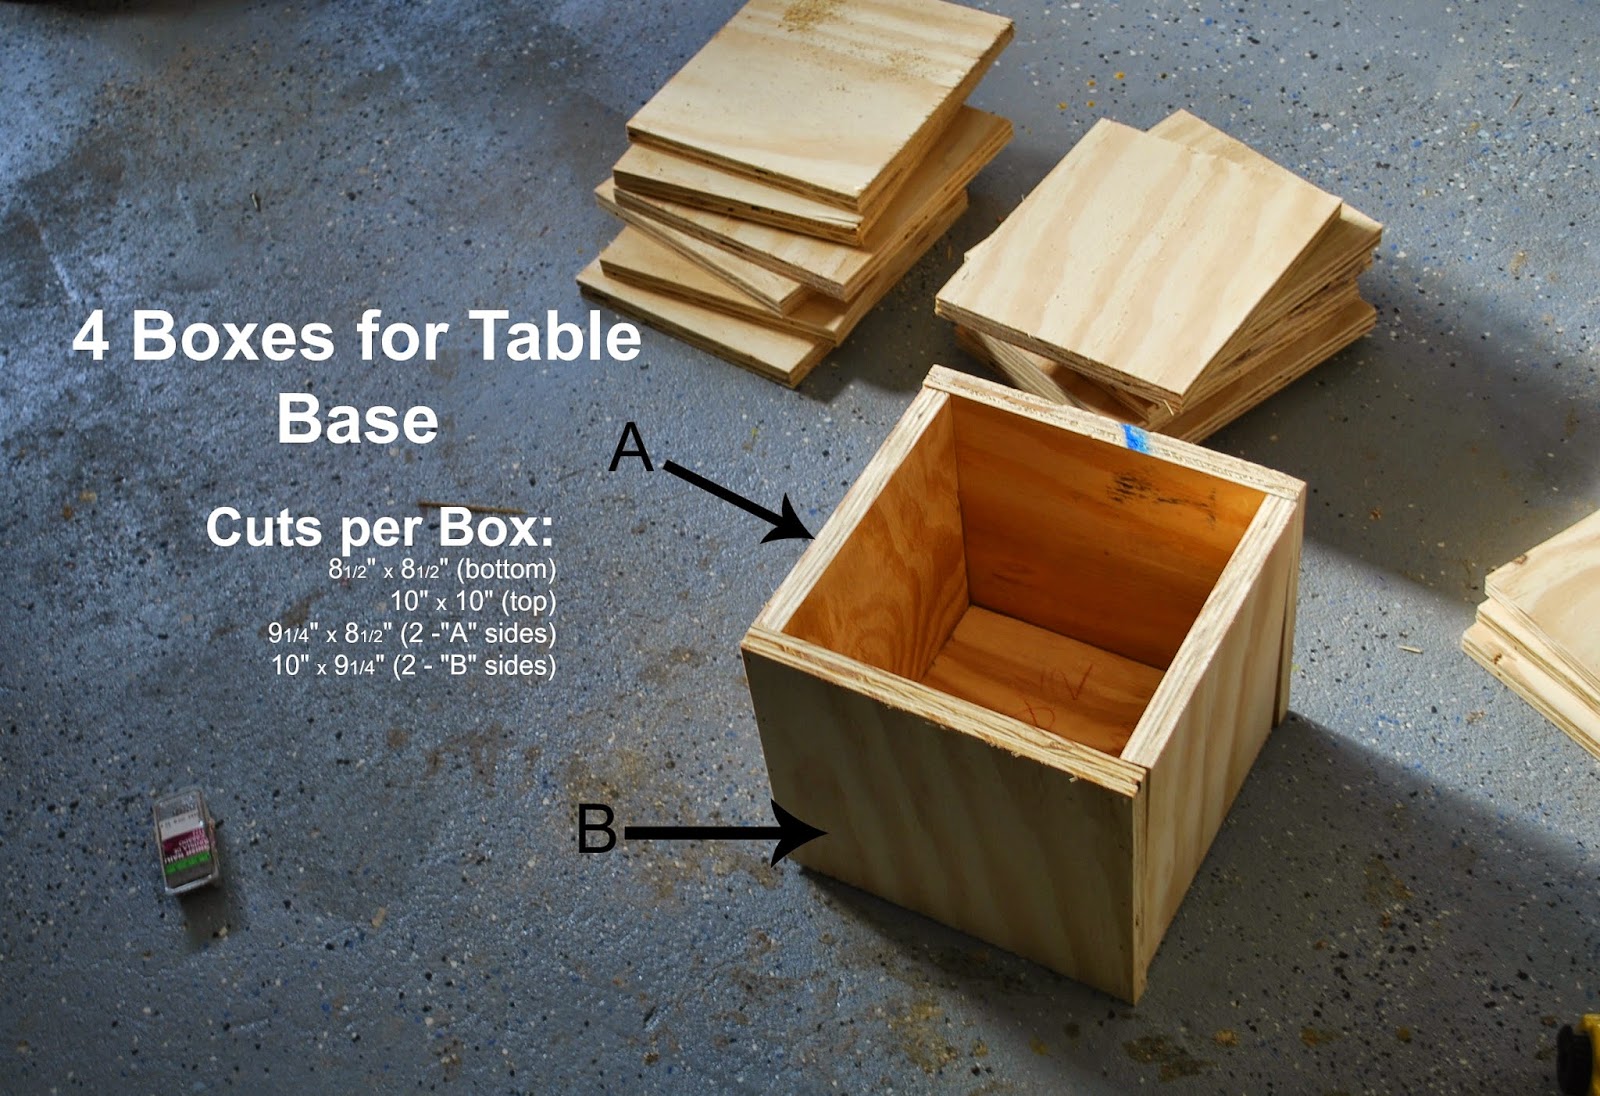
 Cut the box sides for the table base. I used my new Kreg Rip-Cut jig for the plywood cuts. It enabled me to make straight cuts using a circular saw.
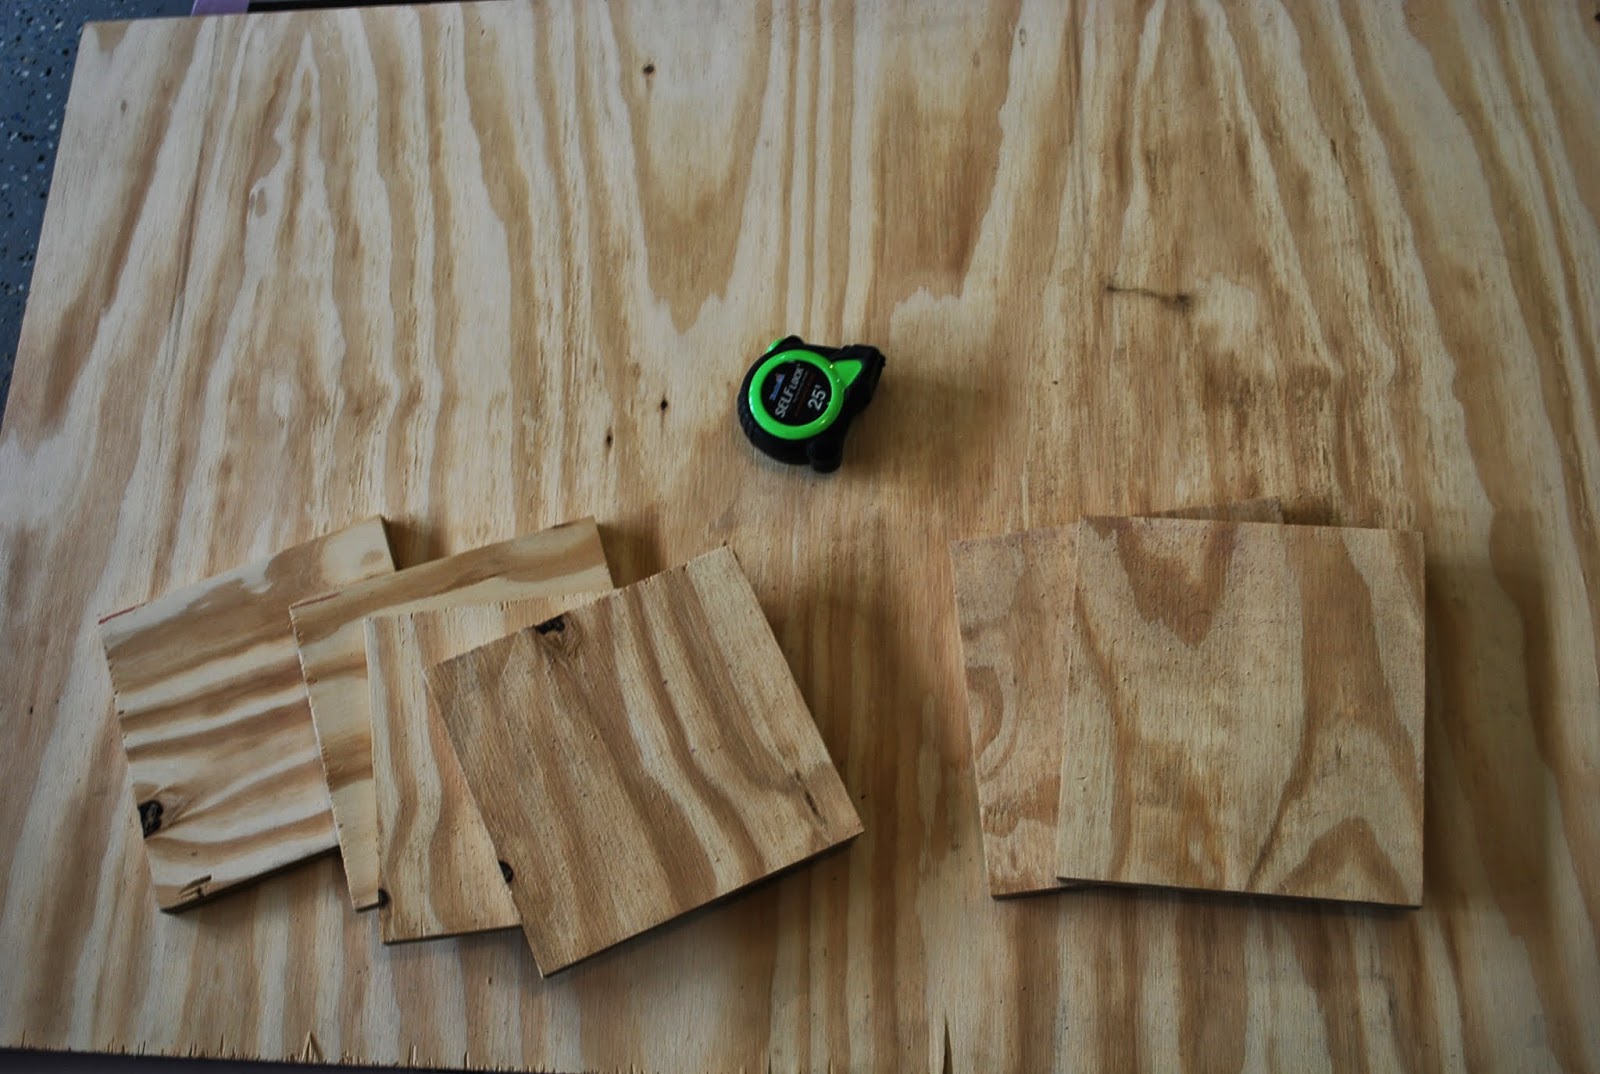
To cut the sheet of plywood on the floor I created a platform using 2x4s covered by a 1″sheet of insulation. This lifts the plywood at a safe cutting height from the floor and it this low flat level it provides stability when cutting such a large piece of wood.

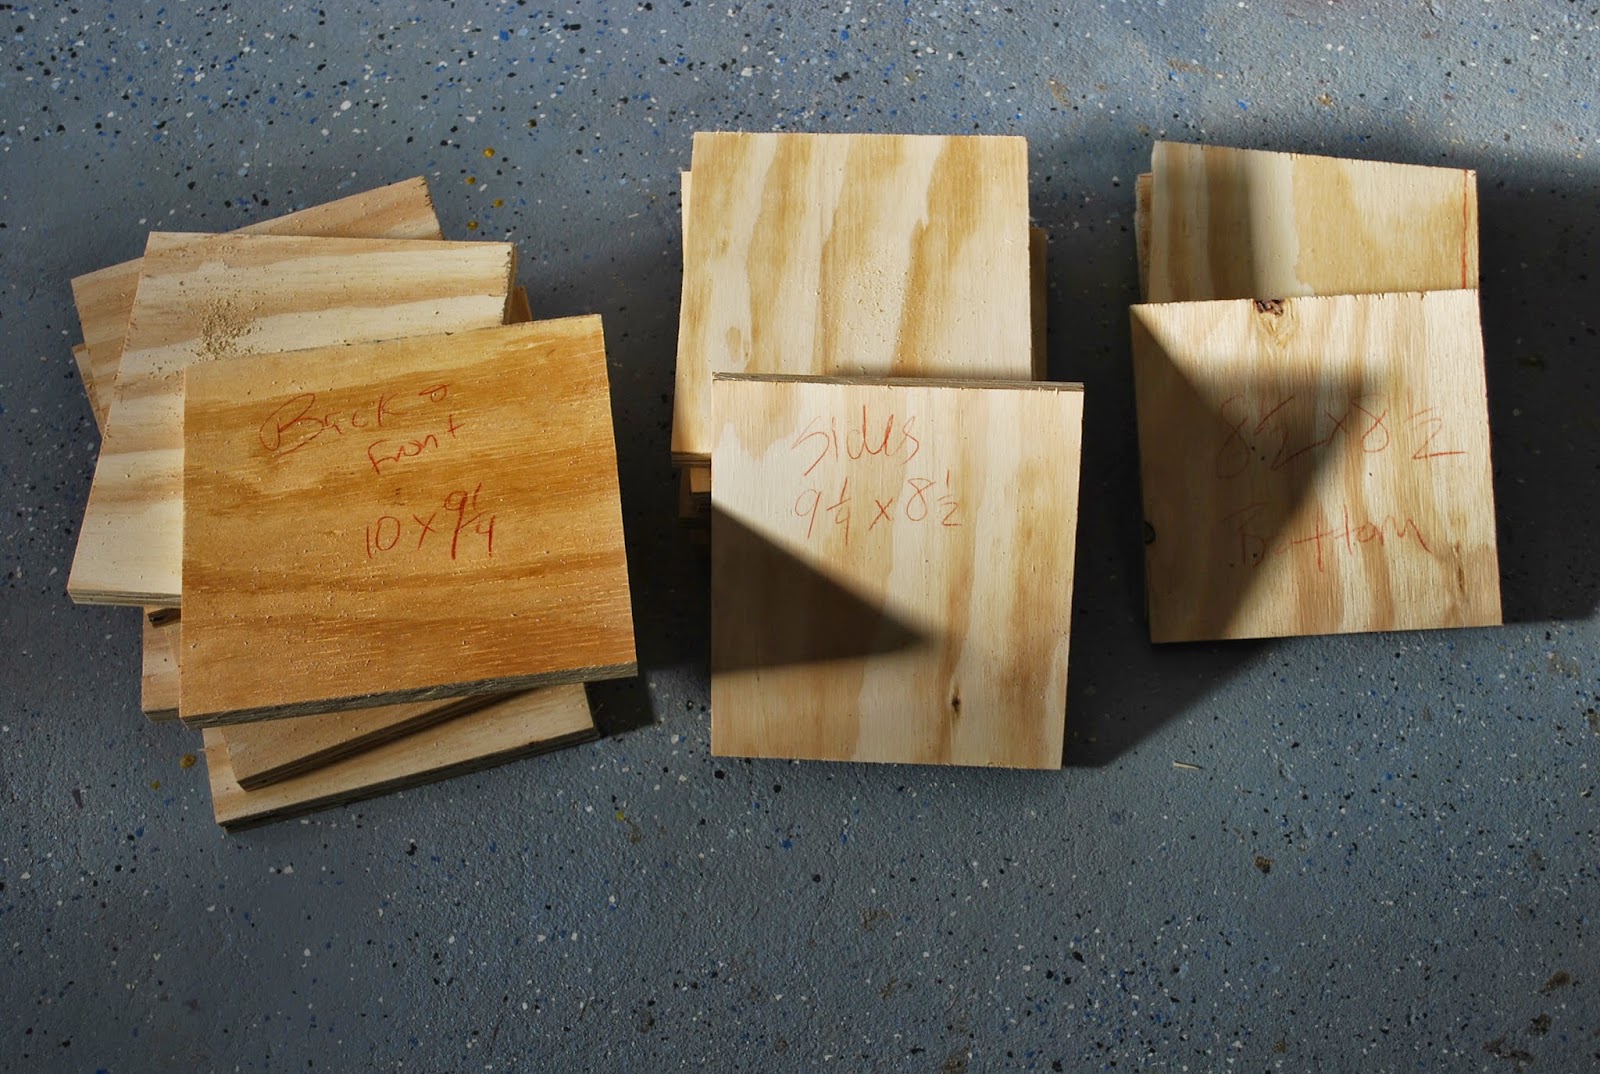
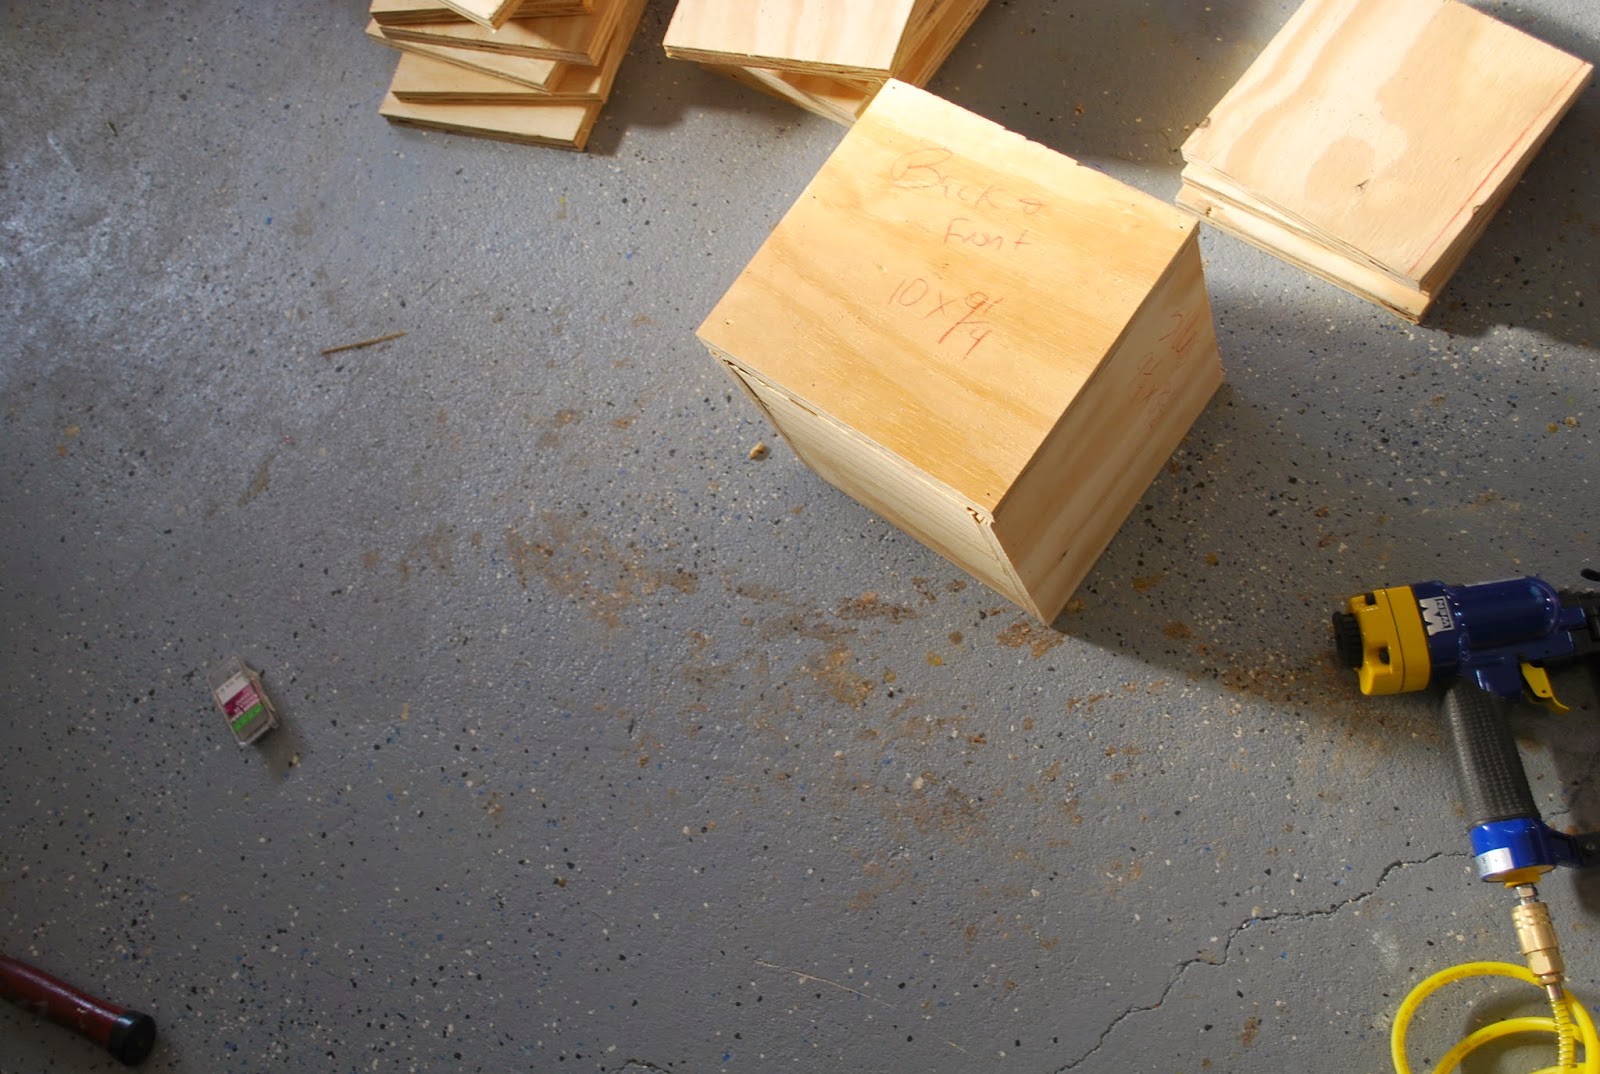
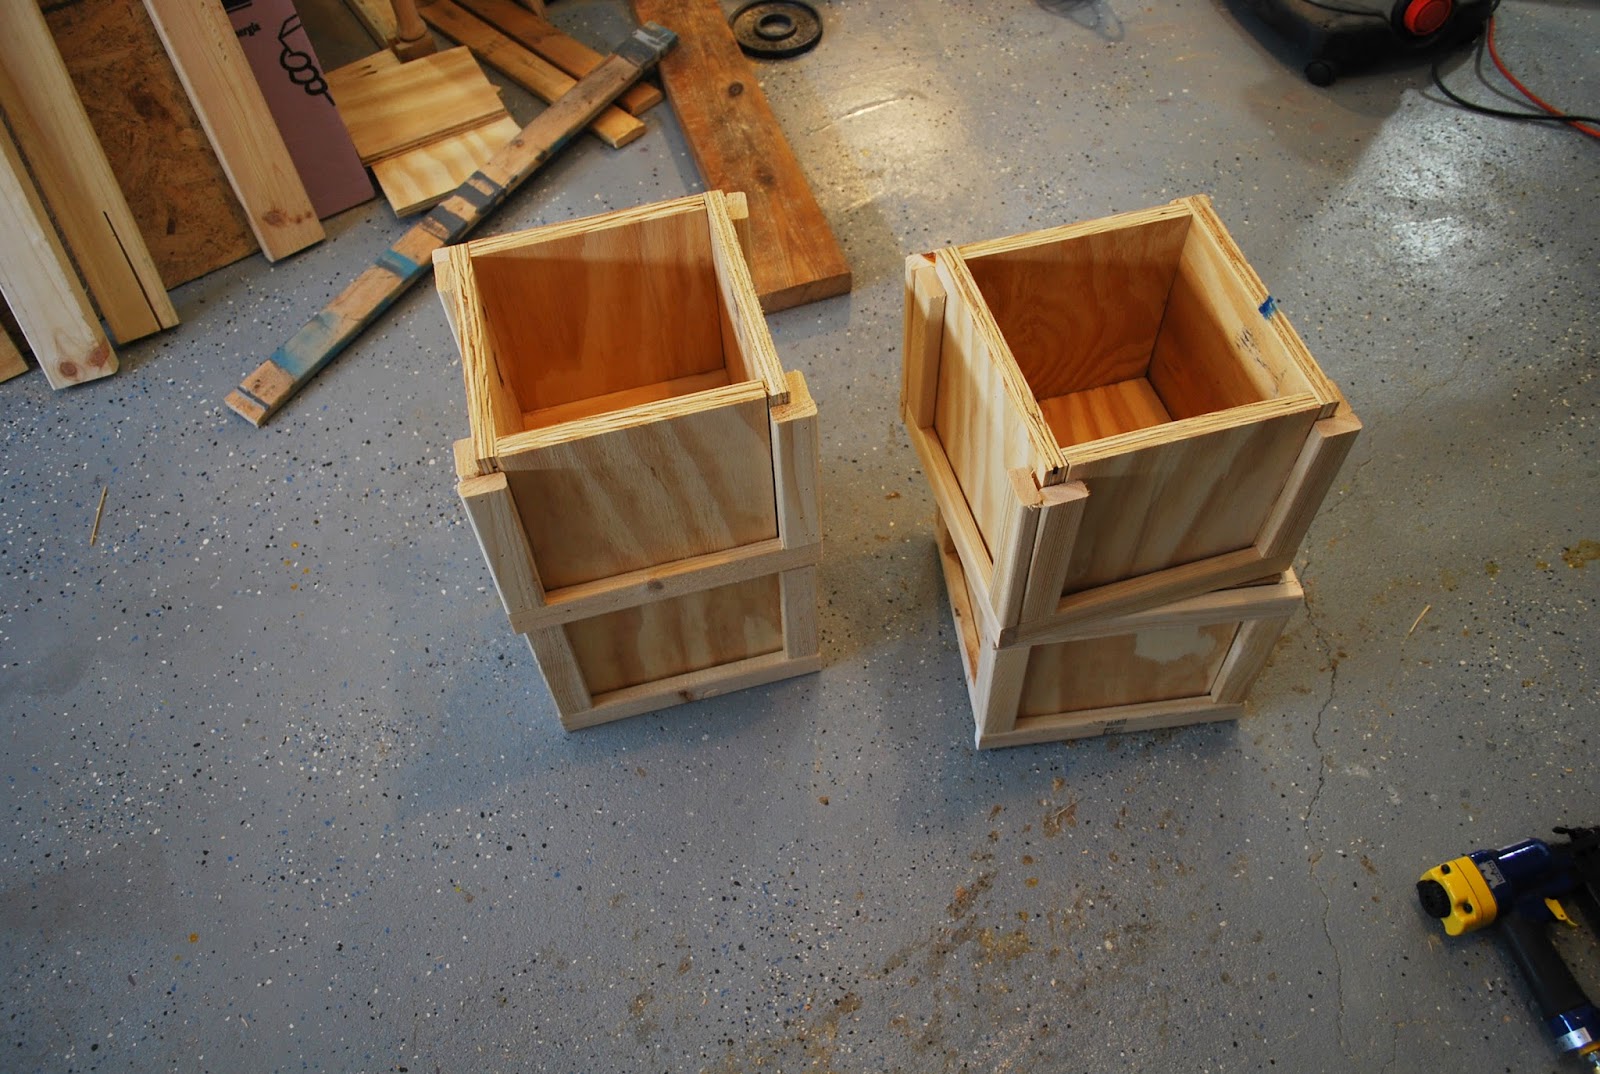
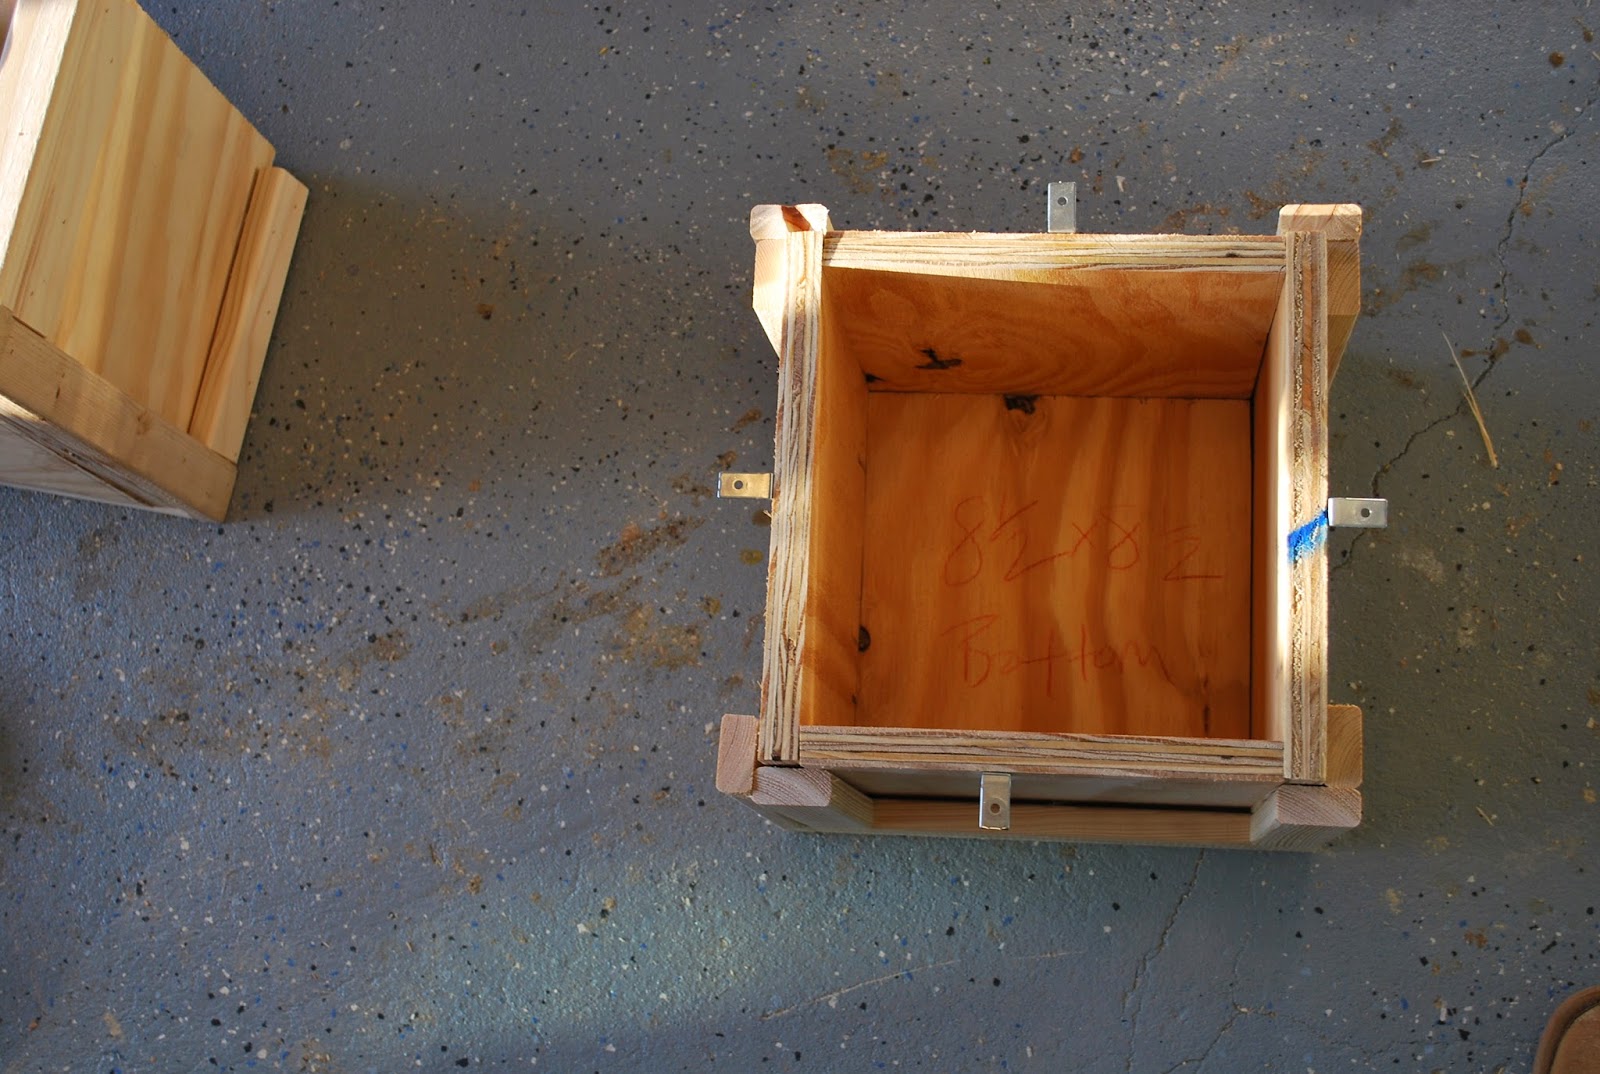
Starting with the bottom 8 1/2″ x 8 1/2 piece start attaching the sides of the boxes in accordance to the cut diagram for the 4 boxes. This projects moves faster with a nail gun. However, it can be completed with a hammer and nails.
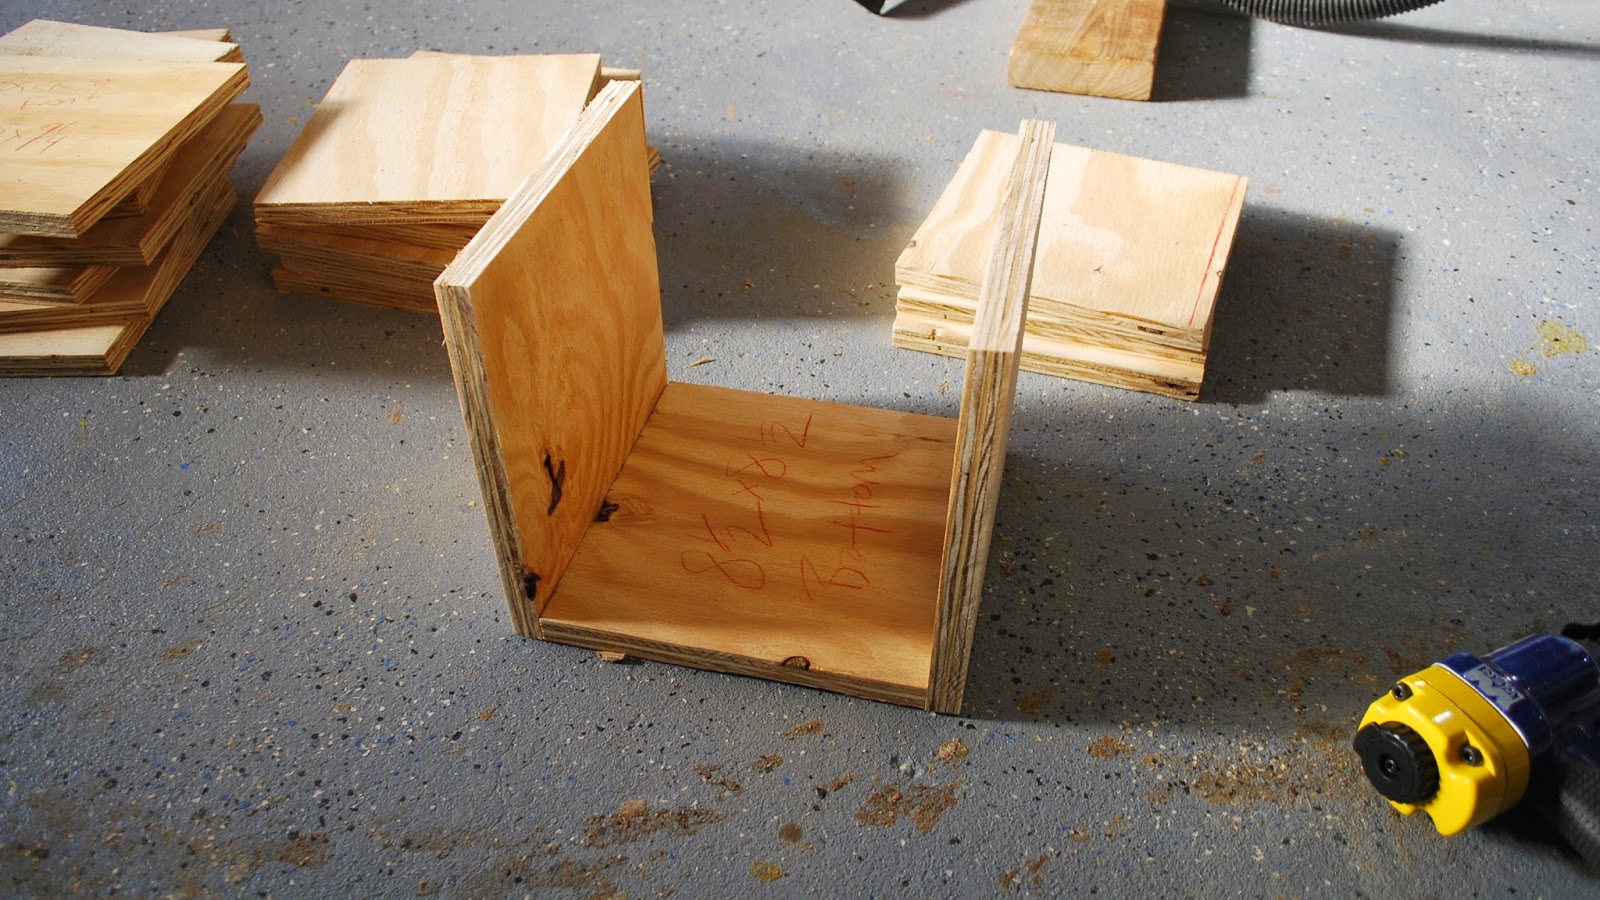

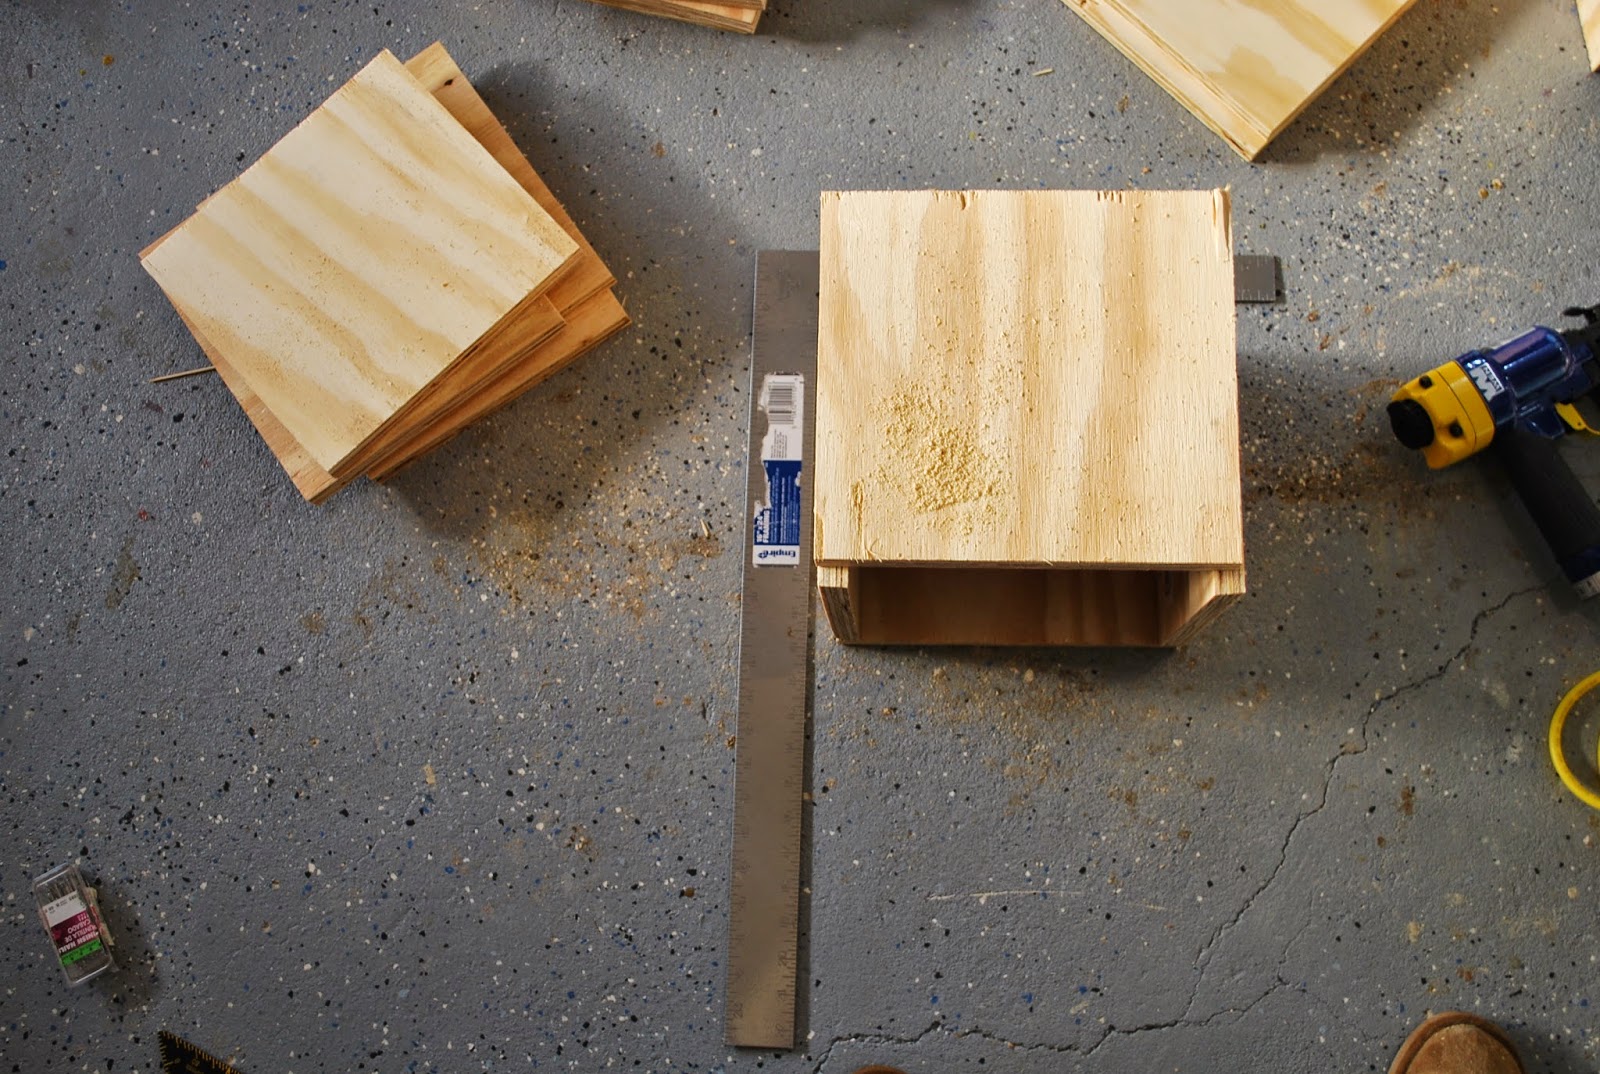
Use a Carpenter’s square to ensure each corner of the boxes are square and lined up correctly.
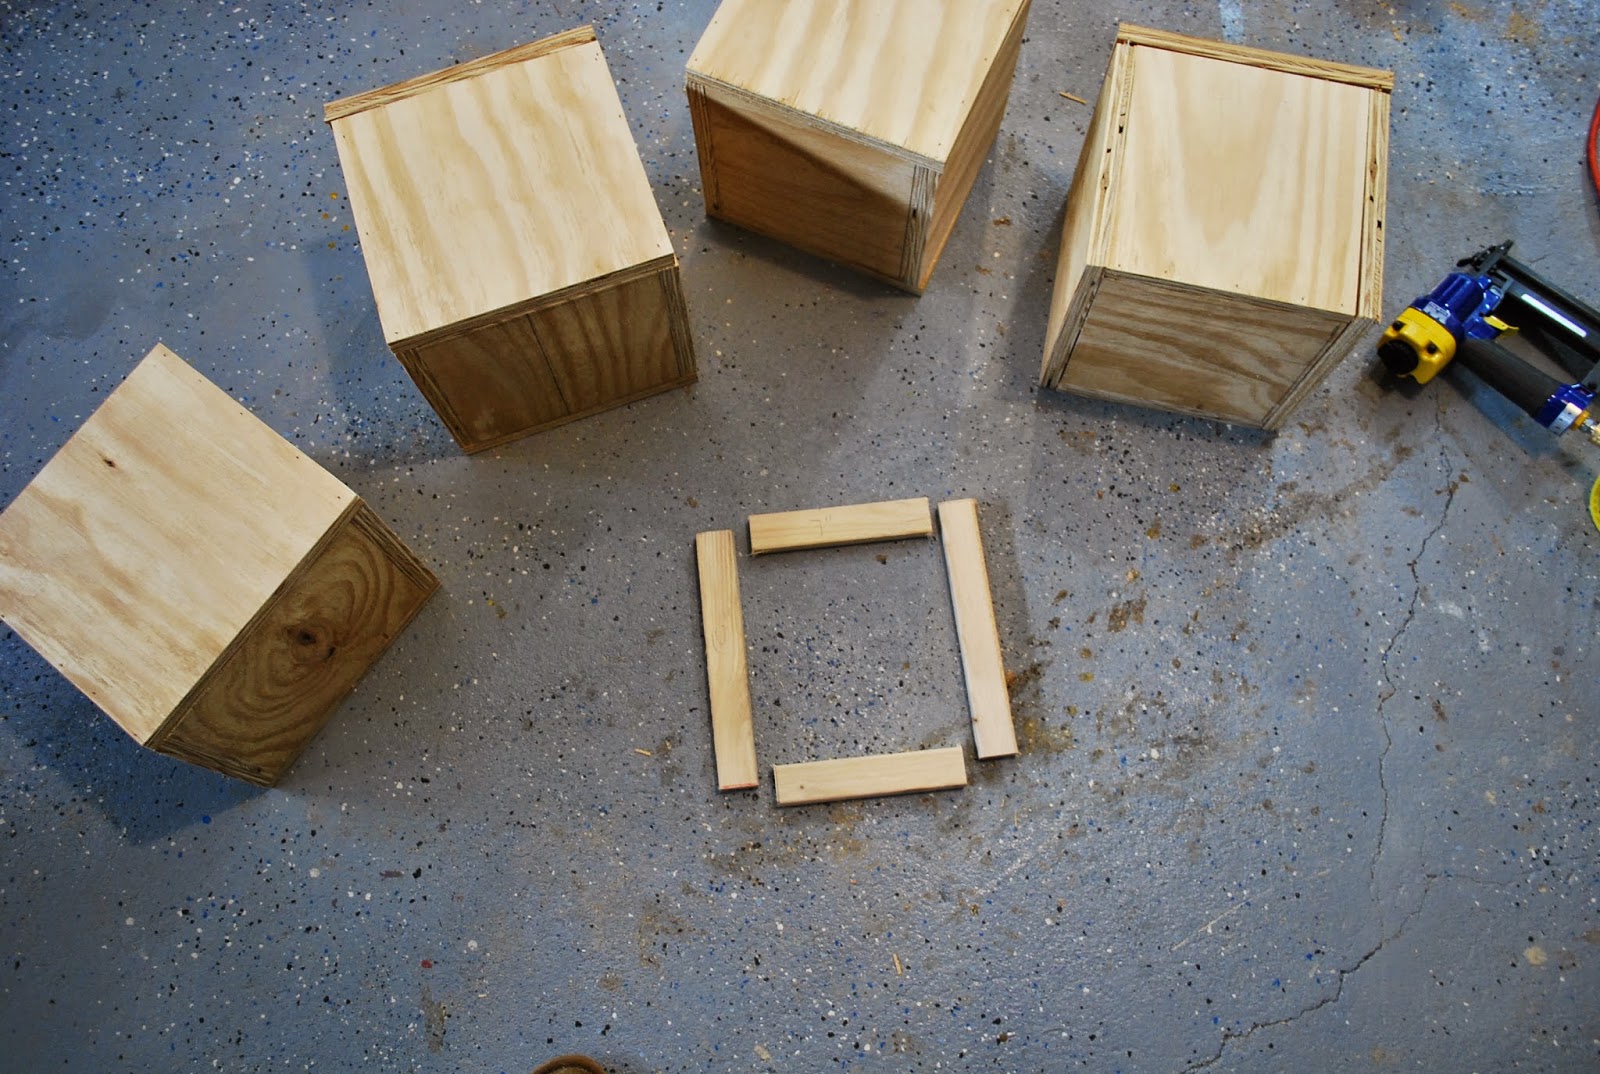
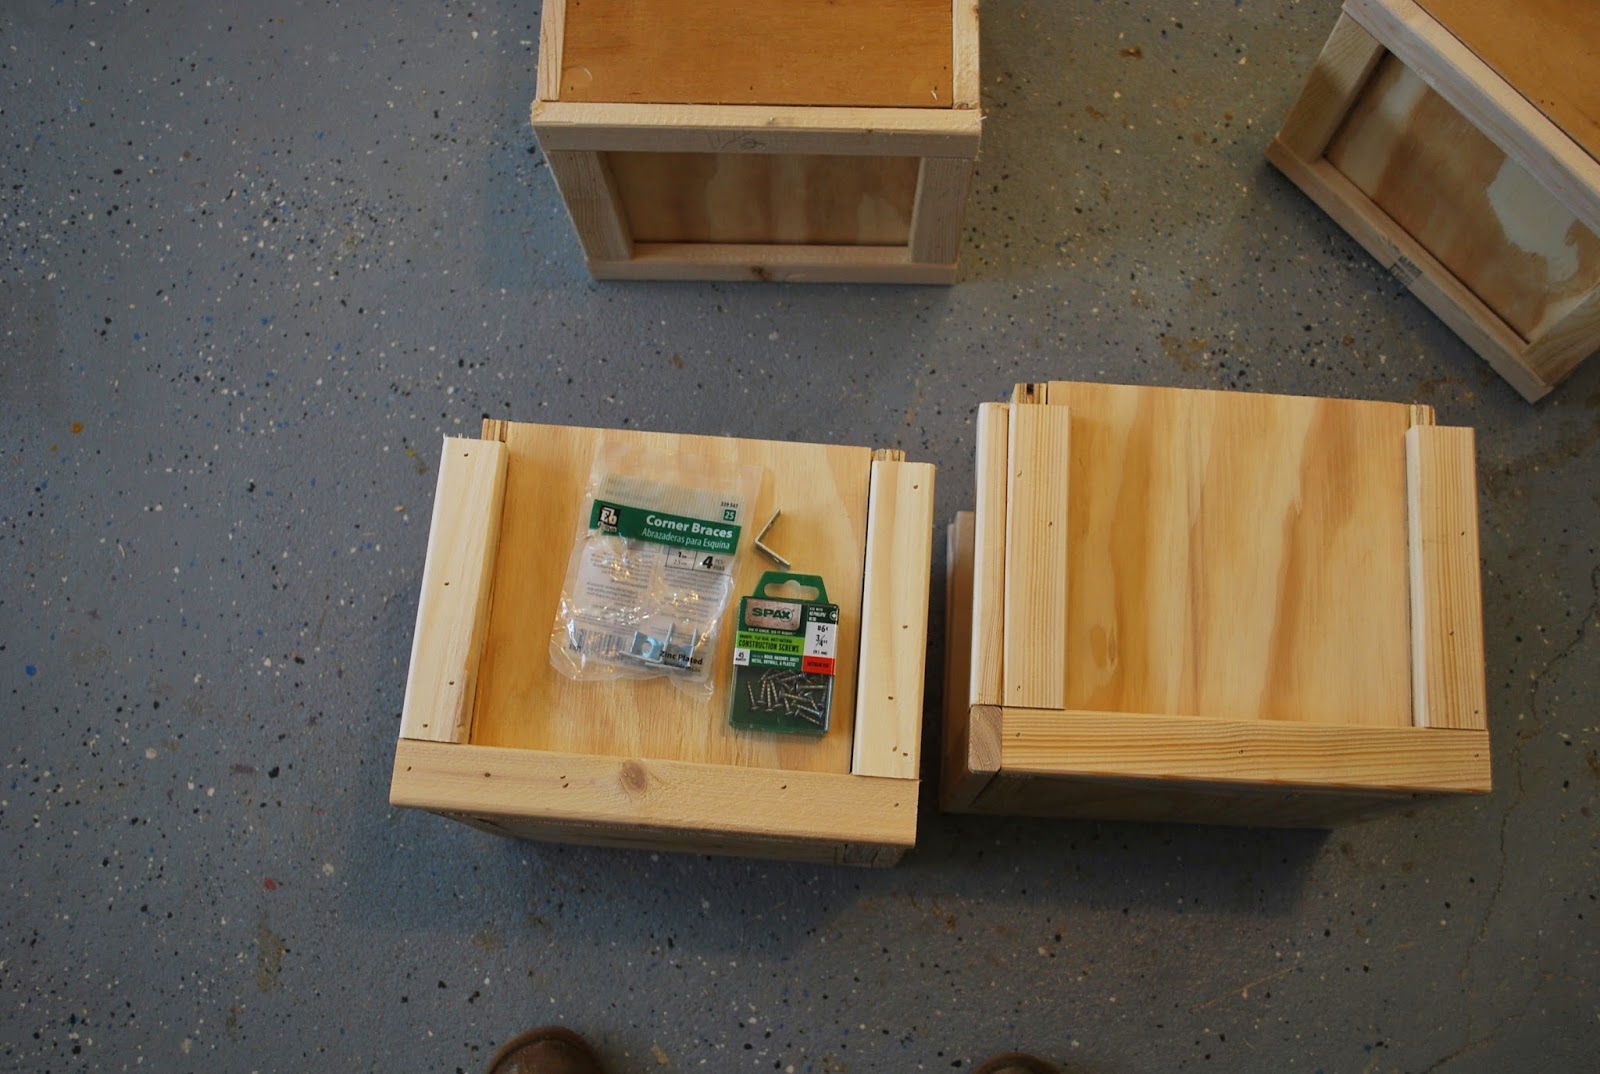
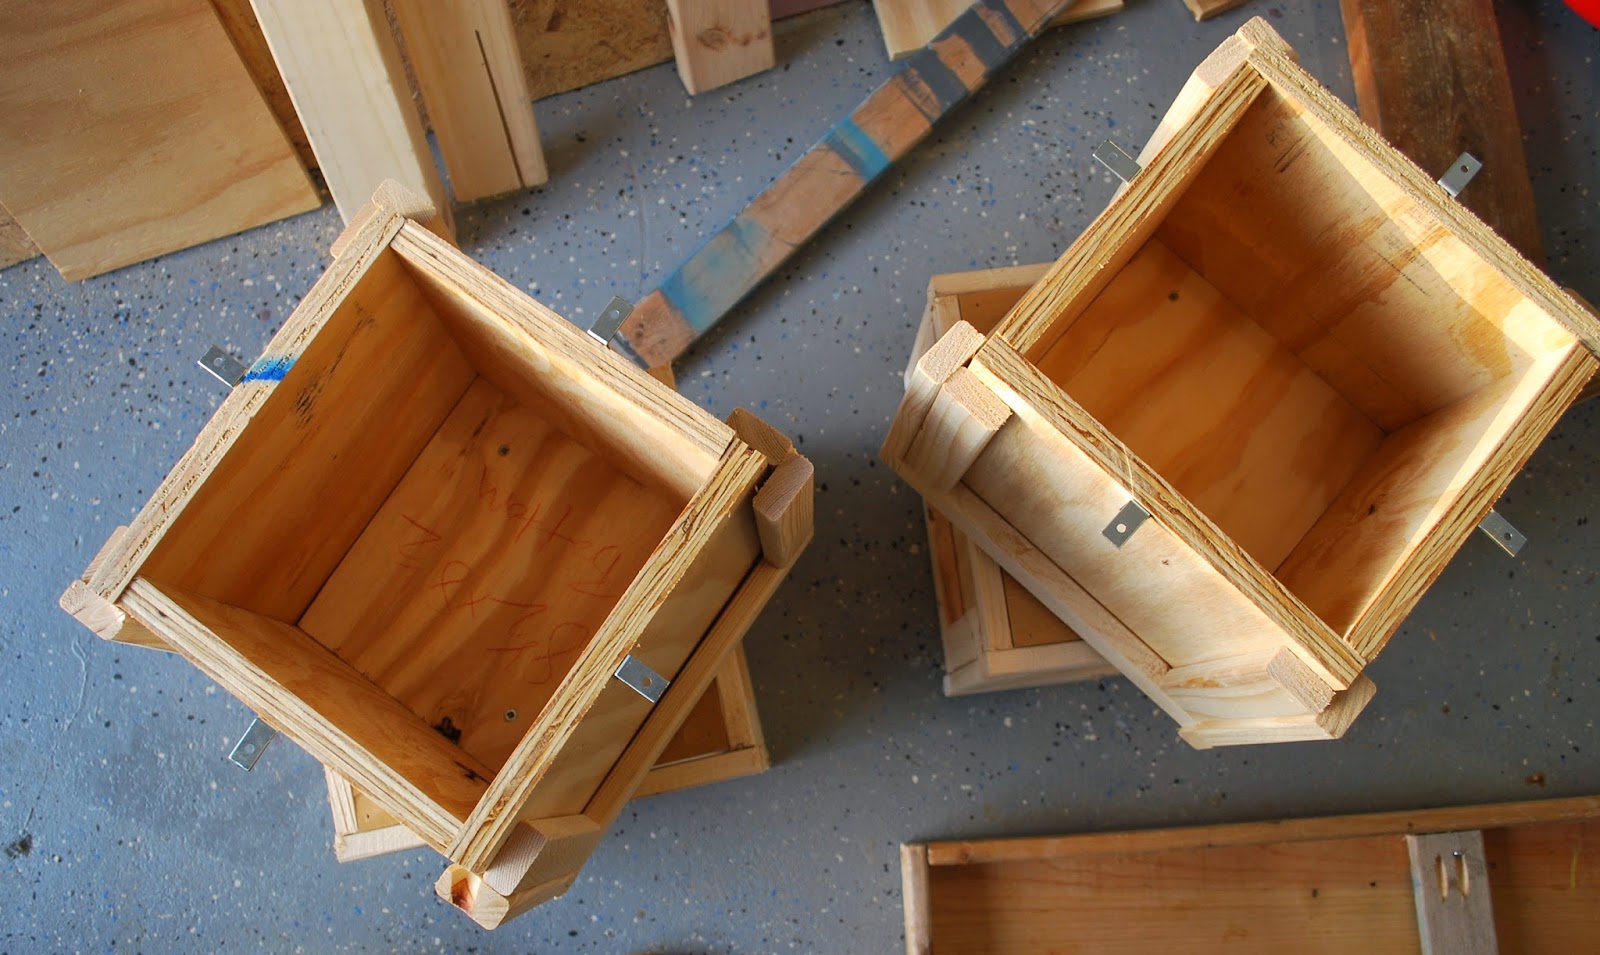
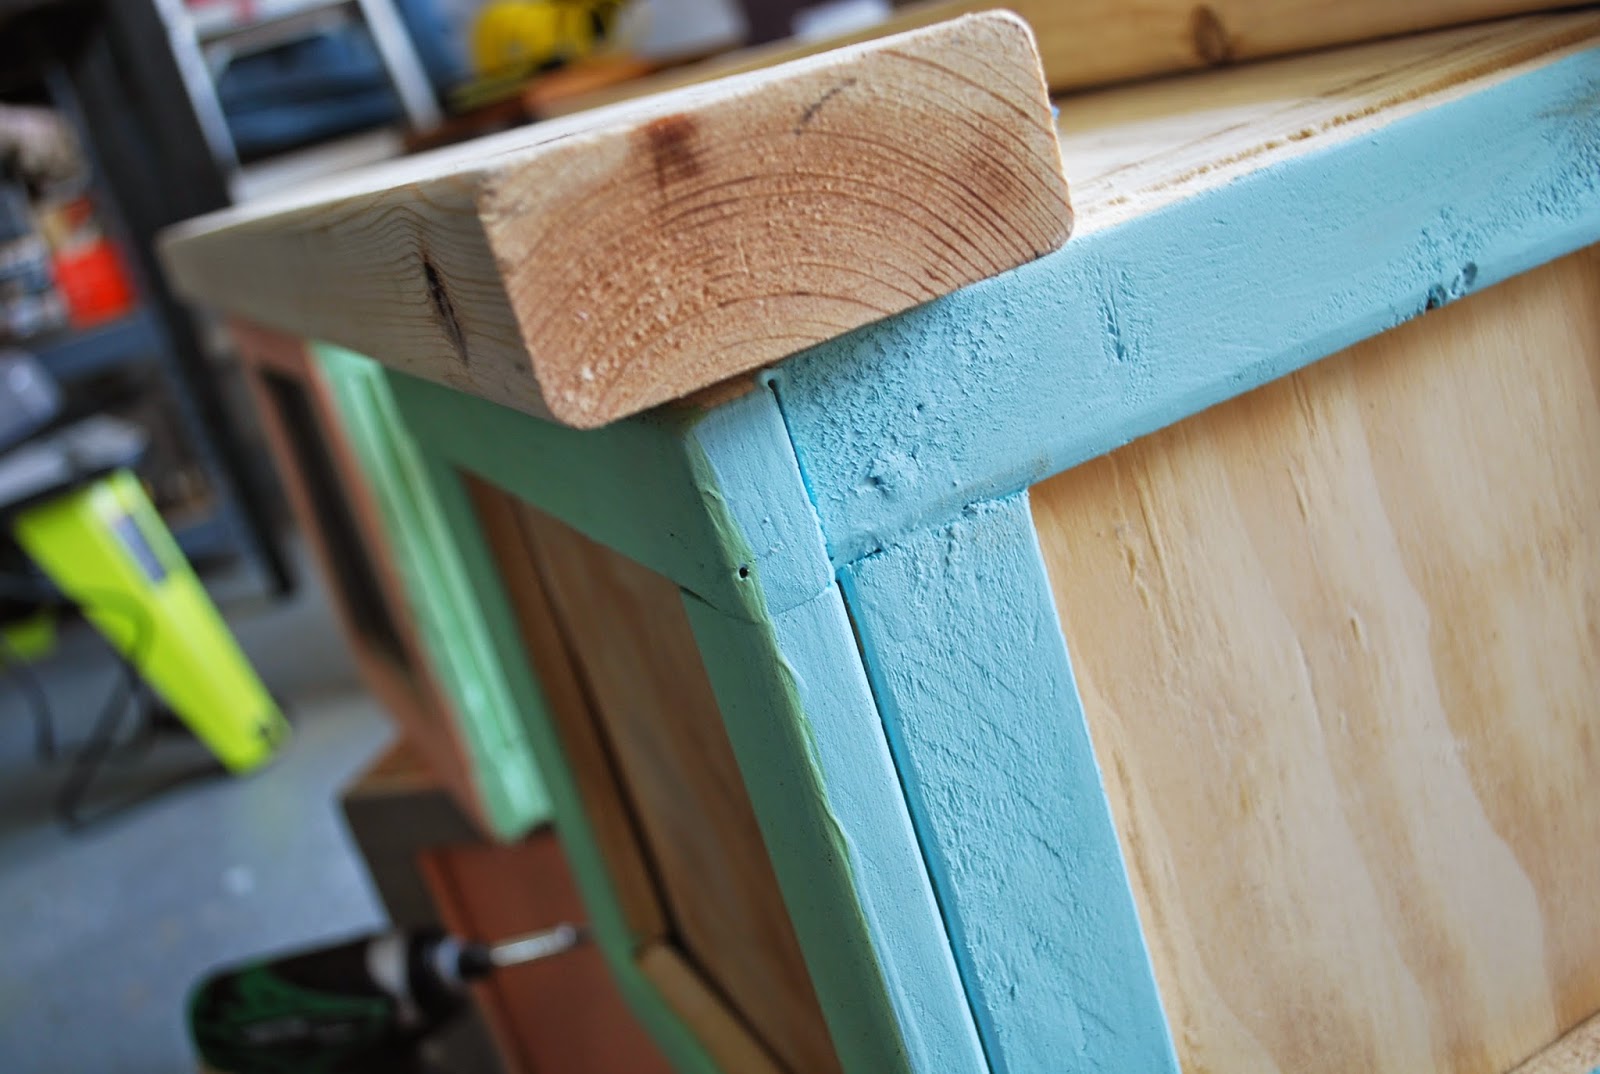
Once the boxes are assembled trim the four sides of each box with the 1×2. Normally I would say cut to measure, but I’ll provide the trim measurements I came up with.
This is in order of first, second, third, & forth meaning just go in order of what side you touch first to last.
Side 1: 2 – 7″ & 2 – 10″ cuts
Sides 2 & 3: 2 – 7″ & 2 – 10 3/4″ cuts
Side 4: 2 – 7″ & 2 – 11 1/2″
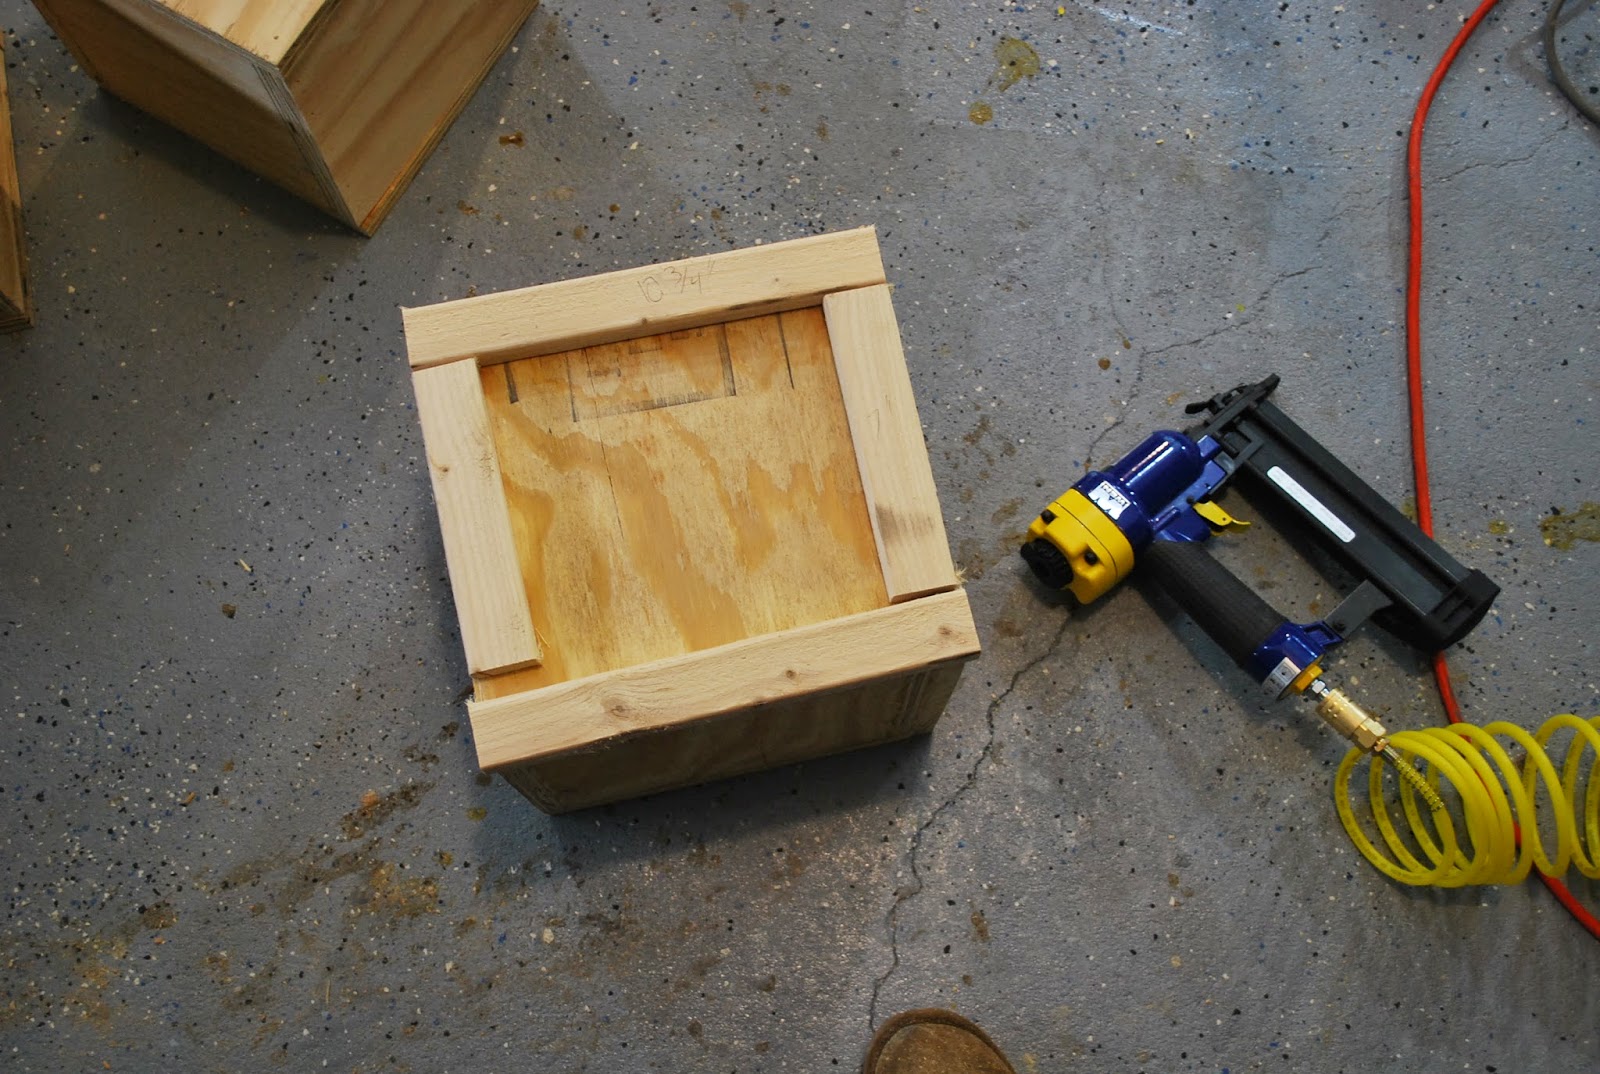
Attach the trim using a brad nailer.
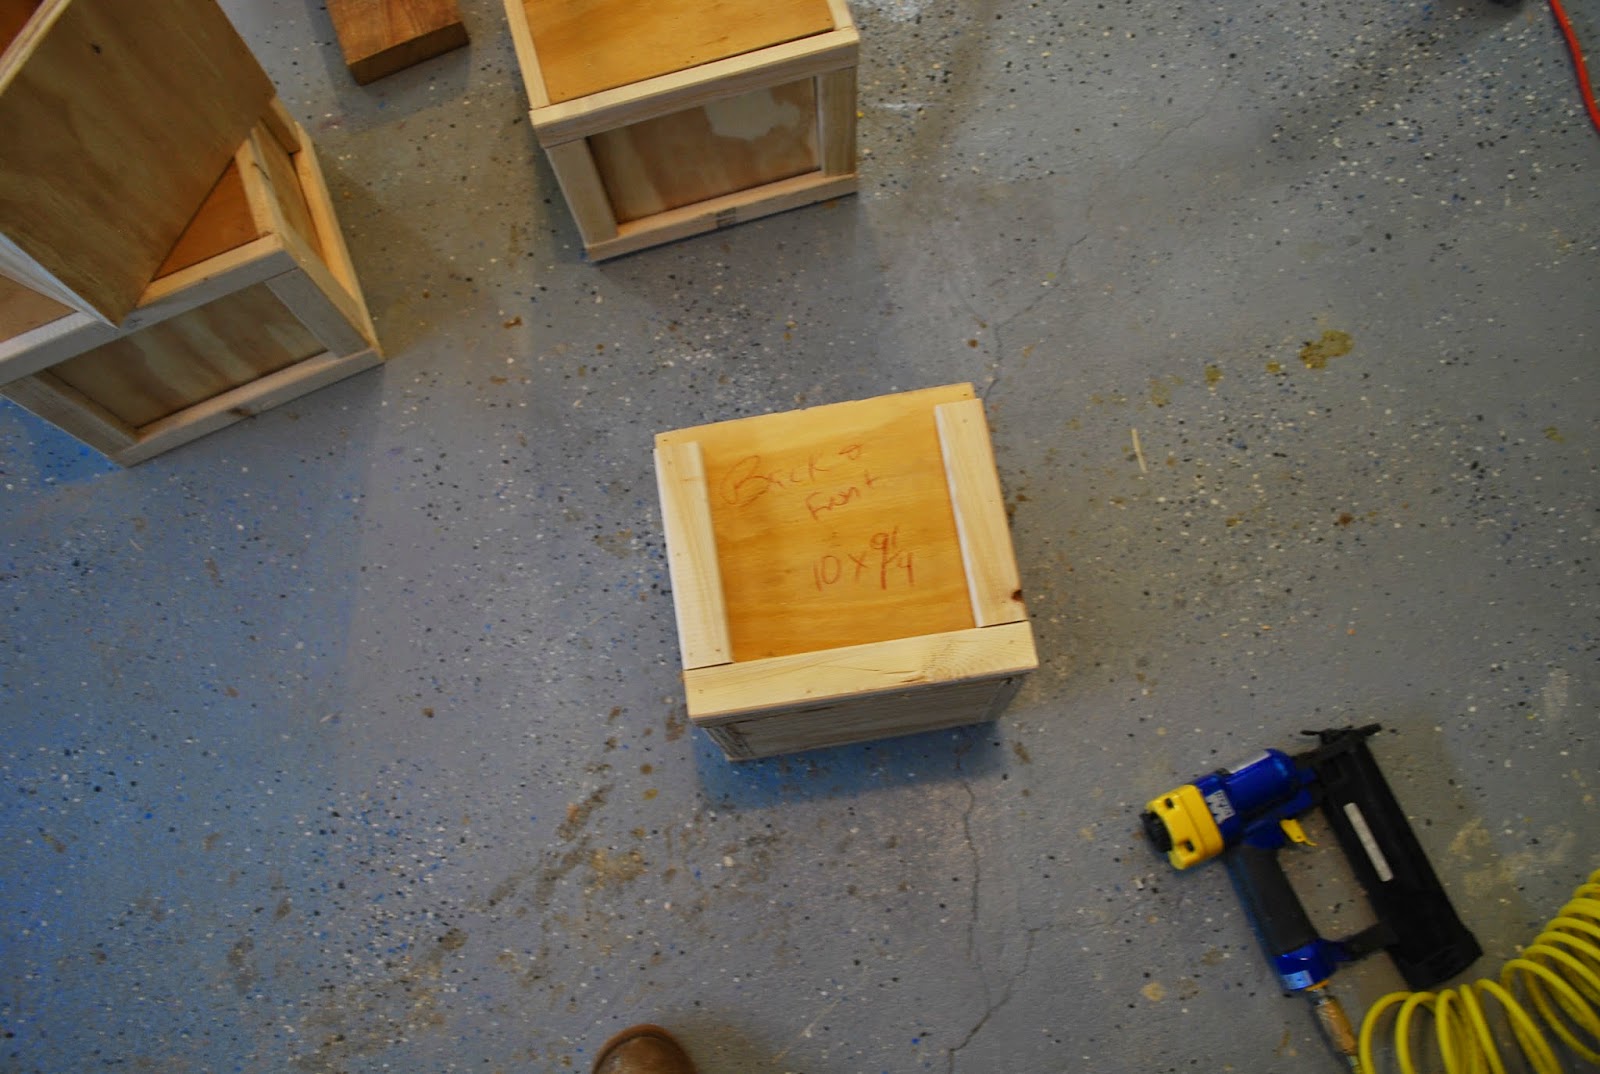
Note that the two boxes at the top didn’t have a horizontal top trim. I wasn’t necessary given the table top would cover that portion of the boxes.
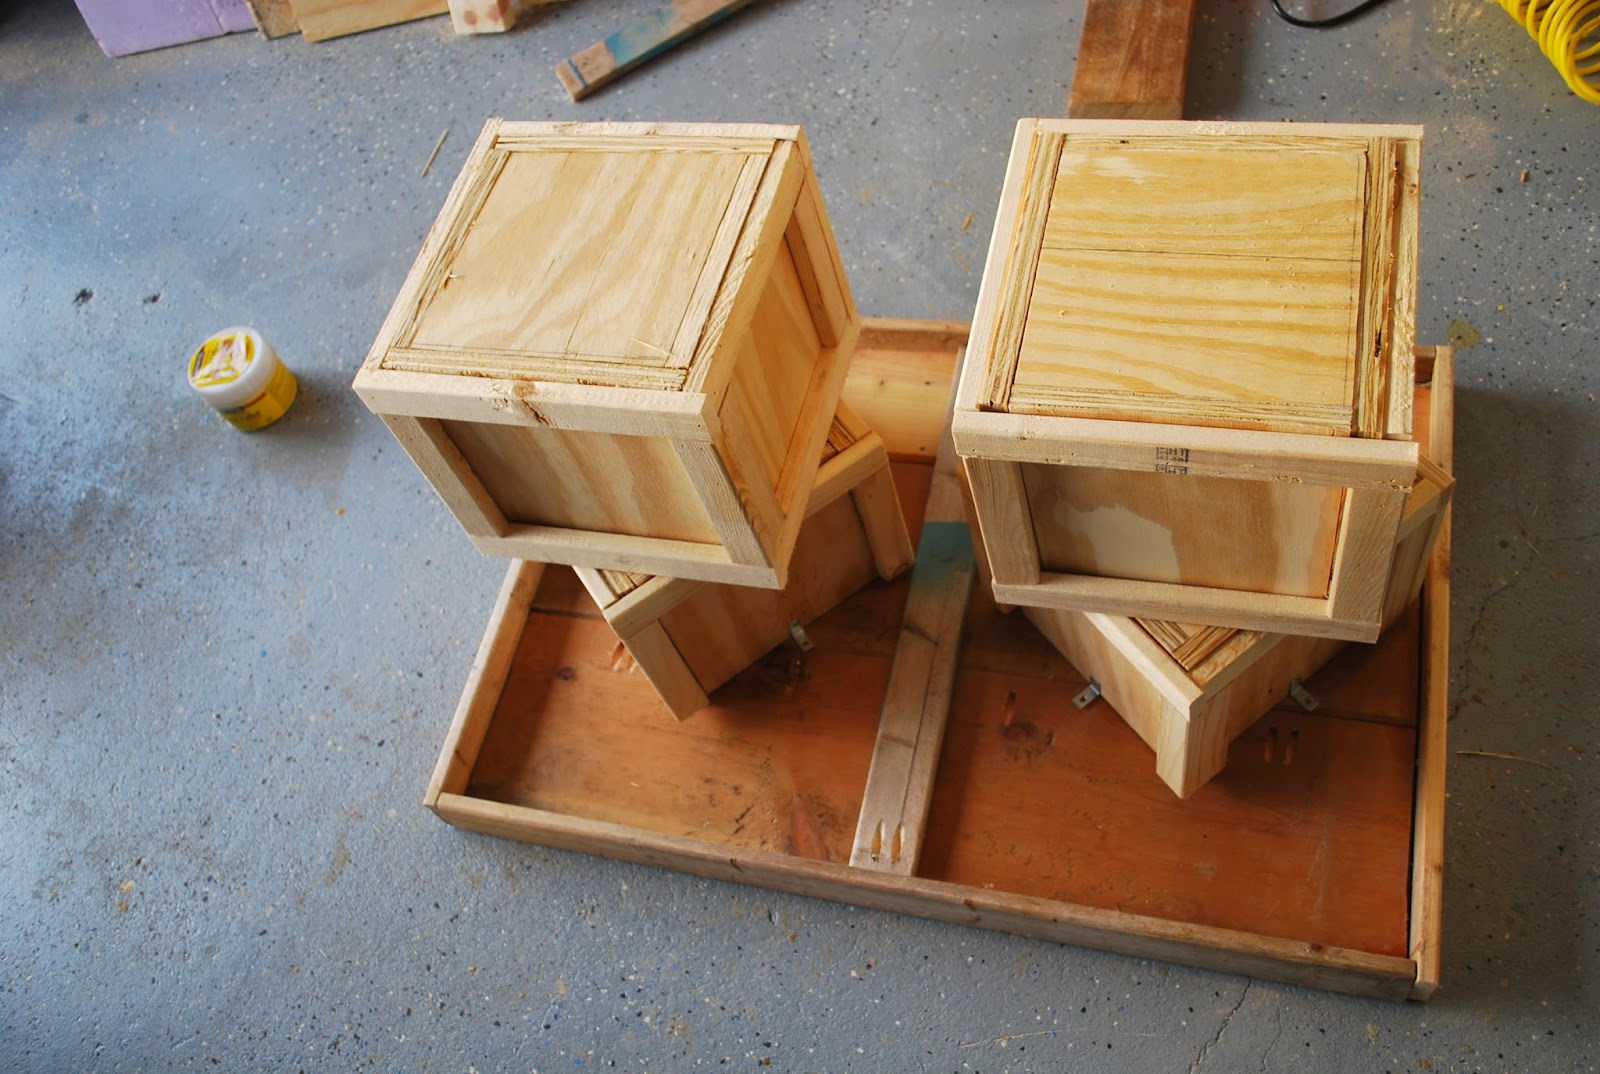
Attach 1 corner brace to each side of the top boxes. This will be used to attach the “legs” to the table top.
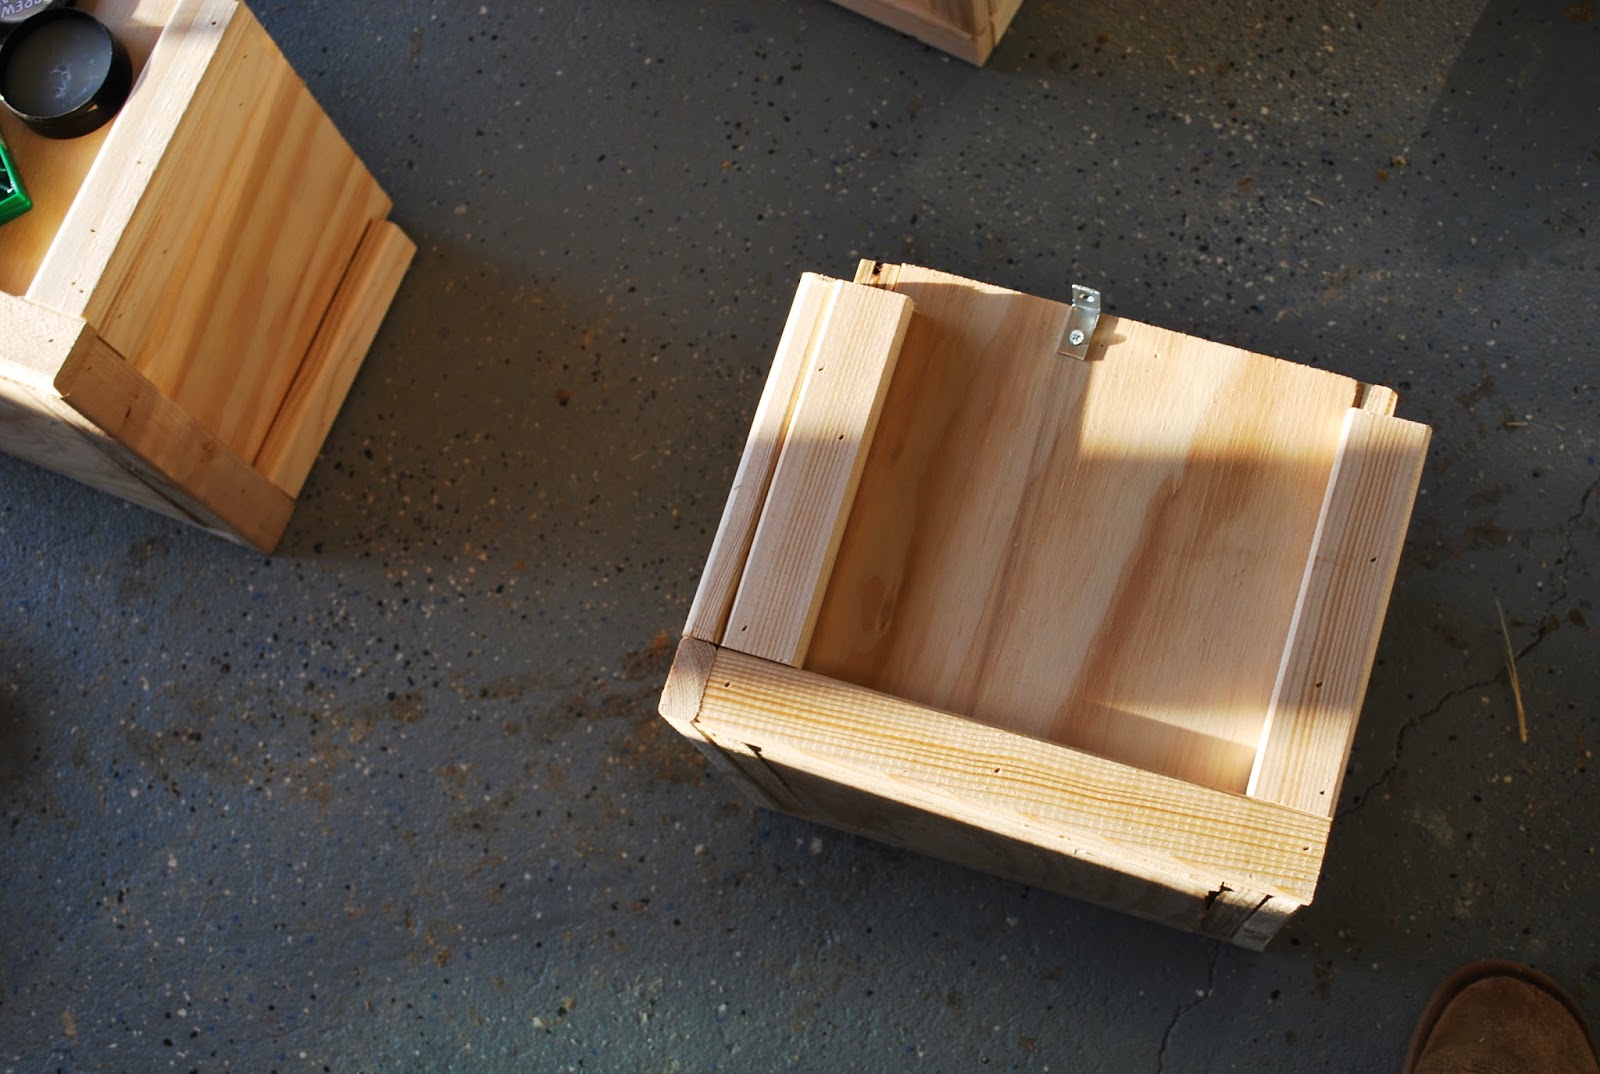
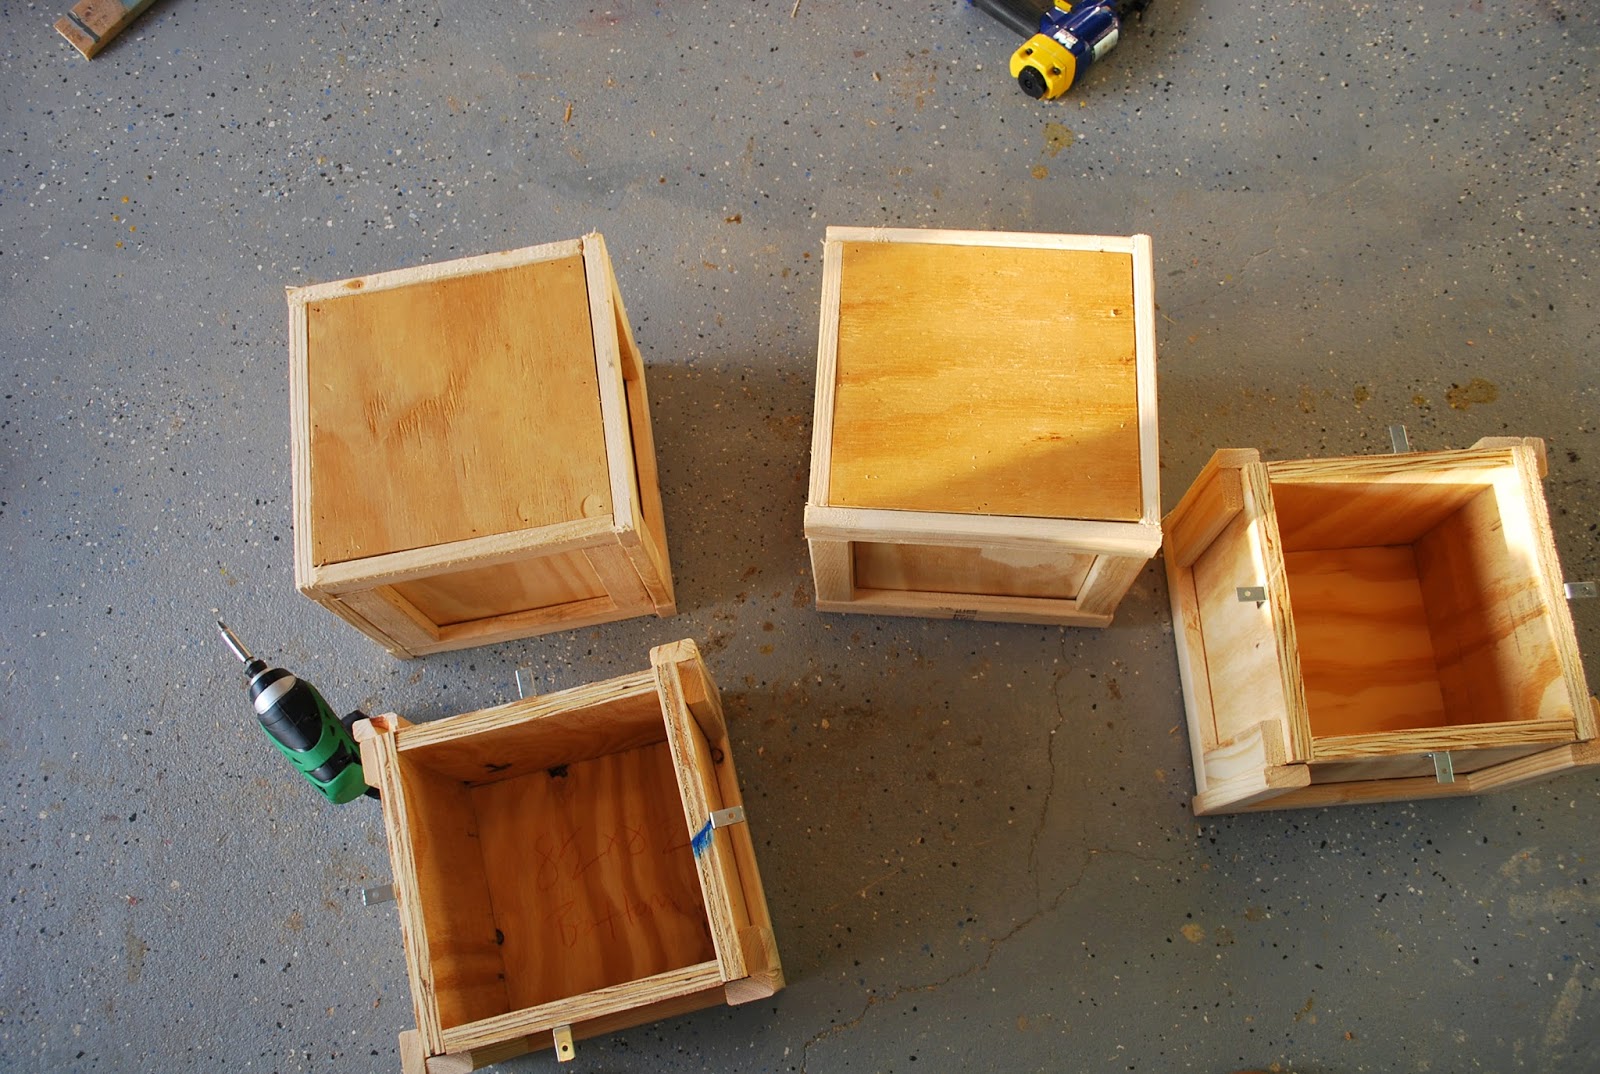
Also note its not necessary to cover the top box with a top panel piece. It will be attached to the table top.
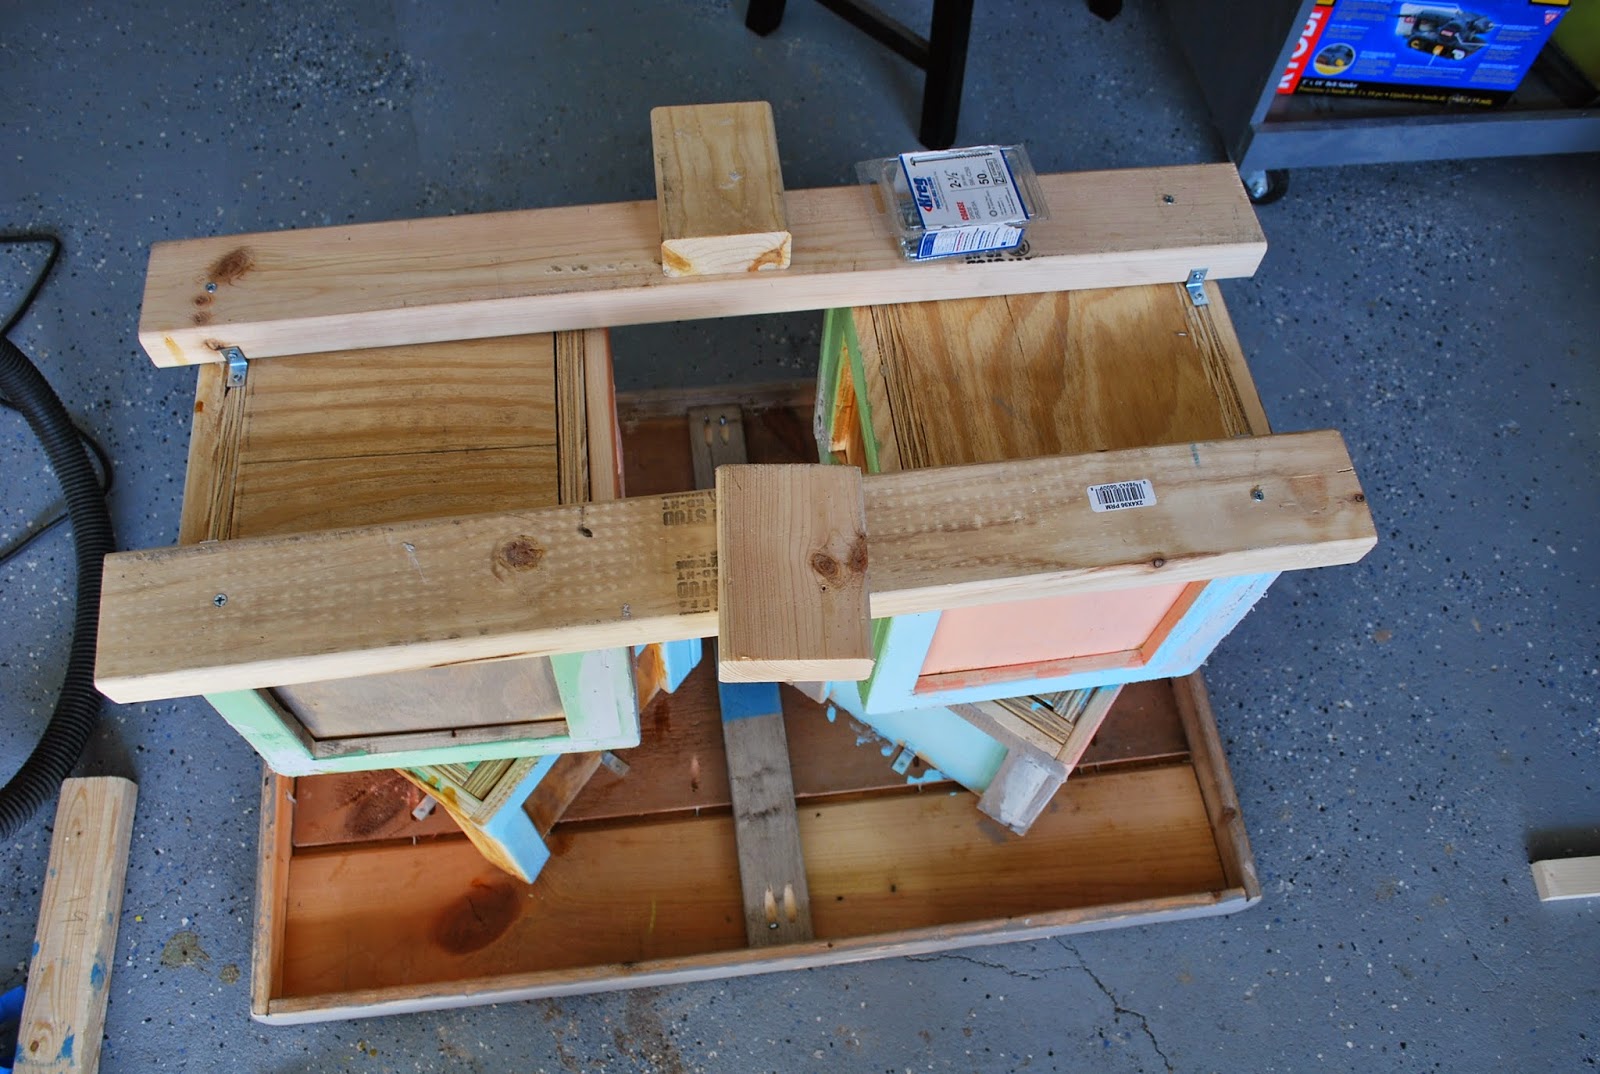
Place the two top boxes a top the bottom box at an angle. Using wood screws attach the two boxes for each “leg”
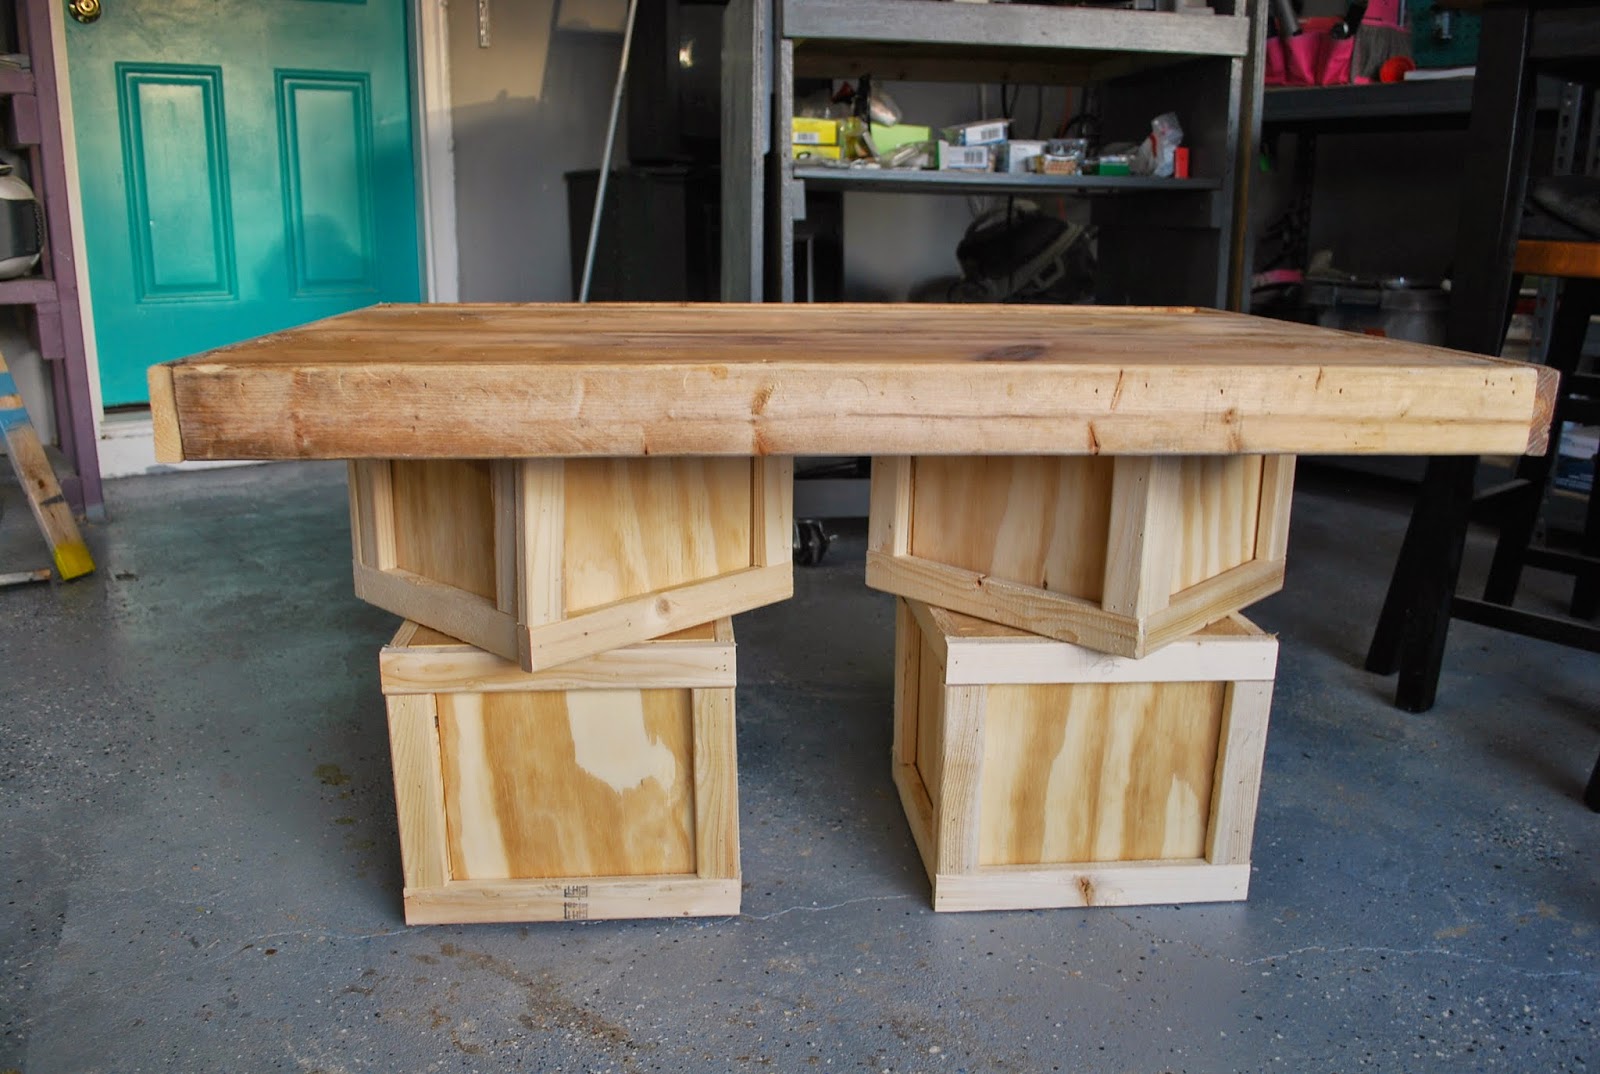
Then turn over and attach the “legs” to the table top by using a 3/4″ screw to tie in the corner braces.

Now fill in the nail holes and imperfections with wood filler.
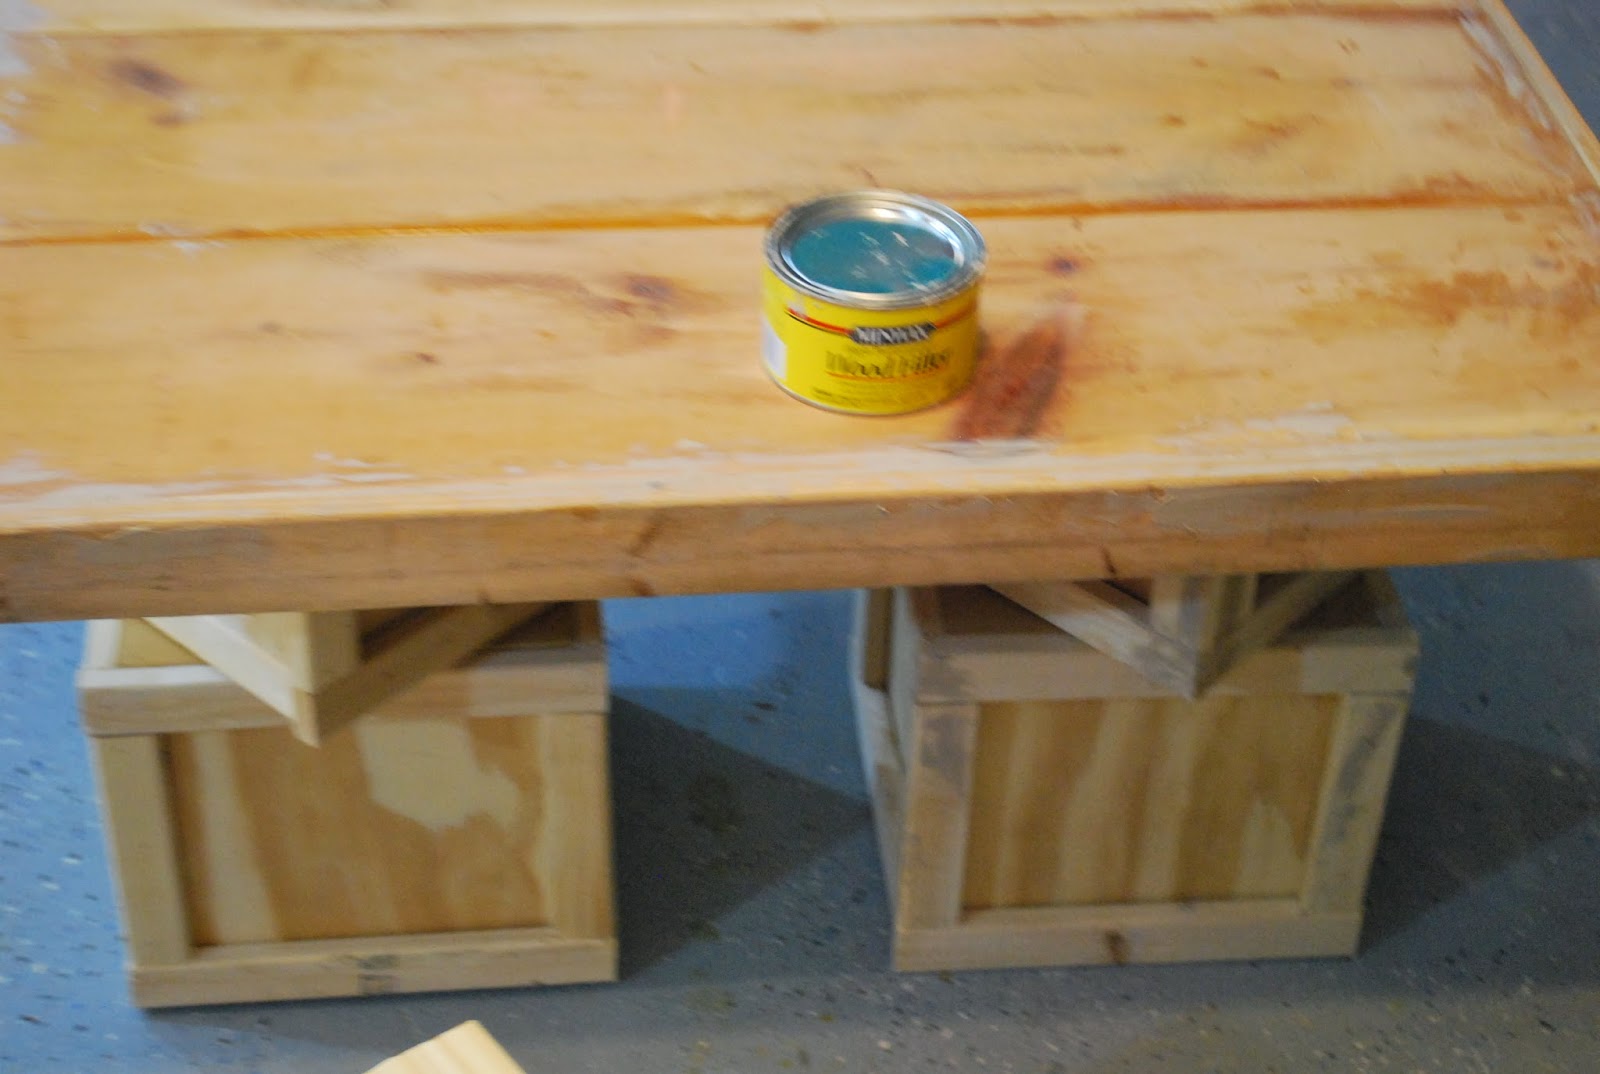
Once the wood filler is set, sand and prep for paint.
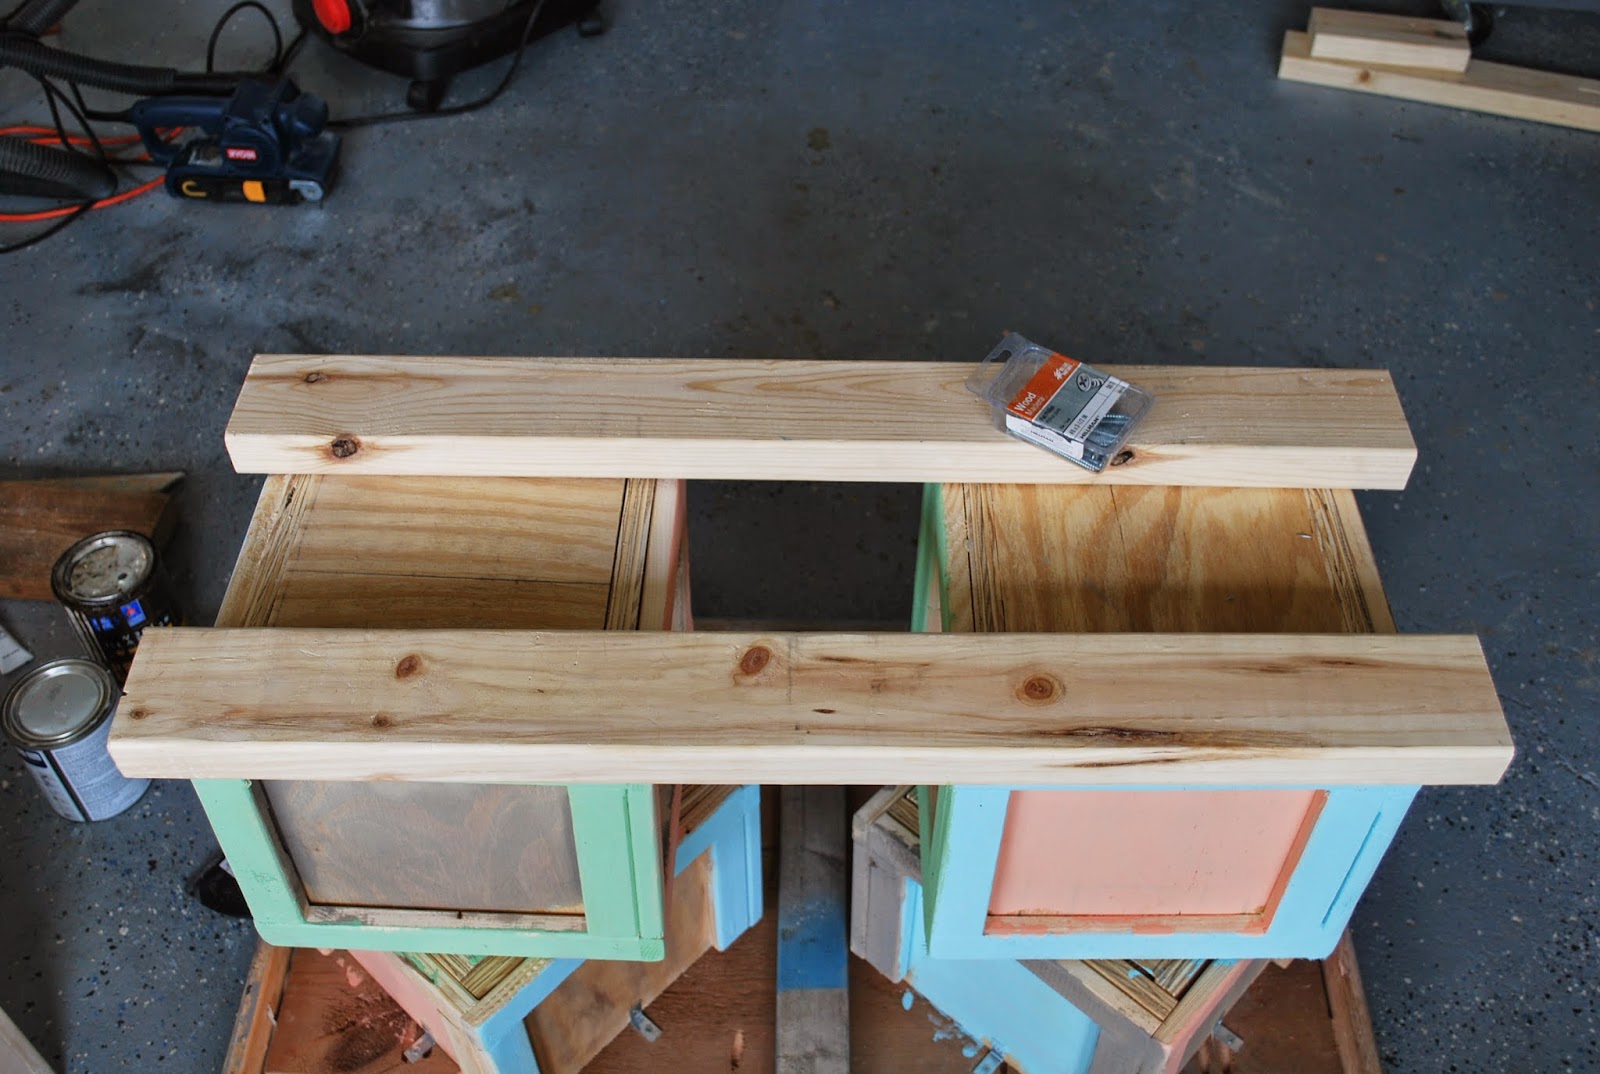
Once I started to look at the table I started to think of how a toddler would use this table….I realized he or she would probably try to sit on top of it. …..SOOO I flipped it back over and added 2 long 2×3 boards connecting the “legs” at the bottom.


Make sure the 2×3 boards hang 1″ out from the bottom of the bottom boxes on either sides. Attach using corner braces and wood screws. The using pocket screws add 2 – 8″ 2x3s on either sides of those boards to add additional support.


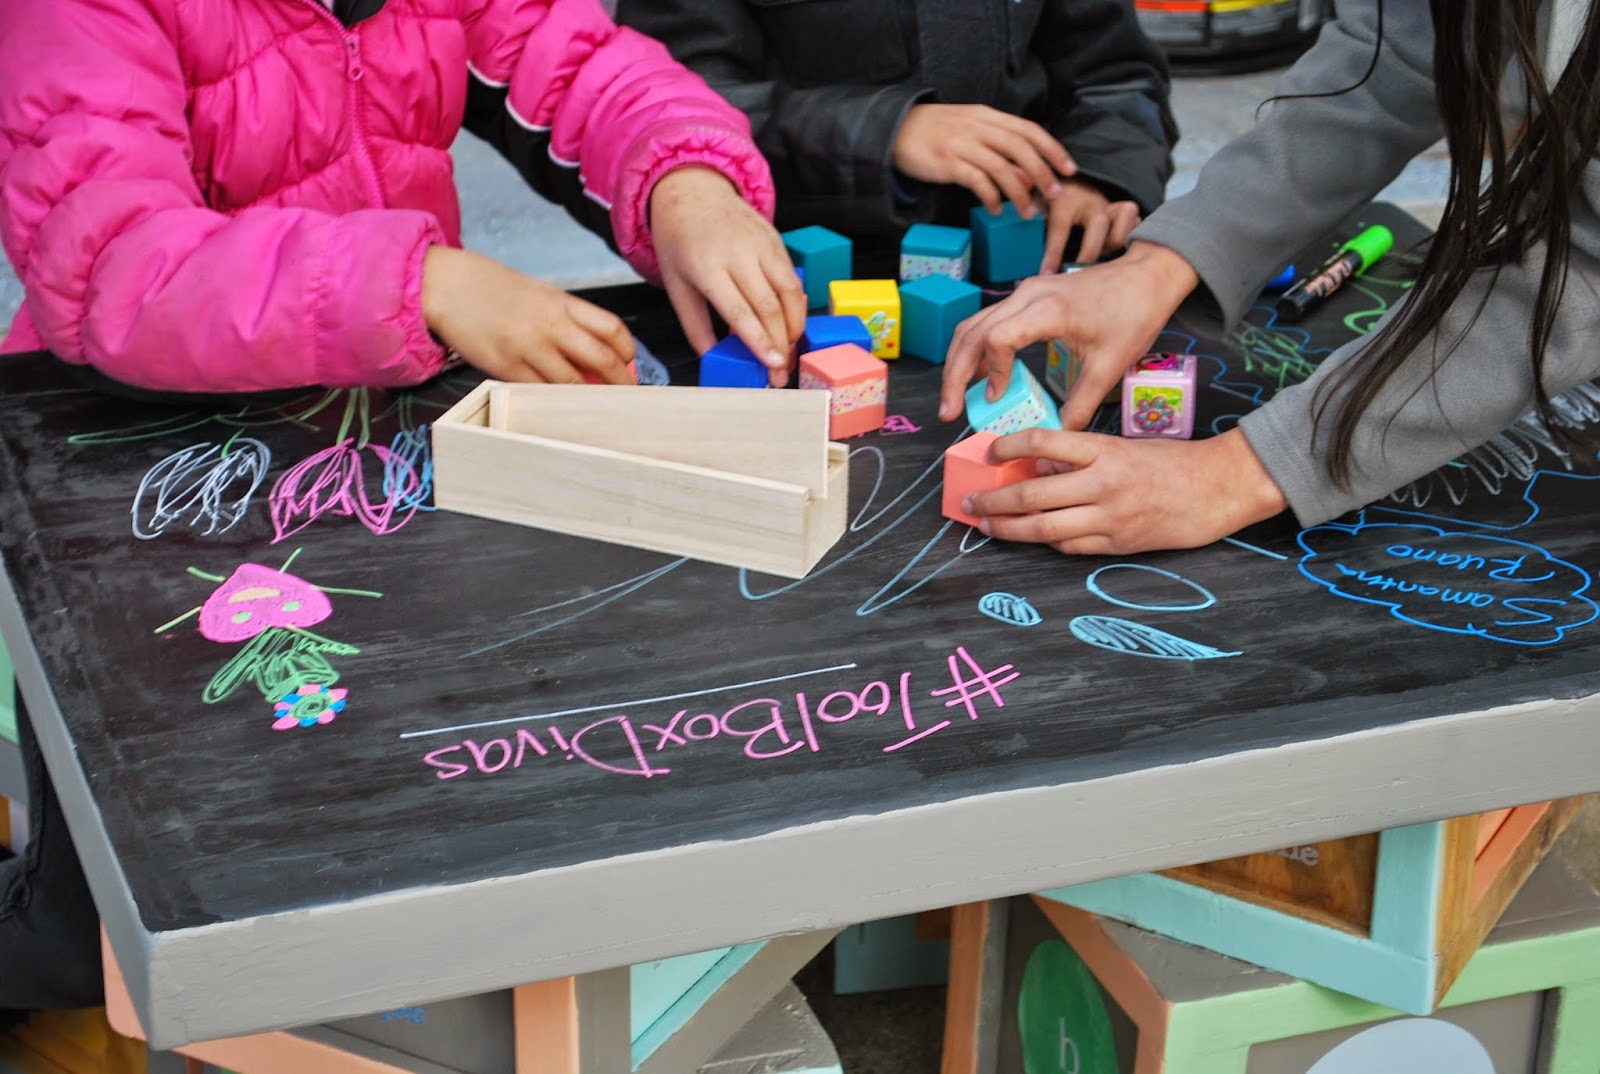
Now flip back over and LET YOUR CREATIVE JUICES FLOW!
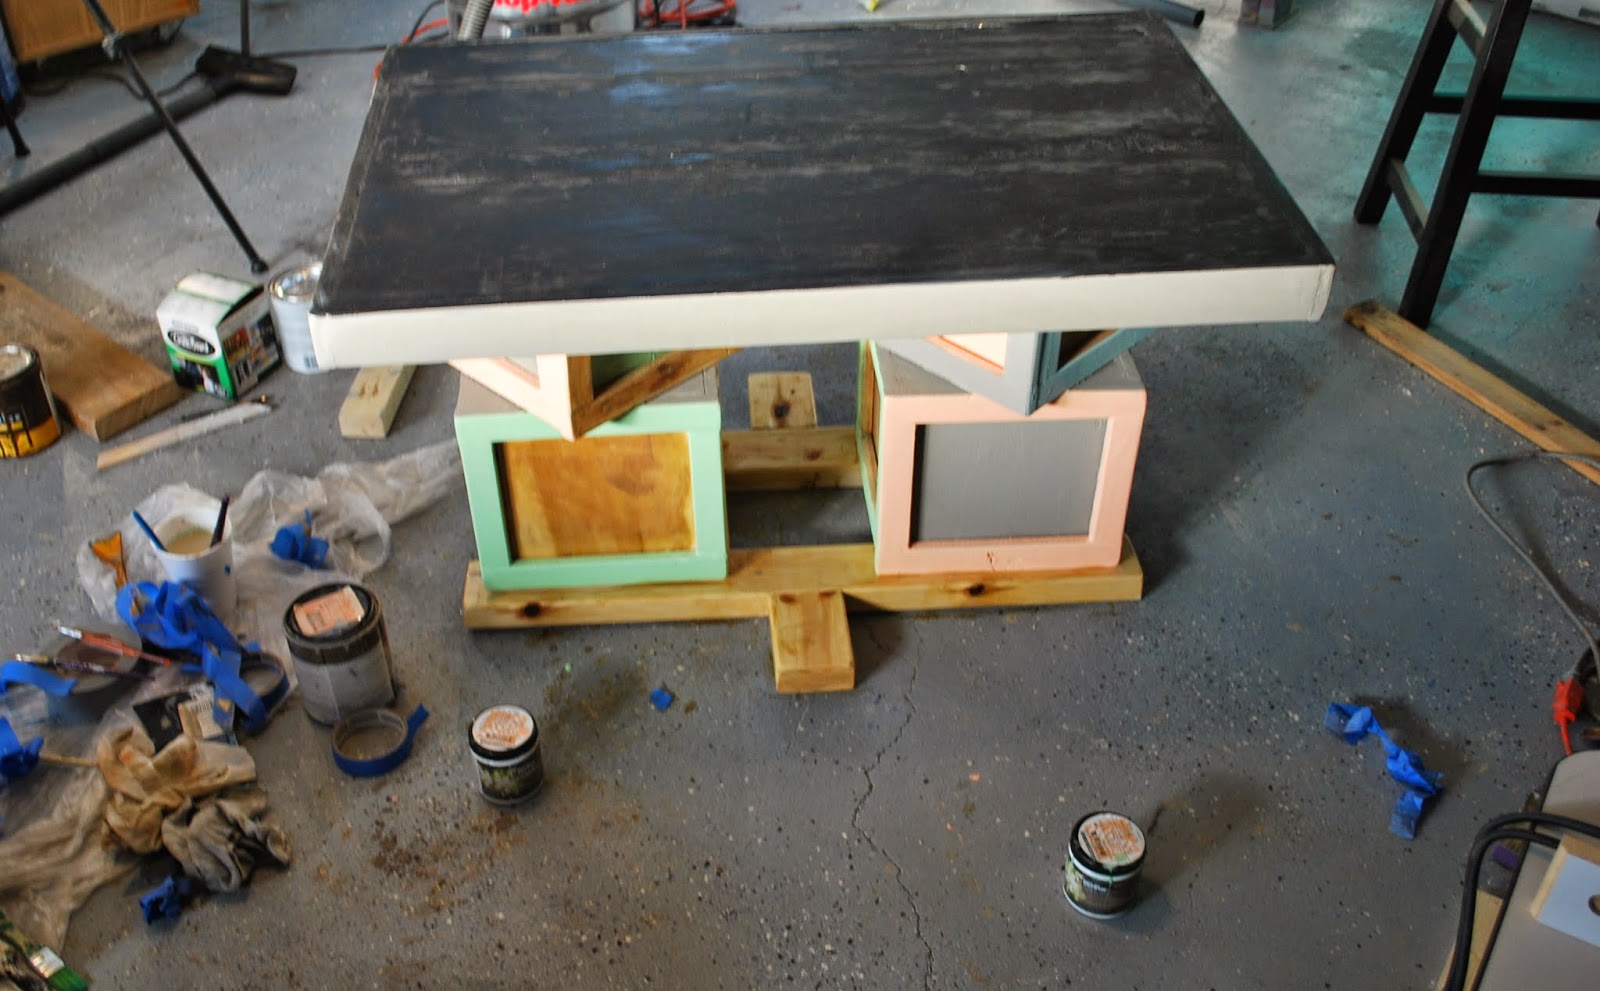
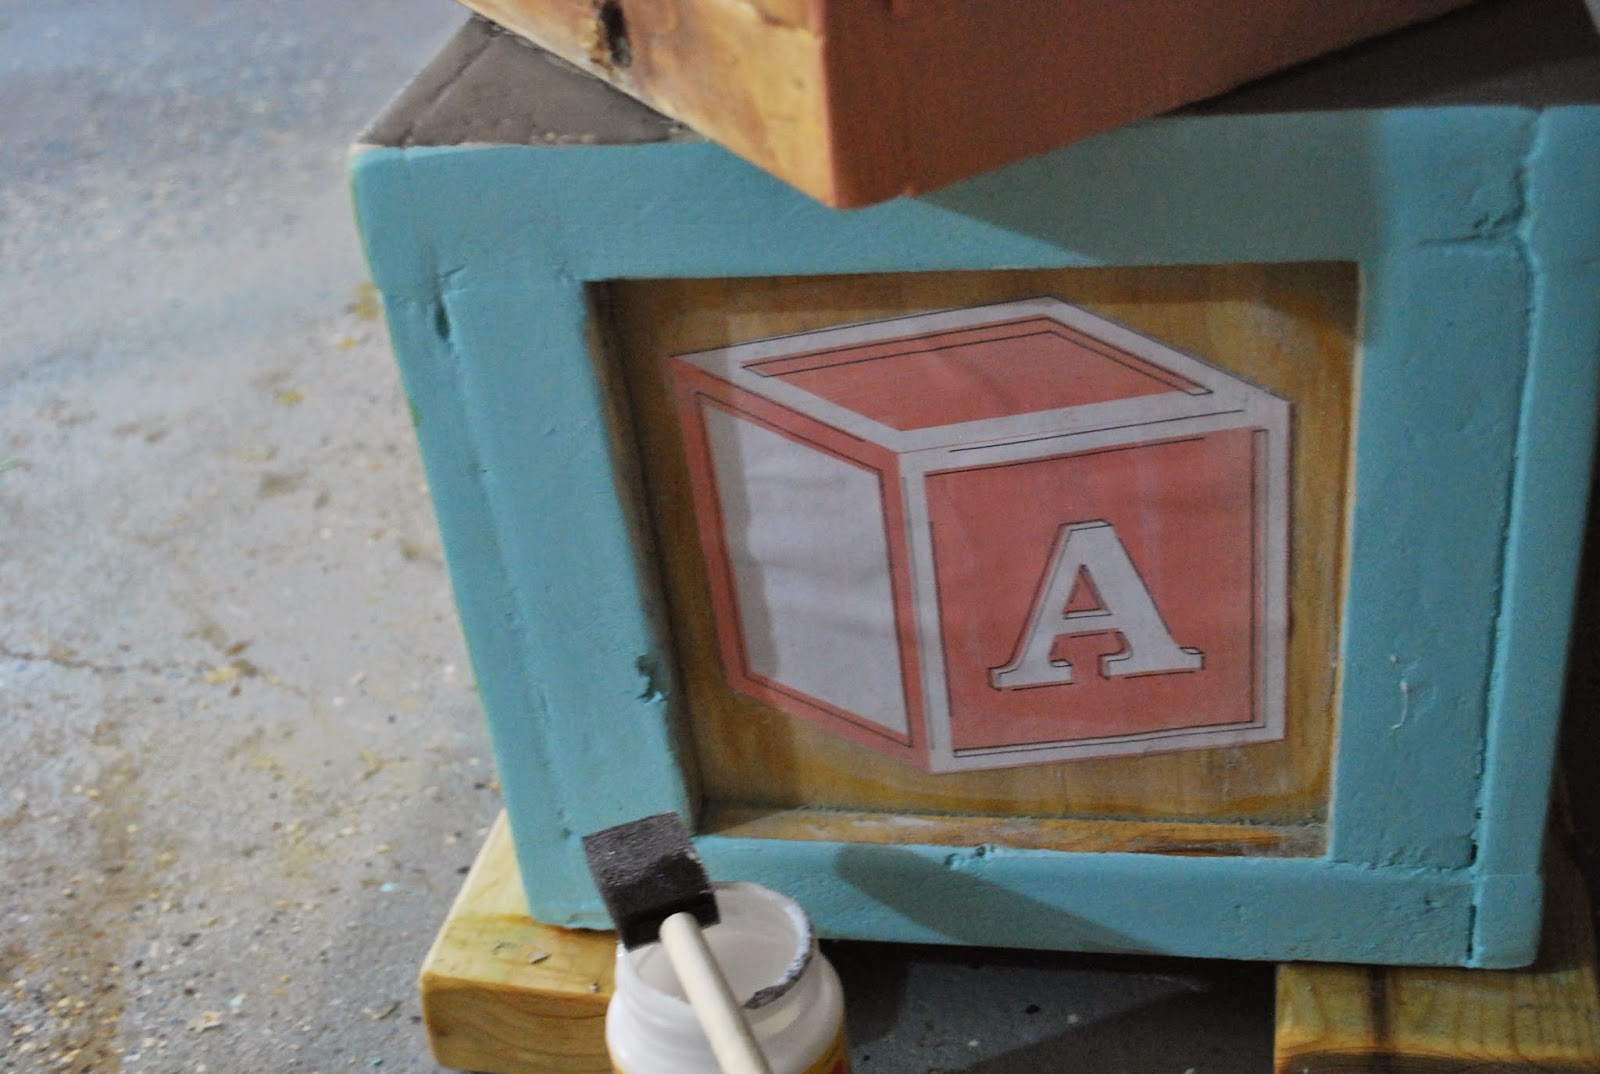
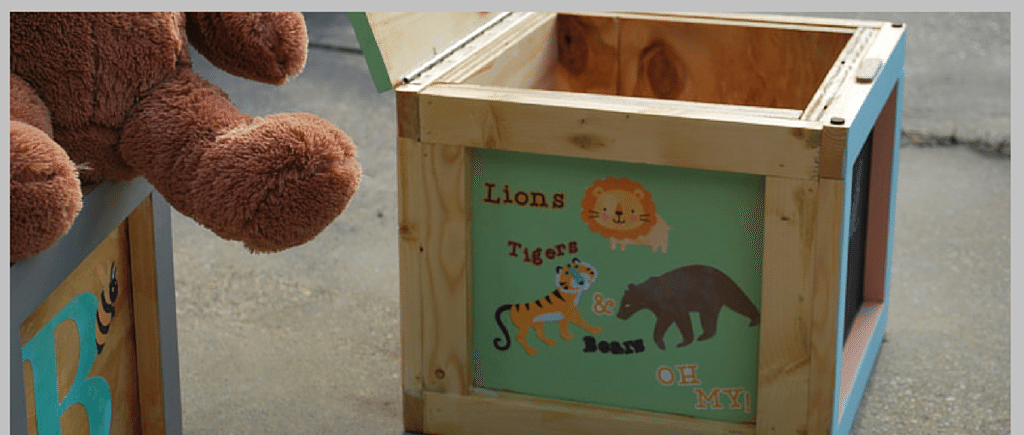
Paint the top in a chalkboard paint. Paint the boxes for a girl’s space, a boy’s room or make it unisex.
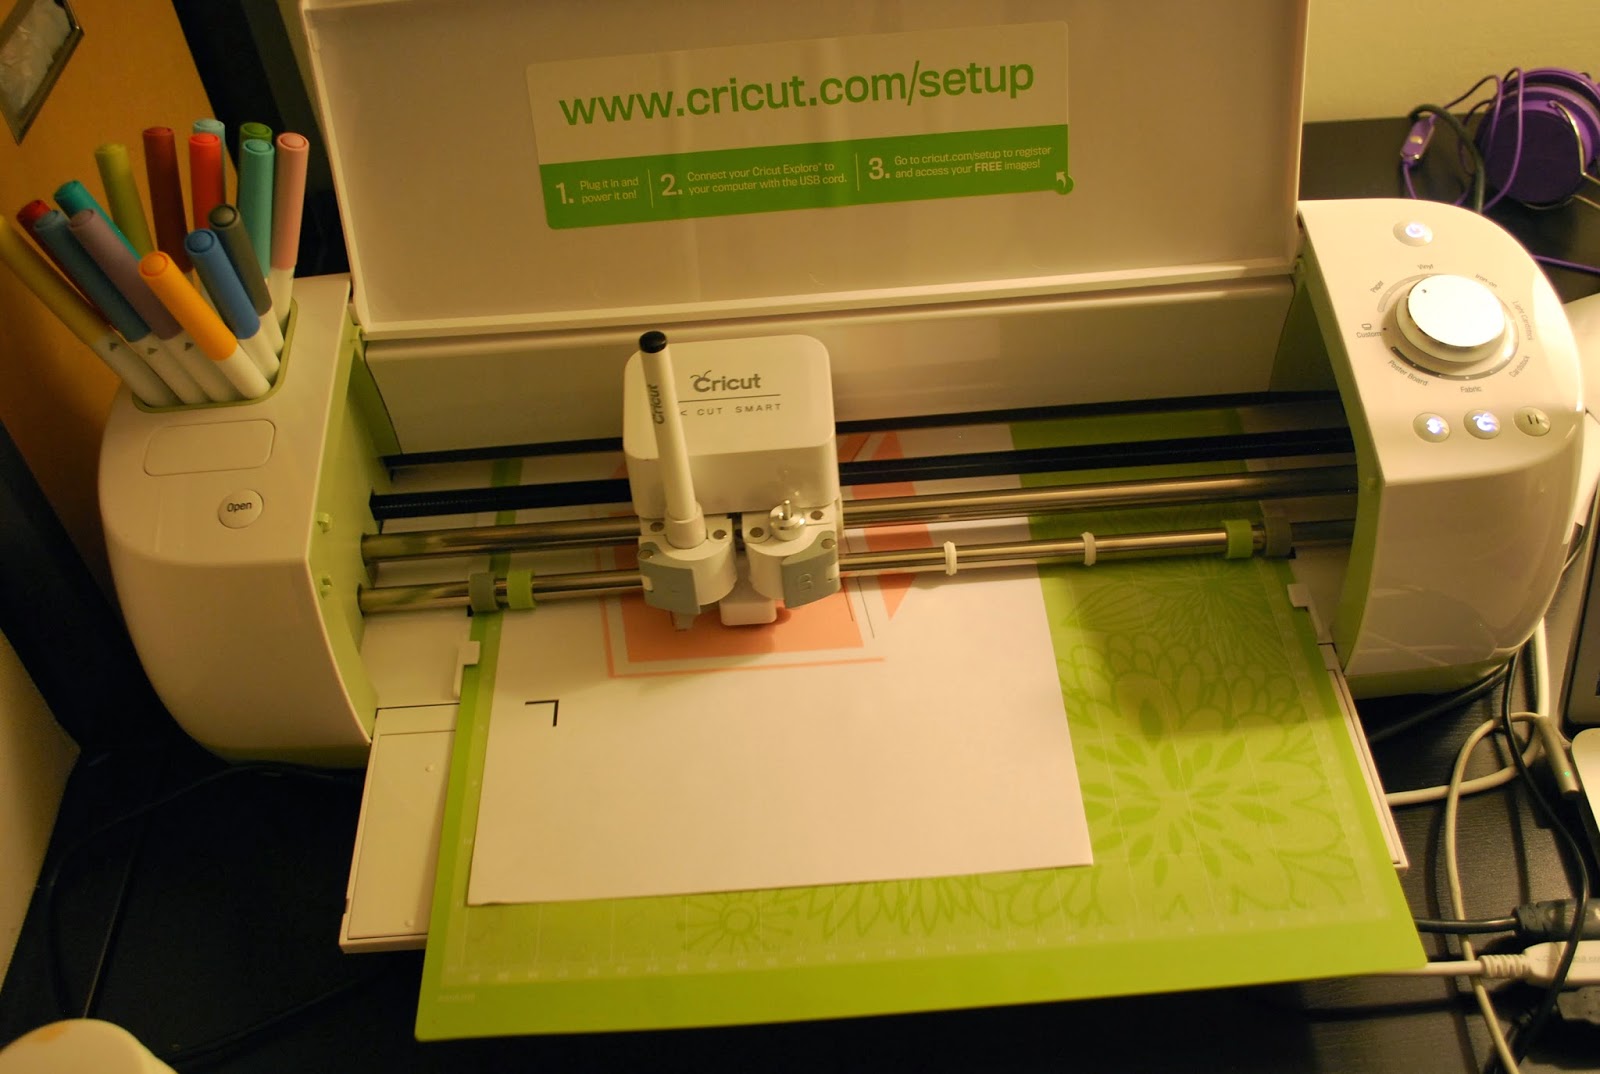
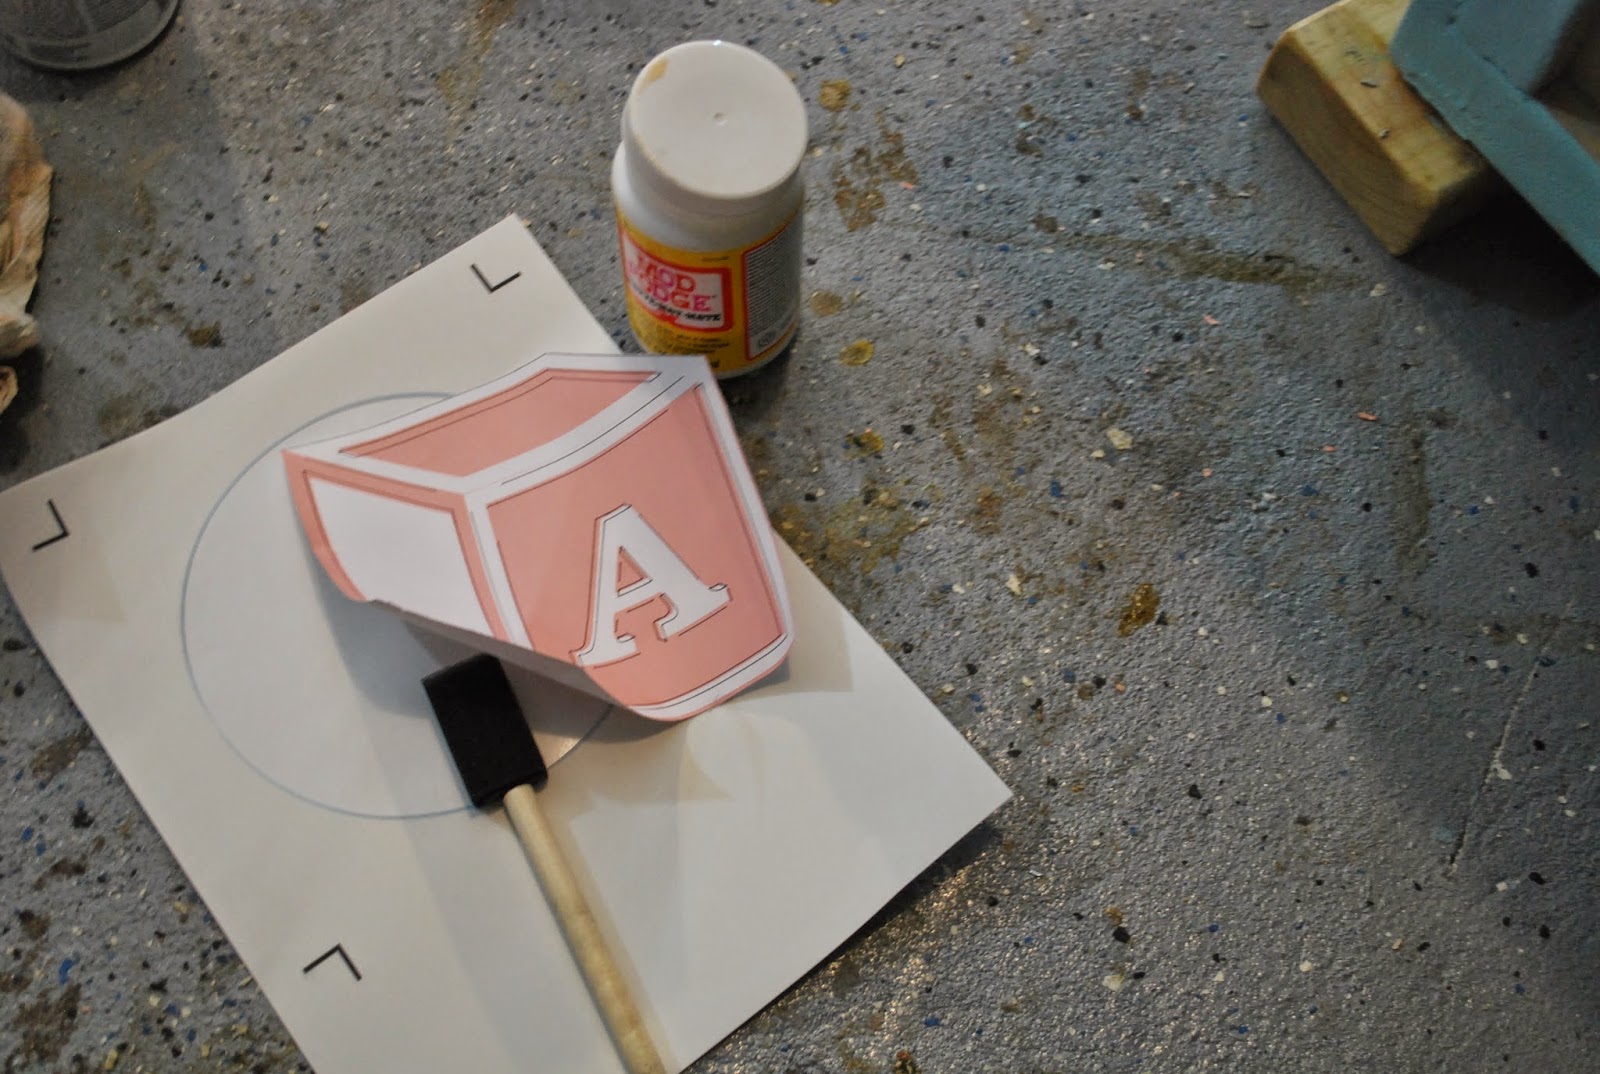
Use stencils, stickers, vinyl adhesives or just draw within each box freehand.


What’s Happening i’m new to this, I stumbled upon this I have found It positively helpful and it haas helped me ouut loads.
I am hopig to give a contribution & aid different customers like
its helped me. Great job.
Thank you.
and follow the pins or boards of people they know of simply have similar interests with..After critical. If you desire to be successful, then in order to realize your goals, you must tastes to work with the trend so you look and feel comfortable. To accomplish these tasks,