How to Make a Balcony Bar Table
Learn how to make a bar table that can go on any balcony or deck rail.
How to make a balcony bar table is sponsored by Kreg Tool Company.
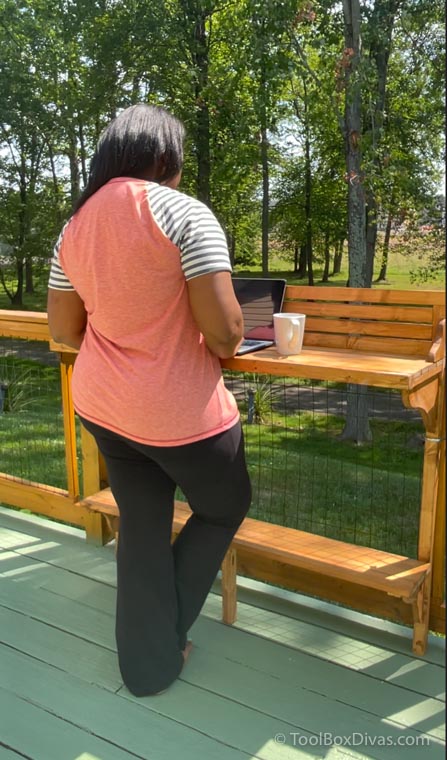
Do you love hosting parties and cookouts but are running out of space to entertain? With this easy tutorial, you’ll learn how to make a balcony bar table that can be placed on any balcony or deck rail. It’s perfect for small spaces! You can also use this bar table as an outdoor desk, creating an alternative to work from home office space.
Materials
- 2 – 2″ X 2″ X 8′ Lumber
- 4 – 1″ X 3″ X 6′ Lumber
- 3 – 1″ X 2″ X 8′ Lumber
- 2 – 7 In. X 11 In. X 5/4 In. Wood Corbel (can be purchased or made)
- 2 – 5 In. X 8 In. X 5/4 In. Wood Corbel (can be purchased or made)
- 2 – 3 In. X 5 In. X 3/4 In. Wood Corbel (can be purchased or made)
- 54 – #8 X 1-1/4″ Exterior Wood Screws
- 8 – #8 X 1″ Exterior Wood Screws
- 78 – 1 1/4″ Pocket Hole Screws
- 2 – 4″ Corner Brace
- 2 – U-Bolts To Secure To The Deck (select the size that works for you)
Tools
- Kreg 720 Pro
- Clamps
- Bandsaw or Jigsaw
- Drill
- Miter Saw
- Tape Measure
- Level
- Speed Square
OK, Let’s Get Dirty!
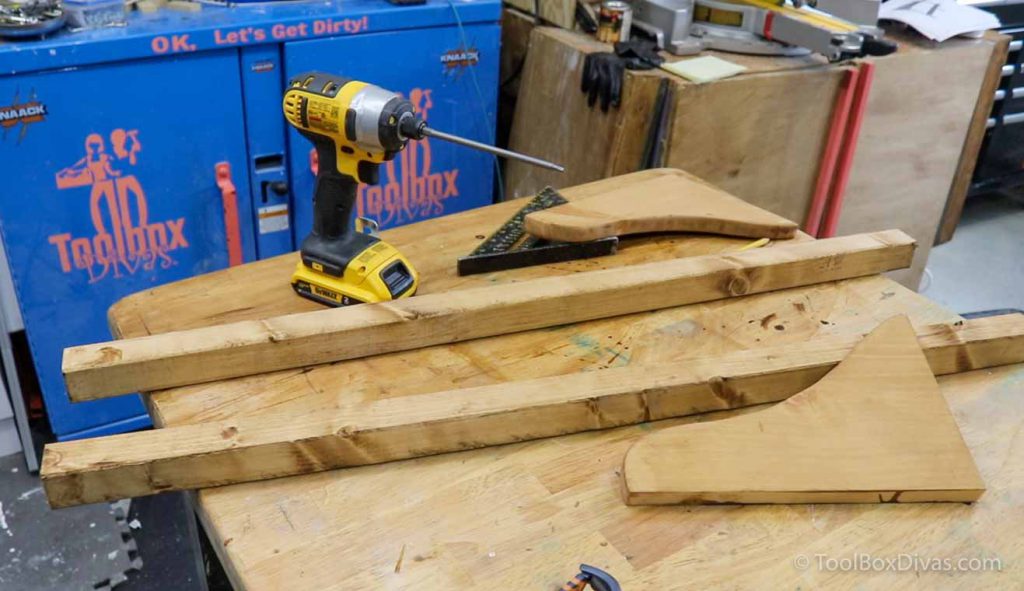
Step 1. Start by preparing the parts of the bar table.
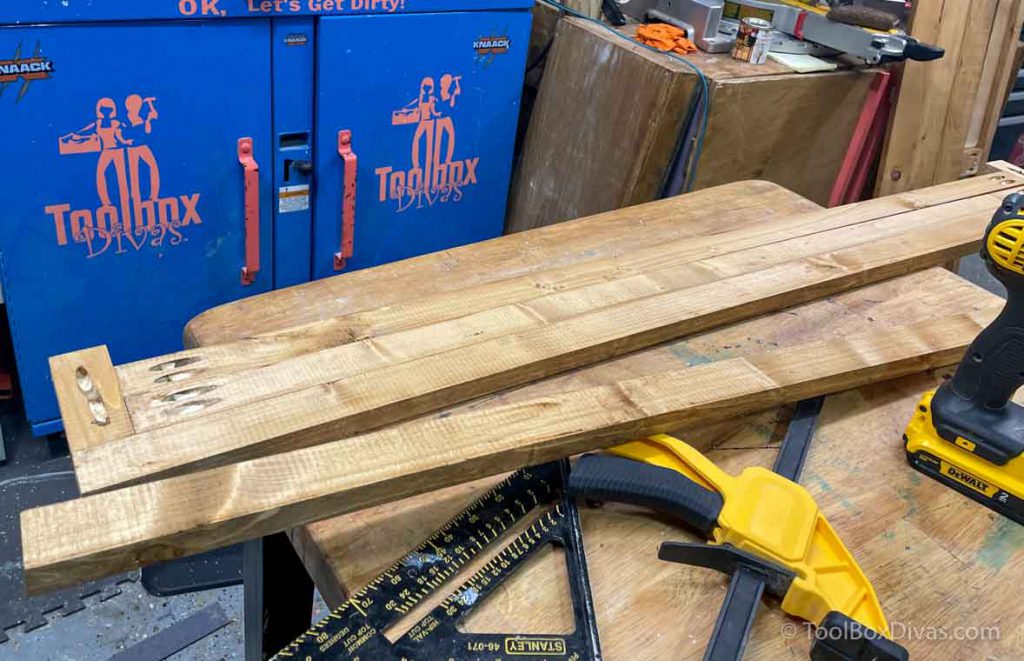
I started by using templates to cut out the 3 sets of corbels I’d need to assemble my bar. The templates I created can be found HERE. Or you can easily purchase unfinished wooden corbels.
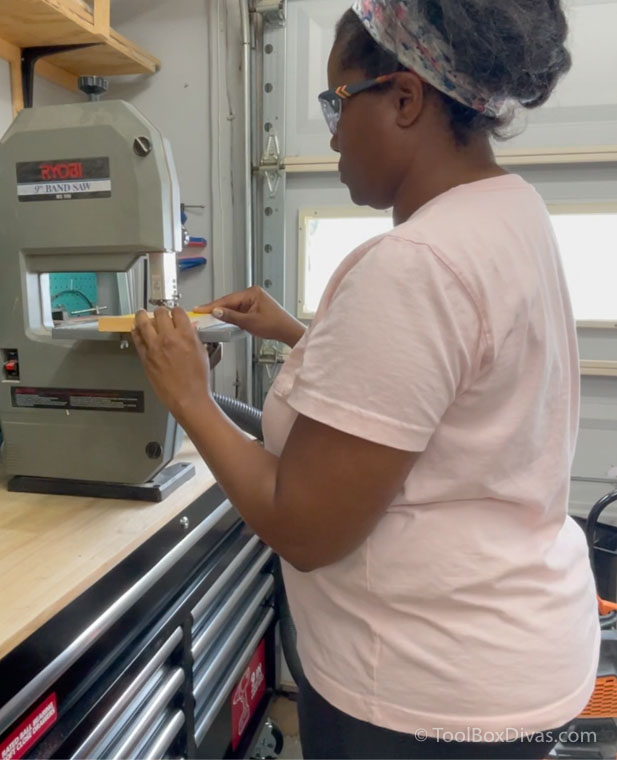
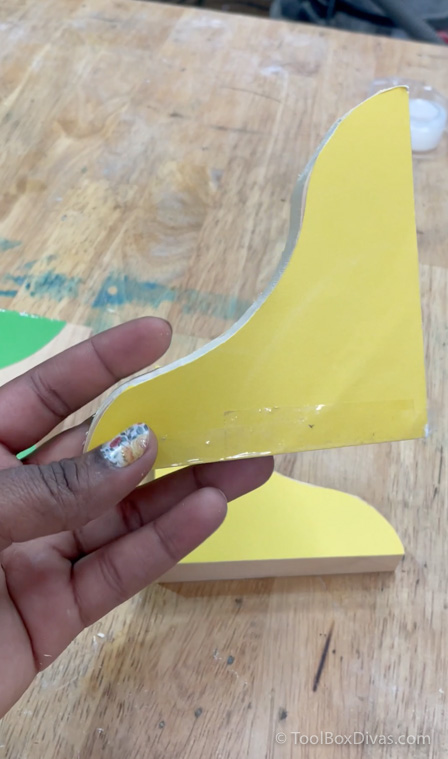
Using the bandsaw I slowly cut each corbel then sanded down the edges. I didn’t mind creating my own corbels because it was a huge cost saving and I had the extra wood.
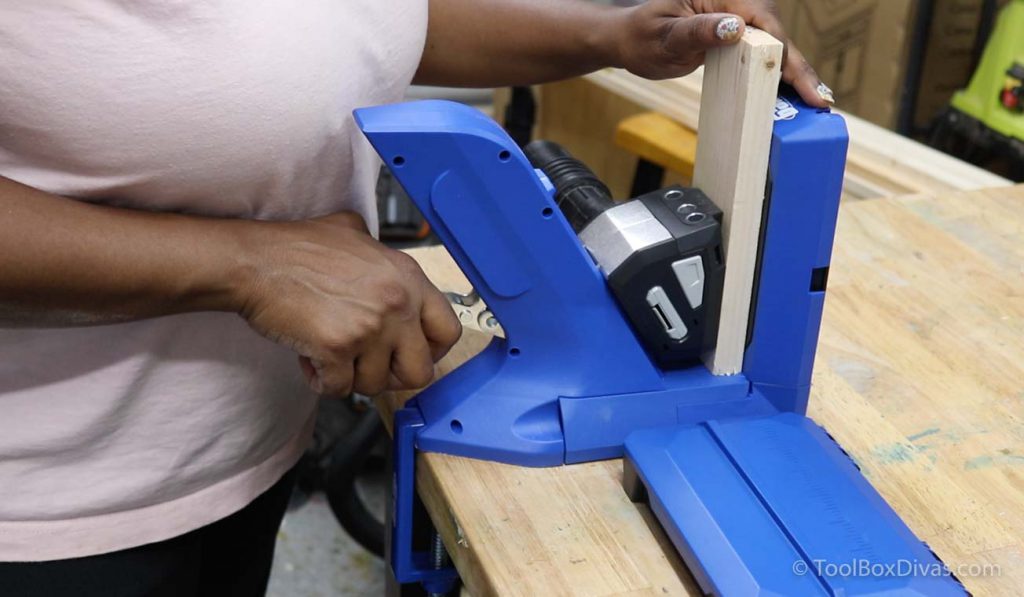
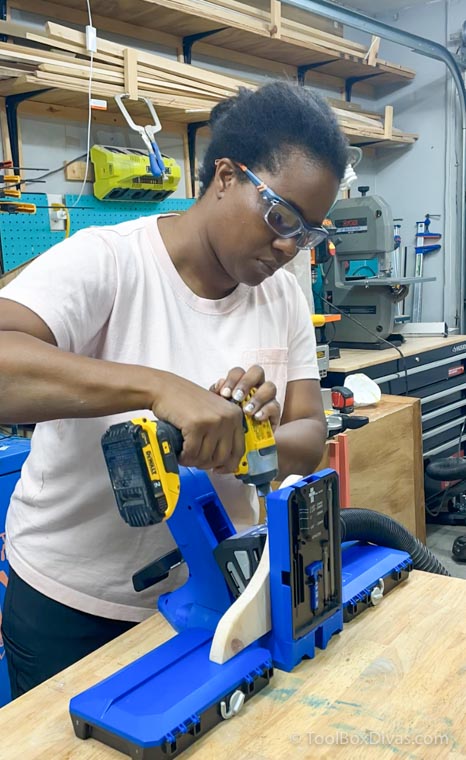
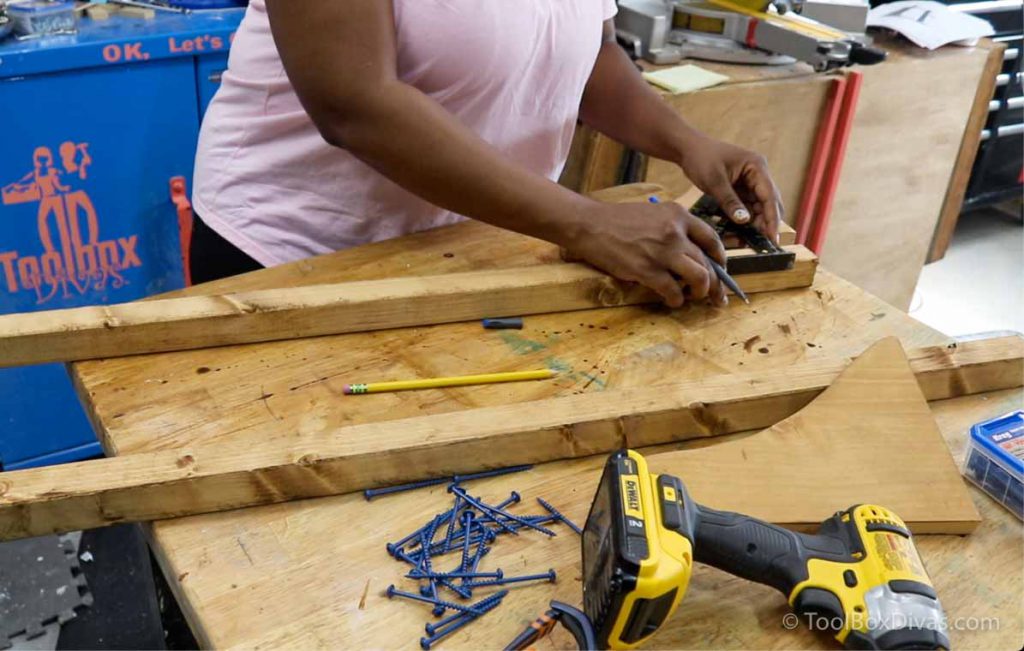
Next, I cut all the boards to size for the balcony bar table and using the Kreg 720 Pro, pre-drilled the pocket holes in the boards I’d be screwing in place. Then I prestained each piece. This project is super easy, largely because of the use of pocket holes and my new Kreg 720 Pro.
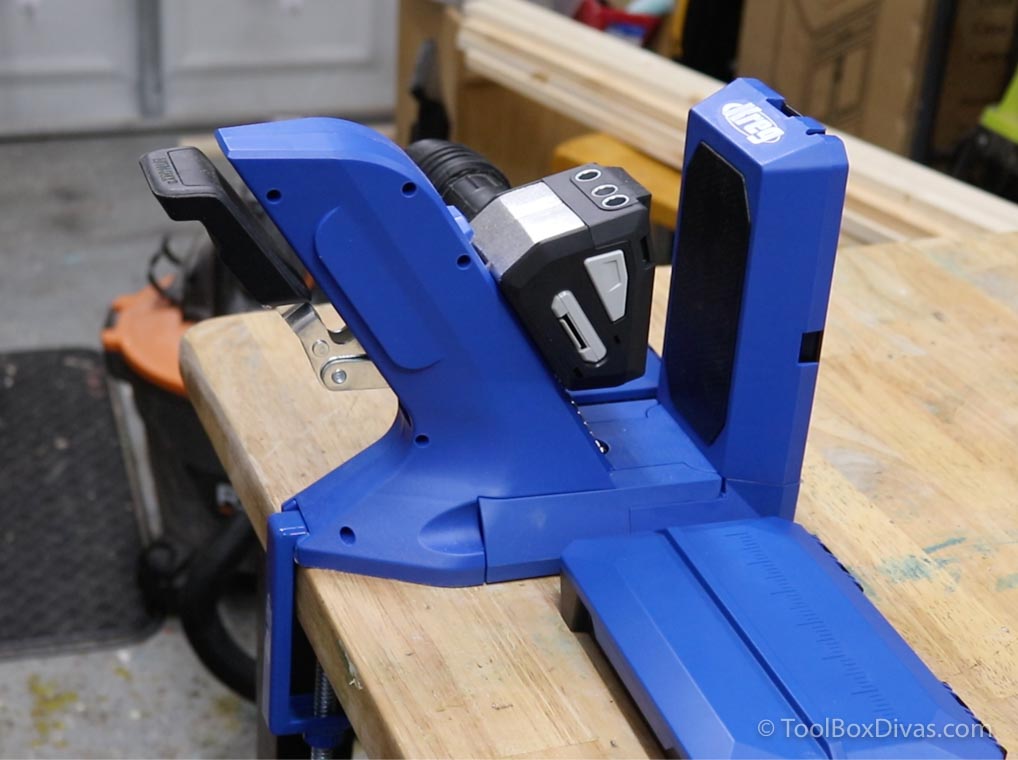
Kreg 720 Pro
Before I go future, allow me to introduce you to the new Kreg 720 Pro pocket hole jig by Kreg Tool. The Kreg 720 Pro is a one-motion clamping with Automaxx™ automatically clamps and adjusts to the proper material thickness.
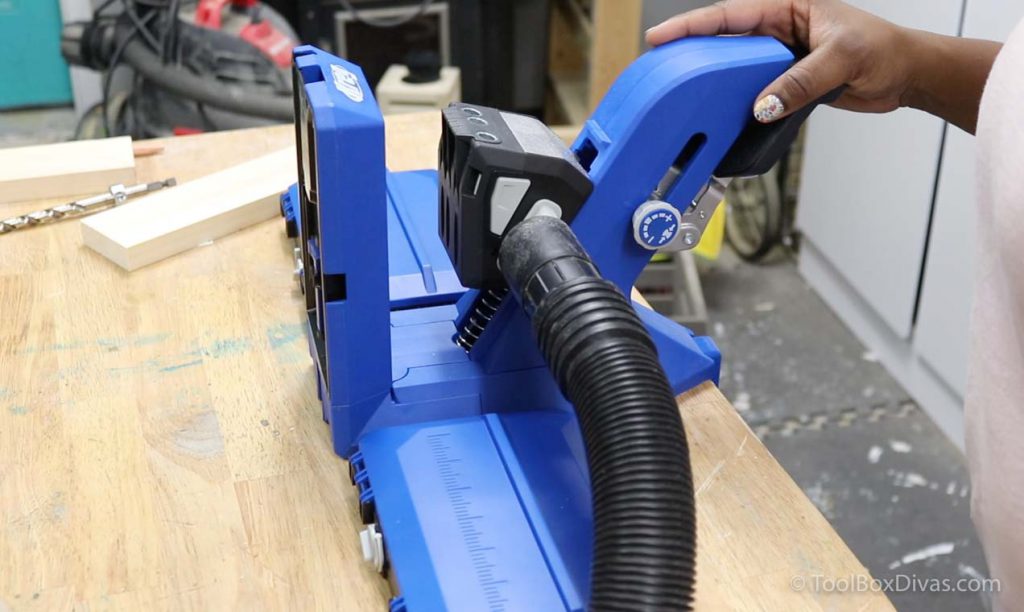
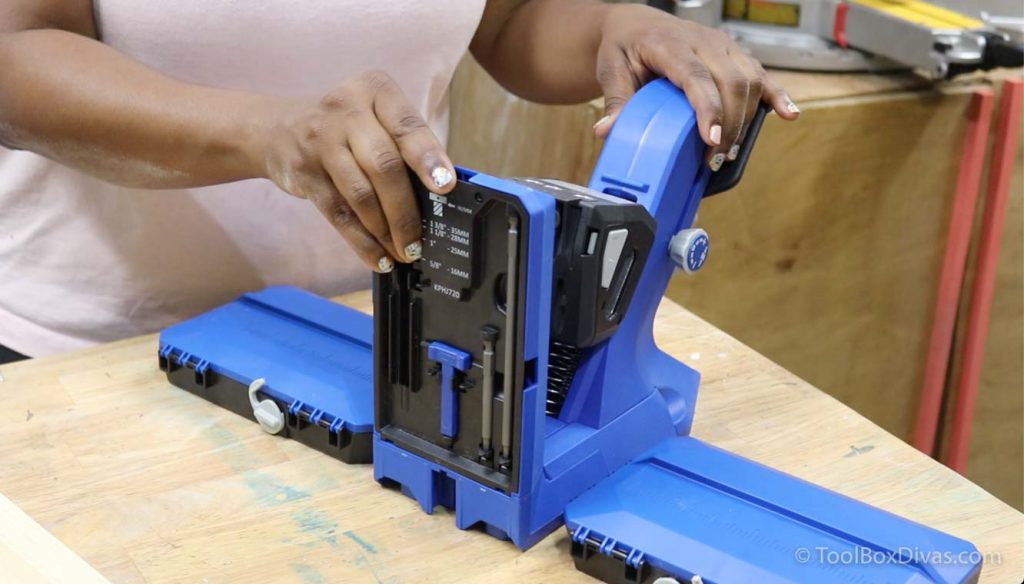
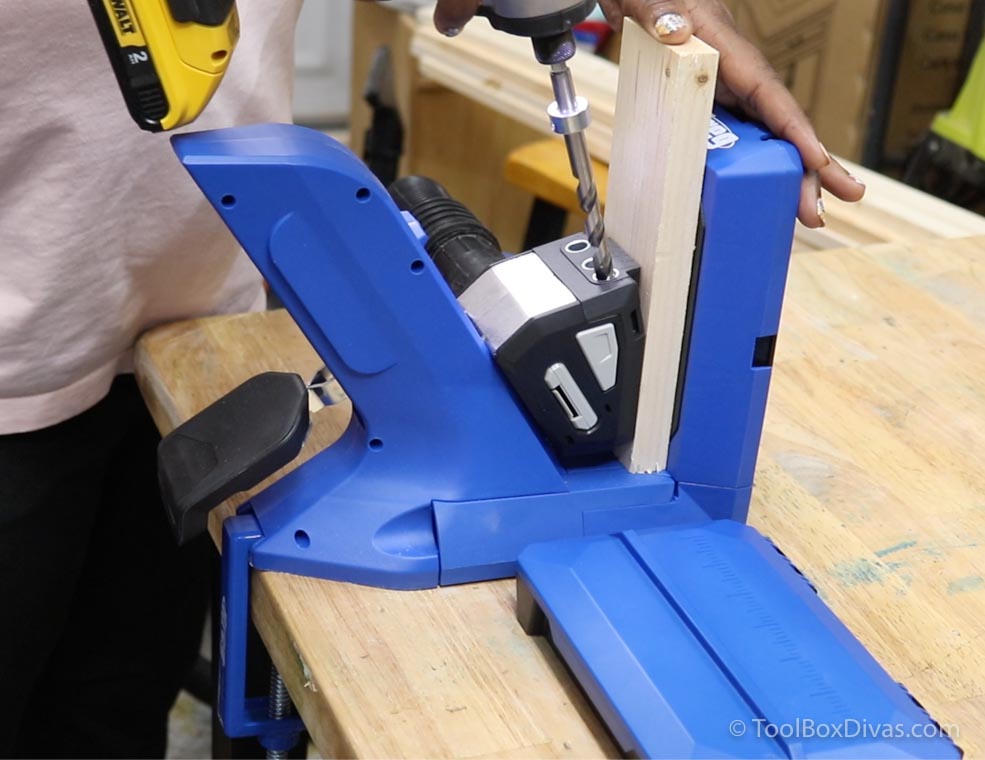
You no longer have to use a separate clamp and readjust everything for the thickness of the material. This alone frees up so much time, allowing you to drill the pocket holes faster and build at a faster rate.
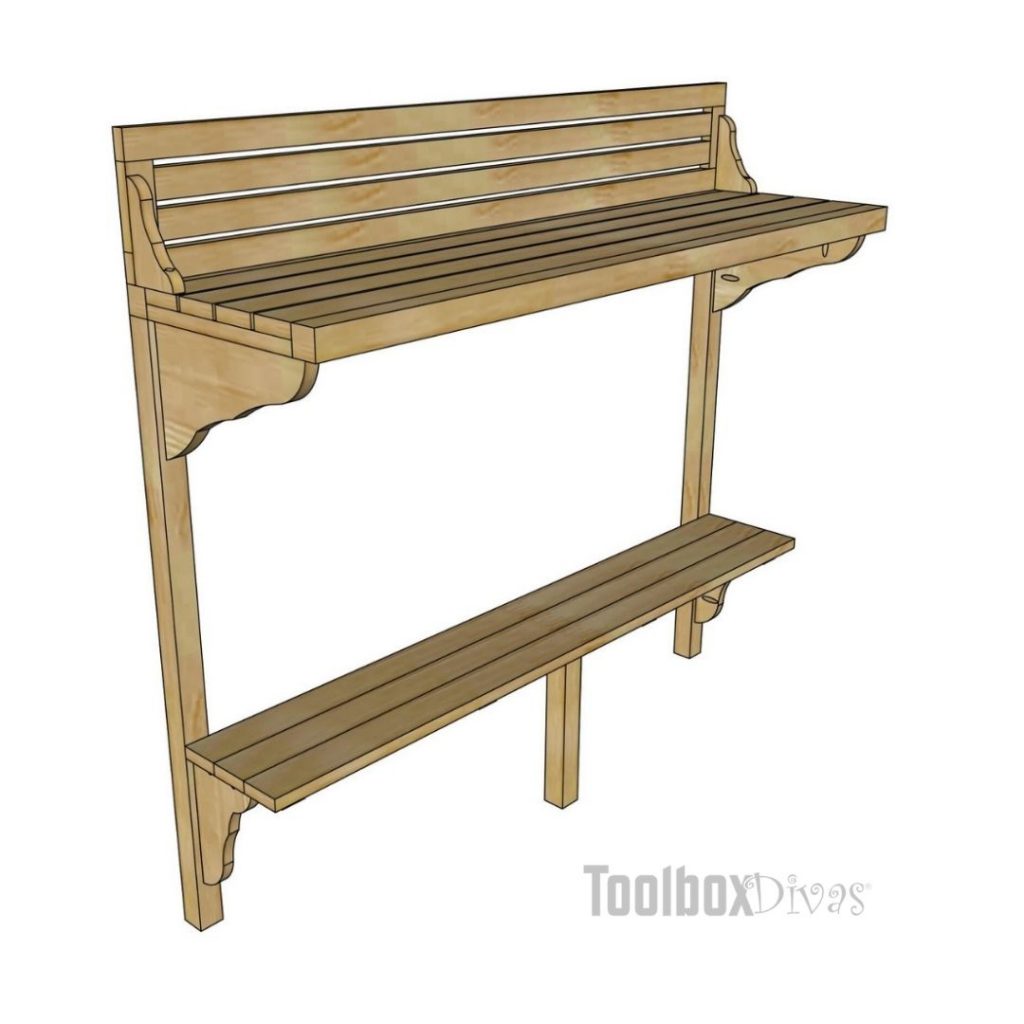
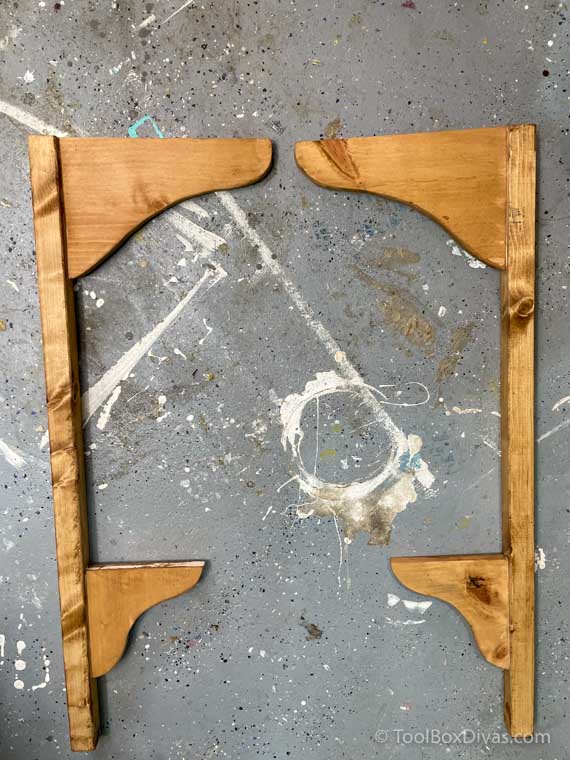
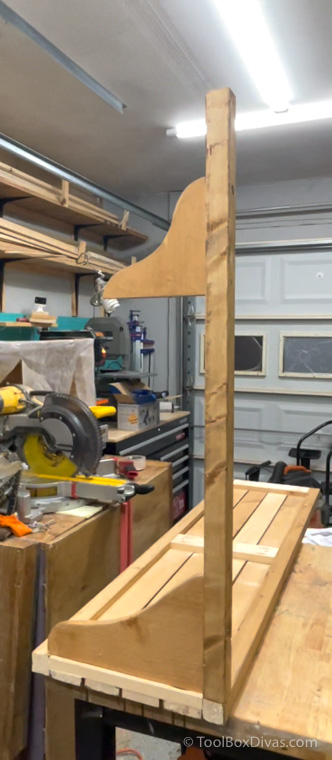
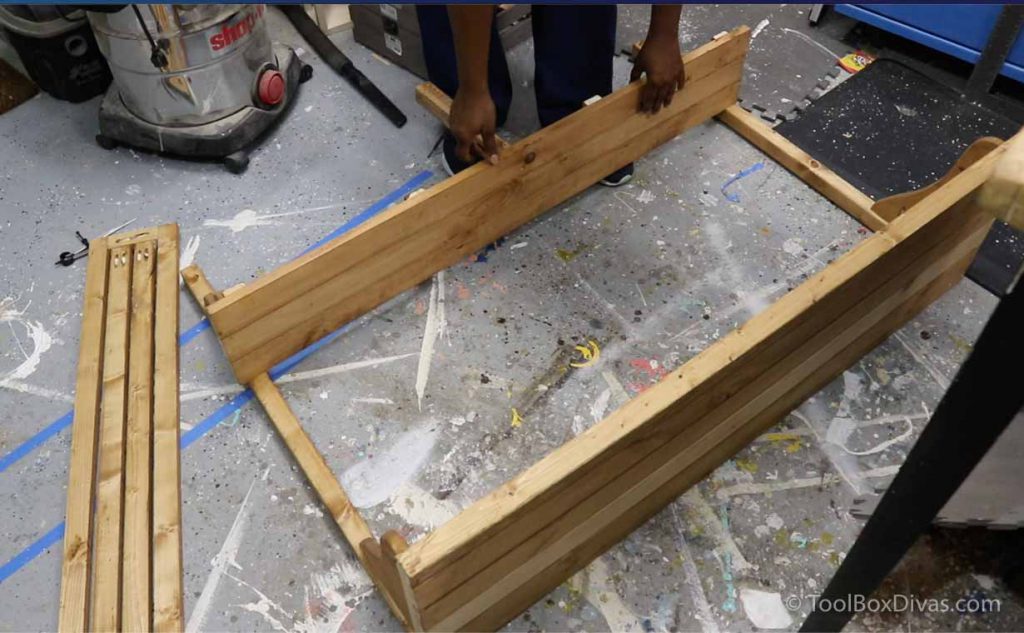
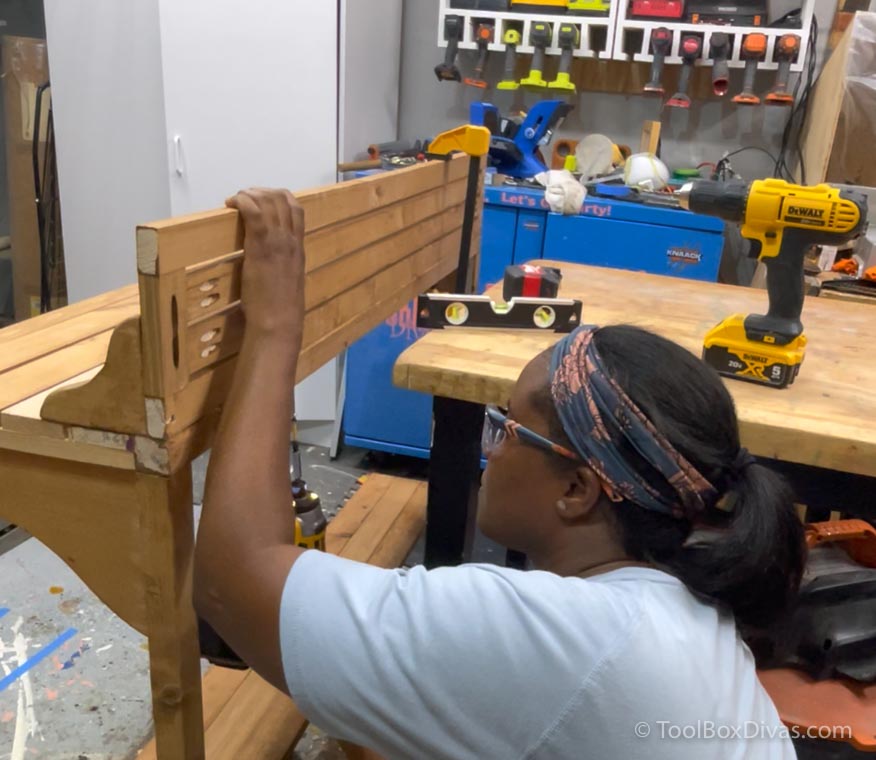
Step 2. Create the frame of the bar table.
With all the pieces cut I started assembling the bar. This is an outdoor project, so it’s important to use waterproof glue and exterior pocket hole screws. The wood doesn’t have to be pressure-treated wood but it will need to be treated to increase longevity.
I connected both the 7″ x 11″ corbels and 5″ x 8″ corbels to the top and bottom of the leg frame using wood glue and pocket screws.
Step 3. Bar top and the foot rest assembly.
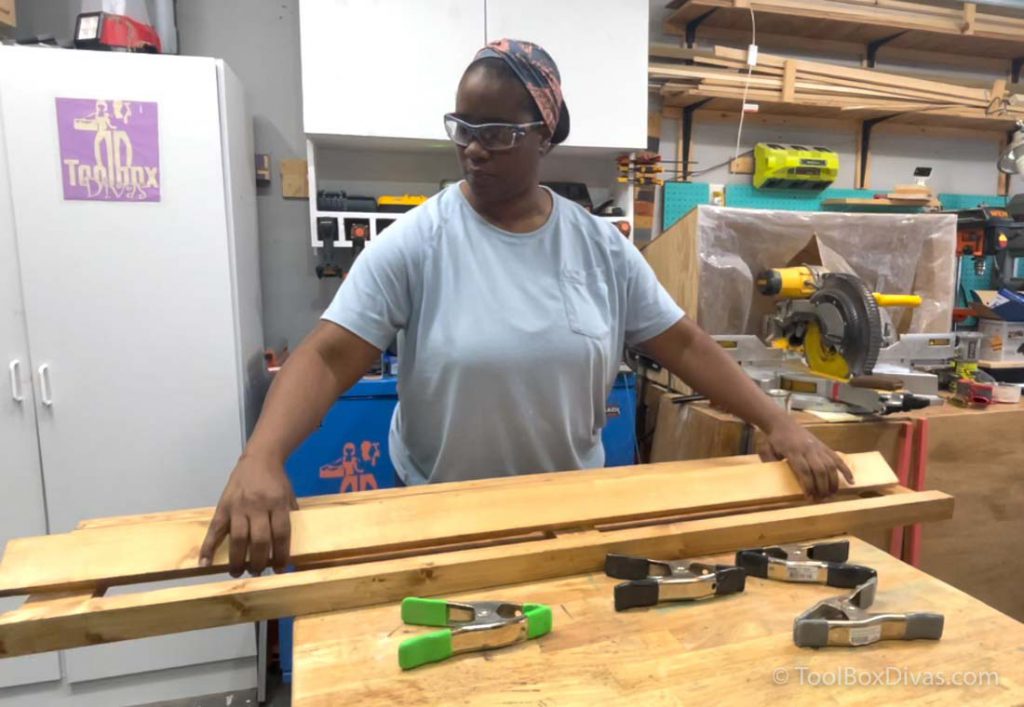
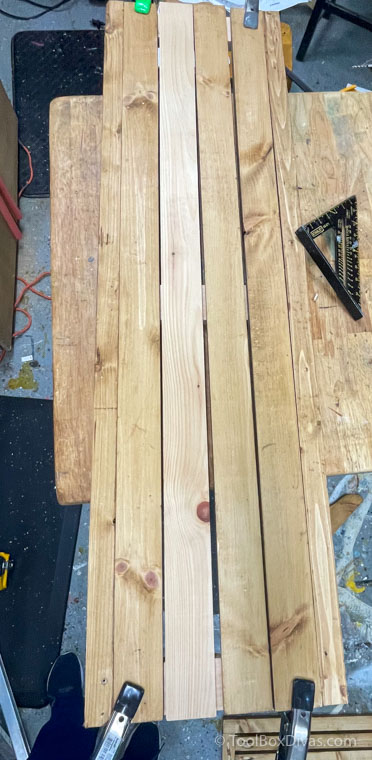
Simple little clamp clips made assembling the bar top really easy. The frame of the bar top is 2x2s while inside the top I used 4 – 1x3s.
Next, I put together the footrest and back of the bar.
Step 4. Attaching the bar top to the legs/ frame of the balcony bar table.
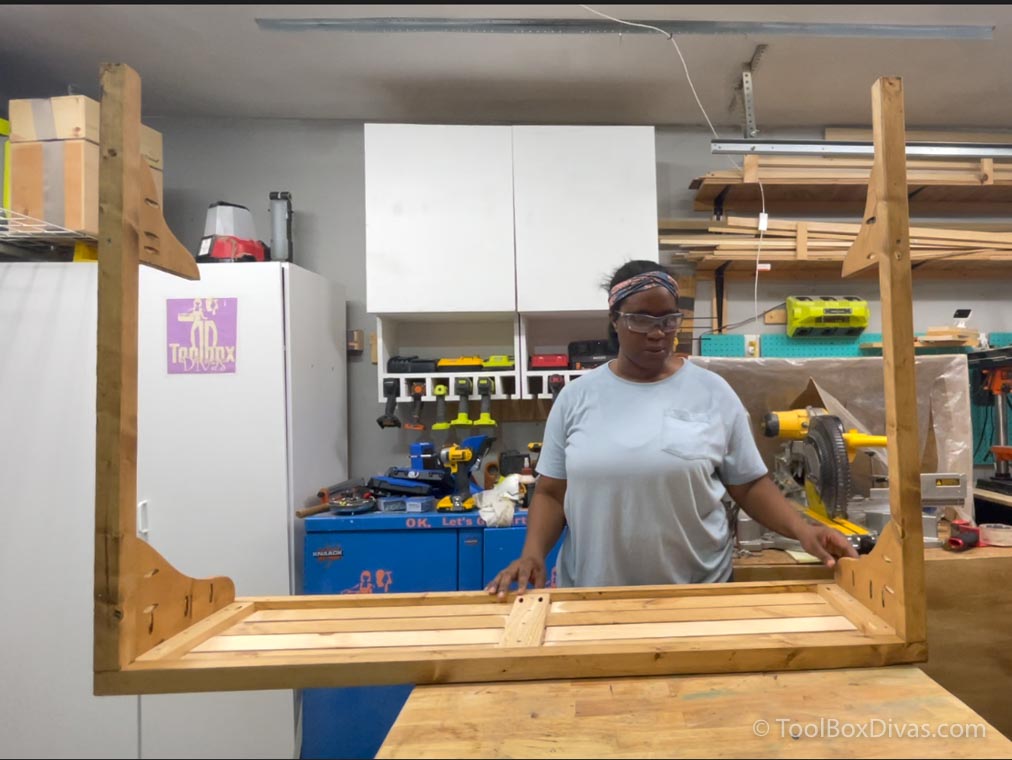
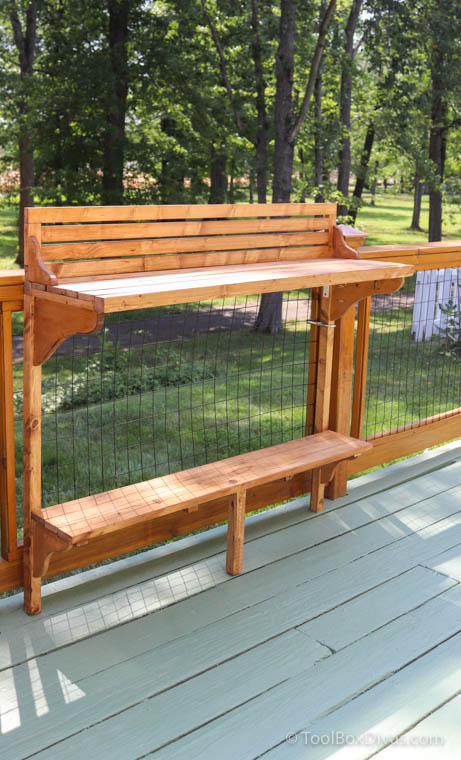
This bar is wide at 48″. I made it so two people could sit comfortably at the bar.
Step 5. Attach the footrest and bottom support leg.
Step 6. Screw-in place the back of the bar table.
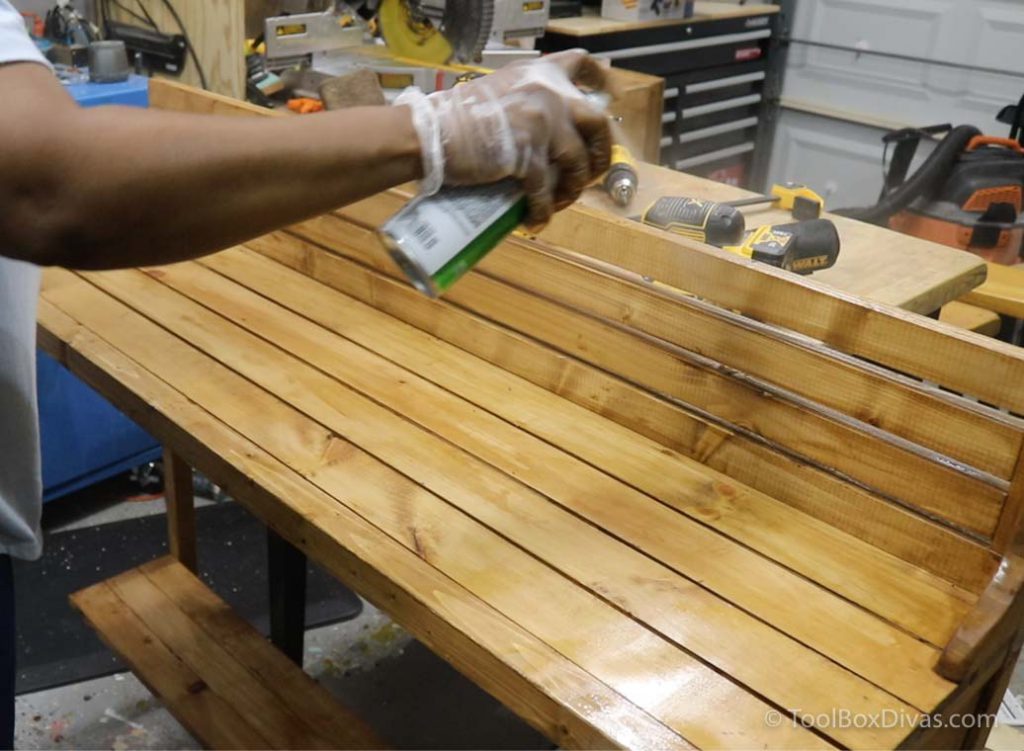
Step 7. The finishing touches.
And just like that, you’re done. I touched up the stain and added a couple of coats of an exterior clear stain to protect the wood from the elements as much as I could. Then allowed it to dry overnight.
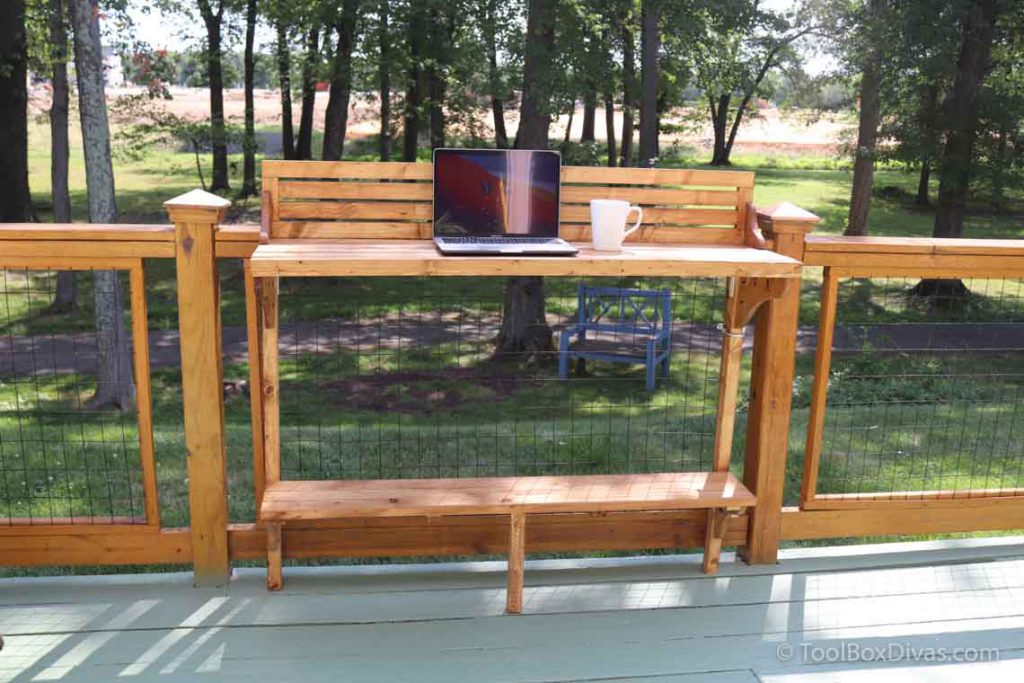
My Removable Bar Balcony Table
I absolutely love how this all turned out, securing the bar to the deck rails using u bolts.
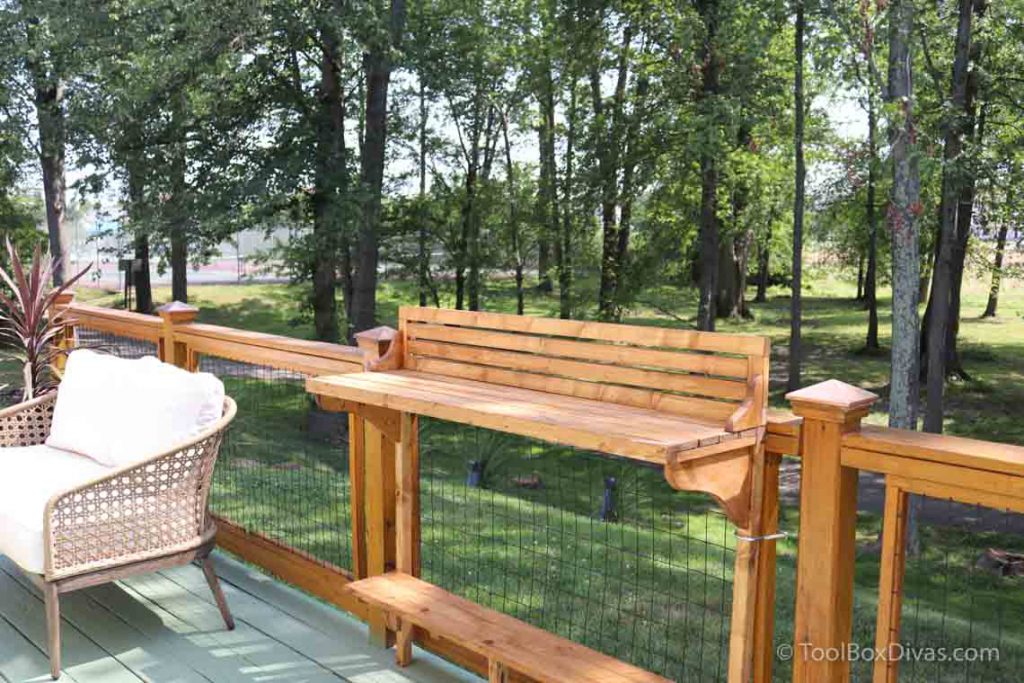
I enjoyed it so much that I have my morning coffee on the deck at the bar and often use the deck as my second desk now that I’m working from home.
For complete step-by-step plans for this balcony bar table, as well as the cut list, head over to Kreg to download the free plans.
Till Next Time. ~ T.
For more woodworking DIY projects consider How to Make a DIY Rolling Cricut Craft Cart and How to Make a Modern Shoe Cabinet.