How to Make a Vertical Succulent Garden
Succulents are so beautiful and with the proper care, they make a lovely addition to your outdoor living space. Learn how to make your own vertical succulent garden to hang outside on your fence as an alternative to traditional flower boxes.
What is a succulent?
A succulent is a plant that retains water in its leaves. The leaves are usually thick and fleshy, allowing for water storage that helps them to survive in drier climates where rainfall isn’t heavy.
How often should I water my vertical succulent garden?
Succulents get all their water from the soil they are planted in. They pull the water up through the roots and store it in their leaves. Spring and summer are their peak growing seasons so you may have to water them 2-3 times a week as they grow new leaves. They will go dormant in the winter so you won’t have to water them as often. Giving succulents too much water in the winter will mean certain death, so do them a big favor and go easy on the watering.
How do I know if my succulent needs water?
When the soil your succulent is planted in is bone dry, that’s when you water it. Give it a good drenching until water runs out of the holes in the bottom of your planter. An underwatered plant will have wrinkled, shriveled leaves. An overwatered succulent will have soft, mushy leaves. Either condition may be one it can’t recover from.
Now that you know a little about succulents and how to water them, let’s build them a vertical garden to live in.
Let’s get dirty!
How to Build a Vertical Succulent Garden
Materials needed:
- 1 – 1x4x8
- Plywood
- Black landscaping fabric
- Poultry wire
- Paint or stain
- Succulents
- Soil
Build the planter box
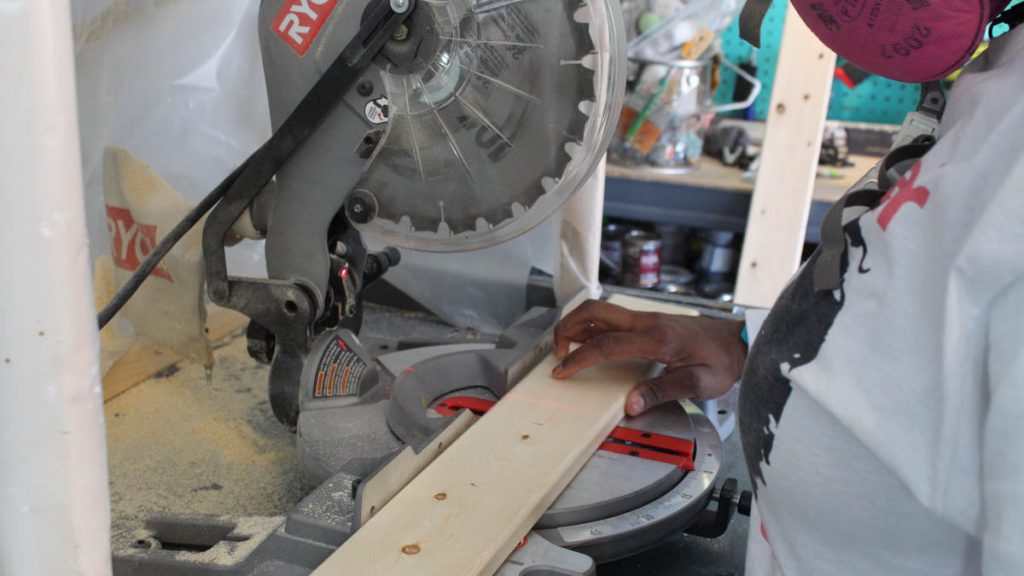
You can build your planter box any size you want. Cut your 1x4s to make the frame of the vertical succulent garden using a miter saw. The bigger the box, the more plants you will need to fill it.
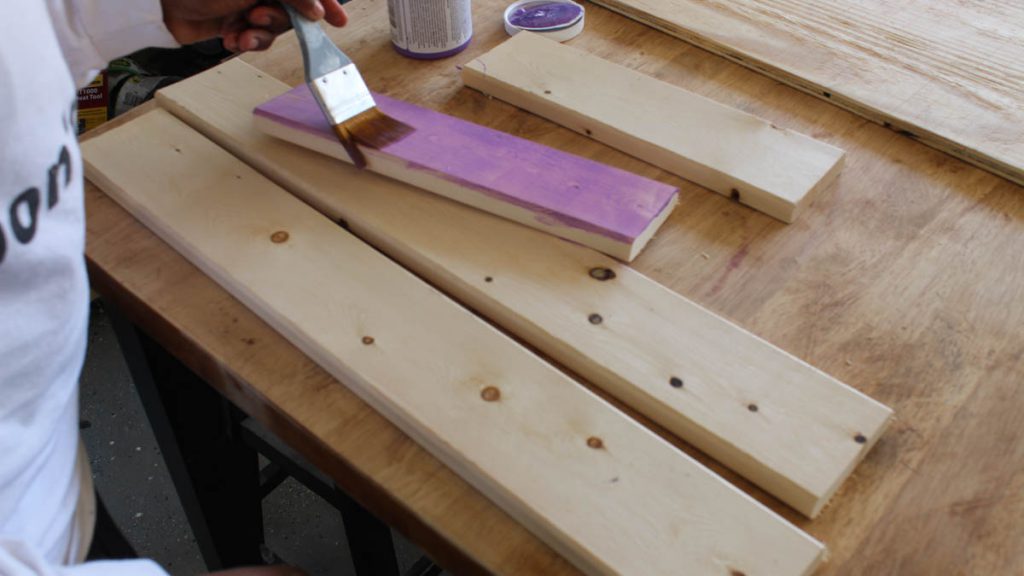
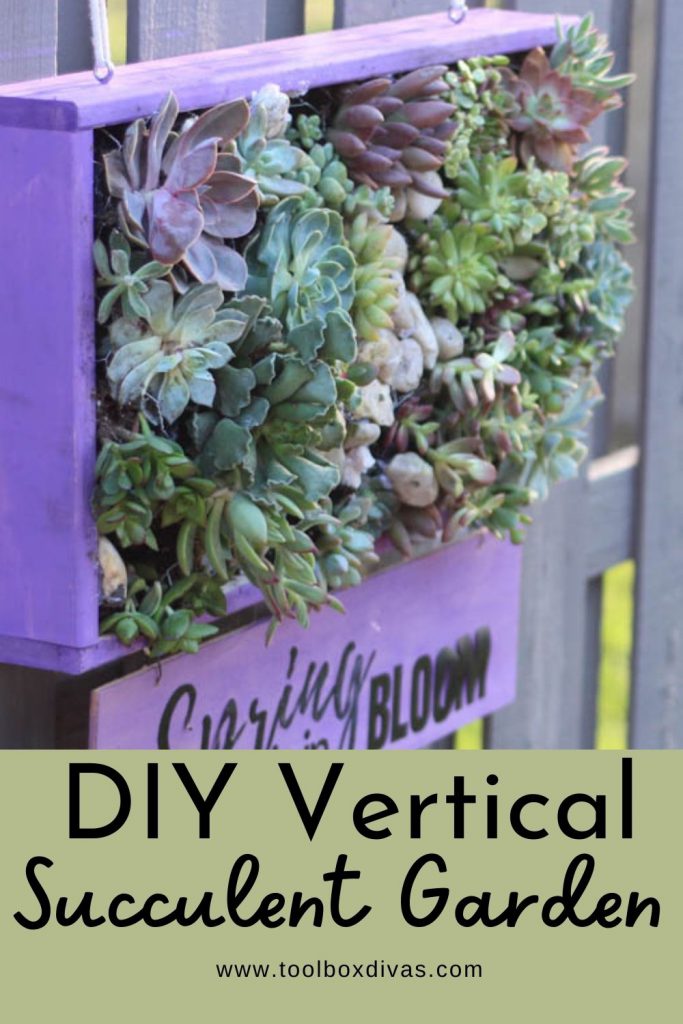
Stain or paint your boards before assembling them. Trust me, it’s a lot easier to do it before you put it together. I stained my planter purple because it felt warm and spring-like. It’s no secret, I love bright vibrant colors.
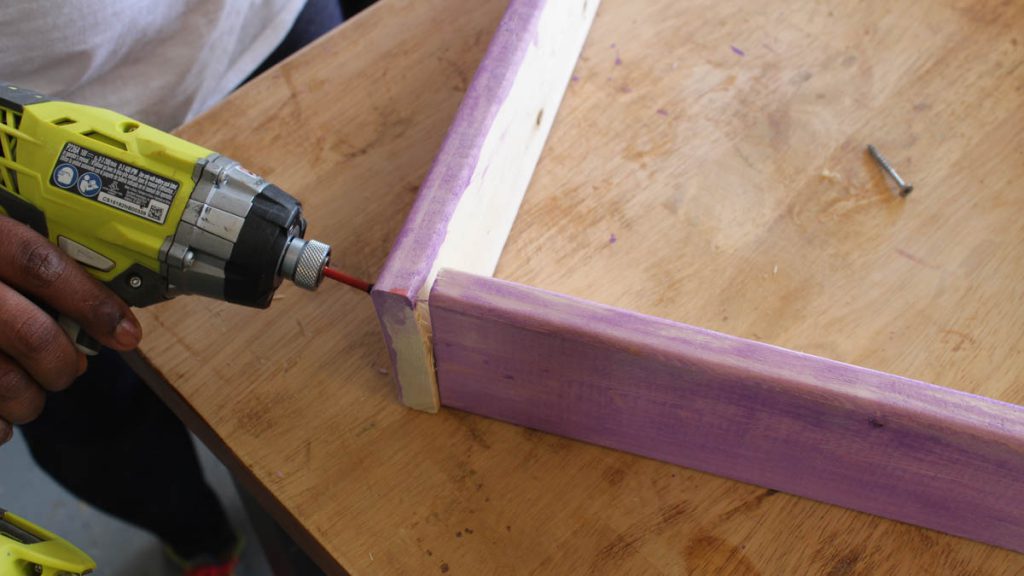
Building the planter was a very quick and easy process. Use screws meant for outdoor use, this will keep them from getting rusty when exposed to the elements. Be sure to check for square while assembling your vertical succulent garden box. There is nothing worse than getting a project all done only to realize that it’s crooked.
Next, cut your plywood to size and attach it to the frame using finish nails.
Planting your vertical succulent garden
Once the box is built, add black landscaping fabric, then add the soil. It is best to get soil that is mixed with sand and perlite, to help promote drainage.
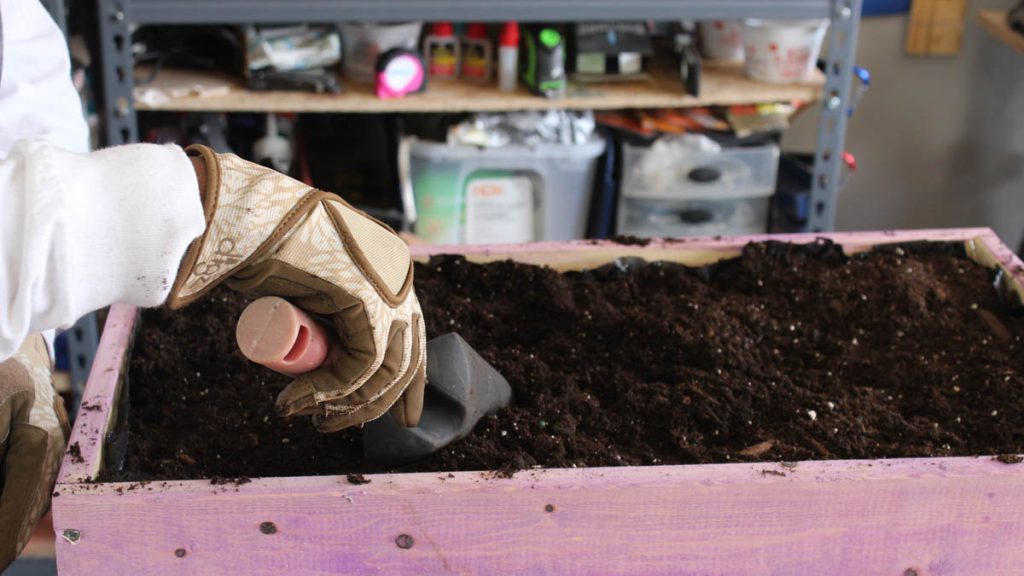
Cover the dirt with more landscaping fabric and add your poultry wire using a stable gun. Remember to wear gloves when handling the poultry wire, preferably ones that fit your hands.
I couldn’t find my smaller gloves when I was rolling out the wire. Then as soon as I’d completed the process of stapling the wire to the planter, what do I see in the corner? Yep, my smaller gloves. That’s how my life goes sometimes, haha.
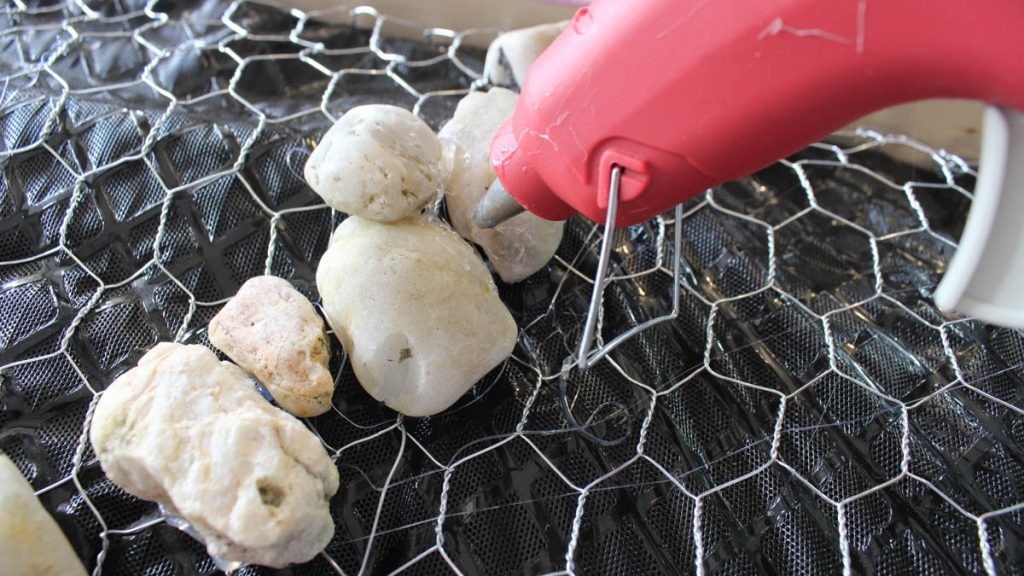
With a fully assembled planter, I was ready to get creative. I always had these visions of rock beds around a succulent garden. So I thought who says I can’t incorporate that into a vertical succulent garden.
So bust out the trusty hot glue gun, picked up some rocks and start gluing. I secured the rocks with the hot glue and industrial strength super glue. The hot glue allowed the rocks to hold while the glue set.
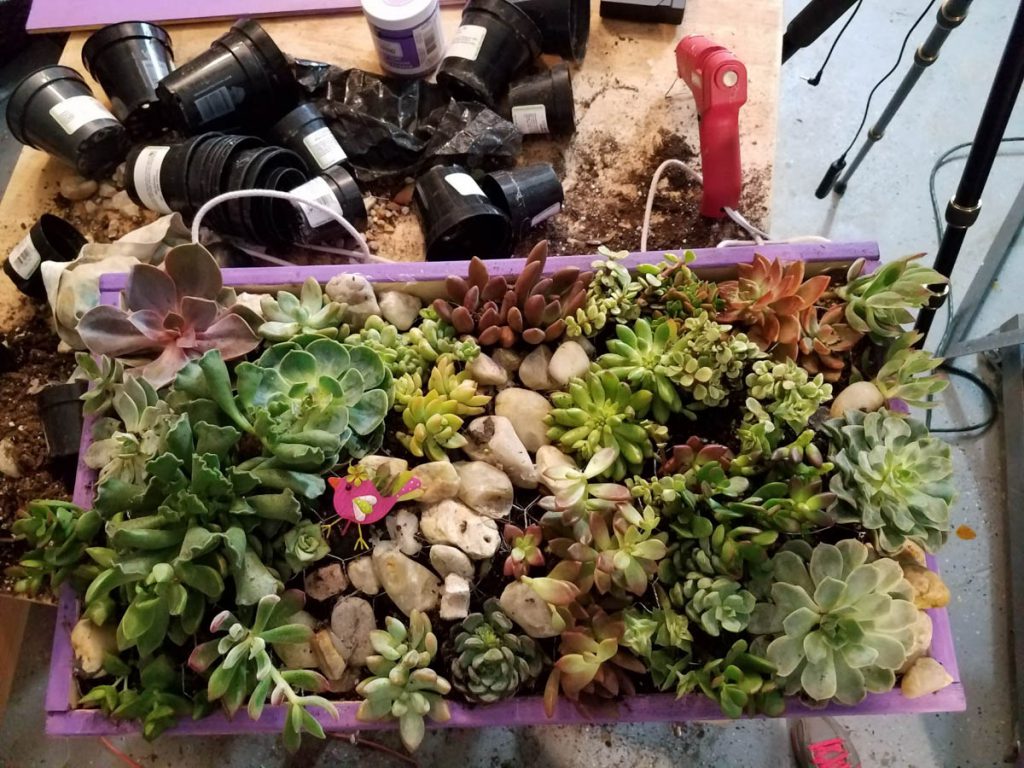
Once I’d outlined my ‘rock river’, I planted the succulents around the rocks. You may have to cut the poultry wire in some places to make enough room to plant your succulents. Cut into the landscaping fabric and plant them like you would any other plant.

Keep adding succulents until you are happy with how it looks. I love all the different colors and shapes and textures!
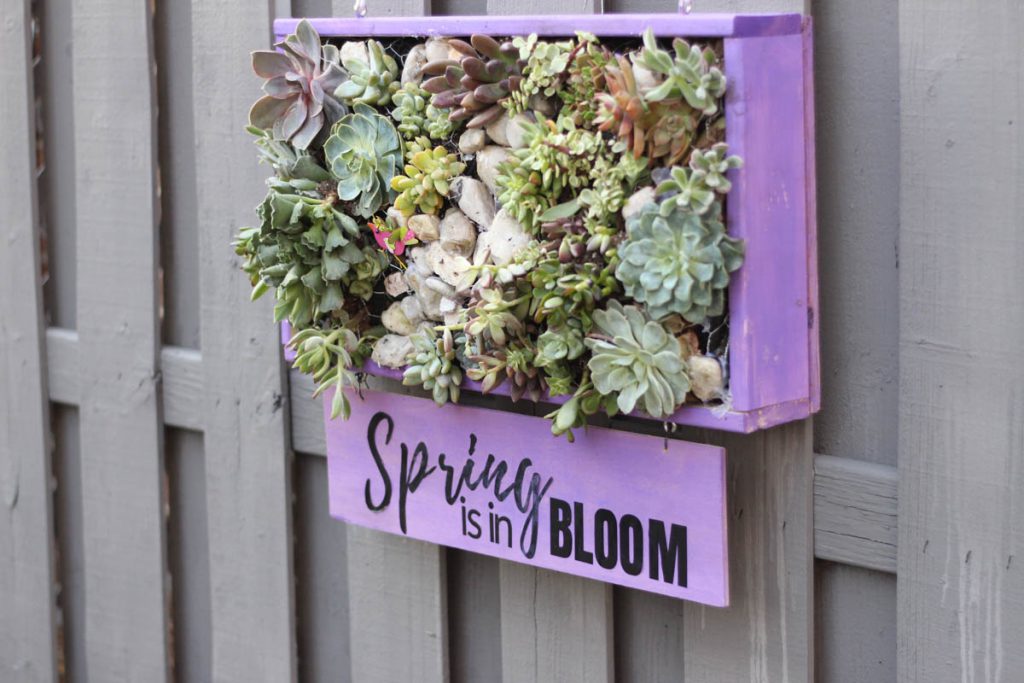
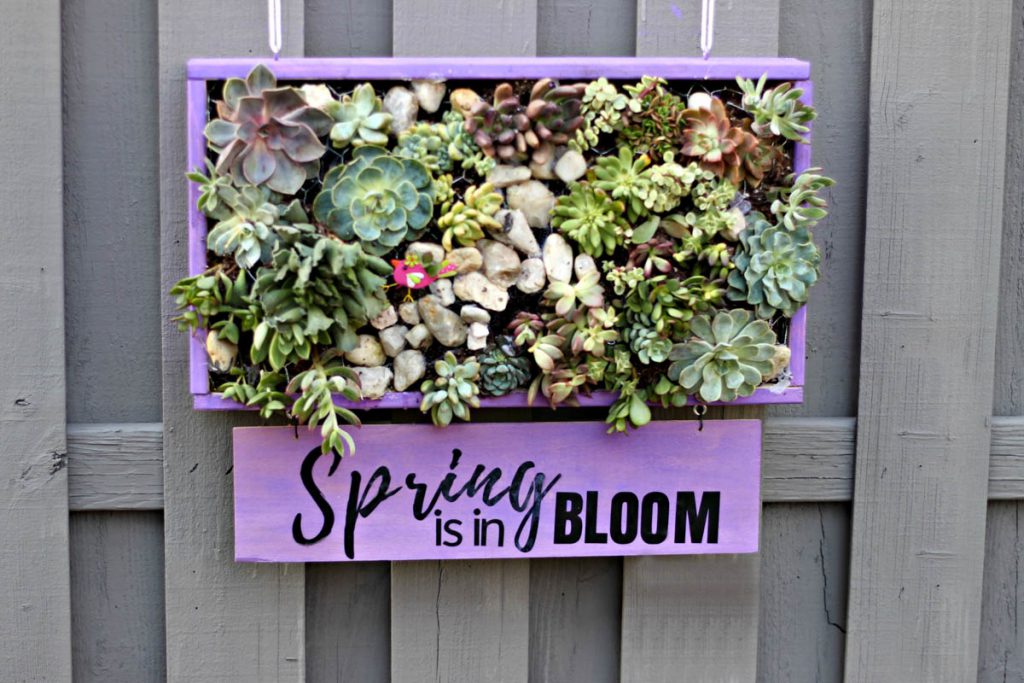
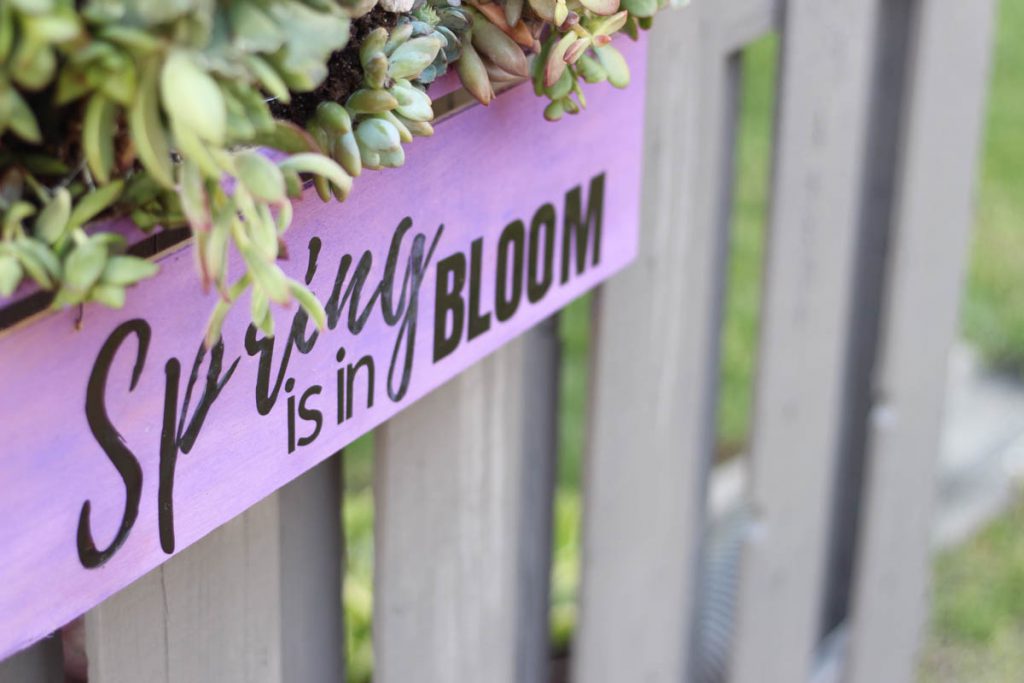
And for the final touch, I needed a sign. Using my Cricut, I cut out a vinyl decal that I secured to a thin scrap craft board using super glue. I had to add glue because I knew I would be storing my planter outdoors.
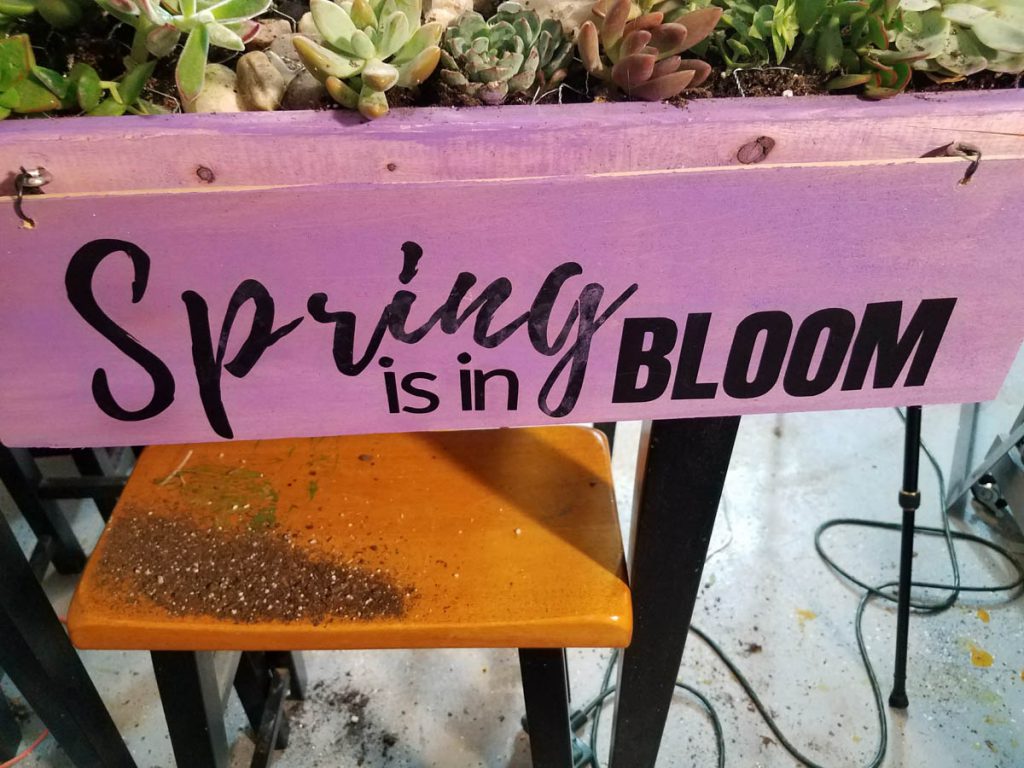
I added two additional eye screws to the bottom of the planter to hang the sign. I repurposed the twist tie that came with the landscape fabric to secure the sign to the planter. The vertical succulent garden turned out just like I imagined and it looks great hanging on our fence!

Be sure to check out all my friends and their DIY succulent gardens too for more succulent garden inspiration!
- House of Wood
- That’s My Letter,
- All Things Thrifty,
- Her Toolbelt,
- Build Basic,
- Thistlewood Farms,
- Lolly Jane,
- Refresh Restyle


I must say it was hard to find your site in search results.
You write interesting content but you should rank your blog higher in search engines.
If you don’t know 2017 seo techniues search on youtube: how to rank a website Marcel’s way
I just read your post for The Home Depot Party with Vertical Succulent Gardens. It was so great to see all the creative ways you could style out this beautiful garden! I also loved that you pointed out that if people are not able to purchase their own, they can get one at select stores and online.
Thank you!
Thanks for sharing your succulent garden project! I love the colors you chose and it’s really inspiring.You’re right, it is a lot easier to stain or paint your boards before assembling them. I just stained mine green because it feels fresh and summery.