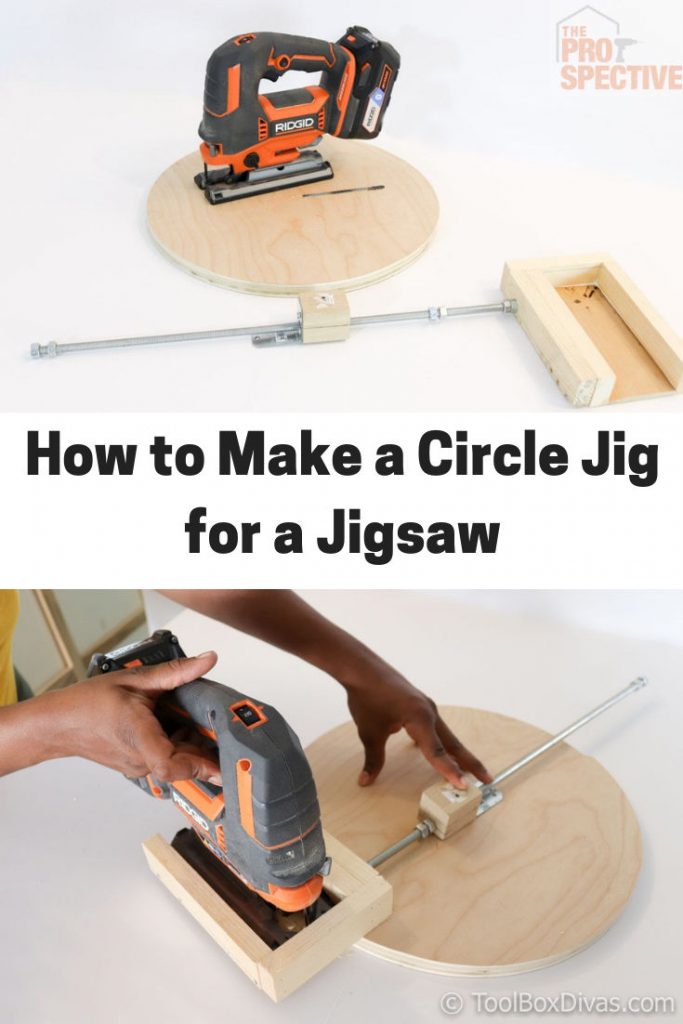
Make an Easy Circle Jig for Jigsaws
Cut perfect circles with a jigsaw with this circle jig for a jigsaw.
*This post is sponsored by The Home Depot and contains affiliate links and I will be compensated if you make a purchase after clicking on my links.
Cutting perfectly round circles is not always the easiest, especially if your tool selection is limited. Forget trying to cut out a circle freehand. With this simple jig, you can cut out a perfect size circle with just a jigsaw. Using some scrap wood that I had from previous projects and a threaded rod I made this simple jig that can also adjust to create a 32 in. circle.
Here’s What You’ll Need
- Drill/Impact Driver (I’m using the Ridgid OCTANETM 18V Hammer Drill/Driver and 6-Mode Impact Driver Combo Kit)
- Jigsaw (I’m using the Ridgid 18-Volt OCTANE Cordless Brushless Jig Saw Which I got during the Ridgid Octane sale for free with the purchase of a Ridgid 18-Volt OCTANE Lithium-Ion Bluetooth 3.0 Ah and 6.0 Ah Battery Starter Kit with Charger)
- Drill and driver bits (I’m using the RYOBI Impact Rated Driving Kit – 70-Piece)
- Wrench
- 5/16 Forstner bit
- 3/8 Threaded rod (cut down to about 15″)
- 1×2 Board
- 1/4 Board
- 8 – 3/8 in. Chrome Hex Nut
- Simpson Strong-Tie 2 in. x 1-1/2 in. x 1-3/8 in. Galvanized Angle
- Wood Glue
- Wood Screws
- Pencil
- Tape Measure
Ok, Let’s Get Dirty!
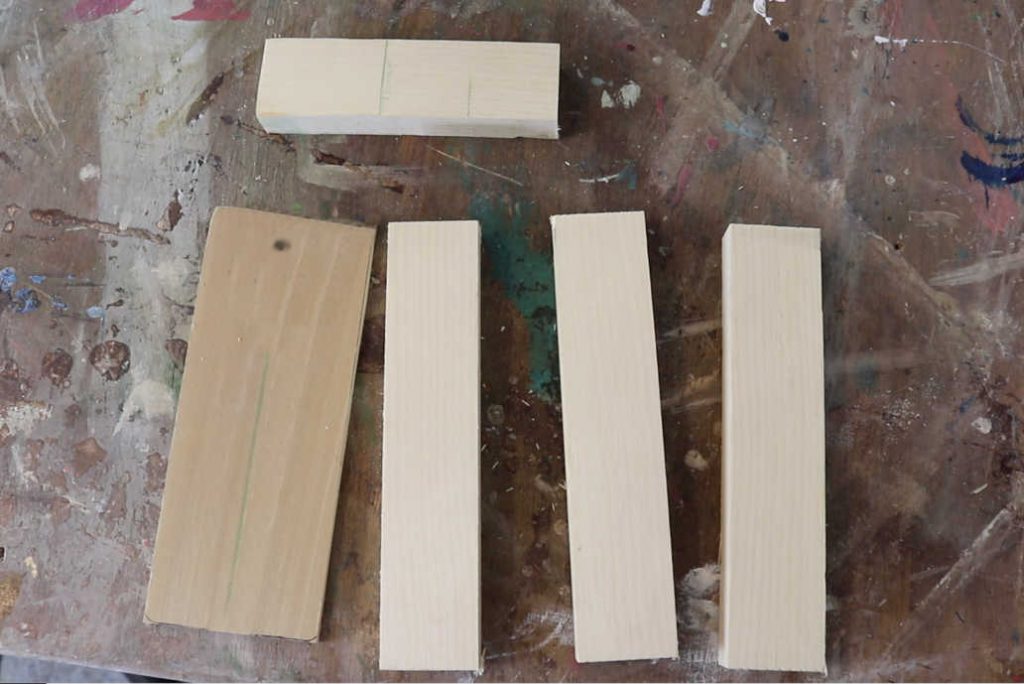
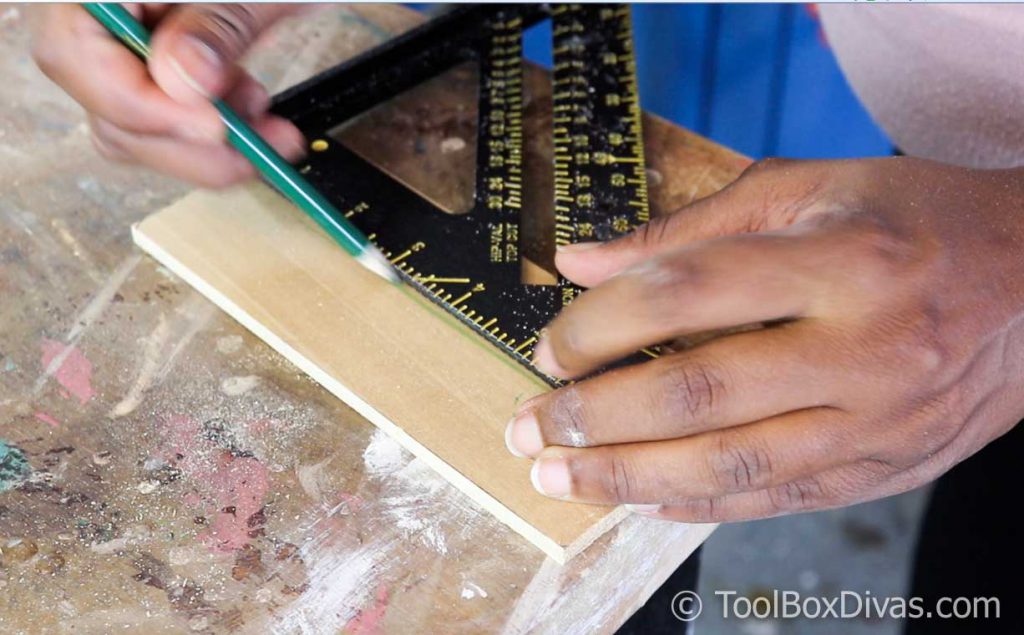
Cut the base of the jigsaw holder.
So the base for each jigsaw is slightly different. But for this jig, you want to create a Jigsaw housing that fits perfectly and snug around the base of your jigsaw. So take a pencil and outline your jigsaw base on the 1×4 board.
Then cut it to size with the jigsaw.
For future reference, I marked a centerline down the middle of the baseboard. This will make it a little easier to line things up when you start using the jig once it’s fully assembled.

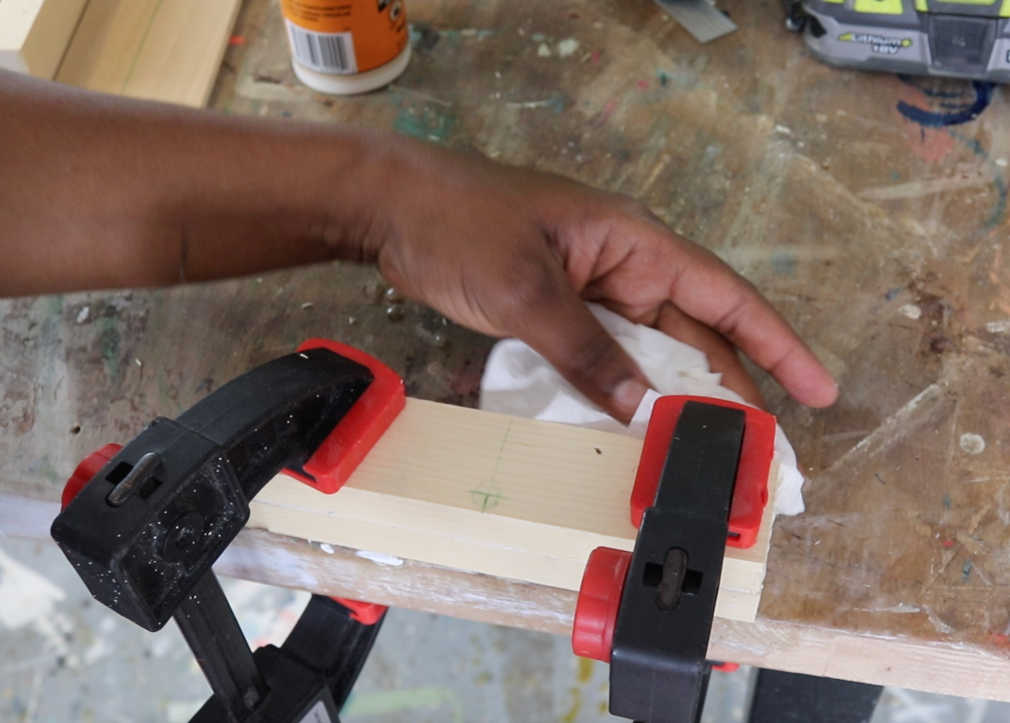
Prepare the anchor side of the Jigsaw Holder.
Cut 2 – 1×2 boards to the length of the base and using wood glue and a nailer, if you have one, glue the two pieces together. Allow time for it to dry.
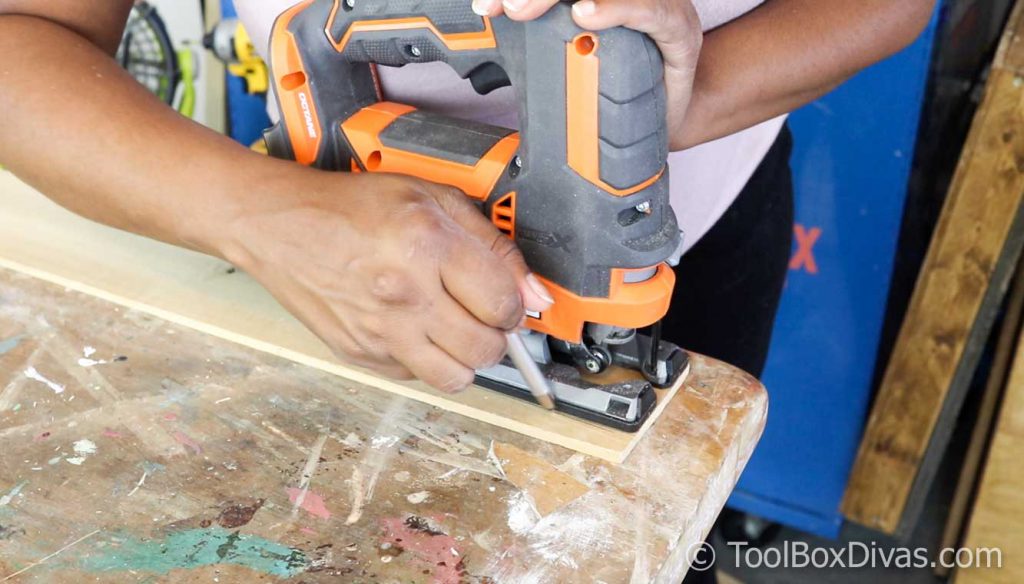
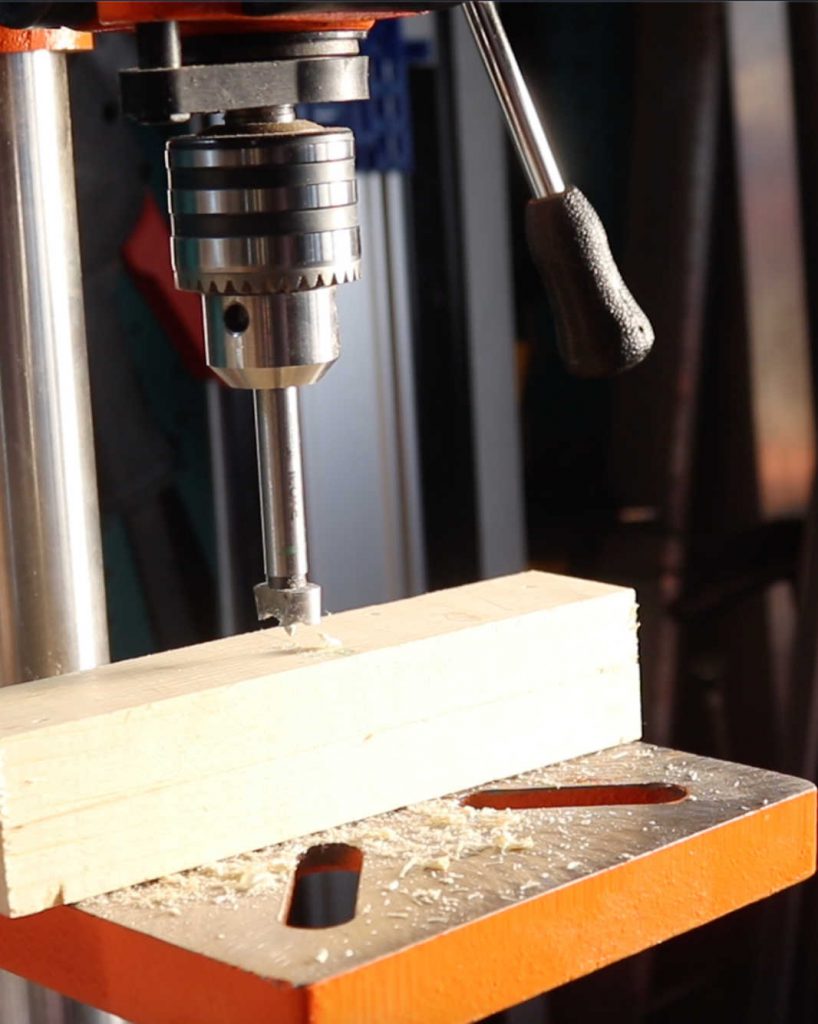
Drill a hole to fit the jigsaw blade at the front of the baseboard.
You can mark the location of where the jigsaw blade will go by setting it on the baseboard and marking the position. Use a wide enough bit that will easily fit the insertion of the blade.
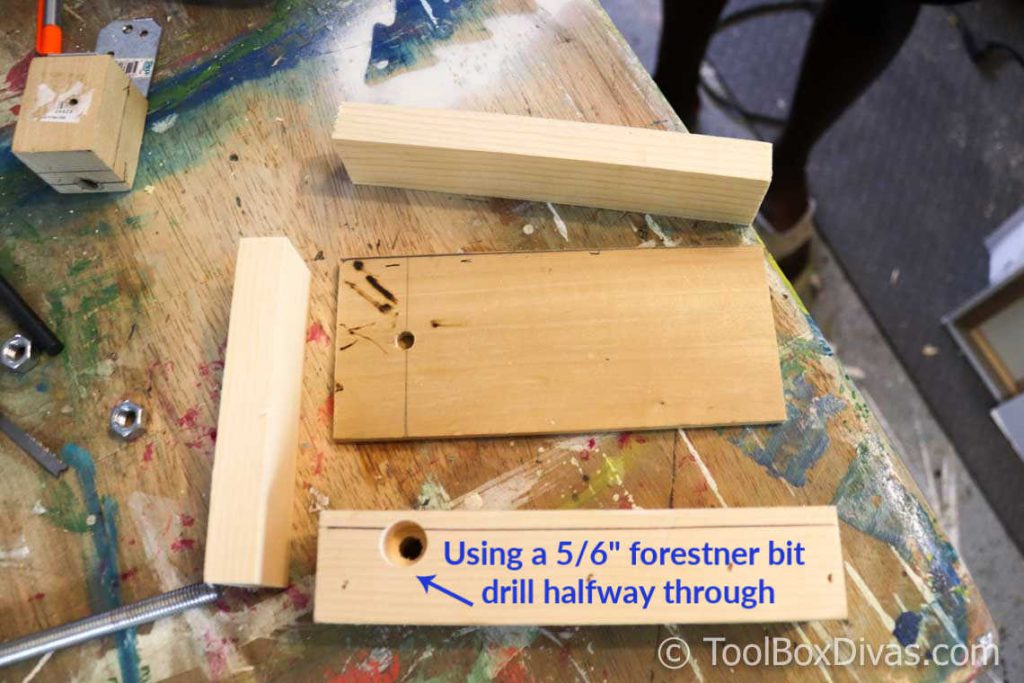
Drill a hole in the Side Anchor of the Jigsaw Holder.
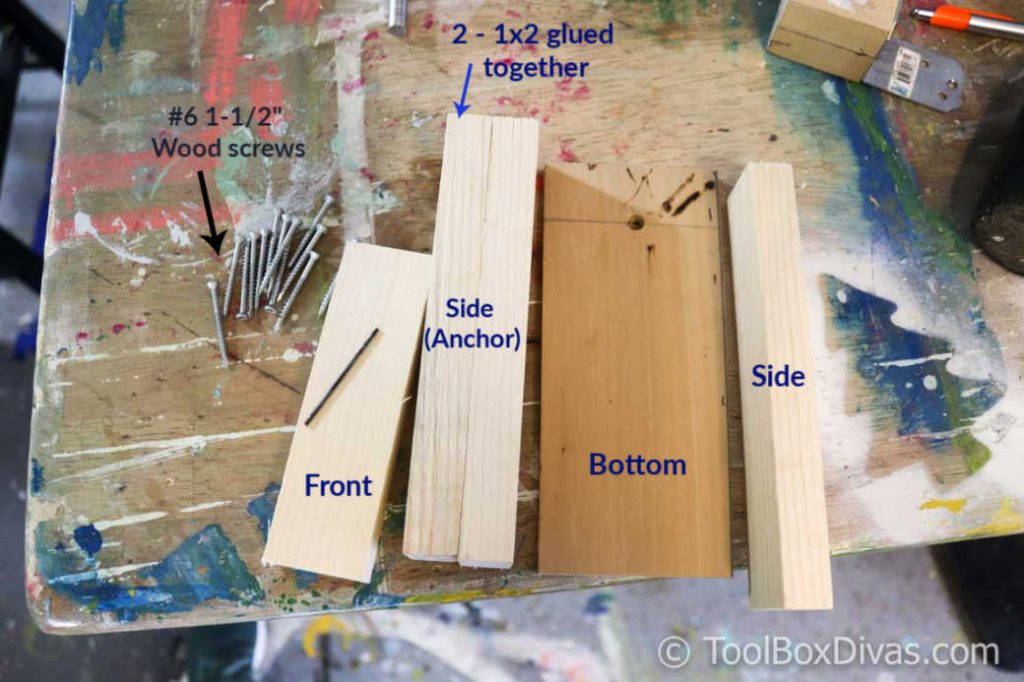
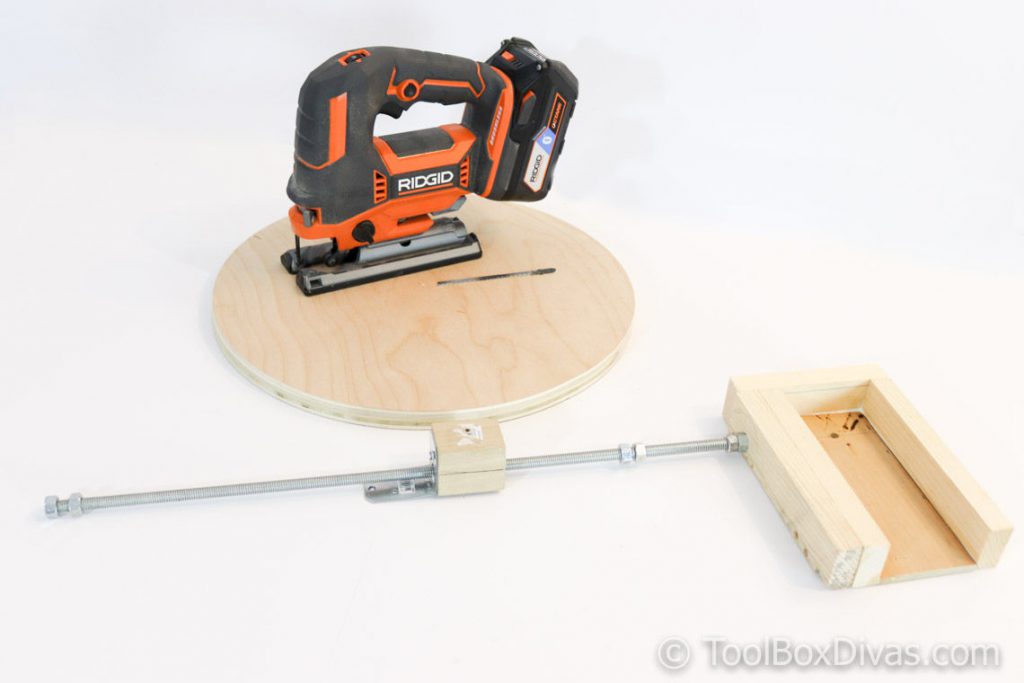
Here are all the pieces you’ll need to assemble the jigsaw holder. But before you put everything together lets drill the anchor holes into the Side Anchor board for the Jigsaw holder.
Taking the baseboard and the side anchor board draw a straight line across the baseboard and pair that position with the position on the anchor board. You want to the drill point to match perfectly with where the blade of the jigsaw will be. If it’s not lined up properly you will not be able to make perfect cuts and your jigsaw blade will burn and possibly break.
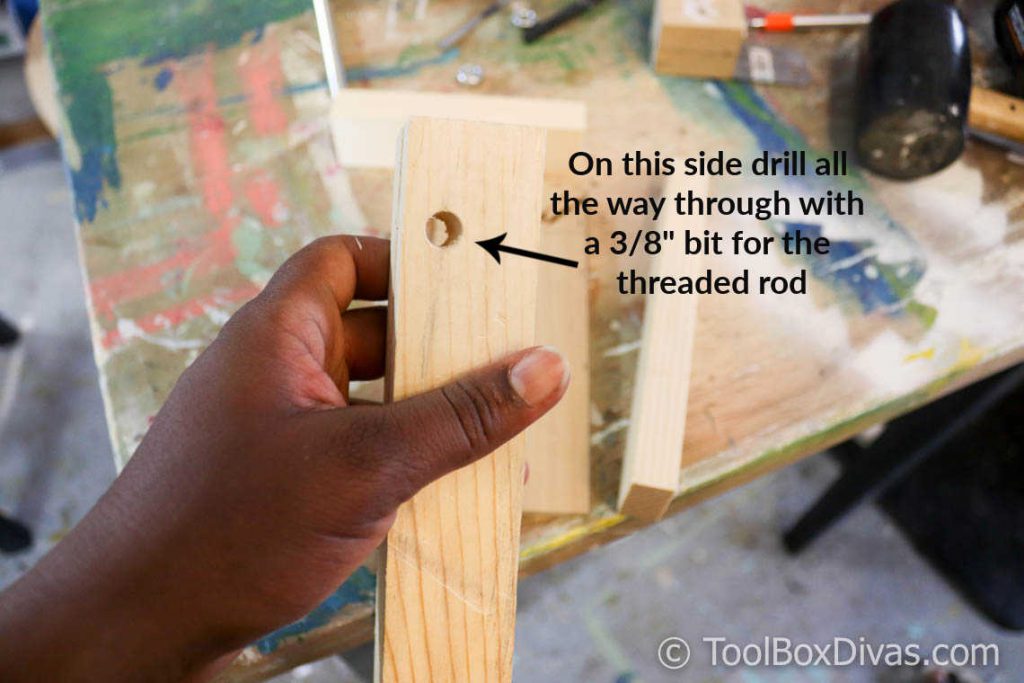
Mark the space and using a 3/8″ drill bit, drill all the way through the 2 – 1×2 boards that are glued together.
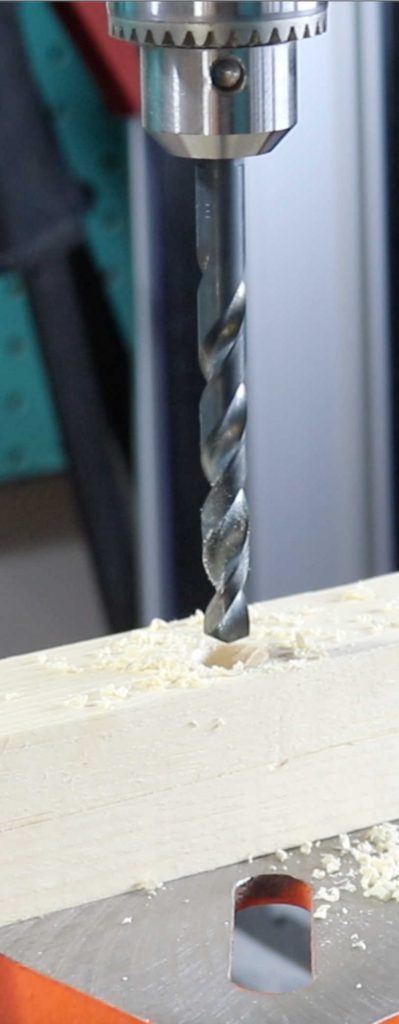
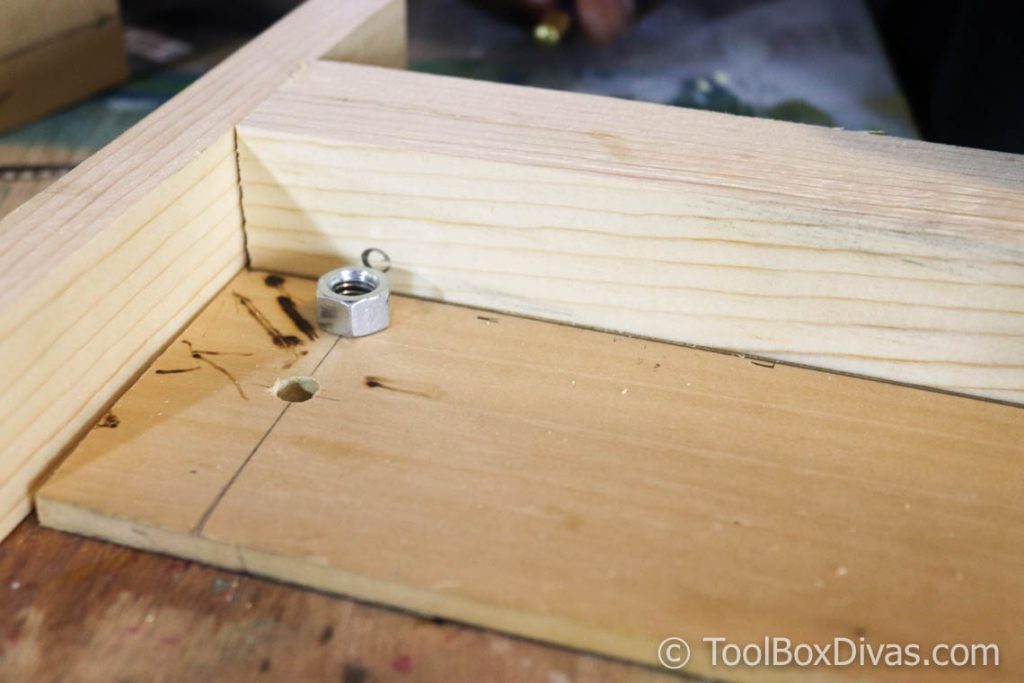
Then flip it over and drill halfway through with a 5/16 Forstner bit. The hole needs to be deep enough to fit 2- 3/8 hex nuts flush inside the wood.
It should look like this.
And this on the other side.
Assemble the jigsaw holder.
I recommend using wood glue in addition to wood screws to secure the holder.
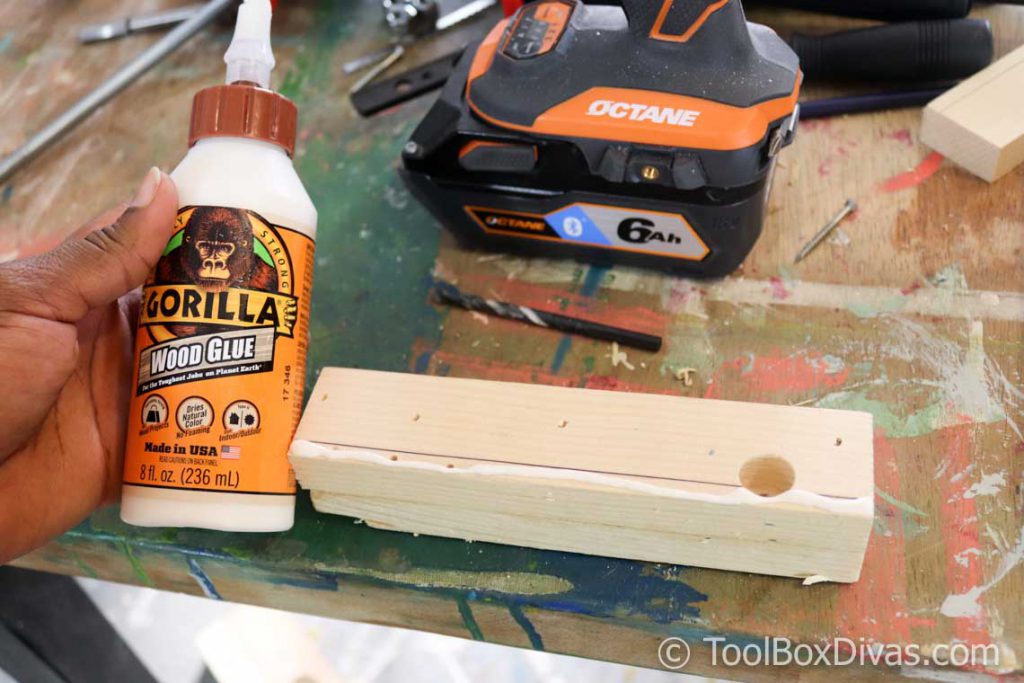
On the inside of each 1×2 I drew a line that marked the thickness of the baseboard. It was supposed to be a reference for drilling into the board with the Forstner bit. But as you can see I sort of missed the mark. Haha. But I’ll show you how I addressed that later. Apply wood glue to the 1×2 boards and glue it to the baseboard. I then predrill the holes for the #6 screws.
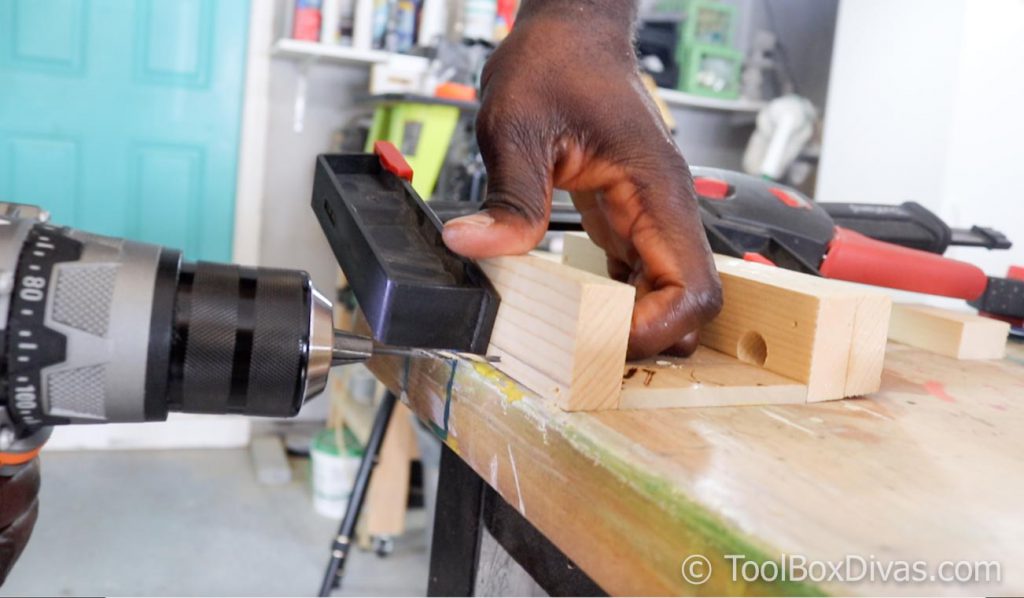
Screw the wood screws in place.

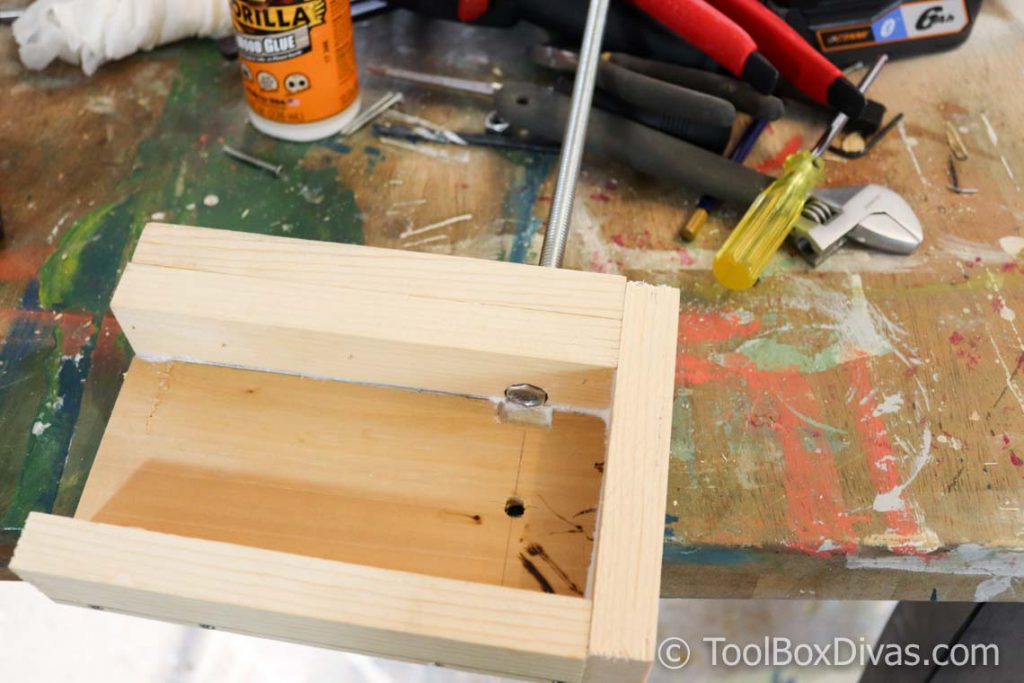
Now for the placement of the 2 interior hex nuts and the fixing of the drilling error.
First, you want to cut the threaded rod down to the desired length. This can be done with an inexpensive hacksaw. And at the far end screw on 2 hex nuts. Tighten with a wrench.
The objective is to slide this all the way through inside the jigsaw holder. However, as you recall I drilled a little too low. So to create the clearance needed to insert the threaded rod with the nuts I used a chisel to carve out the wood to allow the bolt and nuts to easily slide in place.
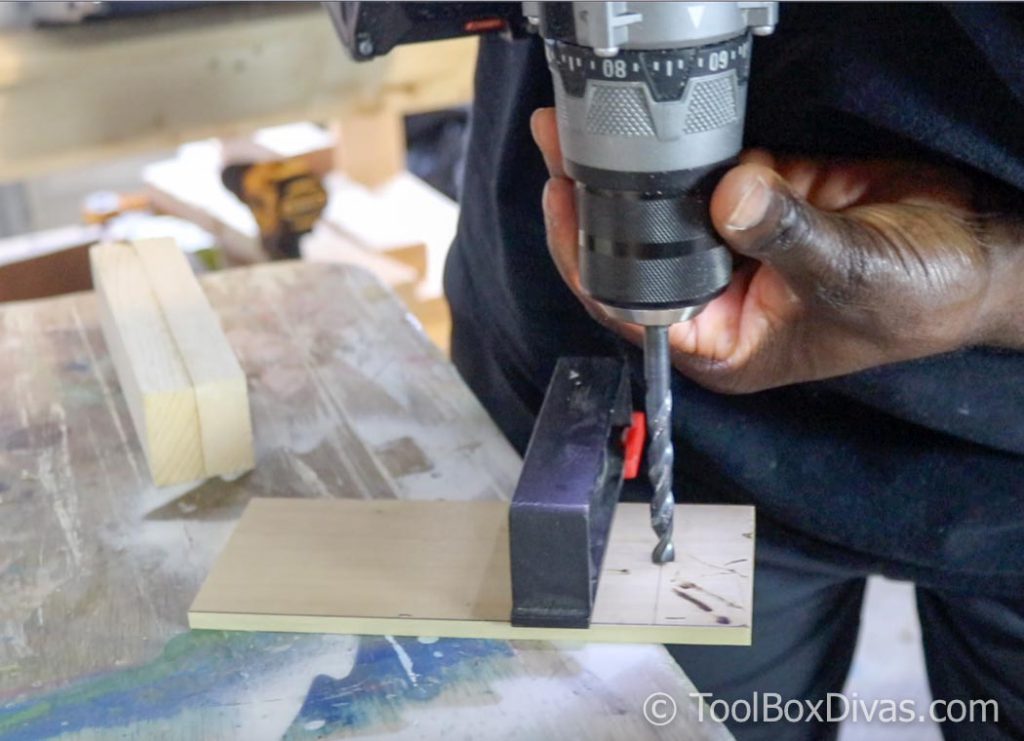
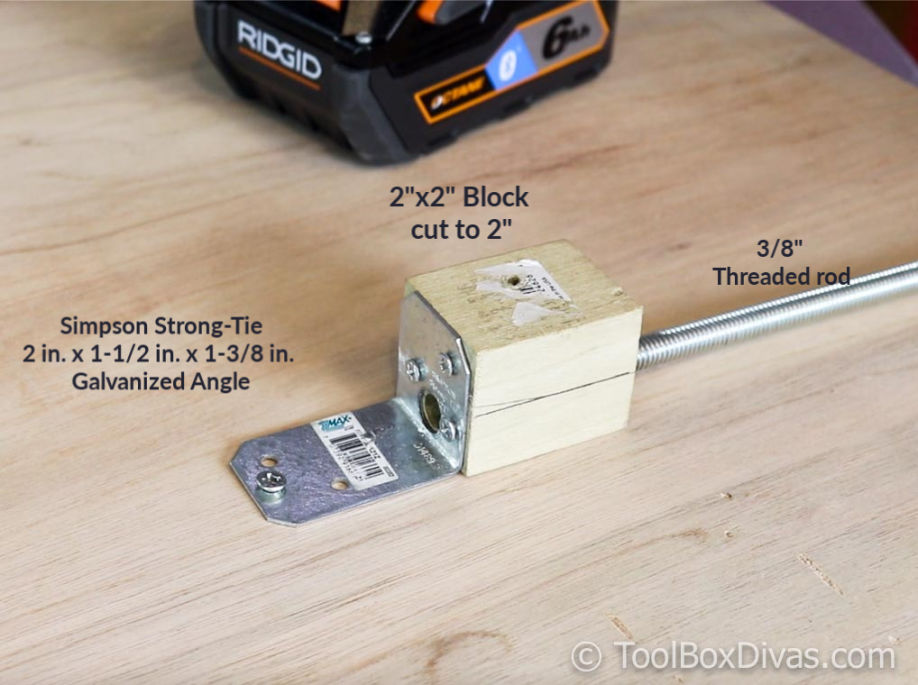
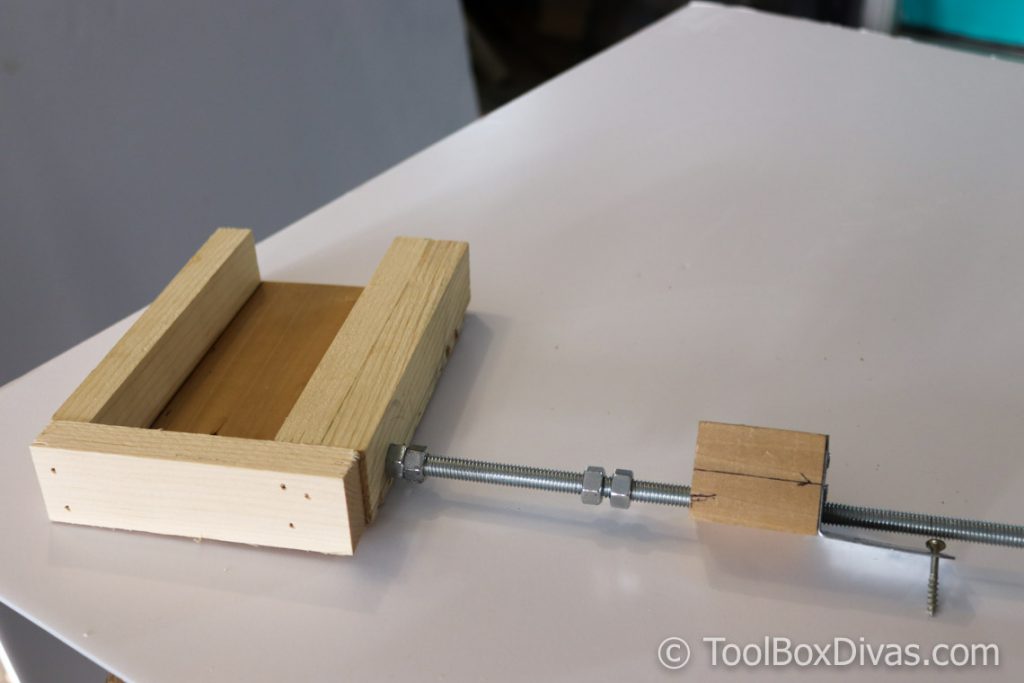
Creating the anchor point.
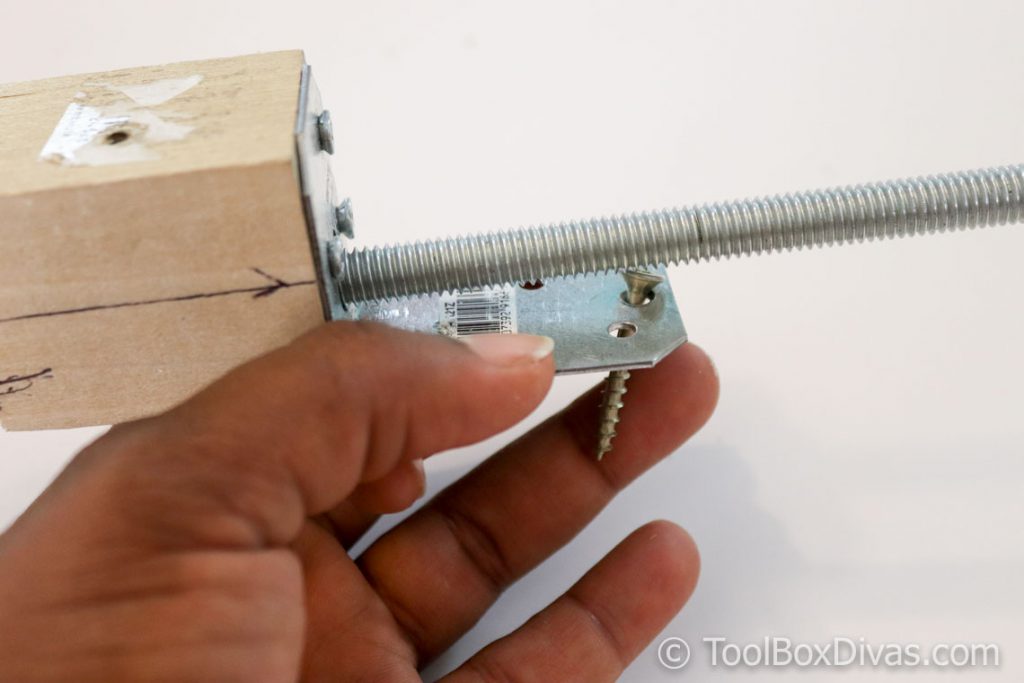
To create the anchor point I cut a piece of 2×2 board down to 2 inches and screwed the galvanized angle to one side of the block. Then using a bit that could be used on both wood and metal, drill a 3/8″ hole all the way through the 2×2 and the galvanized angle.
With the hole drilled all the way through I was then able to run the threaded rod through the anchor point. The anchor point is then held in place using a long screw that completely goes through the center of the wood that is being cut.
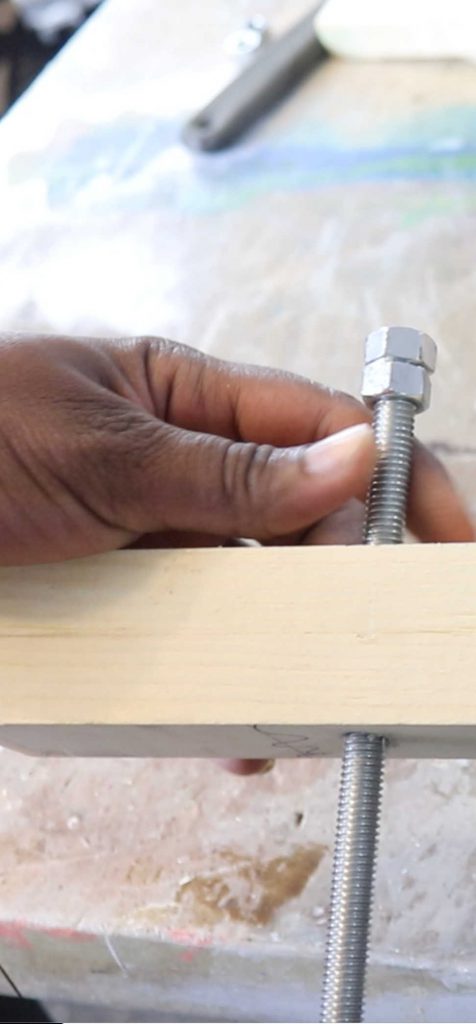
Nuts and bolts.
Every connection point is held in place and secured with 2 nuts.
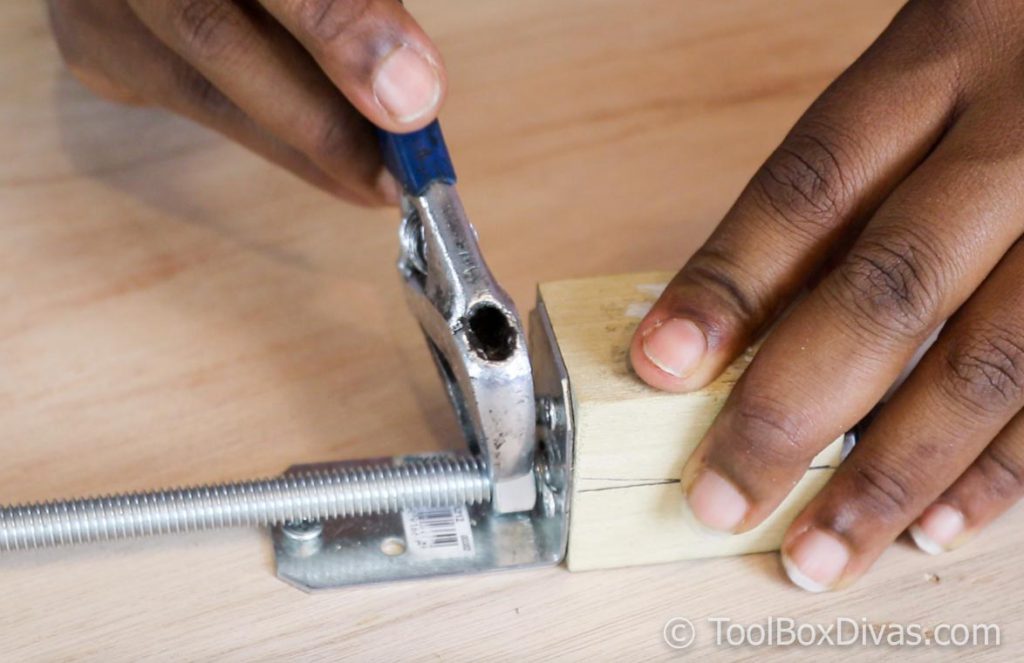
2 nuts allow you to tighten and secure the connection
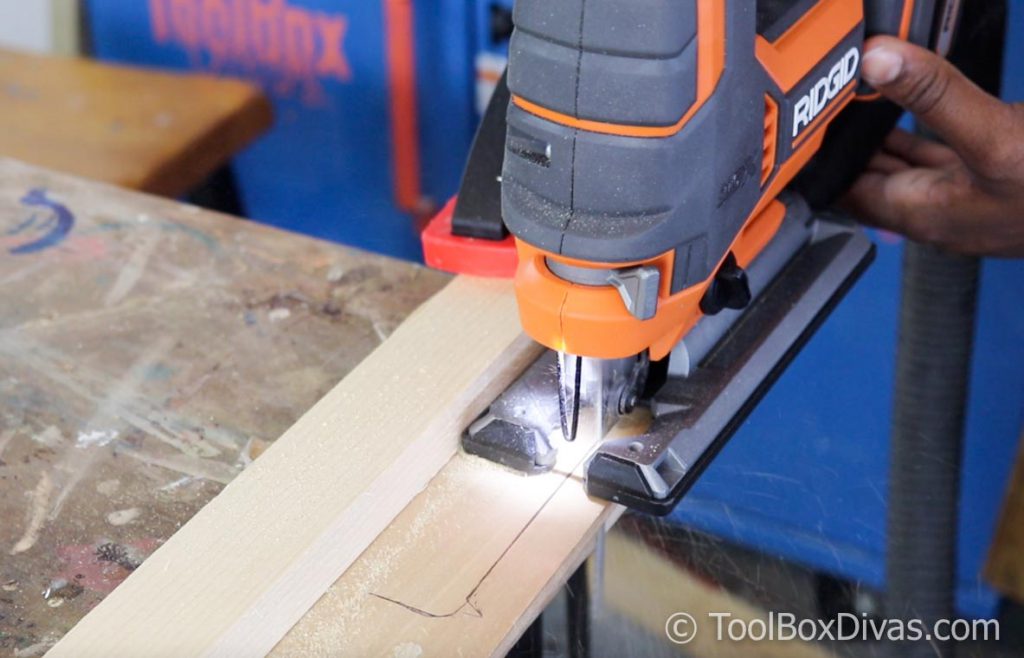
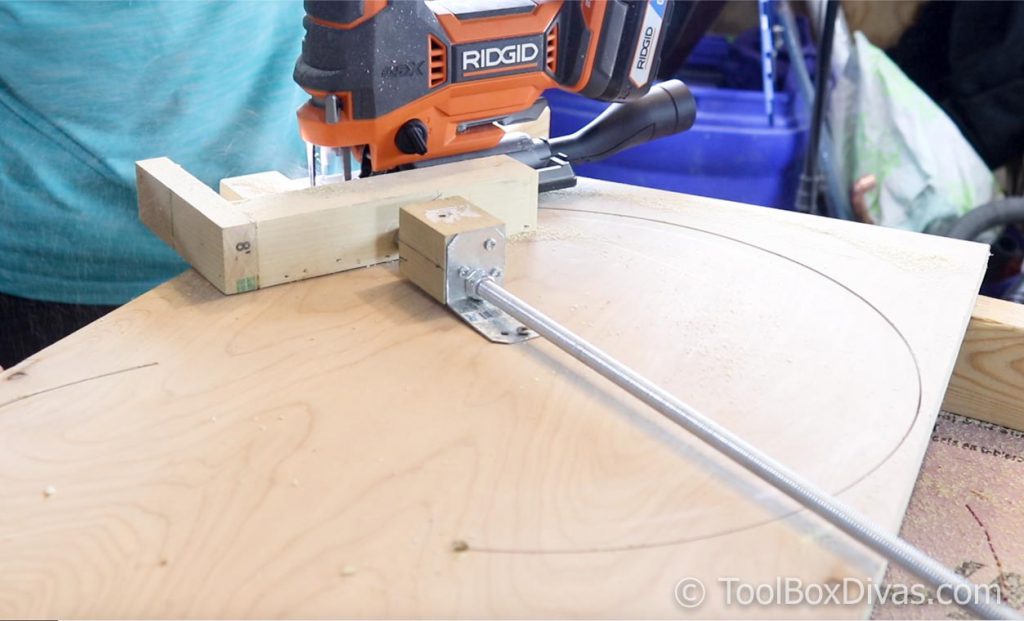
Using the Circle jig for the Jigsaw.
I recommend setting the wood that is to be cut over 2″ styrofoam insulation and a couple of scrap 2x4s in a triangular pattern under the piece that you are cutting. Cut slowly and don’t try to force the blade to reduce burning the blade. The blade, the anchor point, and the jigsaw holder should all line up perfectly. I tried this various times and ruined quite a few boards and blades, so trust me when I saw everything should be perfectly lined up to create the perfect circle.
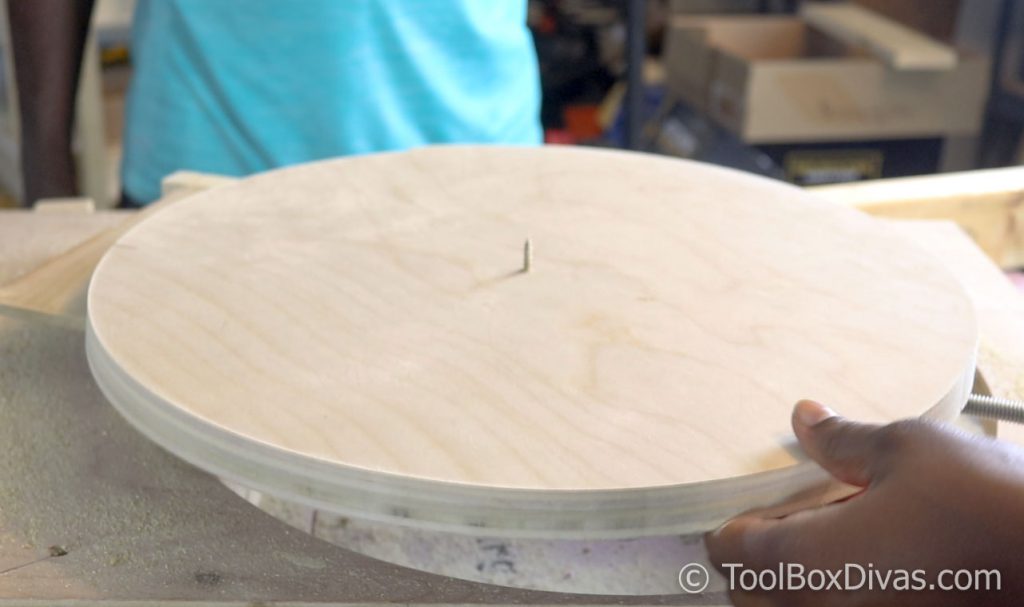
Once the circle is cut using your new Jigsaw circle jig unscrew the anchor point and you will have yourself a perfectly round circle. Cut out a circle for your next woodworking project. Make a round tabletop with this circular jig.
For more DIY projects and tutorials check out these posts:
I acknowledge that The Home Depot is partnering with me to participate in the ProSpective 2018 Campaign. As a part of the Program, I am receiving compensation in the form of products and services, for the purpose of promoting The Home Depot. All expressed opinions and experiences are my own words. My post complies with the Word Of Mouth Marketing Association (WOMMA) Ethics Code and applicable Federal Trade Commission guidelines.


Timisha, I am so disappointed with this posting. I can’t follow your description without the interruption of ads. They block the entire screen – same ad, over and over.
I won’t click on your postings again.
Ken
p.s. I hesitate to include my email address for fear you will sell it.
I am so sorry I will look into whats going on with the popup ads.