Learn how to install faux wood blinds in this easy to follow tutorial.
*This post is sponsored by The Home Depot and contains affiliate links and I will be compensated if you make a purchase after clicking on my links.
You can have a beautifully decorated space when you with affordable faux wood blinds. They look much like real wood and it’s difficult to tell if you are not close enough to feel and smell the product. It’s made of vinyl and you can customize the look of each room in your home with different color faux wood blinds.
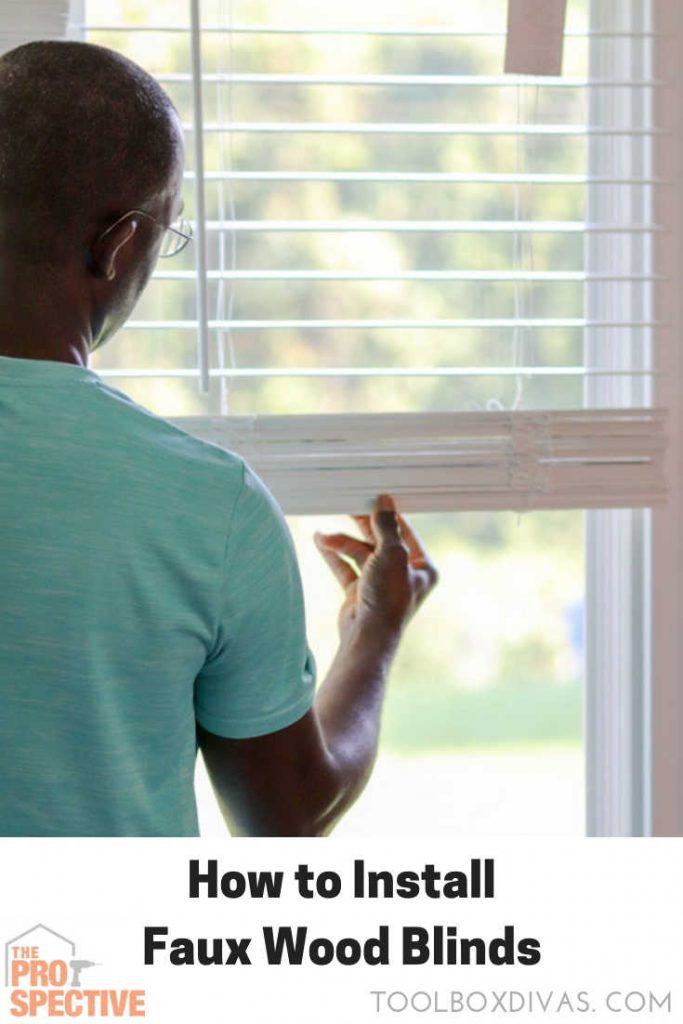
Faux wood blinds have many benefits. It’s moisture and humidity resistant so its perfect for areas with high humidity like the bathroom or kitchen. Faux wood blinds won’t warp or fade. they come available for different room applications to block out light or to permit some degree of light to suit the need of the room and your illumination taste (shade).
At the end of the day, faux wood vinyl blinds are a low-cost choice for window and door treatments that won’t break your budget but make great design sense.
This is a general diagram of a window and its components:
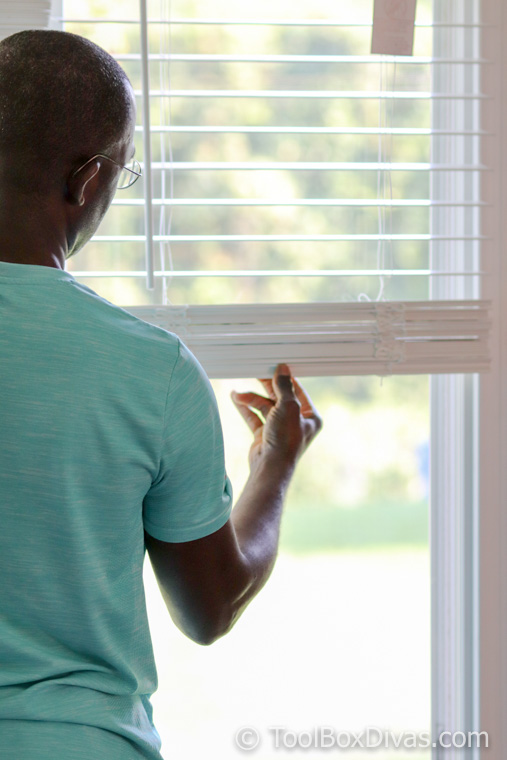
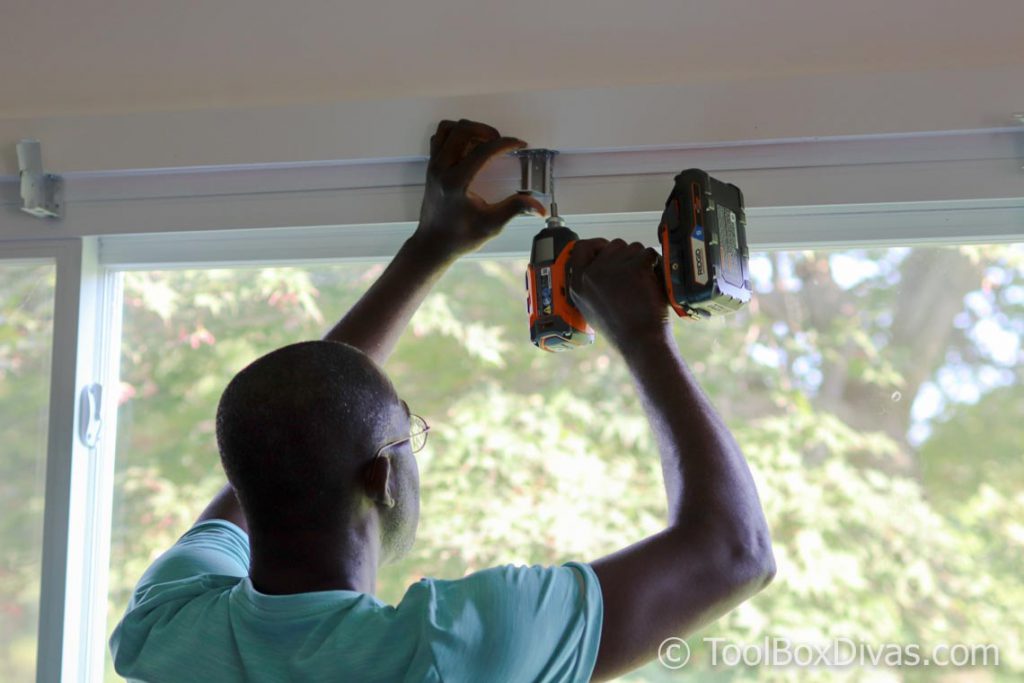
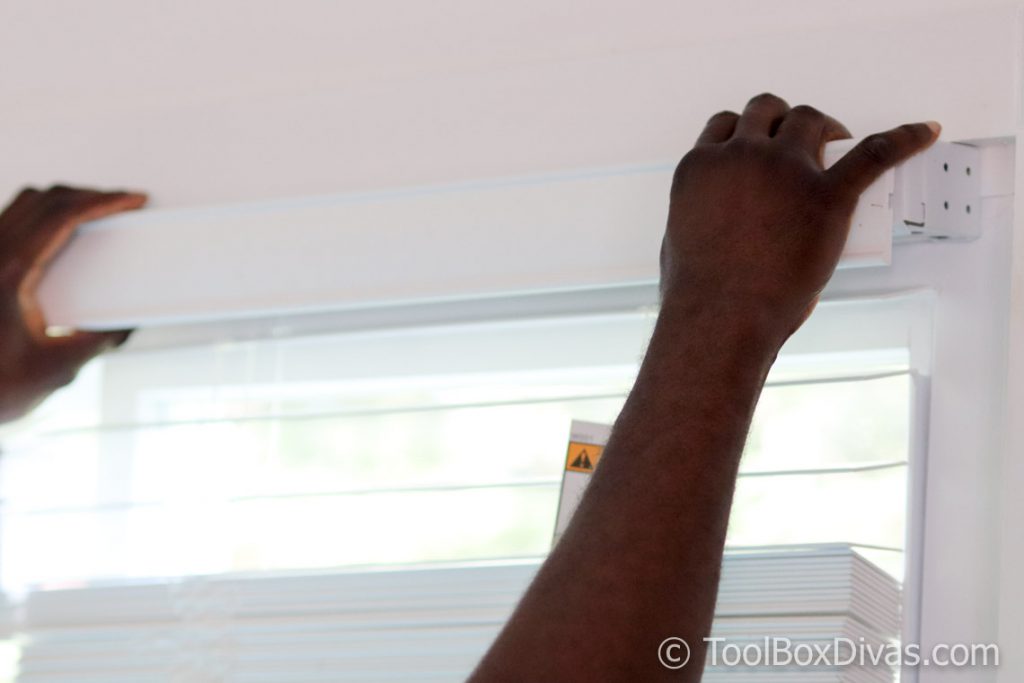
Now let’s get to installing our faux wood blackout blinds. We will be anchoring the brackets to the underside of the head jamb – see image above.
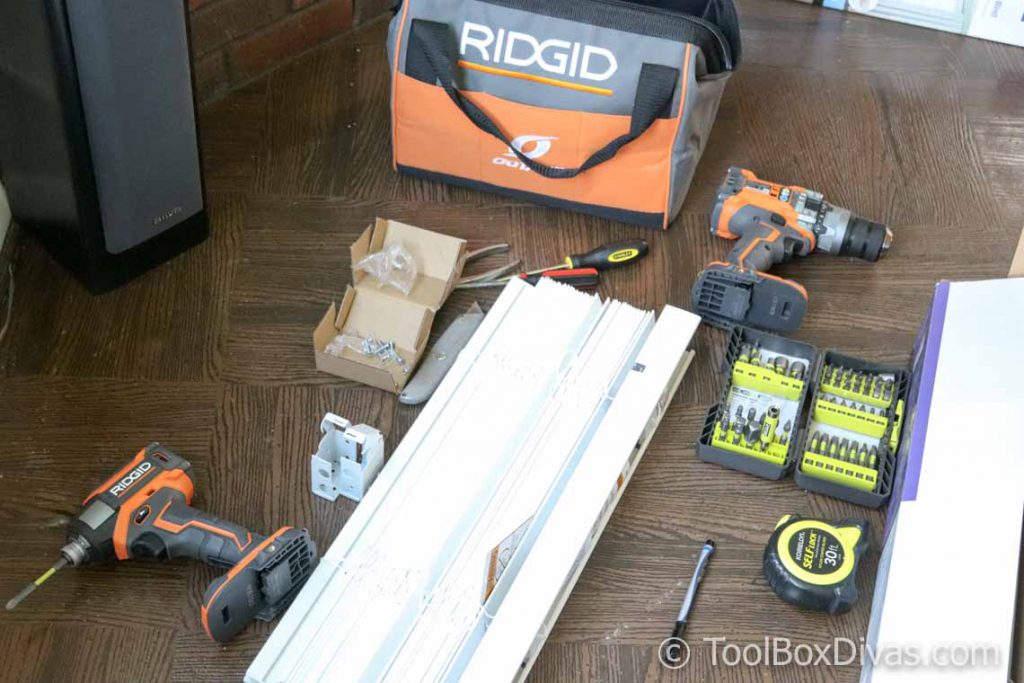
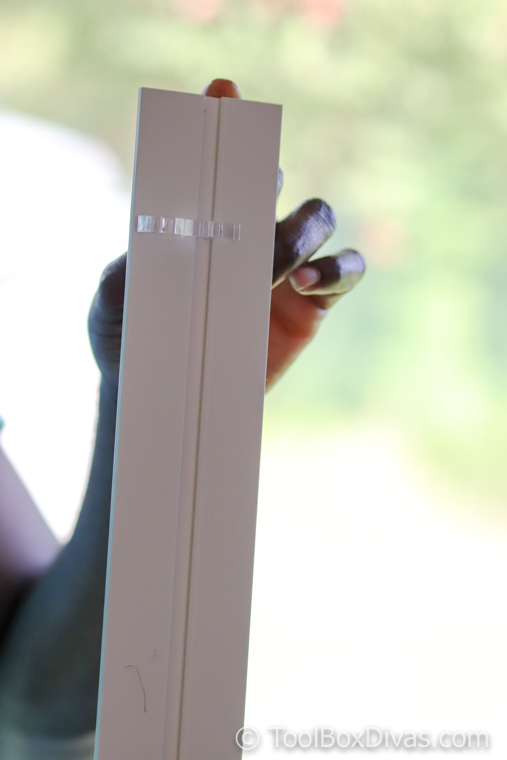
Open your faux window blind package and separate the pieces per the instructions.
You’ll find the screws, valance, valance clip and end box brackets, and depending on the length of the blinds a center installation support bracket.
End box brackets
Center Installation Support bracket
Prepare box brackets for installation.
You will need to open the hinged gate at the front box bracket.
Open the front of the bracket by pressing on the tab or button of the bracket to release the locking tab while lifting the front gate. The opening depends on the kind of blinds you purchased but for the most part, they are similar. It should look similar to this:
End box brackets – open position
Note this is an inside window installation, but if it were for an outdoor window application it pretty much the same.
Mark bracket location and holes on the window surface for installation of the blinds.
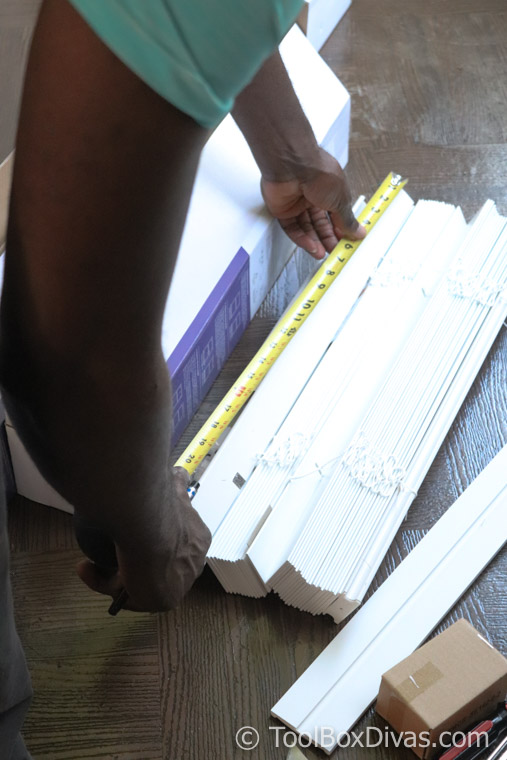
Measure the blinds and window to ensure you have the proper fit.
The top of the window where you anchor the brackets is called the head. Position the box brackets at each end of the headrail. Depending on the installation location, box brackets can be attached using the top, back, or side holes. When using a single-center support bracket, center it between the box brackets. For more than one center support bracket, space the support brackets.
Make sure the brackets will not interfere with the cord mechanism or any other parts or windows function. Mark the location of the desired bracket mounting holes, making sure that they are square and equally spaced. It should look like this. I recommend predrilling the holes before going back in and drilling the screws in place.
Your faux wood window blinds manufacturer will recommend some tolerances as to how flush the brackets should be against the window or not. So refer to the manual of the blinds for specific recommendations.
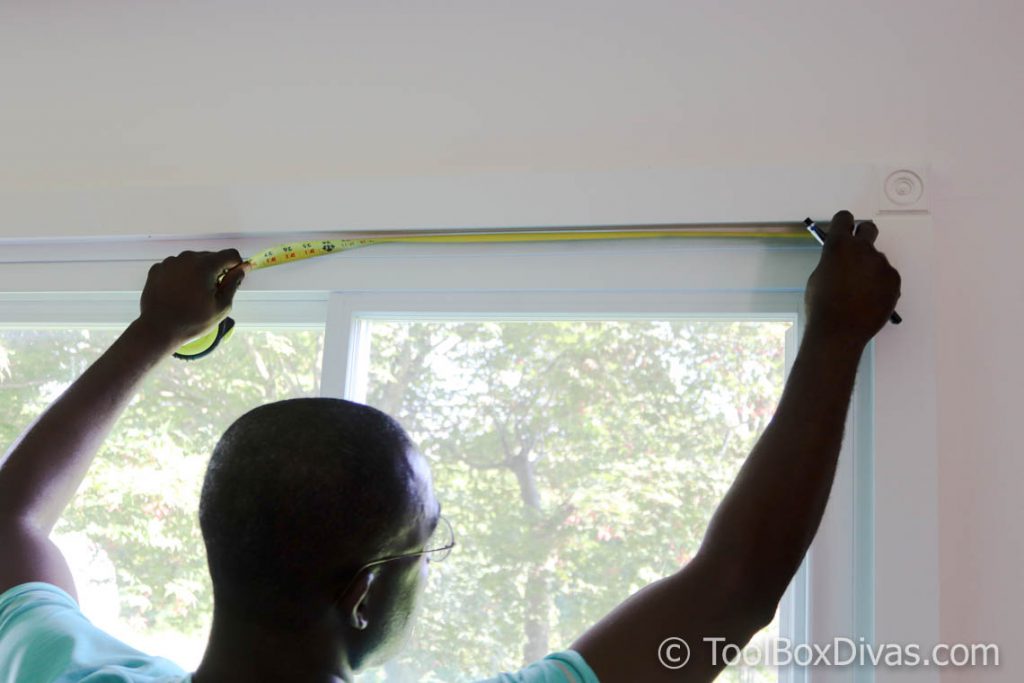
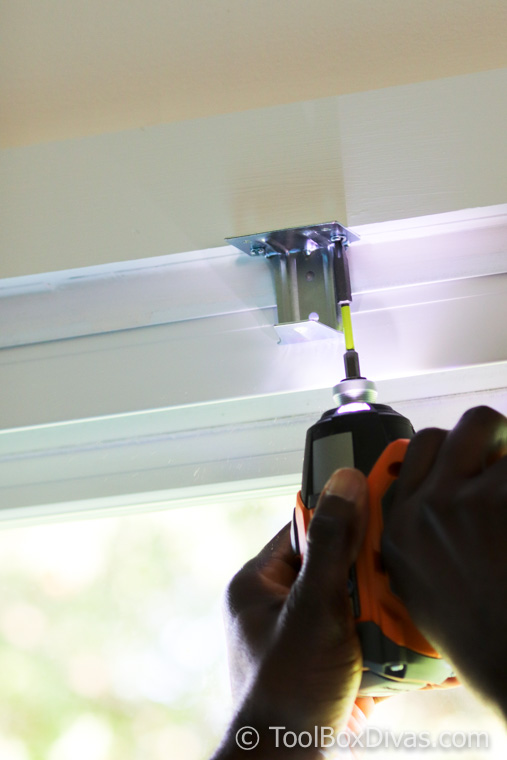
Placement of the brackets.
If you are installing inside the window jamb installation the bracket placement should look like this.
If you’re installing the blinds outside of the window casing it will look more like this.
Blind Installation
Align the headrail with the center support and box brackets. The headrail should have the tilt mechanism facing toward the room.
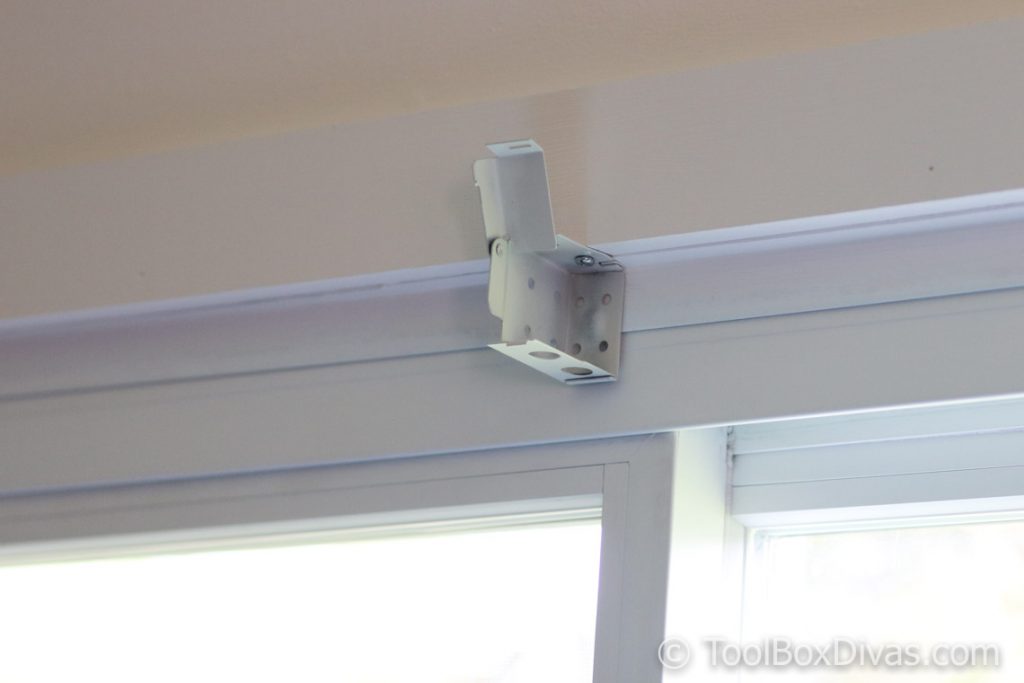
If the headrail can slide from side to side in the box brackets, you can use a flat head screwdriver to bend out the tabs on the end of the until it is snug. Lower the front gate of each box bracket and press until the locking tab clicks into place.
Push headrail into the brackets at each end of the window. Then close the box bracket by pushing down the bracket locks.
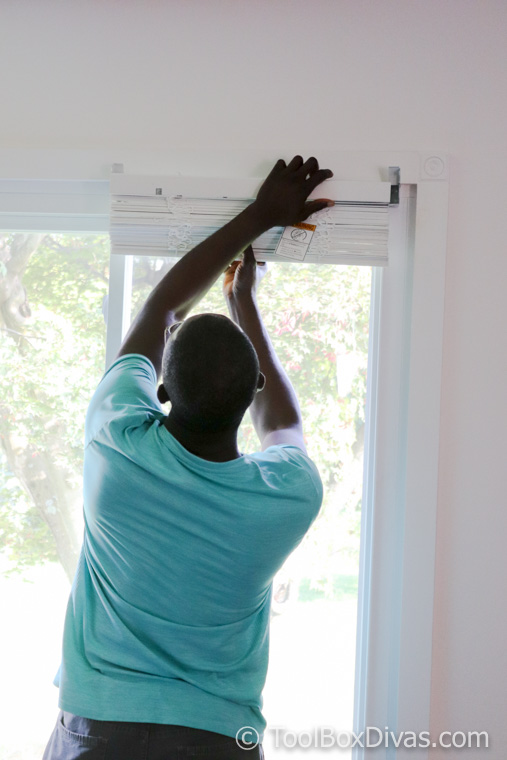
Installing Valance Clip and Valance
Installing the valance is a 2 part process. Your blinds manufacturer will supply the correct number of valance clips needed.
Step 1. Attach the loose plastic Valance Clips to the front of the headrail, one at each end. Space any remaining clips evenly. Press the slot in the valance against the bottom post of the valance clip and rotate it upwards.
Step 2. Push the Valance against the Valance Clip. The two parts should snap together.
Operating Your Faux Wood Blinds.
Since some faux window blinds are equipped with pull strings and some are not, it is recommended you follow your manufacturer’s guidelines.
Now enjoy your new window treatments.
For more home maintenance tutorials and DIY projects check out these posts:
I acknowledge that The Home Depot is partnering with me to participate in the ProSpective 2018 Campaign. As a part of the Program, I am receiving compensation in the form of products and services, for the purpose of promoting The Home Depot. All expressed opinions and experiences are my own words. My post complies with the Word Of Mouth Marketing Association (WOMMA) Ethics Code and applicable Federal Trade Commission guidelines.
Radiator Condenser Fin Straightener Comb Before we get into all that, let’s be honest – how many among us have given much thought to the topic of our air conditioner’s condenser fins, much less wonder whether or not they are in proper working order? As far as home maintenance goes, inspecting and servicing your air…
Repainting a wall is not an easy task, especially if the very surface you want to repaint is covered in peeling paint. Walls like that need a lot of work before you actually start painting them. Therefore, in order to help you repair and restore a wall to its former glory, we’ve come up with…
Learn how to make a DIY night light box with battery operated LED lights. These super cute night lights are great for a kids room or nursery. I love this project because these night lights are super cute and you can make them in just a couple of hours. Let’s be real here, as kids…
Free house calls utility firms provide can come in handy for issues with gas tank supply or gas water heater burners. Unfortunately, they are not covering the general problems related to water heaters, so that’s either up to you to fix or seek professional assistance. It would definitely be useful to know how to deal…
So with the holidays quickly approaching us, its normally a time when we have a huge influx of guests, some wanted….AND you know some not so much…. Either way you need to find a place for everyone to sit. Check out last week’s Facebook Live DIY with Hometalk where we showed you how to make folding…
Holiday decorations can be costly and can become redundant. Create a new keepsake with these quick and easy-to-make ornament ideas. Unique handmade Christmas tree ornaments that will take your holiday decorations to another level. You can customize to fit traditional or non-traditional color schemes you are thinking of incorporating this year. Do It Yourself and get the…
One Comment