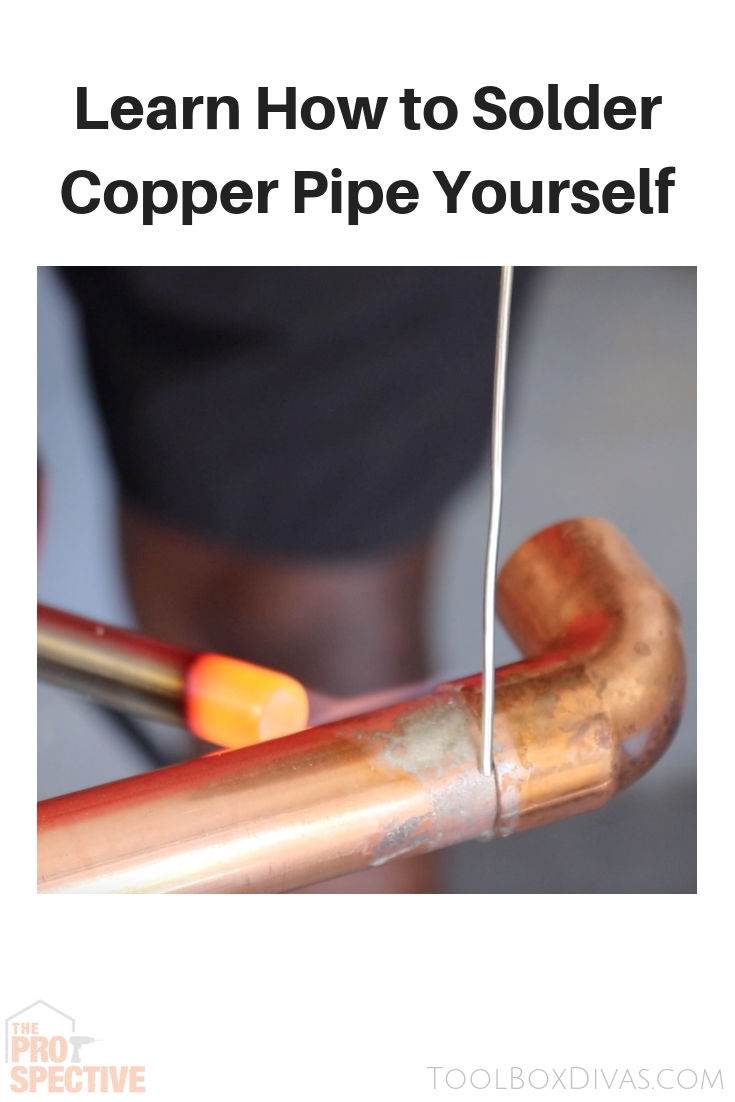
Learn How to Solder Copper Pipes
Learn how to easily solder copper pipes. Sweat the joints using the Bernzomatic Hose Torch.
*This post is sponsored by The Home Depot and contains affiliate links and I will be compensated if you make a purchase after clicking on my links.
Copper pipes are very common in the home largely because of its flexibility, durability, and resistance to bacteria. Knowing how to solder or join copper pipes and fittings can come in very handy in a pinch or if there are budget constraints.
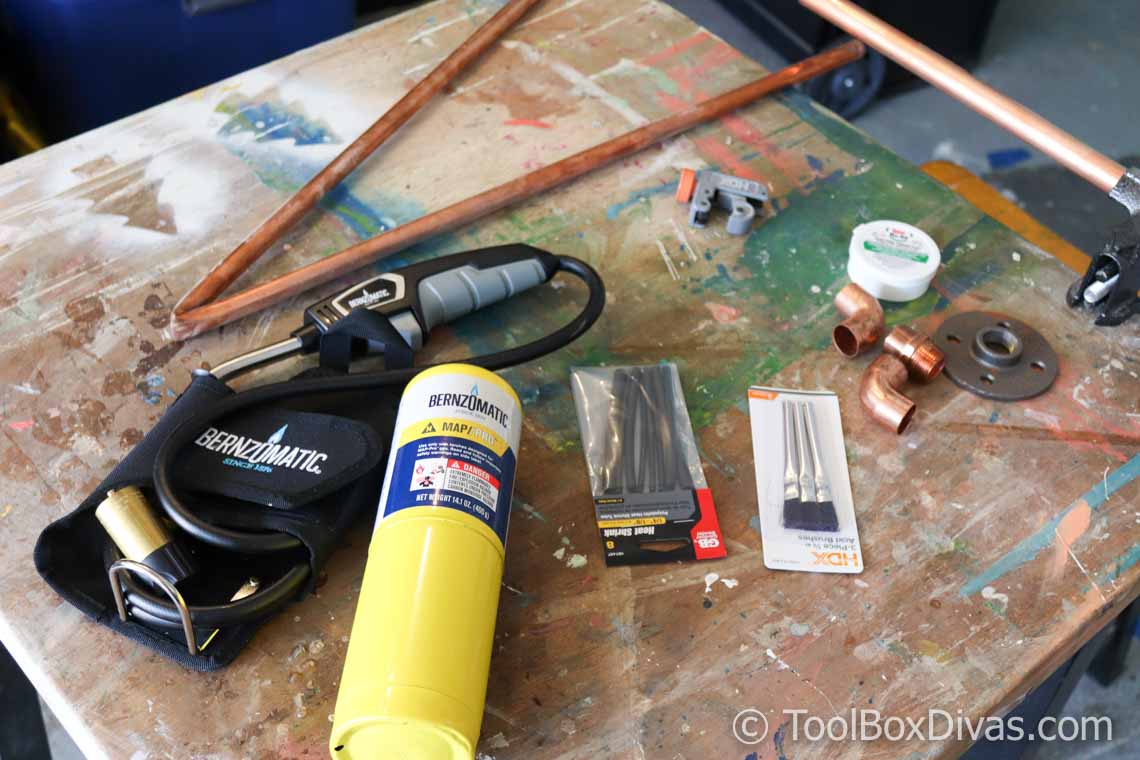
HERE’S WHAT YOU’LL NEED
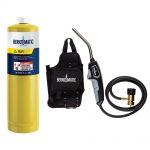 Bernzomatic Hose Torch Kit
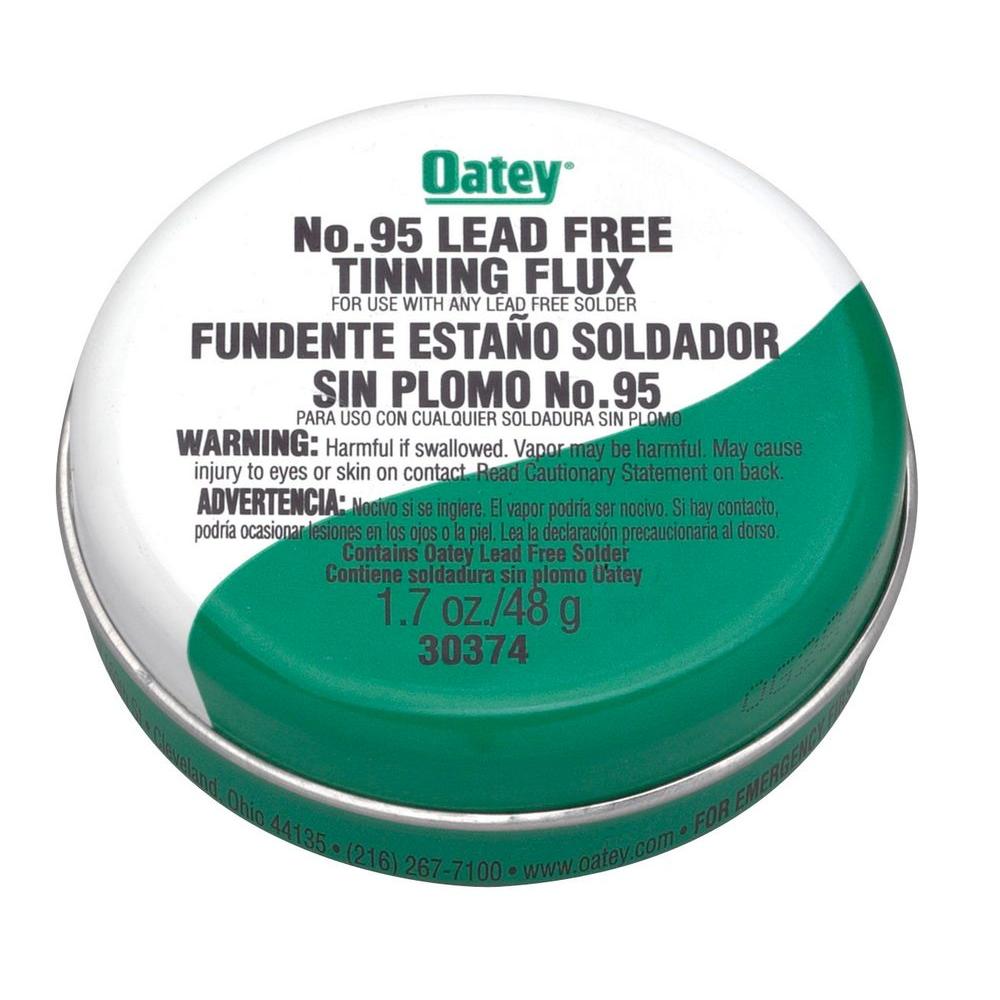
 Lead-Free Tinning Flux
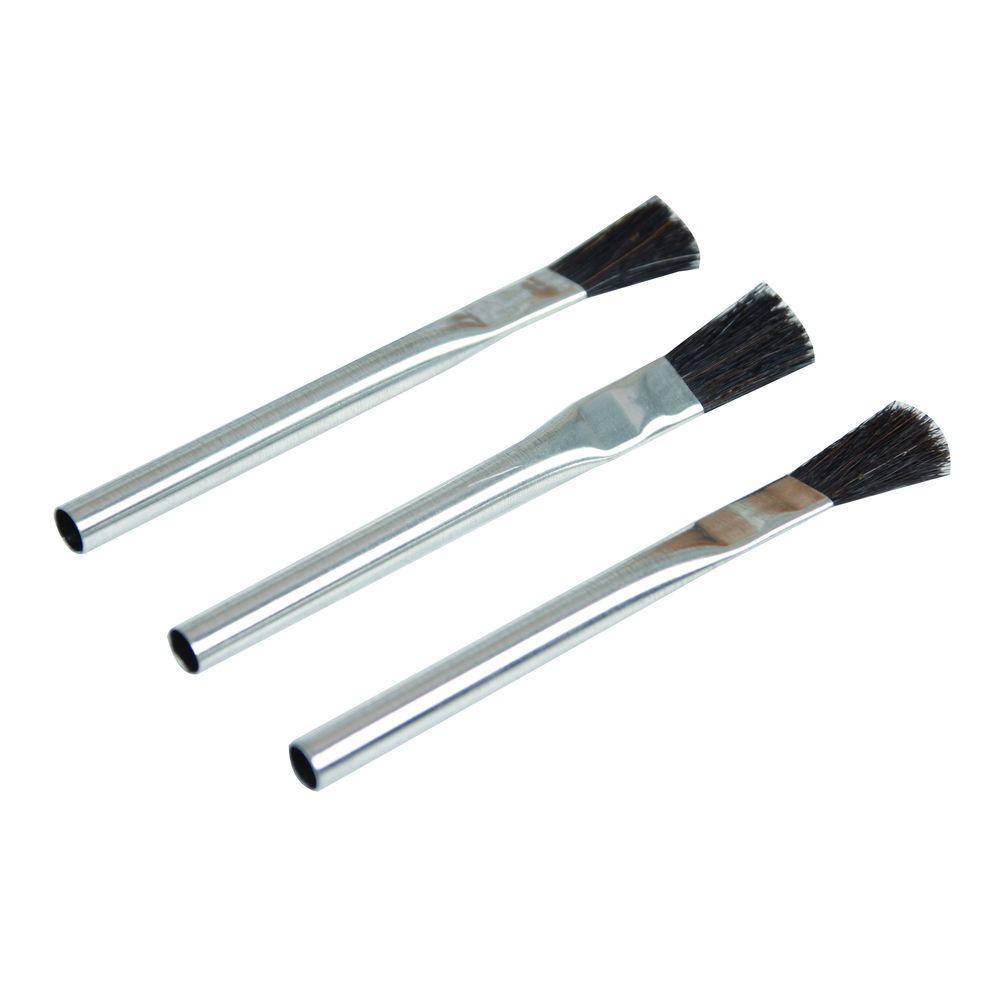
 Acid Brushes
 Wire brush
- Sandpaper
 Solder Wire
- Copper Pipe
- Copper Pipe Fitting
 Fire extinguisher or Extinguisher Spray (in case of an emergency)


THE TOOL
For this project, the Bernzomatic MAP-Pro Hose Torch Kit is a great all in one solution. It’s perfect for soldering, brazing as well as heat treating. This kit comes with a hose torch, a 14.1 oz. mAP-pro cylinder, and fuel holster. It has an auto start igniter that makes it super easy to use. The fuel can also be attached to your tool belt with the fuel belt holster which reduces in hand weight from the torch. The flame is also adjustable and you can lock it in place for continuous use.

START BY GETTING ACQUAINTED WITH THE TORCH.
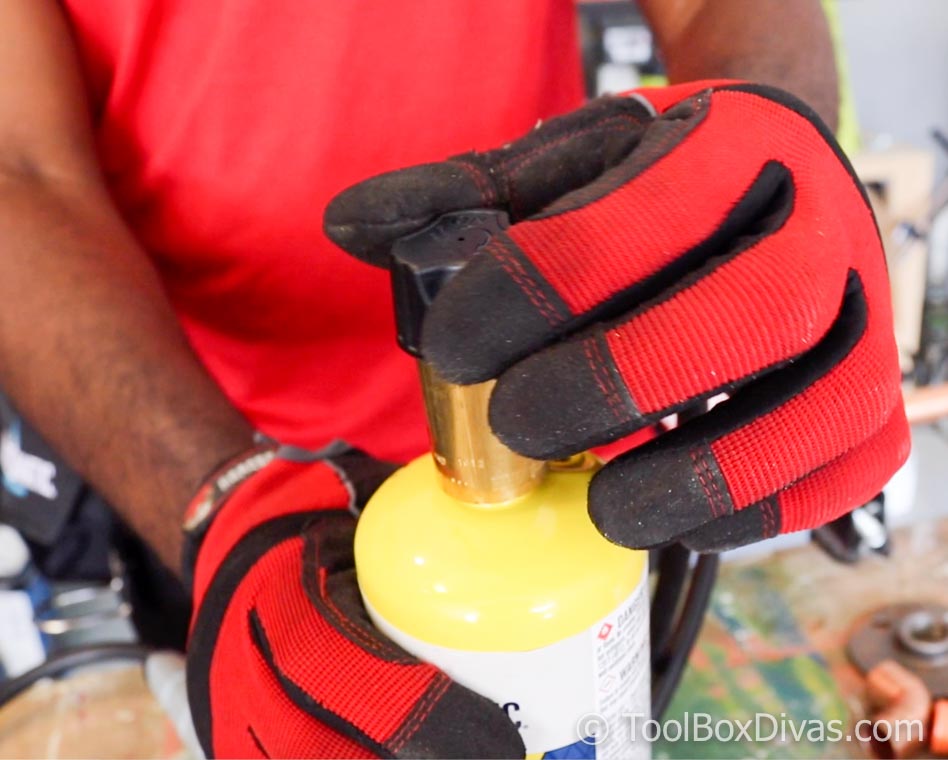
Attach the hose torch to the fuel cylinder, twisting the bottle, not the hose. And open the regulator valve fully by turning the knob counterclockwise. Once it stops push, point the torch away from you and press the ignition button until a flame is produced.
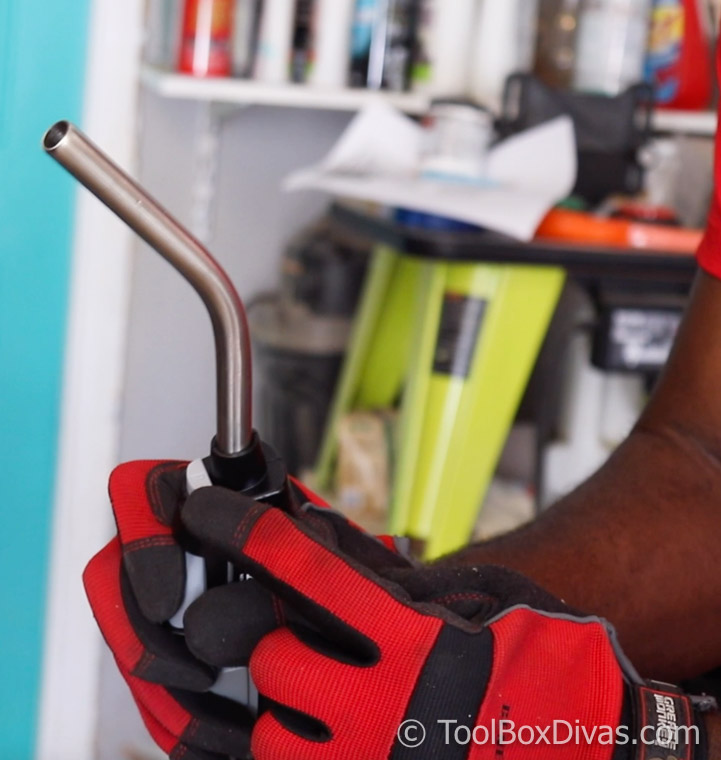
The top button is the run lock button. It’ll lock the flame.
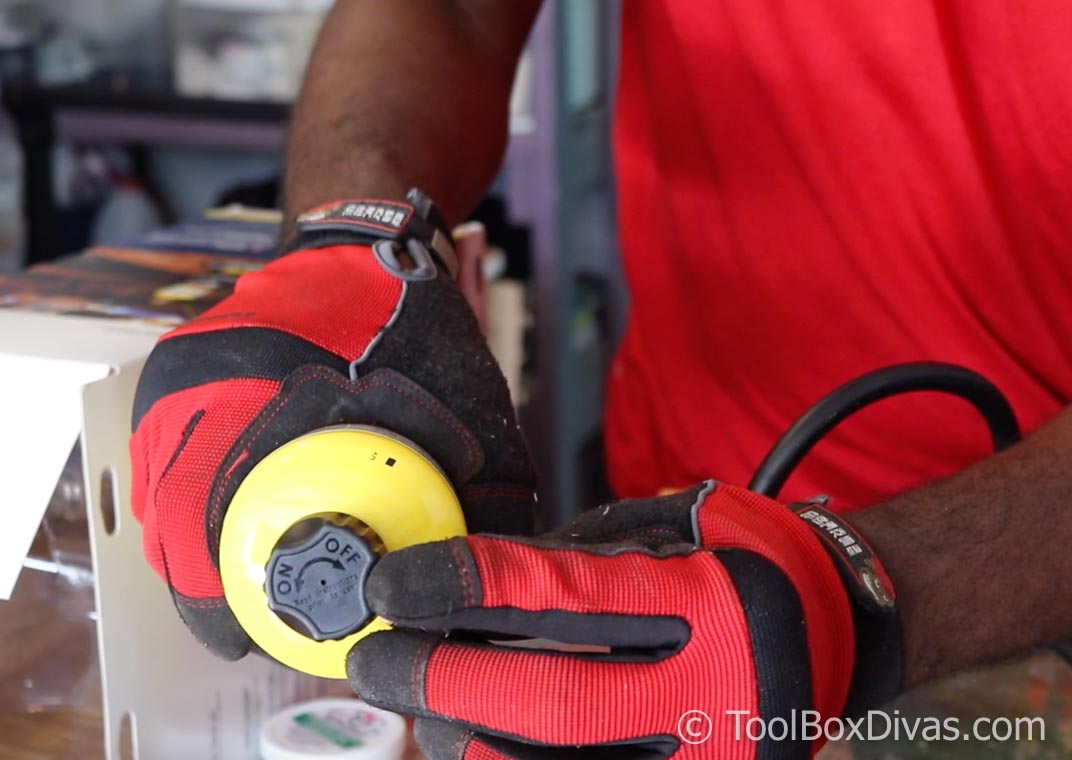
You can adjust the height of the flame by turning the adjustment valve at the top of the fuel cylinder.
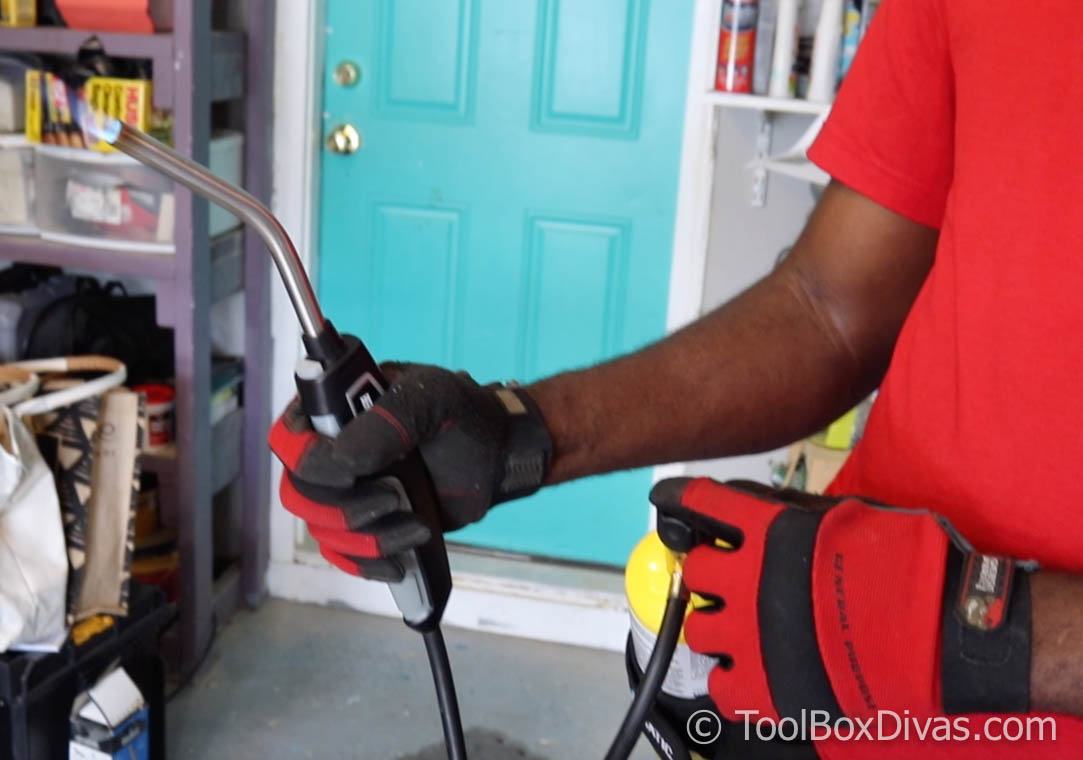

Place the fuel cylinder into the fuel holder.
HOW TO SOLDER OR SWEAT THE PIPE
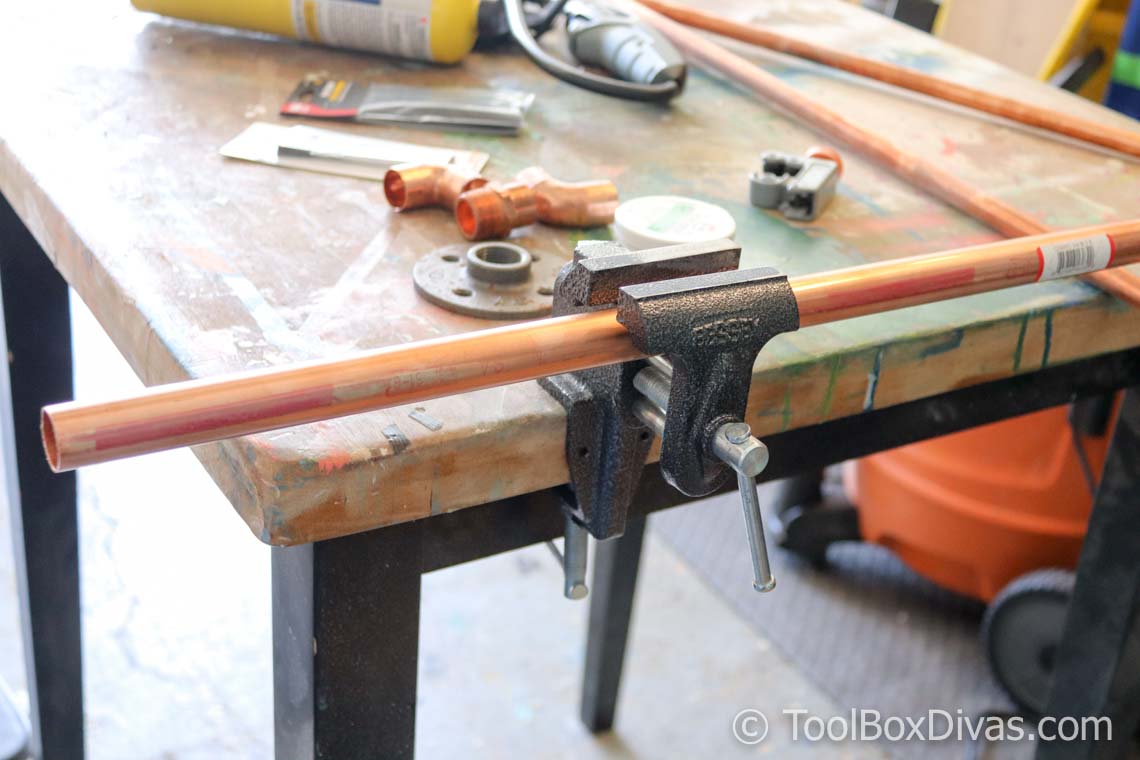
Ensure that your fitting is the correct size for your pipes.
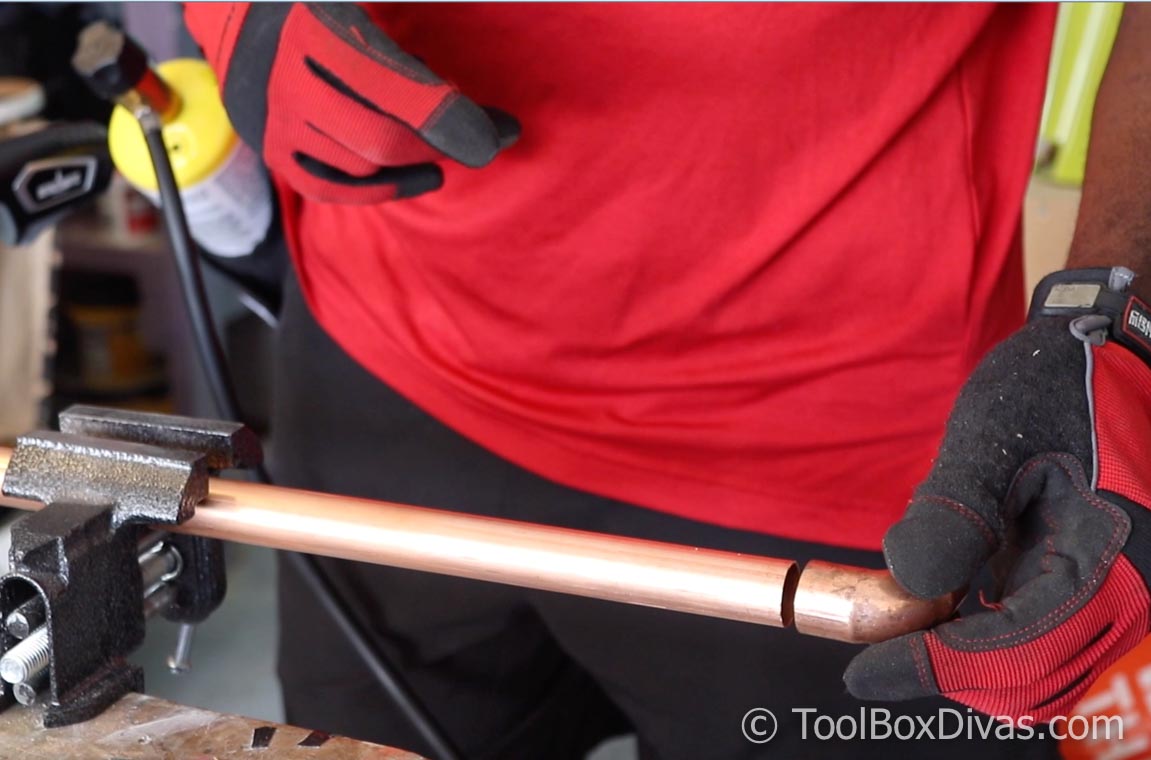
Clean the pipe and fitting
Prepare the pipe and fitting by gently sanding it with sandpaper. Sand until the surface of the pipe is smooth. You can also use a wire brush. Smooth out the interior of the pipe fitting.

Apply Flux

Using the acid brush, apply flux to the copper pipe and inside the fitting.
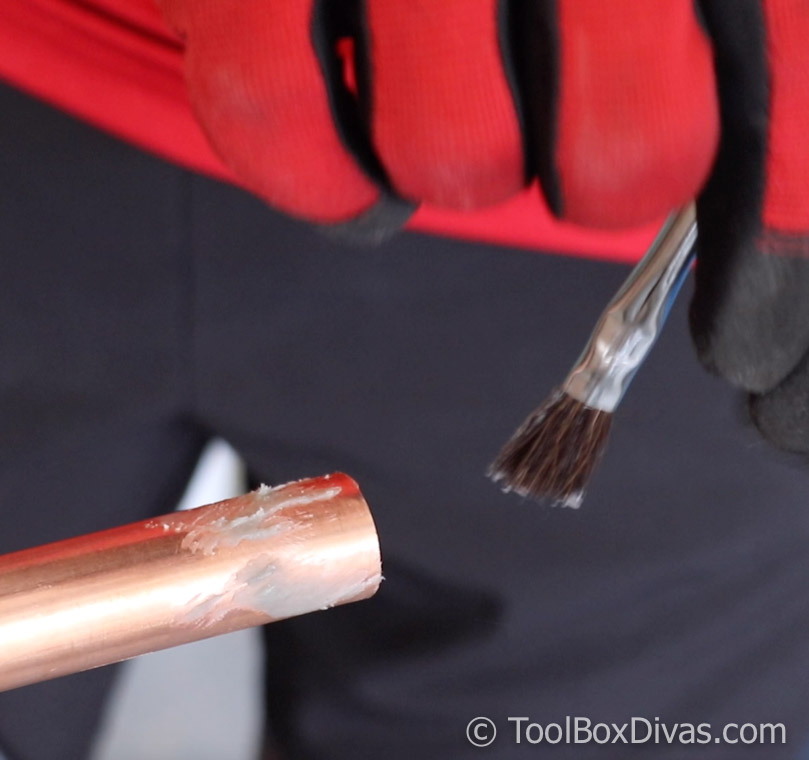
Insert the pipe into the copper fitting and twist it around allowing the flux to fully spread.
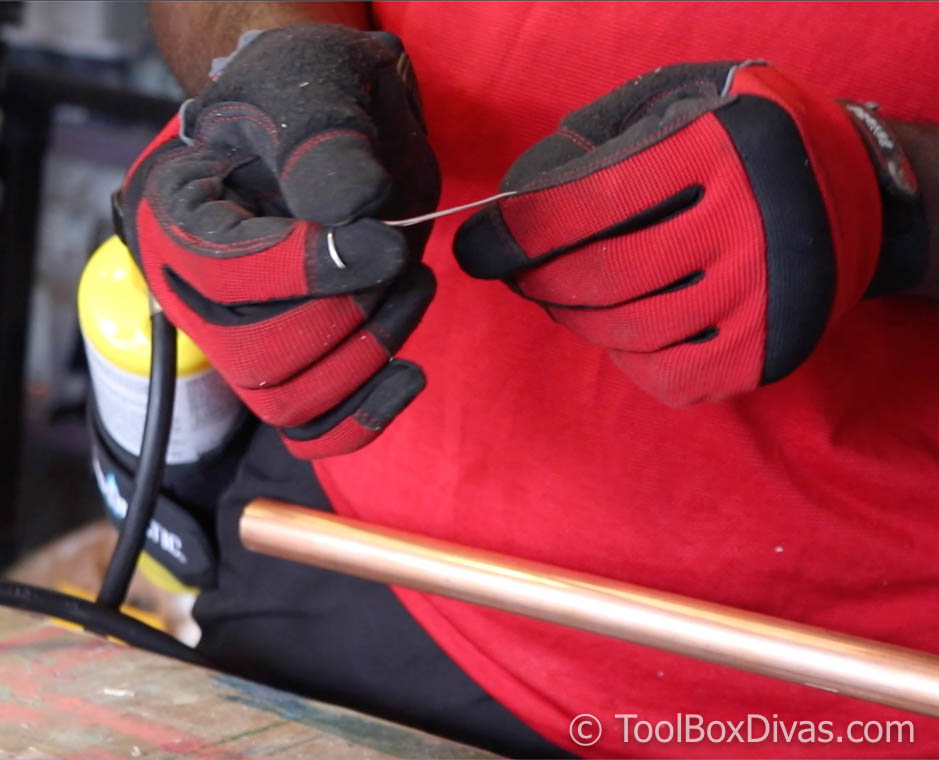
Prepare the Solder

Take the solder wire and unwrap it to the length you need. Typically this is around 10 inches.
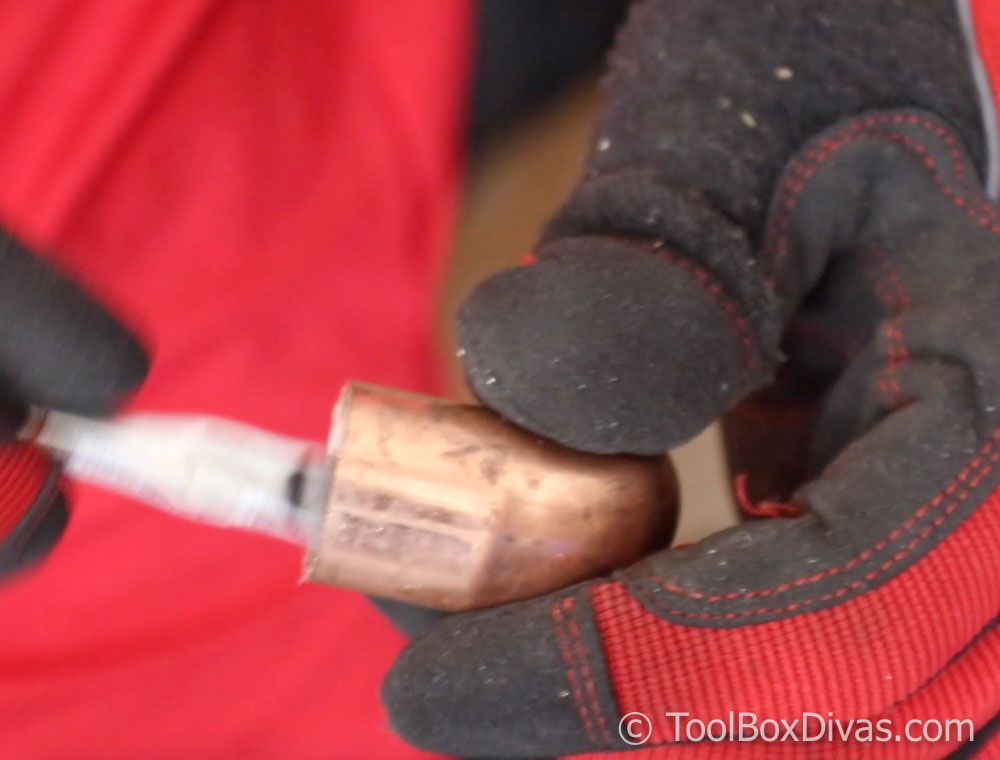
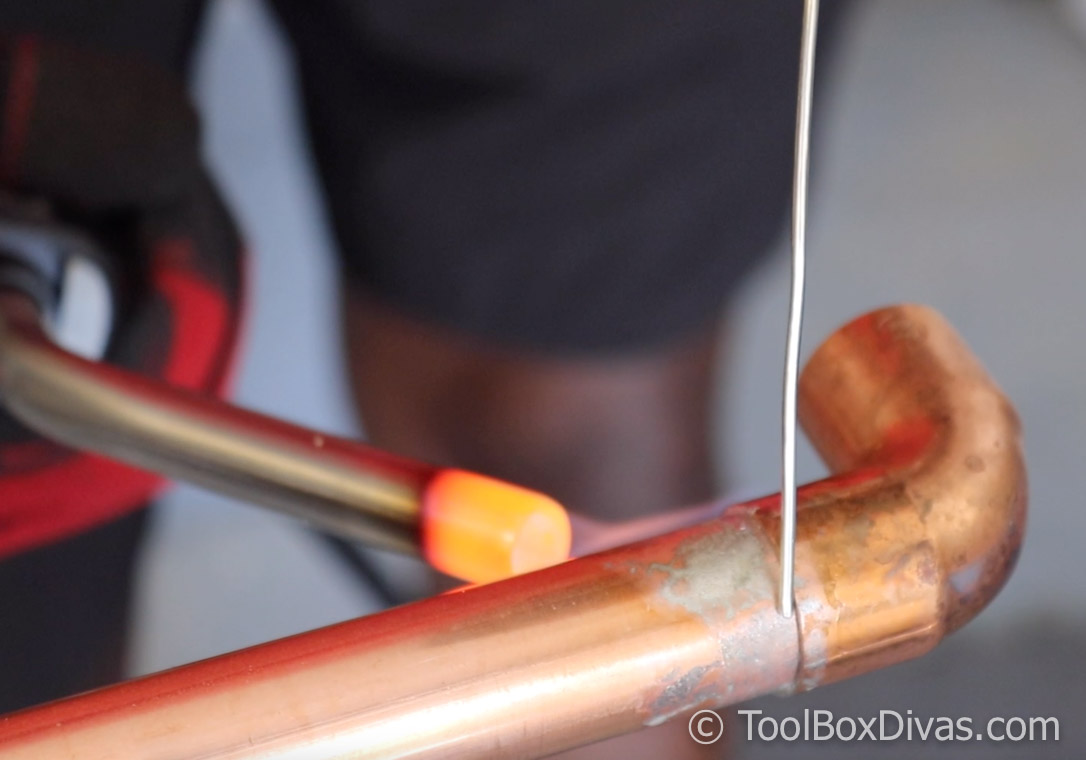
Sweat the pipe.
Light the torch and evenly distribute the heat all around the pipe and fitting.

Apply the Solder
With the flame still going touch the solder to the pipe. It should start melting. If it doesn’t the pipe isn’t hot enough.

Work the solder around the pipe and fitting and remove the flame.
Inspect the Soldering Around the Fitting.
Inspect the solder around the pipe and fitting. Look all around the connection. Don’t touch it because the pipe is extremely hot. Make sure there are no bubbles or holes in the solder that could allow water to leak.

Clean the Fitting.
Wipe the pipe and fitting with a rag and using a wire brush to clean away any excess solder.

Turn off and put away the torch
Once you’re done, turn the ignition into the off position. Close the regulator valve by fully turning it clockwise. Remove the torch from the cylinder and store the kit in a well-ventilated area that doesn’t exceed 120 degrees (F).
I acknowledge that The Home Depot is partnering with me to participate in the ProSpective 2018 Campaign. As a part of the Program, I am receiving compensation in the form of products and services, for the purpose of promoting The Home Depot. All expressed opinions and experiences are my own words. My post complies with the Word Of Mouth Marketing Association (WOMMA) Ethics Code and applicable Federal Trade Commission guidelines.
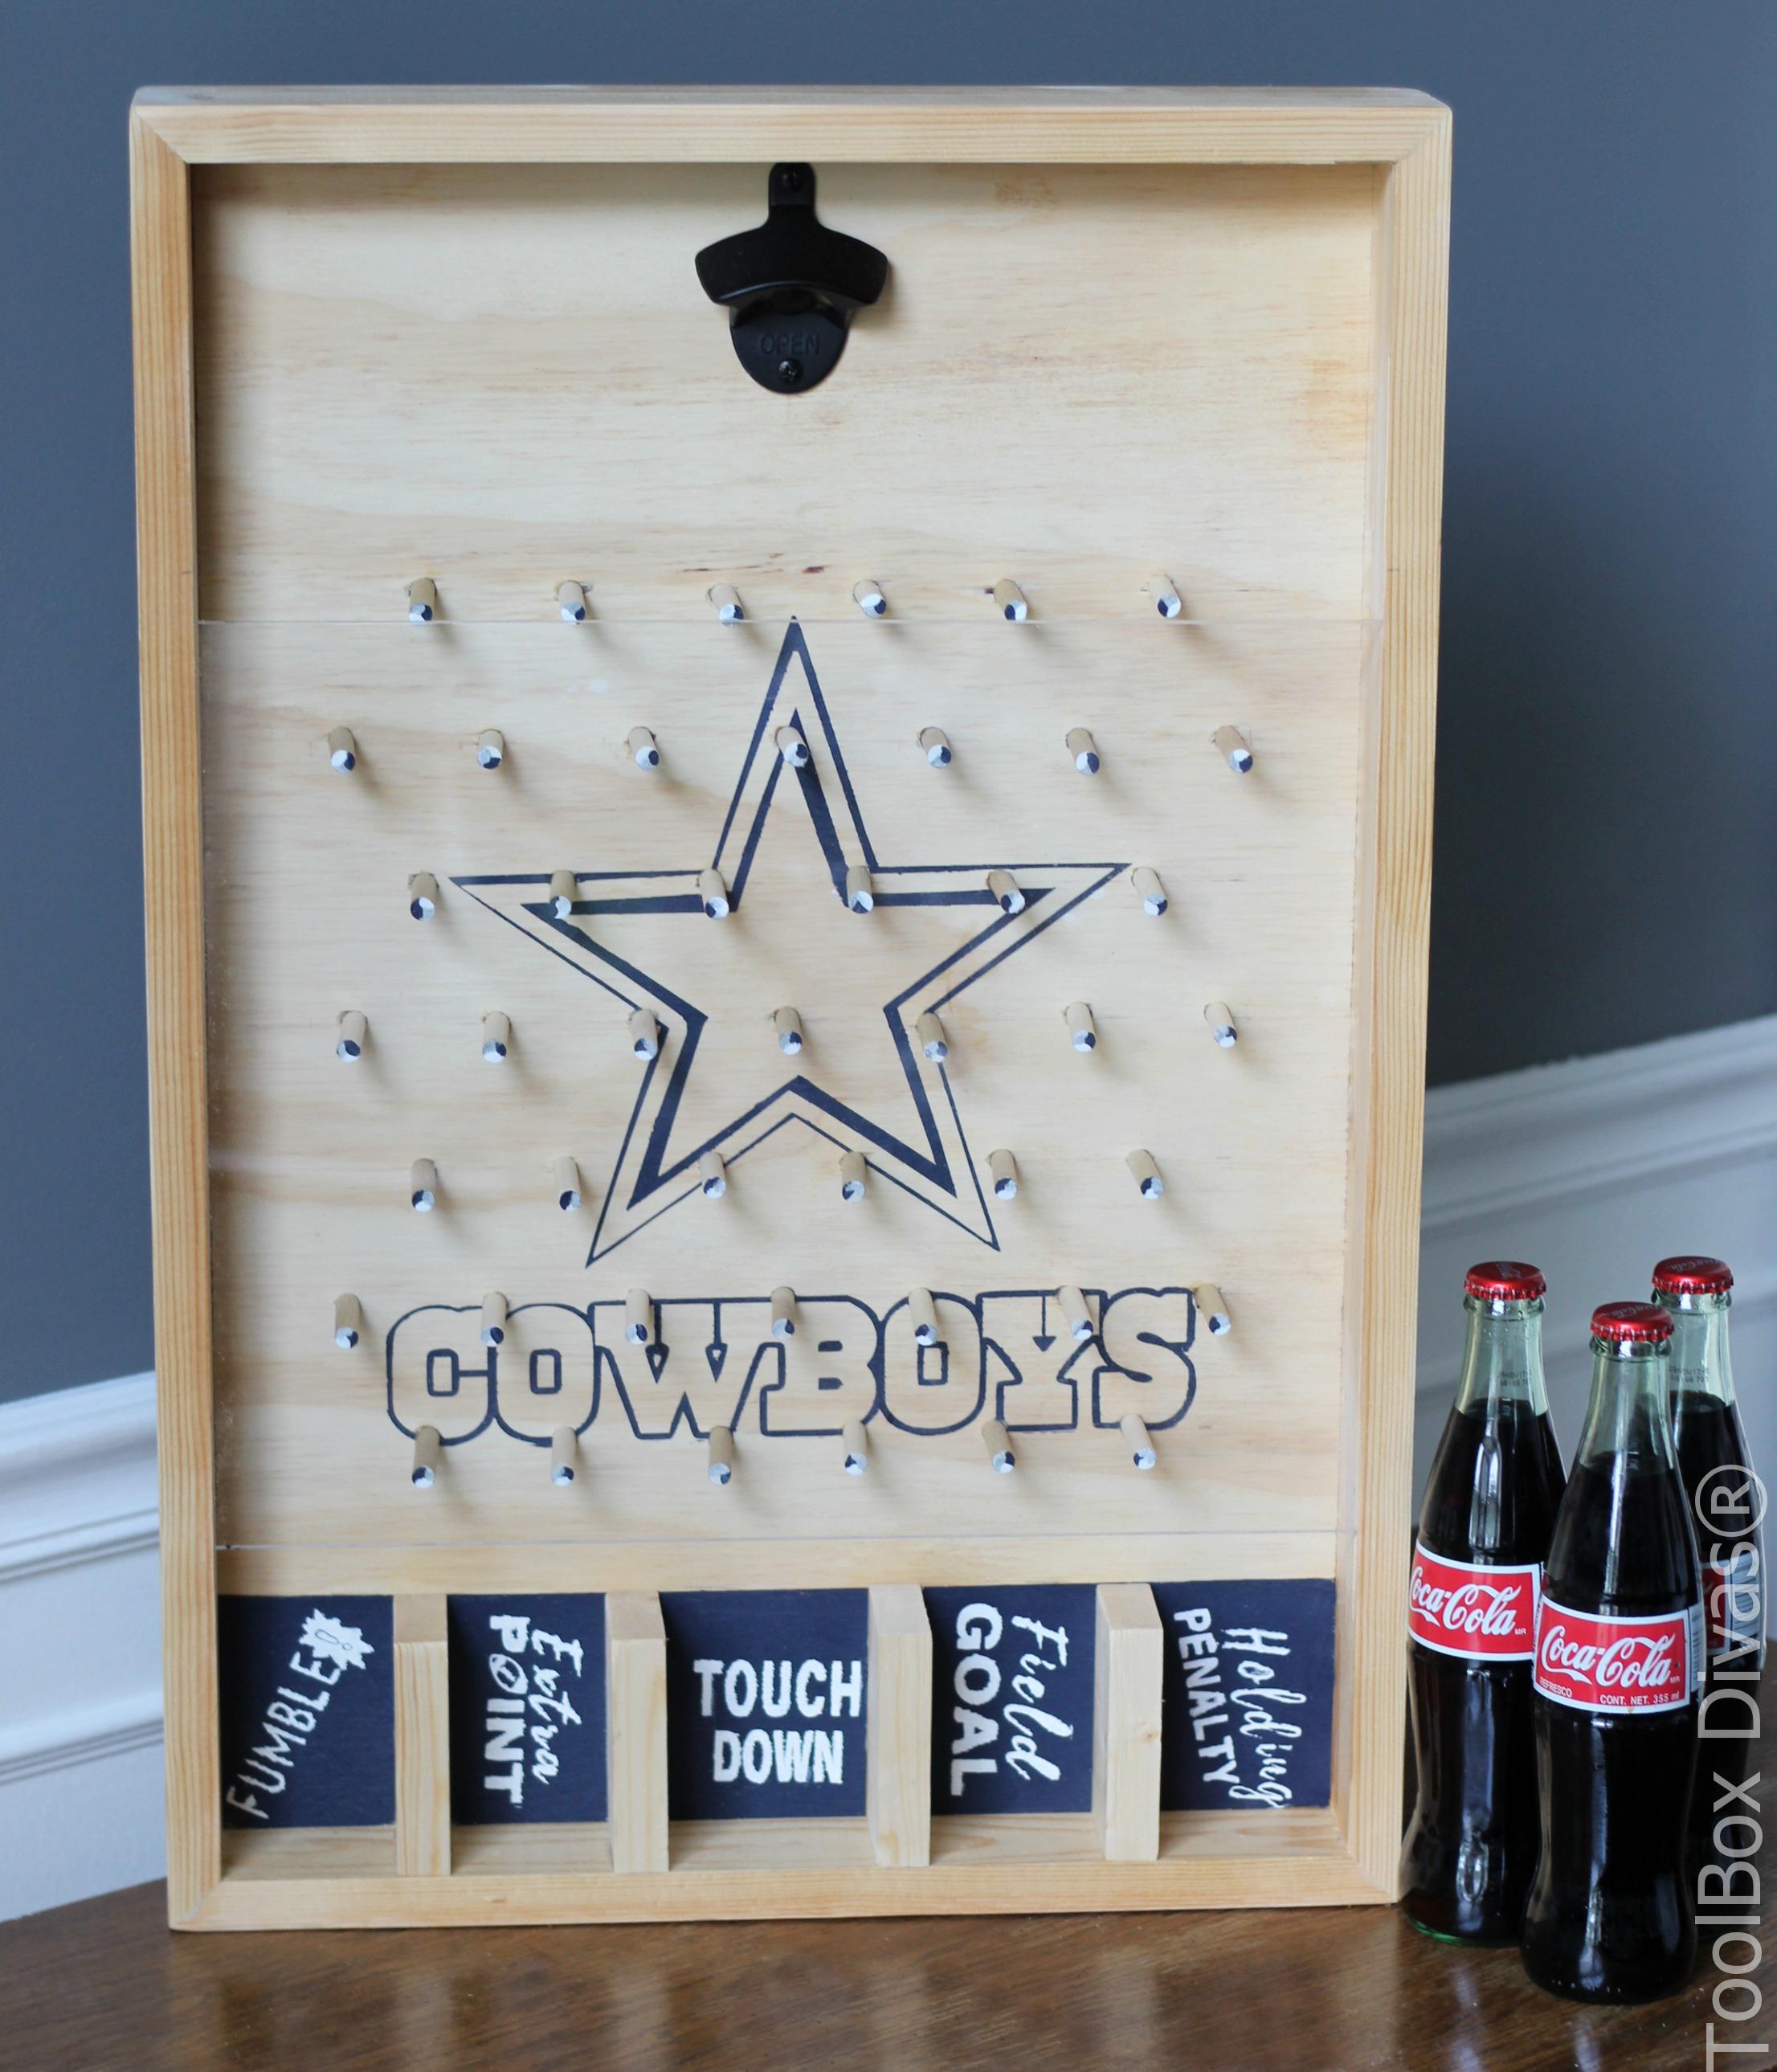
For more Tool tutorials and DIY projects check out these posts:


Really a great explanation for lead-free soldering.
Thank you!