How To Make an Acrylic Book Ledge | Toddler Bookshelf
This acrylic book ledge tutorial is sponsored by The Home Depot and contains affiliate links and I will be compensated if you make a purchase after clicking on my links.
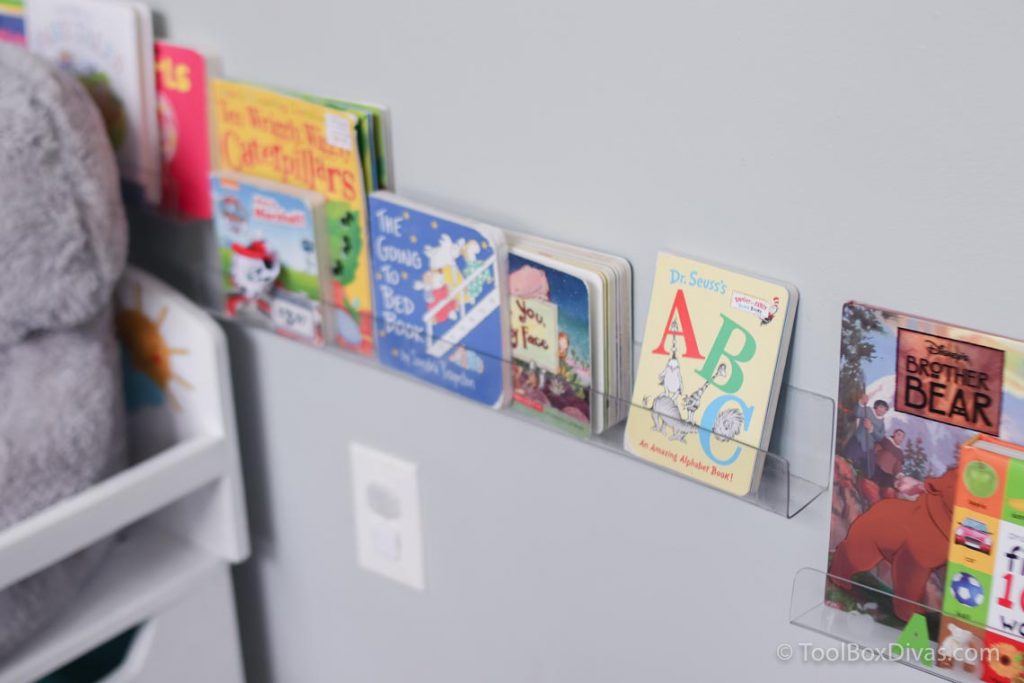
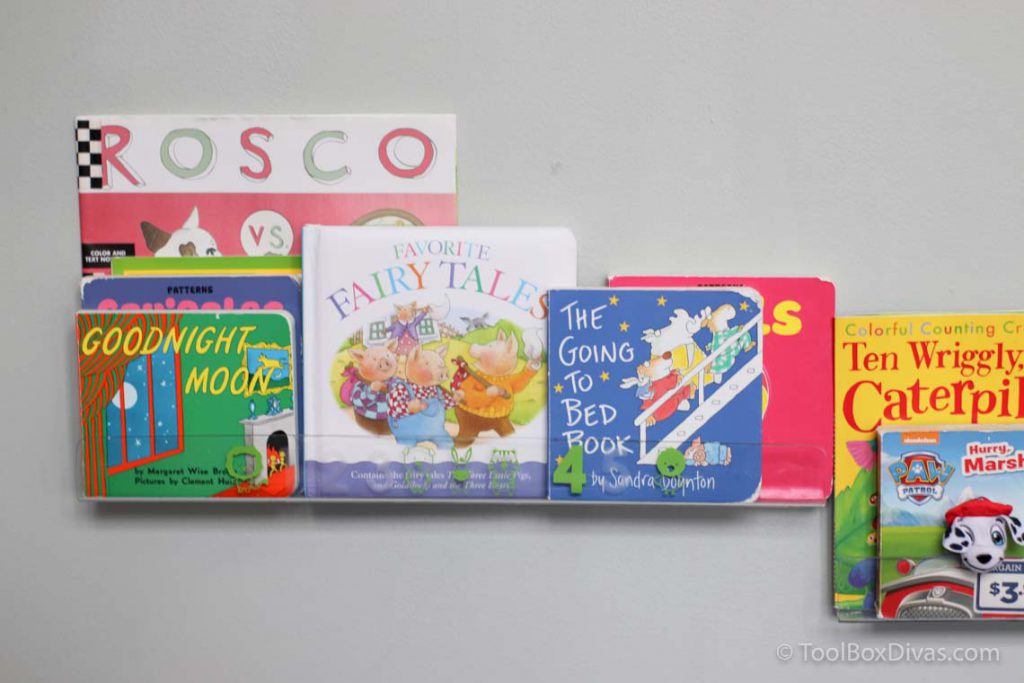
Learn how to bend acrylic and make these DIY acrylic book ledges. This transparent floating shelf is great for the kids’ room or playroom. You can also use it to display photos or artwork or cosmetics.
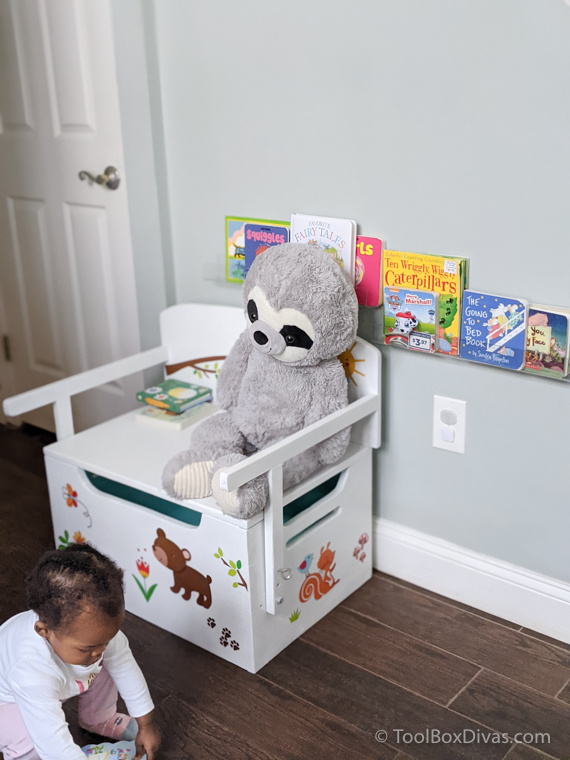
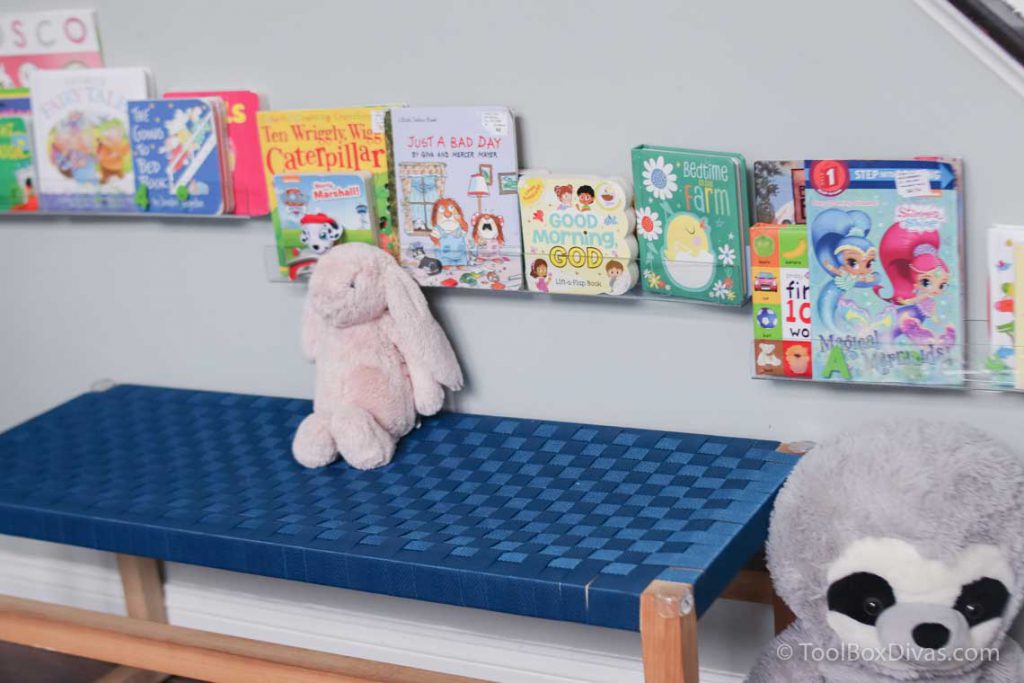
It’s safe to say that my living room doubles as my little girls playroom. Like many kids, she loves books (mostly to munch on them). But nonetheless, she loves her books. To get a better handle on my daughter’s growing collection of books I needed some sort of storage. Given that her bookshelf would essentially be in the great room, I didn’t want anything too bulky. So Inspired by my friend Anika’s DIY Modern mail organizer and how easy it was to bend acrylic, I was inspired to try my hand at bending plastic. I was able to make these super easy acrylic floating bookshelves for my daughter’s books. It’s discrete and creates a bit of a showcase for all of her books. Here’s what I did.
Here’s What You’ll Need
Materials
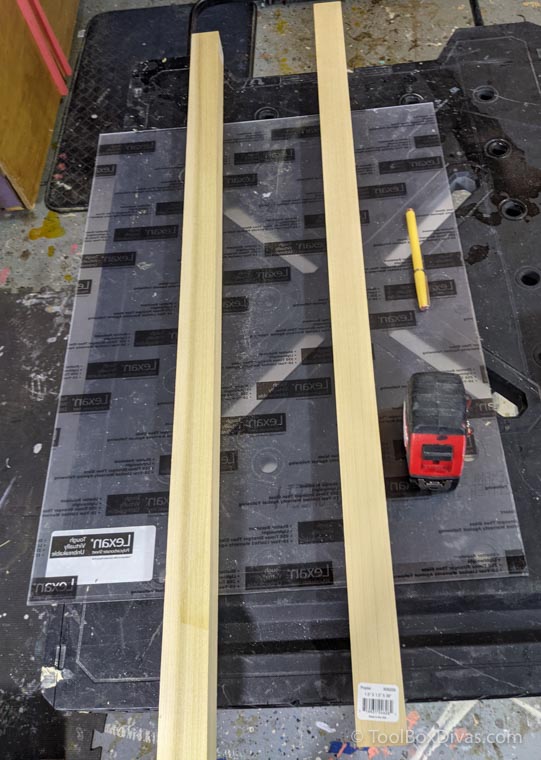
- Acrylic Sheet (18 in. x24 in. )
- 3 – 2x2x36 boards
- 1 – 1×6 board cut down to 20 in.
- screws
- drywall anchors
- Vinyl decals or stencils (Optional)
Tools
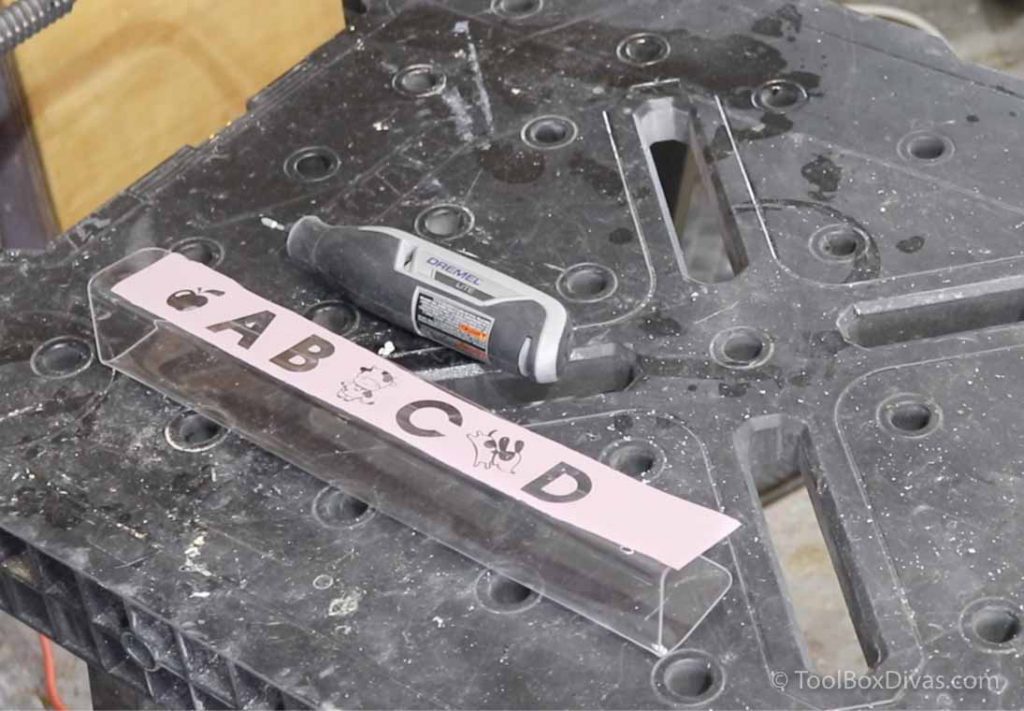
- Dremel Lite 7760 Cordless Rotary Tool Kit with 10 Accessories
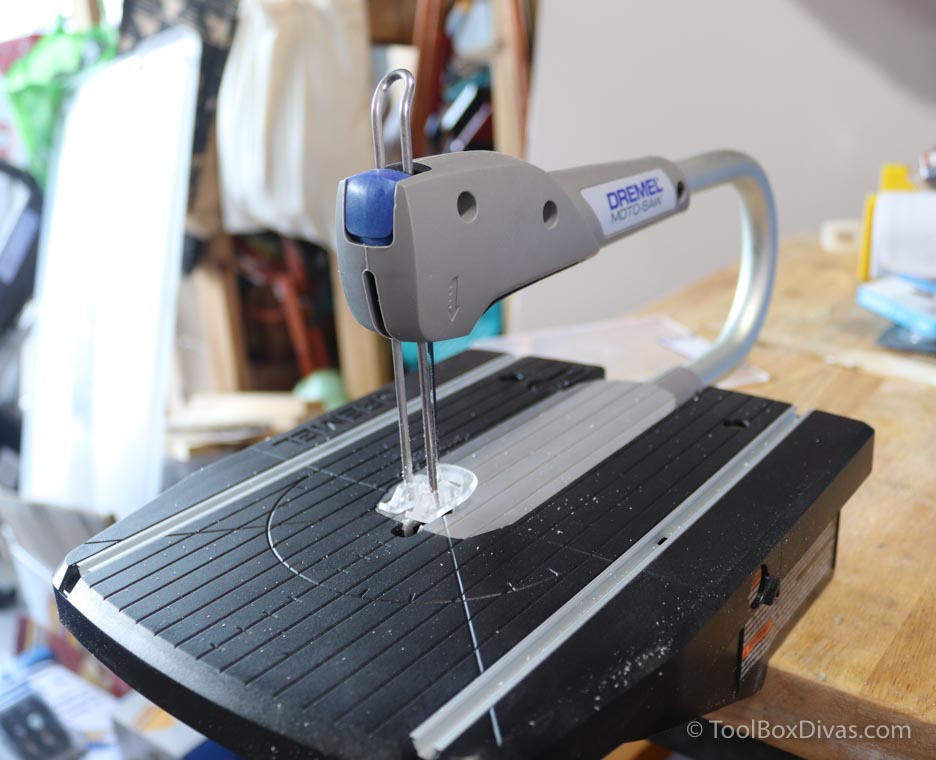
- Dremel Moto-Saw .6 Amp Corded Scroll Saw and Electric Coping Saw for Plastic, Laminates, and Metal
- Tape Measure
- 2 Clamps
- Plastic Sheet Cutting Tool
- Sander with Fine Sanding Paper
- Heat gun
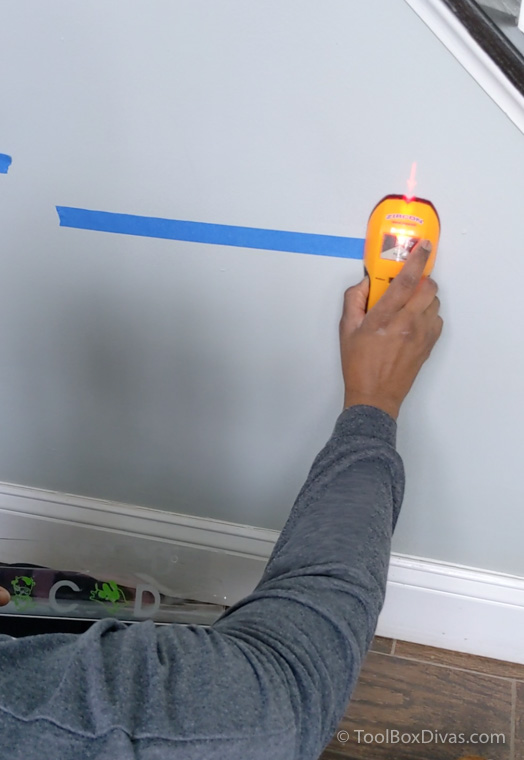
- Stud Finder
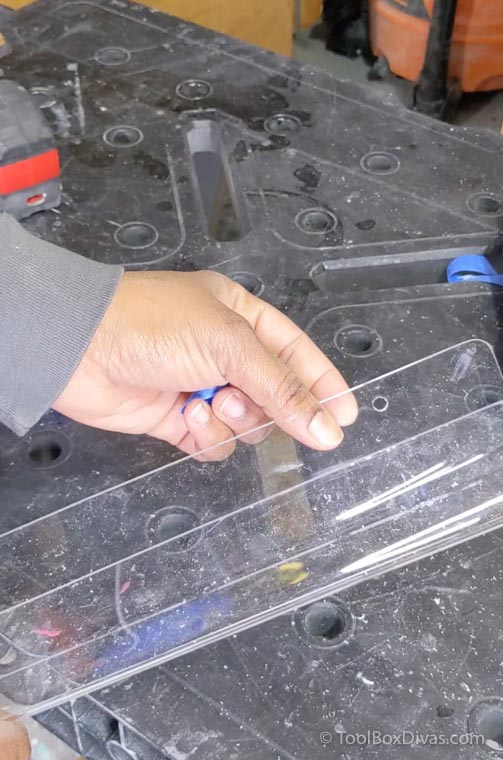
Step 1. Cut the Acrylic or plastic sheet down to size.
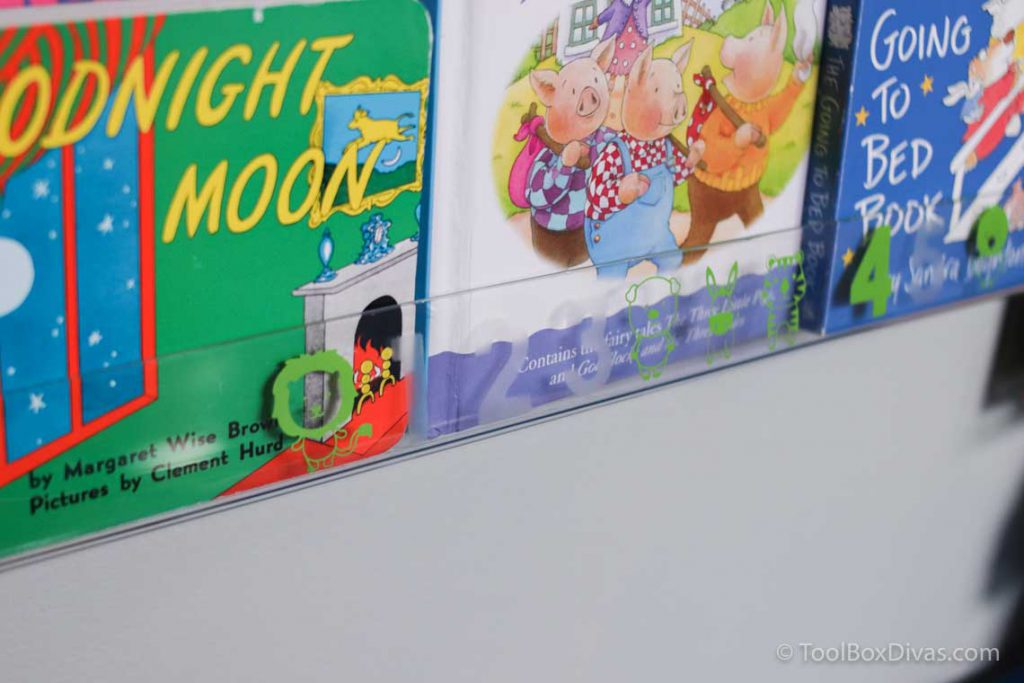
I found that it is super easy to cut the acrylic sheets by hand using a plastic cutter. Simply define the area you want to cut and secure an edge guard using a straight edge board and score the acrylic sheet multiple times depending on the thickness of the sheet.
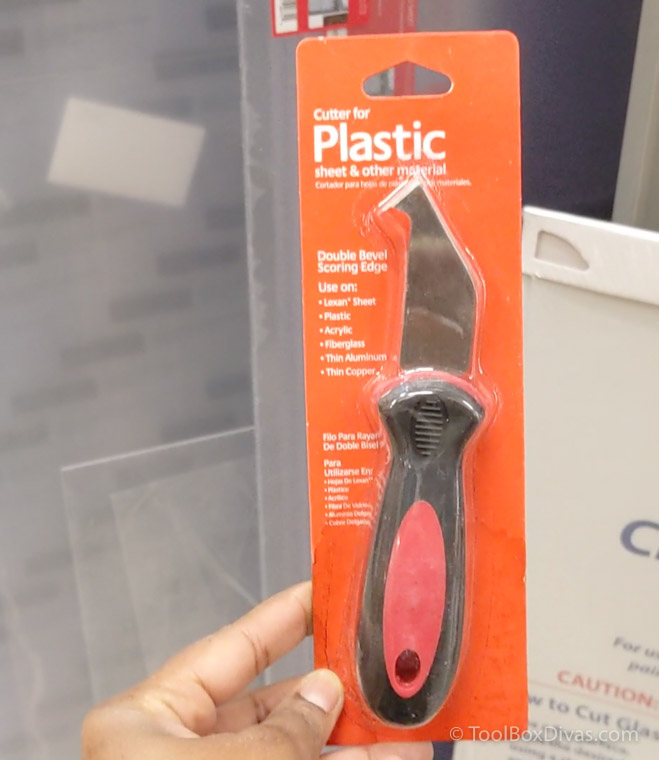
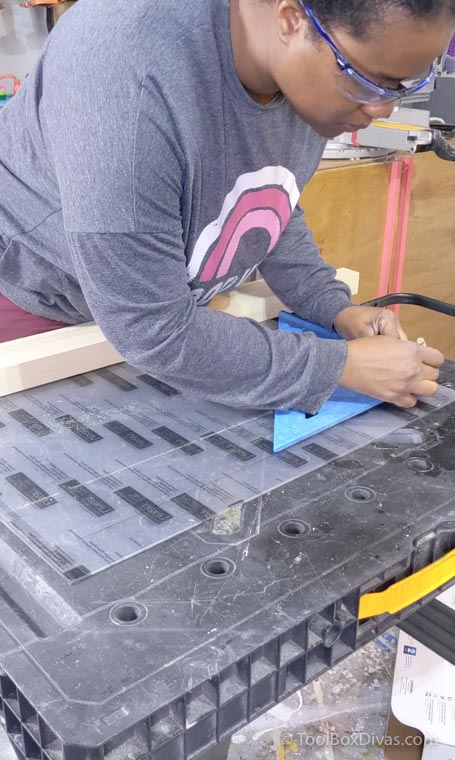
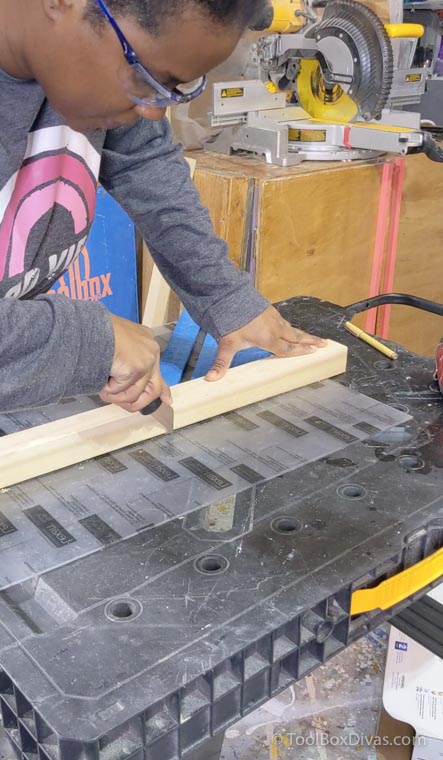
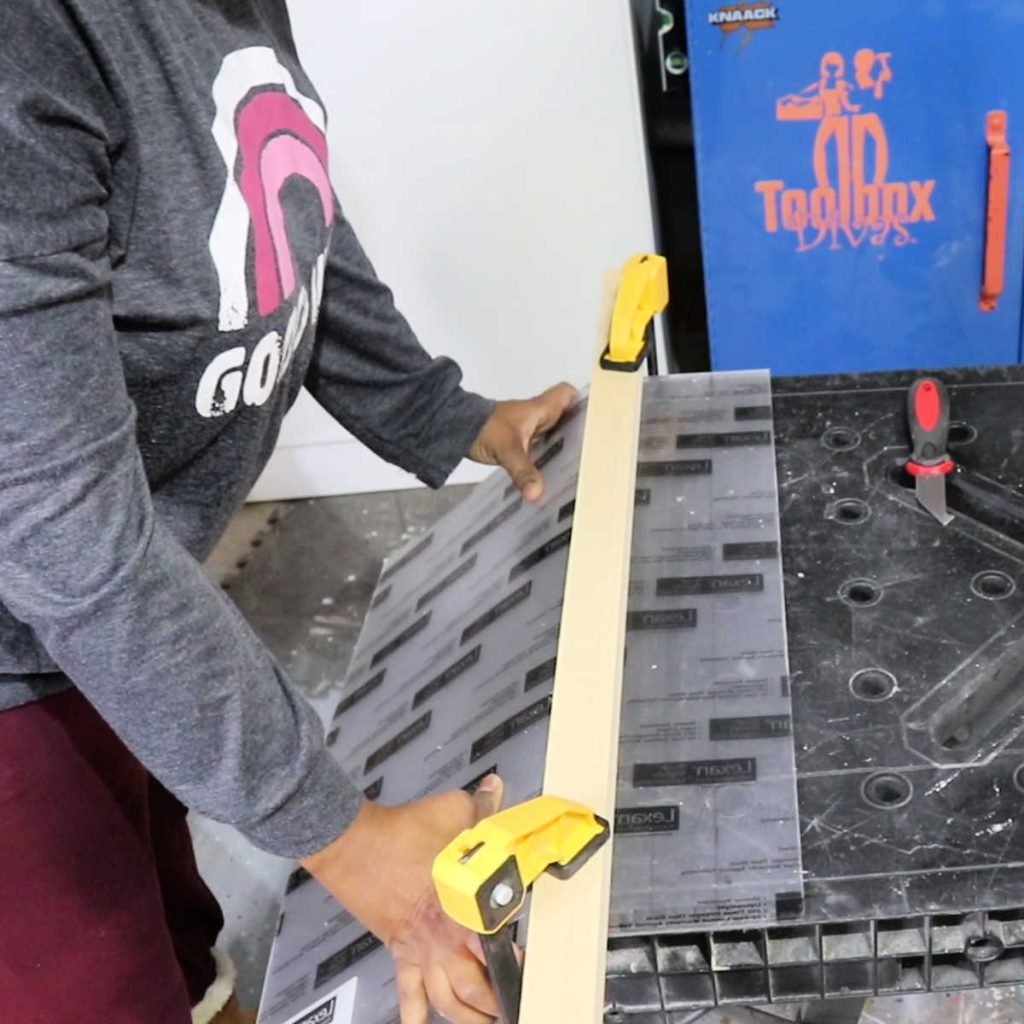
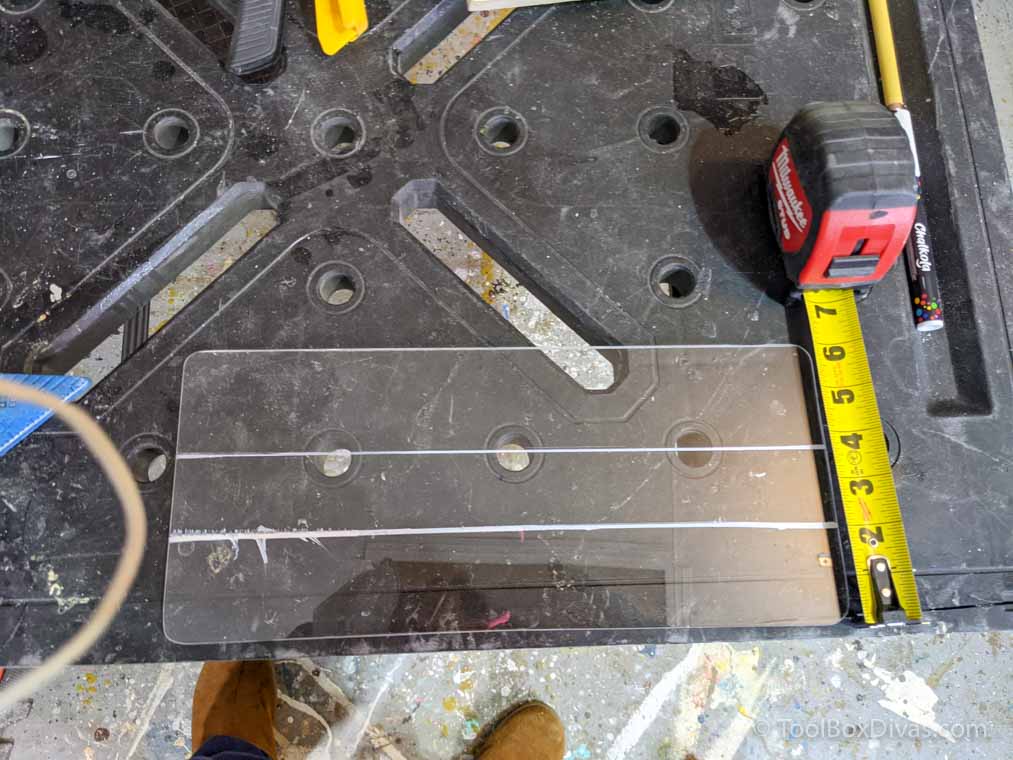
Score on both the top and underside of the acrylic sheet. Then apply pressure to the larger side of the sheet, pushing it up and down until it snaps. You can make smaller crosscuts using the Dremel Moto-Saw using the blade for plastics. I cut down the length of each shelf to 14inches because I found it was the optimal length for the area I was going to place them.

Step 2. Prep the acrylic sheet for bending.
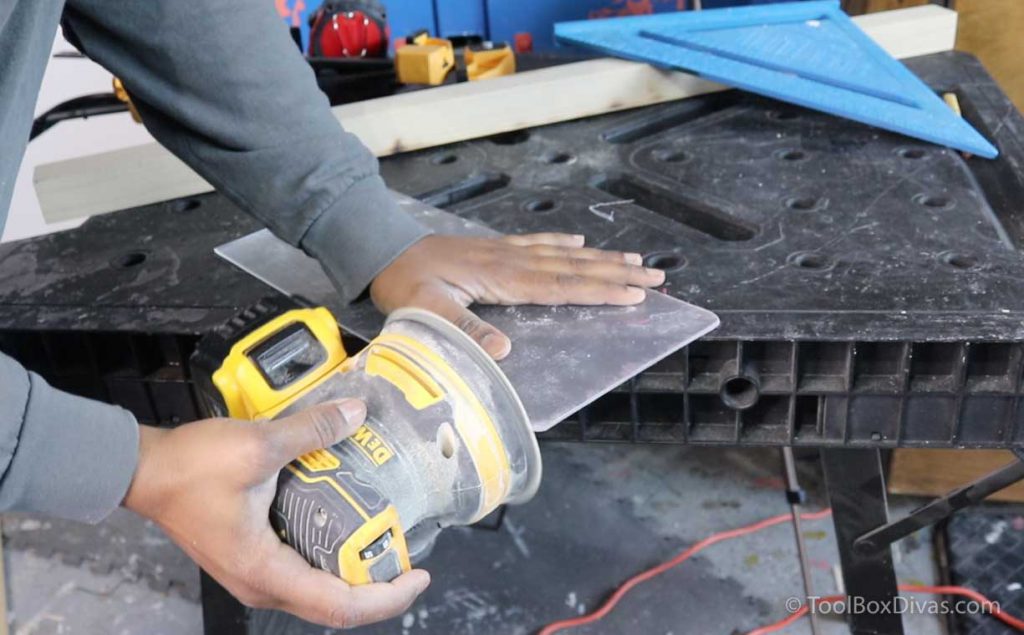
First-round the edges of the acrylic sheet before shaping into the book ledge. Trust me from experience. It’s a whole lot easier to round and smooth the edges before forming the bookshelves.
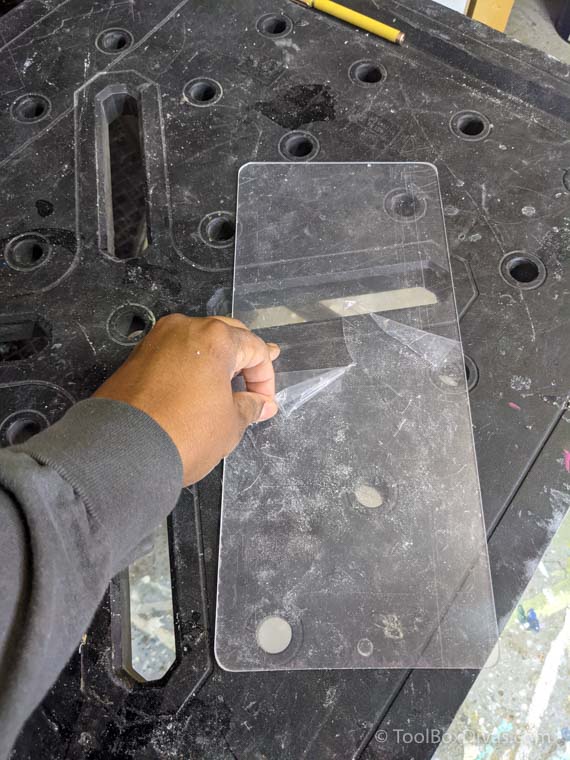
Remove the plastic protective covering from both sides of the acrylic sheet before applying heat. Failing to do this step will mean that you will be stuck with the plastic covering on the acrylic sheet because it will melt onto the sheet. Hahaha
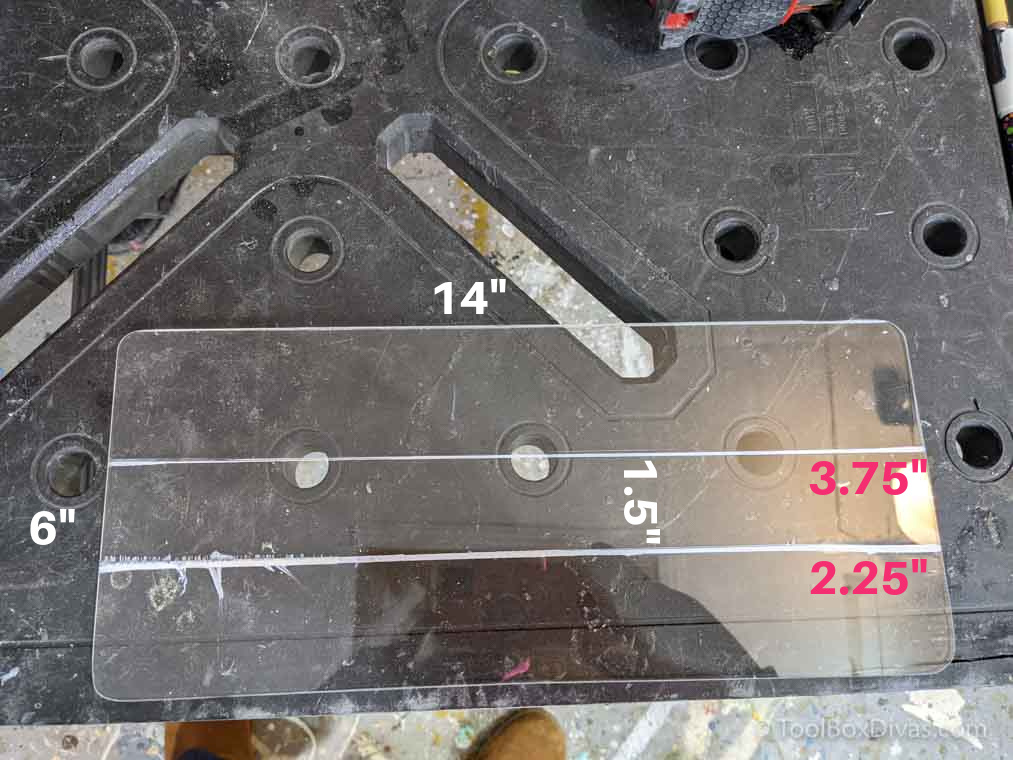
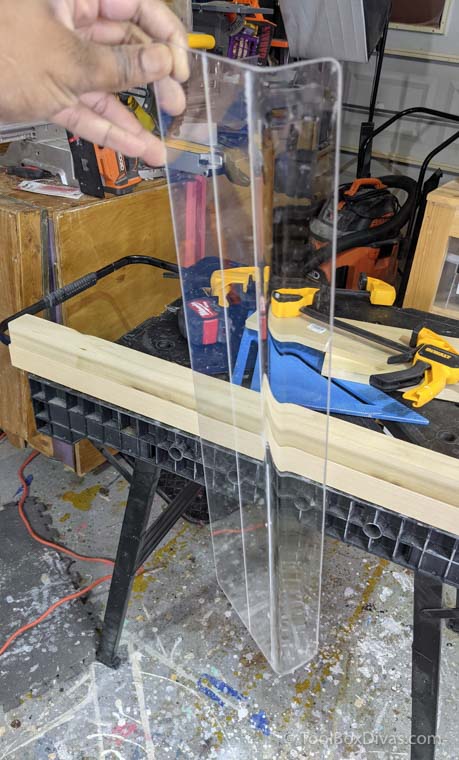
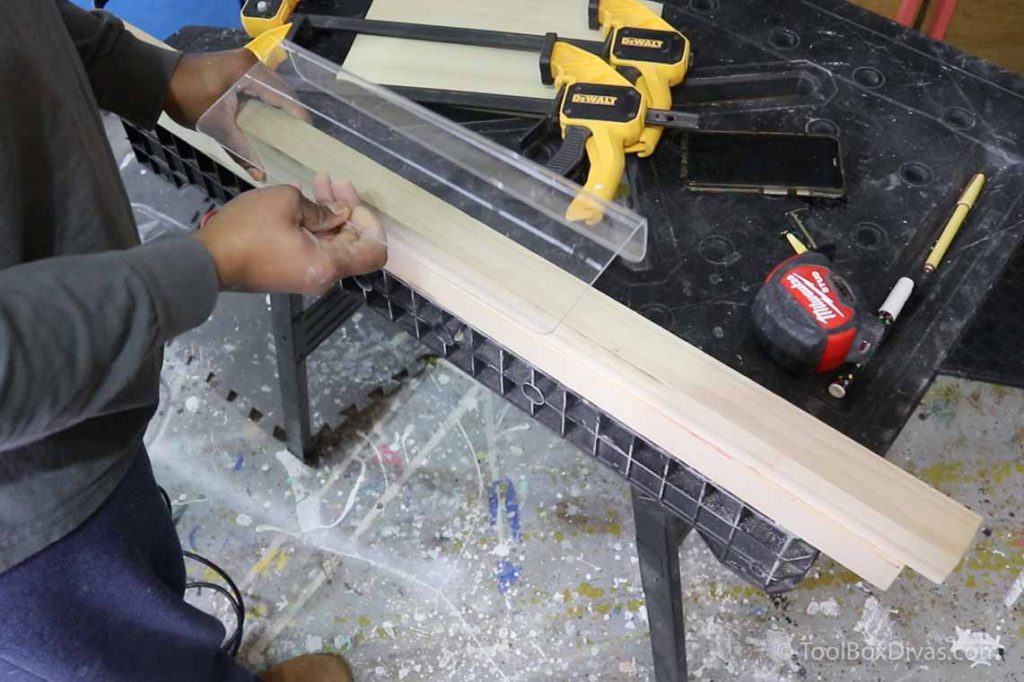
Mark with a liquid chalk or wax pencil the bend lines or guides. So I made each sheet 6″ x 14.” From the bottom I marked at 2.25″ then at 3.75.” This left 1.5 in. deep per book ledge. Using a 2×2 board made this super easy because its nominal thickness is 1.5 in.
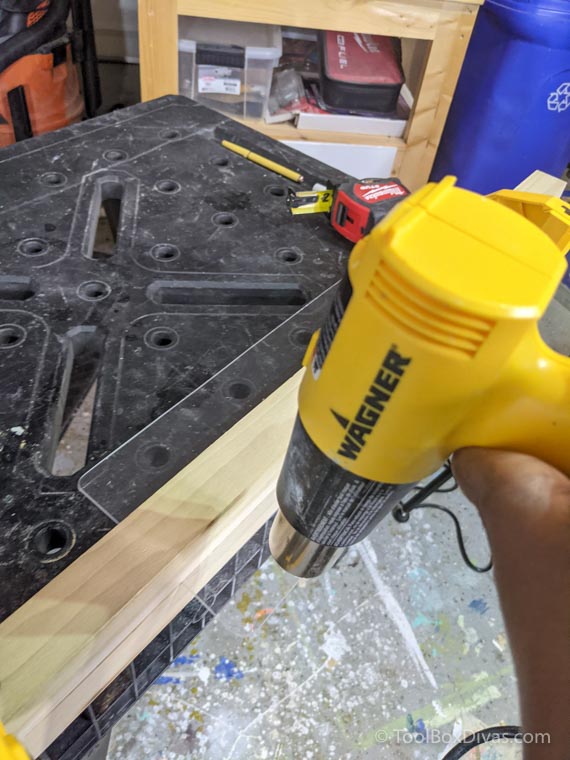
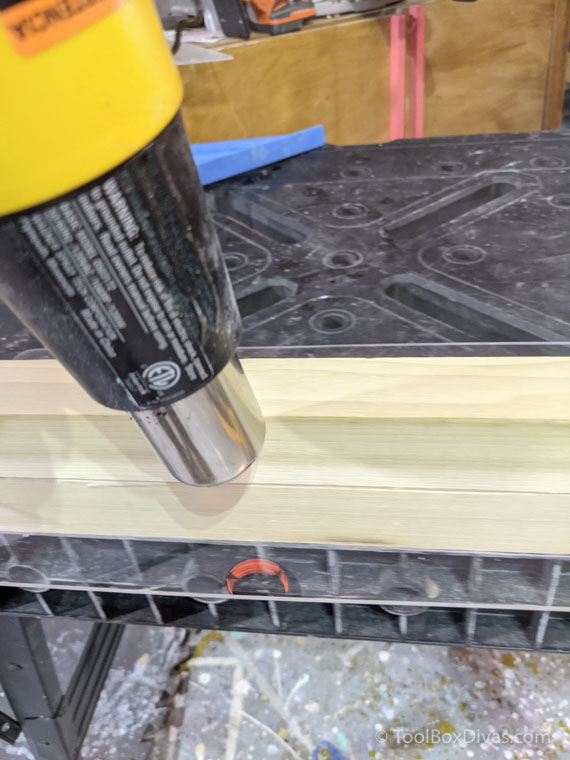
Step 3. Bend the Acrylic and form the book ledge.
First place the acrylic sheet between 2 2×2 boards lining up the first bend line. Apply heat gun at close range going back from left to right. Don’t stay in one spot too long. Too much heat cause air bubbles. As the acrylic sheet heats, it will start falling and lose its stiffness. Using a flat board lightly apply pressure and fold the acrylic down. Hold for 30 seconds to a minute to allow the acrylic to cool and secure its new shape.
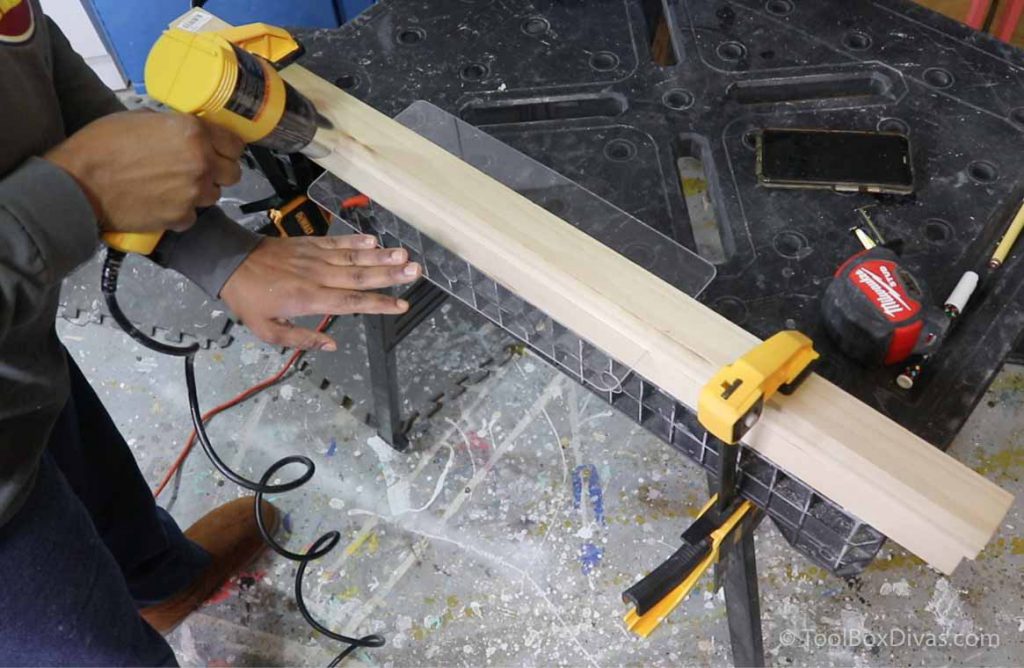
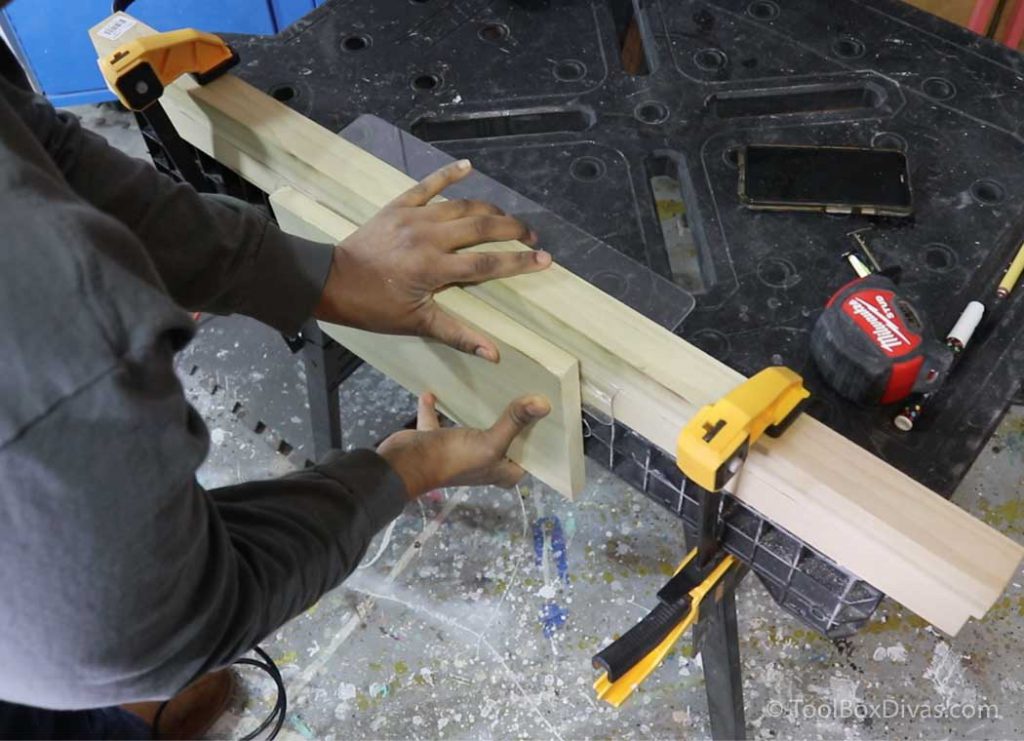
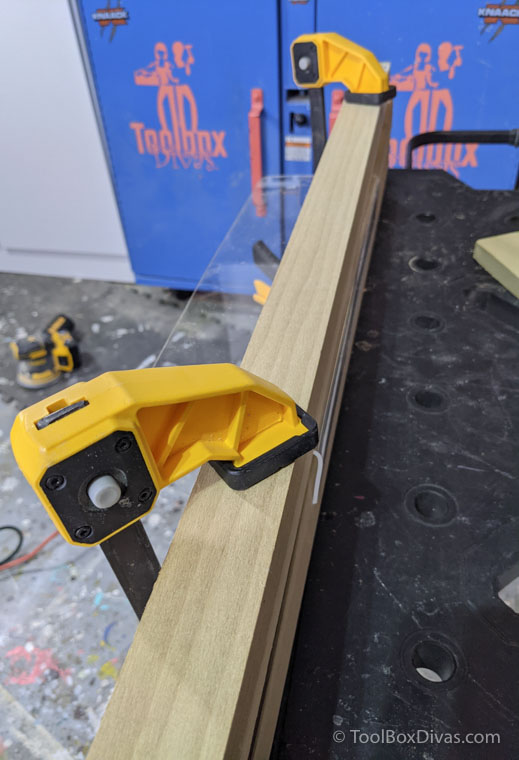
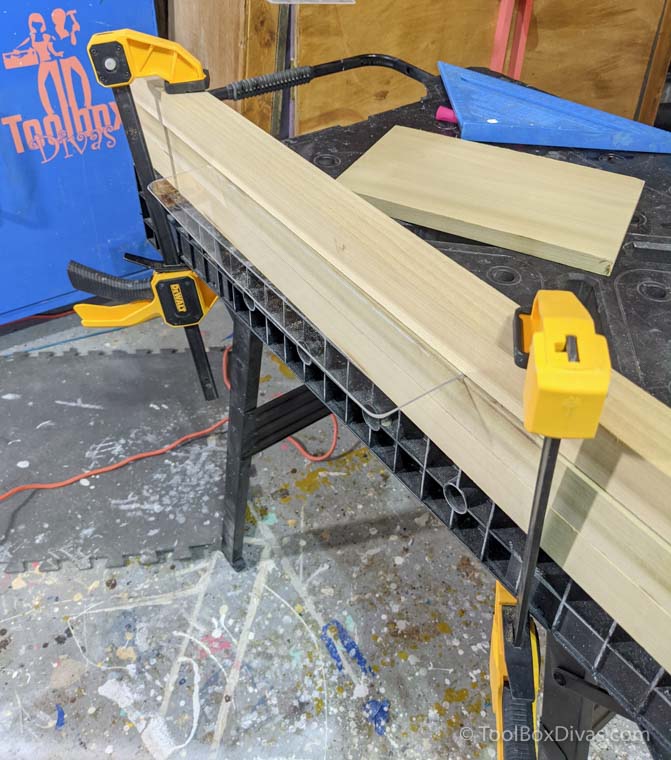
Now remove the clamps and flip the acrylic sheet to bend the other side. This time you’ll use 3 2×2 boards: 2 under the acrylic sheet to account for its new shape and height; and one on top of it. Now apply and fold in the same manner as you did with the other side.
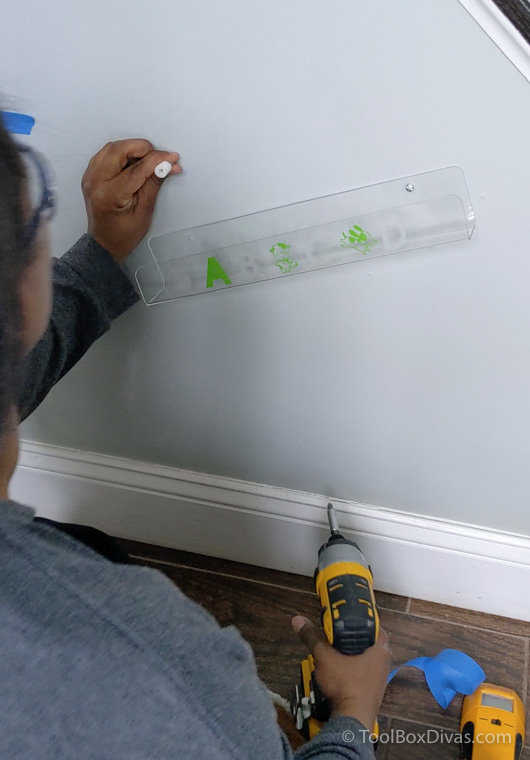
Step 4. Create the screw hole for hanging.
Acrylic is so fragile. I do not recommend using a drill to drill the holes for the screw for mounting.
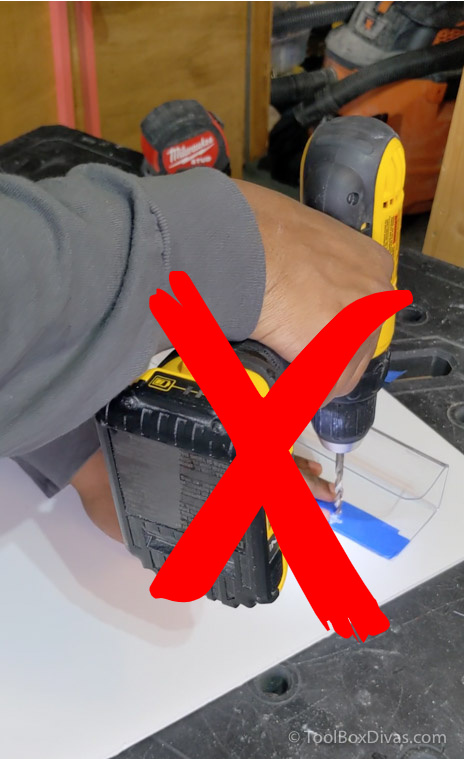
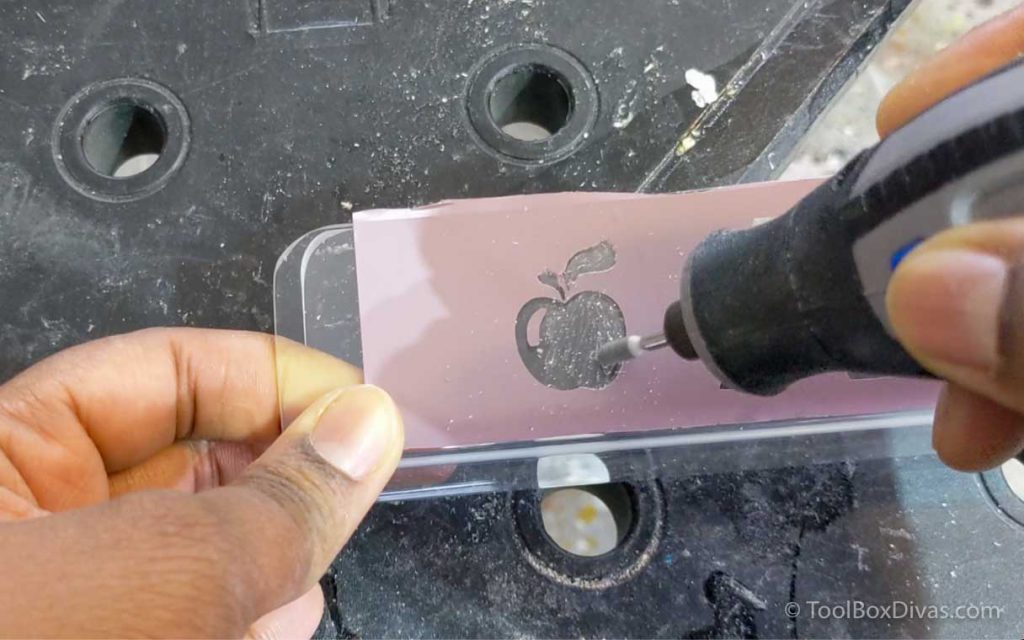
Instead, I recommend using the Dremel Lite 7760 Cordless Rotary Tool with a cutting bit.
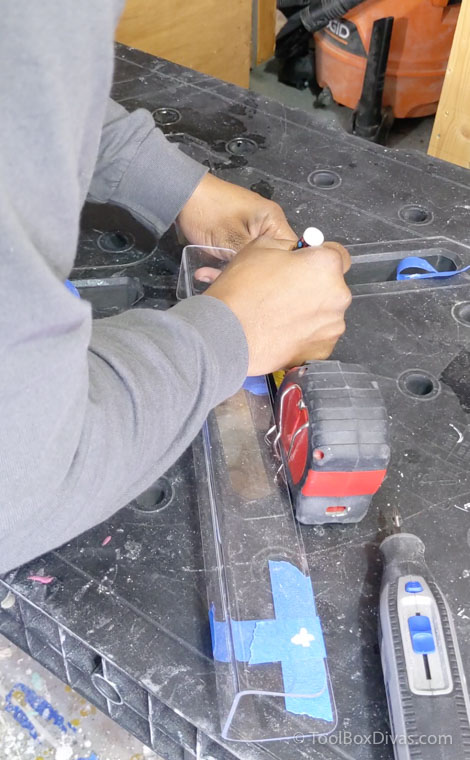
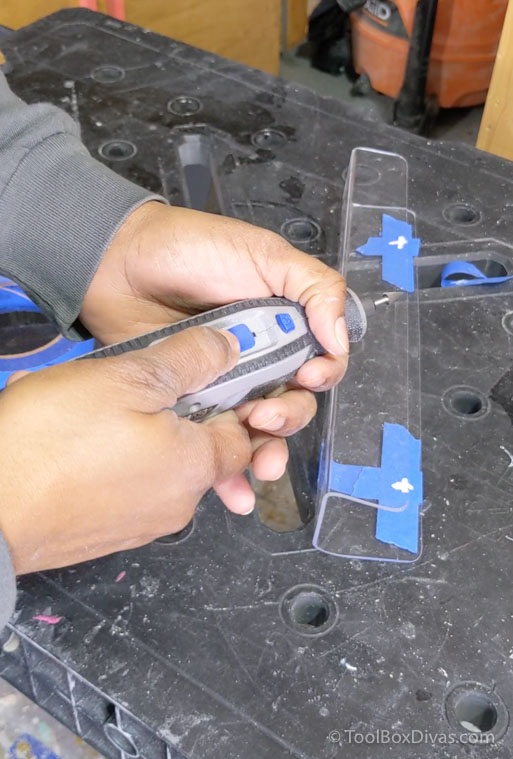
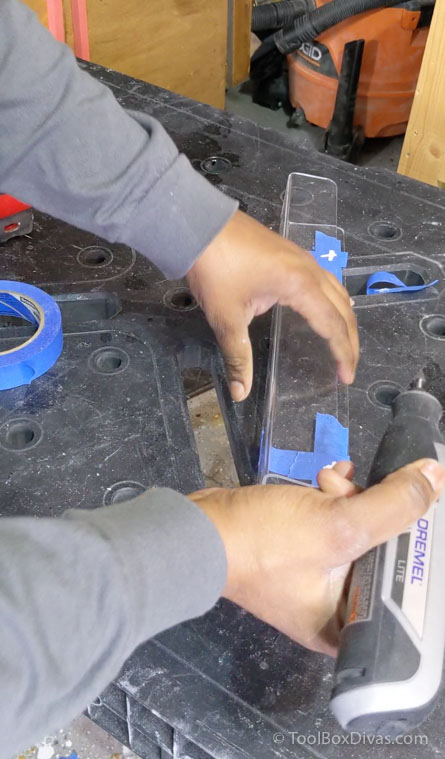
It creates a nice smooth opening for the screw to be inserted every time without cracking the acrylic.
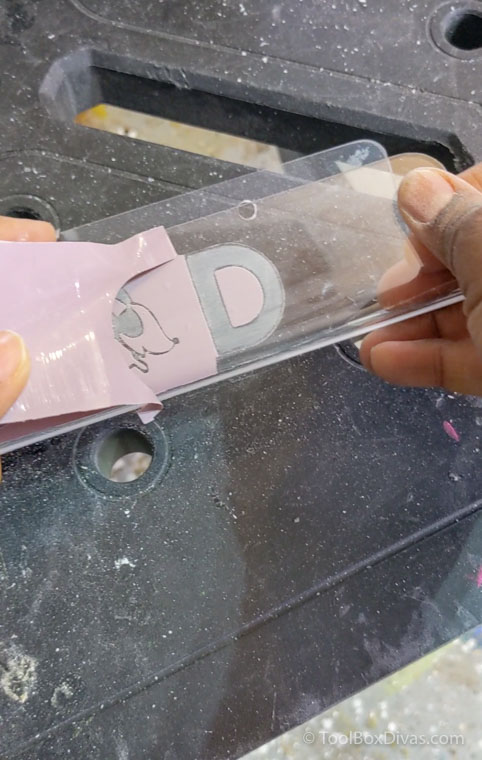
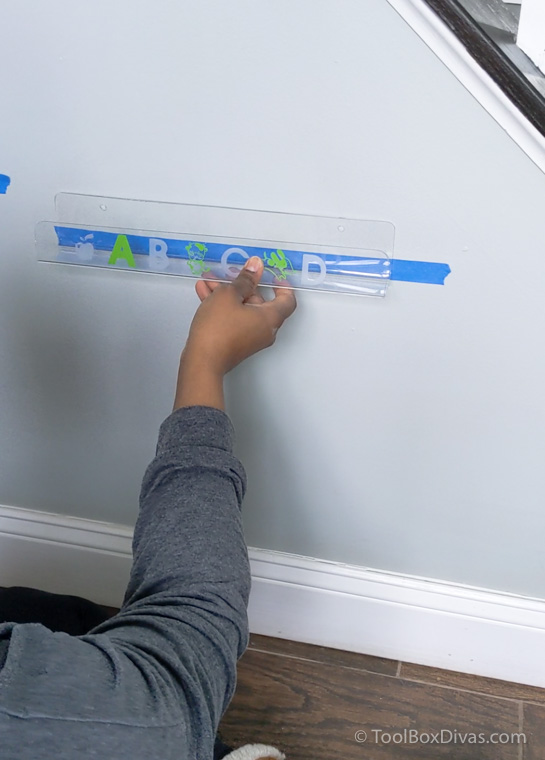
Step 5. Personalize your acrylic book ledge.
You can add a bit of personality to the front of the book ledge with vinyl decals and or sanding letters and shapes into the front of the bookshelf. Although I found given the transparent nature of the shelves the decorative decals and etching didn’t show up as much as I thought it would.
Step 6. Hang your shelves.
Try and use a stud whenever possible. But if you can’t I recommend using drywall anchors. Make sure the shelves are level and line them up with books.

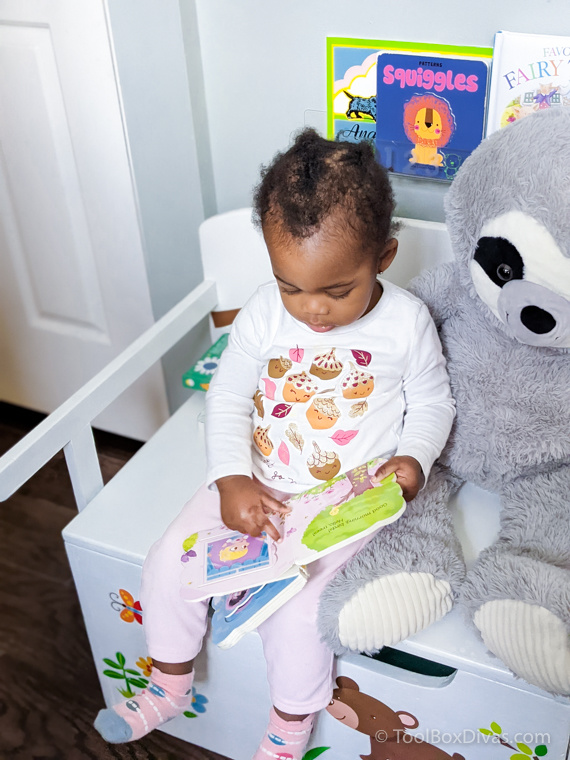
What I learned from this project
I found placing these shelves at height level for my daughter has encouraged her to pick up a book and find a spot to “read it” more often. So far it’s been pretty sturdy, undergoing constant stress tests by a toddler who doesn’t know her own strength sometimes lol. I really enjoyed working with acrylic. You will definitely see more projects using acrylic from me in the future.
Check out How to Make a House Shaped Magnetic Chalkboard for Cheap and How to Make a DIY Night Light for more east-to-follow DIY projects.
I acknowledge that The Home Depot is partnering with me to participate in the THDProSpective 2020 Campaign. As a part of the Program, I am receiving compensation in the form of products and services, for the purpose of promoting The Home Depot and its partners. All expressed opinions and experiences are my own words. My post complies with the Word Of Mouth Marketing Association (WOMMA) Ethics Code and applicable Federal Trade Commission guidelines.