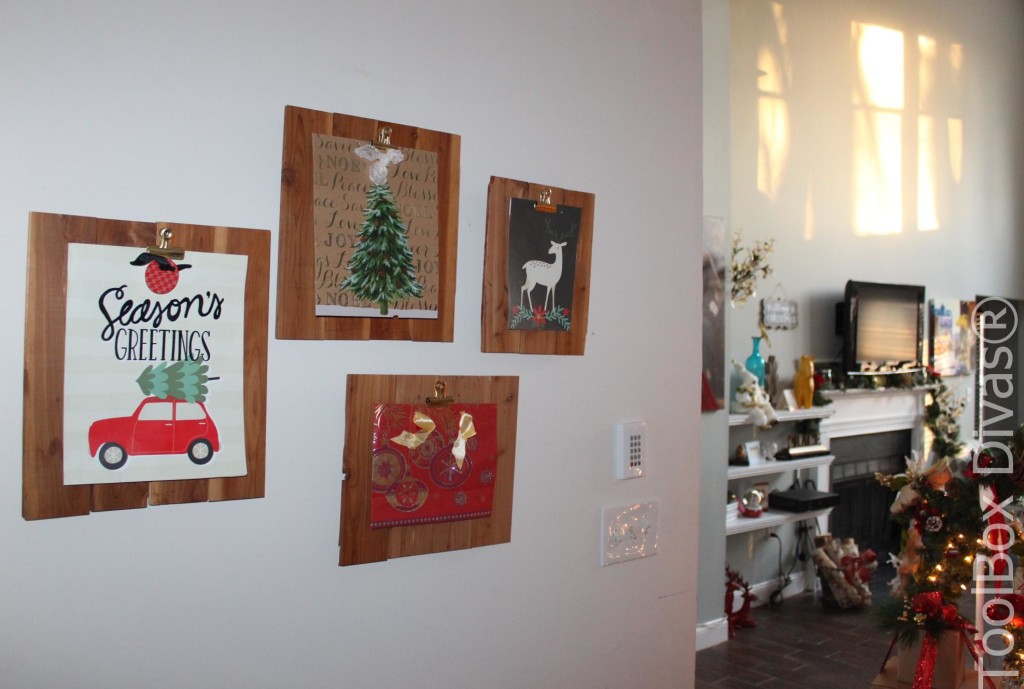
Gift Bags Turned Wall Art
- Scrap wood, old flooring
- Clips
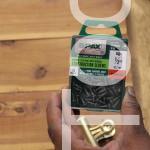
- Small Sawtooth Frame hangers
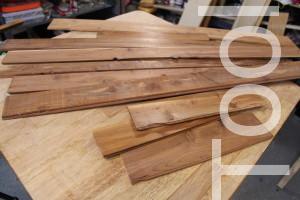 First I started off with this pile of scrap wood. It was cedar flooring. I love the natural look of cedar. No staining required. It’s beautiful all on its own.
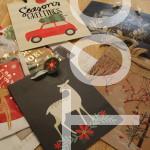 I selected my best and most intricate gift bags.
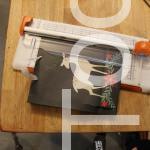 Using scissors and a paper cutter I cut out the bags. 1 bag actually makes two wall pieces because typically the bags are identical on both sides.
Once I’d cut the bags I was able to measure out the size of the frame I would need to create.
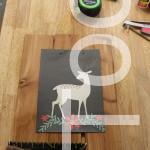 For this size bag three planks side by side were wide enough.
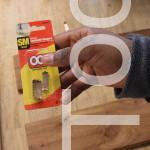
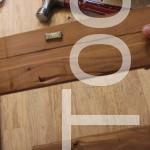 I cut 2 scrap pieces of the floor to use to attach the front panel together. But before attaching and fully assembling the frame I attached the sawtooth hanger to the top support piece.
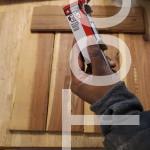 Then I glued the tongue and groove pieces of the flooring together and nailed the support pieces across the top and bottom of the back of the frame. The plank flooring I am using is very thin. So I am using small 3/4″ brad nails.
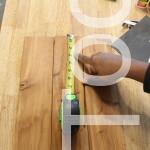 Finally, I flip the frame back over to the front and drill a starter hole at the top to attach the metal glip. I want the bags to all sit about 2 1/2″ from the top of the frame.
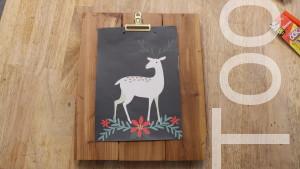 And that’s all you do. It’s so quick and easy.
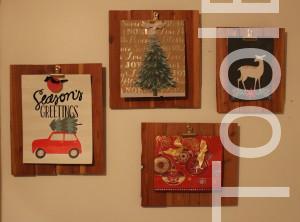 Make according to the various size bags and display on any empty wall. Once the holidays are over you can change out the bags for your kid’s drawings or magazine photos. You can really display anything that makes you happy.
Till Next Time ~T.
