DIY Hexagon Jewelry Tray with Foil Inlay
Learn how to make a cute hexagon Jewelry tray with foil inlay using the new Cricut foil transfer system
This is a sponsored post written by me on behalf of Cricut for Cricut. All opinions are 100% mine.
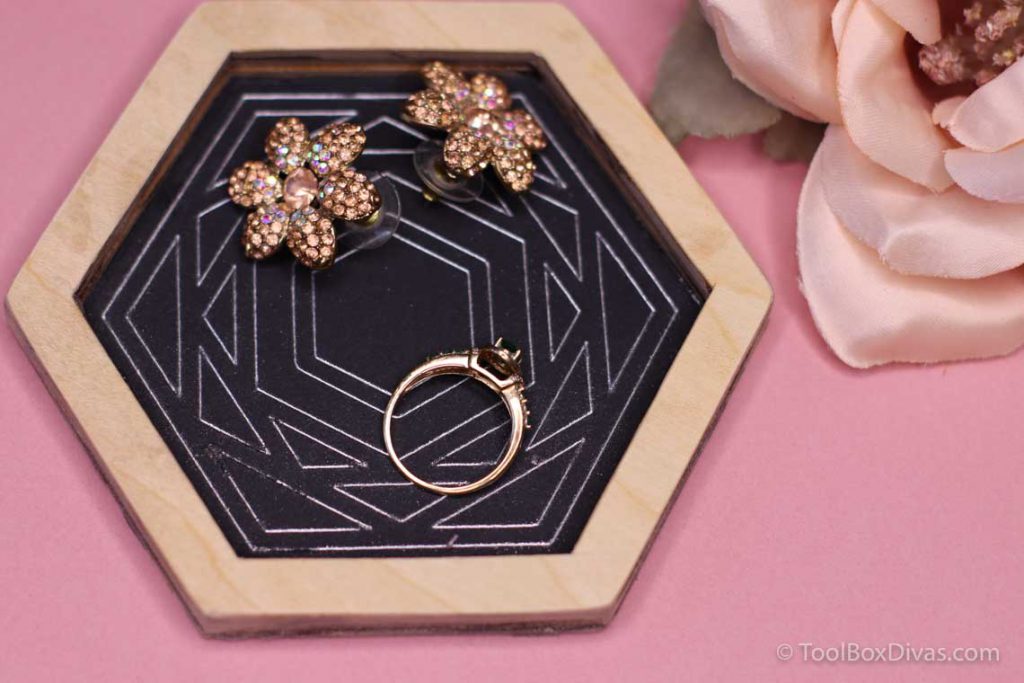
In this tutorial, we are going to make a DIY jewelry tray in the shape of a hexagon. These jewelry organizers are perfect for storing earrings, rings, and other trinkets like earbuds. It’s the perfect Cricut craft embellished with foil.
Foil Transfer System
Before we get started let me tell you a little about the new Cricut Foil Transfer System. The Cricut Foil Transfer Tool is designed specifically for Cricut Explore and Cricut Maker machines. It is the easiest way to apply foil to a wide variety of projects from. And its pressure-activated designed to work with Cricut Foil Transfer Sheets, which means, no heat is required for foil transfer. It’s meant to be used on the following materials:
- Cardstock (Light, Heavy, Medium, and Adhesive Backed)
- Faux Leather
- Deluxe Paper
- Foil Embossed
- Watercolor Paper
- Pearl Paper
- Vellum
- Printable Vinyl
- Kraftboard
But of course in true ToolBox Divas fashion, I’m going to push this to the next level to see what all I can really do. Let’s find a new Cricut hack. I’ll be testing the foil transfer system out on card stock and wood veneer while making the cutest jewelry trays or dish to organize my rings and earrings.
For more Cricut projects check out DIY Wooden Elephant Pencil and Phone Holder and Removable Stair Riser Decals Made with Cricut Explore Air 2.
Materials
- Foil Transfer Sheets Sampler, Jewel (24 ct)
- Foil Transfer Sheets, Gold (8 ct)
- Cricut Chipboard, Kraft – 1.5 mm
- Foil Transfer Sheets, Silver (8 ct)
- Chipboard, 2mm
- Natural Wood Veneers 12×12 – Walnut (optional)
- Natural Wood Veneers 12×12 – Maple (optional)
- Cardstock (Optional)
- Gorilla Clear Glue
- Mod Podge
- Fine sandpaper
Tools
- Cricut Maker
- Foil Transfer Kit
- Knife Blade + Drive Housing
- Machine Mat Variety Pack, 12″ x 12″ (3 ct.)
- Heat Resistant Tape
Let’s Get Crafty
To make this jewelry dish or tray you’ll be cutting and putting together various pieces. Let’s start with the base of the jewelry tray.
Step 1. Cut the base of the jewelry tray using 1.5mm Chipboard.
Place the chipboard on a StrongGrip mat and using the knife blade cut the base for the tray. The base of the jewelry tray can be either 2mm or 1.5mm. I had limited 2mm chipboard and I knew I wanted to use it for the edge or border of the tray.
Step 2. Cut the boarder for the jewelry tray using the 2mm chipboard 3 times.
By cutting the border piece out 3 times, you’ll be able to later glue it together to create a border around the jewelry tray and organizer.
Step 3. Embellish the jewelry tray insert with the foil transfer.
First up Cardstock:
For cardstock follow the Design Space® prompts for adding the foil transfer sheet to the cardstock. When using one of the materials designed for the foil transfer system, the application is fairly simple. When your Cricut Maker® or Cricut Explore® machine is done, just peel to reveal the glimmer & gleam.
But when you’re using a material that is not necessarily designed to be used with the foil transfer you have to make a few modifications.
Wood Veneer
The first thing you’ll notice when attempting to apply the foil transfer to veneer is, there is no option to perform such a task on this material within Design Space. So you have to select another material to perform the action you’d like to see.
In this case, I selected Faux Leather, placed the foil on the veneer, shiny side up and taped it tight or taught to the veneer. I used the foil transfer tape to adhere the foil to the veneer. I found it had a better hold.
The first time I did it I used the fine point. I thought it was a little light on the walnut veneer, so I redid it with a bold point foil attachment. AND….. (drumroll please) It WORKED!
It worked extremely well, actually, the lighter the veneer, the better. I later applied the purple jeweled foil to the maple veneer.
A Cutting Tip
There is one thing to note when cutting the veneer after applying the foil. The system is designed to automatically go through its sequence of actions, meaning first it applies foil, then you’re prompted to remove the foil tip and replace it with the fine-point blade. If your material doesn’t cut all the way through on the first pass, remember to remove the blade and reinsert the foil tool before pressing “C” to recut. But this time remove the foil tip from the foil transfer tool. This will prevent the newly foiled area from being cut where you don’t want it cut and save you a lot of grief. Trust me on that one. Hahaha
Step 4. Assemble the jewelry tray.
First glue together the 3 border pieces for the jewelry dish or tray and allow it to dry.
Once the border is set, use a light sandpaper or sanding block and sand it down lightly to ensure its nice and smooth and even.
Apply Mod Podge to the base of the jewelry dish and place the embellished insert on it and top with the border piece. Use gorilla glue for the border attachment. Place a weight or heavy object over the border while it dries.
I grabbed the first thing I saw, which was a heavy battery for one of my tools.
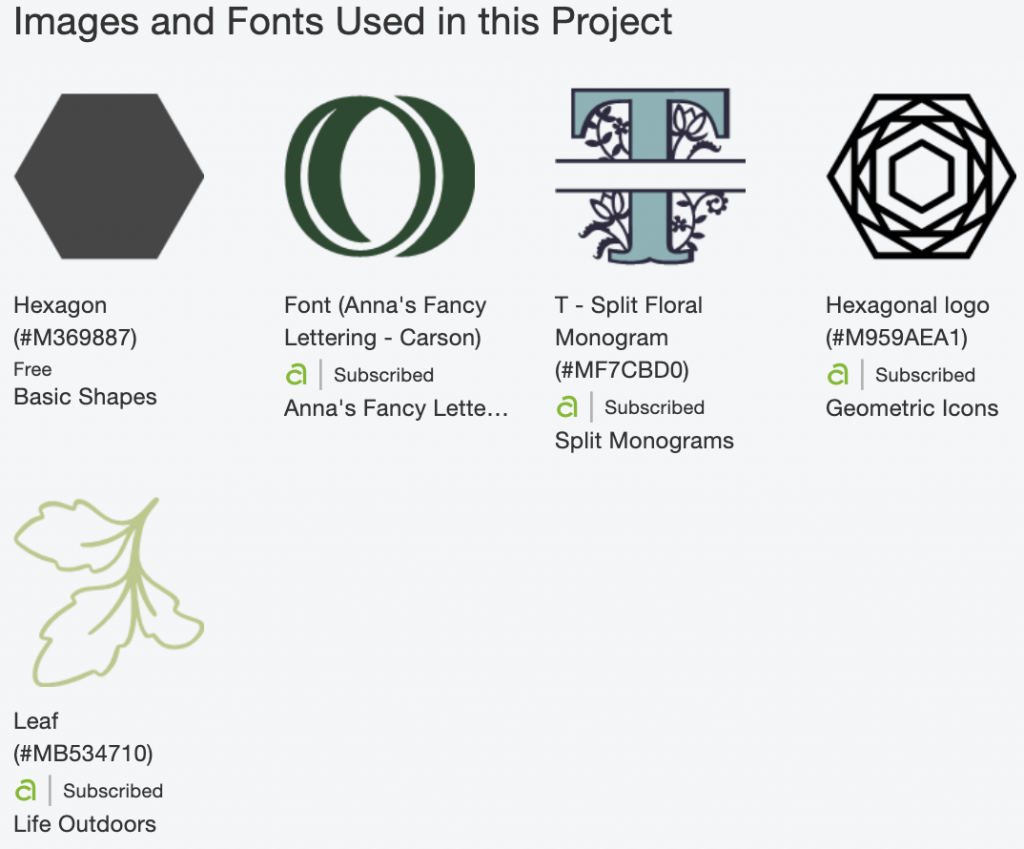
Link to the project with Cricut Design Space.
You can find this project and all the cut and foil pieces on the Cricut Design space.