DIY Wooden Christmas Tree Stand | Box
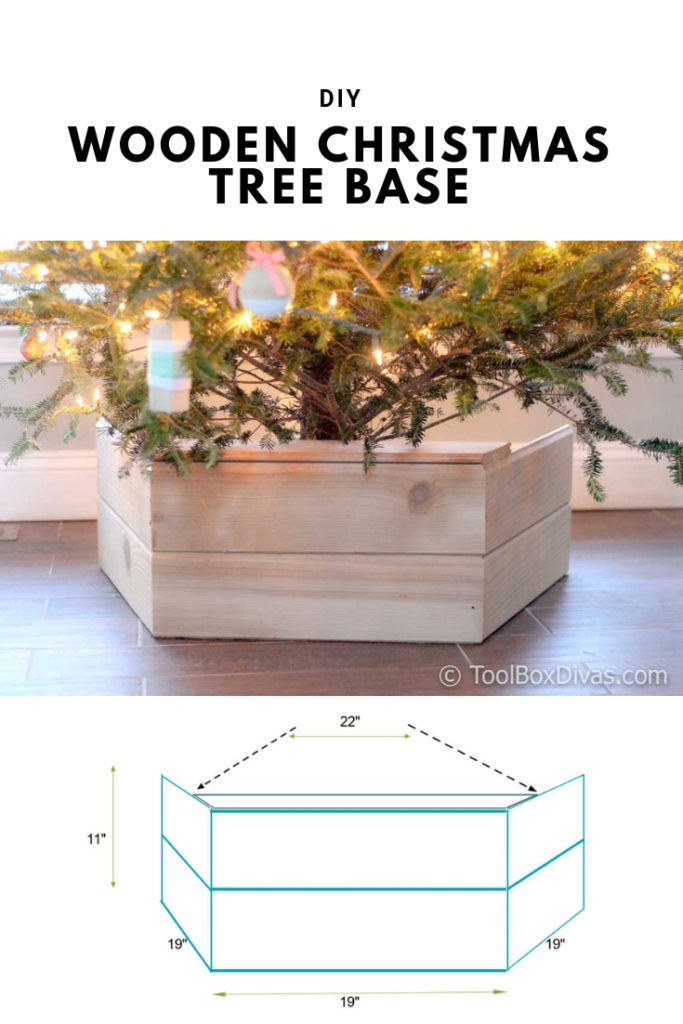
Dress up a boring Christmas tree with a wooden skirt or collar. Adding a wooden stand to a Christmas tree gives it the finishing touch.
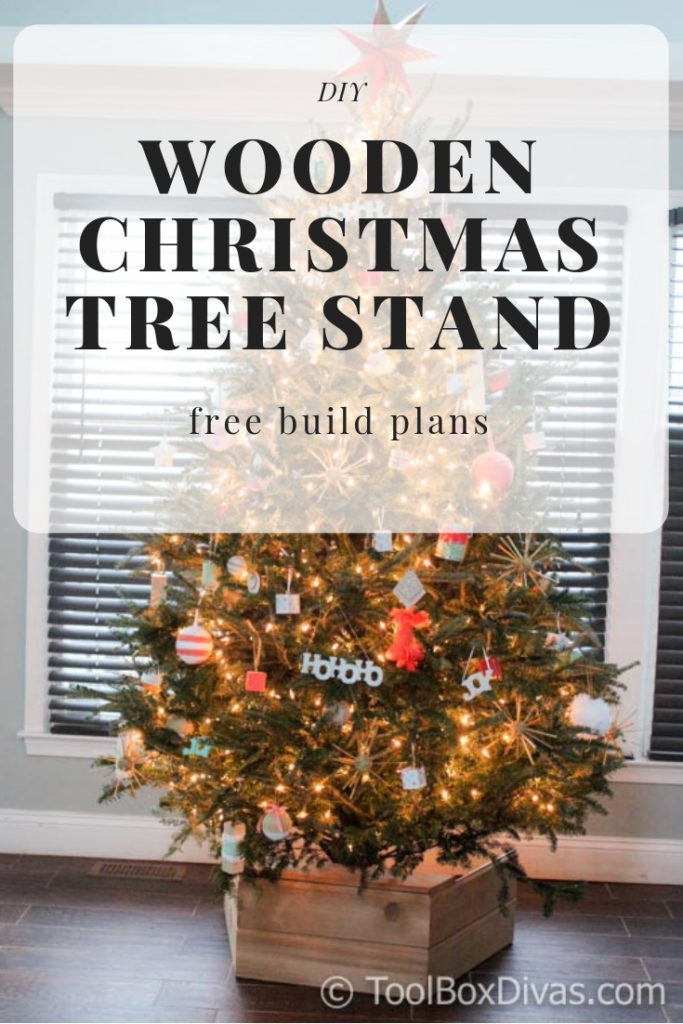
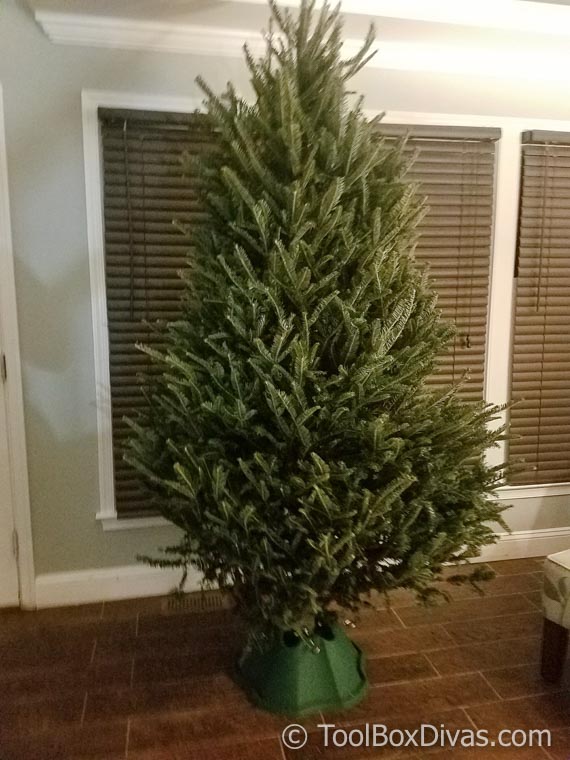
Hey Guys! Thanksgiving is over and it is now officially Christmas time! That means it’s time to pull the Christmas tree out of storage or head over to Christmas tree lot and pick out the perfect spruce. I prefer real trees, largely because I love the smell and it gives me the total feeling that Christmas is here. But whether I’m putting up a real or fake tree, I just can’t get into the basic look of those tree stands that are largely made for practicality.
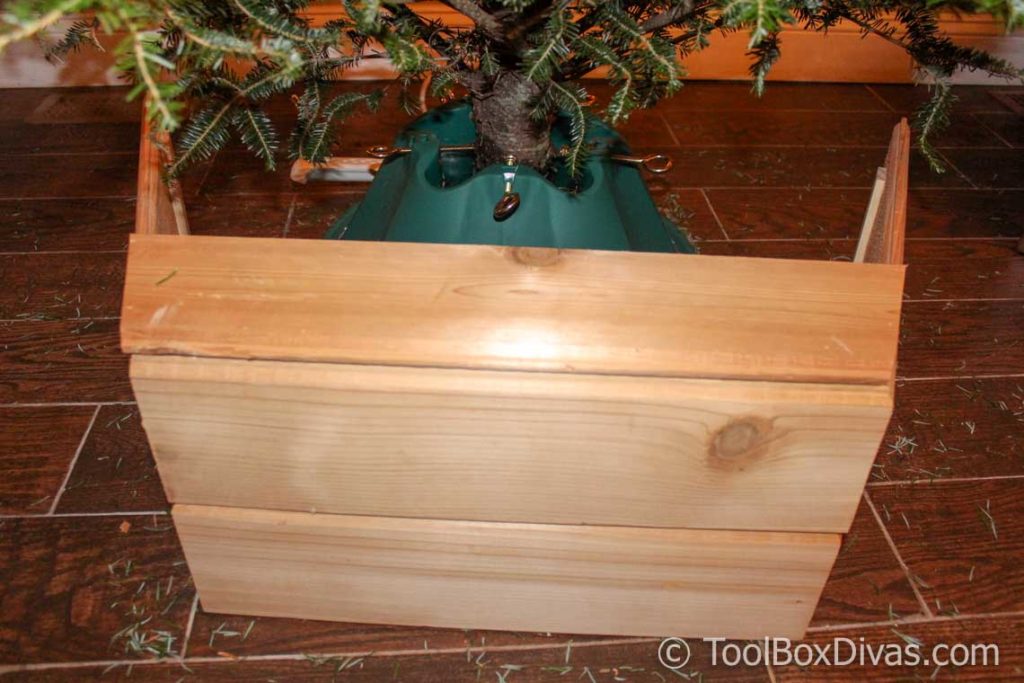
I mean, seriously how boring is that. Yea I could wrap a blanket around it and it would cover it up but it’s still not enough. So this year I decided to change it up and make the tree stand out … (yes pun intended LOL) with this wooden tree stand. I made it using old wood paneling that I found in my woodpile. This is a scrap wood project. However, you can make it with 1×6 boards and 1/4in. x2 craft boards.
Here’s what you’ll need
Materials
- 1x6x12
- cut down to 6 – 19in. boards
- cut down to 22 in.
- 1/4 in. x 2 in. craft board
- Wood glue
Tools
Let’s Get Dirty!
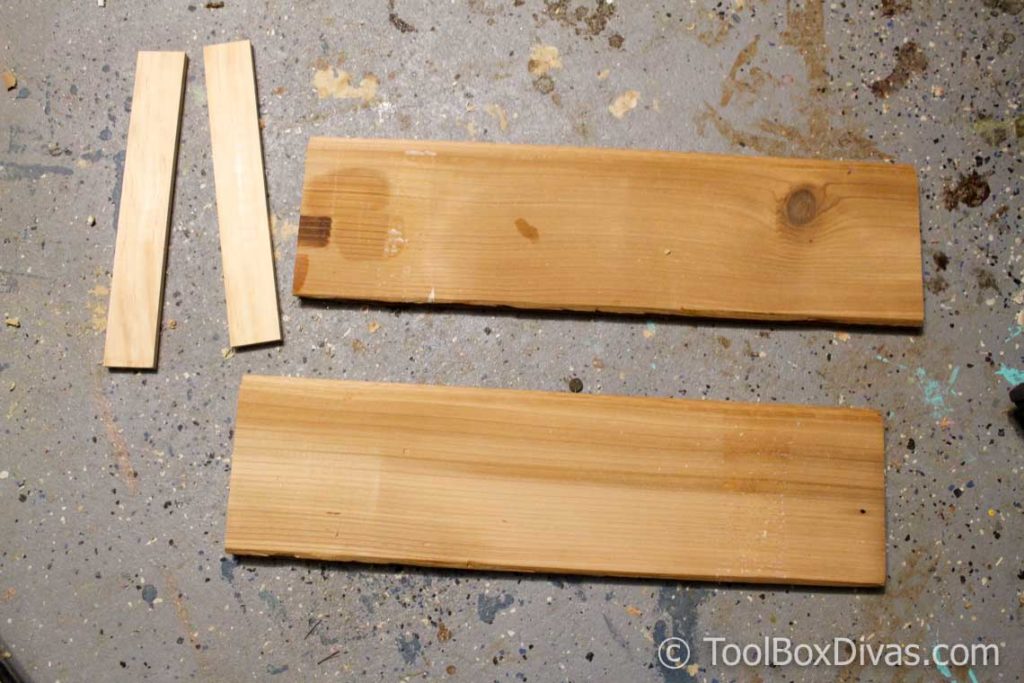
- Cut the pieces to size. This stand is 3 sides so that you can slide it in front of the tree. No need to lift the tree and place it into the box. That would be WAYYYY too much work! I’m using scrap pieces like I said, and it’s imperfectly perfect. These are actually wood panels.
So it has the locking groove to attach the boards.
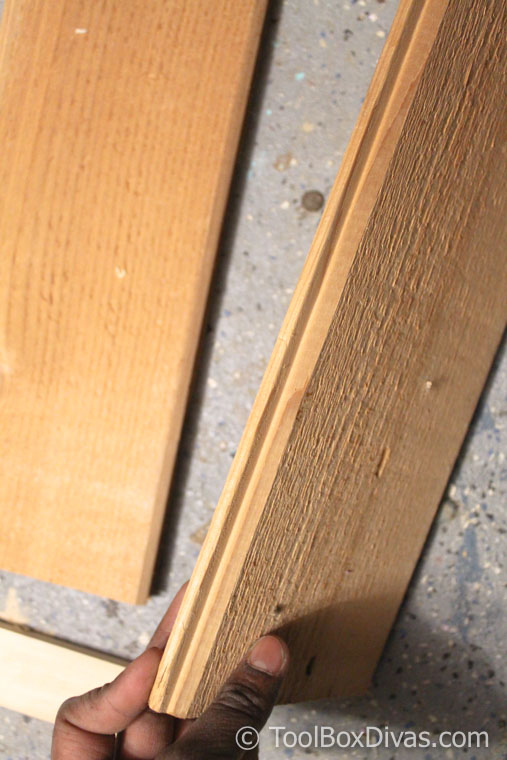
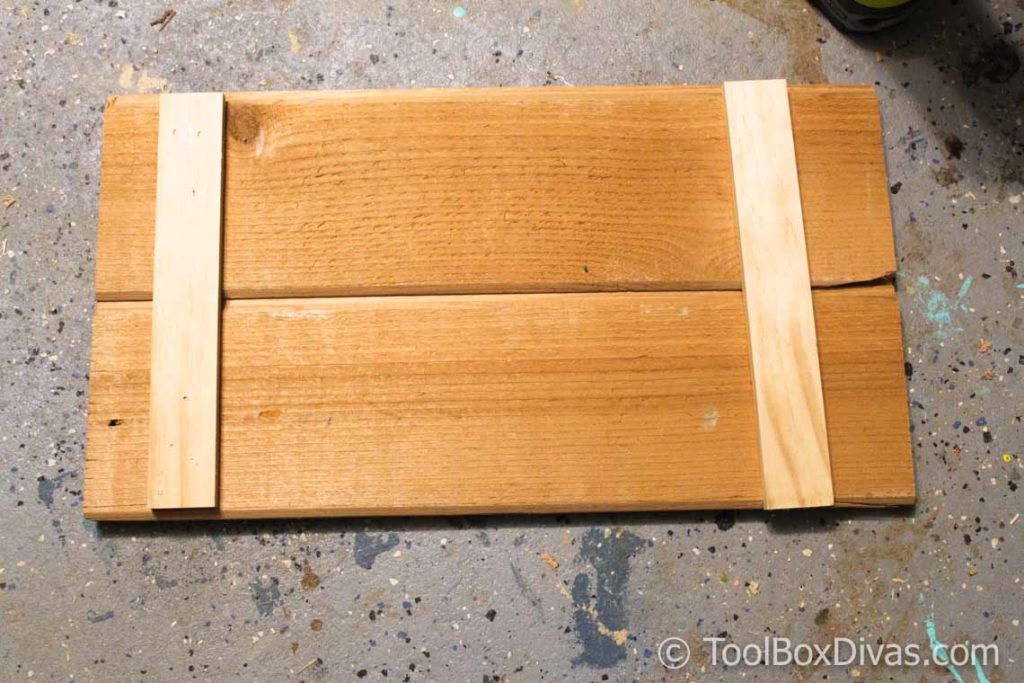
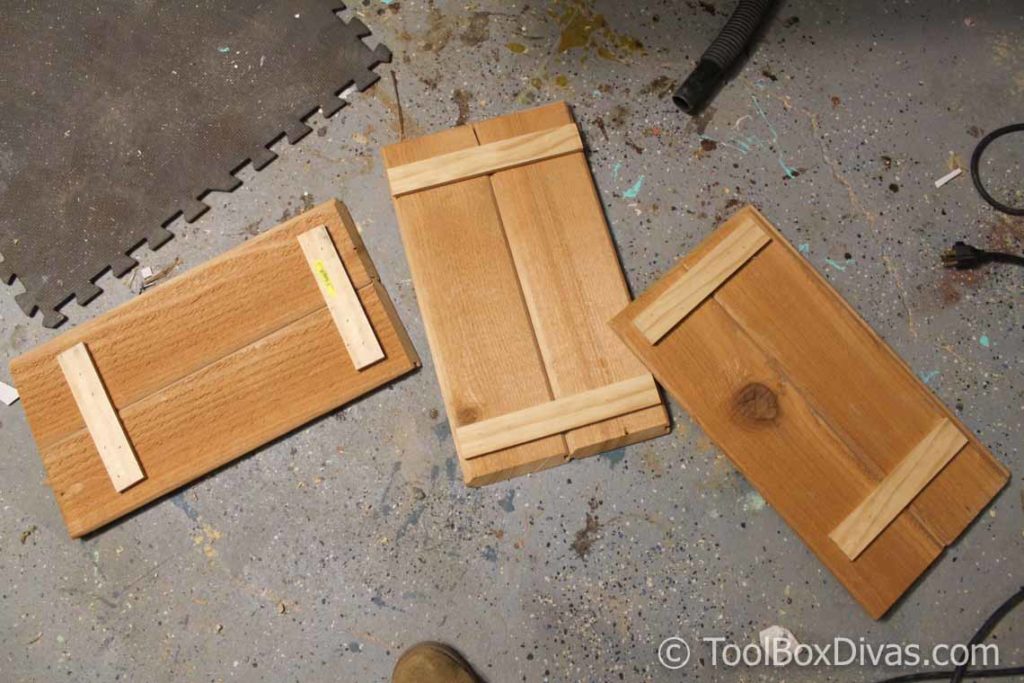
2. I then made 3 panels for the stand by attaching two 1×6 planks together using glue at the seam and then attaching the 1/4in. x 2 boards to the back using a brad nailer to further secure the side panels.
3. This will be a 3 sided stand so making the 3 panels we are then going to cut the boards at an angle so that we can attach it.
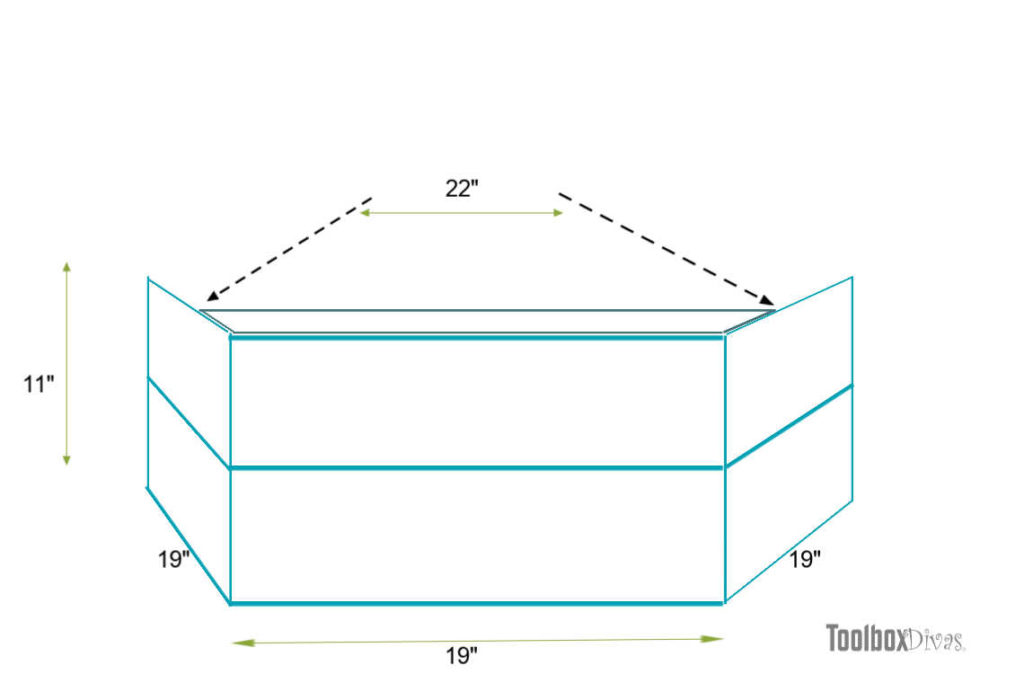
The front panel should be beveled at 33 degrees on both sides.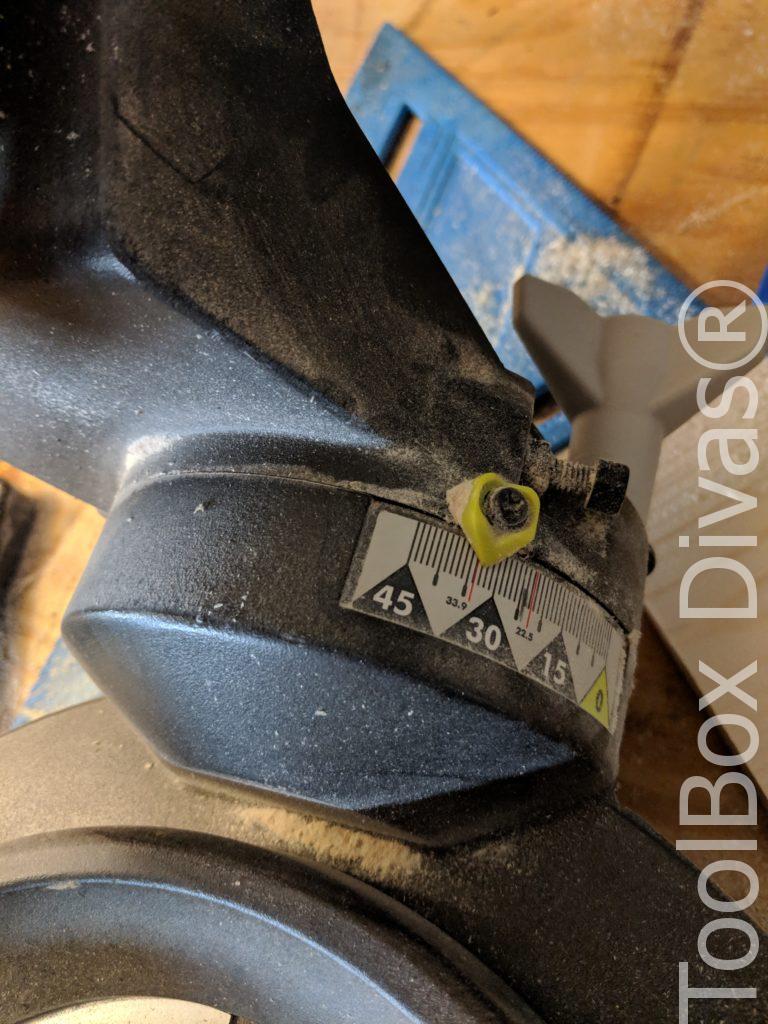
The 2 side panels only need to be beveled on 1 side where it will attach to the center panel.
 I attached using wood glue and the brad nailer.
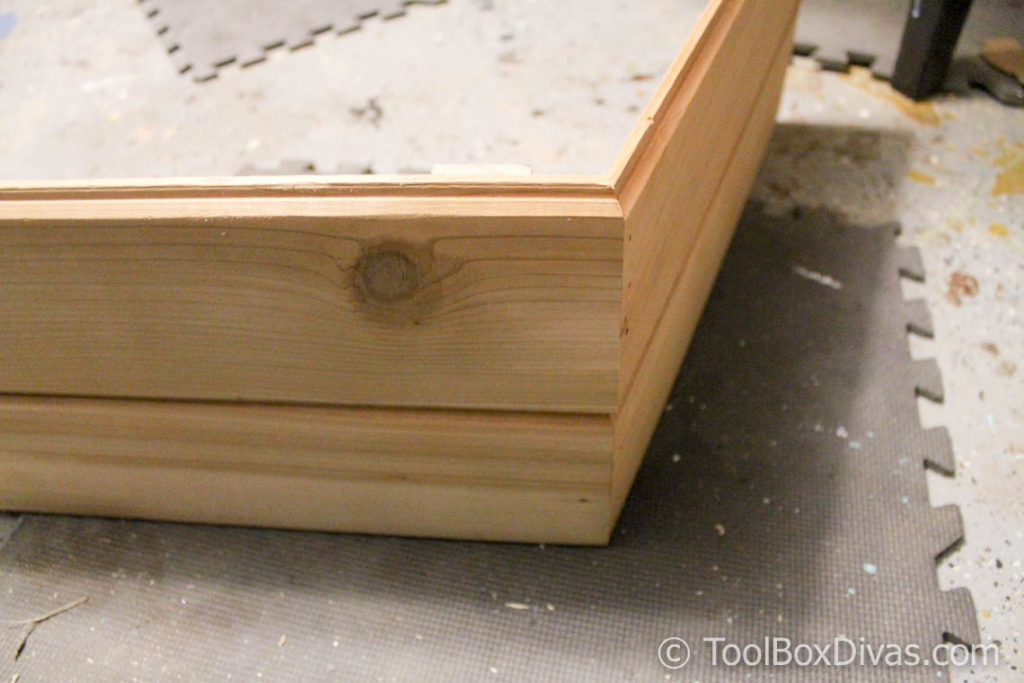
4. With the three sides attached, I felt like the top should be covered to finish the look. So I cut one more board to 22 in. and angled at 19 degrees. I attached it using the brad nailer.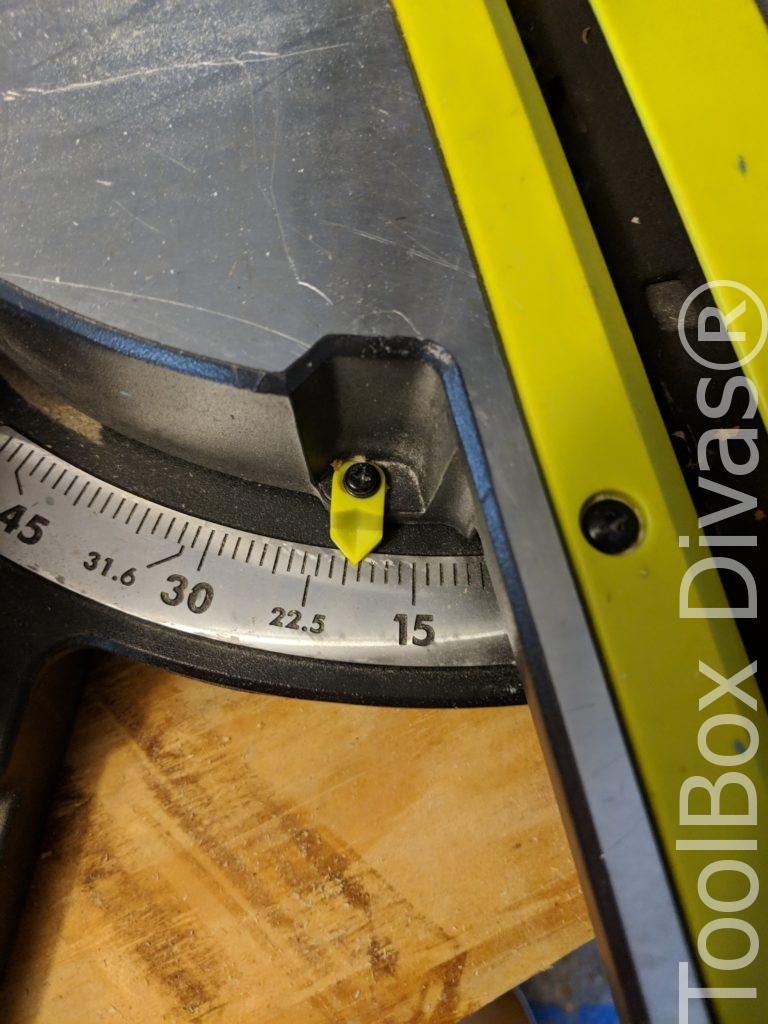
With everything in place I gave it a light sanding and added some beeswax and that was it.
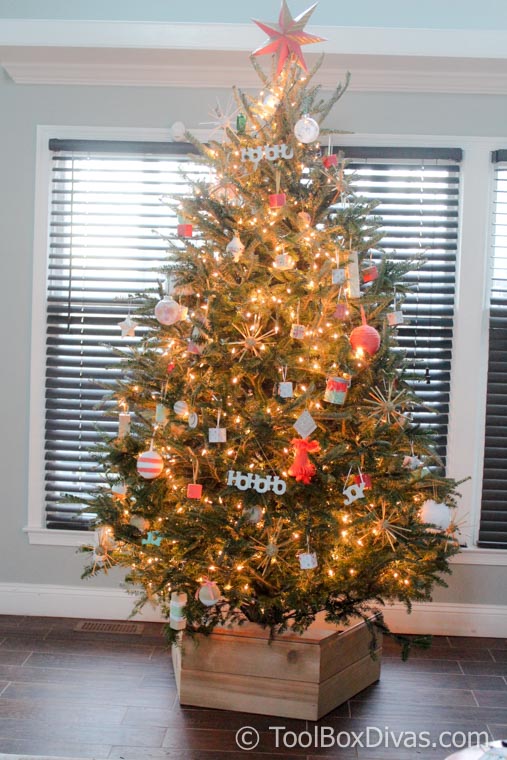
This would tree stand using scrapwood changed the look and feel of my entire tree. In fact, I think it stole the show. 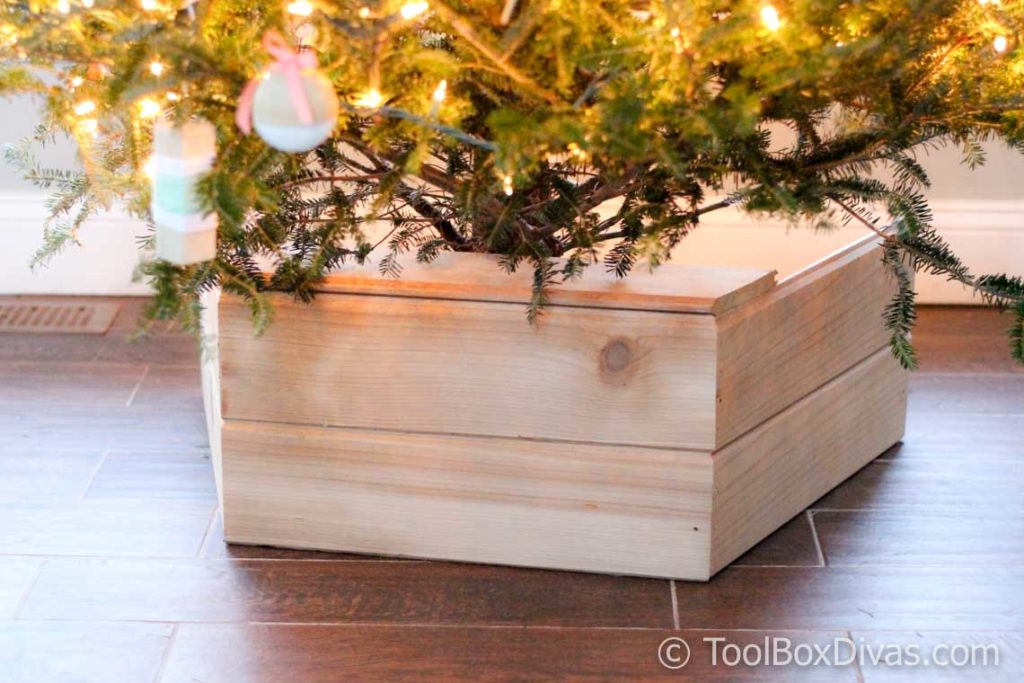
Happy Holidays! Till Next time. ~T.
For more Christmas projects and information on the DIY ornaments used to decorate this tree check the tutorials.
