DIY Painted Accent Wall Mural | Perfect Backdrop
Create the perfect backdrop for those video conference calls with a simple DIY painted accent wall mural.
This accent wall mural post is sponsored by Rust-Oleum. All opinions are 100% mine.
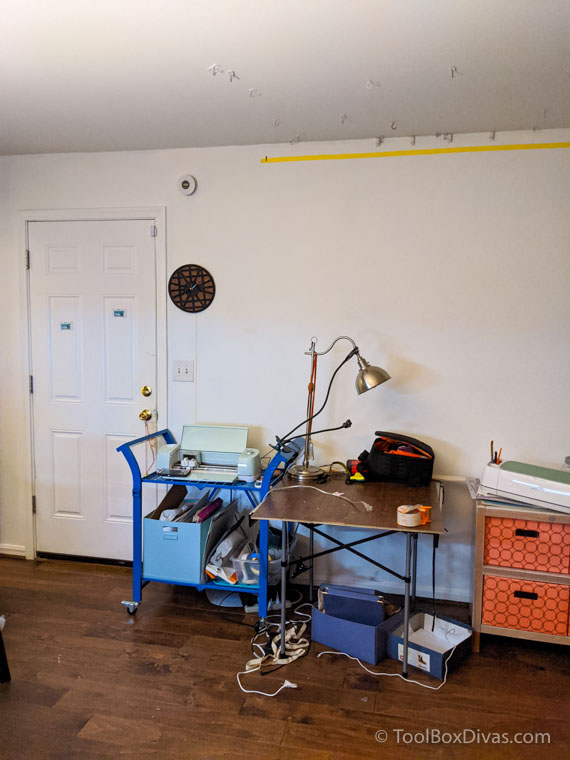
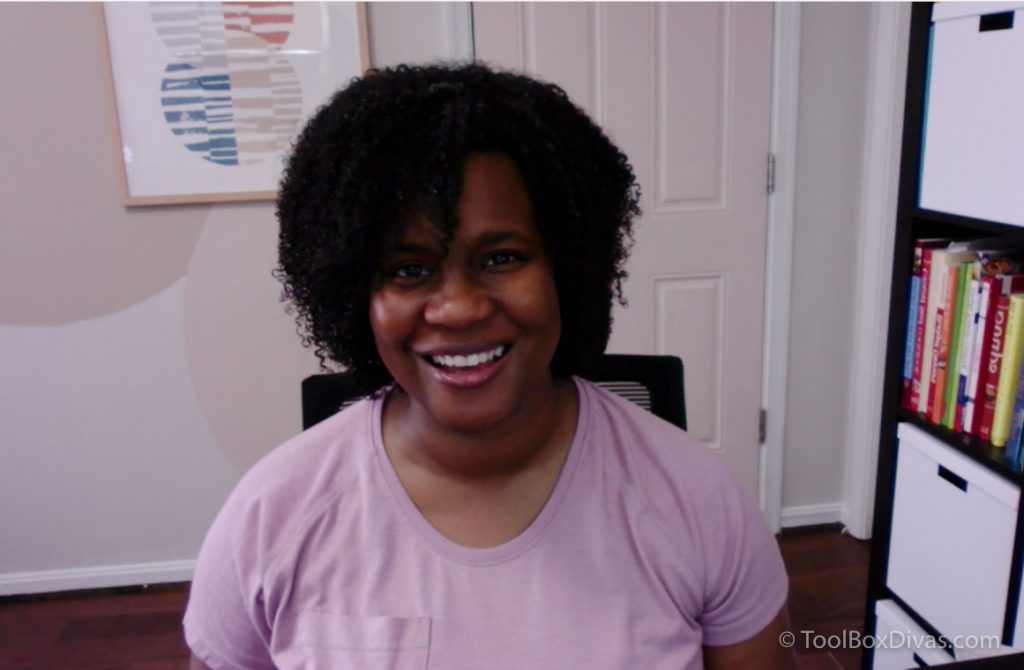
These days if you are blessed with the ability to work from home, you’re probably in some obscene number of video conference calls daily. For me it’s been too many to count. But one of the things that bugged me constantly, besides the fact that I had to do my hair because my camera was on, was how awful my background looked. I mean this was by far not the perfect backdrop. So I’m going to show you how I created the perfect backdrop in my office with this DIY painted accent wall mural.
Here’s What You’ll Need
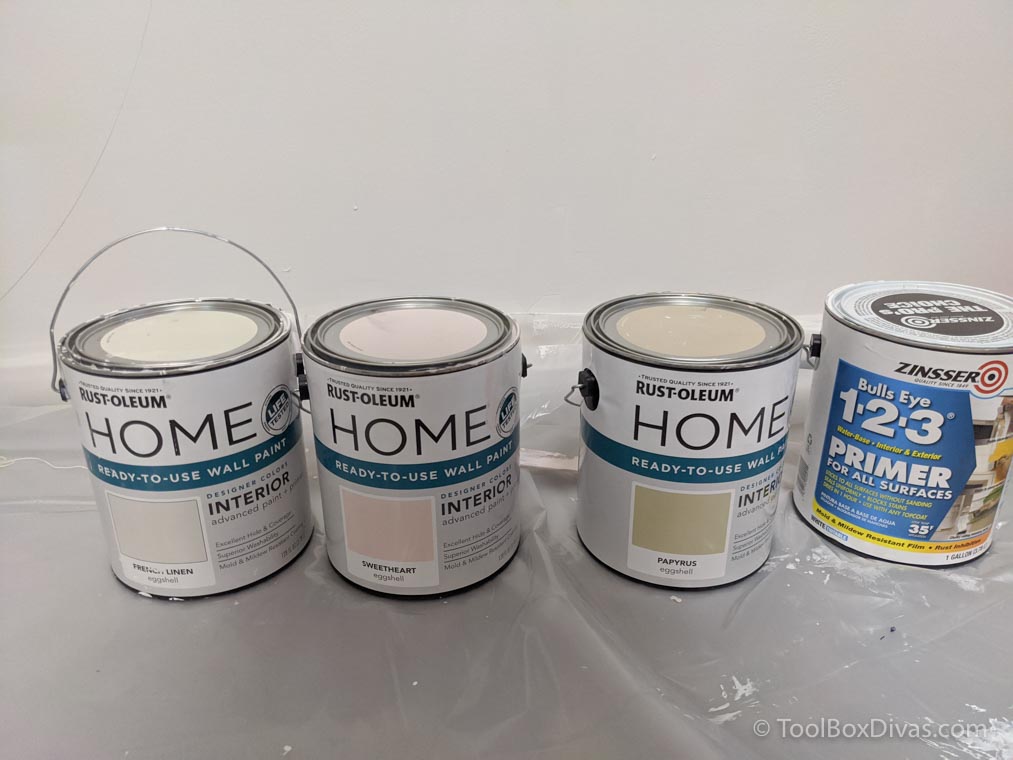
- Rust-Oleum Home 1 Gal. Eggshell French Linen Interior Wall Paint
- Rust-Oleum Home 1 Gal. Eggshell Sweetheart Interior Wall Paint
- Rust-Oleum Home 1 Gal. Eggshell Papyrus Interior Wall Paint
- Zinsser Bulls Eye 1-2-3 1 Gal. White Water-Based Interior/Exterior Primer and Sealer
- Angled paintbrush
- Paint Roller
- Paint tray
- Drop cloth or plastic
- drywall spackle
- 5 in 1 tool
- Putty knife
Wall Prep
First things first prepare your wall to accept a new coat of paint. You want to repair any holes or cracks in the wall before painting your accent wall mural.
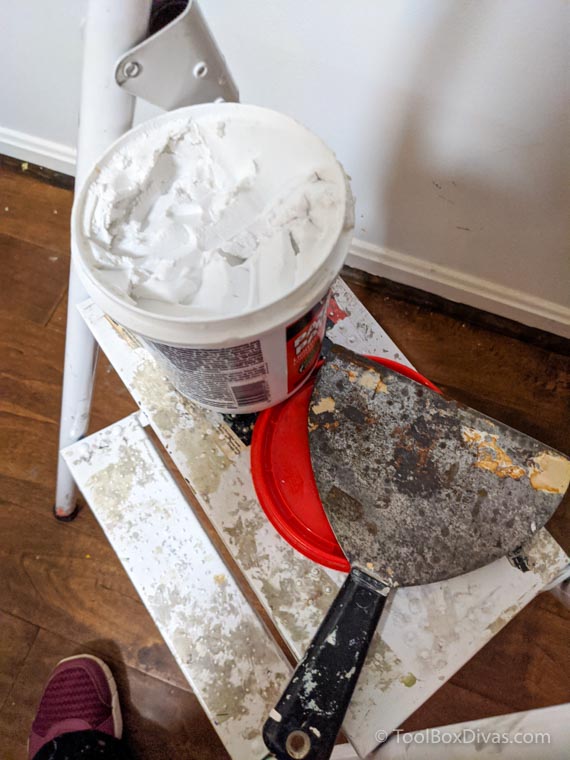
I applied a lightweight spackle to fill any holes left from the items I took down from the wall. Then gave it a light sanding. I then followed up wiping down thw wall with a slightly damp cloth to get ride any loose dust and dirt particulates.
The Paint
For my office accent wall mural, I will start by priming the wall and door with Zinsser Bulls Eye 1-2-3 1 Gal. White Water-Based Interior/Exterior Primer and Sealer. Then I’m using 3 colors to create my wall mural. The paint that I’m using is from Rust-Oleum’s new line of interior wall paint. It’s called Rust-Oleum HOME Ready-To-Use Interior Wall Paint and its sold exclusively at the Home Depot. HOME is a ready-to-use pre-mixed interior paint that comes in 12 designer colors. It’s paint and primer in one. It’s washable and mold and mildew resistant. It’s super easy to use.
Learn about other Rust-Oleum projects like How To Paint Your Bathroom Tile Floors and How to Paint Your Bathtub and Tile with these Rust-Oleum products.
OK, Let’s Paint.
1. Start by priming the wall.
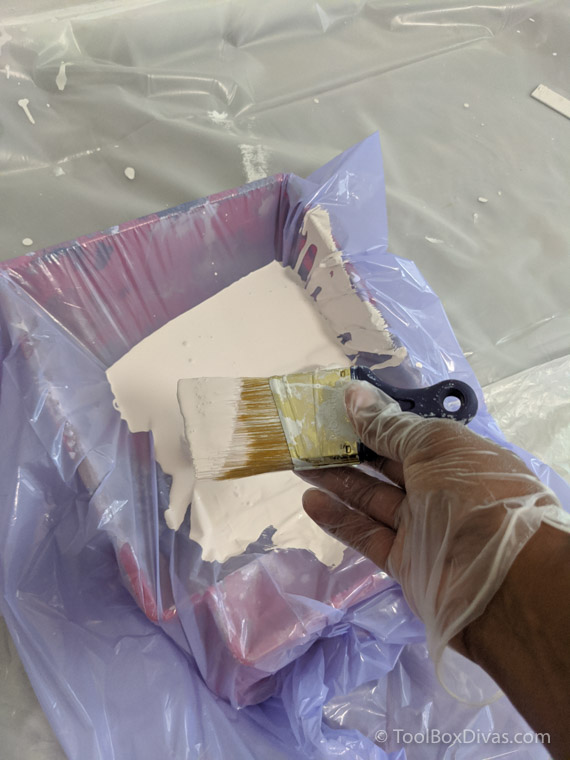
Before painting, I covered the paint tray with a regular plastic trash bag. This is the best painting hack. Cover the paint tray with a trash bag. When you’re done, clean up is as easy as inverting the bag and throwing it away. Or if you want to keep the brush from drying out you can tie the bag shut.
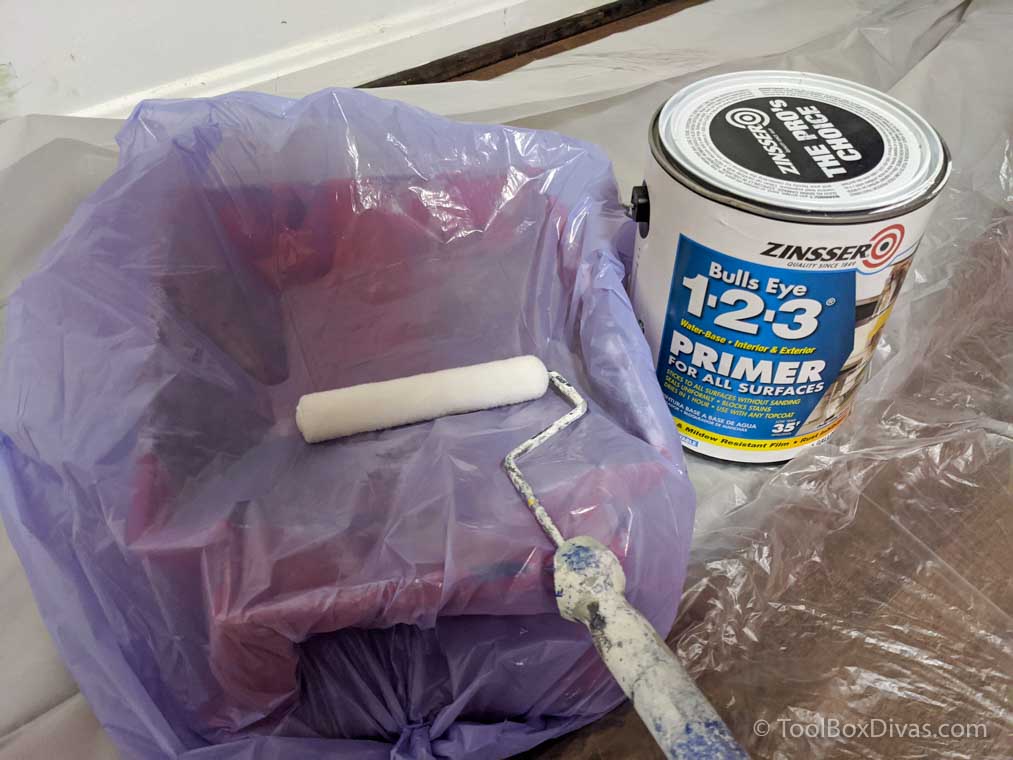
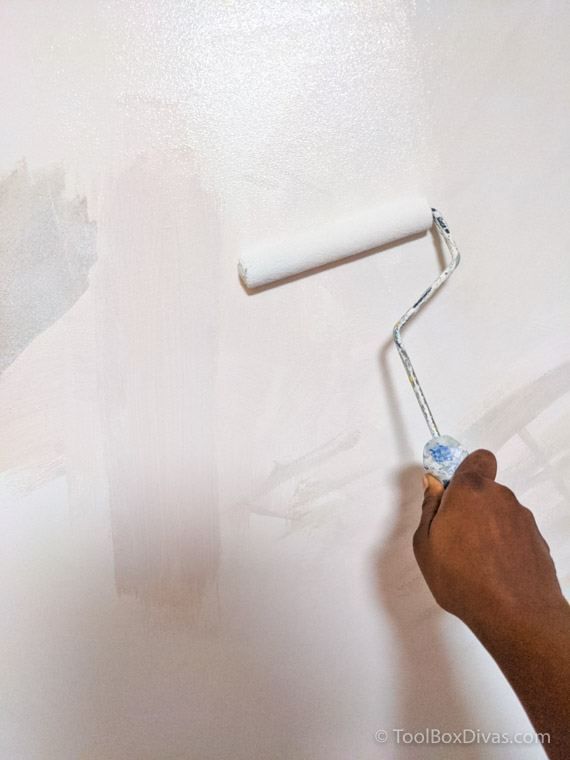
I primed the wall and door using one coat of Zinsser Bulls Eye 1-2-3 1 Gal. White Water-Based Interior/Exterior Primer and Sealer. I primed so that I could ensure an easy smooth finish.
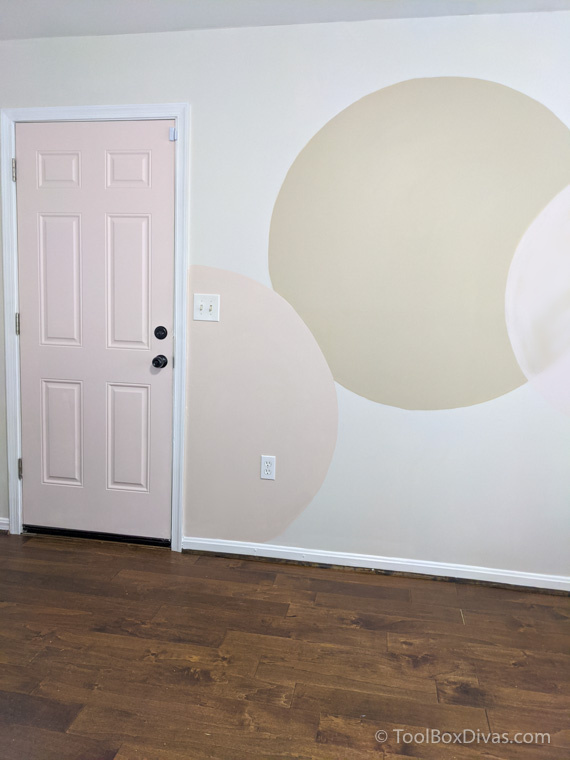
2. The Base Paint
Next I painted the entire wall with Rust-Oleum Home 1 Gal. Eggshell French Linen Interior Wall Paint. French Linen is the base color for the entire mural wall.
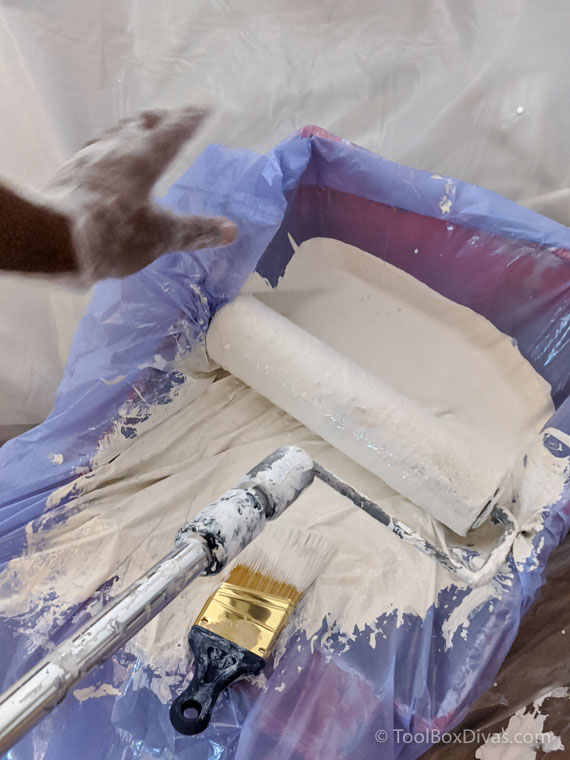
I poured the paint into the paint tray 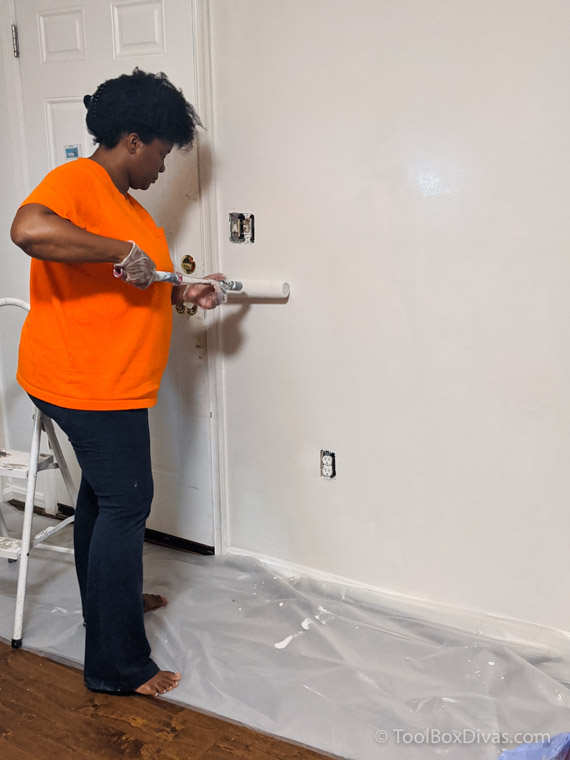
Using a paint roller, rolled the paint on to the wall 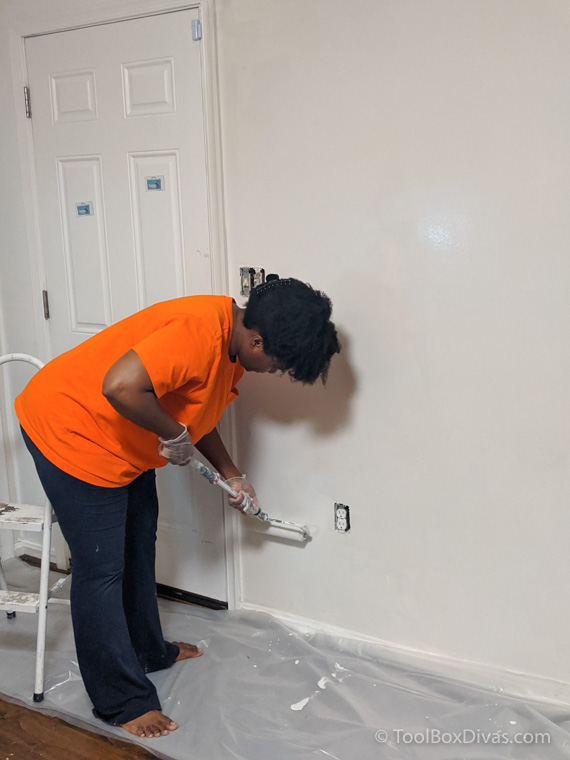
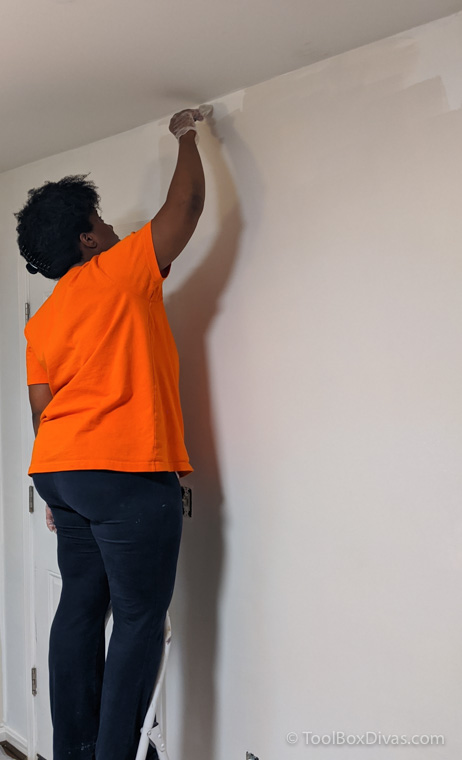
To paint along the lines where the ceiling and wall meet I used an angled brush.
3. Painting Doors
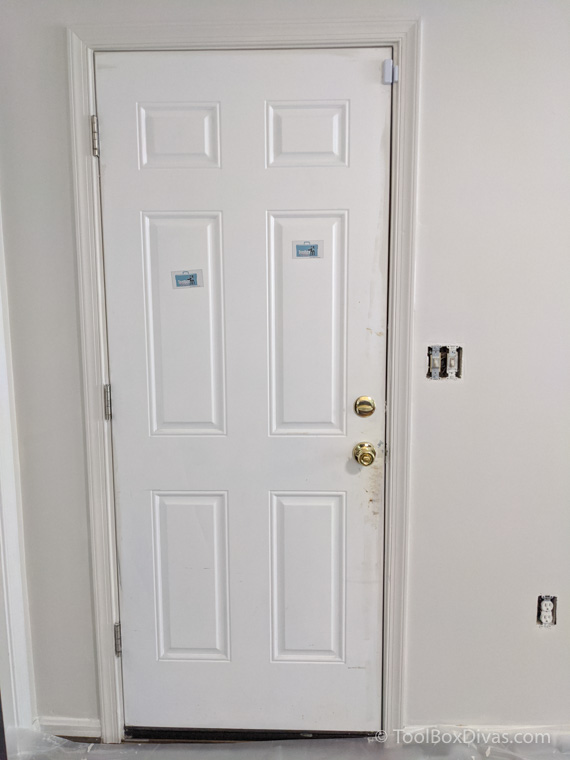
The door (Before) 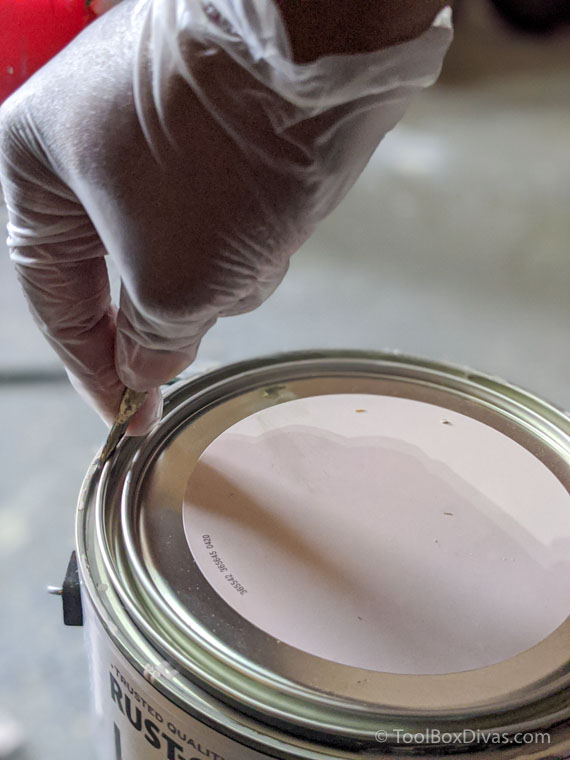
A paint can opener comes in handy. 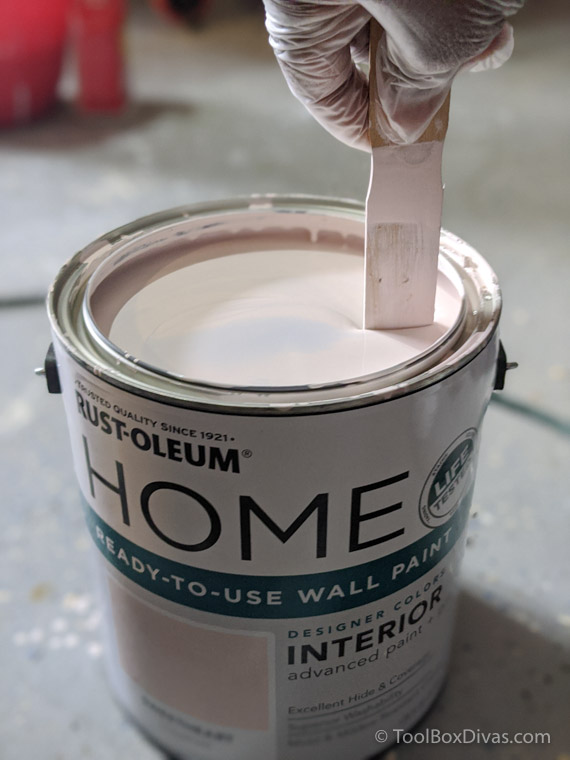
Make sure to stir the paint before use. While the paint is pre-mixed it settles over time.
The door was painted using Rust-Oleum Home 1 Gal. Eggshell Sweetheart Interior Wall Paint. The color is just like the name. Hahaha. It’s a sweet soft pink tone. When painting a panel door, start by taking an angled brush and cutting into the corners and crevices. Then Go back over the door with a smooth roller brush.
Start with and angled brush. 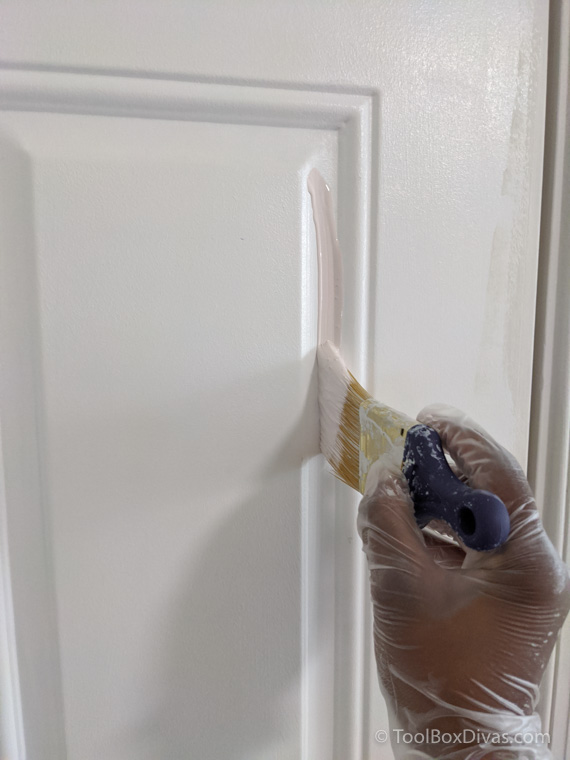
Paint the seams and corners of the door first 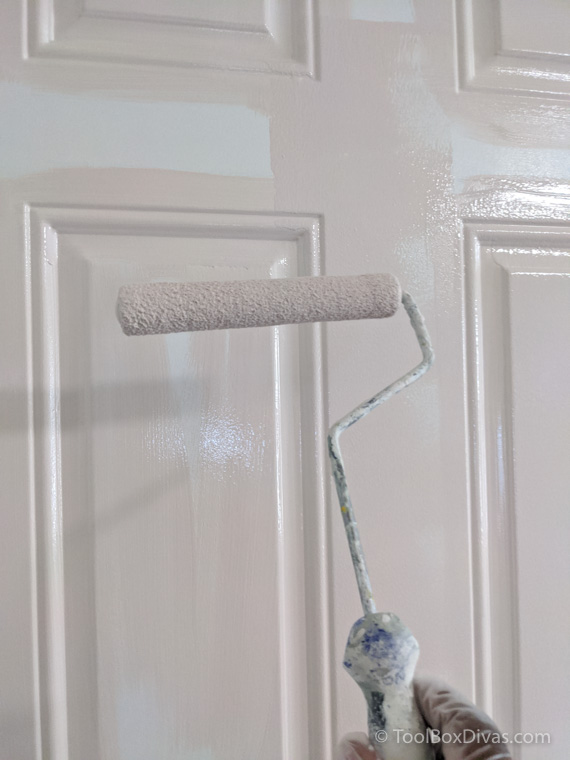
Then go over the door with a paint roller. 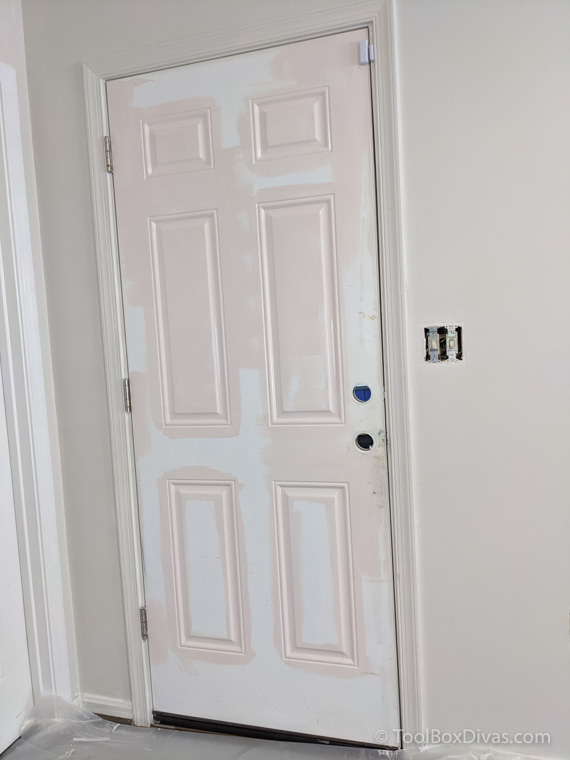
A door may require 2-3 coats for complete coverage. Wait 1 hour between coats to allow the paint to dry.
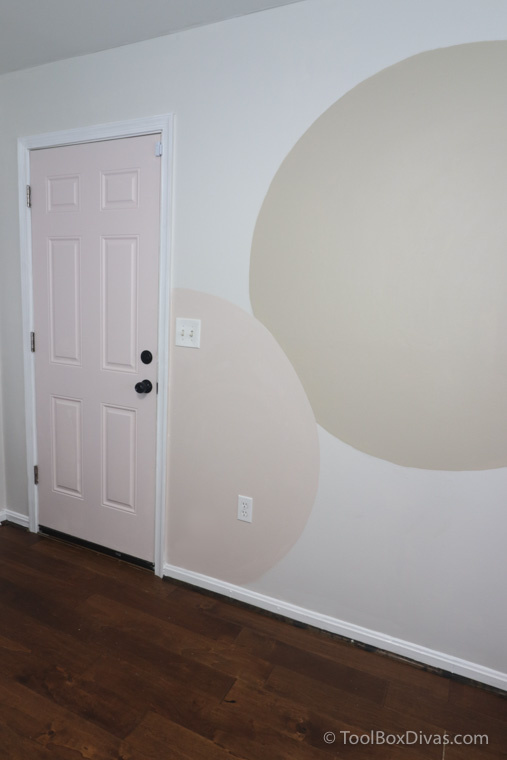
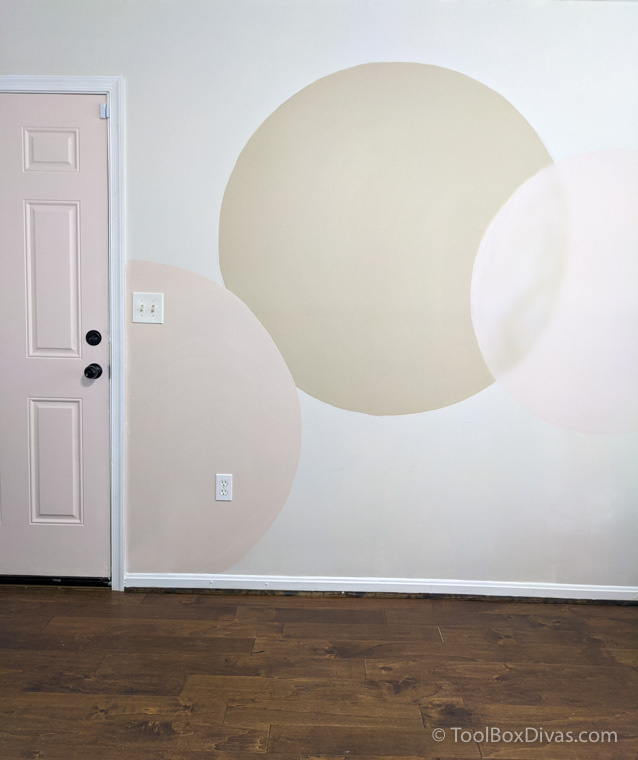
4. Sketch out your design.
Now here’s where we get super creative. For this mural I will be drawing circles, creating an abstract wall mural. I drew inspiration from a piece of artwork I have called Meditate I.

Making Circles
This is the easiest way to draw out circles. And you don’t have to fumble around with string. Simply cut on a long strip of cardboard. One one end you’ll insert a push pin to attach it to the wall, the other stick a pencil into it to trace out the line of the circle.
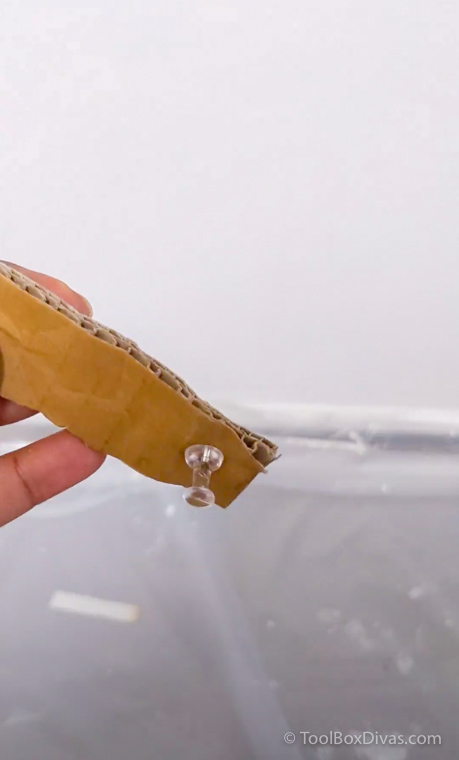
Stick a push pin in one end. 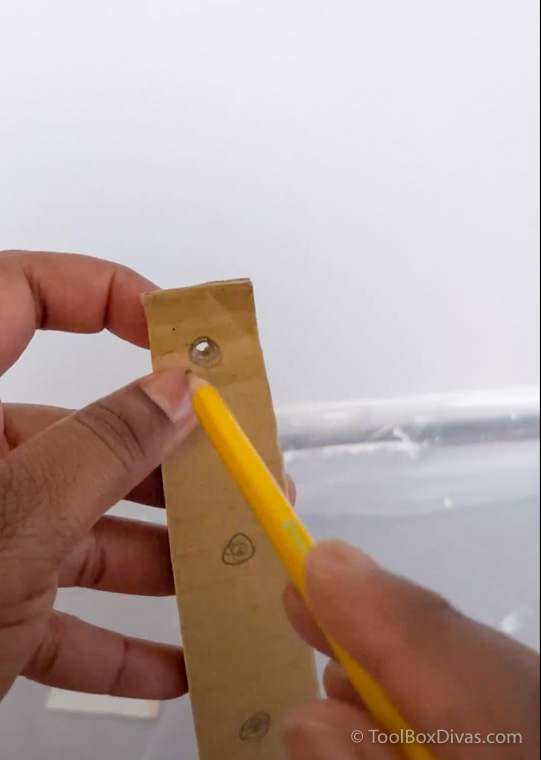
On the opposite end, mark out cirles going down the card board. 
Then using something like a nail punch a hole into the cardboard for the tip of the pencil. 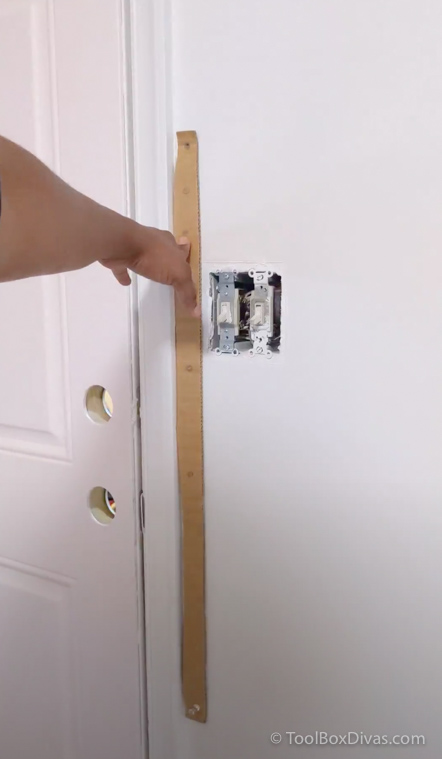
Consider the size of the circle and determine where to place the pencil. 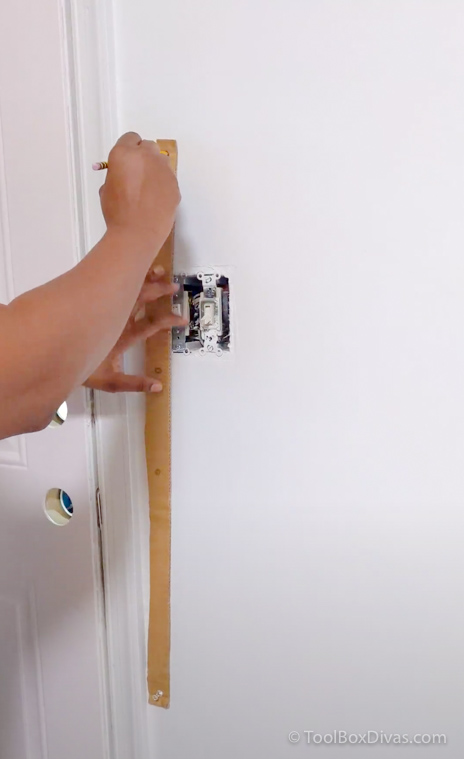
push the pin in place as the anchor. 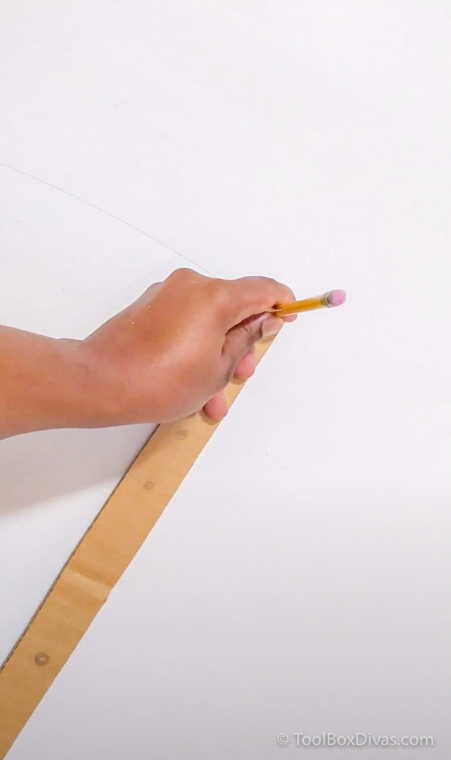
Insert a pencil and trace out your circle.
5. Paint between the lines.
Paint the circles you just drew, starting by outlining the edges of the circles. For the center and largest circle, I used Rust-Oleum Home 1 Gal. Eggshell Papyrus Interior Wall Paint. For this step, the best advice I can provide is to let the paint guide you.
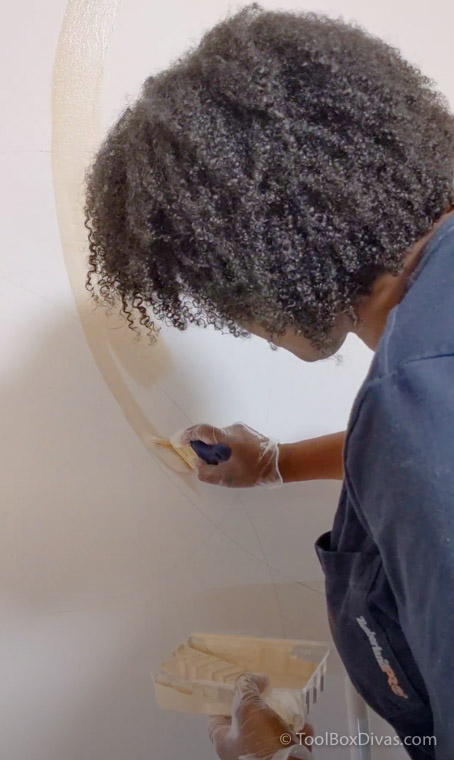
Because you can really take this as far as your heart desires. Go with how you feel. You can do 3 or 13 circles. But mix and match the colors to keep it all uniformed. If you’d like you can even mix two colors to create a color blend that perfectly compliments your color theme.
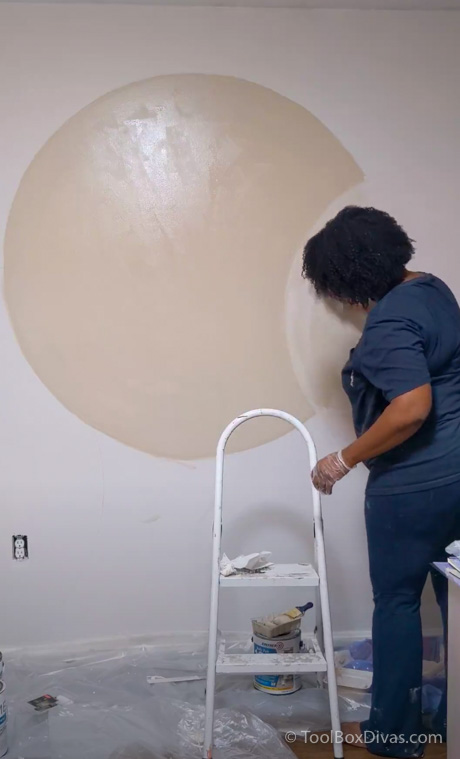
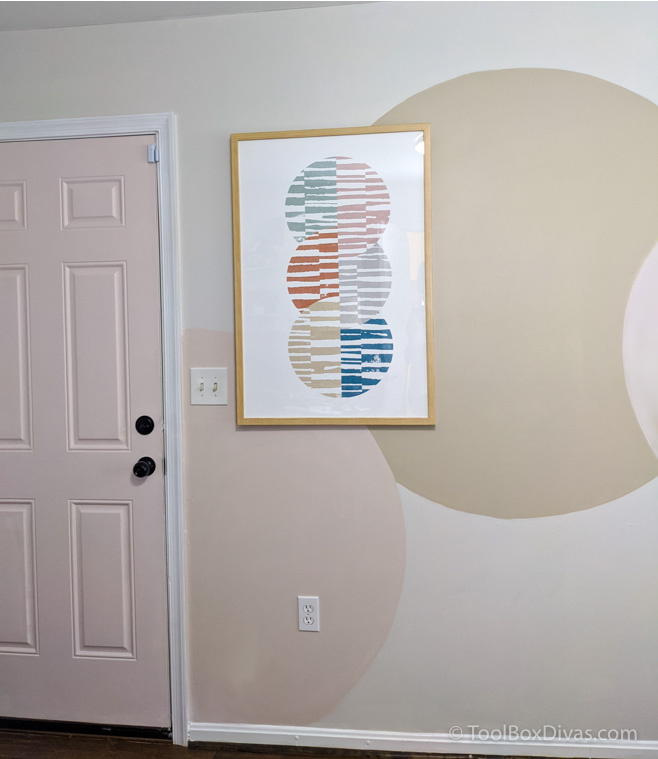
6. Finishing Touches.
Once you’ve completed your masterpiece wall mural, touch up or clean up the lines. Paint the trim and baseboard. This allows the design to pop.
Now enjoy your new wall mural.
I absolutely LOVE LOVE LOVE how my new accent wall mural turned out. The Rust-Oleum’s HOME Ready-To-Use Interior Wall Paint colors used are very muted. I went with muted tones because in my office I want to be able to concentrate. Also, I don’t want my wall to take center stage when I’m on video conference calls. After all, it’s supposed to be the backdrop. And the artwork that I had fits beautifully in the space.
Now to redo the storage along the back wall in my office.
Till Next Time. ~T.
OMG! Love this post. There are so many great tips here! I love that simple solution for drawing the circles on the wall, and that pink for the door is so cute. I’m going to try this ASAP!
So much better than I did 20 years ago!! I, too, painted circles of different sizes in my daughter’s bedroom and playroom in Lizzie McGuire-inspired colors. I never dreamed of overlapping them as your circles are done. Like I said, SO much better. Very pretty!
So glad to hear from you!!
I have seen circles and arches and
half moons painted this year on blogs.
Your directions are the best. Makes so much sense with the push pin . No string,no compass and no template.
Thanks for this post and I bet you could have a business on the side painting murals for all of the home offices in your area!!!
Thank you so much Deb! So glad you found it helpful.
888slot poker không ngừng nỗ lực để mang đến cho người chơi những ưu đãi hấp dẫn và giá trị. Các chương trình khuyến mãi đa dạng là một trong những lý do cơ bản nhất giúp chúng tôi thu hút đông đảo người đặt cược. TONY05-01