Simple $10 DIY Outdoor Side Table
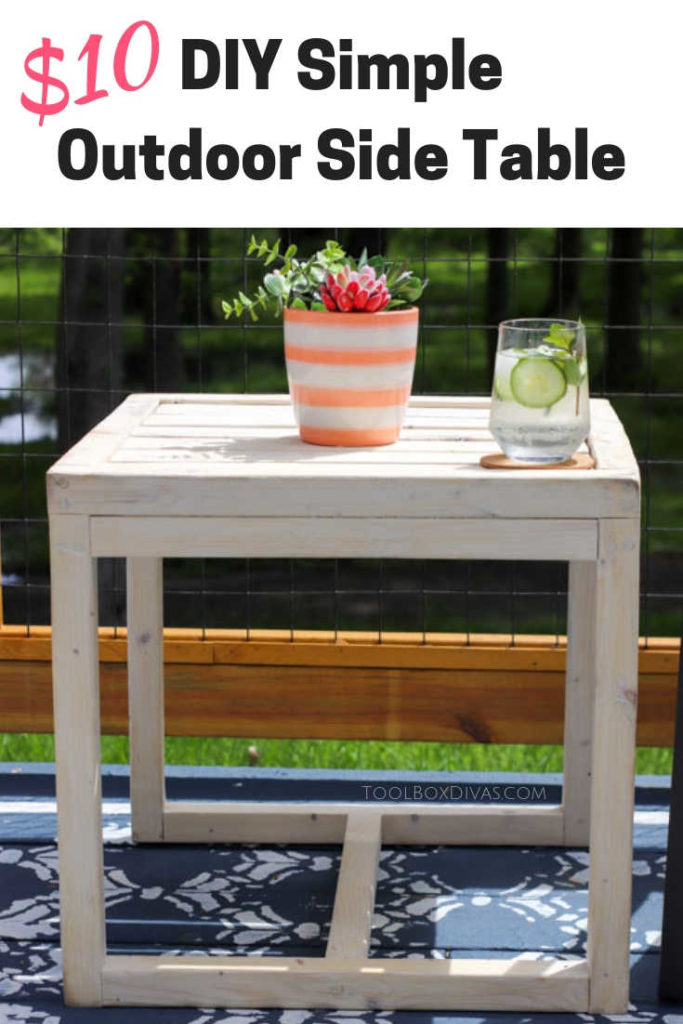
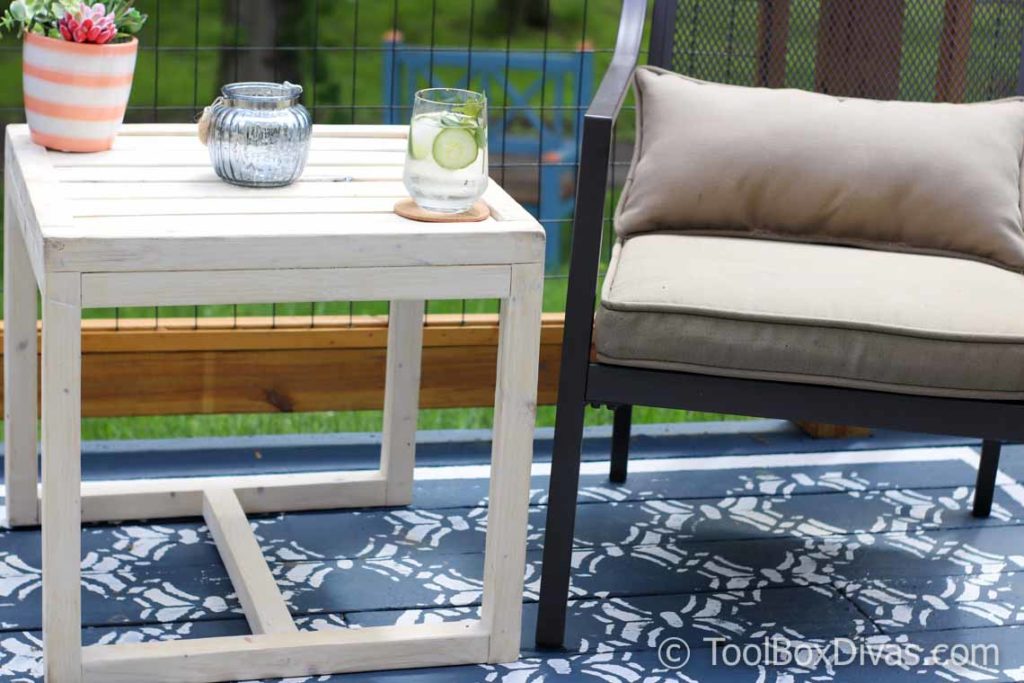
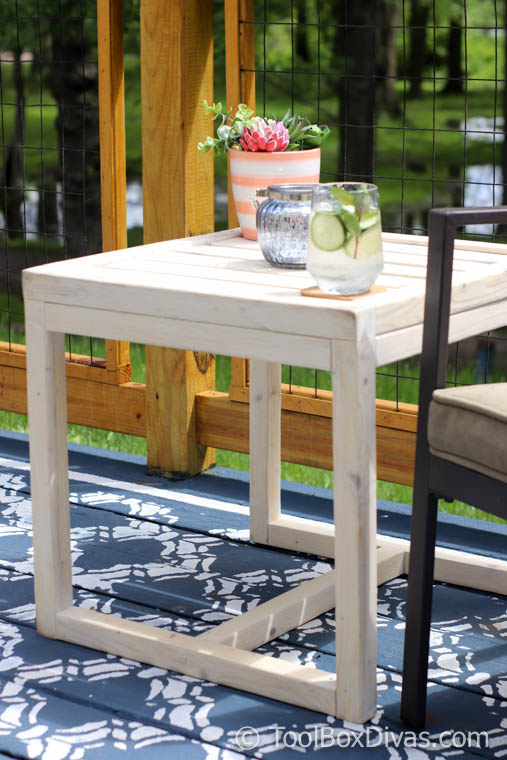
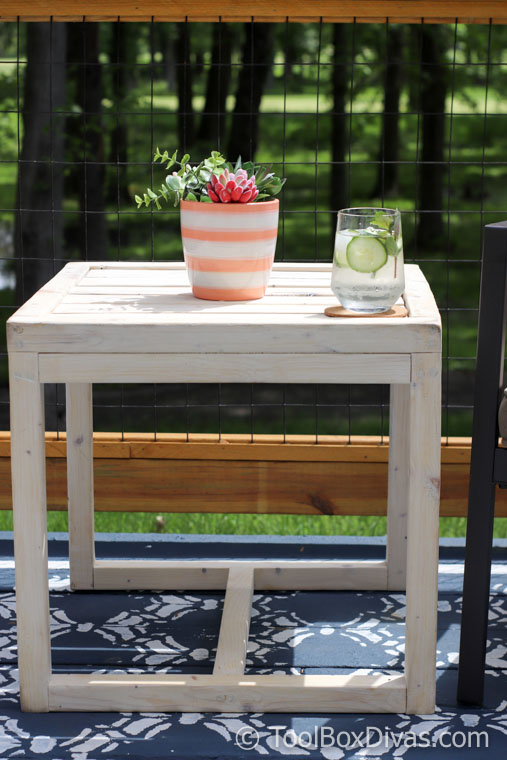
Looking for easy DIY patio furniture projects? Build a budget-friendly table for your patio or deck. Learn how to make an inexpensive accent table for your outdoor patio or deck. Build this DIY outdoor side table for around $10.
I don’t know about you, but I love being outdoors this time of year when the weather is warm. I’m always looking for inexpensive ways to decorate my outdoor space. In this article, I’m going to show you how to make a really cute side table or end table for just around $10 in materials. This awesome little DIY side table is the perfect place to set your drink or book while you enjoy your outdoor space.
GET THE PRINTABLE PLANS
Here’s what you’ll needs:
Materials
- 3- 2x2x8 boards
- 2 – 1x3x8 boards
- 2 1/2″ screws
- 1 1/4″ screws
- 4 – 1″ corner brackets
 Cut List
2×2
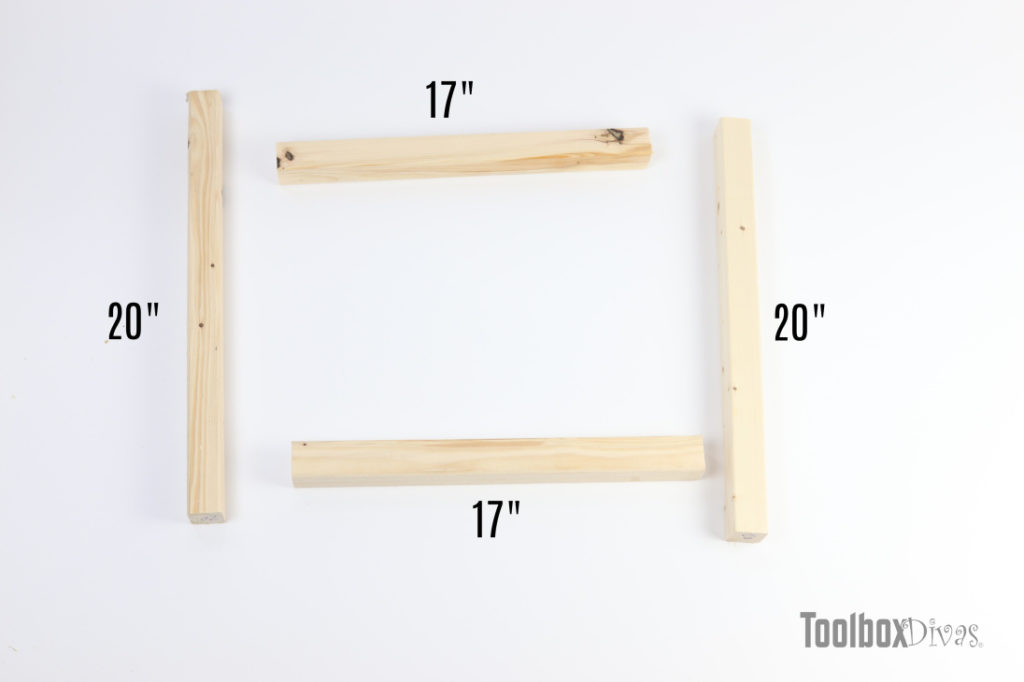
- 9 – cut to 17″
- 2 – cut to 20″
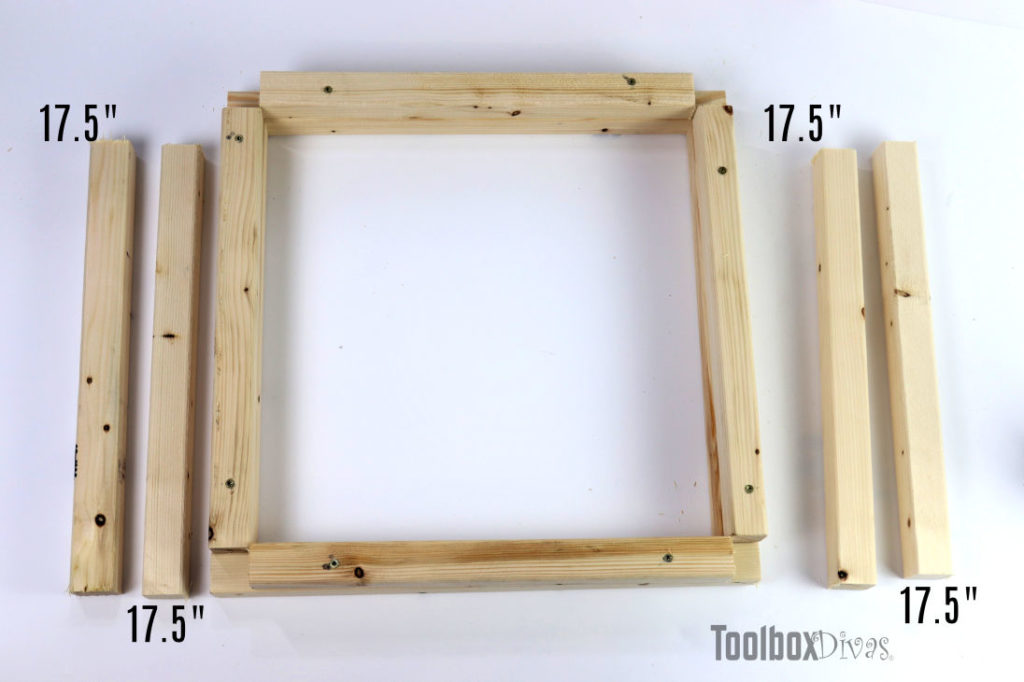
- 4- cut to 17.5″
1×3
- 6 – cut to 17″
- 2 – cut to 16.5″
Tools
 Drill/ Impact Driver
 Miter saw (These cuts can be made with a hand saw)
 Sander
OK, Let’s Get Dirty!
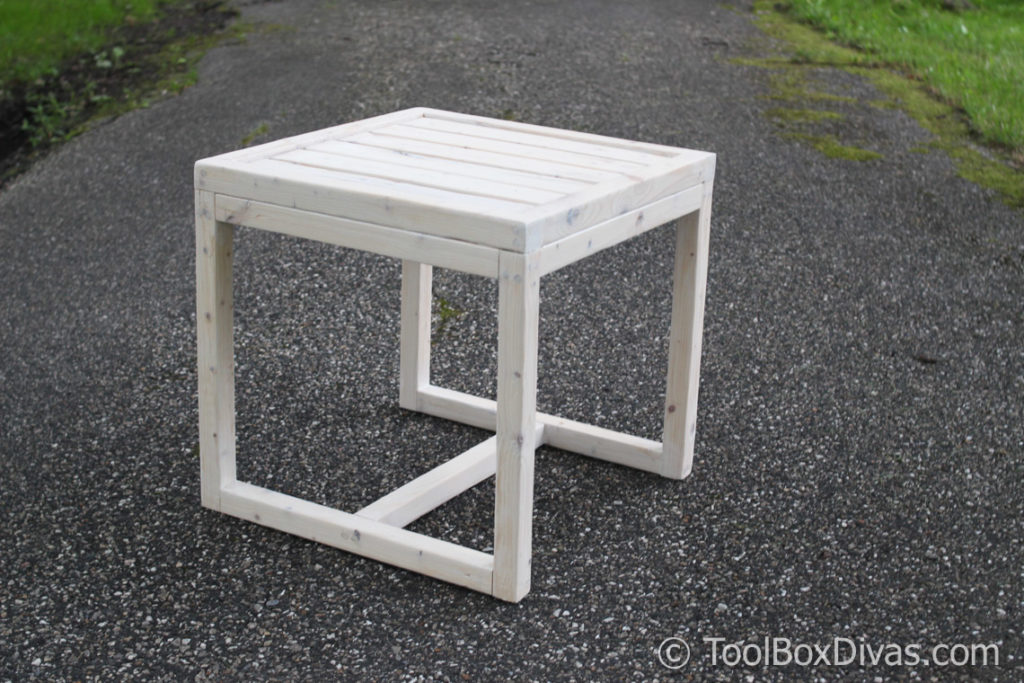
Step 1: Start with the top of the table frame.
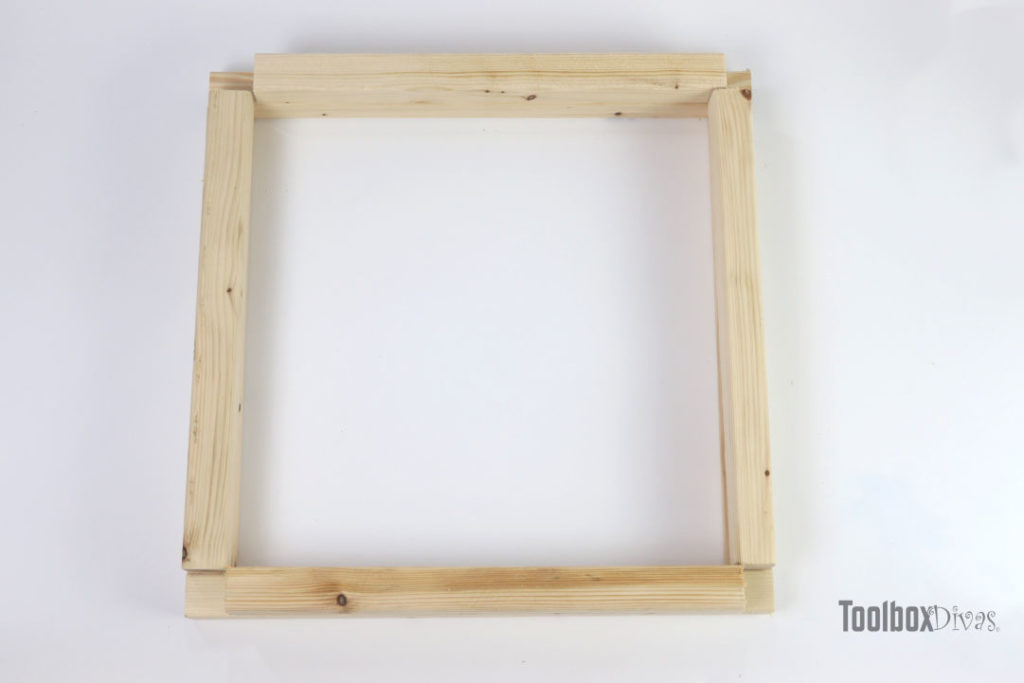
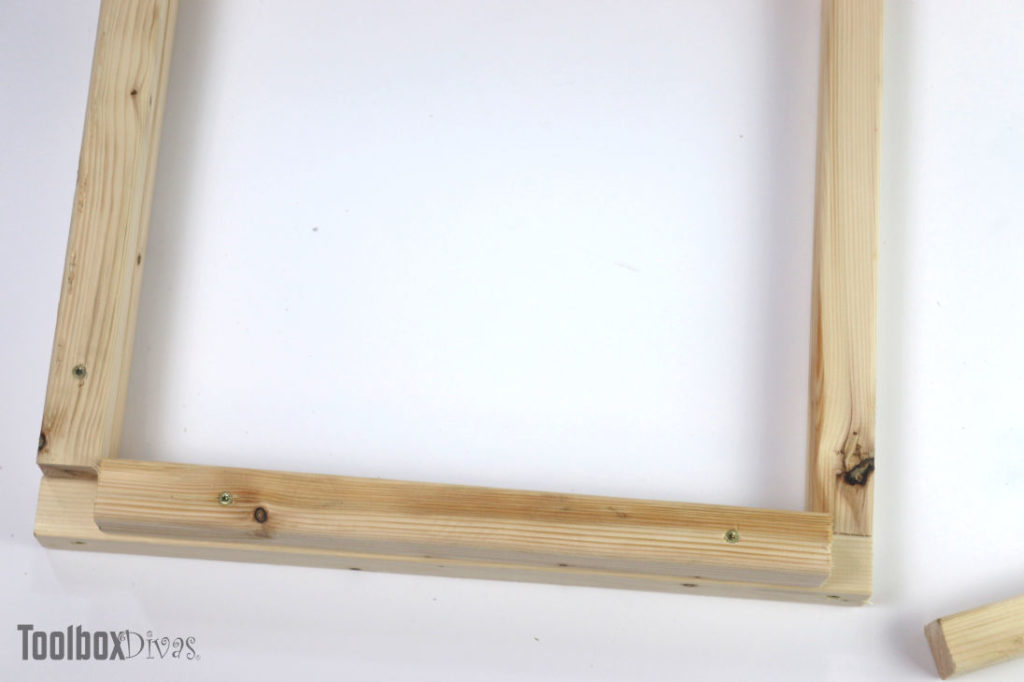
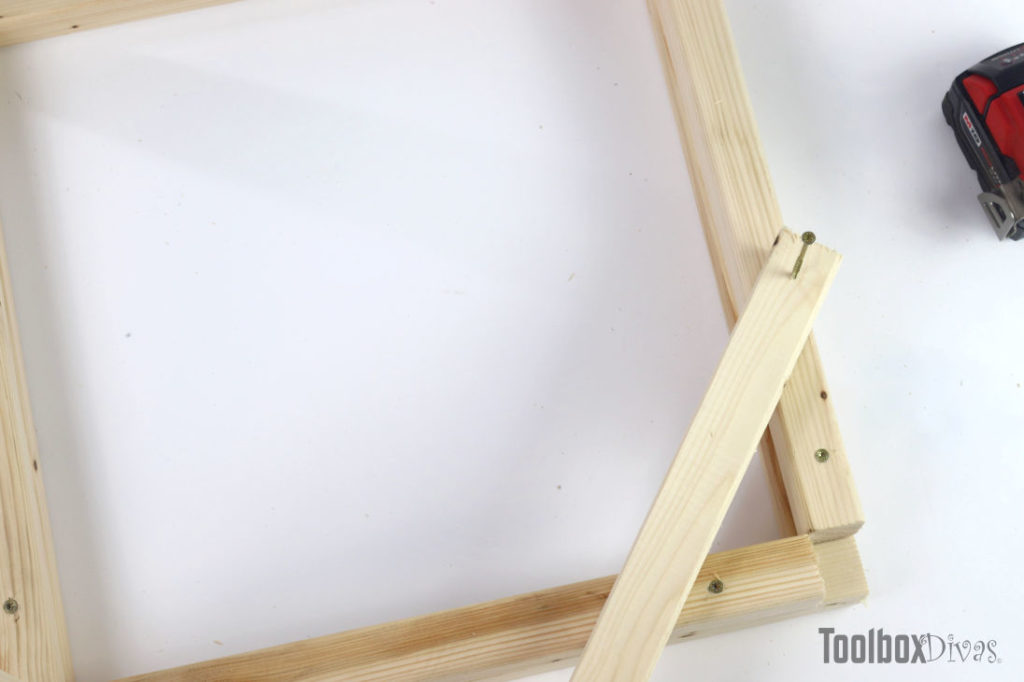
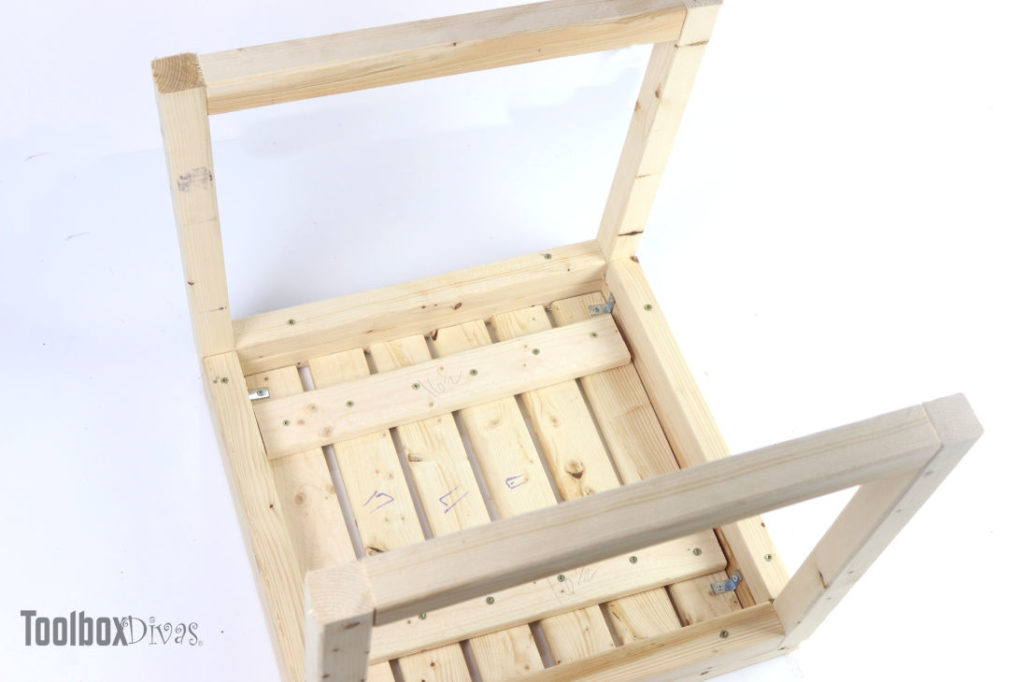
We will be building this table from the top down. Start with the top of the tabletop frame. You can connect via pocket screws or straight screws. I recommend two screws per area to ensure its all secure.
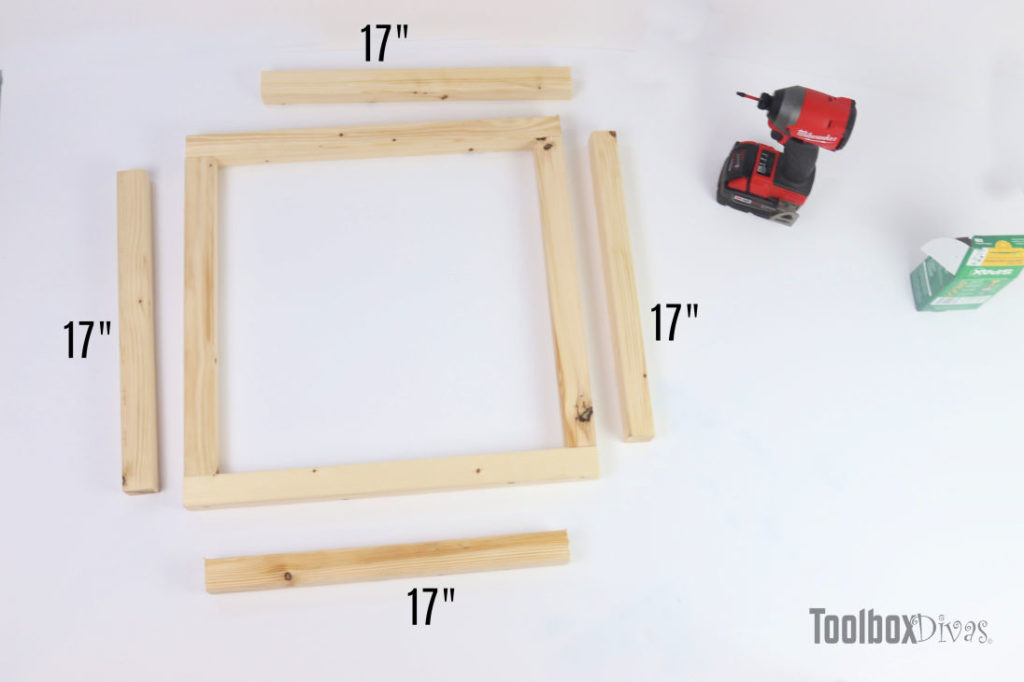
Now place the 17 inch 2x2s atop the top of the frame, leaving room in each of the corners space to place the 2×2 17.5-inch legs.
Step 2: Attach the legs.
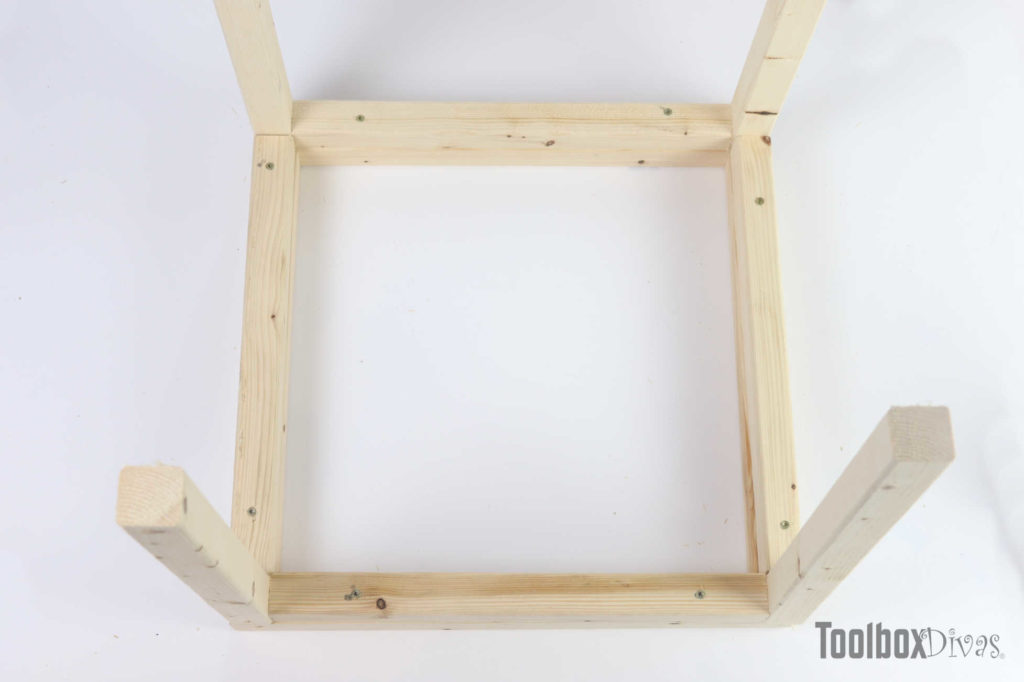
Now that the top frame of the table is complete attach the 17.5-inch legs to the tabletop frame of the side table.
I like to predrill the screw almost through the board before attaching it to the table. It makes it a little easier. Also, I recommend 2 screws per leg connection for stability.
Step 3: Create the Tabletop
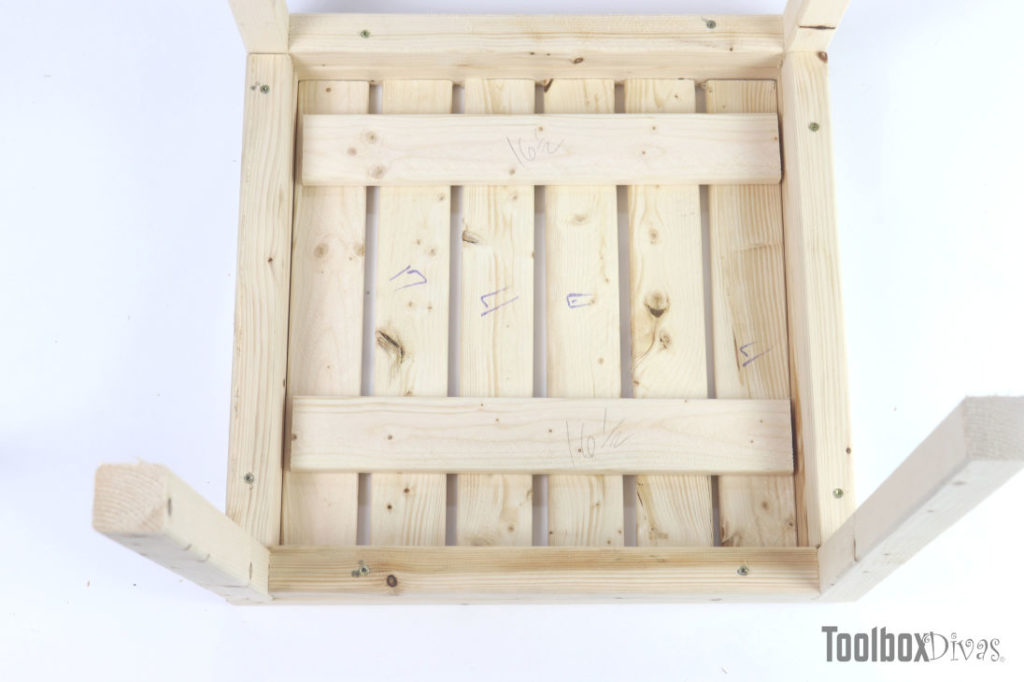
The basic frame of the table is now complete. Now assemble the table top for the side table. Space out the 17 inch 1×3 boards evenly. You can do this by eye or use a board as a spacer.
Now screw the 2- 16.5-inch board to the 17inch boards to them using the 1-1/4 in. screws. Attach the tabetop to the frame of the table using 1 in corner brackets.
To give the table top a recessed look, you can place a 1/4in. thick board under the table top as you screw the corner brackets in place.

Step 4: Add the leg supports.
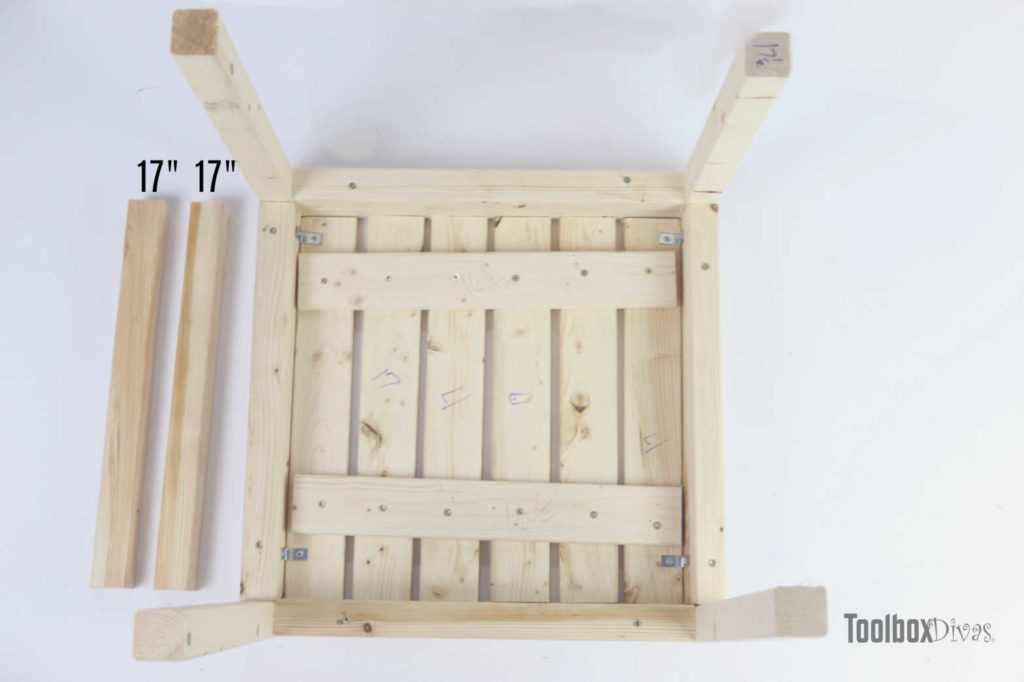
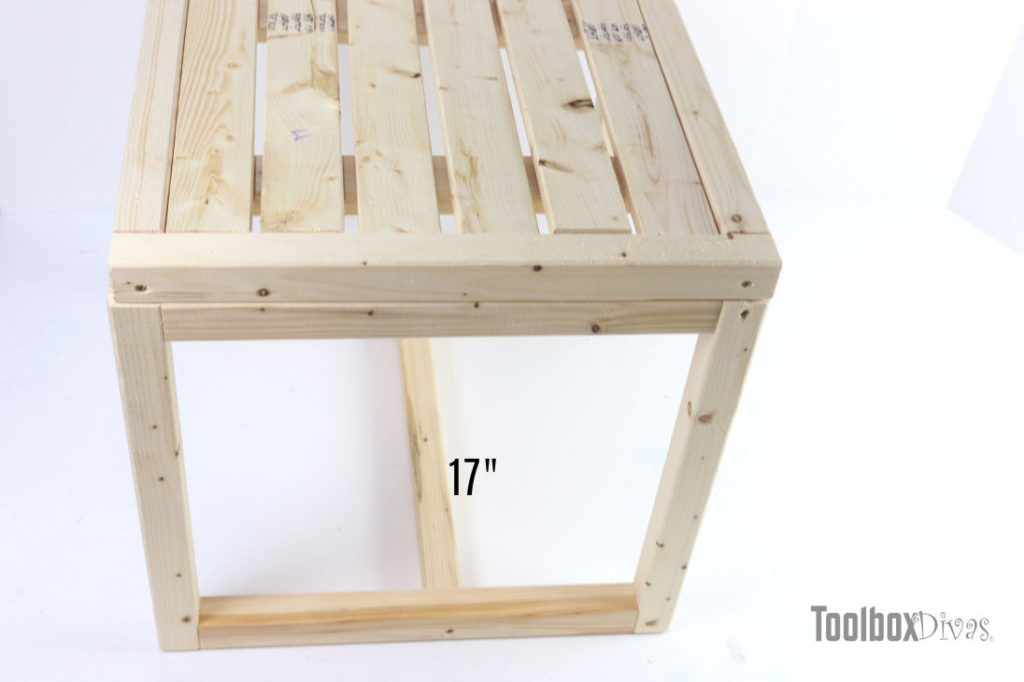
Screw 2 – 17 inch 2x2s to the bottom of opposite sides of the side table.
Again, I recommend 2 screws per side of each board for stability.
Step 5: Attach the bottom middle support.
Finally, Mark off the center of the two leg support and screw the remaining 17 inch 2×2 to the center of those boards. I recommend two screws per side.
Fill any screw holes with wood putty, sand and paint or stain to match your outdoor patio or deck.
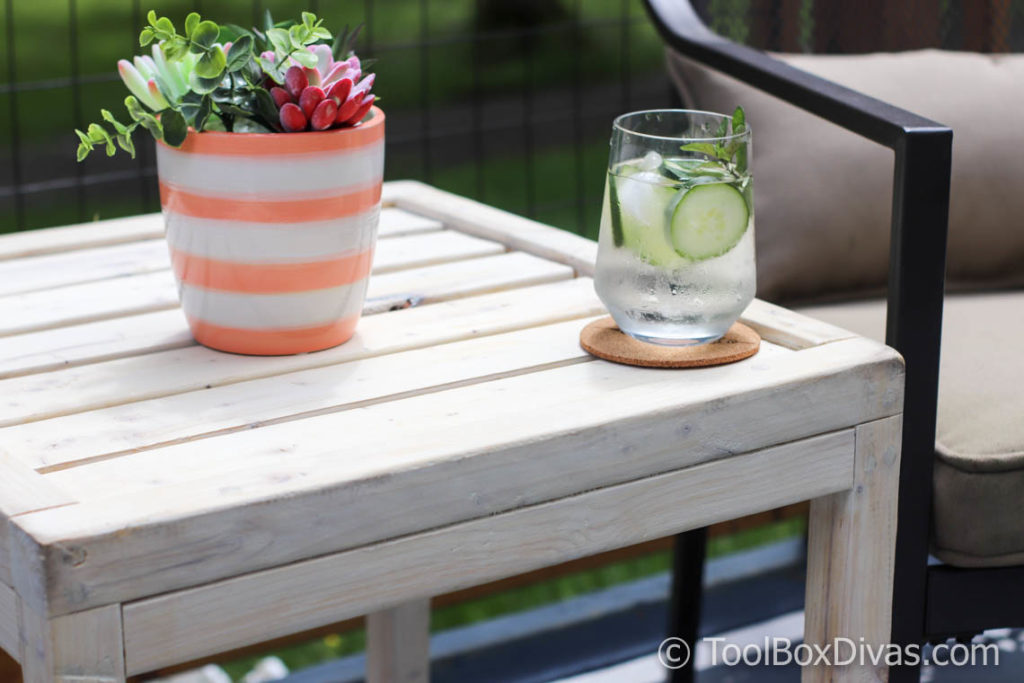
Now I have a place to set my drink. If you’re looking for easy DIY patio furniture projects, I hope this provides some inspiration. This is such an easy and simple woodworking DIY project. It’s budget friendly and I love it. Now I’m off to build a matching pair.
Till next time. ~T.




I loved the idea of making your own side table and this looks affordable and simple to make. I am surely going to try using this technique to make a side table with the help of my husband. He loves the idea of creating our own stuff as it gives a totally different feel to the house and also makes you feel accomplished and attached to the things you make. Thanks for this detailed tutorial. 🙂
Thanks so much! I’m so glad you like it.
Would this design work as a longer, taller buffet table for outdoors?
Hi! Yes however you’d need to tweek a few things like the joinery and the size and thickness of the would. But it works.
Hi! Yes, however you’d need to tweak a few things like the joinery and the size and thickness of the would. But it works.
Made 2 of these last weekend and they came out great. Going to try and take plans to make a coffee table. Thanks
WOW that’s AWESOME! I’d love to see it and share with my reader projects.