The Nuts and Bolts of Creating a Wooden Christmas Tree
I am big on recycling and repurposing things. I’m always willing to think outside the box. Traditional Christmas trees are naturally beautiful and smell amazing. And yes, I do opt for a real tree every year. But this  year I wanted to add something that was a little different to my Christmas decorations. I had been seeing pictures online of these crazy expensive “stick trees” that cost way to much. I mean I loved the concept, just not the price. I guess this year I was in a bit of a Charlie Brown spirit given the new Peanuts movie. I also wanted to incorporate some metal into the make of the tree to give it an industrial flare. In keeping with my “use what you’ve got” philosophy, I decided to accept the Scrap wood challenge by SawdustGirl, Sandra, in which you use only scrap wood to build a project.
So I created a wooden tree using scrap wood from my workshop and nuts and bolts. Here’s what I did.
Supplies
- 3/8-in Threaded Rod 2 Feet
- 3 – 1x2x8
- 2×2
- 50 – 3/8-in Washers
- 30 – 3/8-in – 16 Hex Nuts
- 20 – 13/16 Screw eyes (optional)
- Wood stain or paint
- 1 1/4″ Construction screws
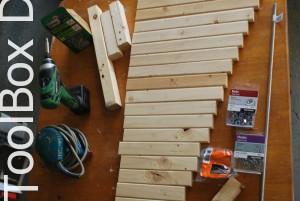
Cut List
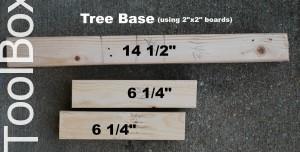
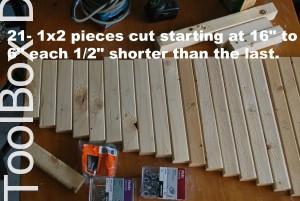
Ok Let’s get dirty!
Start by cutting the 1×2 pieces for the branches and the 2×2 for the base of the tree.
Next Sand the pieces using a medium followed by a fine sanding paper. The last thing you want is a Christmas tree that gives splinters.
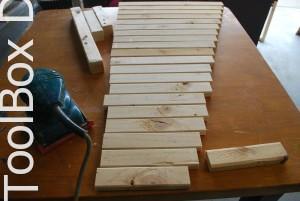
Stain the pieces the color of choice.
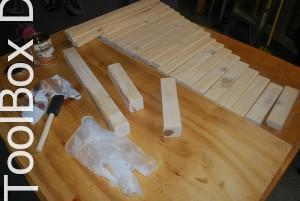
To speed up the drying process I spray the stained wood with a clear shellac.
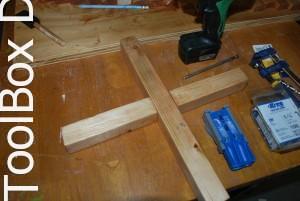
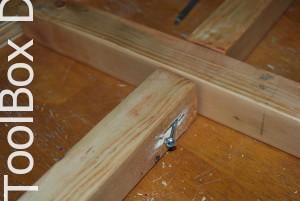 First assemble the base of the tree using the 2×2 pieces. Using pocket screws and wood glue attach the two smaller 2×2 pieces to the larger central piece.
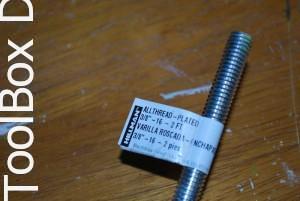
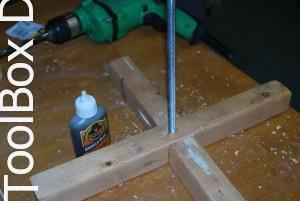 Next drill a hole about and inch deep into the center to the base for the insertion of the All Thread. Use a drill bit wide enough to secure fit the all thread without leaving it loose when screwing it down into the base. For additional strength and support use Gorilla Glue on the thread and in the hole.
Allow time for the glue to dry securing all thread into the base of the tree. While its drying drill a hole at the center of each 1×2 branch piece.
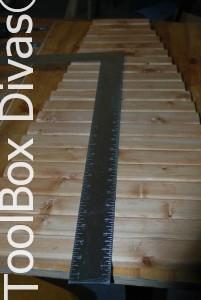
Now here’s where patience comes into play…. starting with the largest piece of 1×2 (16-in) place it on the all thread. follow it with the washer then hex nut then another washer. Repeat with the next largest piece of 1×2 (15 1/2-in.)
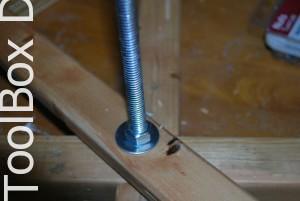
Now this process drove me literally insane. I kept thinking I’m glad I didn’t get an all thread that was larger than 2 feet. Screw the nut to each section so that the “branch” is snug but still able to be moved by hand.
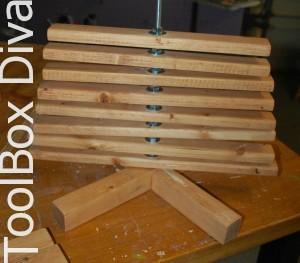
I had to take a few breaks so not to cramp my hands.
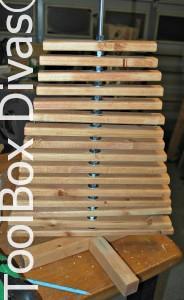
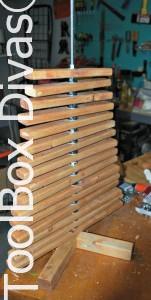
But once it once I’d finished I celebrated with a huge glass of eggnog (maybe it was spiked…maybe it wasn’t).
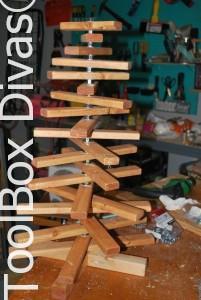
But move the 1×2 pieces to reflect branches. Dress with your favorite ornaments and flame-less candles and enjoy your tree. 






Wow this is awesome! I loved the idea and the tutorial! I think I’m going for wood shopping this Weekend! Great job!
Thank you so much! I’m so glad you enjoyed it. I love going to reclaimed center for old wood that might be a little cheaper than your big box vendor, but contains so much character. Please share feel free to share your experience and completed projects anytime 🙂
Cute idea. I’ll be making it this weekend. I’d also like to make the squirrel, any ideas?
OH that’s Fantastic! Please share pics with me once its done on Twitter or Instagram @Toolboxdivas. I actually got the squirrel from target. I’m not sure how you would make it. But it was located in the ornament section.
Hi there
Am looking to make one 1.2m tall, any suggestions?