Must See DIY Patio Makeover with Pergola
Create an inviting outdoor space with a modern pergola and inexpensive patio decor ideas.
Hey guys! I am so excited to share this project with you. My friend had always envisioned his outdoor space as a cozy outdoor retreat with some sort of shade structure, a sitting area and lush with vegetation. Well, he had the lush vegetation down. His backyard was beautifully green, filled with all sorts of flowers blooming and edible plants like grapes and herbs. However as for the shade and sitting arrangement…that could use a lot of work. I’m going to show you how we transformed his backyard into something more than just a place for the plants.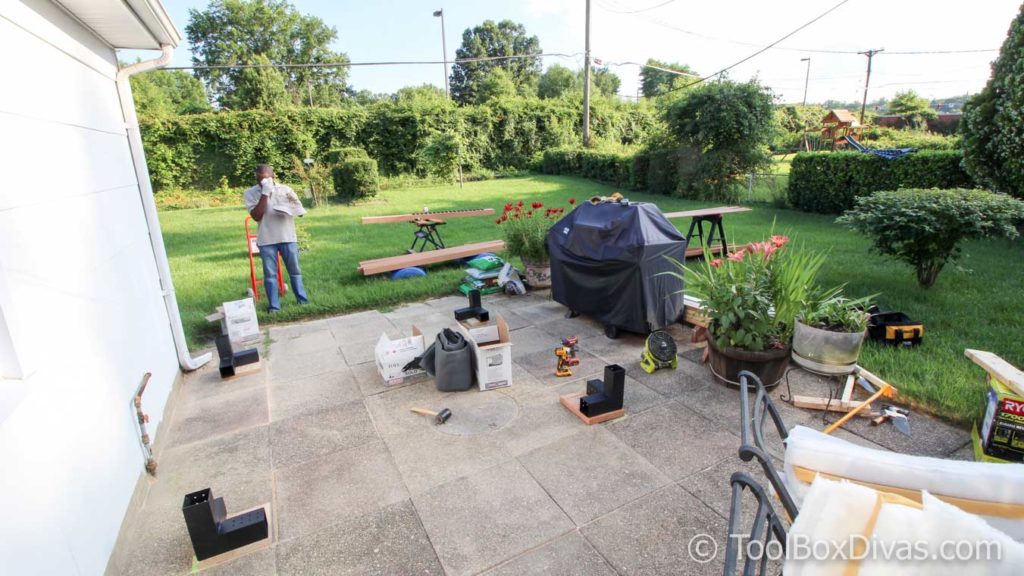
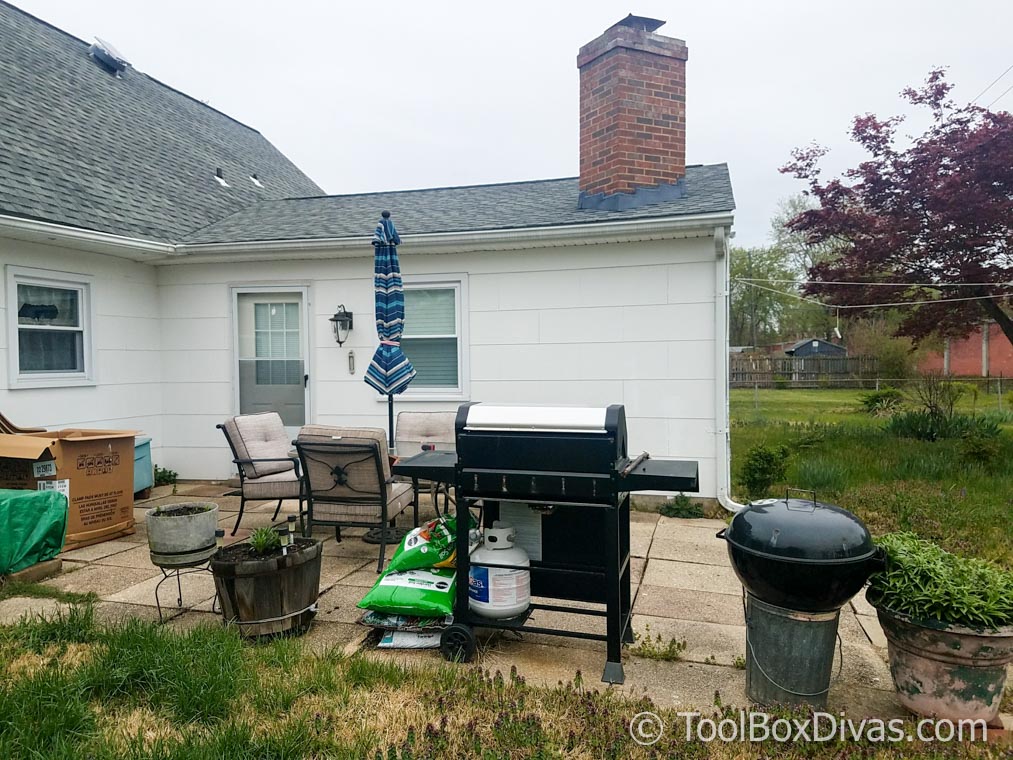
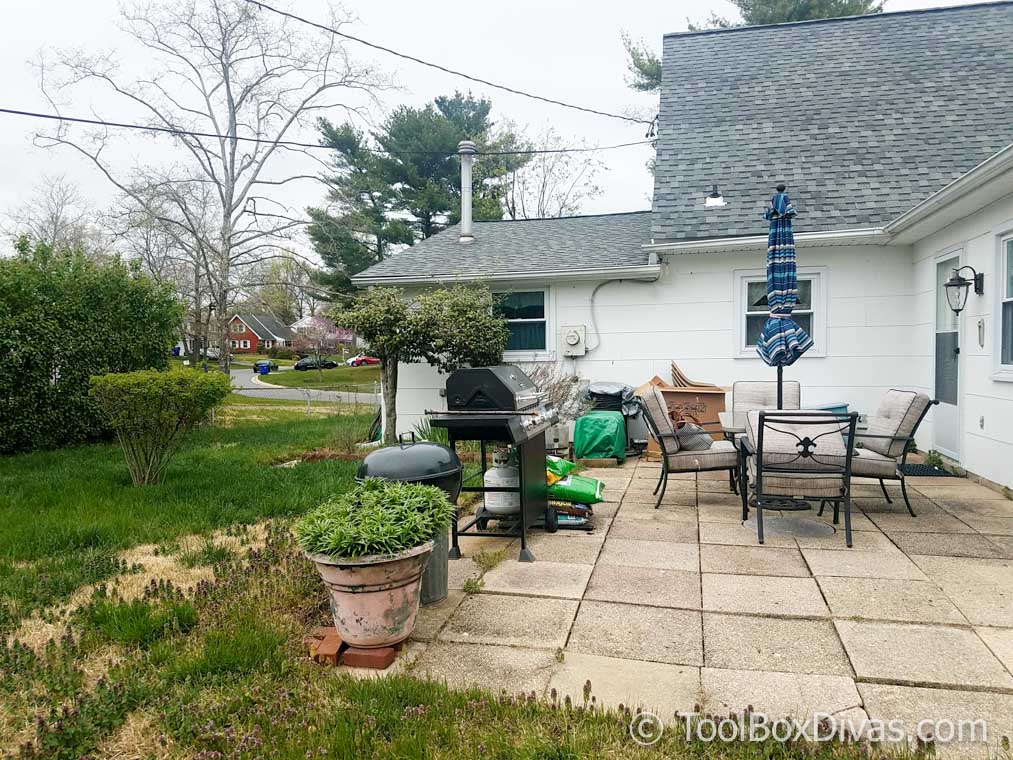
Before
When my good friend, Phillip, asked me for help, his backyard patio was gray and dismal. Ya’ll, It had seen better days. I wish I had pictures of the plastic lawn chairs that he originally had along with the table. LOL. But the patio pavers were all uneven and worn. The cushions on the “new” chairs needed to be burned and during the middle of the day, there was no escaping the blistering sun. 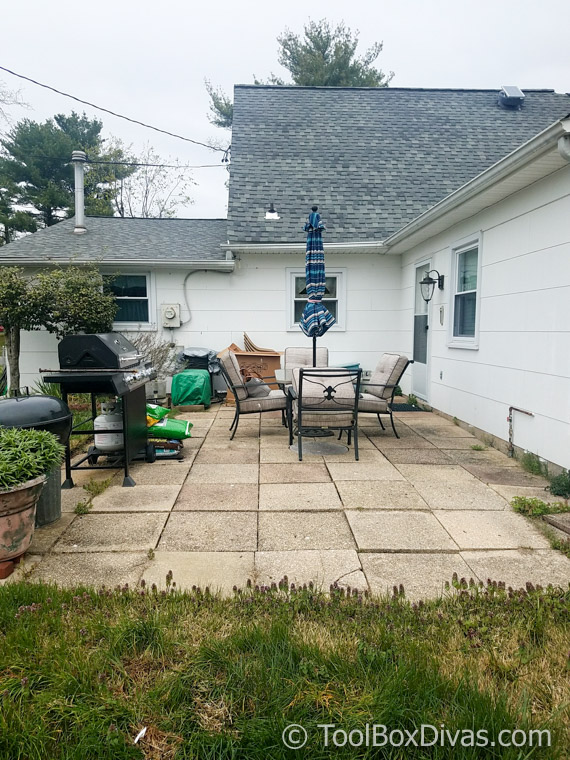
He needed help, to say the least. Or at least some help getting started. So I came up with a plan and this is what we did in the middle of a heat wave in the Northeast.
Prepare the foundation.
We started by leveling the old sunken patio pavers. This was a task in itself because these pavers were so heavy and the days were soo hot. (Click HERE for a complete step by step process on how to level sunken patio pavers.)
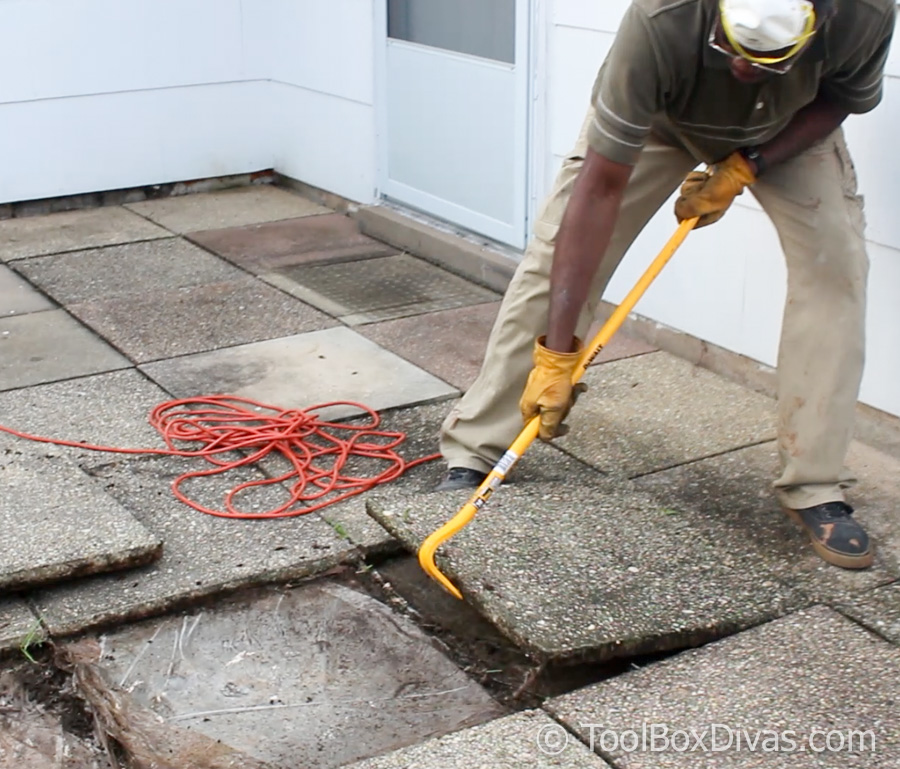
Before we could put up the pergola we had to ensure that the pavers were all level.
Add value and define the space.
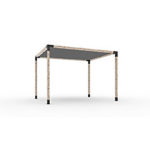
Phillip had always envisioned a pergola in the backyard over the patio. So to define the space and provide some shade over the sitting area we put together a pergola using a modular kit by TOJAGRID. TOJAGRID is a modern kit of brackets that can be used to create a customizable pergola or hammock. We received the TOJAGRID system from the company to review.
This pergola is advertised as a system that can be assembled in 45 minutes to an hour. However, the installation process was a lot longer for us. In fact, it took us nearly 3 hours to assemble the pergola because the 4x4s did not slide into the brackets with ease. We had to use a mallet to drive the 4x4s into each point of the brackets.
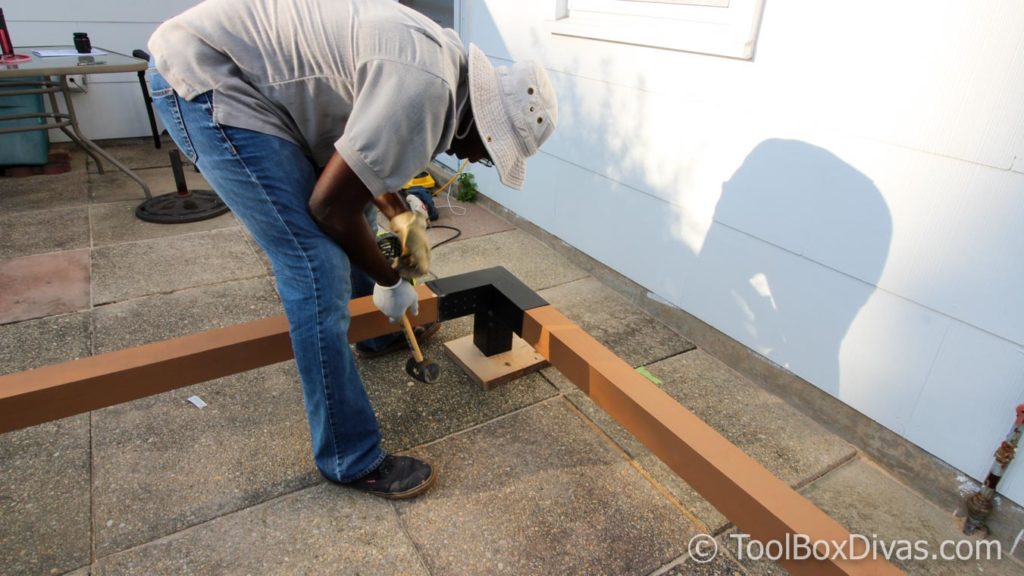
We are not sure is this is something that typically occurs. But there could have been various factors that lead to the resistance of the posts from being inserted into the brackets. We stained the posts ahead of assembling the pergola. So it is possible that this could have lead to our inability to easily insert the posts into the brackets, increasing the friction. But this system is meant to be used with 4×4 posts. We used 4×4 pine that we’d allowed to dry for 4 weeks.
Assembling the pergola
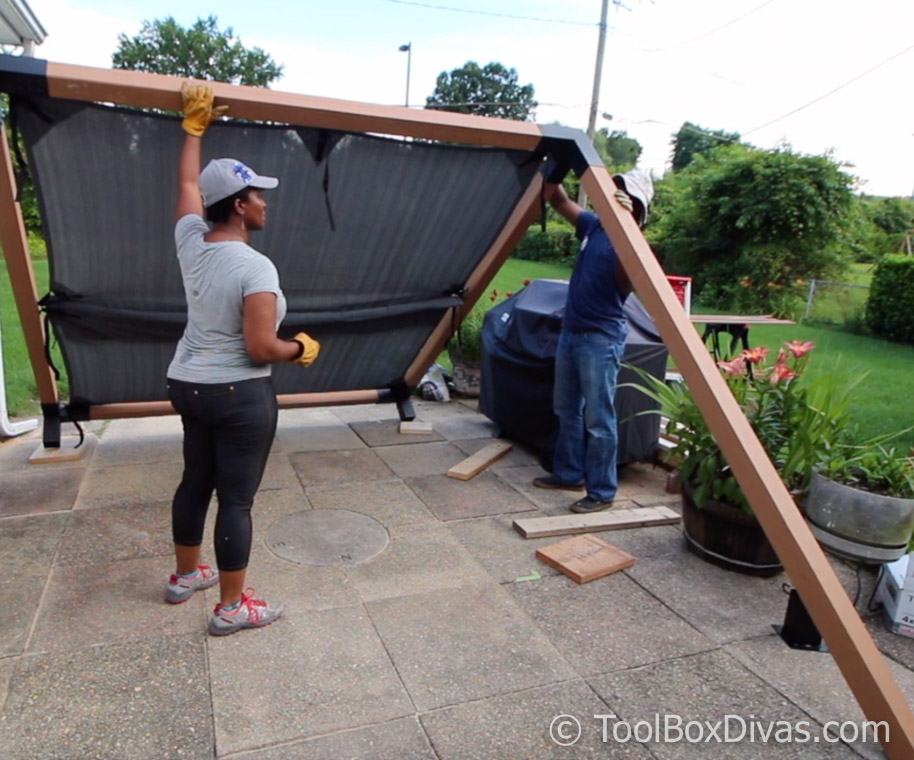
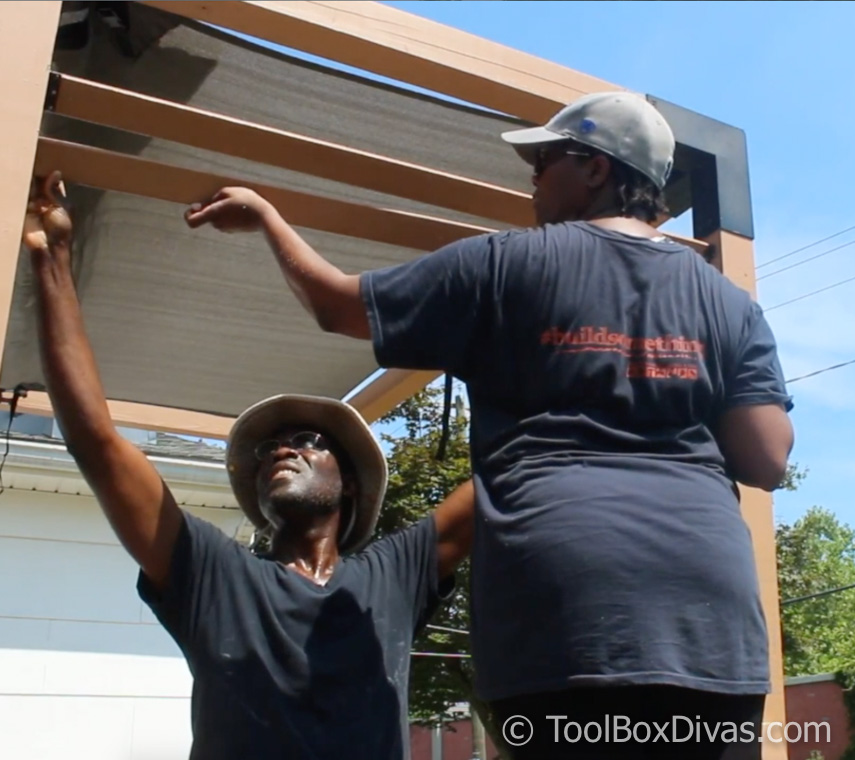
When we initially saw the ad for this pergola system we say that there were only 2 people involved in constructing it. It looked fairly simple. We go into the assembly and quickly realized we should have had my little brother on hand for an extra pair of hands. It was very challenging holding this up and inserting the posts into the brackets, largely because they didn’t just slide into the brackets like we expected. 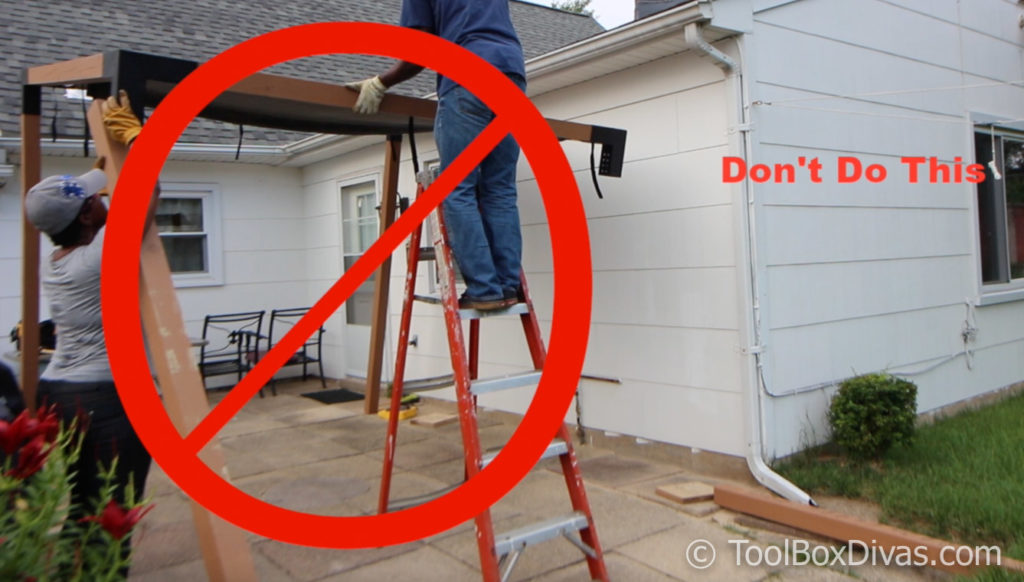
So If I were to assemble this pergola again using these brackets I would definitely use 3 to 4 people. Once we had the pergola in place we anchored it in place by filling a hole with concrete under each post and inserted 2 threaded rods per side.
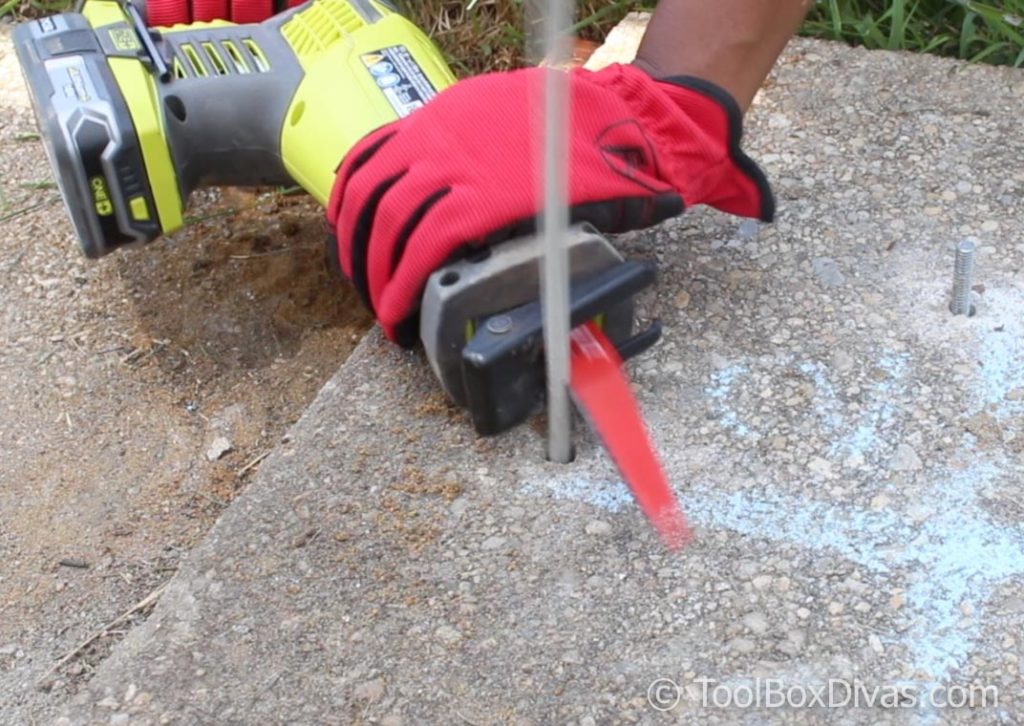
We had to make sure the structure could withstand at least 50 MPH wind gusts. The TOJAGRID is labeled as a temporary structure that can be put up and taken down for use. But we were going to keep this up permanently in the backyard. So it had to be secure to pass county inspection.
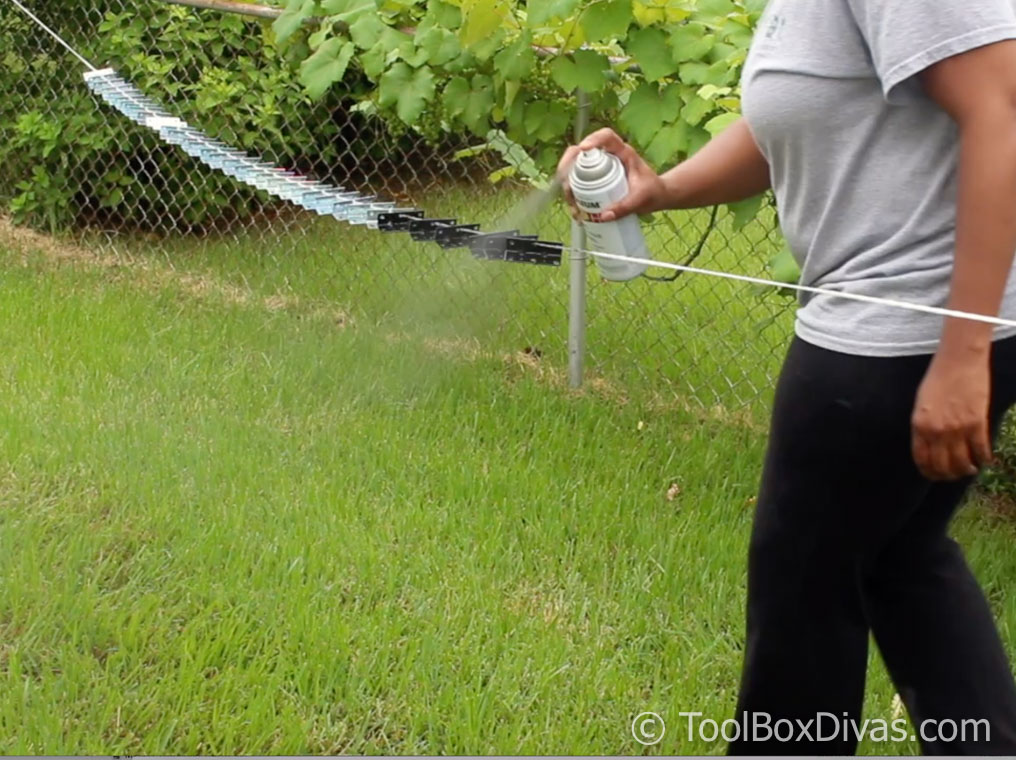
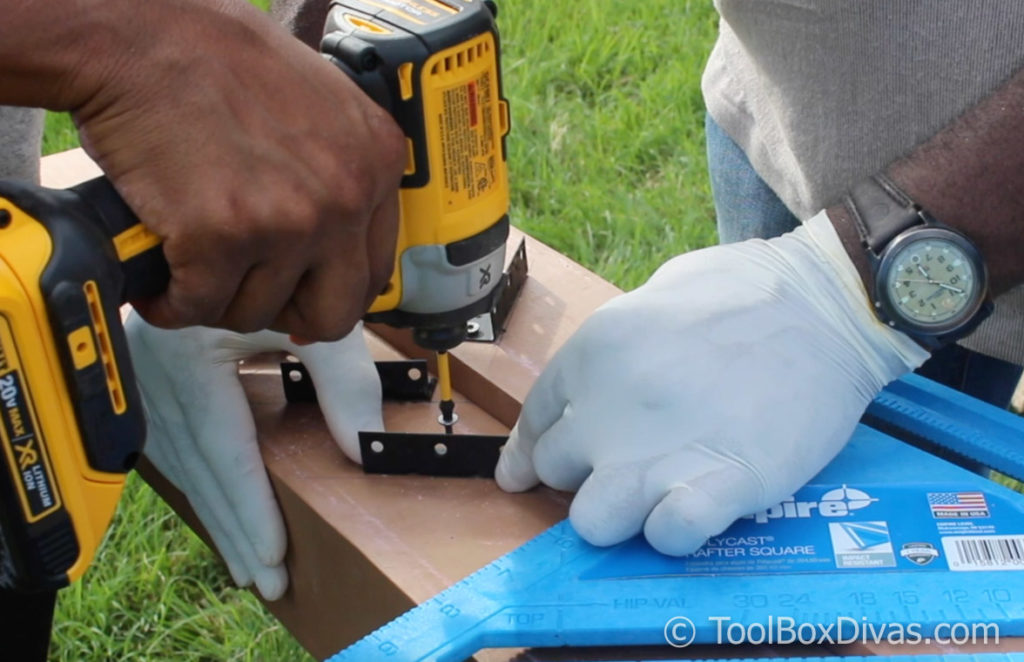
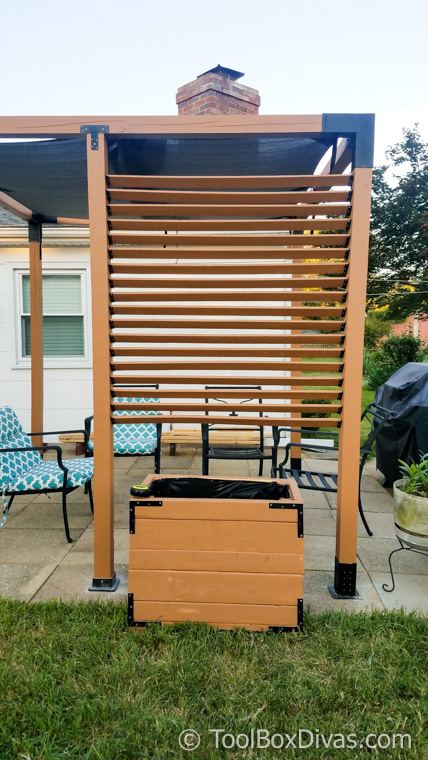
We liked the modern look of the pergola but my friend wanted to add additional shade to the side to reduce the glare of the sun in the early part of the day. So using some corner brackets and 1×3 furring strips we created a louvered screen. We turned the brackets at a 45 degree angle so that we could cut the 1×3 with straight cuts and screw the boards in place with ease.
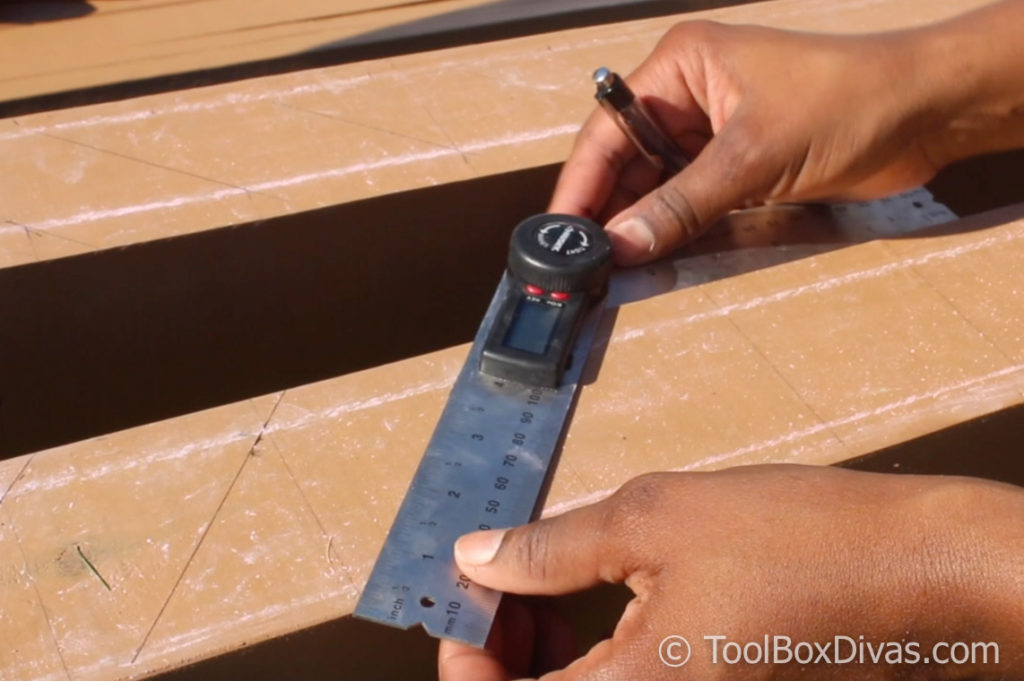
We thought we could mark off the points on the posts prior to assembly. But my measurements were off LOL so we had to totally redo it once the pergola was in place.
I didn’t consider the height of the footer we used for the middle post. So we had to remove the corner brackets and reassemble once the pergola was in place.
Utilize scrap wood to add character on a budget.
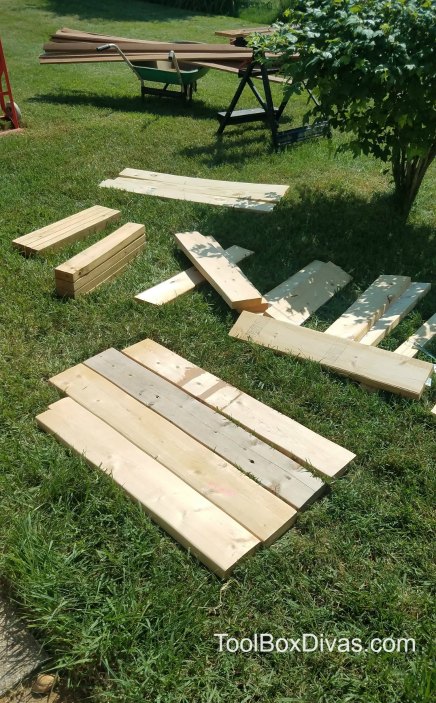
To add some visual interest to the seating area and privacy I made a large planter box using some scrap wood that I had in my shop. 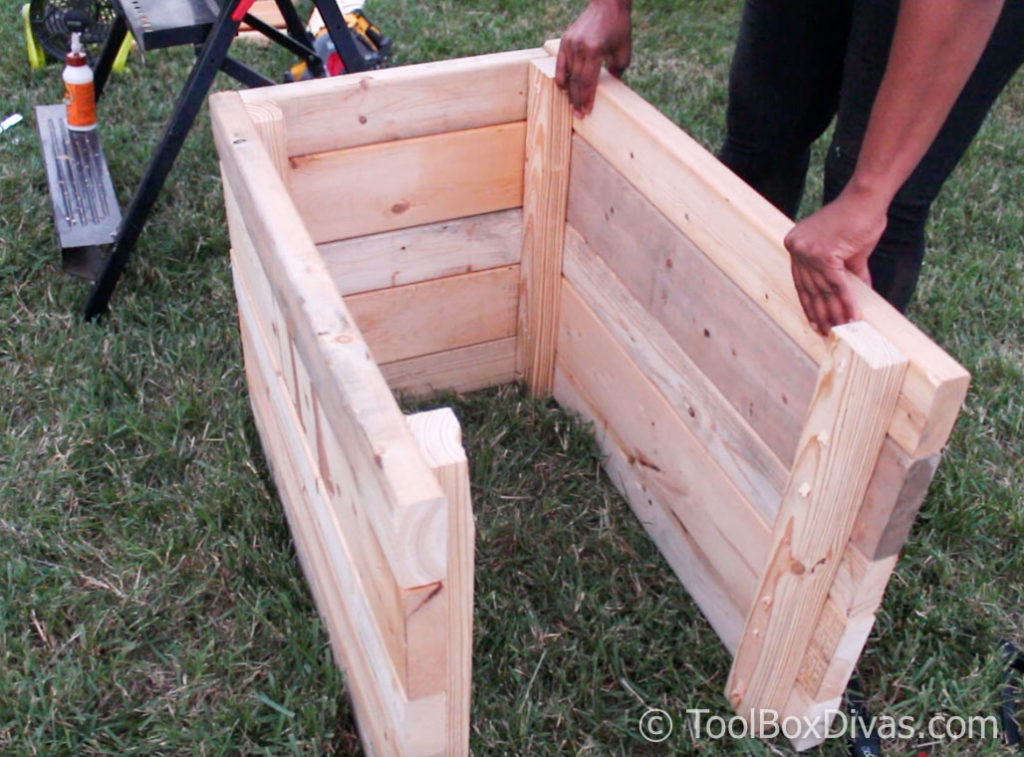
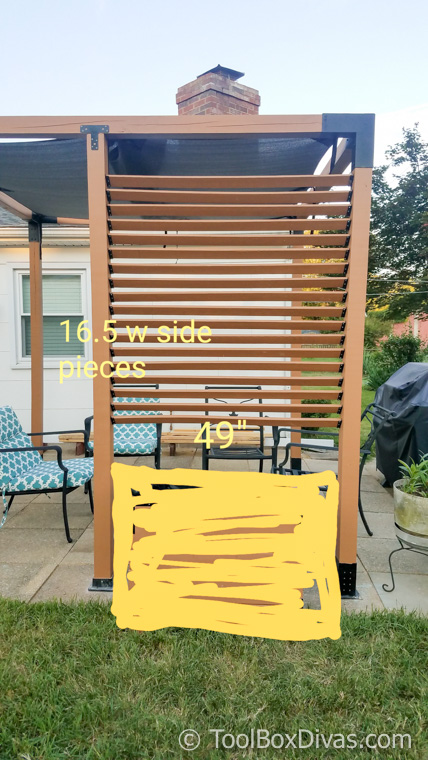
But once I put it in place I realized it was way too small for the area under the louvered screen.
So I made a 2nd, larger one.
My friend loves gardening. So for him, he can never have too many planters. My goal was to reduce the number of little mismatched planters he had all around the patio.
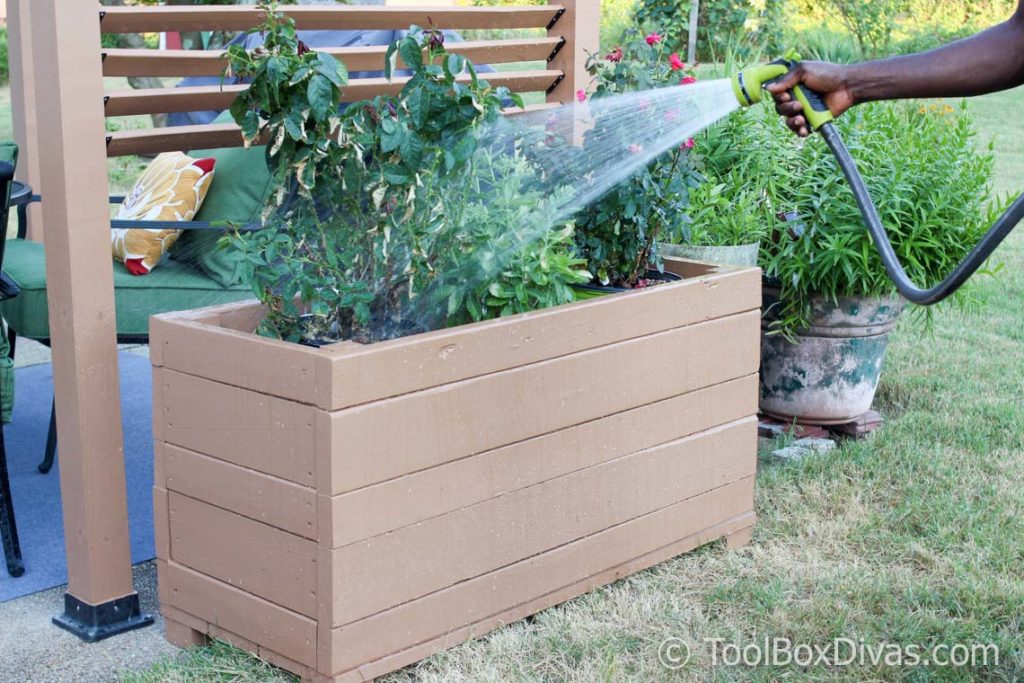
This reduced the clutter and created a little more uniformity to the space. It also defined and enclosed the space as a seating area.
Expect the unexpected and allow room for flexibility.
Our goal was to keep the costs down as much as possible. He wanted to make use of the existing furniture. He had this old rectangular glass table. And some iron chairs that he was given.
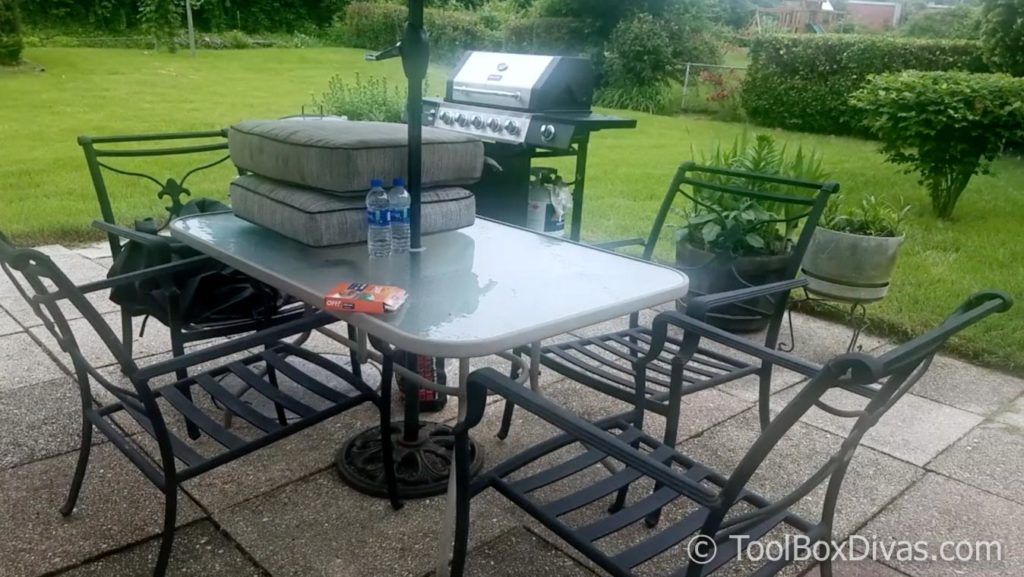
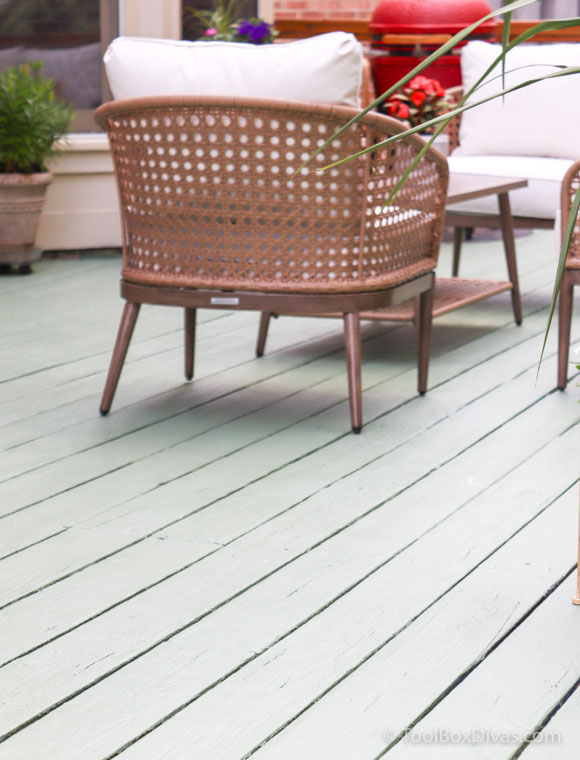
The chairs were great. It just needed new cushions. 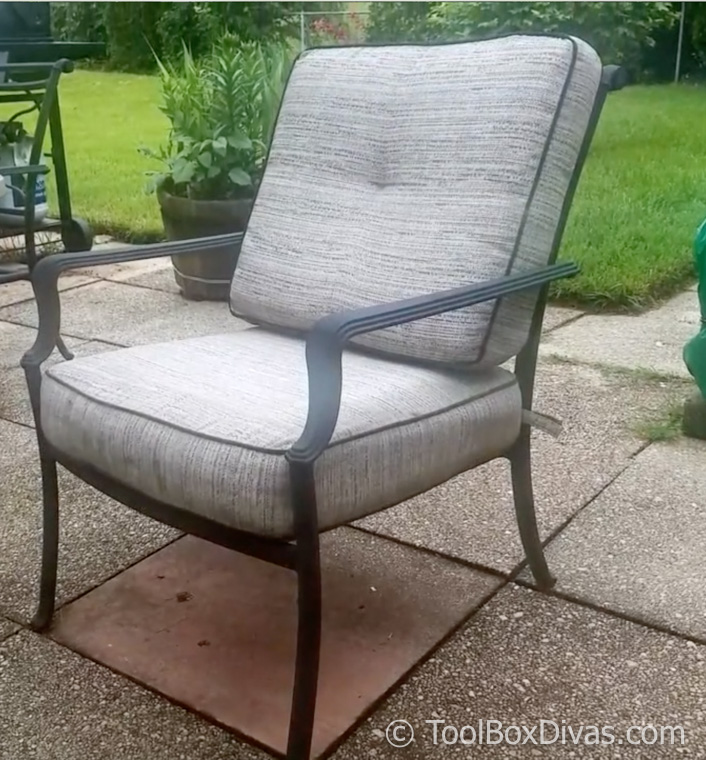
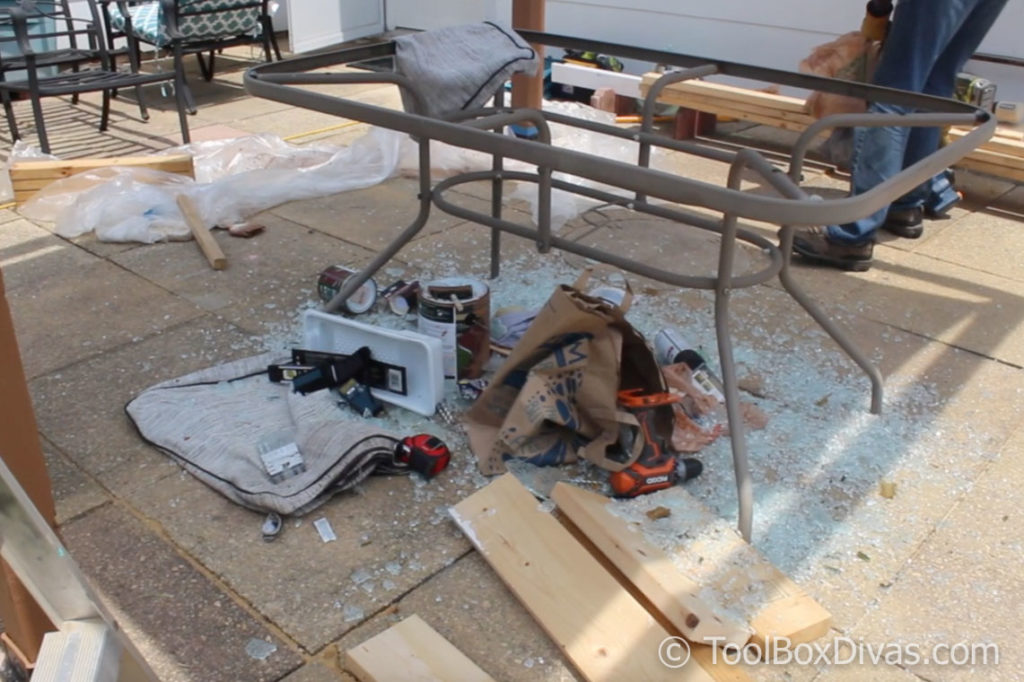
The table…. Well THANK GOD the glass shattered into 50 million pieces. LOL! That’s all I have to say about that.
So we had to search around for cushions and a replacement table. It was very challenging trying to find a table and cushions, largely because after the 4th of July, most stores phase out its outdoor furniture collection. So we searched and searched every clearance sale we found at local stores.
He 1st came back with these black pillows that did not fit and looked like a black hole in the frame of the chairs.
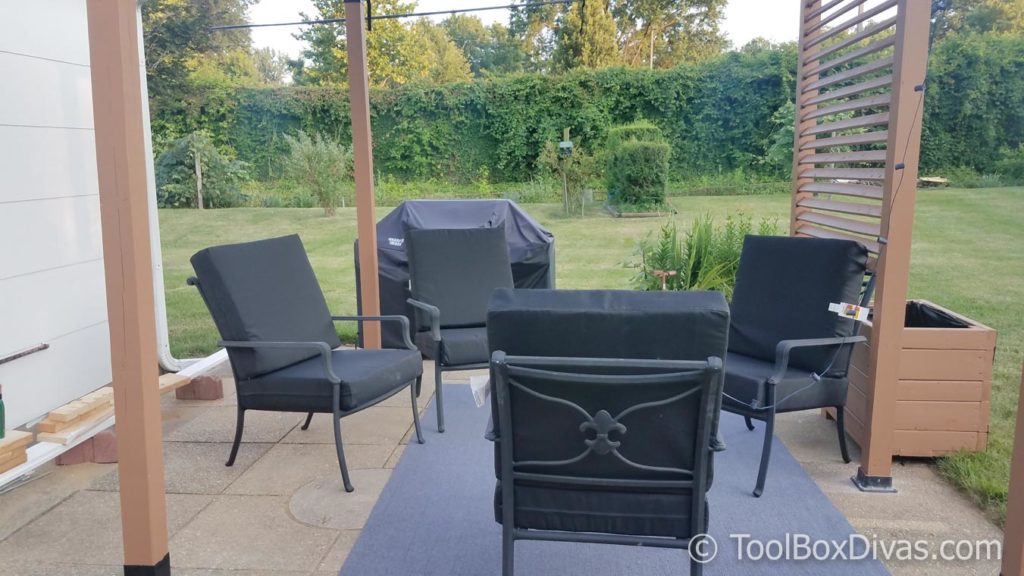
Then we found the actually matching top pillow for the back rest of the chair. However, to me I didn’t like the black. It had no life.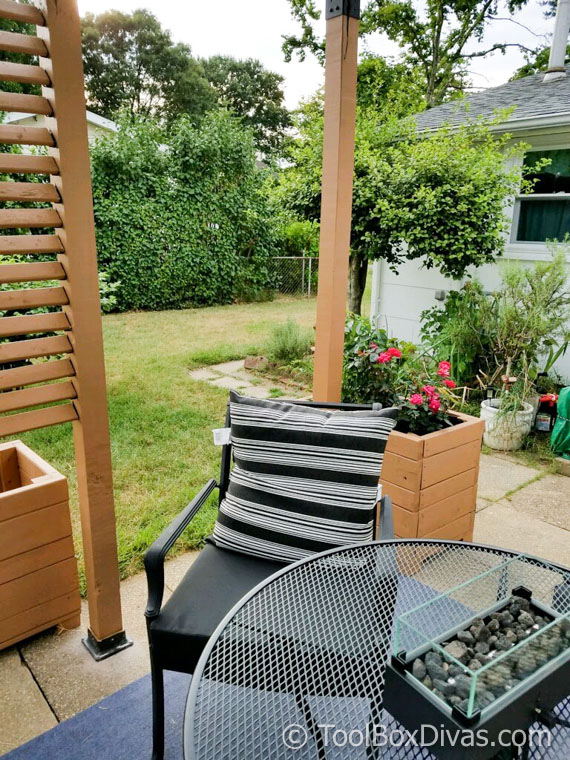
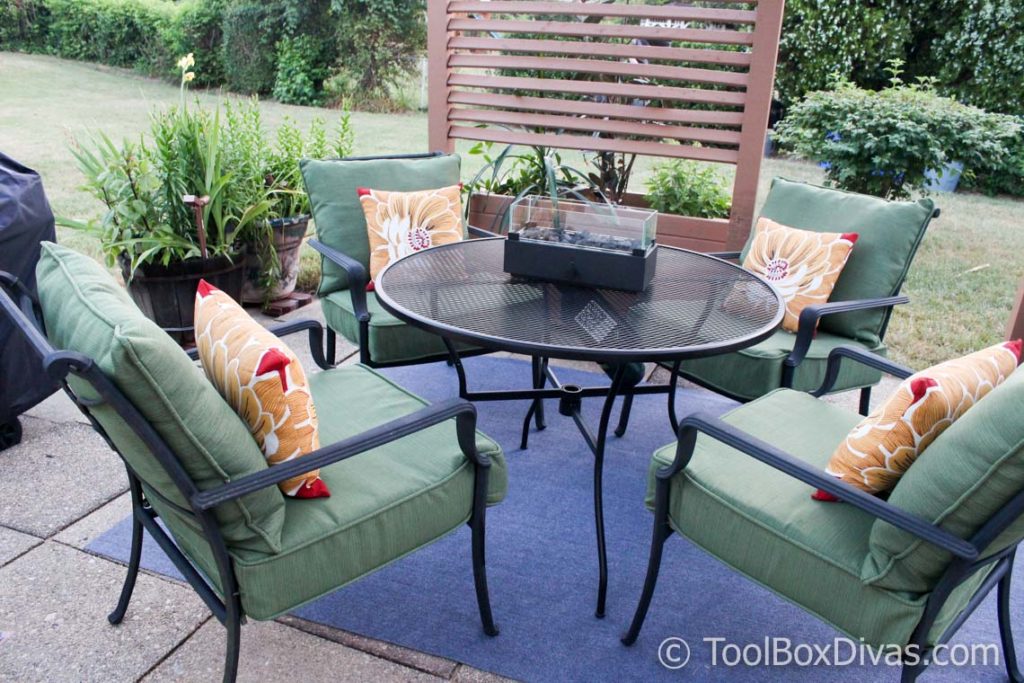
So we searched and searched until I spotted these pillows on clearance at a local bargain outlet here in the Washington DC Virginia area, called Ollie’s. Each set (the back rest and bottom cushion) was only $14.99.
To tell the truth I thought it was mislabeled. But nope, that was the price. LOL so I grabbed it a long with a some $4 throw pillows.
We then hung some string lights, installed a table fire pit and we were done!
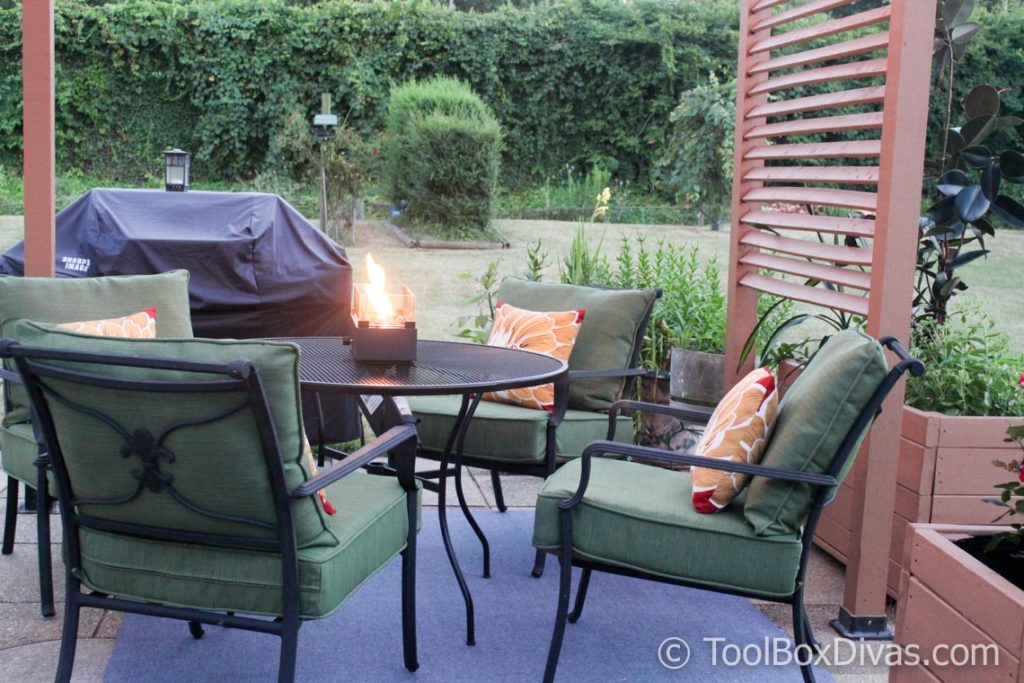
Before and After: An inviting patio with pergola
Before my friend’s patio was pitiful. The sitting area just seemed like an after thought and purely functional.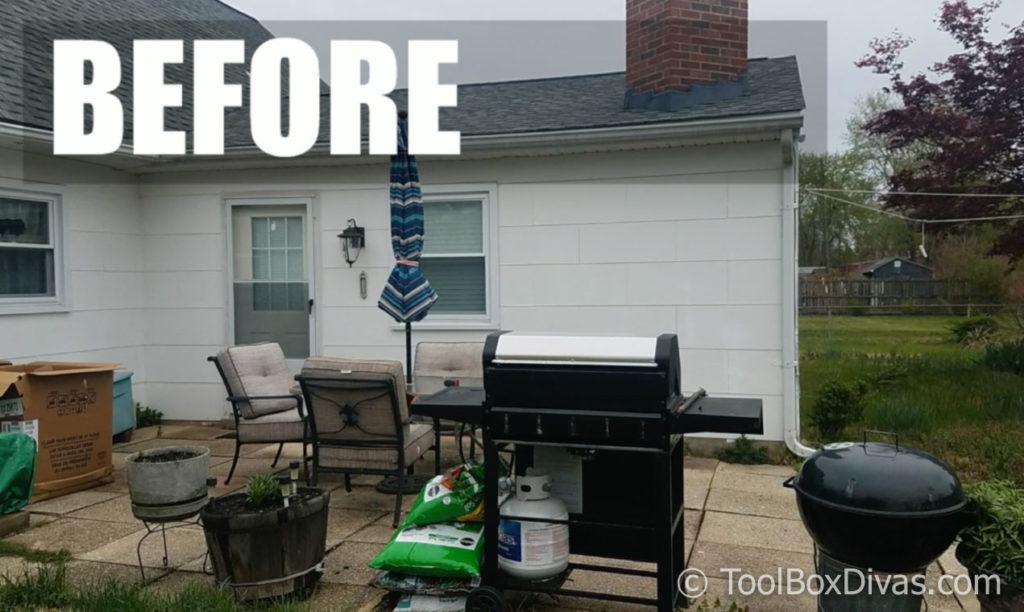
Now it’s a place to entertain any time of the day. The string lights and table fire pit create a warm an inviting setting.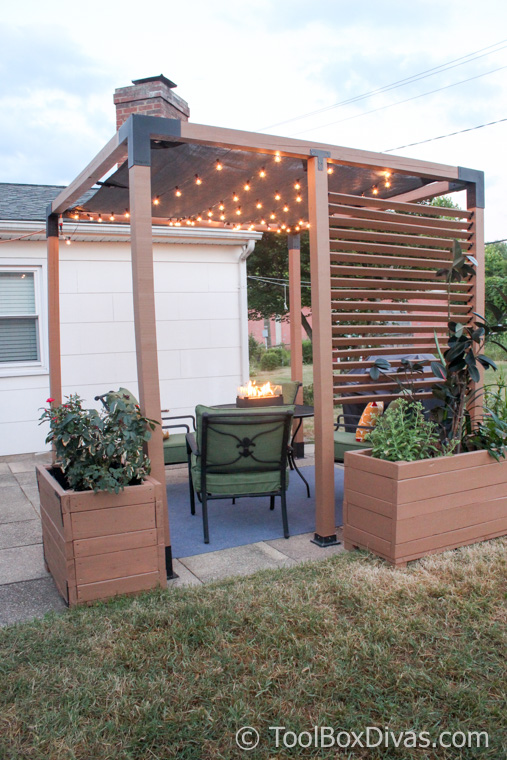
The green and yellow pillows bring color and excitement to the space. And I am loving the view of the backyard from this angle.


My friend is so excited about his backyard patio. He’s already hosted family and friends over the holiday. He plans on adding a bar cart and some additional decorative elements in the future. 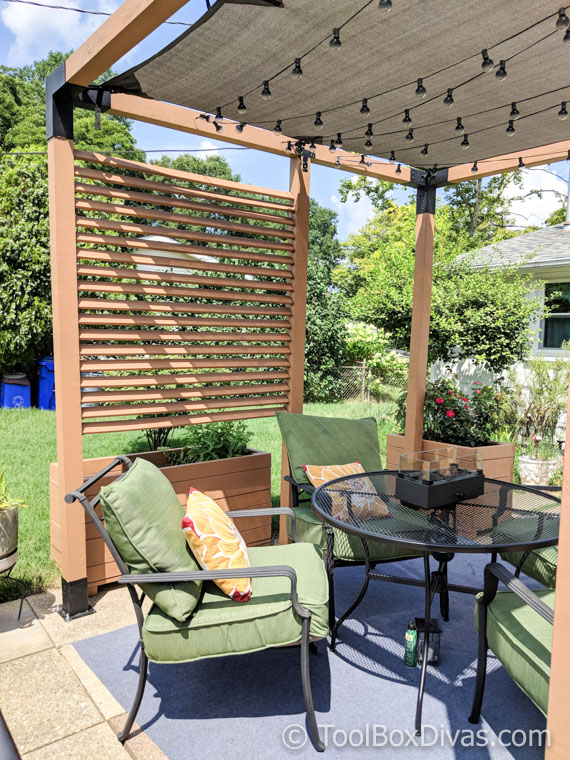
Items Used in This Makeover
 TOJAGRID 8 ft. X 8 ft. Pergola Kit With Shade Sail
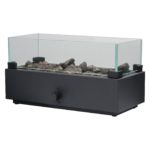 Two Harbors 14″ Long Tabletop LP Gas Fire Table – Black – Project 62
 Dewalt 20-Volt MAX XR Lithium-Ion Cordless Brushless Impact Driver
 Dewalt FLEXVOLT 60-Volt MAX Lithium-Ion Cordless Brushless 7-1/4 in. Wormdrive Style Circular Saw
 Empire 16 in. True Blue Digital Box Level

Here’s what I learned
- I recommend 3- 4 people to assemble this pergola
- Ensure a solid foundation. Install footers to ensure that this can with stand large gusts of wind.
- Check with the city before building to see if a permit is required.
- You may need a mallet to help insert the 4×4 posts
- Allow time for 4×4 pine posts to dry.
- Keep plenty of water on site.
Till Next Time. ~T.
You all did a good job with the shade unit and I really like the green chair cushions better than the black. I read the description of the shade unit and can’t believe the “posts were not included” with the unit??? So you got the metal brackets and sail for that whopper price? Geez Louise that is expensive! I kept wondering why you didn’t talk about using wood screws to attach the brackets to the posts (on top). Did they put holes in the brackets for you to put in the screws? If there aren’t any wood screws holding those posts to the roof you probably will need to add them when the posts fully dry out. Over time the posts will dry out and shrink a bit, if that happens – a good wind will pull the top off.
You two created a very nice setting for gatherings, good job and if you make more changes please share! Thank You
What an amazing transformation. I love everything. Thanks for sharing.
Oh wow great! The colors change everything.
Thank you so much! It has made a huge difference
Awesome job! You have your own boutique hotel lounge now.
Thanks for the tip about having 3-4 people. I always go into projects thinking “eh, I can just do this myself,” while balancing one part on my head & another with my foot…while on a ladder…and a drill in my hand. =-)
Haha yes, it was soo heavy. Would not do that again. Thank you!!
I love the way you transformed his space. I know Toja grids are built for “dressed” lumber, possibly your lumber was “rough cut”. I was wondering what corner brackets you used for your slats. I can’t tell in the pictures and they look great. Thanks for the tips.
Thank you so much! Off the shelf pine lumber is wet so it has to be dried for a couple of weeks. Once it’s dry it shrinks. Despite the fact that we allowed our boards to sit for a little over a month it hadn’t dried out enough. It possible because we stored it in the garage v. outdoors that the rate in which it would take to dry out was longer. I used basic L angle corner brackets from my home depot like these https://homedepot.sjv.io/c/1246871/456723/8154?u=https%3A%2F%2Fwww.homedepot.com%2Fp%2FSimpson-Strong-Tie-Z-MAX-2-in-x-4-in-12-Gauge-Galvanized-Medium-L-Angle-ML24Z%2F202071147%3FMERCH%3DREC-_-searchViewed-_-202071149%3B100375233%3B100375258%3B100375312%3B100375196%3B312991870%3B312991860%3B100374897%3B204842400%3B300068630%3B300068626%3B-_-202071147-_-N
Looks great!
Is there a way to secure the pergola without having to drill into pavers?
Thank you! Well you don’t need pavers. You can pour the concrete into a hole and place the poles into the ground.
Great job!!! Beautiful
Wow what a transformation! It’s amazing what a few days and a visio. Will do! Love the pergola!
I love the whole idea behind your blog – I’m a woman who has very, very few handywoman skills. I so admire those who do: like you. I will be popping here for lessons and inspiration, and thank you in advance time. Wishing you the best.
Thank you so much!! I love messages like this. Brightens my day. Wishing you all the best as well.