Super Easy DIY Customizable Jewelry Stand
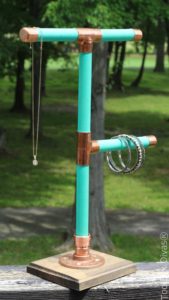
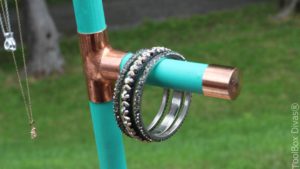
Are you looking for a place to store necklaces and bracelets? Can’t find anything that totally fits your needs, the size of your necklaces and bracelets? I’ve got the perfect solution. This project is both functional and decorative. I am a bit obsessed with bracelets and necklaces. I’m always running out of places to store and hang them. So I came up with a super easy solution in which I can hang my jewelry mixing wooden dowels and pipe fittings.  I love this project because it really doesn’t require a lot of tools. This can really be accomplished with just a hand saw and a drill. You may not need the handsaw because the pieces can be cut at your local hardware store. Ok guys, let’s doll up your space.
Let’s Get Dirty! Here’s what you’ll need:
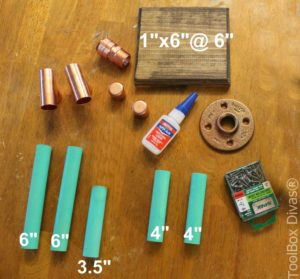
Materials
- 1 – 7/8″ x 36″ Round Wooden Dowel
- 2 – 3/4 Copper Tee
- 2 – 3/4 in. Copper Tube Cap
- 1 – 3/4 in. Black Malleable Iron FPT Floor Flange
- 1 – 3/4 in. Copper Pressure Male Adapter
- SPAX #8 x 3/4 in. Multi-Material Screw
- Super glue
- Stain/Paint/Spray Paint
- 1x6x48
Cut List
- 1 – 1×6 cut to 6″
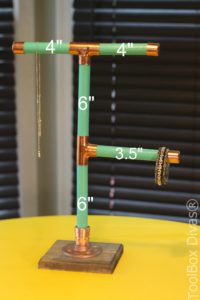
- 7/8 dowel cut to
- 2 – 6″
- 2 – 4″
- 1 – 3.5″
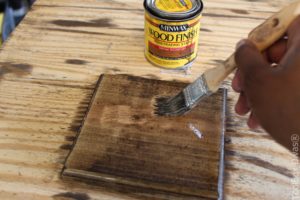
- Cut the 1×6 down to 6in. I added an additional decorative finish to the edges using a trim router. That’s optional. Stain or paint and allow time for it to dry.
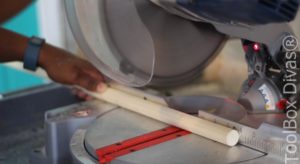
- Cut the wooden dowels to size. Paint or stain the wooden dowels and the metal flange. I spray painted my wooden dowels using a seafoam blue color.

If only you knew what I spray painted before in this box. 😉 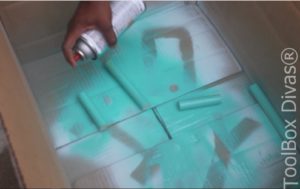
Avoid this by standing the dowels upright. 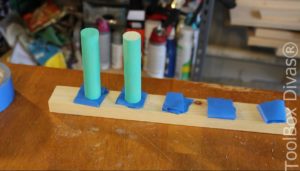
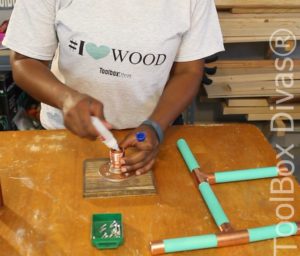
Here is a trick I came up with for holding my wooden dowels in place while I spray painted them. Using tape or screws attach the wooden dowels to a 1×2 scrap board, place it in the cardboard box and spray it in the desired color. This will hold the dowels in place to achieve an even coating. - Once the dowels are dry attach the 4in dowels to either sides of the Tee fitting. Then place to the 6in dowel at the bottom of the Tee. Use super glue to hold everything in place.
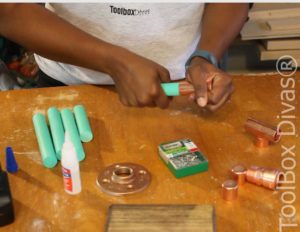
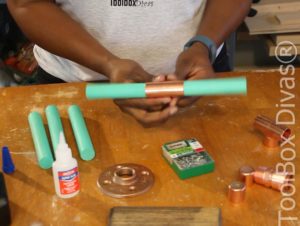
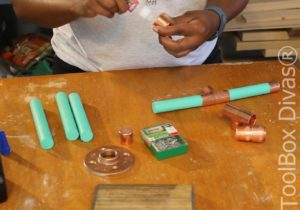
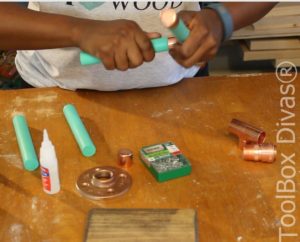
- Now take the 2nd Tee fitting and turn it sideways. Place the top portion of the stand that you assembled in step 3 into the top part and the 2nd 6in. dowel at the bottom. The 3.5in dowel is inserted perpendicularly to the two 6in. dowels. Attach the male adapter to the bottom 6 in. dowel.
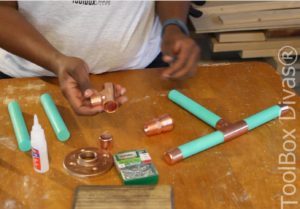
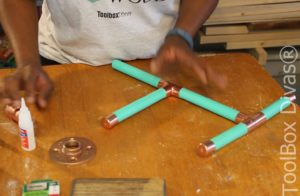
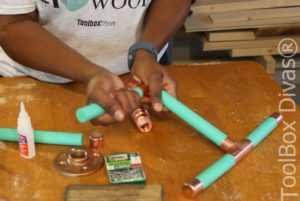
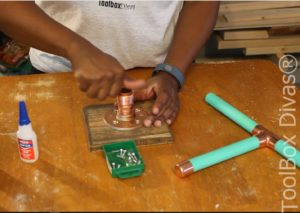
- Screw the flange to the wooden 1×6 base using the 3/4in Spax screws.
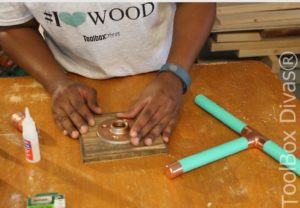
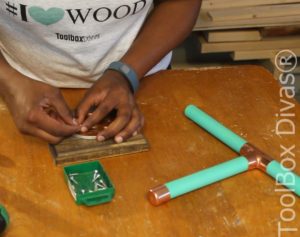
- Screw the male adapter into the flange and attach and glue the male adapter to the base of the jewelry stand.
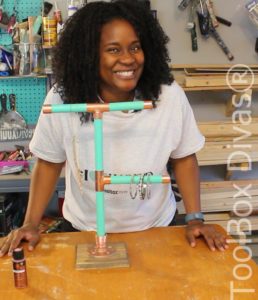
Remix it by adding another Tee fitting and wooden dowel. This will provide additional room to hang bracelets and necklaces. You can also experiment with various colors. 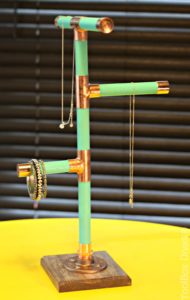
Now Go and Be Fabulous!
Till Next Time. ~T.

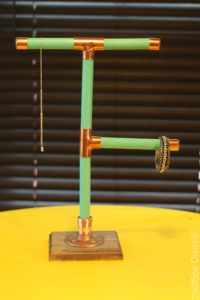

Genius idea, and the result is so gorgeous!! Thanks for sharing. 🙂 Better than buying overpriced jewelry stands!
Thank you for this. I will attempt to make one.