Learn How To Caulk Like a Pro
Learn to caulk like a pro. Tips on removing old caulking and re-caulking around the bathtub.
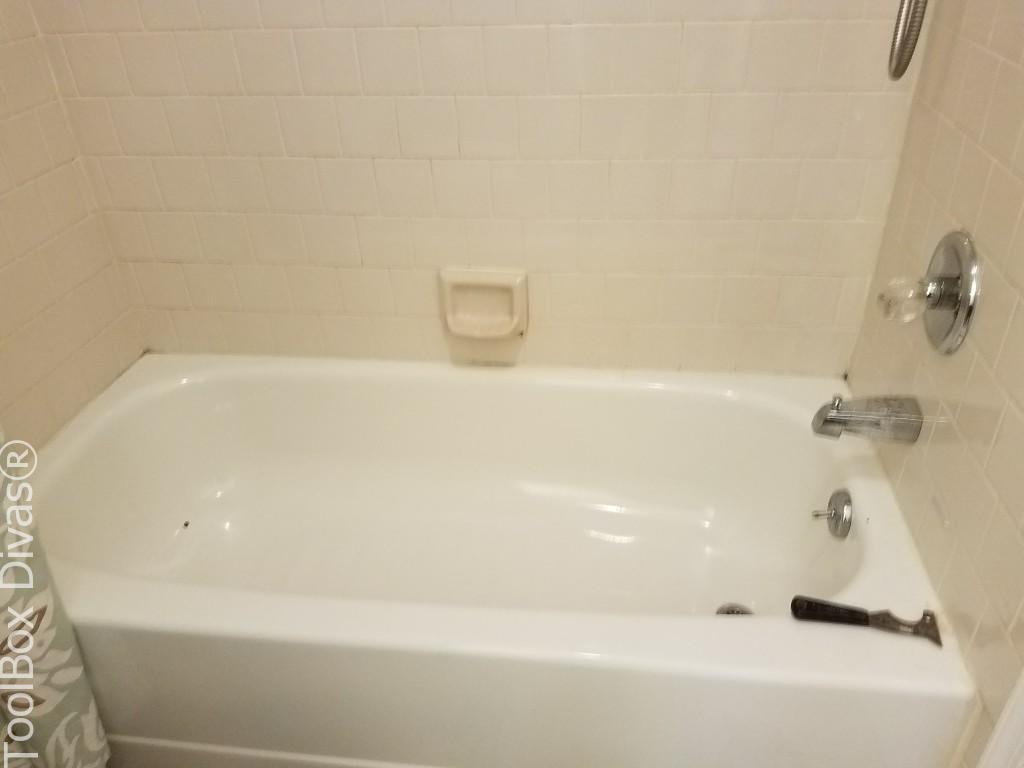
If you tuned in last week to our LIVE DIY with Hometalk on Facebook, we showed you all just how easy it is to repair the old moldy caulking around your tubs in a matter of minutes.
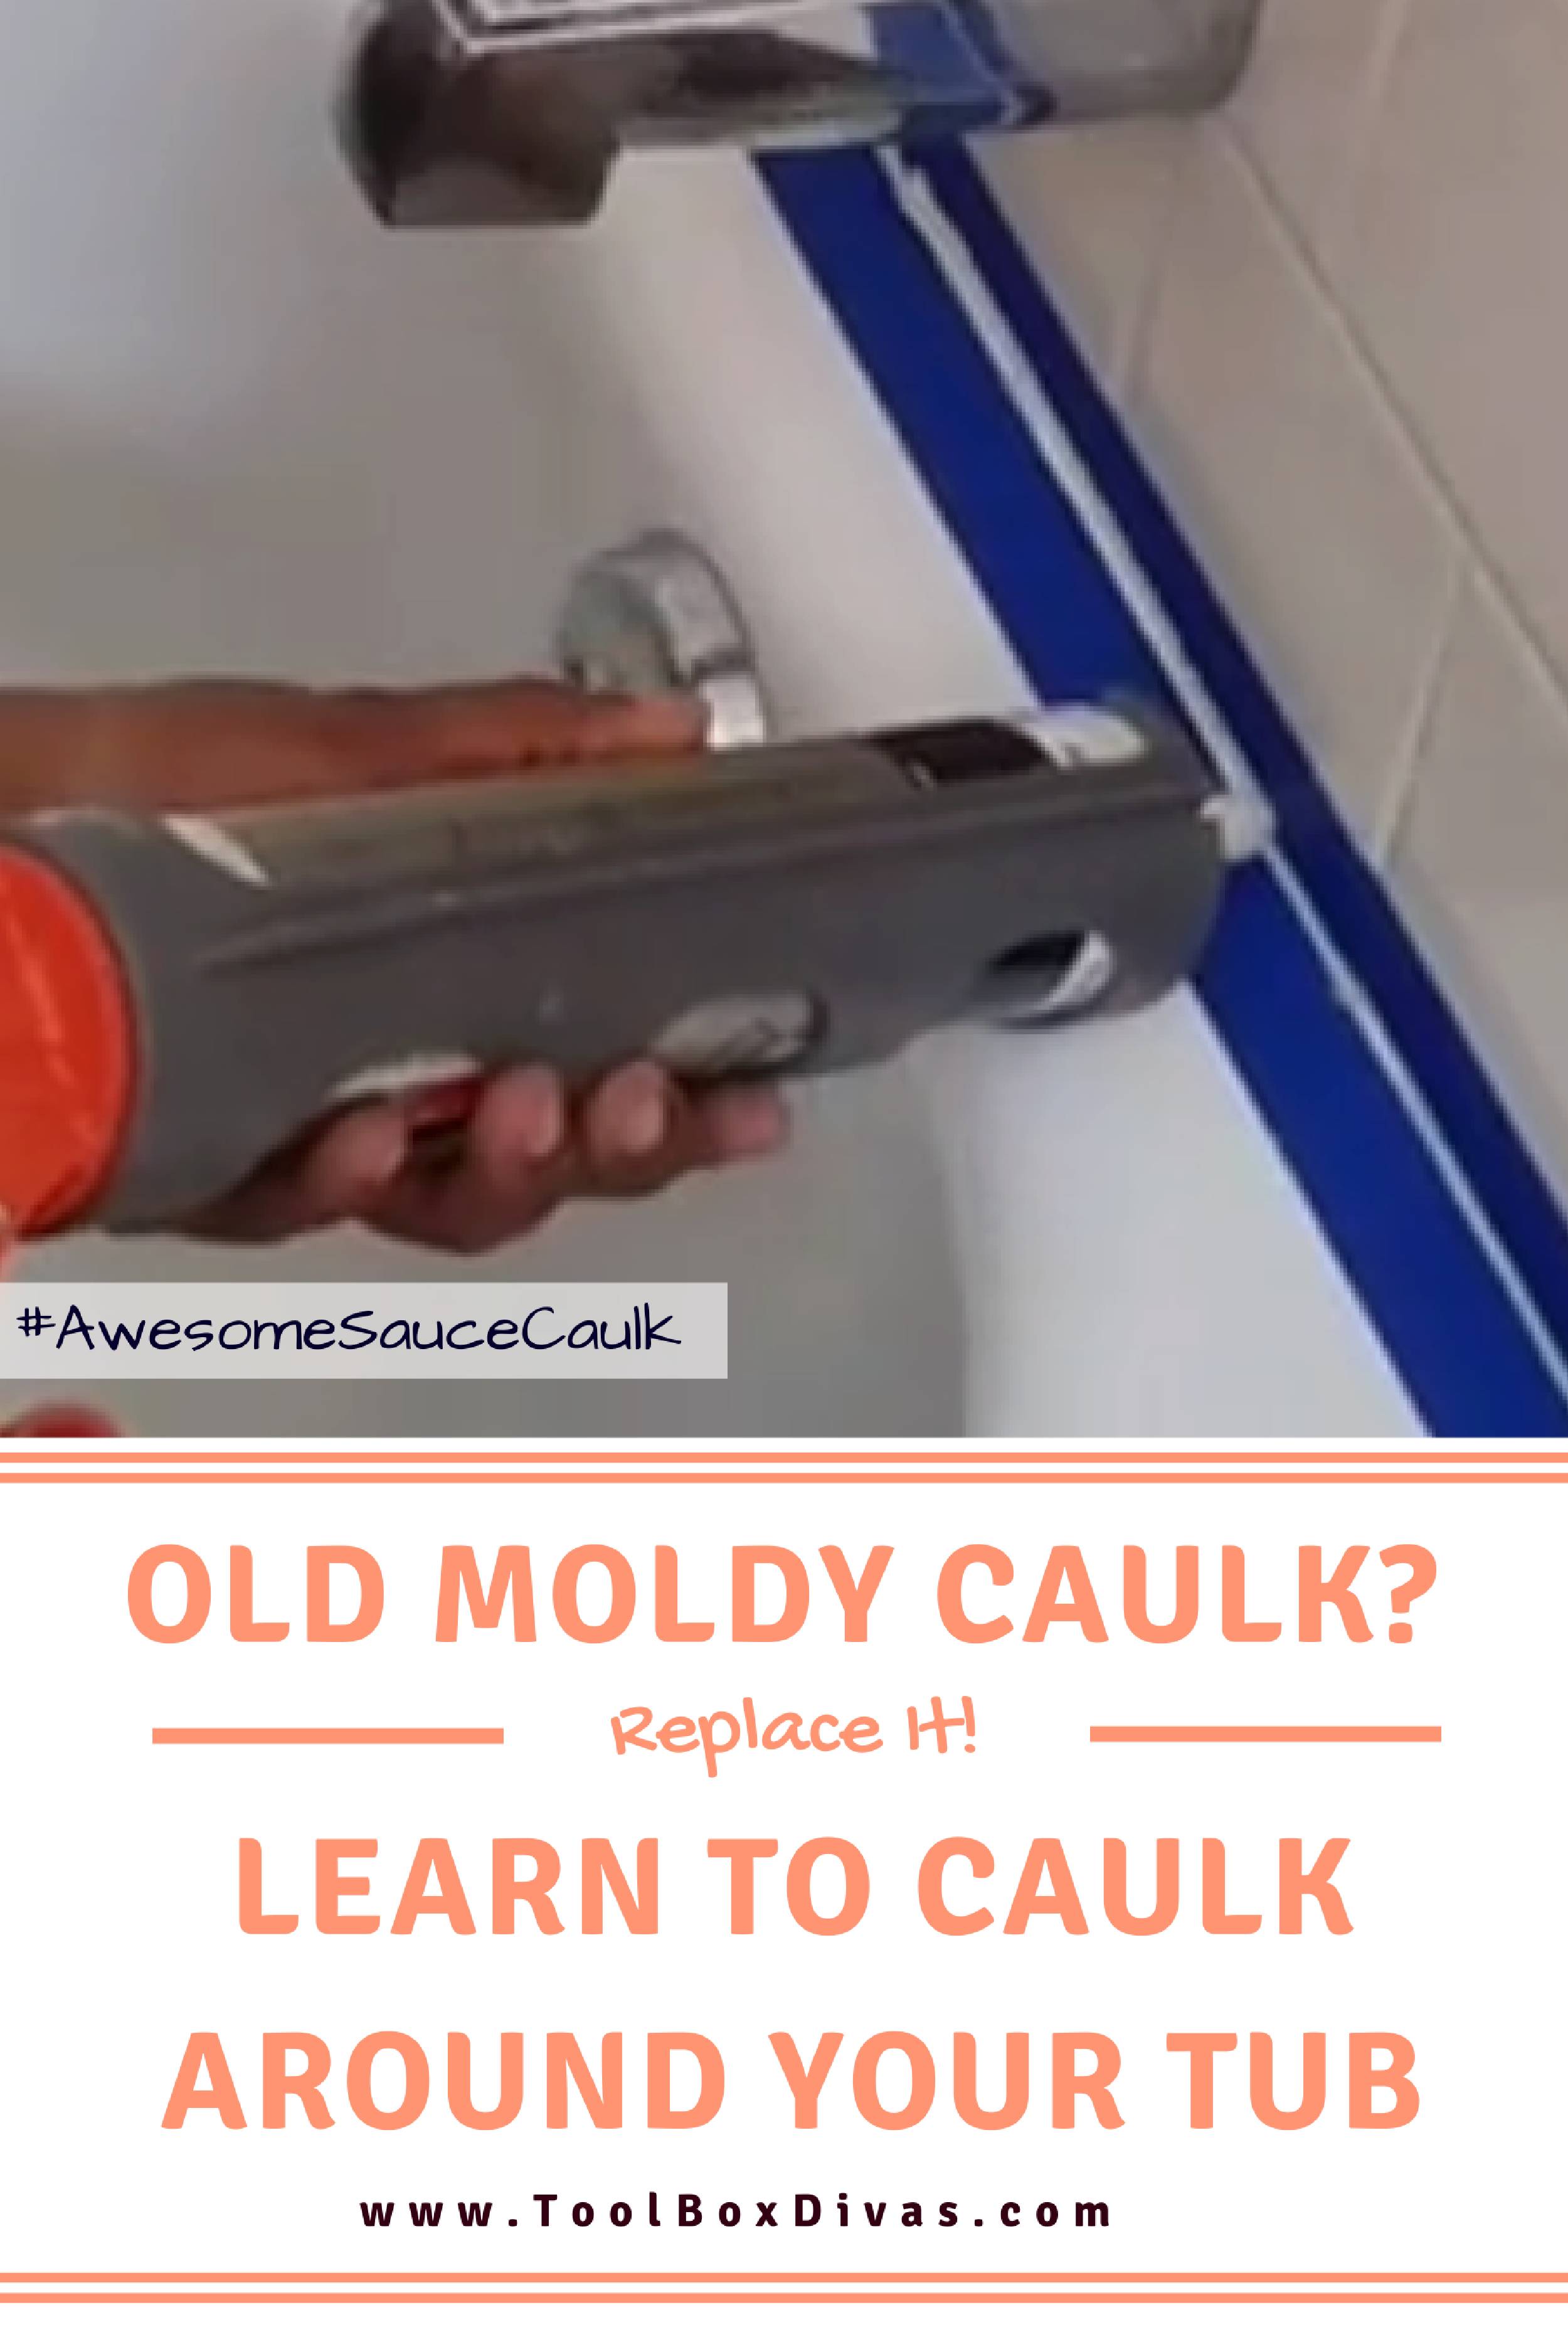
Maintaining a waterproof sealant between the gap that exists between the tub and the wall is essential in preventing air and water from seeping through behind the walls. Moisture of any kind behind the walls can cause mold and mildew. Recaulking is an inexpensive maintenance job that could save thousands in repair work.
Shopping List
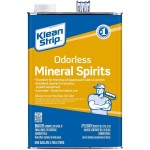 Mineral Spirits
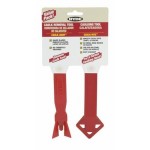 Caulk-Away and Caulk Rite Combo Pack
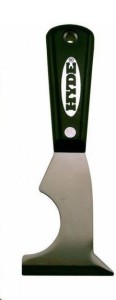 5 in 1 tool
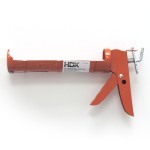 Caulk Gun
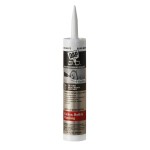 3.0 Kitchen, Bath and Plumbing High Performance Sealant
 Grime Boss Heavy Duty Hand Cleaning Wipes or
  Gojo Cherry Gel Pumice Hand Cleaner
- Cotton rags
- Nitrite gloves
- Rubbing alcohol
- Painters tape
Things to consider:
There are 3 conditions in which you would need to caulk around the tub: when the tub is initially installed, when you want to freshen up the space and in an urgent need where the old caulk is in poor condition, separating and cracking and there is mold or mildew present.
Caulk comes in 3 basic types: Latex or silicone or a hybrid product. For a tub or shower, you want to use a caulking that is labeled “Tub and Tile” or “Kitchen and Bath.”
Directions:
-
Surface Prep:
- Make sure you have a clean environment.
- Apply Liftoff to the old caulk. (Test this product out first in a small area first. Depending on the surface, this stuff could literally eat through the plastic or fiberglass. SO PLEASE FOLLOW the label….Read it.)
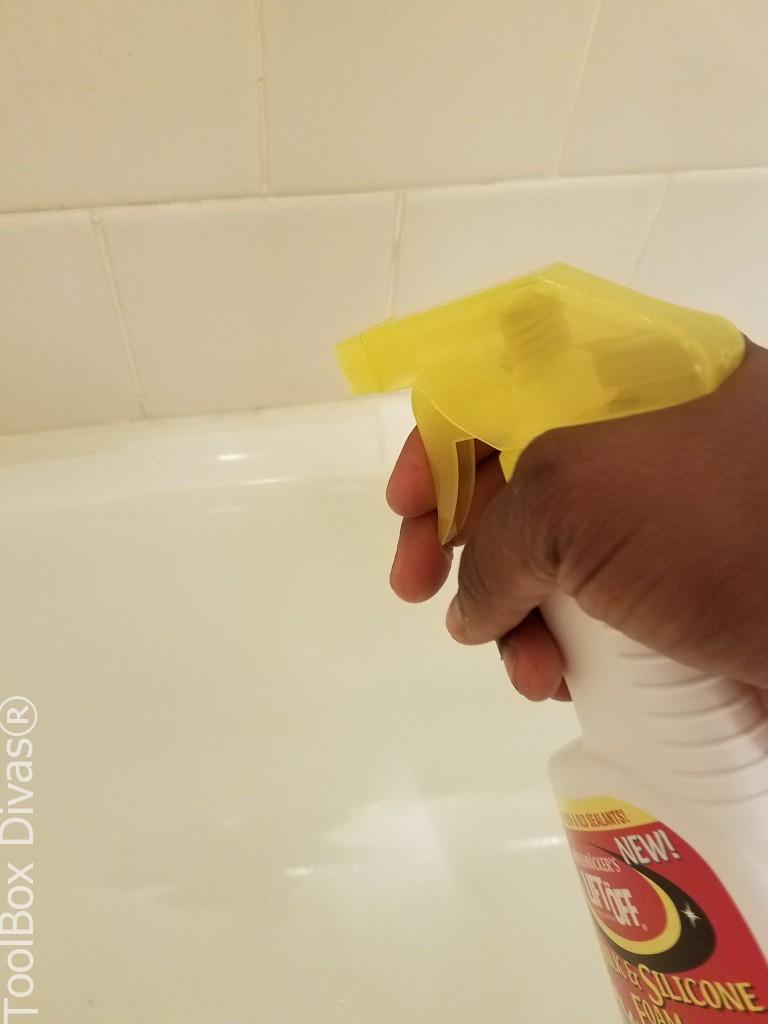
- Allow 2 to 3 minutes to sit.
- Using the 5 in 2 tool score the old caulking (can also use a utility knife).
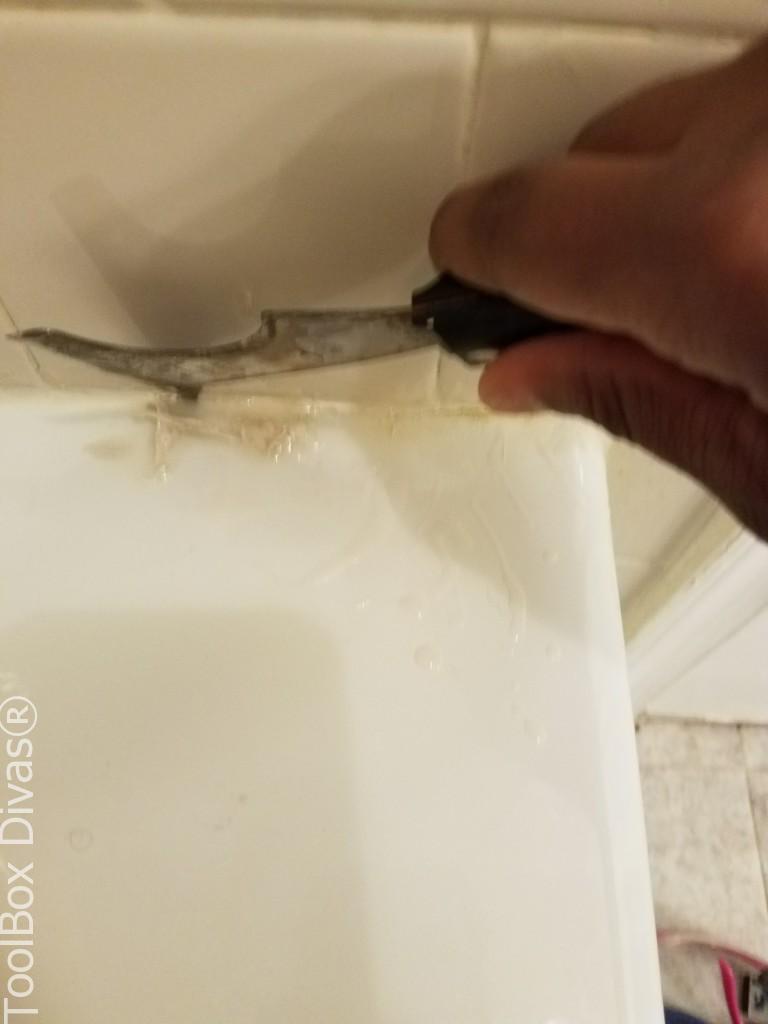
- Using the Hyde scrap tool, scrape away the old caulk. (Bear in mind depending on the surface you are removing the old caulk you may want to use a plastic putty knife to reduce scratches in the tub or sink.)
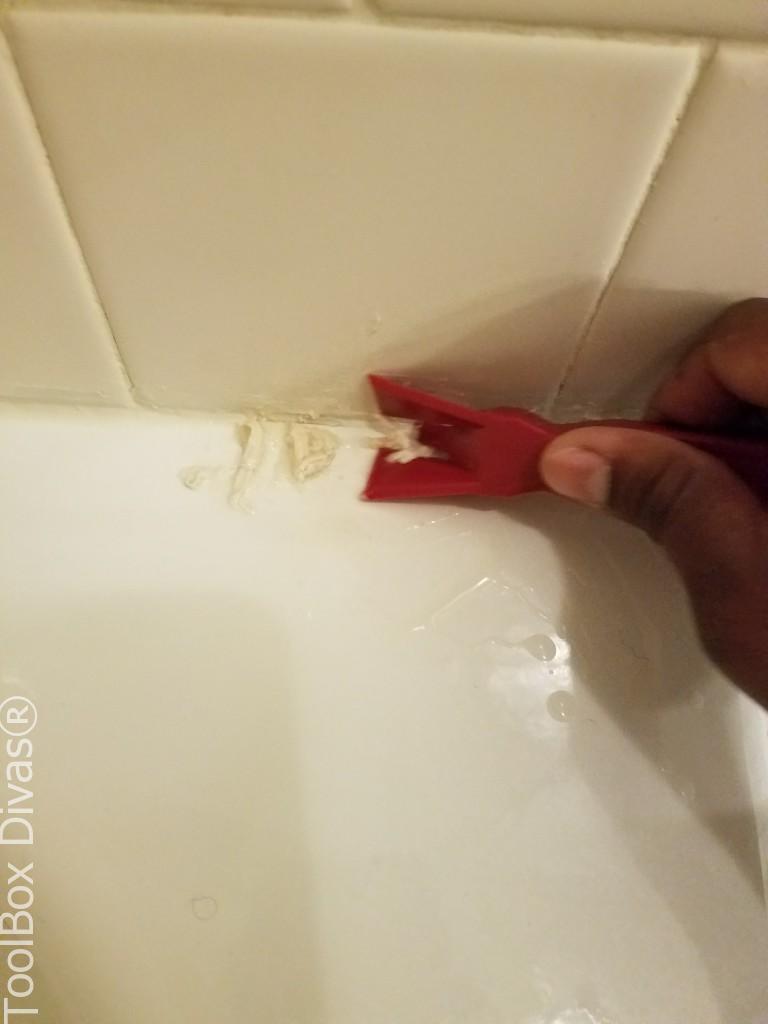
- Clean the area with rubbing alcohol using the cotton rag.
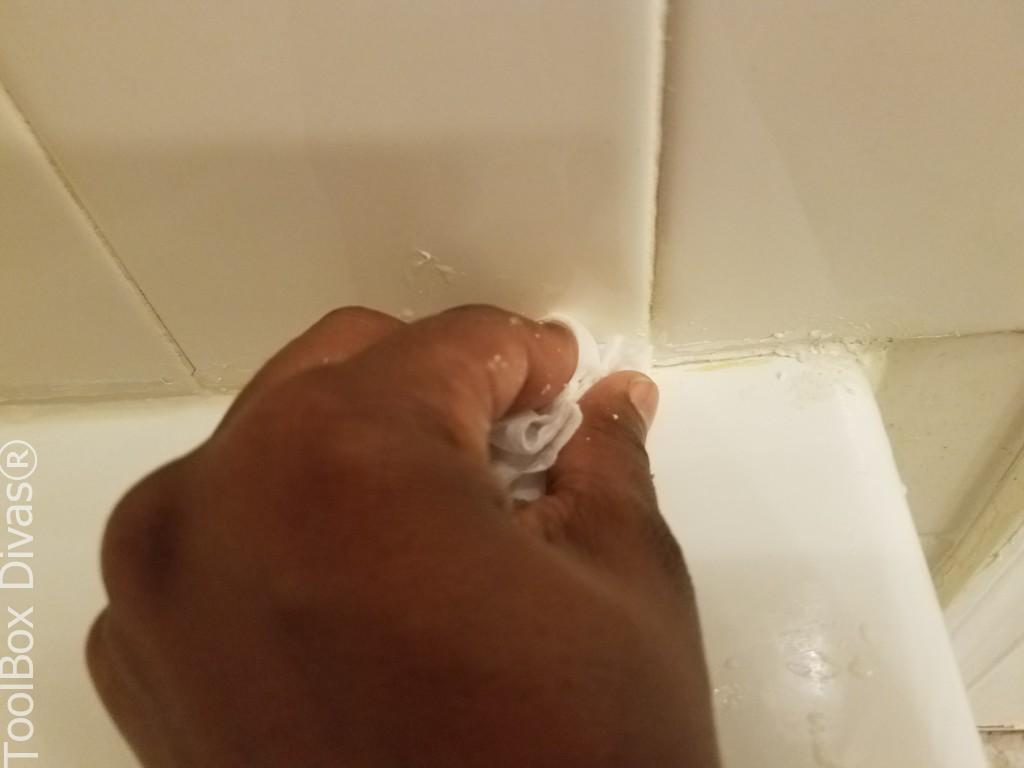
- Once area is clean tape off the area using painter’s tape.
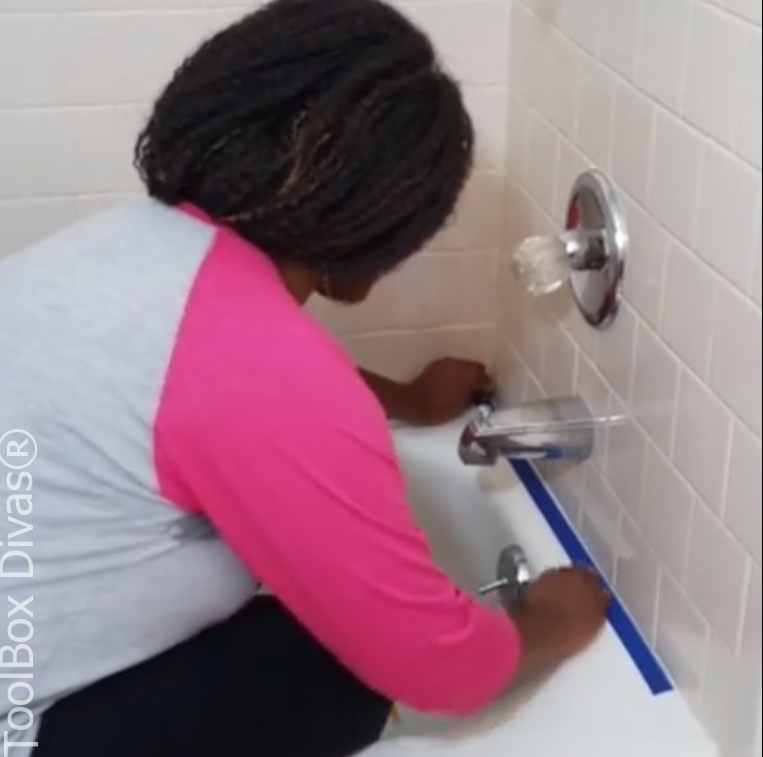
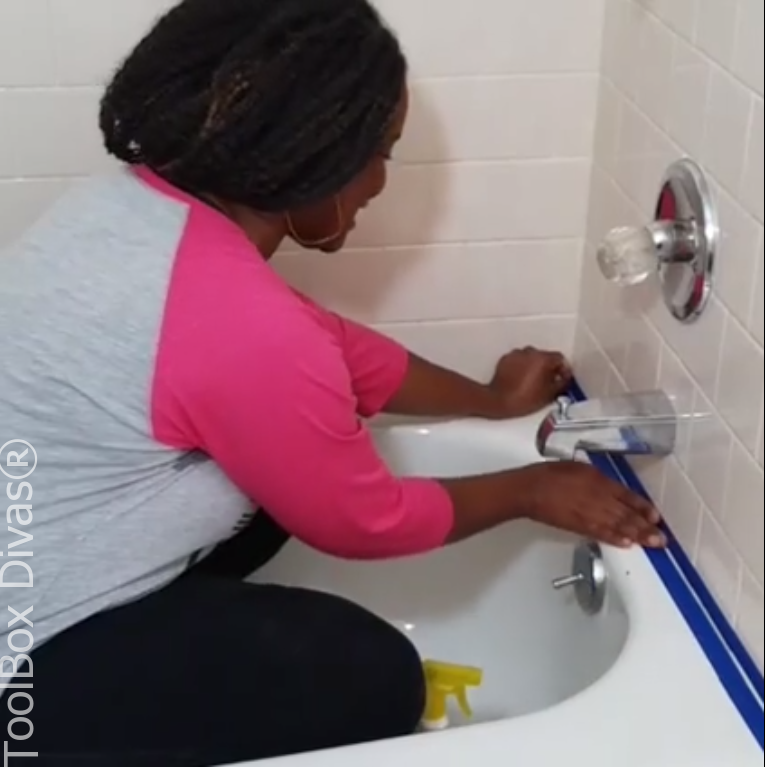
- Caulk.
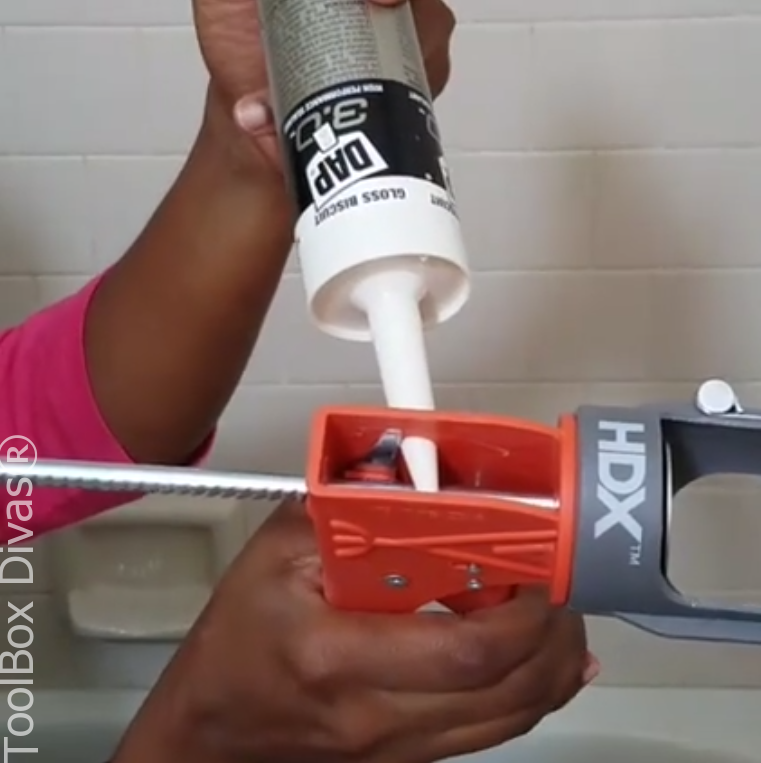
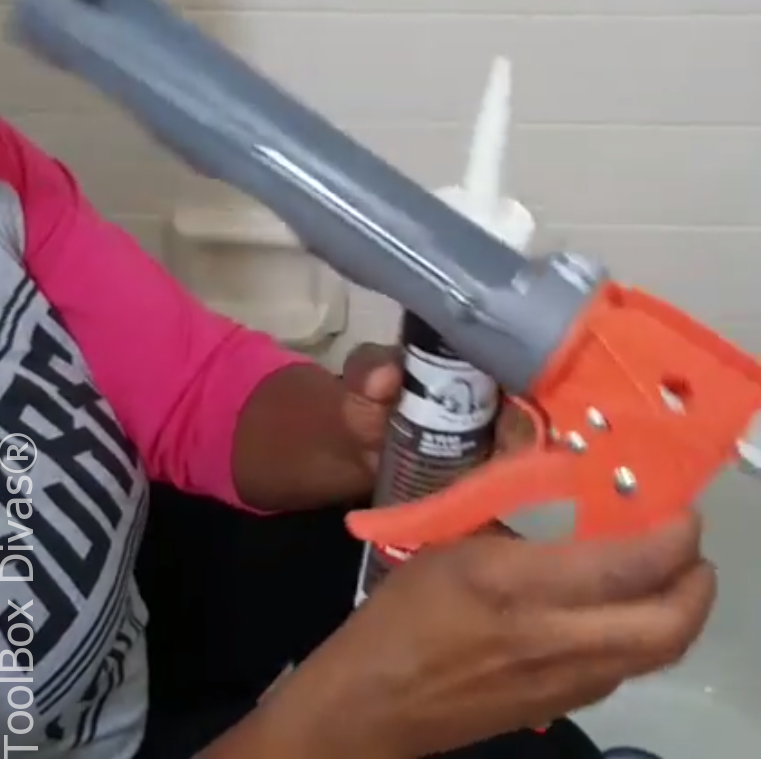
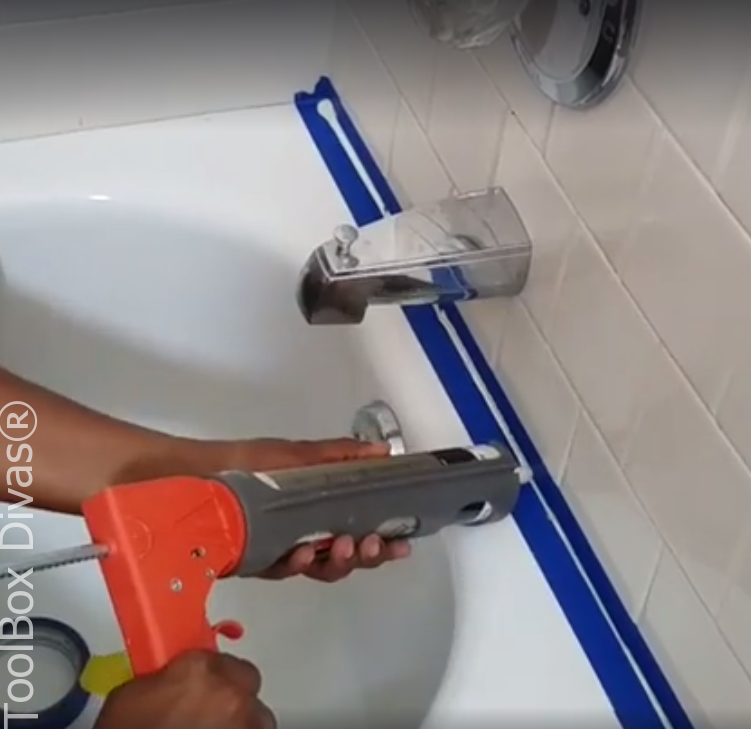
- Smooth with finger or Hyde smoothing tool.
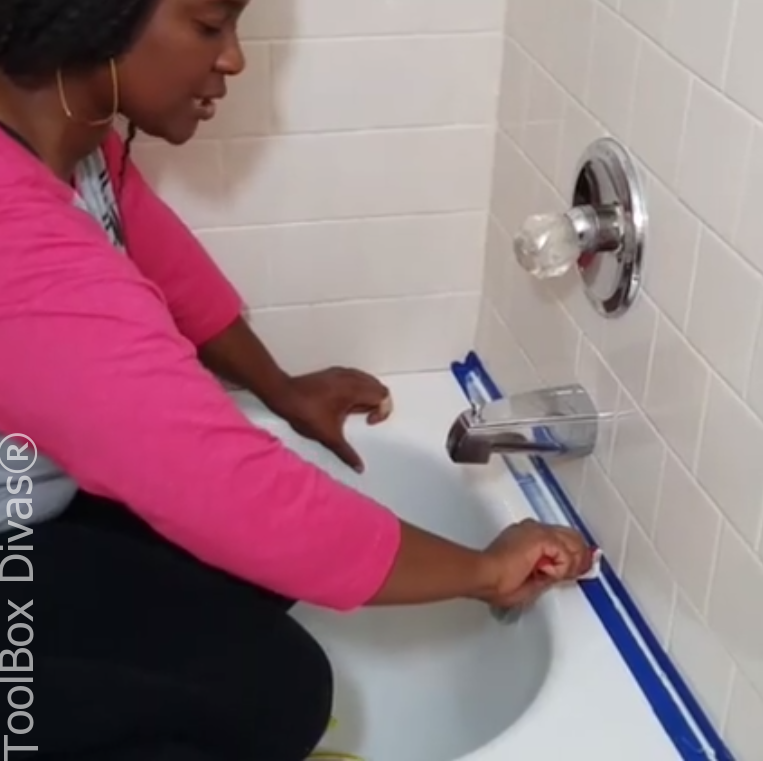
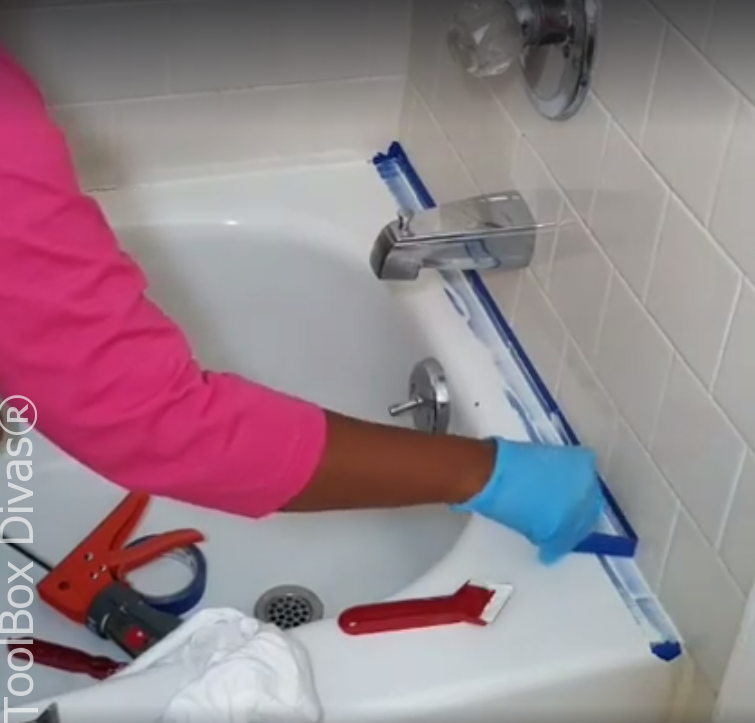
- Allow time to dry. (Please read the label to determine the amount of time needed. The caulk that I am using has a 30-minute dry time.)
#AwesomeSauceCaulk 


Toolbox Divas! I love the name. I hope to see you on HGTV. Do you nave a utube channel?
AWWW Thank you so much!! That would be absolutely AMAZING! 😀 I do have a channel. It’s https://www.youtube.com/channel/UCI7vCJwPcdfVrE97MrqKT7g?view_as=subscriber
Thank you again for taking the time out to check out ToolBox Divas. Please let me know if there is any subject you would like me to cover.
Great tip. I will use it in my everyday work.
Regards!!!
Awesome! Thank you!
I want to make sure that the moisture in my bathroom won’t get inside the walls. If I were to choose, I’ll buy a caulk gun to make application easy, and a caulk preserver from a good store as a solution to used caulk tubes. Thanks for the tip that I should caulk the tub if I want to freshen up the bathroom space, so I’ll make sure to do that once I’ve bought the materials that I need.