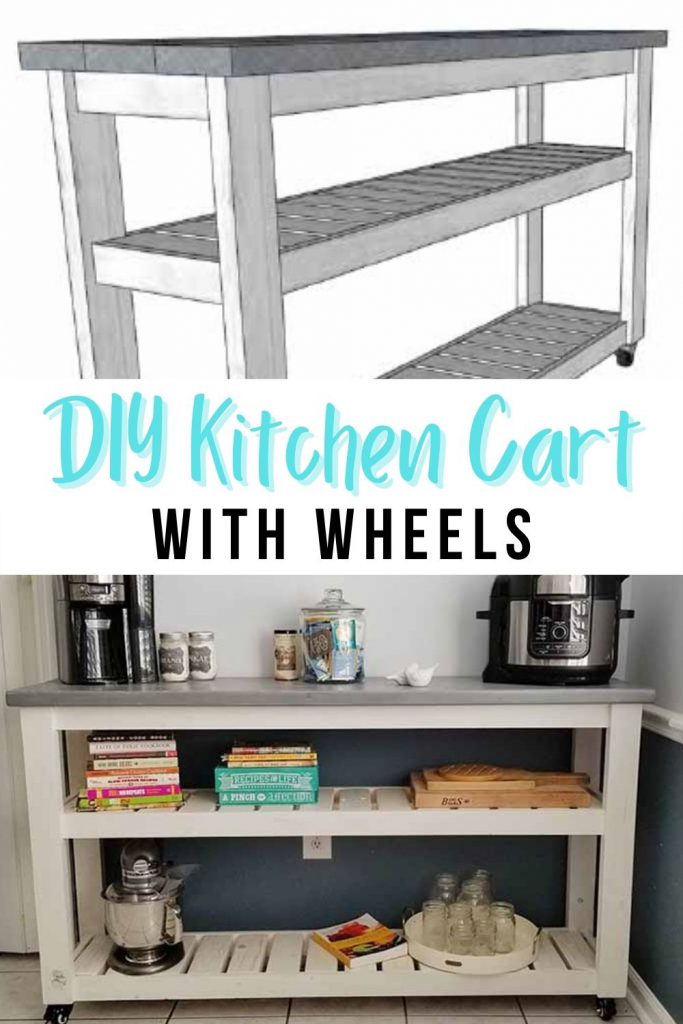
How To Make a Kitchen Cart on Wheels with Plans
Learn how to make this DIY kitchen cart on wheels. Perfect for kitchens where you need extra storage or added workspace.
I have a community of wonderful people that love to DIY. They love to decorate their homes and they love woodworking. We share our projects in the group on a regular basis for feedback and encouragement.
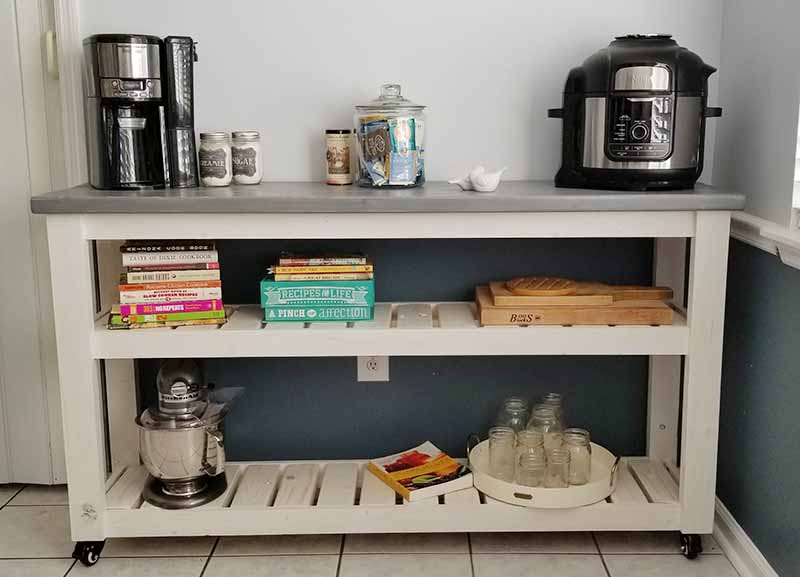
When I saw this kitchen cart on wheels made by Jada Humphrey, I knew I wanted to share it with all of you. Jada also gave me permission to create plans so that you can make your own!
Looking for more woodworking projects? Check out How to Build a Modern Desk with Hairpin Legs and my Modern Farmhouse DIY Open Shelving.
Uses for a kitchen cart on wheels.
When you have a small kitchen extra storage is key. It has to be functional and it has to fit where you need it. Most of the time it needs to do double duty. So how can you use a kitchen cart on wheels? Here are some ideas.
- Storage for small appliances. It will get them off the counter and give you more space.
- A place to keep cookbooks.
- A coffee bar.
- Extra pantry storage
- Extra workspace
- Buffet when entertaining
- Add stools and use it as a table
How to Make a Kitchen Cart On Wheels
Depending on your needs, a rolling kitchen cart can only make life easier.
Materials
- 5 – 2x4x8 boards
- 6 – 1x3x8 boards
- 4 – 1x2x8 boards
- 3 – 2x6x8 boards
- #8 1-1/2″ pocket hole screws
- 4 – 2″ swivel casters
- #8 1-1/4″ woodscrews
- #8 1-1/2″ woodscrews
- Paint or stain of your choice
- #8 2″ woodscrews
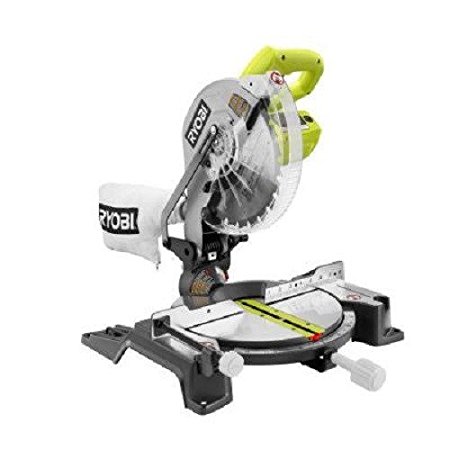
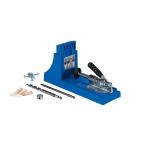
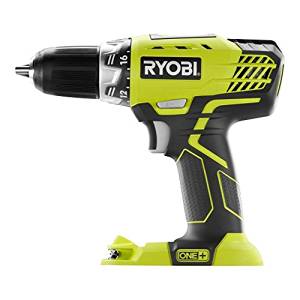
Tools
 |  |  |  |
OK, Let’s get dirty!
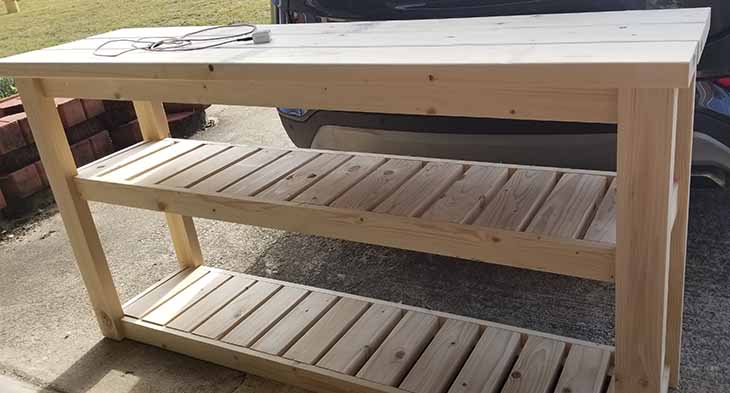
Step 1. Cut the lumber
Cut the lumber per the plans. Be sure to check that the lumber you purchase is straight before buying it.
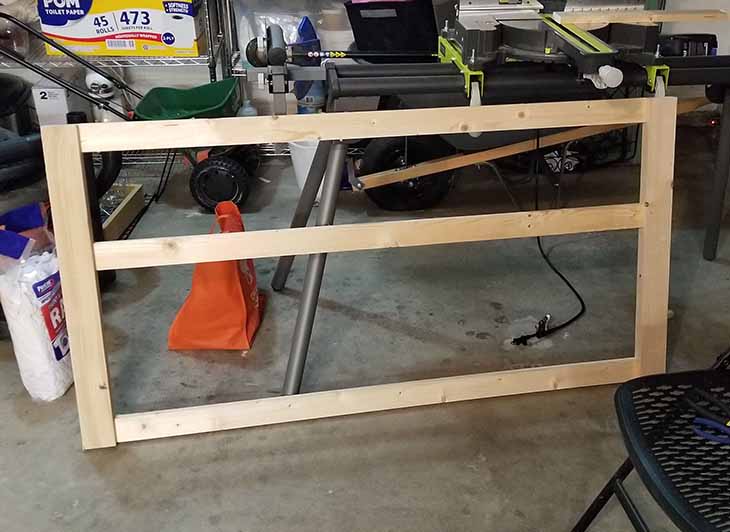
Step 2. Make the sides of the cart
Start by attaching the end rails to the legs. They should be placed directly in the middle of the 2X4 legs
Step 3. Connect the two sides
Connect the two sides of the cart by screwing in place the 4 back and front stretchers.
The stretcher should be flush with the inside edge of the two sides of the cart.
Step 4. Add back and front rails
Screw in place the back and front rails to the middle and bottom shelves. This will be the ledge for the support beams.
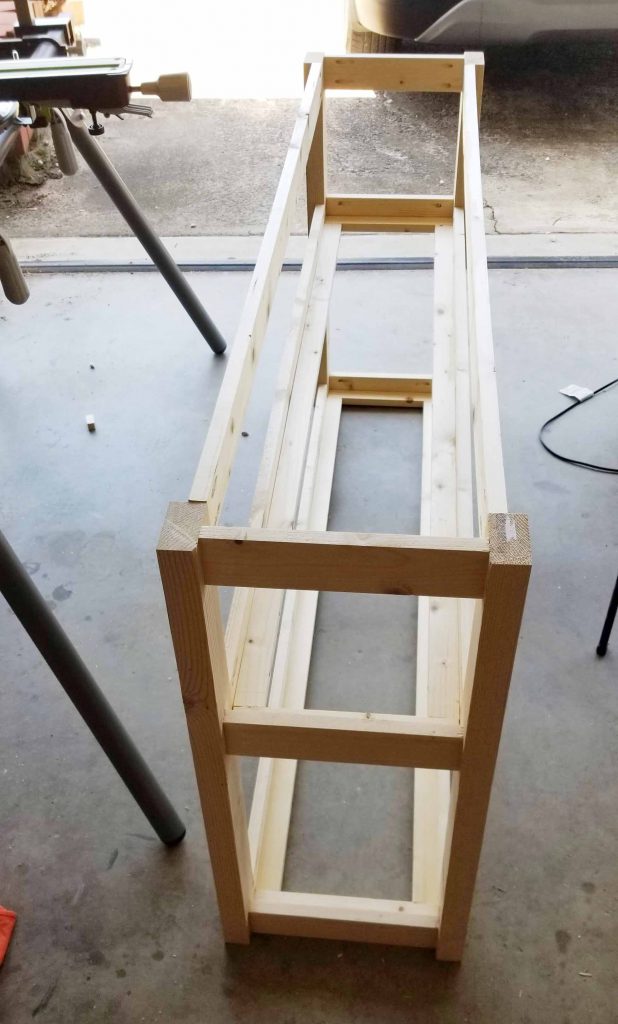
Step 5. Top shelf support
Attach the top support boards.
Step 6. Middle and bottom slats of kitchen cart
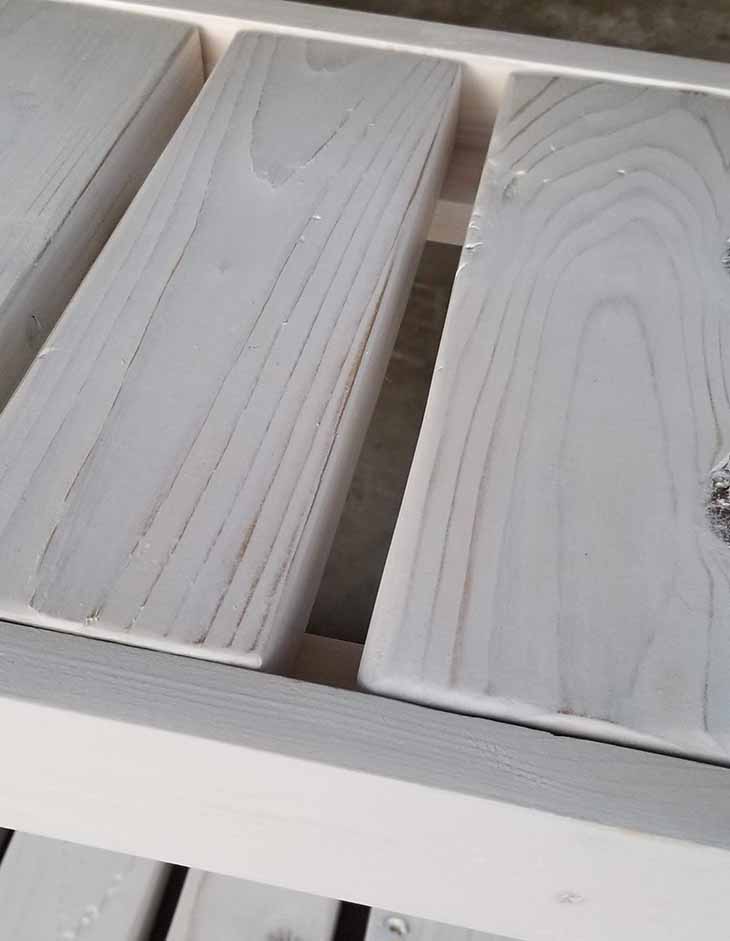
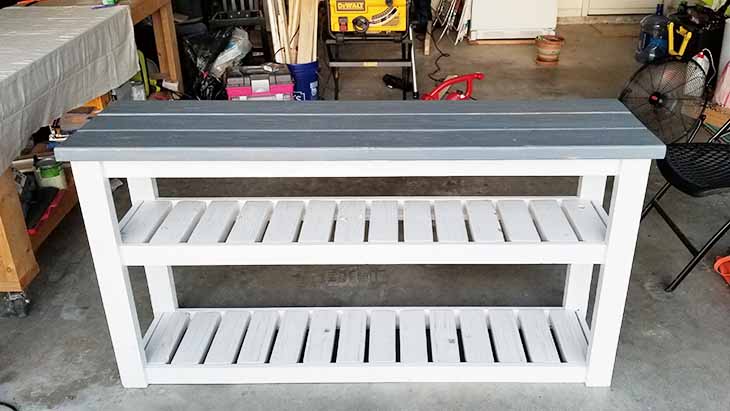
Paint or stain the slats in the color of your choice. Jada used weathered grey varathane stain on the top.
She used a mixture of 1/2 paint / 1/2 water to create the white washed finish on the frame and shelves. Apply 3 coats and sand in between each coat to get the weathered look.
Attach the middle and bottom slats. They should be spaced 11/16″ apart
Step 7. Add the top
Attach the top boards using wood screws. Secure it from underneath with the wood screws so that they don’t show.
Step 6. Attach Wheels to the kitchen cart
Attach 2″ swivel caster wheels to the bottom of each of the four legs.
Step 7. Finish
Finish the kitchen cart with wheels by applying 2 coats of varathane water based triple thick polyurethane to protect the finish.

That’s it! Isn’t this a great project? Jada did a fantastic job!

Jada is an accountant by trade, originally from Rochester, NY and happily transplanted to sunny Georgia! She loves the pioneer lifestyle and tries to be self sufficient, so she has been sewing, quilting, soap making, and canning for years. For fun she enjoys hiking Georgia’s state parks. She started woodworking 3 years ago when she purchased her home. She says “It’s satisfying to be able to build custom pieces that suit my needs for a fraction of the cost (that’s the accountant in me). I like learning new skills and sharing with other women to encourage them to try basic home maintenance.” Follow Jada on Instagram for more of her DIY projects @thejadster

Tốc độ tải game tại slot365 được tối ưu nhờ máy chủ đặt tại Singapore và Hồng Kông – đảm bảo độ trễ thấp, không giật lag dù bạn ở bất kỳ tỉnh thành nào tại Việt Nam. TONY04-17