DIY Miter Saw Stand
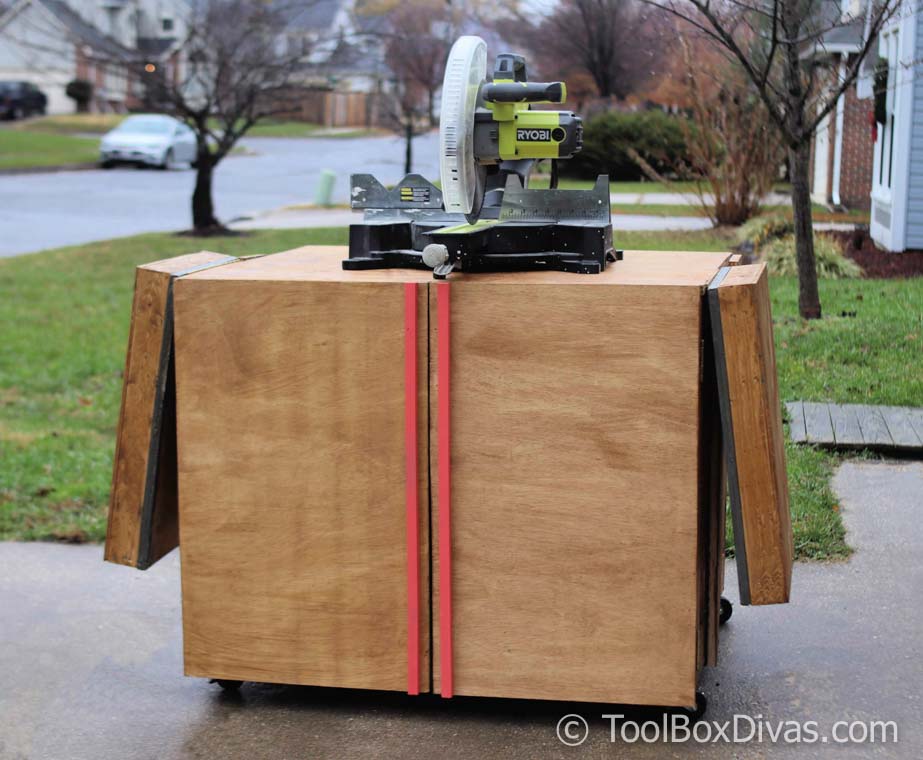
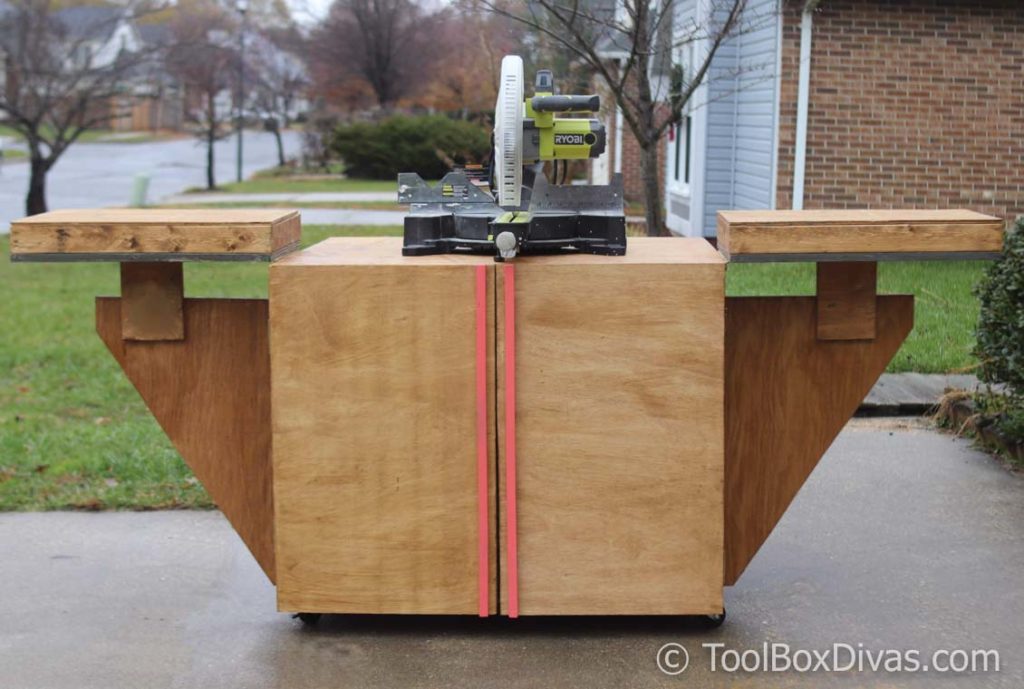
In this tutorial, I will show how I re-purposed an old workbench to create a mobile miter saw stand that works with a 12 in. compound sliding miter saw.
*This post contains affiliate links.
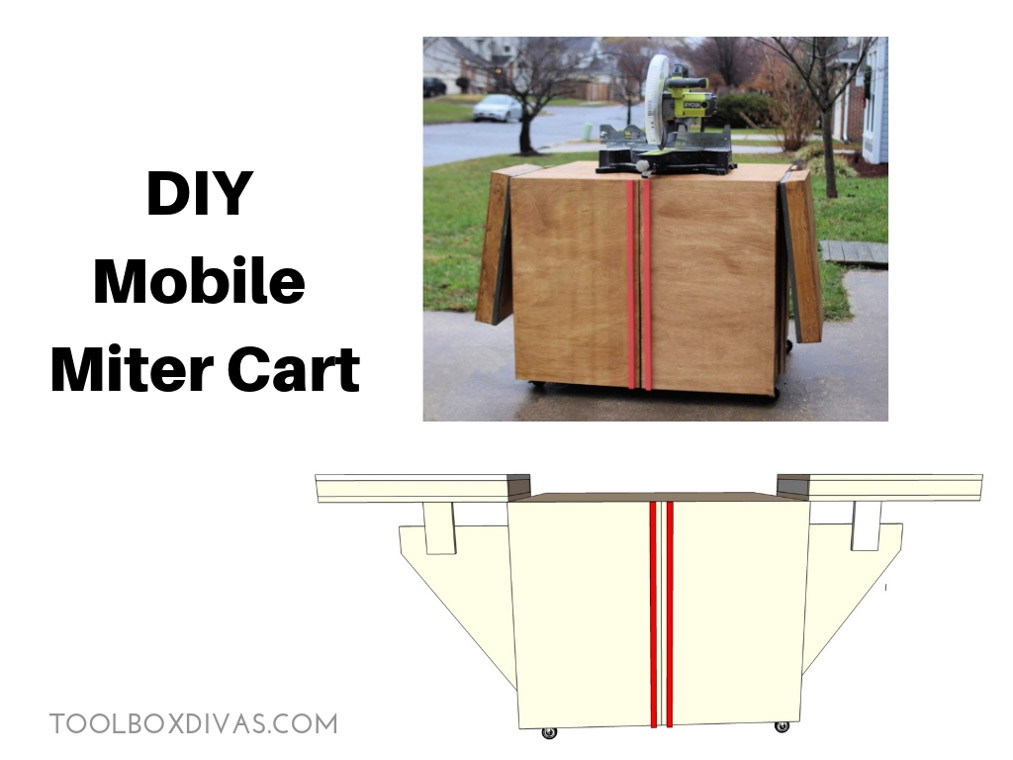 Click below to get the printable plans for this mobile miter cart.
GET THE PRINTABLE PLANS
Materials
(While I reused the boards from my old workbenches here is a list of materials and tools you’d need to complete this project from scratch.)
- 2 – 3/4 in. x 4 ft. x 8 ft. Sanded Plywood
- 1 – Underlayment (Common: 7/32 in. x 4 ft. x 8 ft.; Actual: 0.196 in. x 48 in. x 96 in.)
- 4 – 2x4x8 lumber
- 2 -1x3x8 lumber
- 4 – casters
- 2 –3/4in. x 36″ square dowels
- 2 – Everbilt 1-1/16 in. x 12 in. Bright Nickel Continuous Hinges
- 2 – Everbilt 1-1/16 in. x 30 in. Oil-Rubbed Bronze Continuous Hinges
- Screws (1 1/4″, 2″, 2 1/2″)
- Magcraft Rare Earth 1/2 in. x 1/8 in. Disc Magnet
- Construction adhesive
Tools
-
 speed square
 - Hack saw
- Clamps
- 1/2 Forstner bits
1. Build the carcass of the miter saw cart.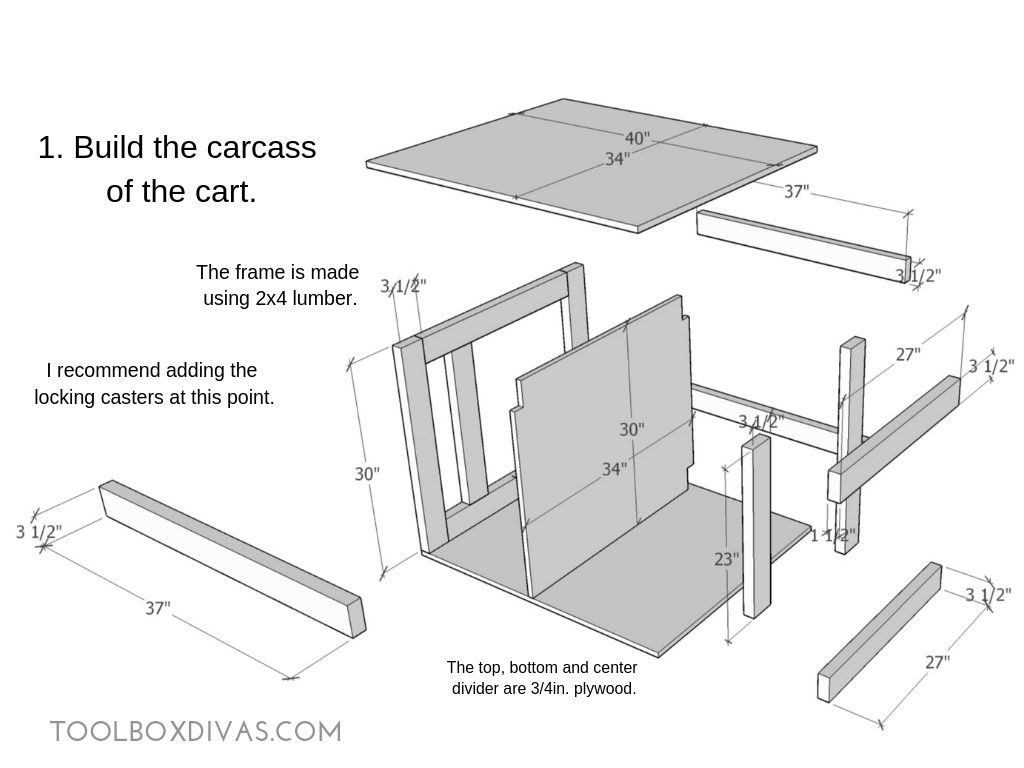
I started by deconstructing my very first workbench. I built this bench years ago when I first got into woodworking to house my table saw and store scrap wood. It served me well over the years but as my skill level and tools grew my needs changed. So I wasn’t really using it. I decided to take it and my old miter cart stand apart to create a new station for my current miter saw which is a lot bigger than the one I started out with.
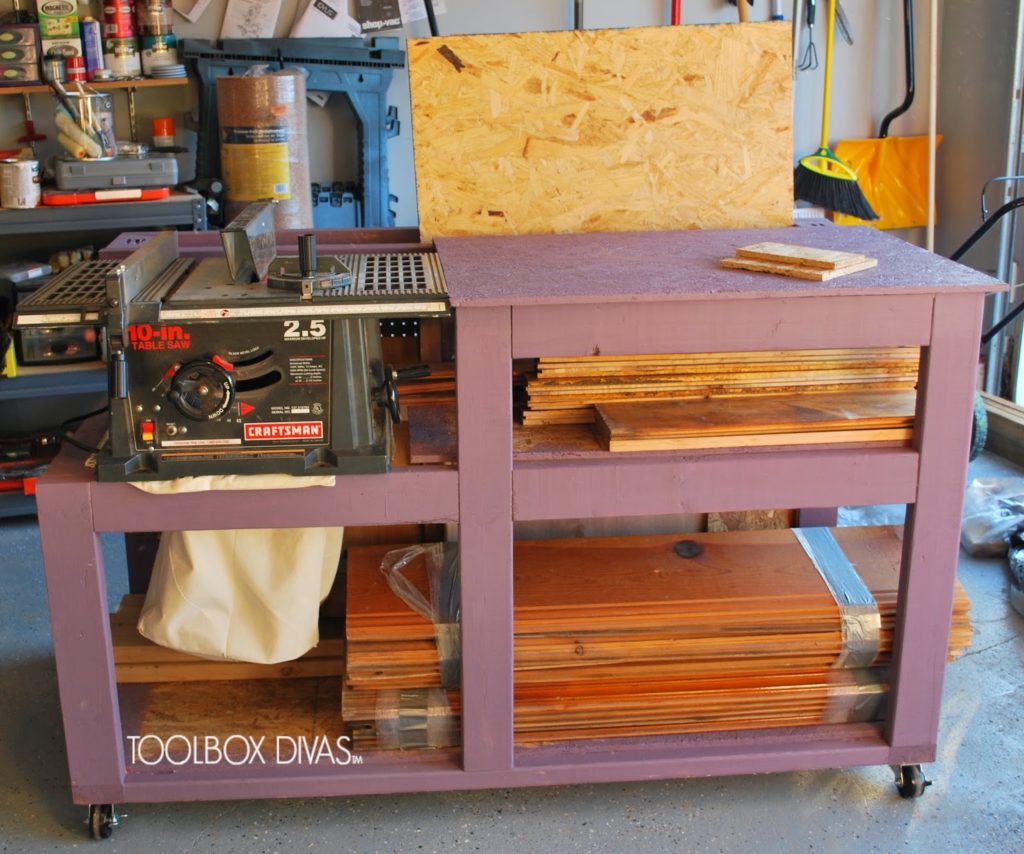
I built the old workbench using 2x4s. So I used it create the base structure for the workbench.
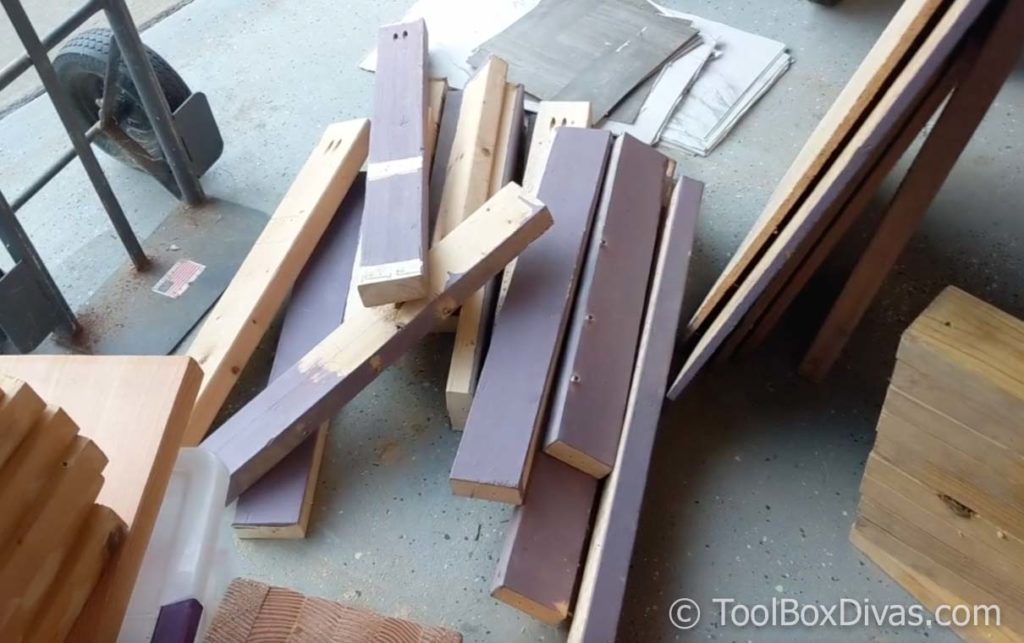
Thankfully, when I originally built my old workbench I used primarily pocket screws and no wood glue. That made dissembling it a breeze and I was able to use the 2×4 and some of the existing pocket holes to develop the new cart.
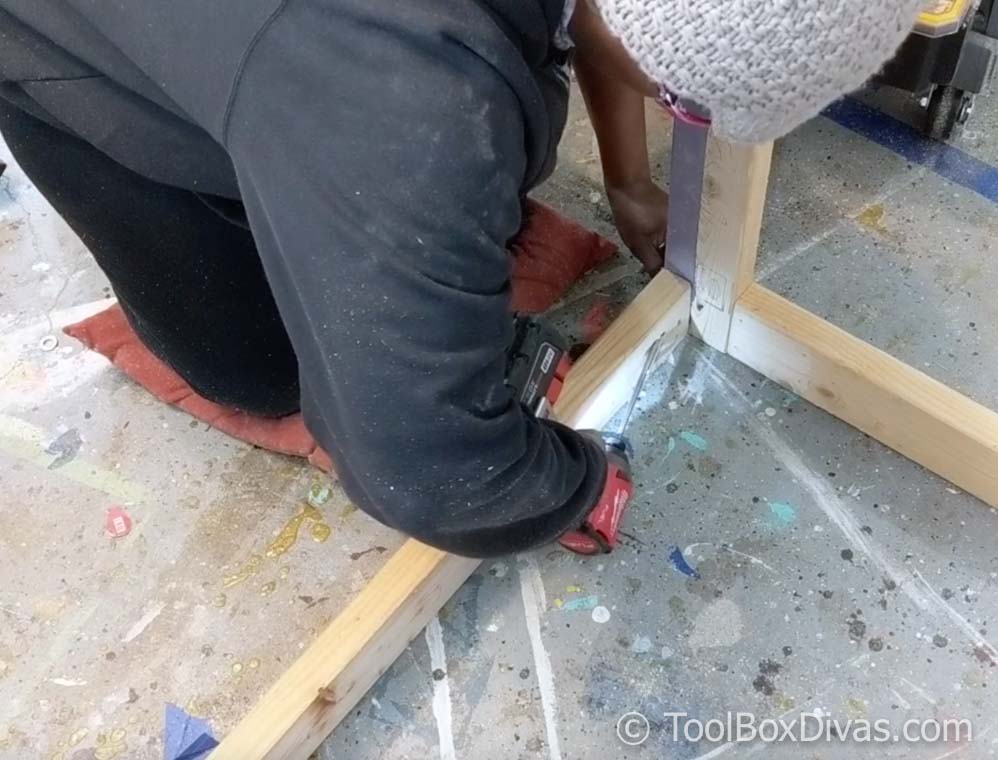
I recommend when working on shop builds to stick with screws because being able to reuse and re-purpose the material allows you to save a ton. If you need to make any changes in the future you simply unscrew the pieces and start again.
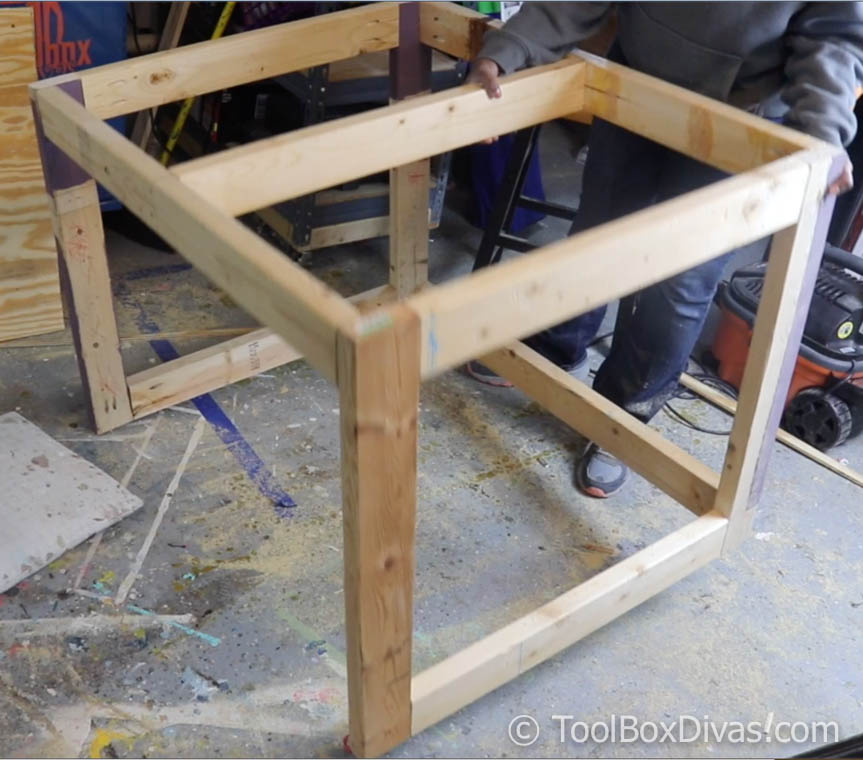
Once the 2×4 frame was complete I used a 3/4in. plywood piece as a divider. I installed the divider and side panels before adding the top and bottom boards.
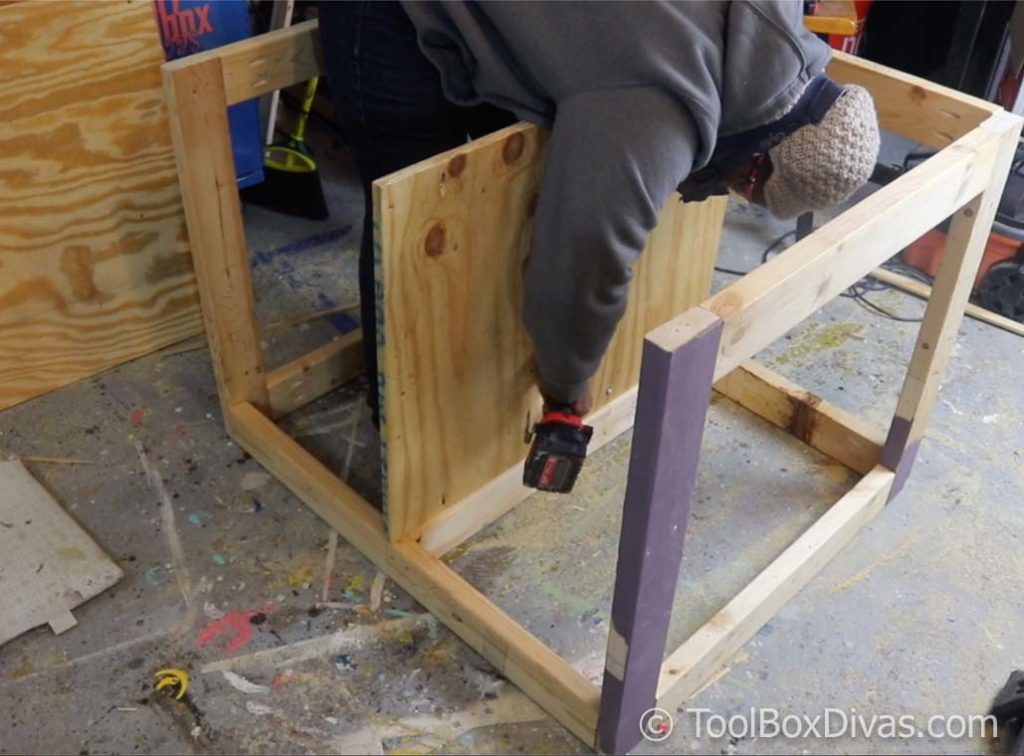
The middle divider was attached using pocket screws.
2. Attach the side panels. Add the top and bottom boards.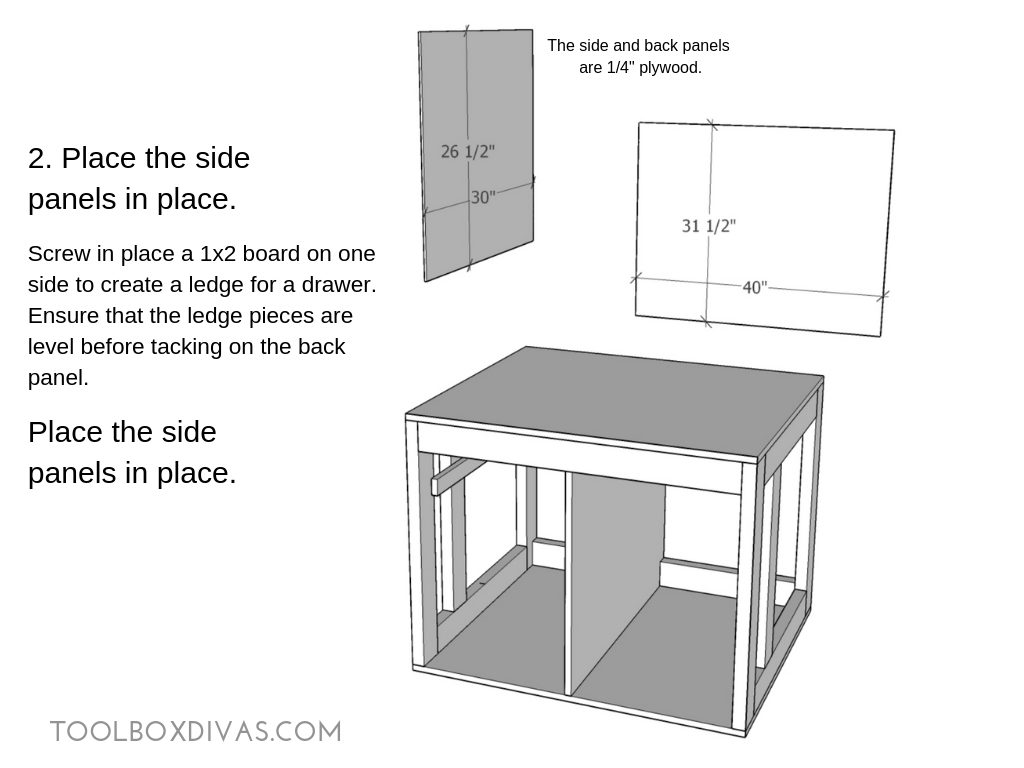
The inner side panels were quarter-inch sheathing that I screwed to the inside of the frame.
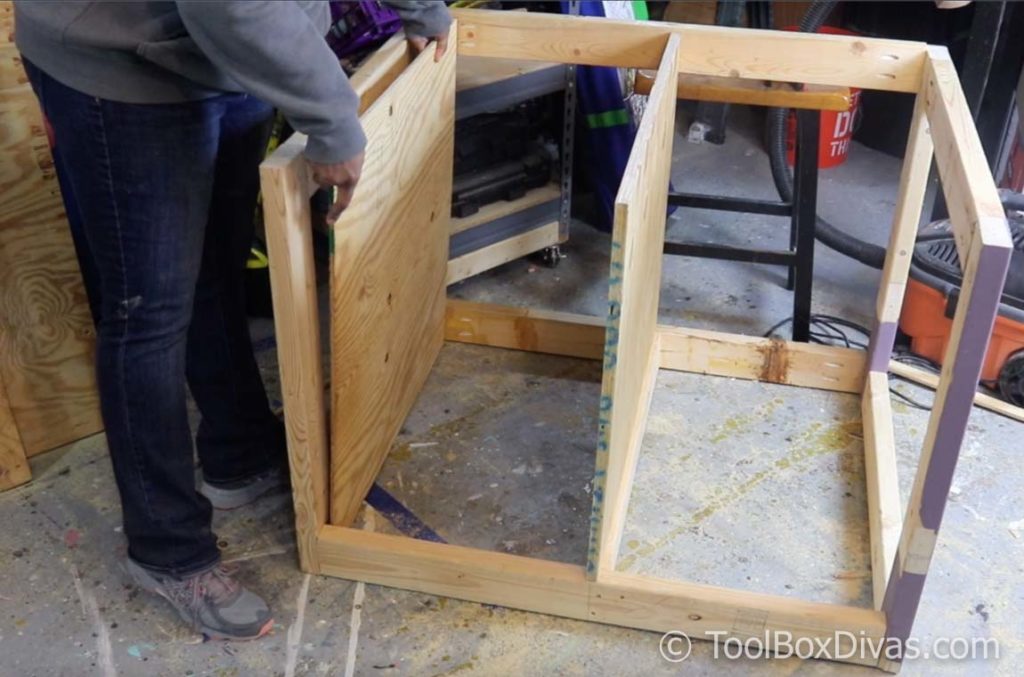
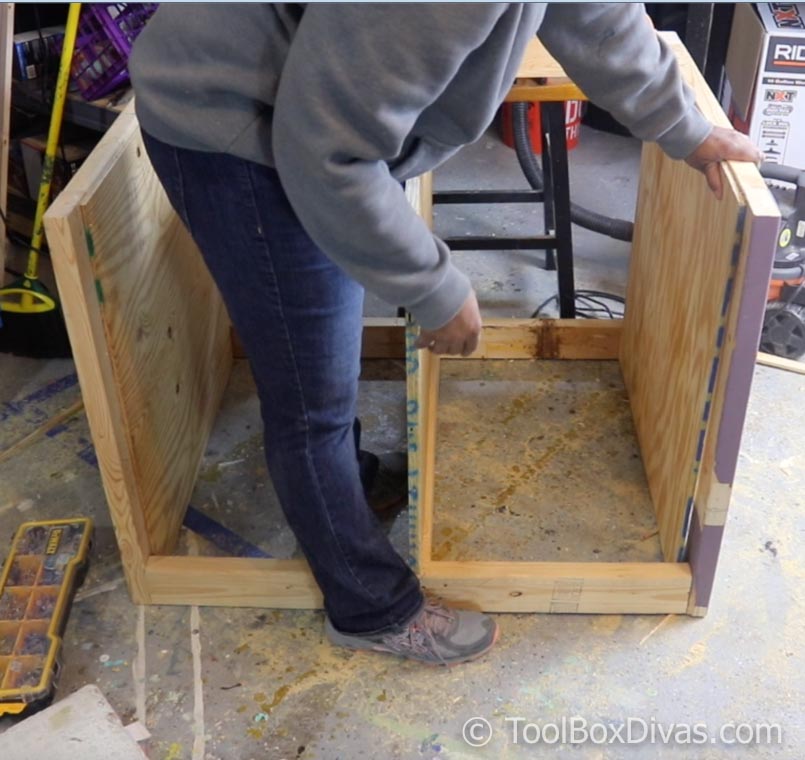
Once I’d fully attached the side panels I cut the boards for the top and bottom and attached with screws, starting with the bottom board.
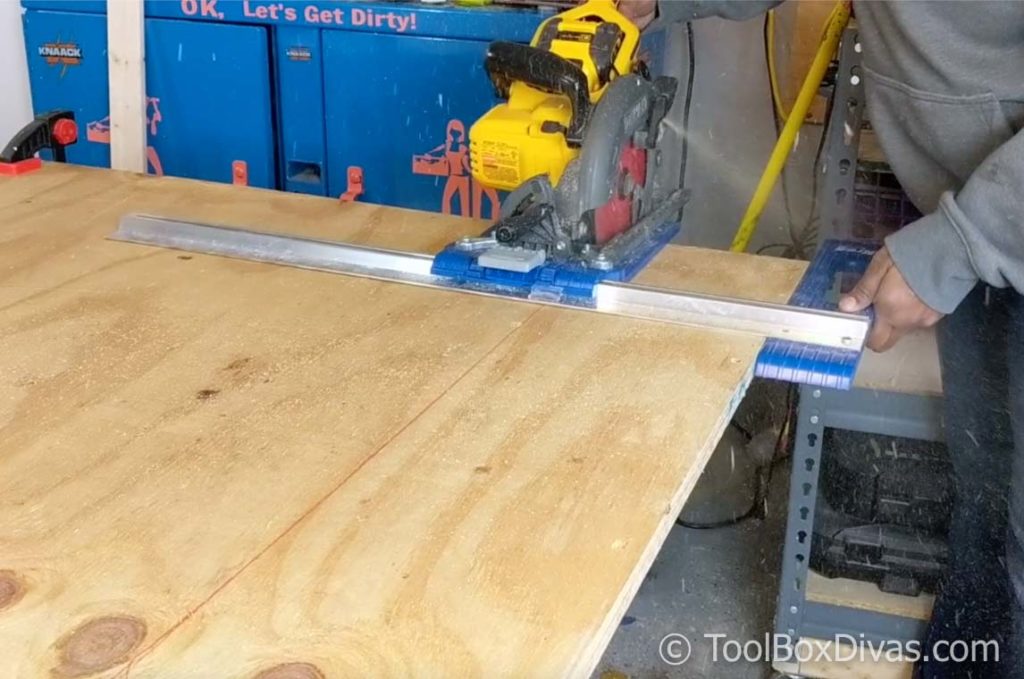
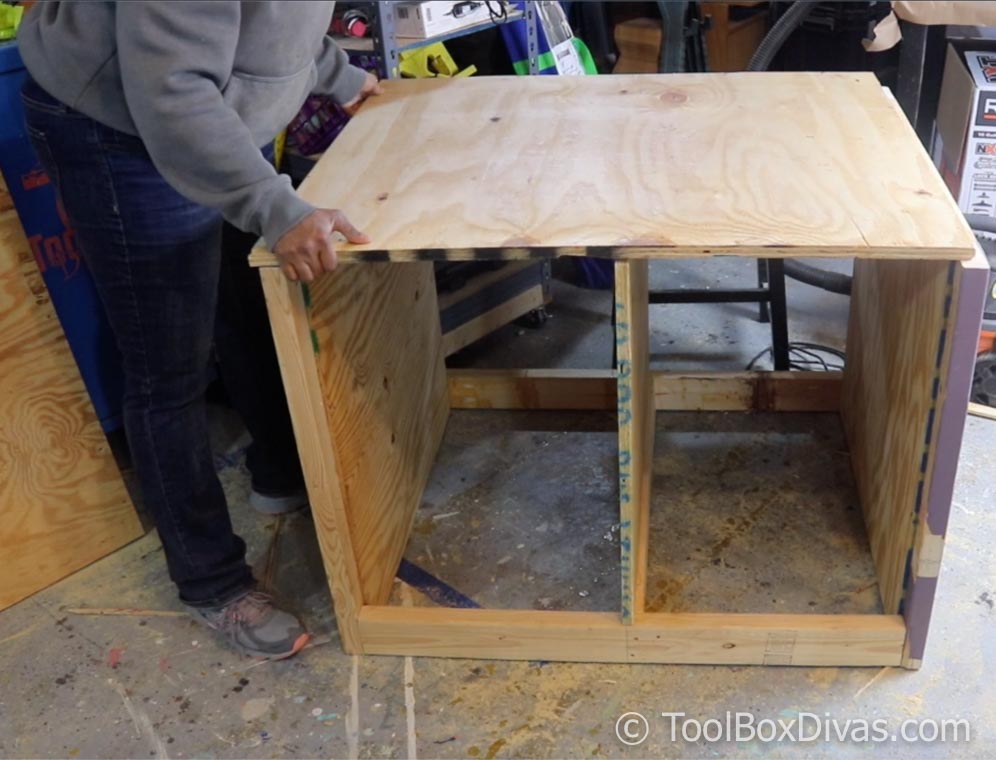
Before turning over to attach the top board I attached the locking casters I removed from my old workbench.

Then screwed in the top of the cart.
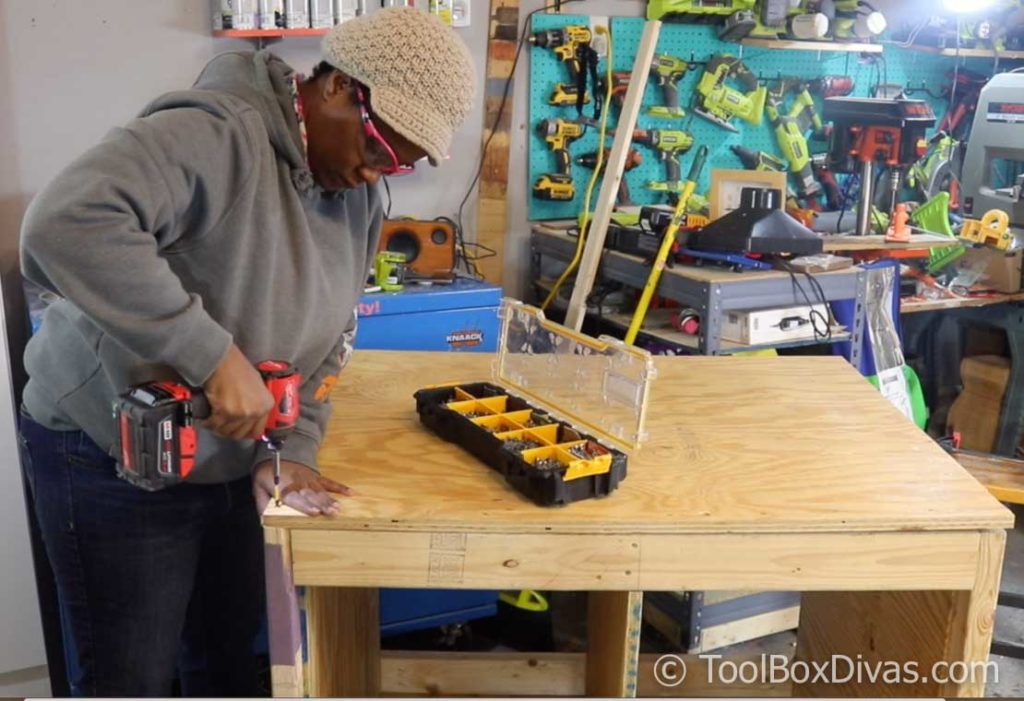
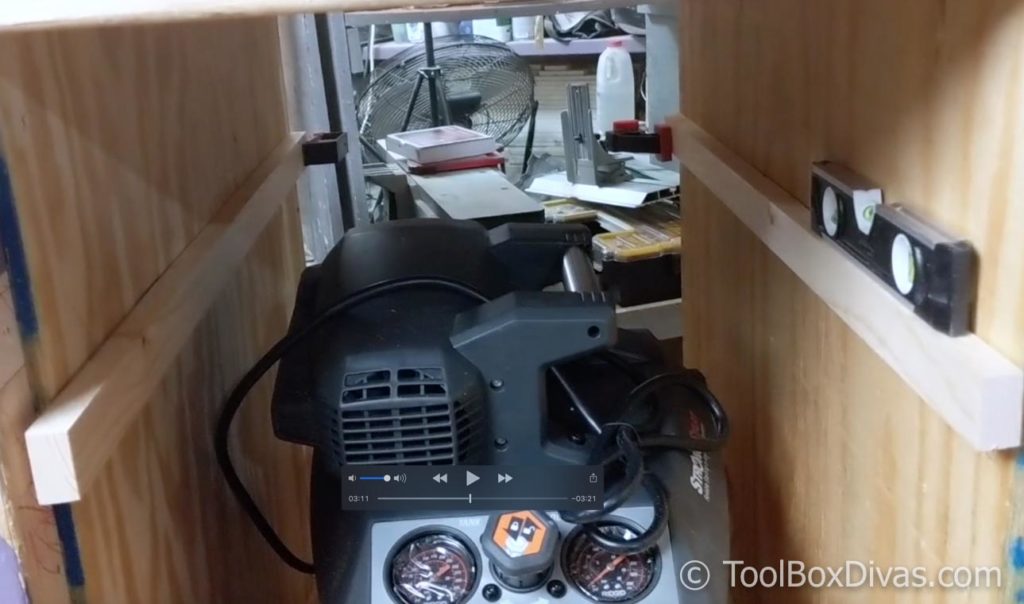
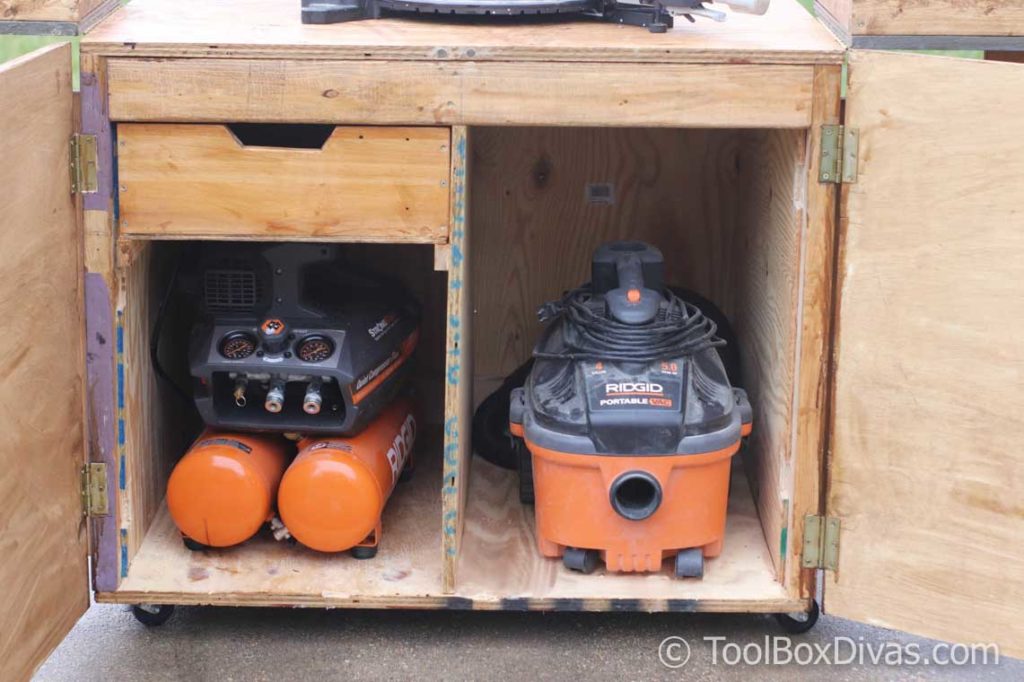
The miter saw cart was starting to take shape. My plans for this miter saw cart was store create additional storage for my compressor and have an area for the s I saw that above the area where I was going to store the wet vac for dust collection. After placing the wet vac in place I saw that I had some space above it I could utilize for additional storage. So I decided to create a drawer.
3. Build the drawer.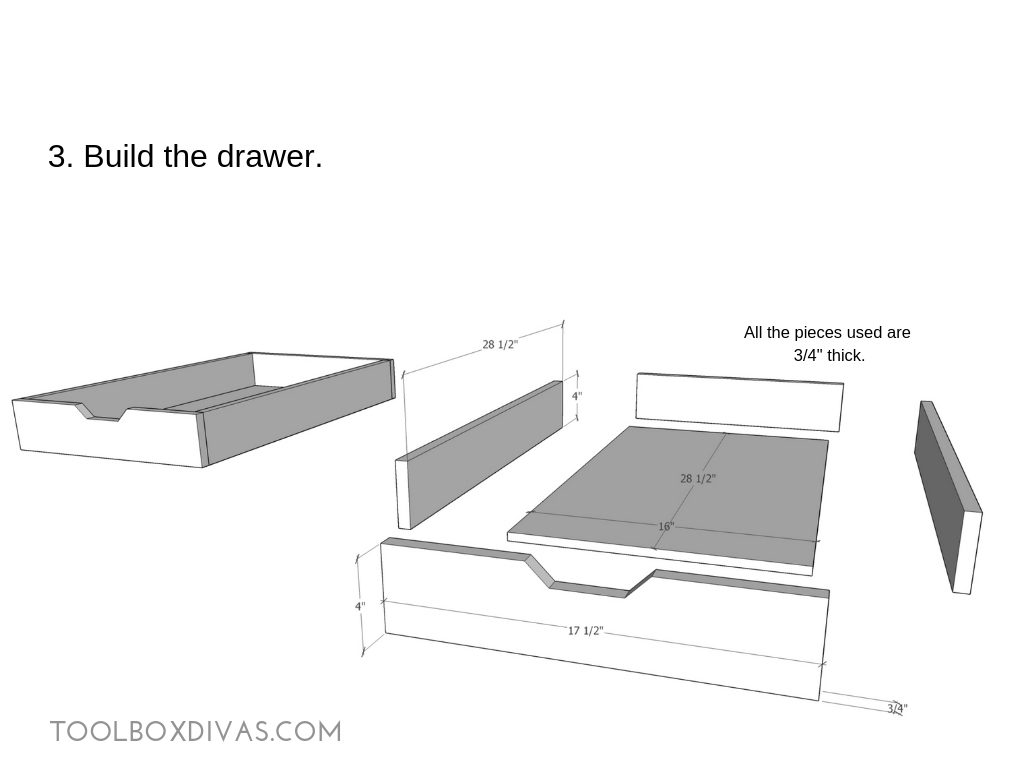
I took a very simple approach to create the drawer. I didn’t want to incur the costs of buying drawer sliders and this drawer is going to be used to store pencils, safety glasses and things I might need when operating the miter saw. So I kept simple by just creating a ledge for the drawer box to slide on.
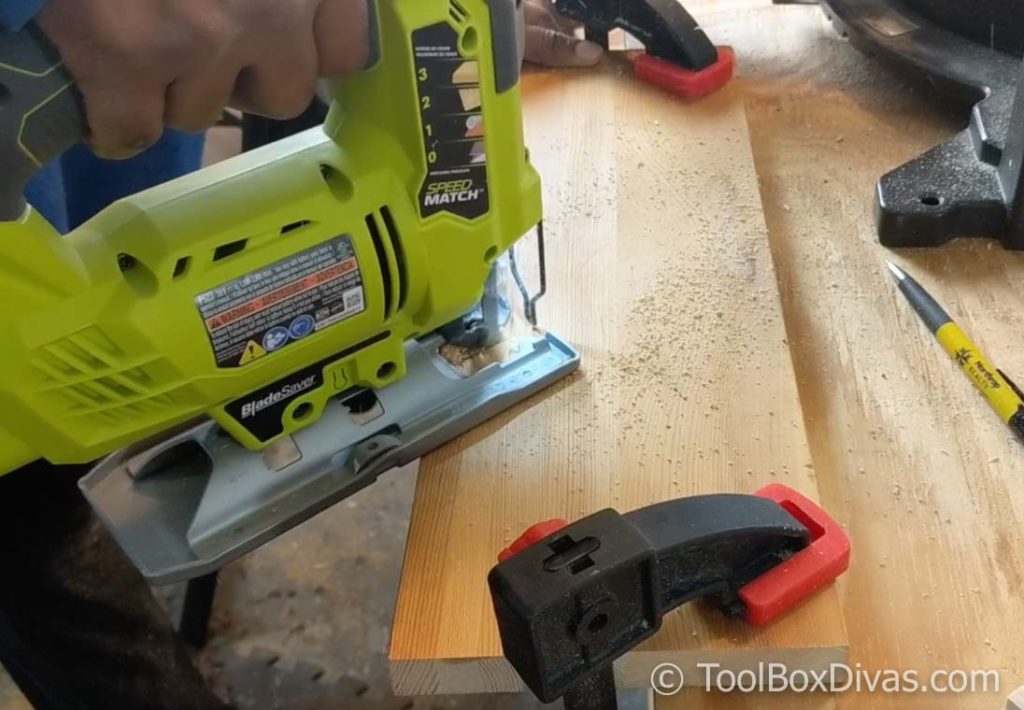 For the drawer front, I used a jigsaw to cut out an opening at the top for opening and closing the drawer.
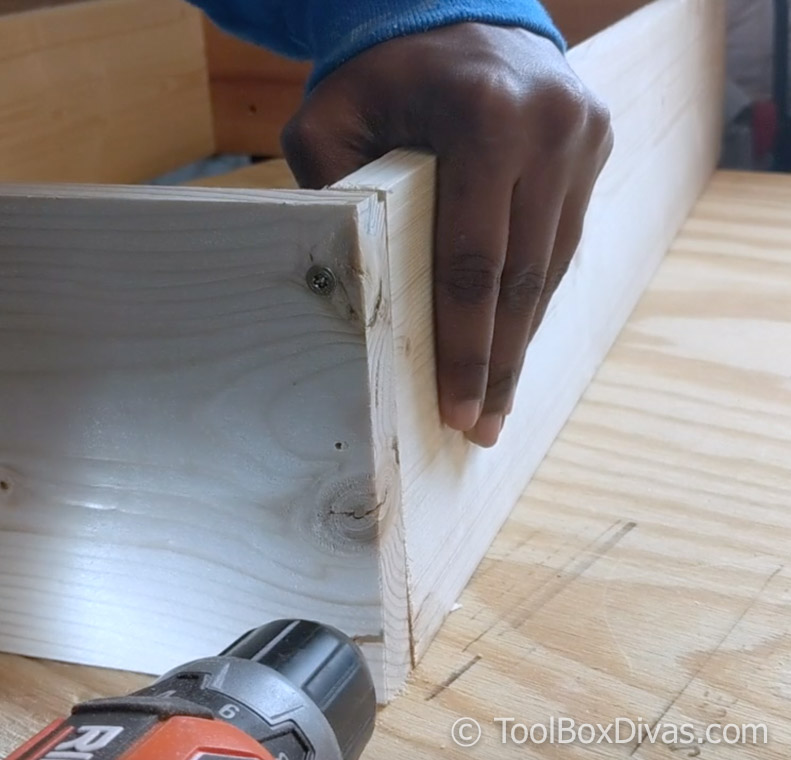
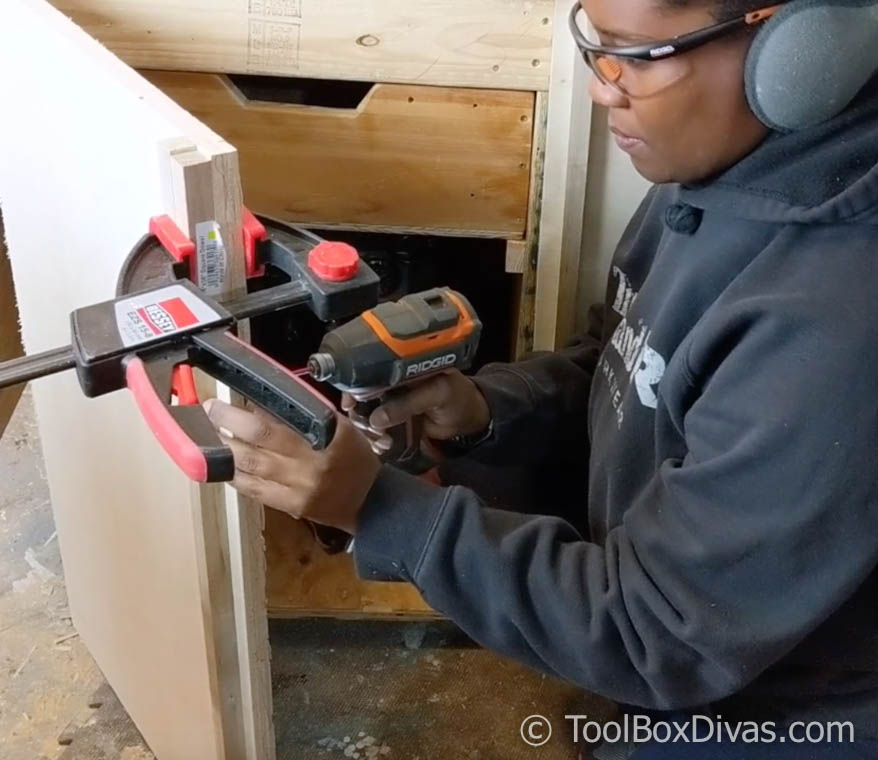
I predrilled the holes into the wood before screwing in the screws to prevent the wood from splitting.
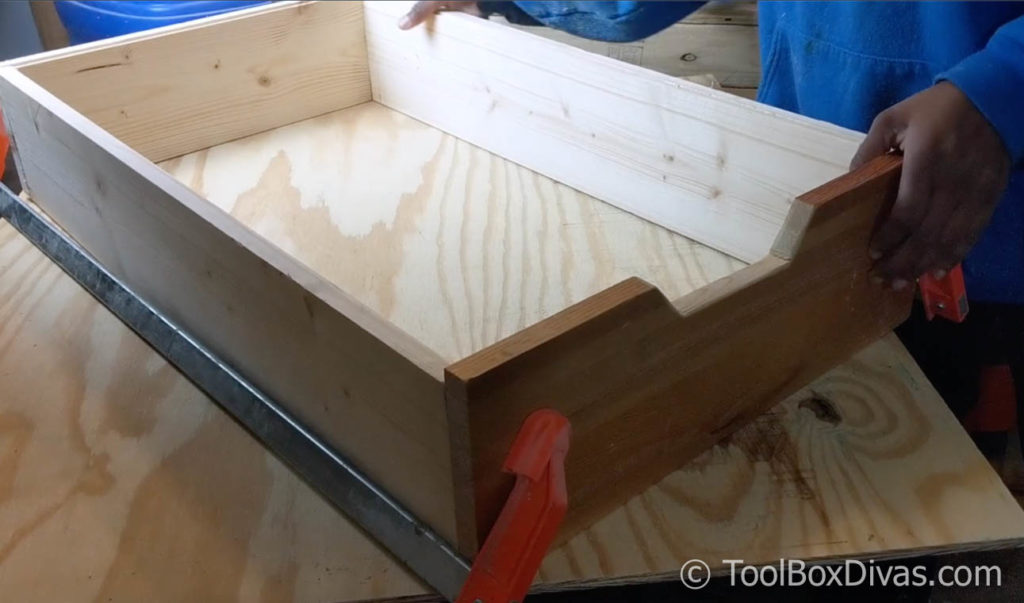
Clamps came in very handy while screwing the boards in place.
4. Construct the wings of the miter stand.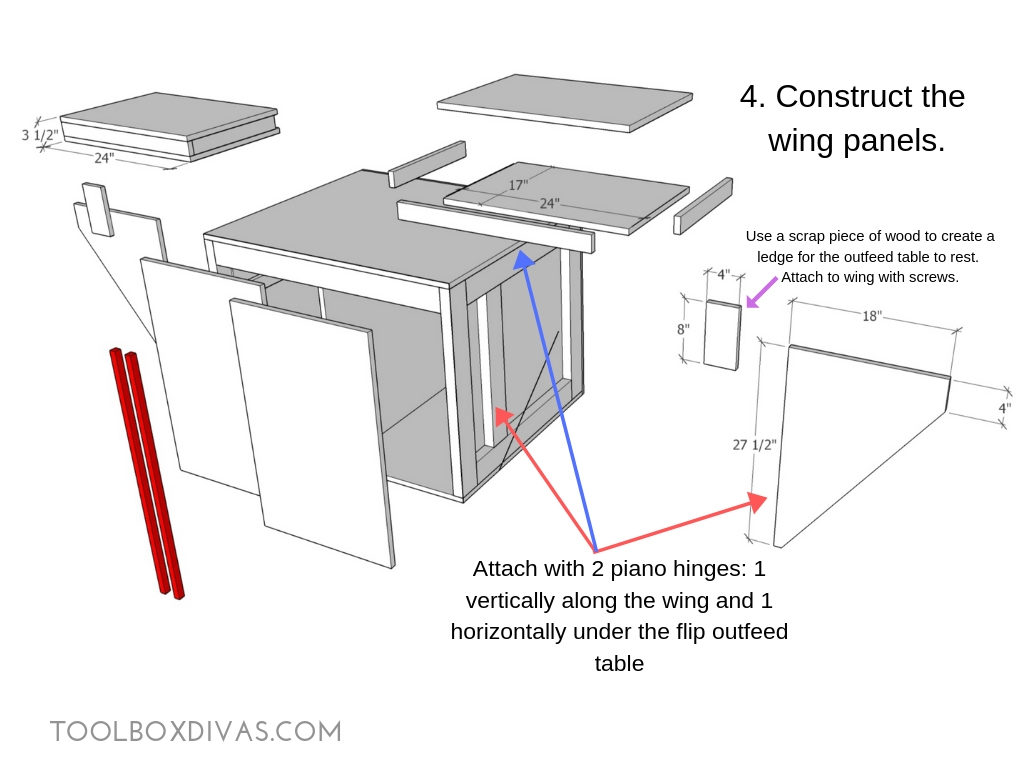
The height of the wings or rather the outfeed portion is determined by the height of your table saw from the base to the table of the miter saw. For my Ryobi Sliding miter saw that hight is 3.5 inches. So using a 1×3 board and a 3/4 in. board for the top and 1/4″ piece for the bottom I was able to achieve that height. But you can be flexible and use what you have just as long as the height doesn’t exceed the height of your saw.
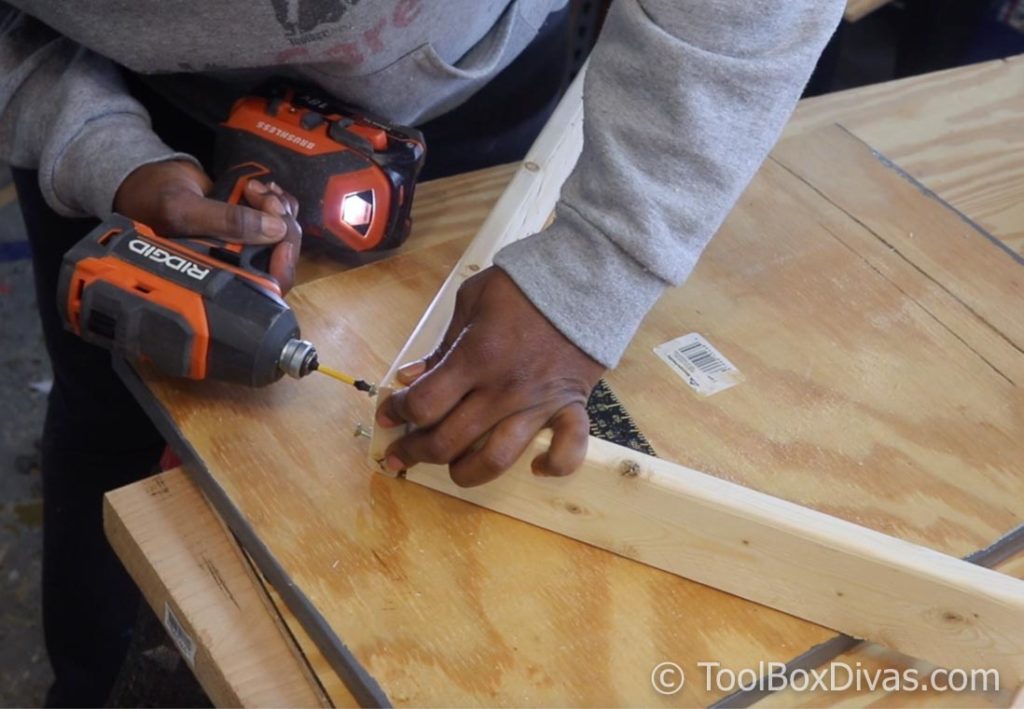
All the pieces were secured with screws that I predrilled in place.
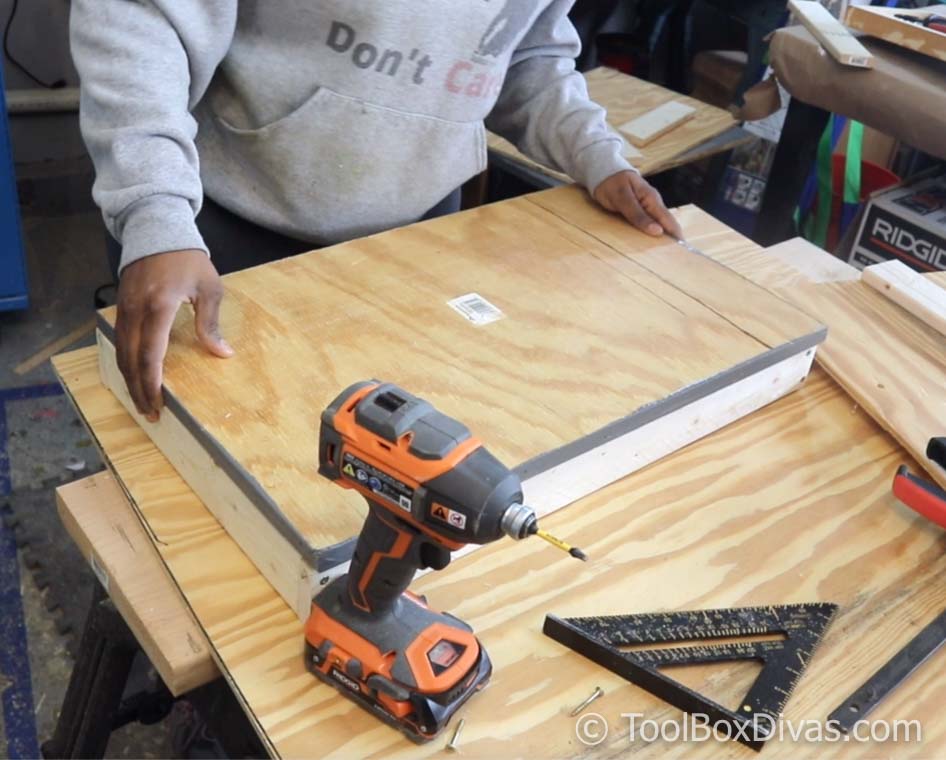
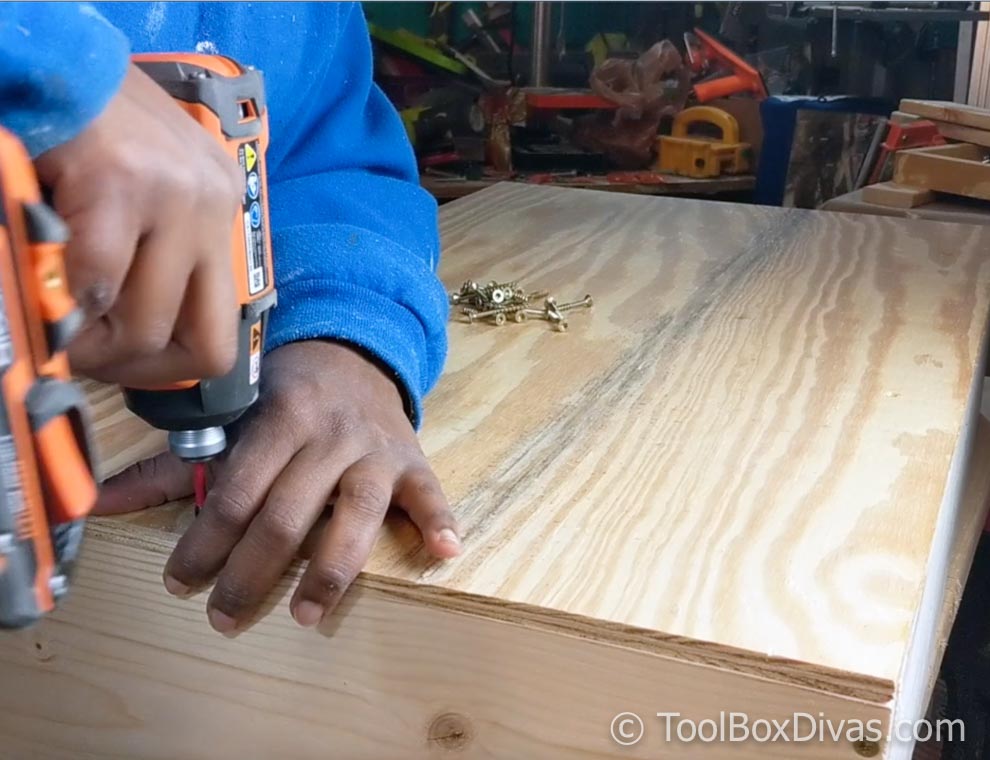
Now it was time to attach the outfeed to the cart. To do this I used basic piano hinges. I do recommend using longer screws than what comes with the hinges because you will be loading boards that have some weight on to these.
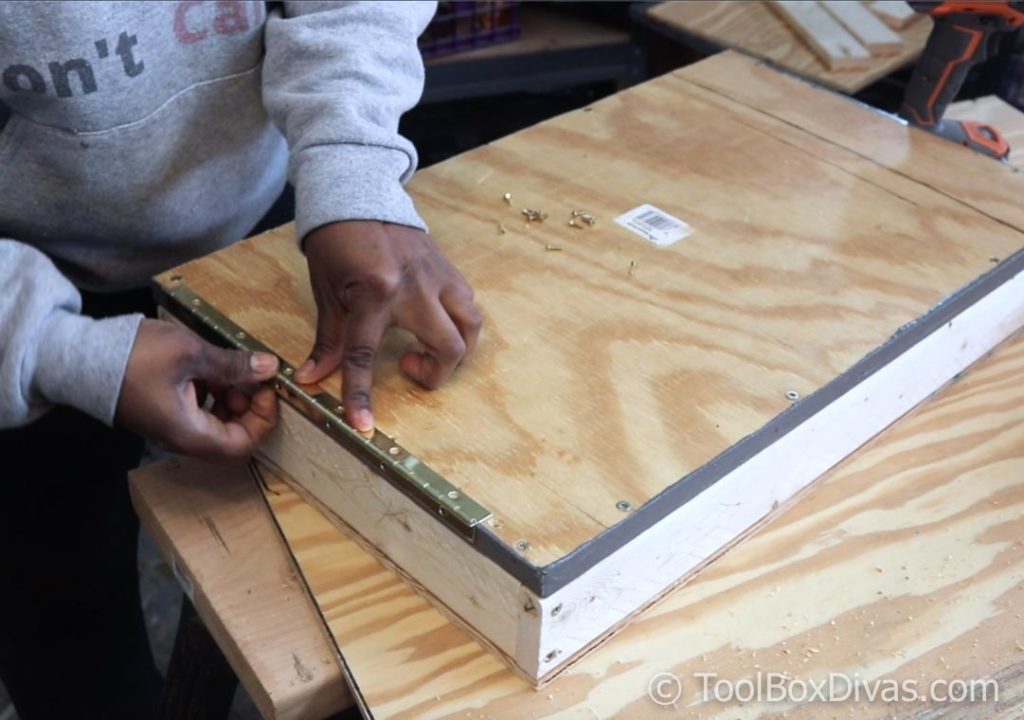
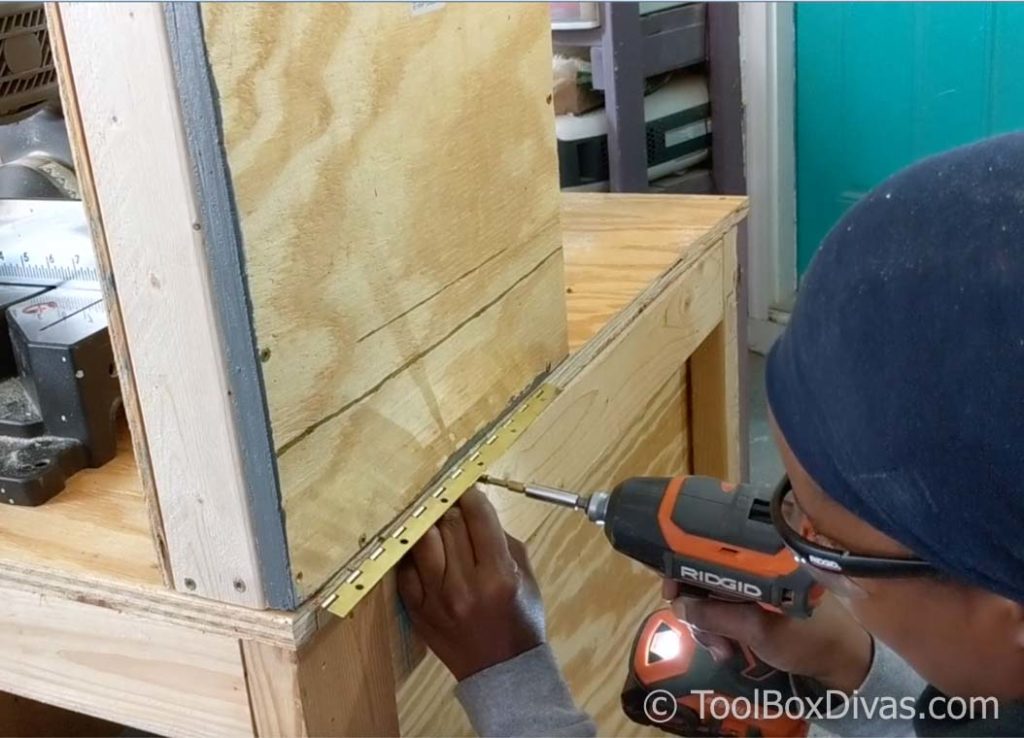
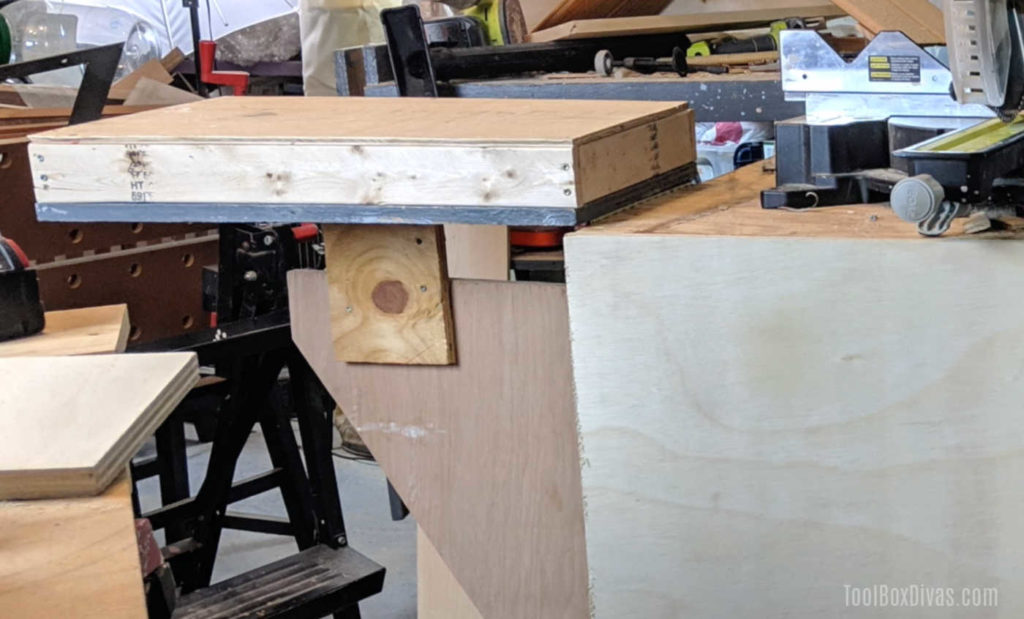
Secure the outfeeed table to the side of the miter cart. Now to hold the outfeed table in place you have a couple of options. Originally I went with a 1×6 board cut at an angle on both sides that locked in place with stop block under the outfeed table.
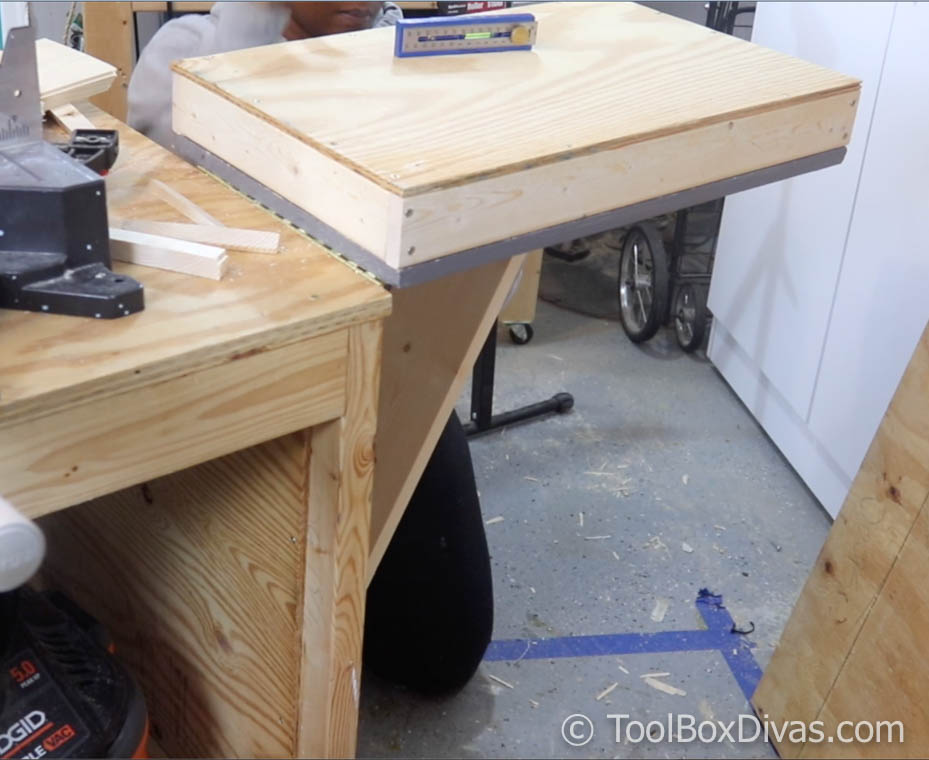
This worked great at first. But I could never figure out what to do with the board when it wasn’t in use. Also, I kept accidentally cutting it thinking it was for another project. So I came up with another solution.
Using a longer board I cut on sort of a triangular shape I attached a longer piano hinge to go along the side under the outfeed table.
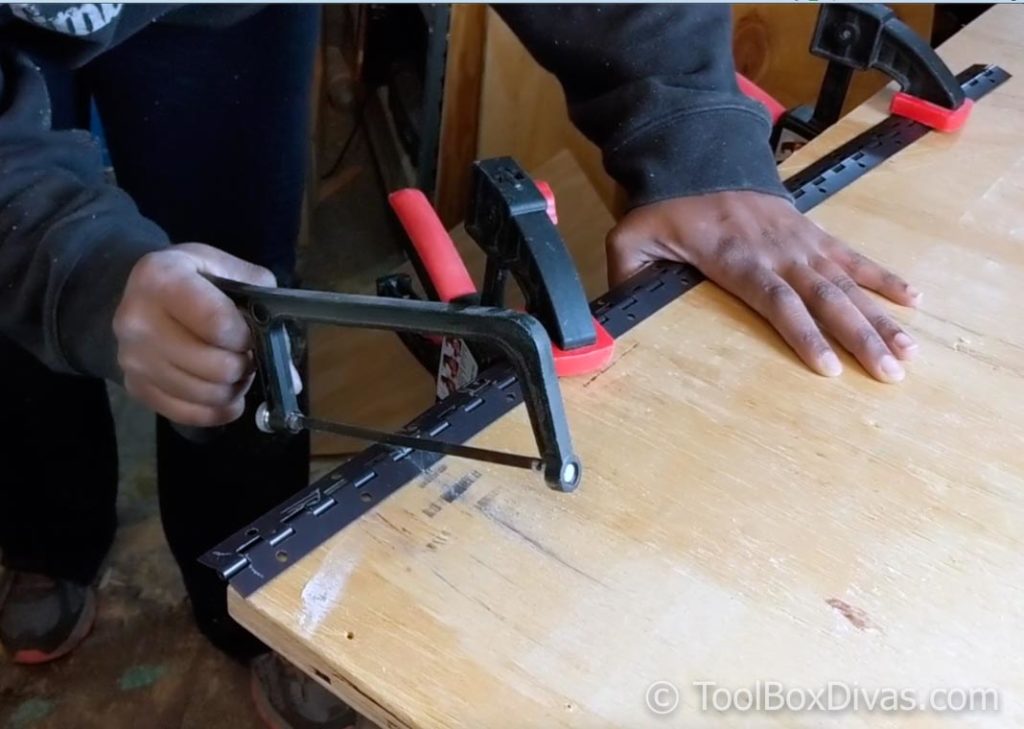
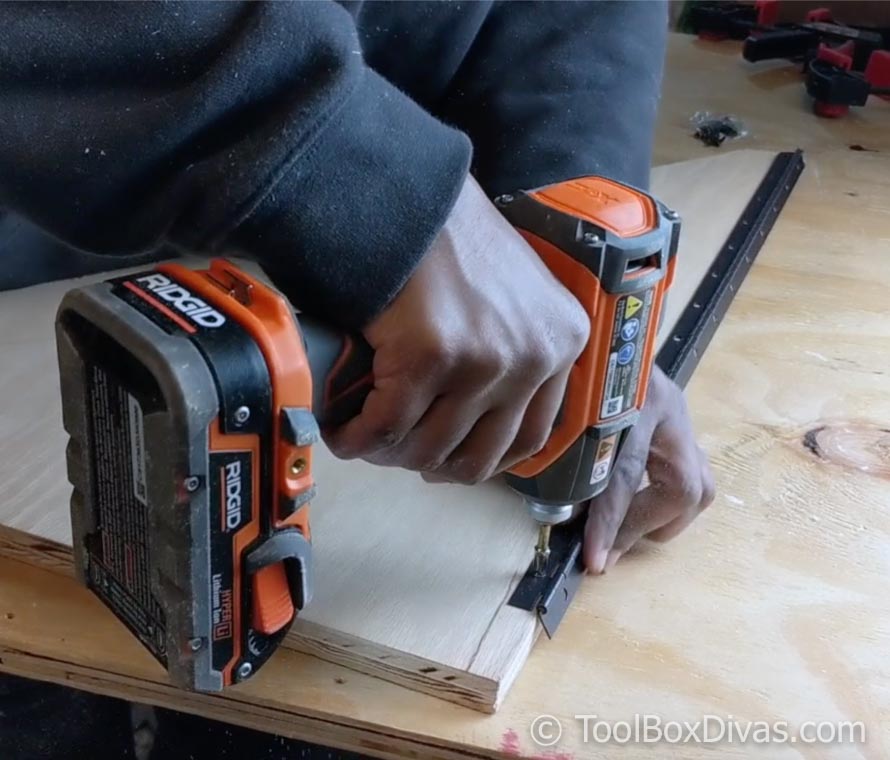
But to attach it to the side I had to toenail another 2×4 to each side with the frame to secure the hinges.
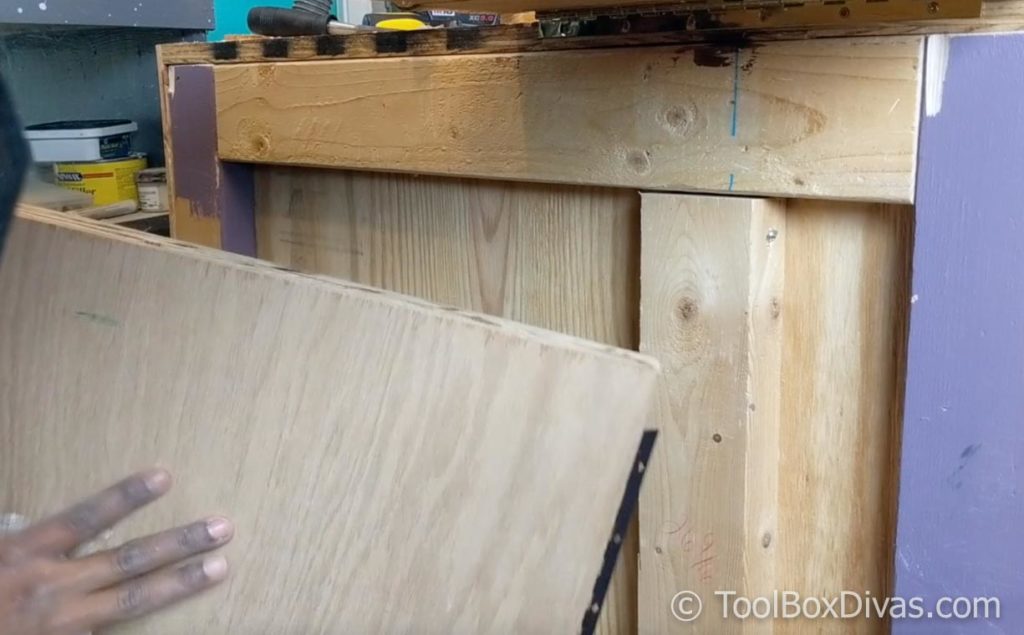
Originally, I installed this panel to close to the outfeed table and realized I couldn’t properly put the outfeed table down at that height.
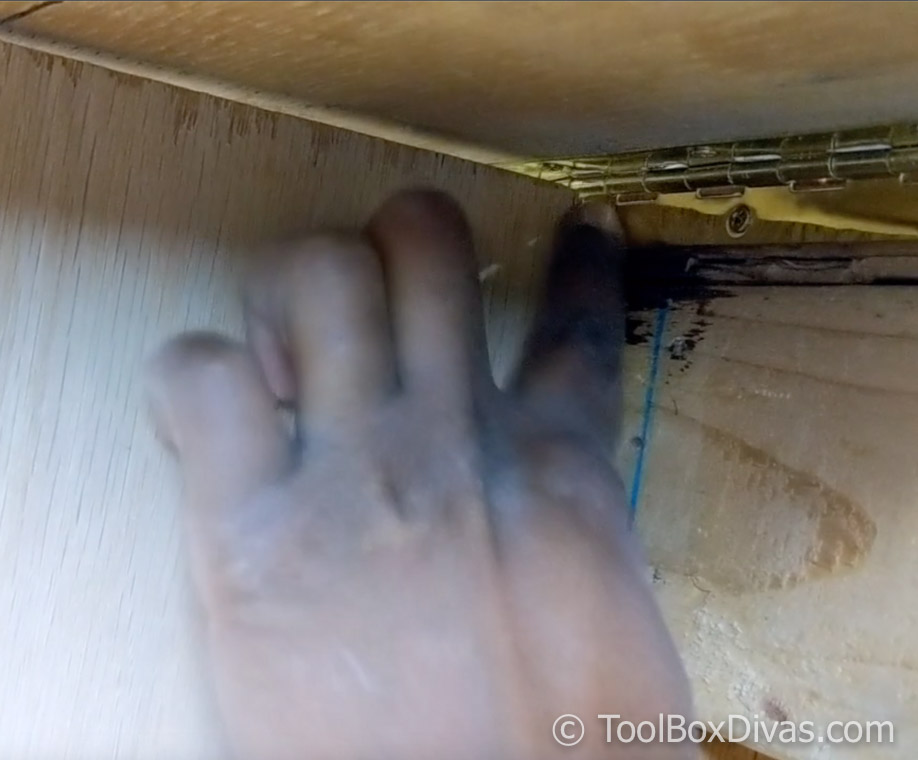
So I lowered the board and added a smaller scrap piece above it to hold the outfeed table in place. I highly recommend doing this on level ground and to use a level. My garage is not level and at some points has a steep slope.
5. Add the doors and door handles.
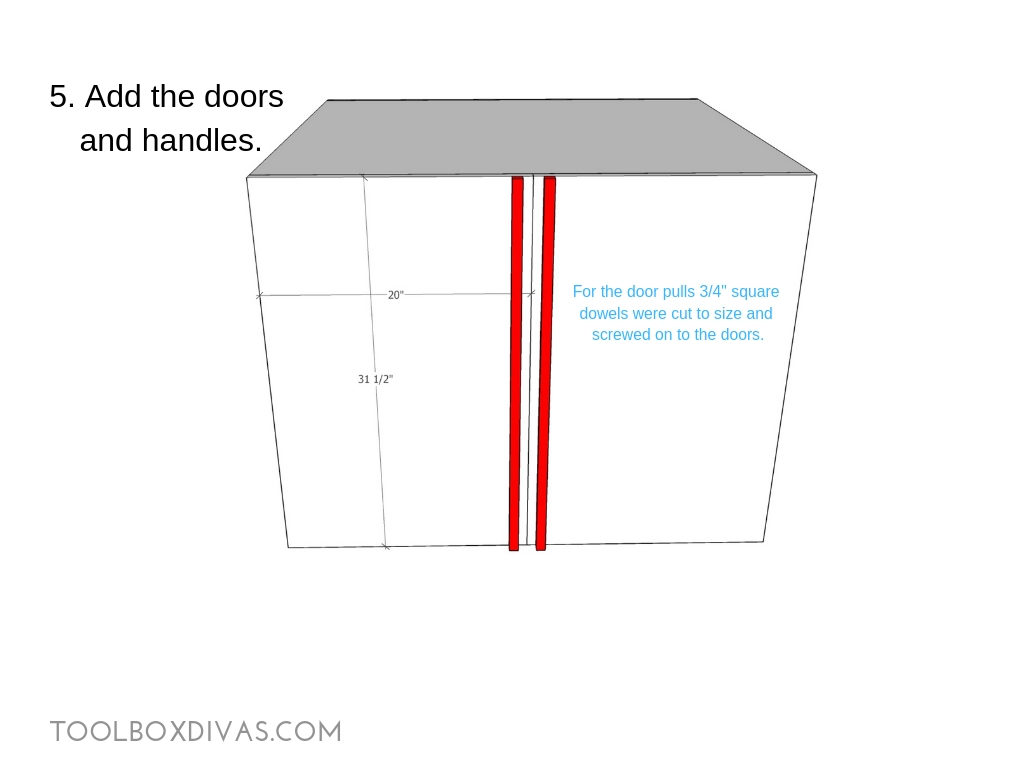
Finally, I added the doors. I chiseled the area where the door hinges would go so that I could fully close the doors.
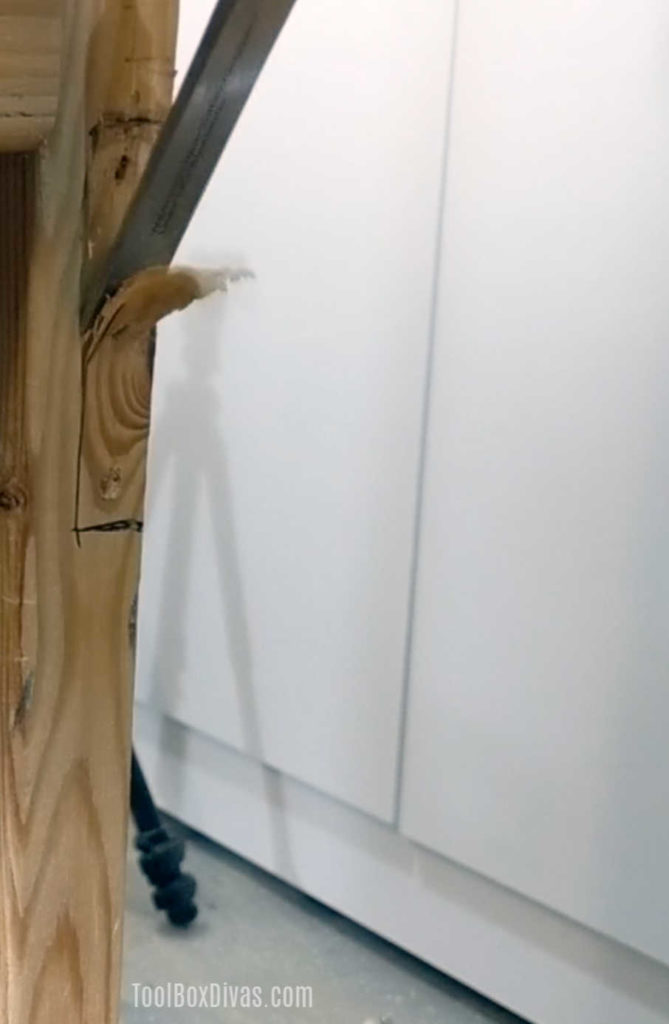
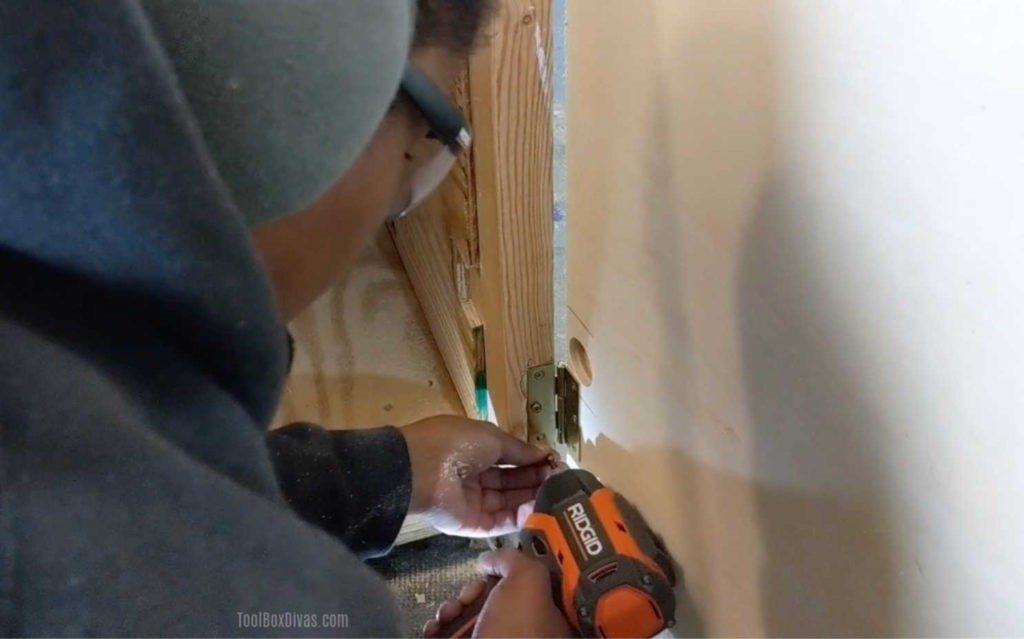
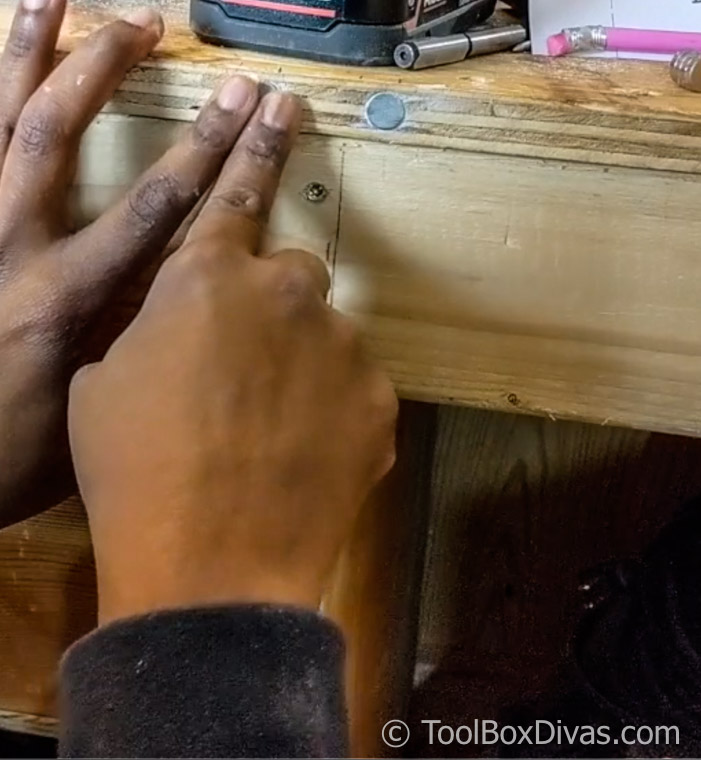
Then remember how I said my garage floor slops, well, as a result when I moved the miter saw stand from place to place in the garage the doors would fly open. I didn’t want to go pick up some door magnets so I came up with this solution. I had some rare earth magnets that I used in my KNAACK workbench. So using a 1/2 in. a Forstner bit I drilled into the door and frame of the miter saw cart. Then added Gorilla construction adhesive to the hole and inserted the magnets.
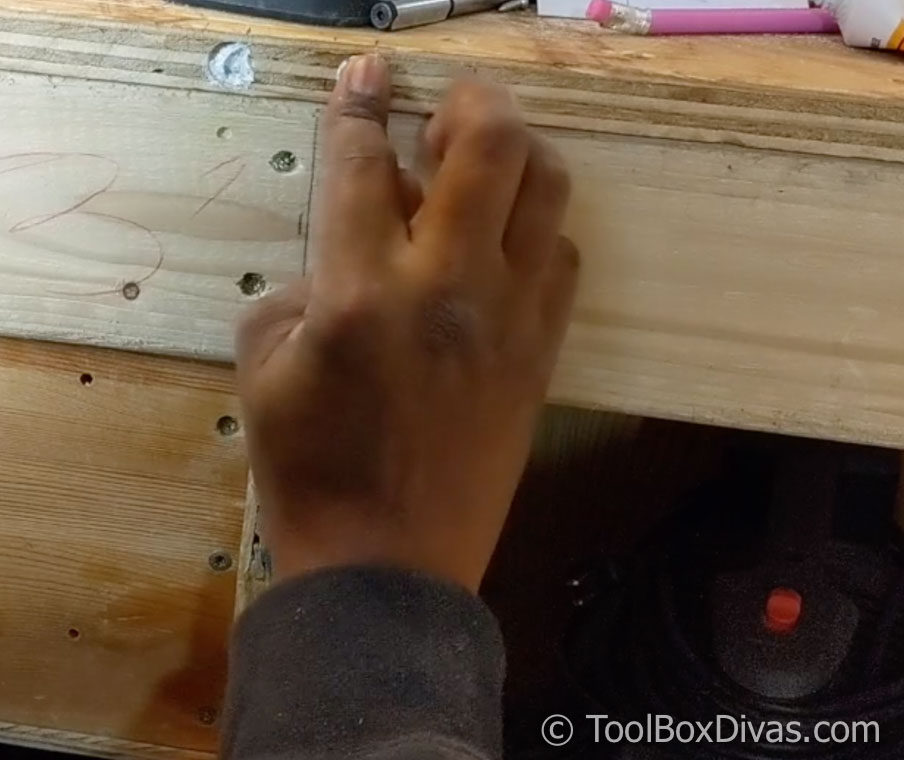
I allowed a day for everything to dry, but it worked perfectly.
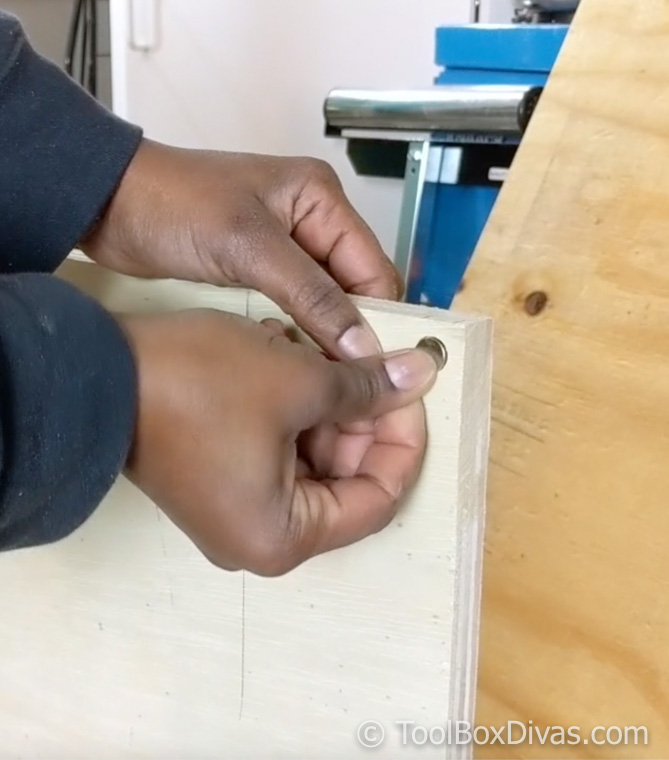
The door handles were simply 3/4in. square dowels I had on hand. And with handles I was done.
Click below to get the printable plans for this mobile miter cart.
GET THE PRINTABLE PLANS
Repurposed never looked so good.


 Miter saw
 Circular saw
 Kreg Pocket Hole Jig
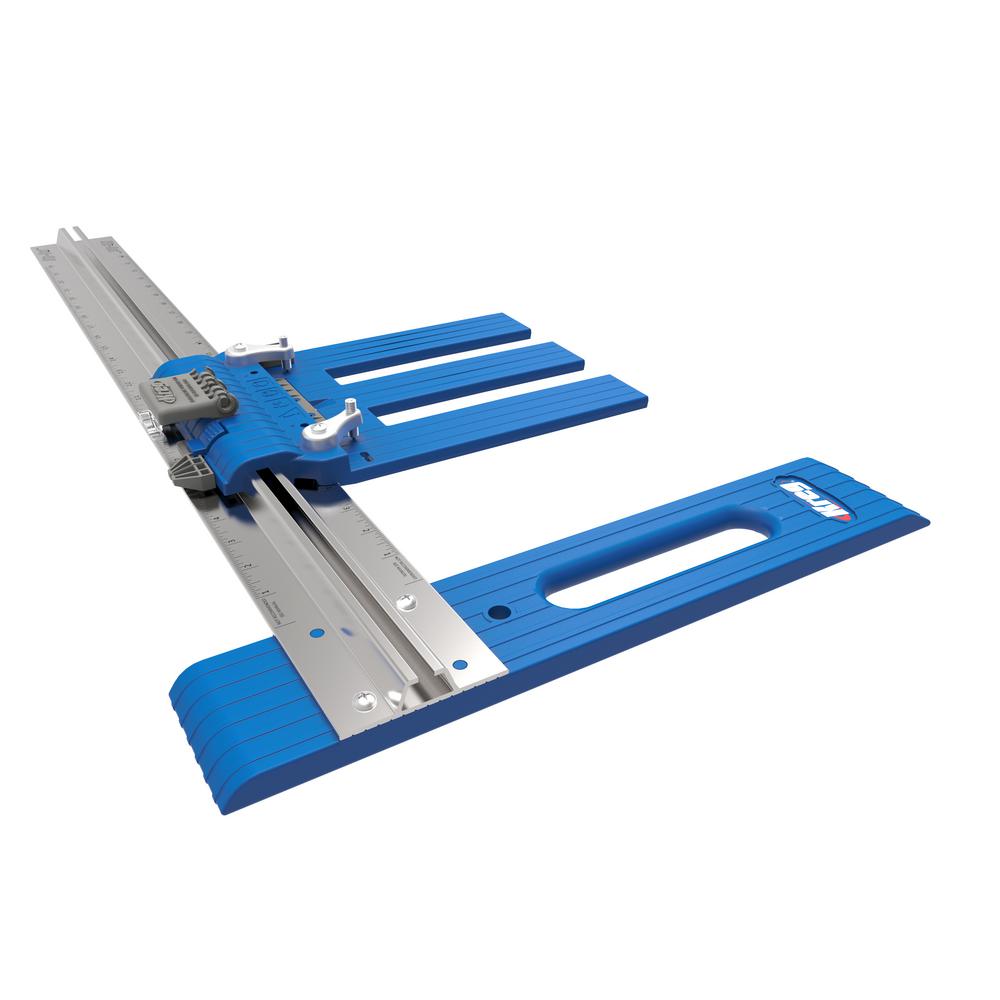 Kreg Ripcut



Thank you for providing the design wireframes. It’s quite difficult at times to understand a DIY project without these blue-prints, in case if you want to make it yourself. So just wanted to say thank you! Because these days, I’ve seen DIY’s without even images so am sure, it takes a great deal of effort but am glad it’s worth it. Take care!
Thank you so much! I really appreciate it. I’m so glad you found this tutorial helpful.
Thanks a lot for detail guidelines. But I don’t have the wood to do it. I want to do the same with metal but I wonder if it’s better (quality, price) in case I do it myself or buying a new one?
I’ve not worked with metal in this capacity. Metal is stronger than would but is way more expensive and would require welding.
Thanks a lot for detail guidelines
I love the idea that you used materials from another project and i liked that you made your drawers simple . Really nice !
Thank you so much!!
love the way you keep it simple thanks for sharing
Thank you so much! SO glad you like it