Husky Modern Dining Table
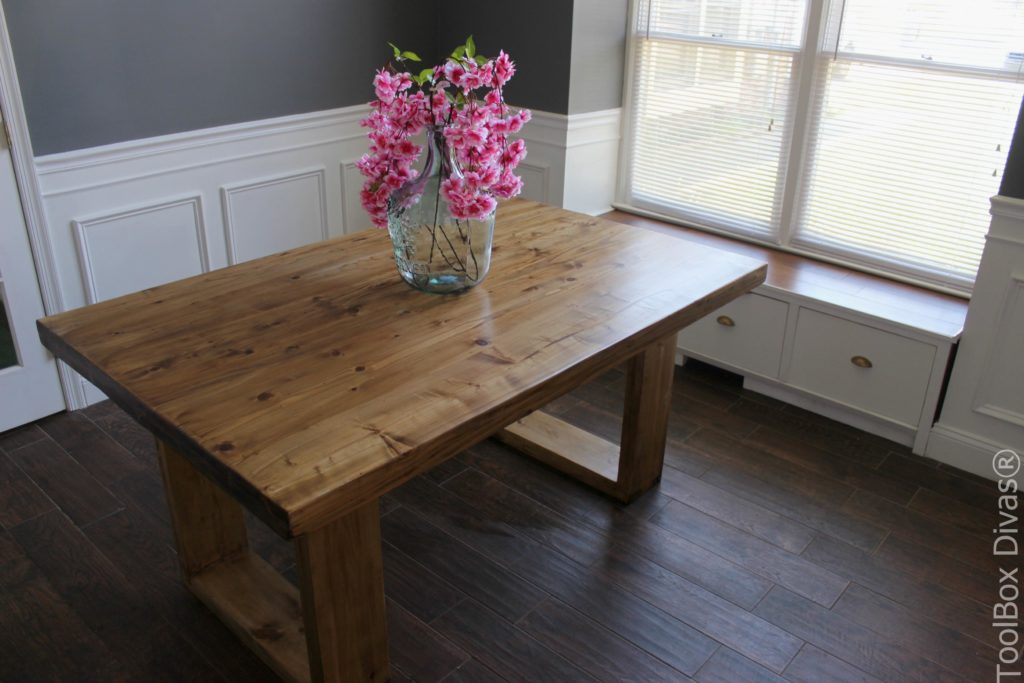
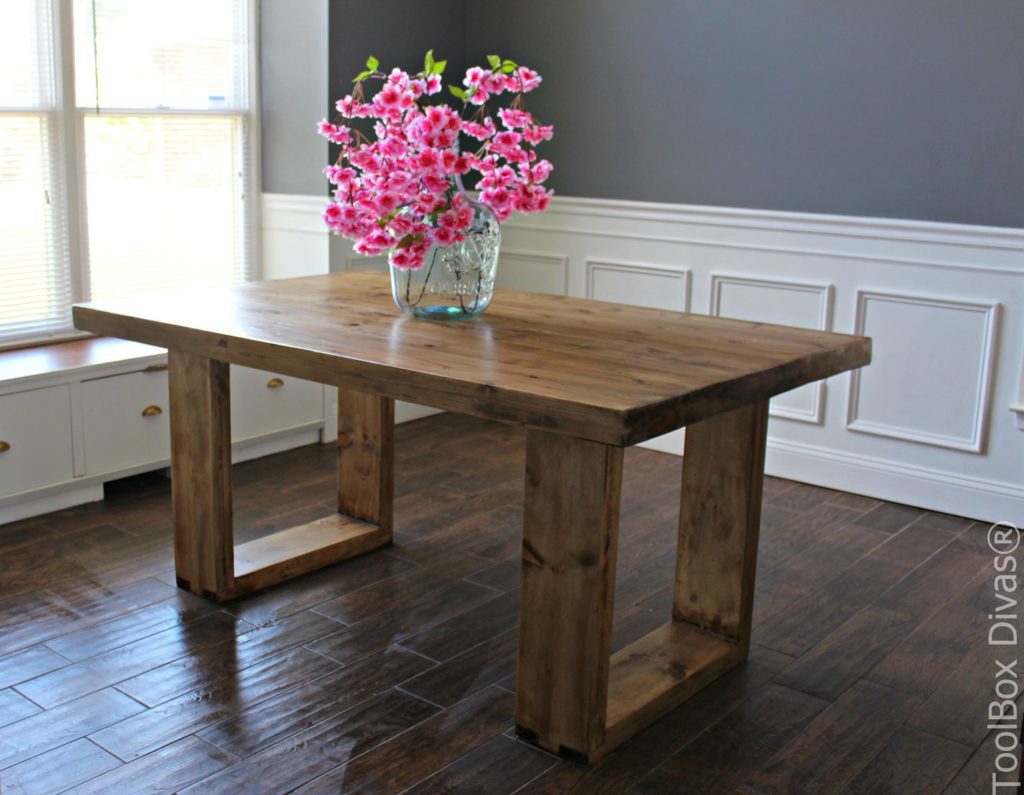
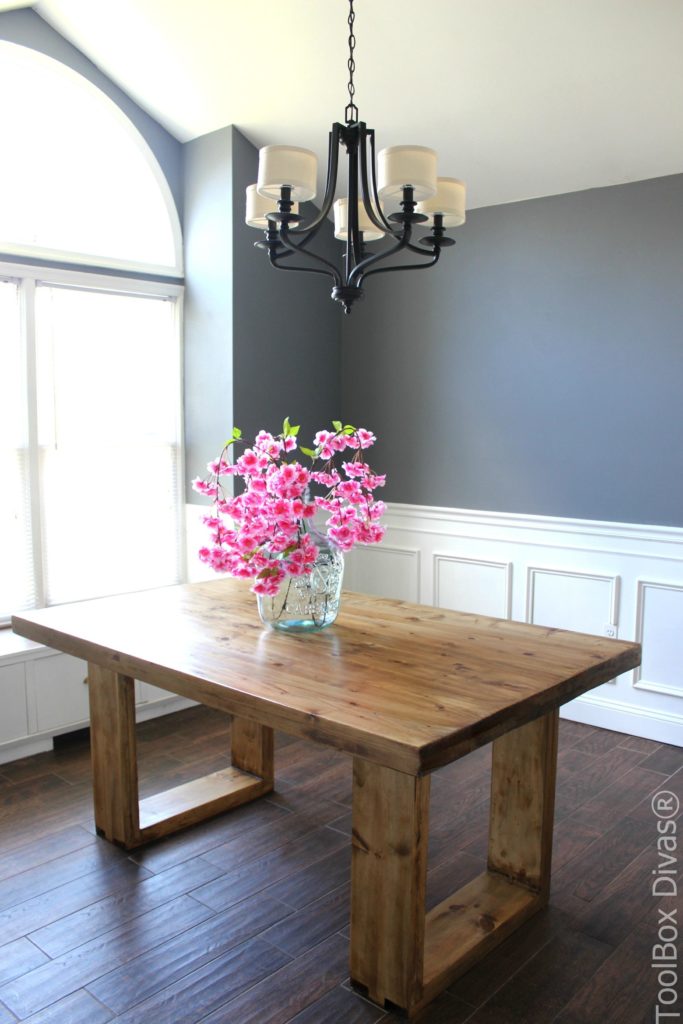
Looking for the perfect dining table? Look no further. I’m going to show you how to make this beautiful Modern dining table. Get the look of an expensive showroom piece for under $120.
Full plans can be found on The House of Wood by Jen Woodhouse HERE.
OK Guys! As you know I’ve been working redoing my dining room for quite some time now. In the beginning it was like walking into a bottle of mustard. Then I painted it and added picture frame moulding to the walls and created a ‘built in’ window seat. Well I am happy to report that it is finally starting to come together.
You know how sometimes you can go to a furniture store, search endlessly online and you simply just can’t find exactly what you’re looking for? Well, that’s kind of where I was for a while. Until finally I was like, ‘forget looking for that perfect table. I’m going to build my perfect table.’ 😉 So After talking with my friend, Jen Woodhouse of Jenwoodhouse.com about this dining room table she provided me with the perfect plans, putting that table that only lived in my head on paper. So for the complete detailed instructions and cut list please head over to The House of Wood where you will find these plans as well as many more outstanding build plans.
So without further delay, Here’s what I did.,
And in full disclaimer, while I do view this table as a very affordable way to achieve a high-end look (costing under $120), this is not a one day or two day build. This project will take a couple of days because of the glue ups and time waiting for things to set and cure.
I started by cutting my wood pieces to size and I headed over to my local tool library in Baltimore, Station North Tool Library, where I planed and jointed the wood. Planing and jointing the wood is optional. But I wanted everything to be nice and smooth. 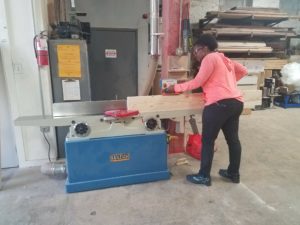
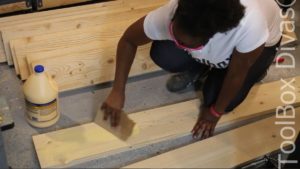
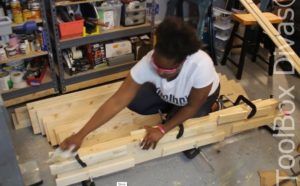
With all my pieces nice and smooth I started with the table top. Largely because I wanted a thick table top and I knew gluing it together would take some time to say the least. 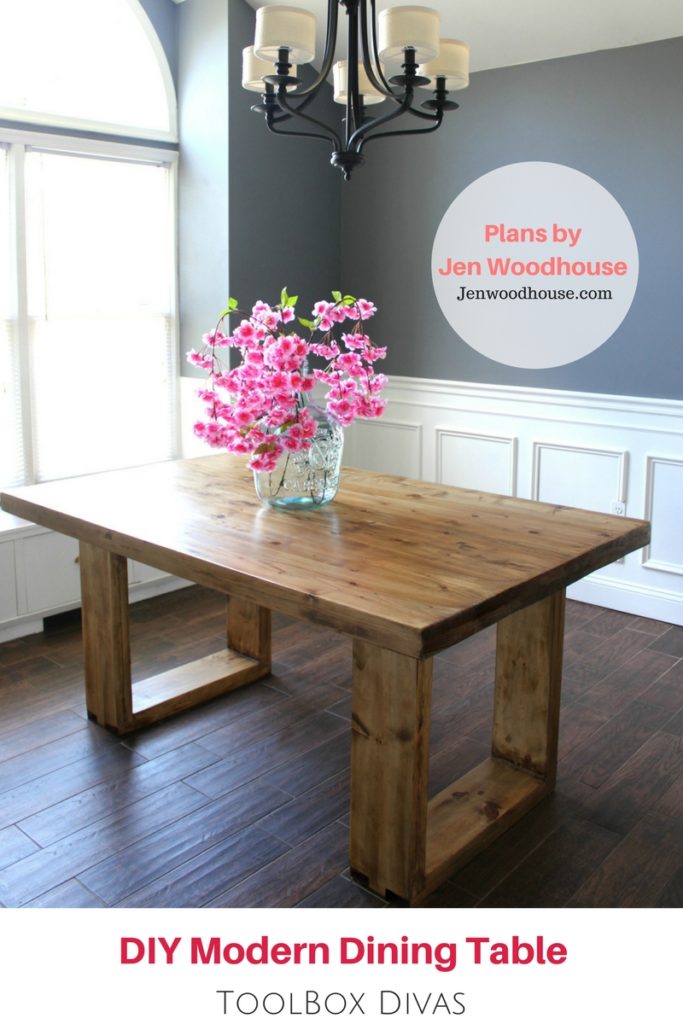 So one by one I glued together the planks. A tip for spreading the glue: use an old piece of cardboard box. It will spread the glue nice and easily. And it doesn’t cost any additional dollars. Clamps can be expensive. Don’t feel like you need a gazzillions clamps. When doing a glue up, the clamps only need to remain in place for about 30 minutes to an hour. After that, it’s typically set and you can remove the clamps and go on to the next piece. Just keep in mind you still have to wait 24 hours before you can work with the boards you glued together. The glue needs time to fully cure.
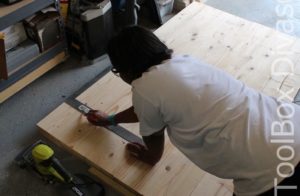 Once the planks were all fully cured using a biscuit joiner I attached the planks. This table top is crazy heavy. If I did it all over again I would not try to glue the entire top all at once. I would glue two planks together at a time because this thing is massive and if you’re building this without a second pair of hands it can be a challenge. It’s doable because I did it. But it’s just a little harder.
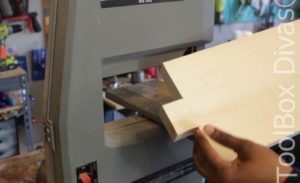
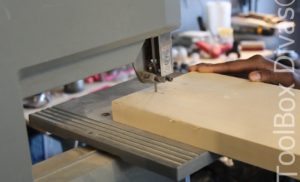
I cut the leg detail using a bandsaw. However, this can be done using a jigsaw.
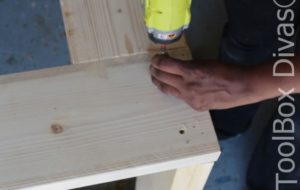
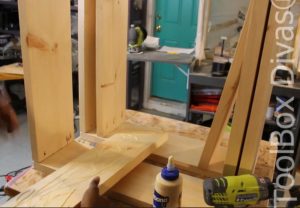 I attached each part of the leg using pocket screws and glued it together.
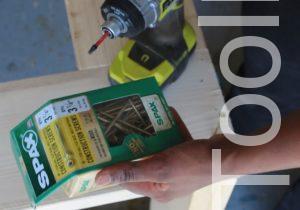
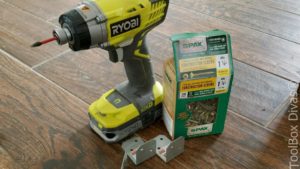
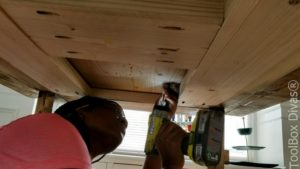
I added additional strength to the legs by screwing in some Spax Screws into the top plate of the leg frames. This creates additional stability. With addition of a thicker table top I wanted to ensure the base was strong and sturdy enough to handle the additional weight.
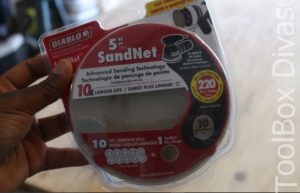
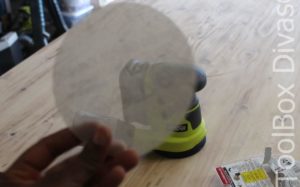
Once everything was assembled I sanded the table top and legs down. The folks at Diablo Tools send over a new sanding paper to try out. Diablo’s new SandNet discs were very impressive. I used it on my Ryobi random orbital sander. On the packaging, it says that the sanding paper last 10x longer. Well, they weren’t kidding. I didn’t have to change out my sanding paper, except to go from 80 to 220 grit. One disc per grit was enough to tackle the whole table. It’s clog resistant. As dust built up all I had to do was shake it off or rinse it off and I could just reapply it to my sander. This product is absolutely amazing.
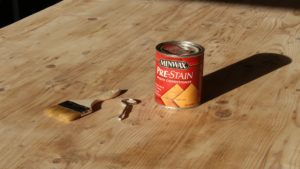
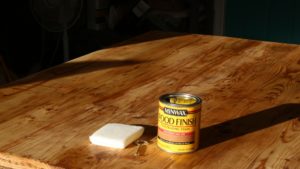
Once the table was sanded I pretreated the wood with a wood conditioner then proceeded to stain it. A wood conditioner was necessary because with pine the stain could come out blotchy. The conditioner helped the stain saturate in the wood. I started by staining the table using Weathered Oak by Minwax. I then blended Golden Oak by Varathane followed by a Satin polyurethane.
Finally, once everything was dry I set the table up in the dining room securing the table top to the base using 4 right angle Simpson Strongtie corner braces.
And just like that my table was set. Like what I did? Head over to The House of Wood by Jen Woodhouse for the complete cut list and detailed plans.
Click HERE to learn more about my dining room and how to install the pricture frame moulding.
Till Next time. ~T.
Looking for the products I used to build this dining table?




Wow you did an excellent job. I love the idea and it’s beautiful. Keep up the good work!
Thank you so much Norma! It is definitely my favorite build thus far. 🙂
Wow! This is seriously beautiful. My husband and I are looking to make one and this just might be the one. Thanks for posting!
Hey Marly! Thank you so much for taking the time out to view this post. I’m so glad you liked it and it provided inspiration for you and your husband. I know too well how hard it can be narrowing in on the perfect table. My dining room is finally starting to come together. This is definitely my favorite build to date. Thank you again and best of luck!
Absolutely and simply stunning!! Thank you for the tutorial. I’m going to use it as a guide for a console table in this style!
Awesome Lindsey! I’m so glad you enjoyed the post and received inspiration. I would love to the console table based upon this design. Please share it with us once your done @ToolboxDivas on Facebook or Instagram.
This is stunning. Your skills are admirable! It really makes me a) want to make this fantastic table, and b) learn how to work with wood. I’ve always wanted to but found the idea daunting. Your table looks fantastic Modern, classy, and it looks like you bought it at a high end designer boutique store. Love!!
Going now to check out some of your other work.
I am also obsessed by blue. 🙂
Aw thank you so much Katey! I totally get it. I can admit that when I first started working with tools, particularly those with moving blades seemed impossible. But with time I became confident in my abilities to use power tools. I believe you can do the same. And you love the color blue too?! We’re two of a kind 😀 Thank you so much for checking out my other work. Check us out our weekly Facebook Lives for tips and quick DIY projects. Facebook.com/ToolboxDivas
I love the 0lan and we are currently making it♡ we are at the staining stage. Did you mix both colors together or used one after the other?
I had stainers regret during my process LOL. So I started with one color, hated it and stripped it. Then I conditioned the wood, applied a different stain, but that wasn’t exactly what I wanted either, then went back over it with a darker more brown tone. The first layer was weathered oak by Minwax. The 2nd was Provincial by Varathane.
Awesome built! Love the modern look and hey, you’re a pro using those big power tools! 😉
Hahaha! Thank you girlie! I do love my power tools. 😉
This table looks fantastic! In looking at the plans, looks like it is drawn up with one set of planks for the table top, is that correct? I’m also curious how you think it might turn out without planing all the boards first (since I don’t have access to that kind of machinery)? And thoughts on using the wood bicuits vs pocket screwing the boards together? So many questions, I know > < Love your work and am inspired to continue on my journey!
Hey Kim! Thank you so much for all your kind words and checking out my work. You can never have too many questions 🙂
I used several individual boards for the table top and I glued it all together one by one. You can use pocket screws its just with screws on the tabletop. But honestly all you need is glue and clamp it together. This project is totally doable without a planer. The hardware store sells premium lumber that has a smoother finish. It’s prefinished to a large degree. While its costs a little more per board its smooth all around and has straight edges. But bare in mind the prefinished boards are a little thinner due to planning so the measurements may be slightly off but easy to adjust. Please don’t hesitate to let me know if you have any additional questions and I would love it if you could share your completed table or any projects with us @ToolboxDivas on Facebook and Instagram.
I completed my table with these plans! Scaled down a bit. I found the legs are a bit wobbly (probably user error on my part), so I’m going to add a piece at the bottom in the middle. With screwing the legs right to the table top, have you had any issues with wood expansion?
Did the piece on the bottom add stability? We are having issues with the table being wobbly too. Thanks! Do you have a picture of the added support?
No I didn’t have any stability issues. I used simpson strong tie brackets under the table. Did you change the size of the table top? Feel free to send me photos and I can help troubleshoot. @Toolboxdivas on IG or Facebook or [email protected]
I love this table!! Where did you get your light fixture from?.. I love everything in this dinning room!!!
Thank you so much Shannon! I really appreciate it. Next I’ll be adding some wall art finishing out the space. I got the light fixture years ago from The Home Depot. The walls and other changes I made to the dining room like the window seat and wainscoting I document on my blog how to create the same looking in your own space.
I’ve been looking for a plan like this that’s modern, clean, and doable without table saws, mortise and tenon, rabbets, etc. Thanks for the build, it’s amazing.
Thank you! So glad you liked the build. Good luck with your table and happy building.
I’m sooooo in love with this table and I’ll be trying it soon. How did you get started in learning how to build such amazing pieces? I want to start but don’t know where to begin.
Thank you so much, Terra! I really appreciate it. I was always milling around the house working on carpentry type projects. I started getting into making furniture after taking a couple of woodworking class here in Baltimore at The Station North Tool Library. It kickstarted it and its all trial and error from there. Trial and error is the best teacher… well that and Youtube Hahaha 🙂
That is an amazing table, you did an awesome job!!! Is the Behr Legendary Gray still? Love the blue-ish gray color here! Everything looks so pretty together!
Thank you! Yes I believe the paint is legendary gray. Thank you so much for taking the time out to view it.
I love the dining room color. What color is it?
Thank you! I used BEHR Premium Plus Legendary Gray matte finish
This one of the best looking tables I’ve seen — great job. The plans on jenwoodhouse.com state to use 62 inches for the table top. However in your photos and videos the tabletop *looks* longer. Am I imagining things or did you use a longer length?
Thank you so much Jason! I really appreciate your saying that. I modified the table top. I wanted the top to be chunky. It is 62 in. long but its almost 3″ thick because I glued 2 boards together before I laminated the individual planks together. If it looks longer it could be my camera lens and the angle I took the photo that could make it look longer.
So i’m building this and working on the leg supports. I do not have access to a band saw and am using the Ryobi jigsaw. It’s really difficult to keep a straight cut for me. Also, the saw dust is blocking my view when I cut. Do you have any recommendations? I also thinking to use a manual saw 🙁
Hi Jason,
I completely understand. It is difficult using the jigsaw and keeping the edges straight. You can clamp the board down and use another board on both sides of the jigsaw as a guide. This will ensure that you can only move in two directions. I tried to sketch a diagram below in text but please let me know if you need additional support of this doesn’t make sense.
————– —————
: | | . :
: | | . :< the wood guide on each side of the saw blade guide : | | . :
Thanks! I found a local woodshop that has a band saw. I’ll try that tonight and message back.
Another question — if I wanted to make this tabletop bigger (like 72″) how would the design change? Could I still use the same dimensions for leg supports? What else would need to change.
Thanks for all the info and keeping in touch here 🙂
Finally finished my table!!! Let me know what you think: https://imgur.com/a/0wjET
Thanks for all your help and advice!!!
I want to make this table but want to increase the length to 72 inches. Would I need to change the dimensions of the table support?
No the table support should fit the increase. It’s not that different from my current table length. Just evenly position the top.
I absolutely love your table and thank you for sharing the plans! Question for you, I wanted to extend the length to 106″ to habe enough seating for my big family. I came up with two options and wanted your opinion. Should I add a third pair of legs in the middle of the table or should I run the support beams that are underneath the tabletop perpendicular to the floor as opposed to lateral so they won’t flex? Thank you for your help!
Thank you so much Shane! 106 inches, that will be awesome! I think a middle support would be needed because the boards are heavy. Initially I’m thinking a middle support under the table top would be a cleaner look. But you may have to test a few things out with the base. I would make the middle under the table thicker and incorporate a few more beams. You can also add some metal supports under the table top for security. But I would not do simple pocket screws alone for this. Please keep me posted. I’d love to see the completed table.
I’m revisiting this table again. What kind of tabletop fasteners did you use to attach the top to the legs? Did you need a router to cut a groove?
I’m very new to this but curious what kind of wood did you use? As in what tree it came off of.
I used basic pine boards from my local home center
Wow! It is RARE that you see someone like yourself that knows their way around a workshop. You have created a truly impressive, functional and beautiful piece of furniture, but MORE IMPORTANTLY you have set such a great example of what a person can accomplish with some basic knowledge and a lot of hard work. My hat is off to you!
Wow! Thank you Mark! I really appreciate your kind words. Really means a lot to me. Thank you!
What type of wood did you use for this? After calling around several mill/woodwork shops it seems like they all have a similar consensus that Home Depot or Lowe’s lumber warps rather easily and doesn’t last. Have you had this problem yourself?
I used basic pine found on the shelf at Home Depot
Thanks for Sharing such a nice post.Love it and i will never miss your post.
Hi, this is my first project. I’m al read to assemble it. I wish I could submit. Photo. I did aqua colored legs. It took forever
Hi Rachel that is AWESOME! I would love to see your build. You can share it with me via Facebook or Instagram @toolboxdivas or email it to [email protected]. I can’t wait to see it.
First – Tool Library?? What a great concept! Don’t let anyone say anything bad about Baltimore when they have a TOOL LIBRARY!! Wish my city had one of those.
Second, I love the table. I have had the plans for this saved for a while and I think now I’m ready to give it a try, with my husband’s help, of course. (what fun -uh, not. We don’t always work well together. Been doing it for 52 years, though.) We made two bench seats and stained them gray. They look kind of funny sitting there with an oak, round pedestal table. So the plan is to have this table built by Christmas 2019. Hahaha! Well, at least by Christmas 2020! Love your page/blog/writing.
Thank you sooo much! Baltimore is a pretty cool city for sure, tool library and all. 52 years! WOW! That is something to aspire to. You got this. I believe you can get the table done and it will go beautifully with the benches.
I love this design but want to make it for my backyard patio. What changes need to be made to make this outside friendly?
Thank you so much!To make this an exterior table you’d need to use exterior wood and screws. Also You don’t want to plane exterior wood so create straight edges for laminating (the glue-up) with a table or circular saw.
oh your work is too fine. and love the dining table. I’ve got the best idea from your blog. This was so informative. too ingenious. i found more helpful and savage. Keep up the excellent work.I am really impressed. keep sharing more.
What wood is used for this ?
Hi! I wanted to reach out as we are looking to build this here this weekend for our dining room.
This may be an obvious question- but based on the list of materials to buy, did you double the (7) 2×6 @ 62 inches (tabletop)? So did you get 14 or does the 7 give it that chunky look?
And any suggestion on which type of wood would be appreciated.
We love the table! Are very excited.
Awesome! Yes I doubled the boards or rather glued two together stacking one on top of the other to create a plack that is 3inches thick. Then I glued each part together to bond the full tabletop. And I am thinking I opted for 2×8 lumber because at the time the hardware store was out of 2x6s. But nonethe less it still gives the same effect once all glued.