Decor | DIY | Kids Room | My Projects | Projects | Tutorials | Woodworking
DIY Blanket Ladder for A Baby’s Room
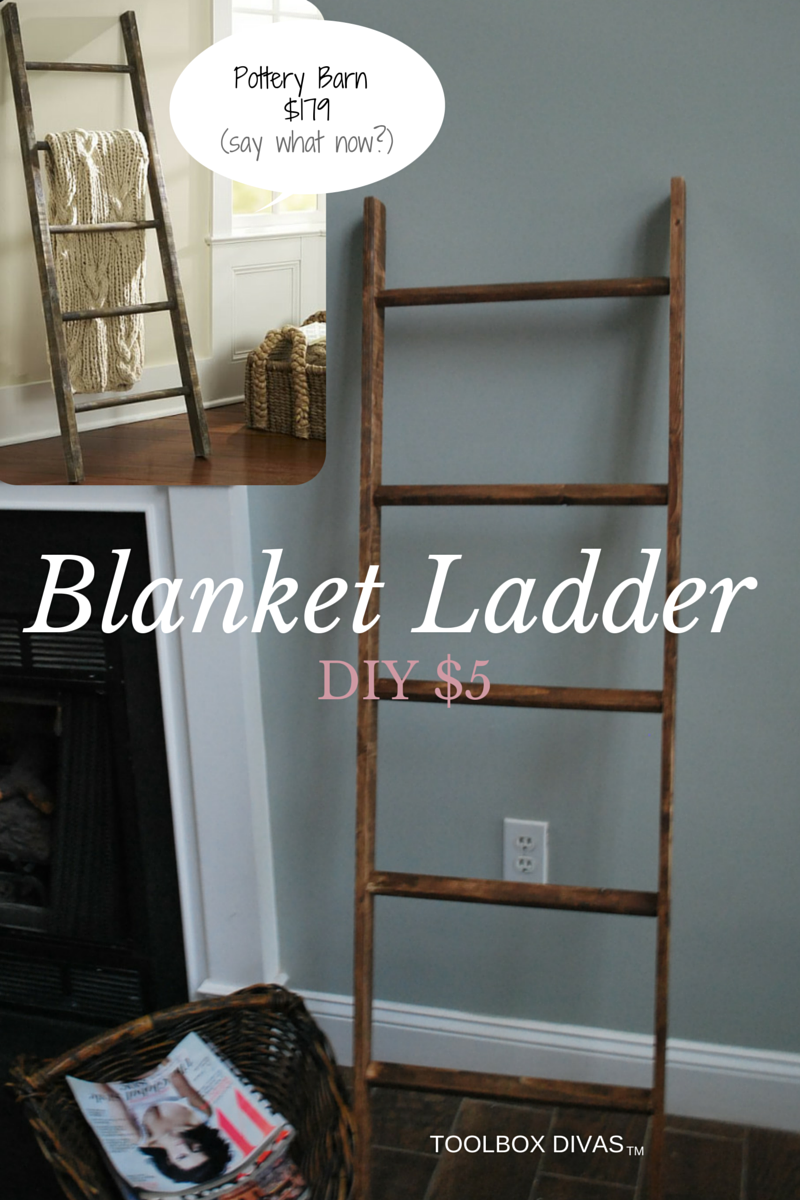
I know Winter is gone and we are moving full steam into spring. But I wanted to share with you this blanket ladder I made for two friend’s baby showers. OK, I don’t know what it is? Maybe its in the water, maybe its just where I am in life, or maybe it was the incredibly cold winter we just wrapped up that had everyone locked indoors, BUT all of my girlfriends are having babies. In March, I had 1 to 2 baby showers each Saturday (ok maybe that was an exaggeration). But its not too far off. I was thinking, ‘darn I can’t afford all these babies.’ What am I going to do?! Then one of my girlfriends texted me a photo of this Pottery Barn blanket ladder that she wanted for her baby. It was $179. You got to be kidding me?! That’s just some 2×2 or 1×2 at the most. Either way I’m in the wrong line of business. She asked, ‘Can you make this for me?’ My response, ‘Yes, I can.’
So for all of you ladies, who might find yourself in a similar situation or you’re a mother-to-be dreaming of Pottery Barn decor for your nursery, this is for you.
Materials
2 – 1x3x8 each cut down to 5′
1 – 1x2x8 cut into 5 -15″ pieces
10 – 1″ pocket screws
Stain or Paint of Choice
Felt bars/stickers
Fine Sanding Paper
Now this is where I would normally say ‘Let’s Get Dirty!’
But yea…again this one is not that messy…well maybe the painting/staining part. Just Wear gloves. 
Dimensions
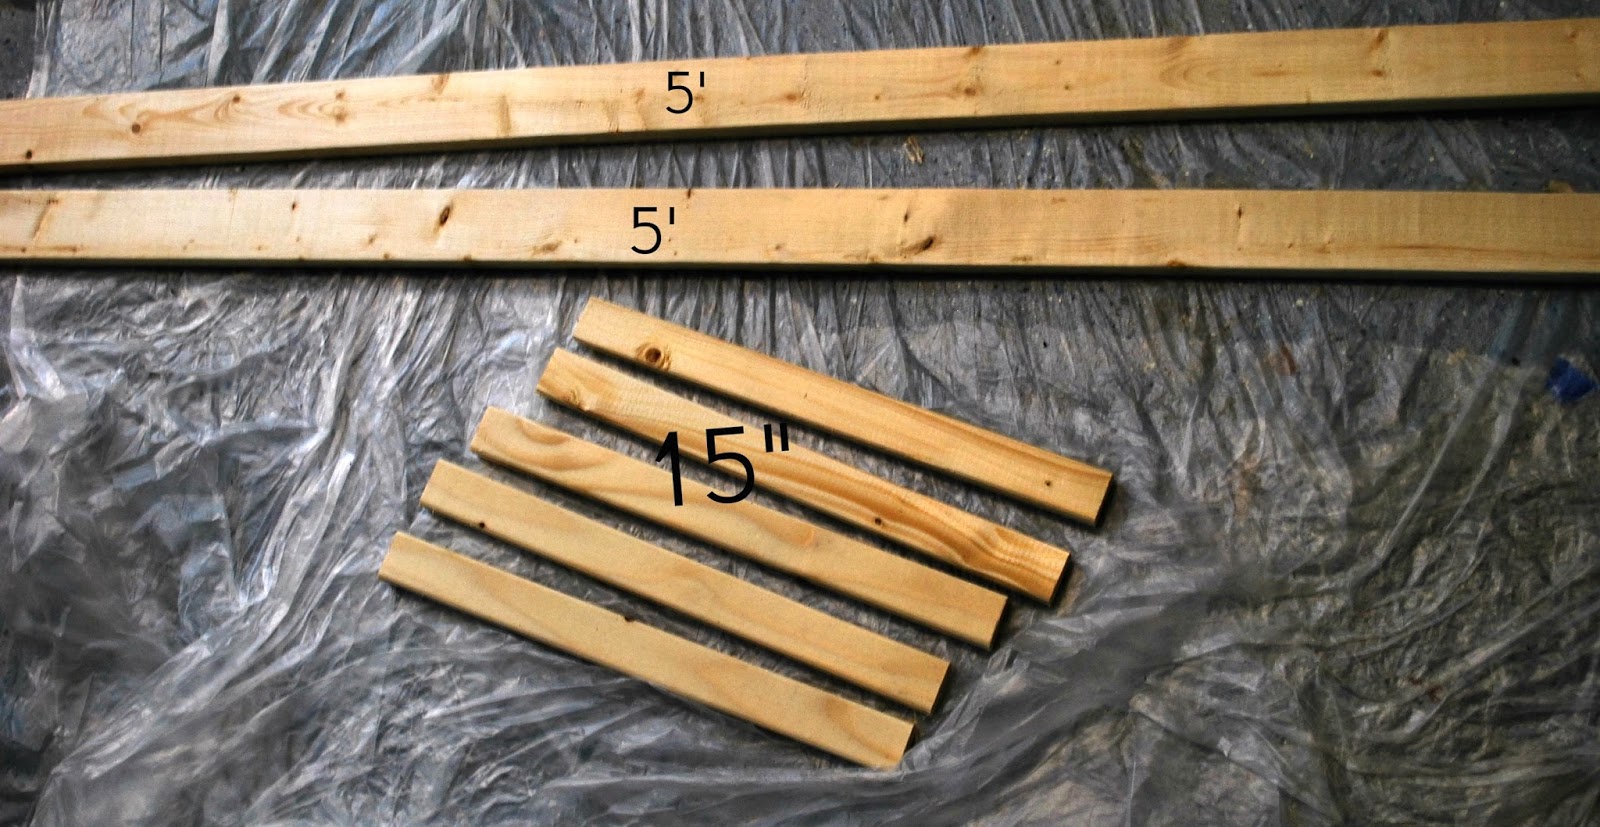
Dimensions
Directions
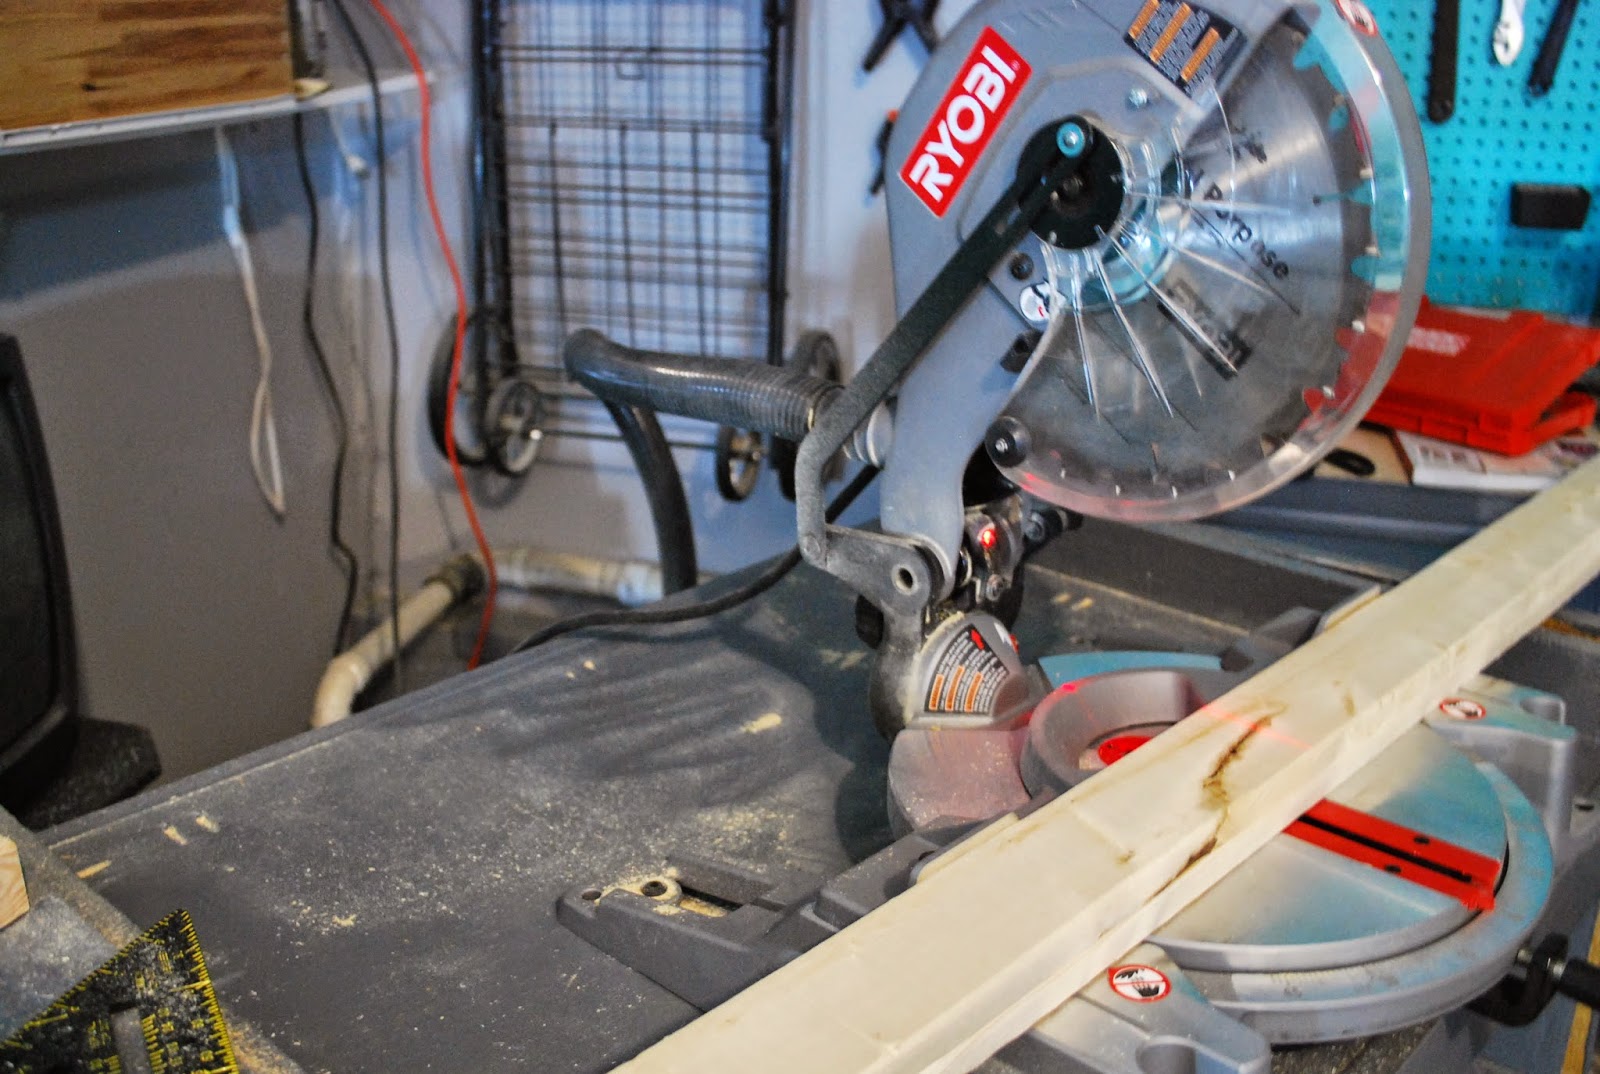
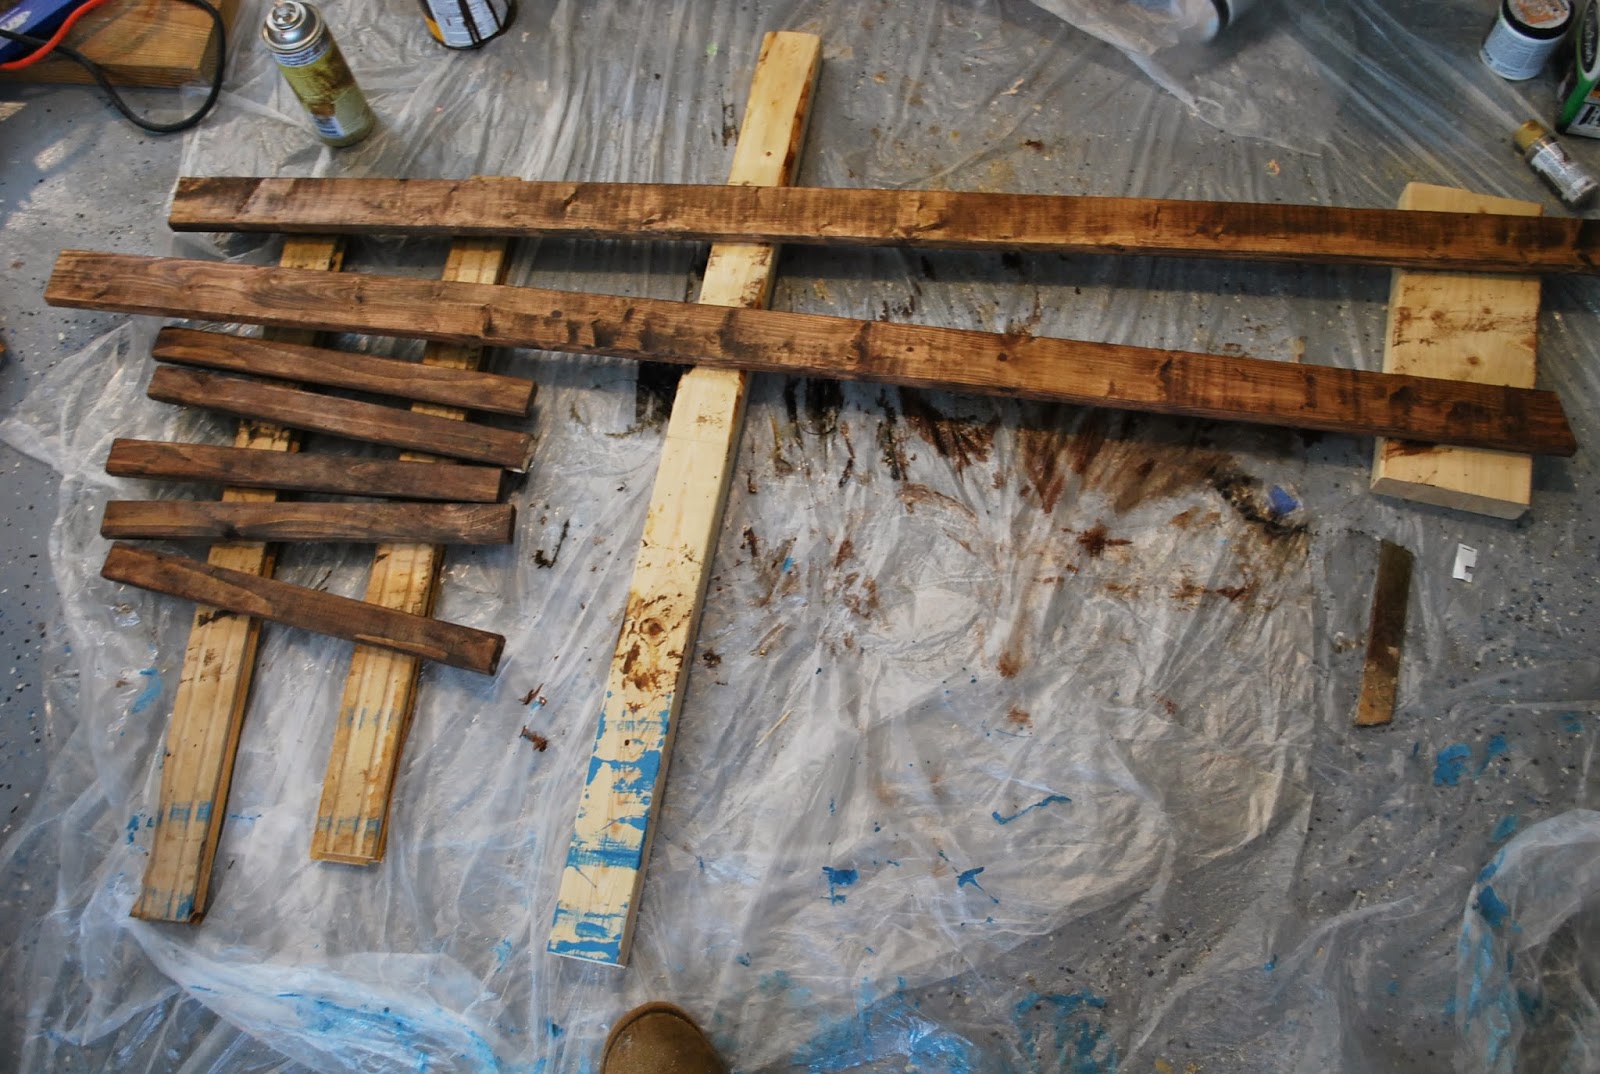
Cut the 1×3 and 1×2 pieces to size. The cuts for this project can be done with a hand saw.

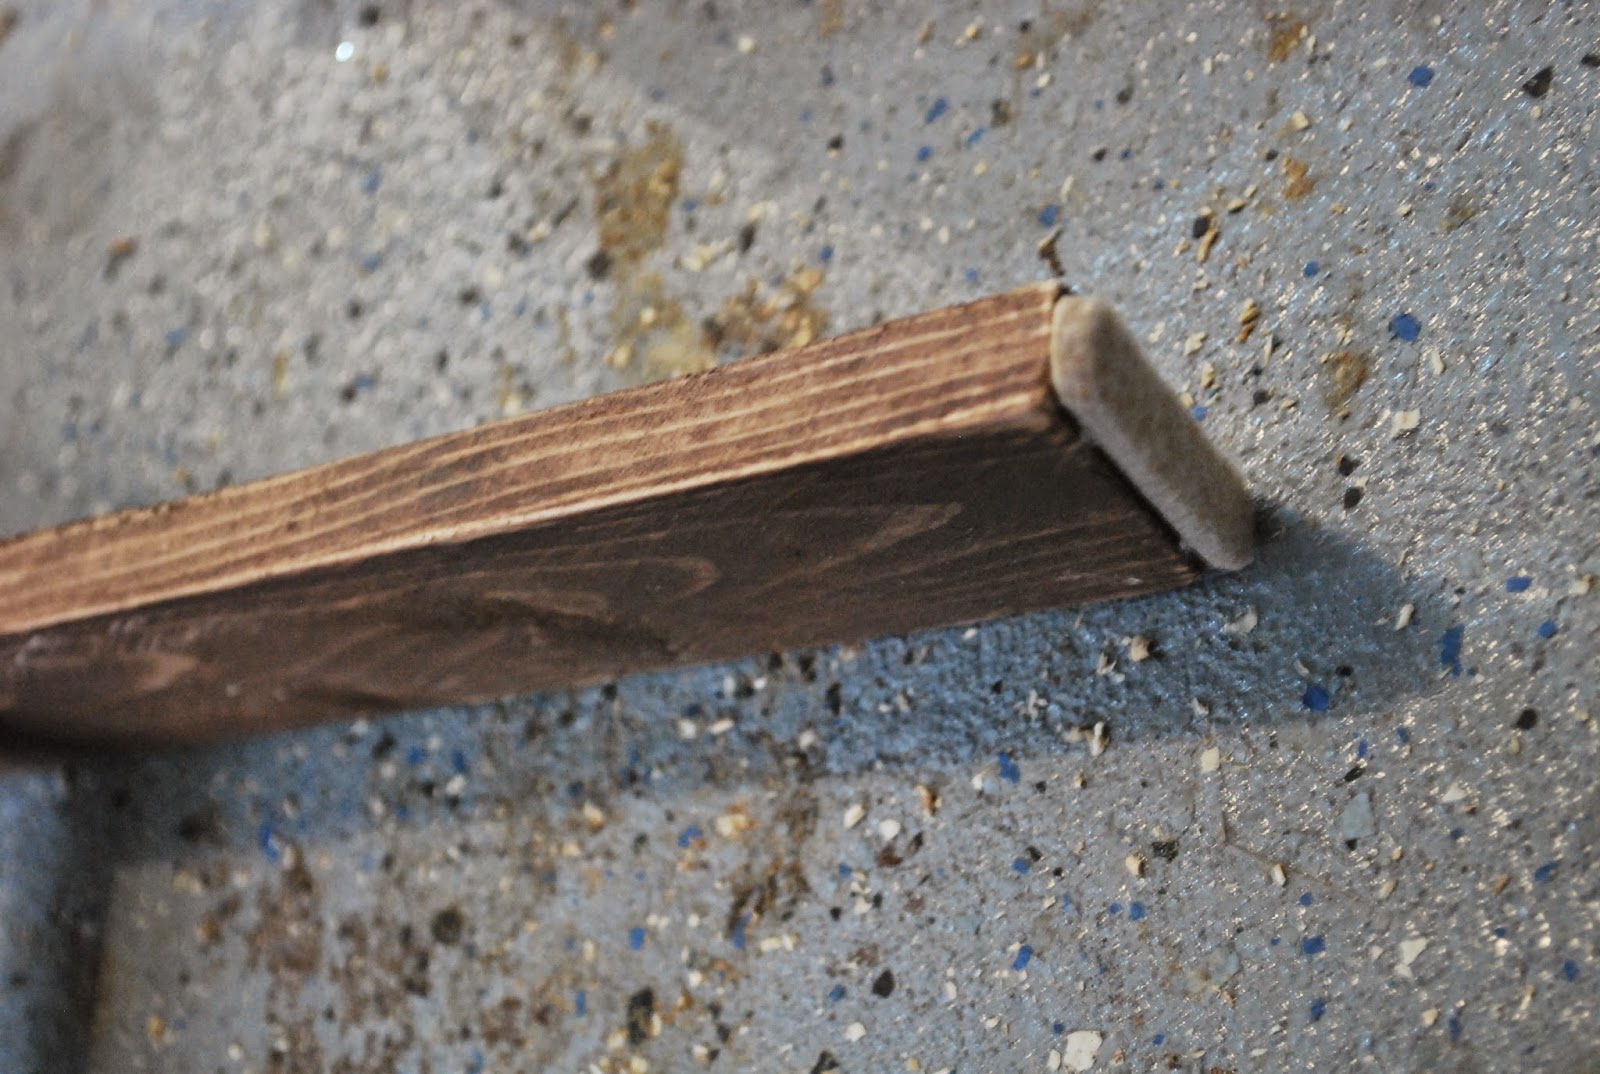
Cut the bottom of the 1×3 boards at a25 to 35 degree angle. This will provide a little more stability when the ladder is leaning against the wall. It’s not mandatory that you make this angle. But I wanted to make sure it would be stable.
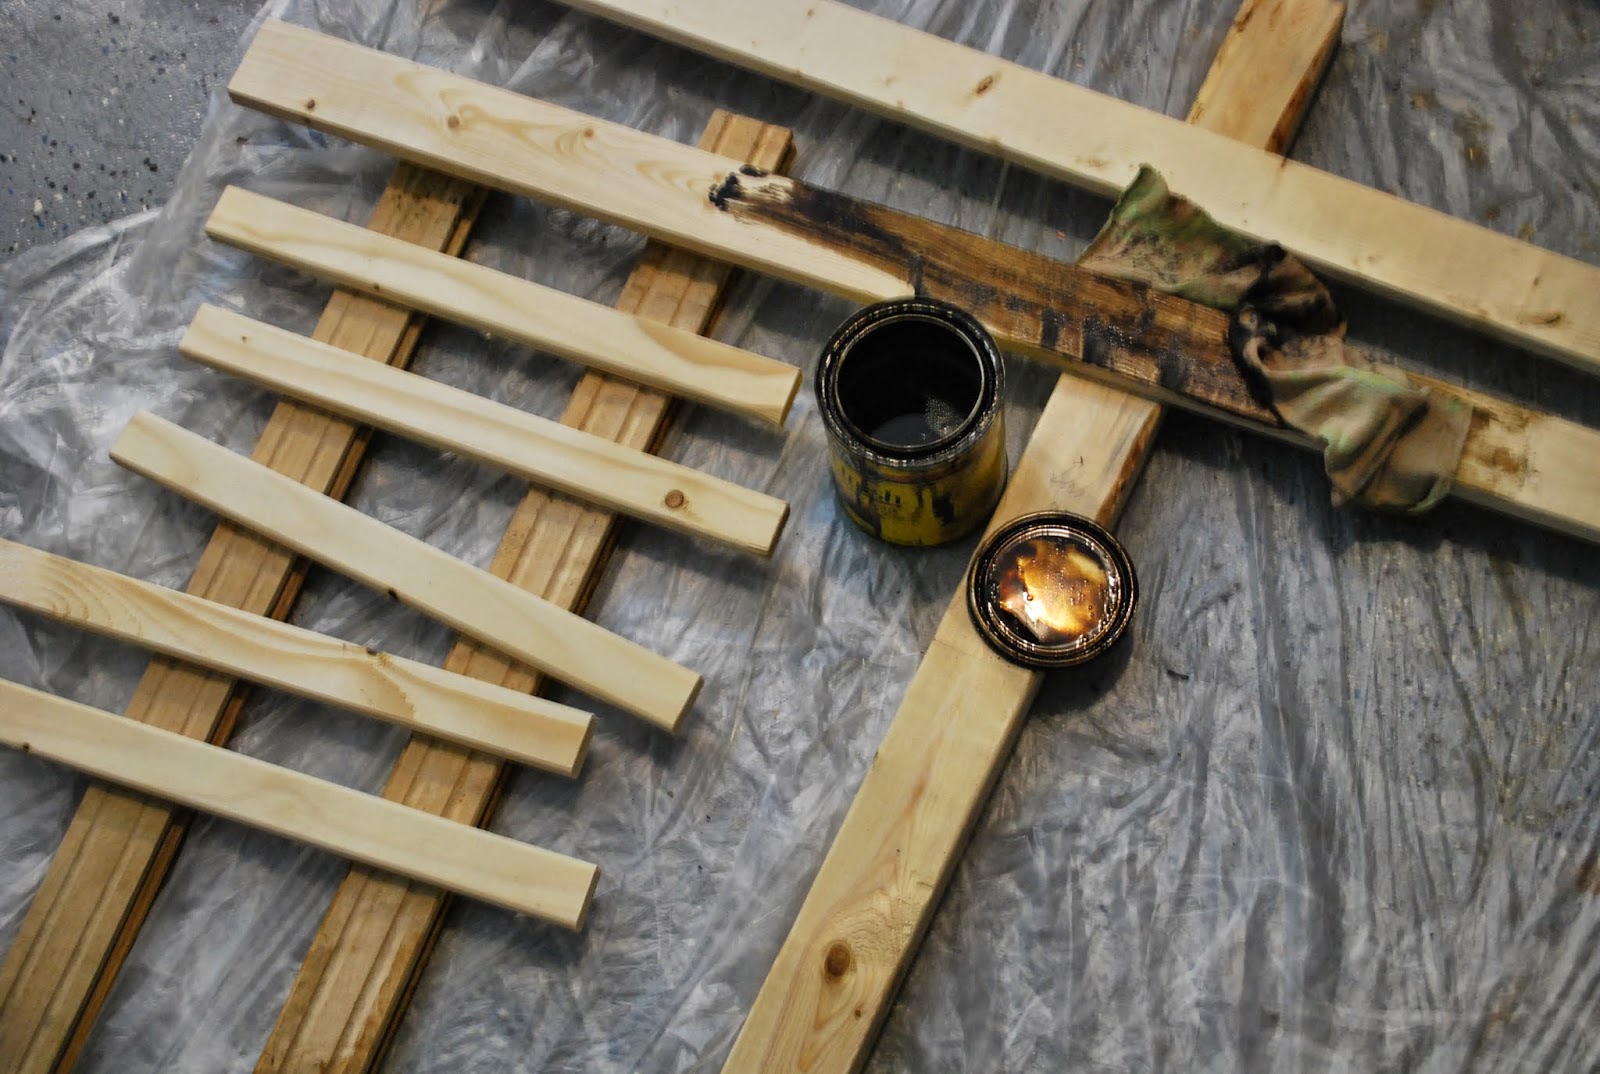
Now you can stain the pieces. Spray with with a satin Polyurethane and let sit over night.
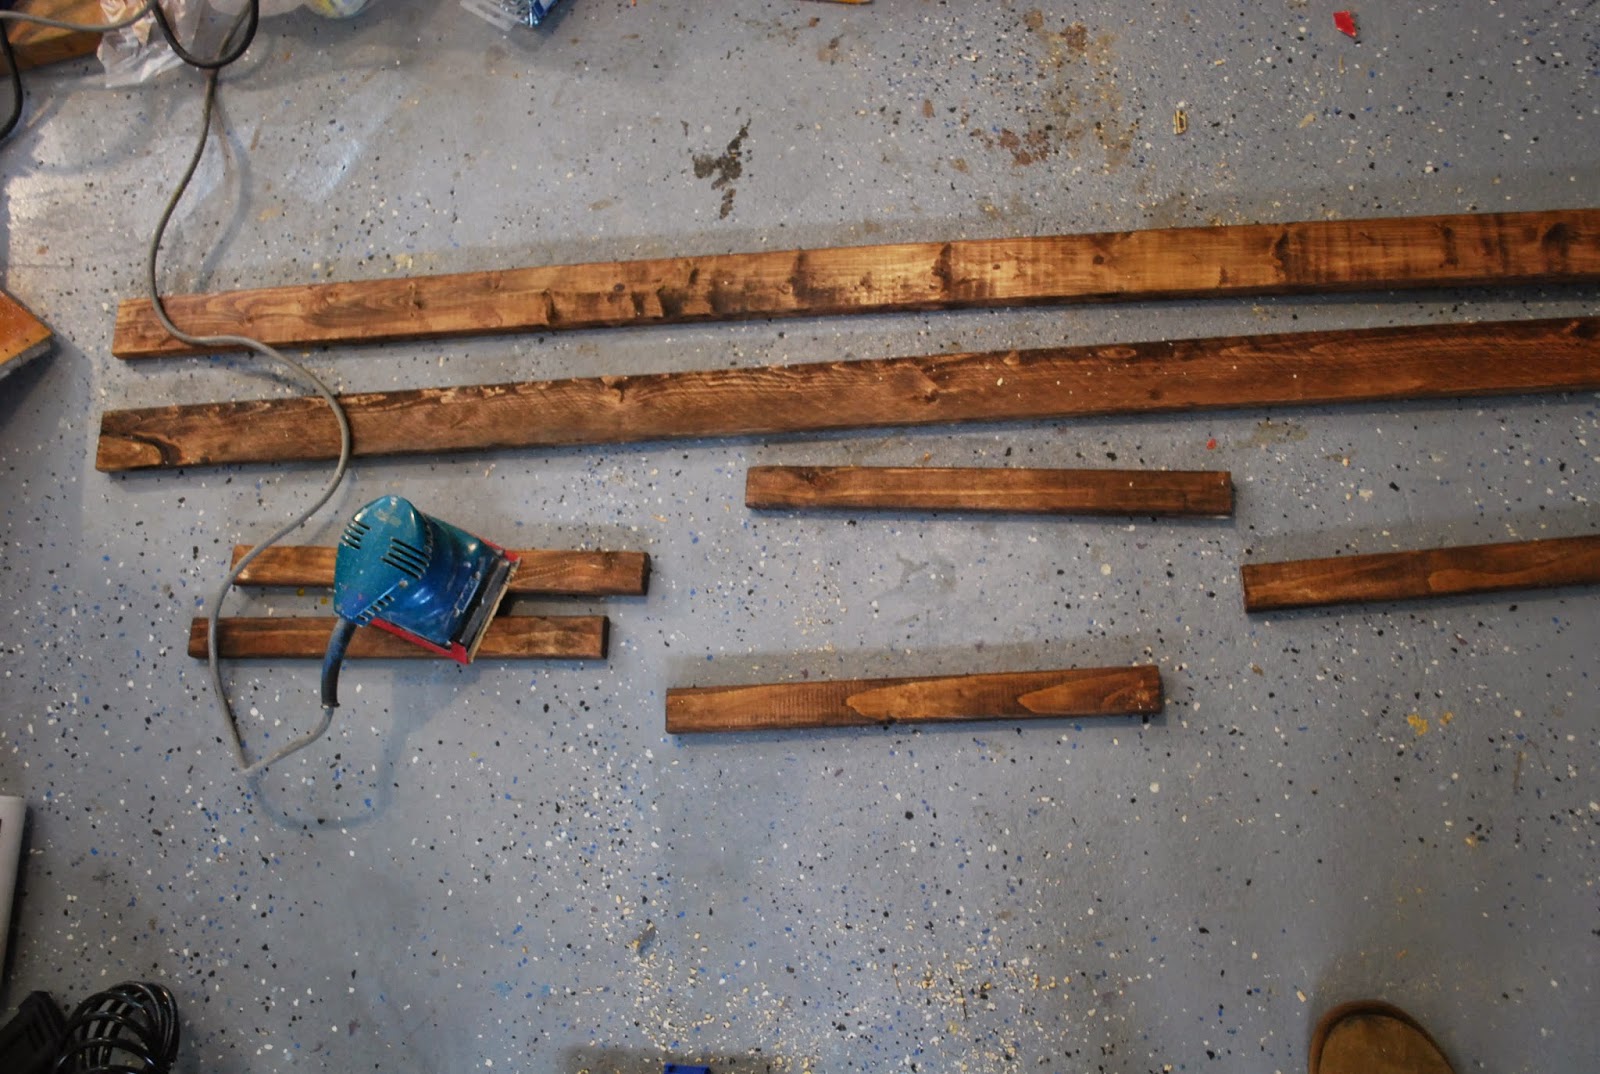
Once the stain is dry sand with fine sanding paper to achieve a rustic look

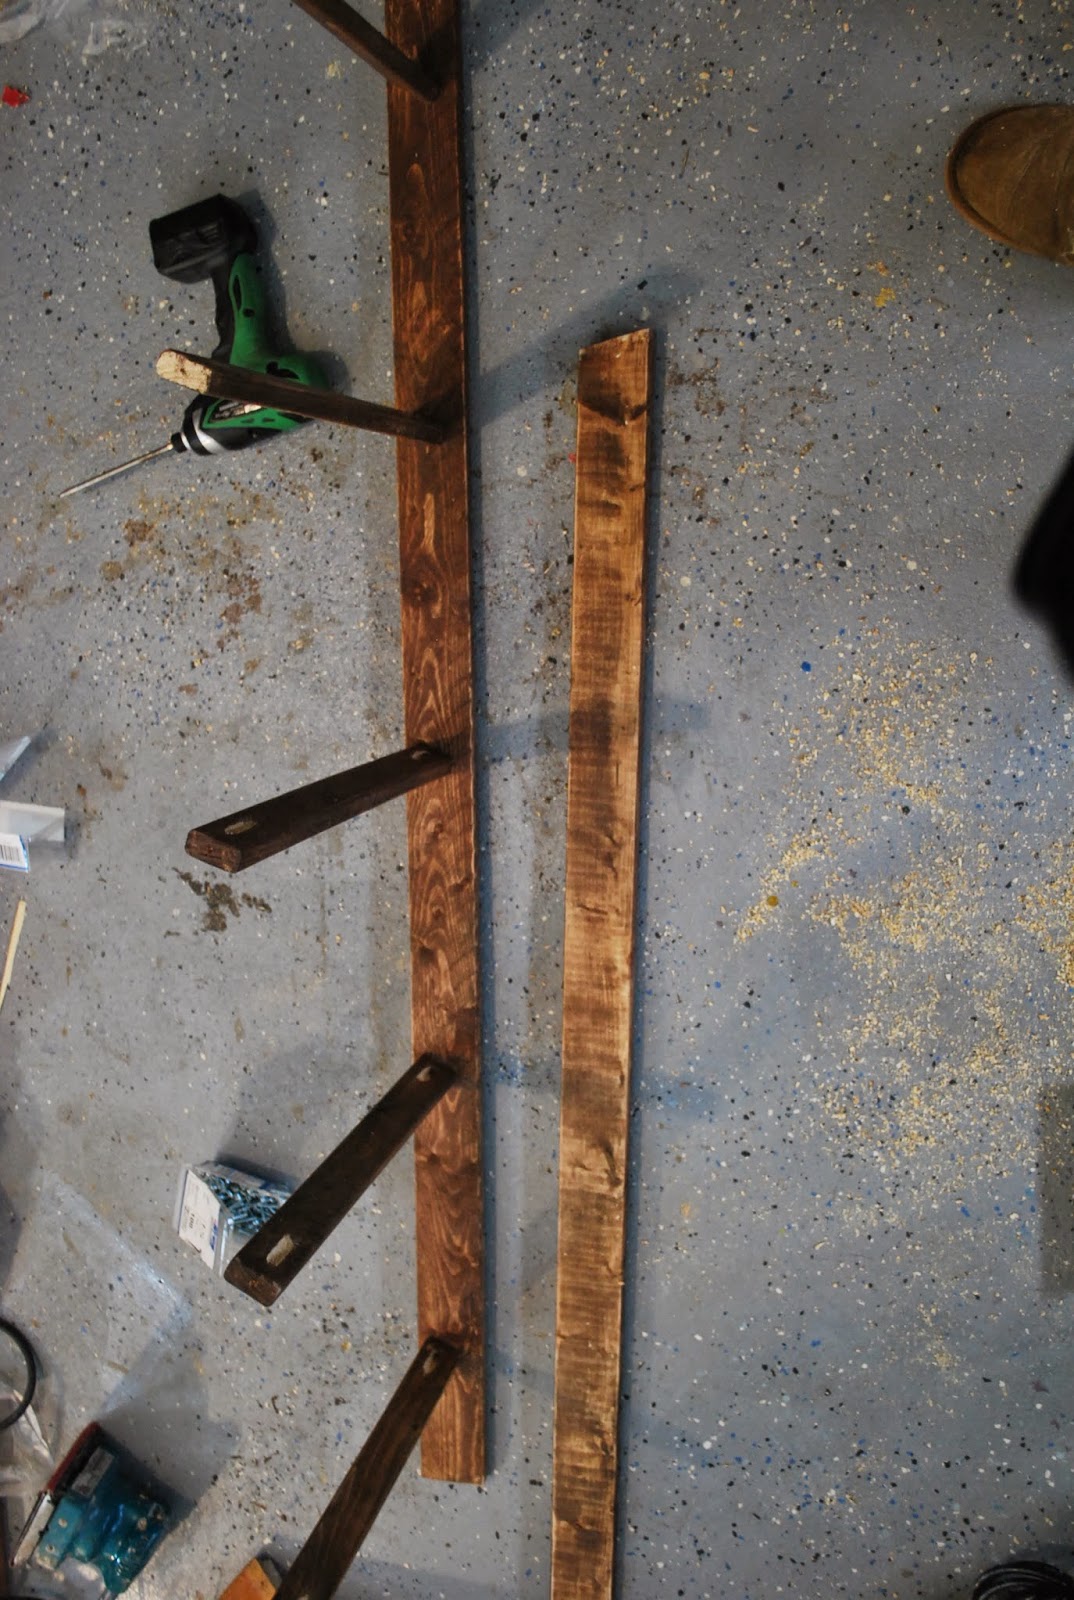
Place the 2 – 1×3 boards evenly side by side to space out and mark on each side (rail) of the ladder where the rungs will be screwed in. Start 5 inches from the top. Space the rungs 11″ apart going down.
Using pocket screws drills the holes for each 1×2. Once the holes are drilled start assembling the pieces.

Attach to one rail then flip over and screw into opposite rail.
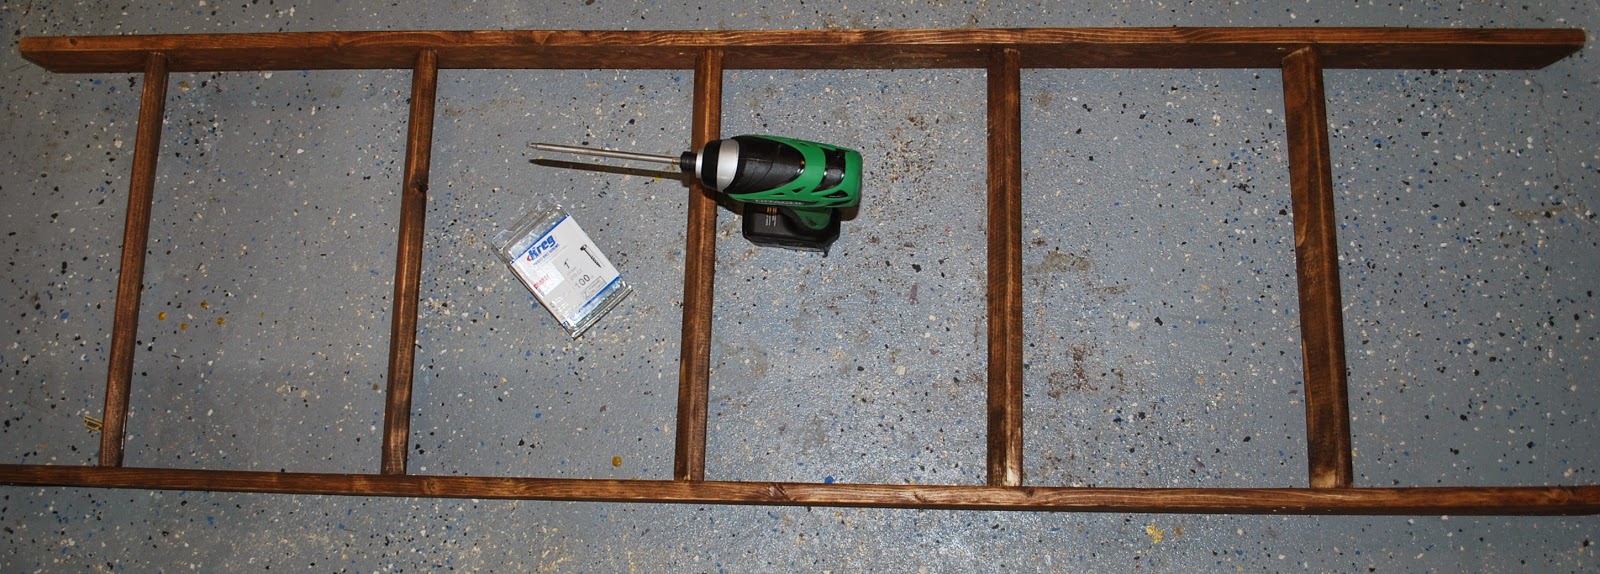
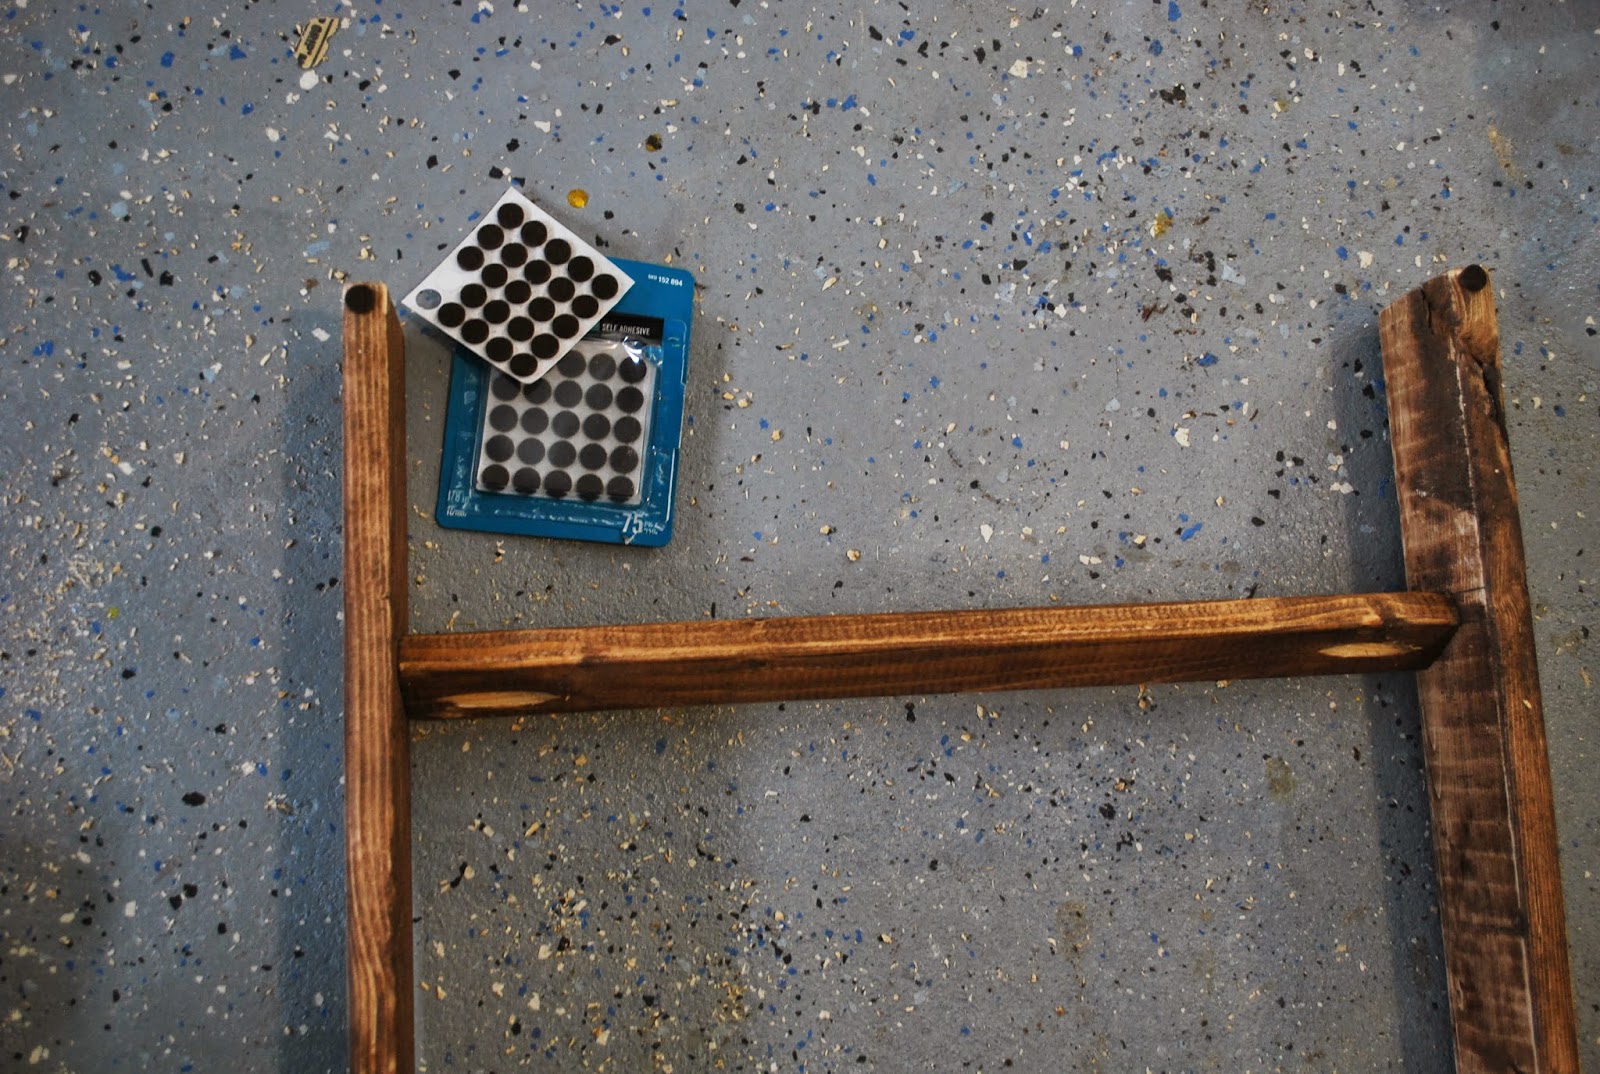
To add additional stability add felt bars to the bottom angled part of the ladder and felt dots to the top back of the ladder.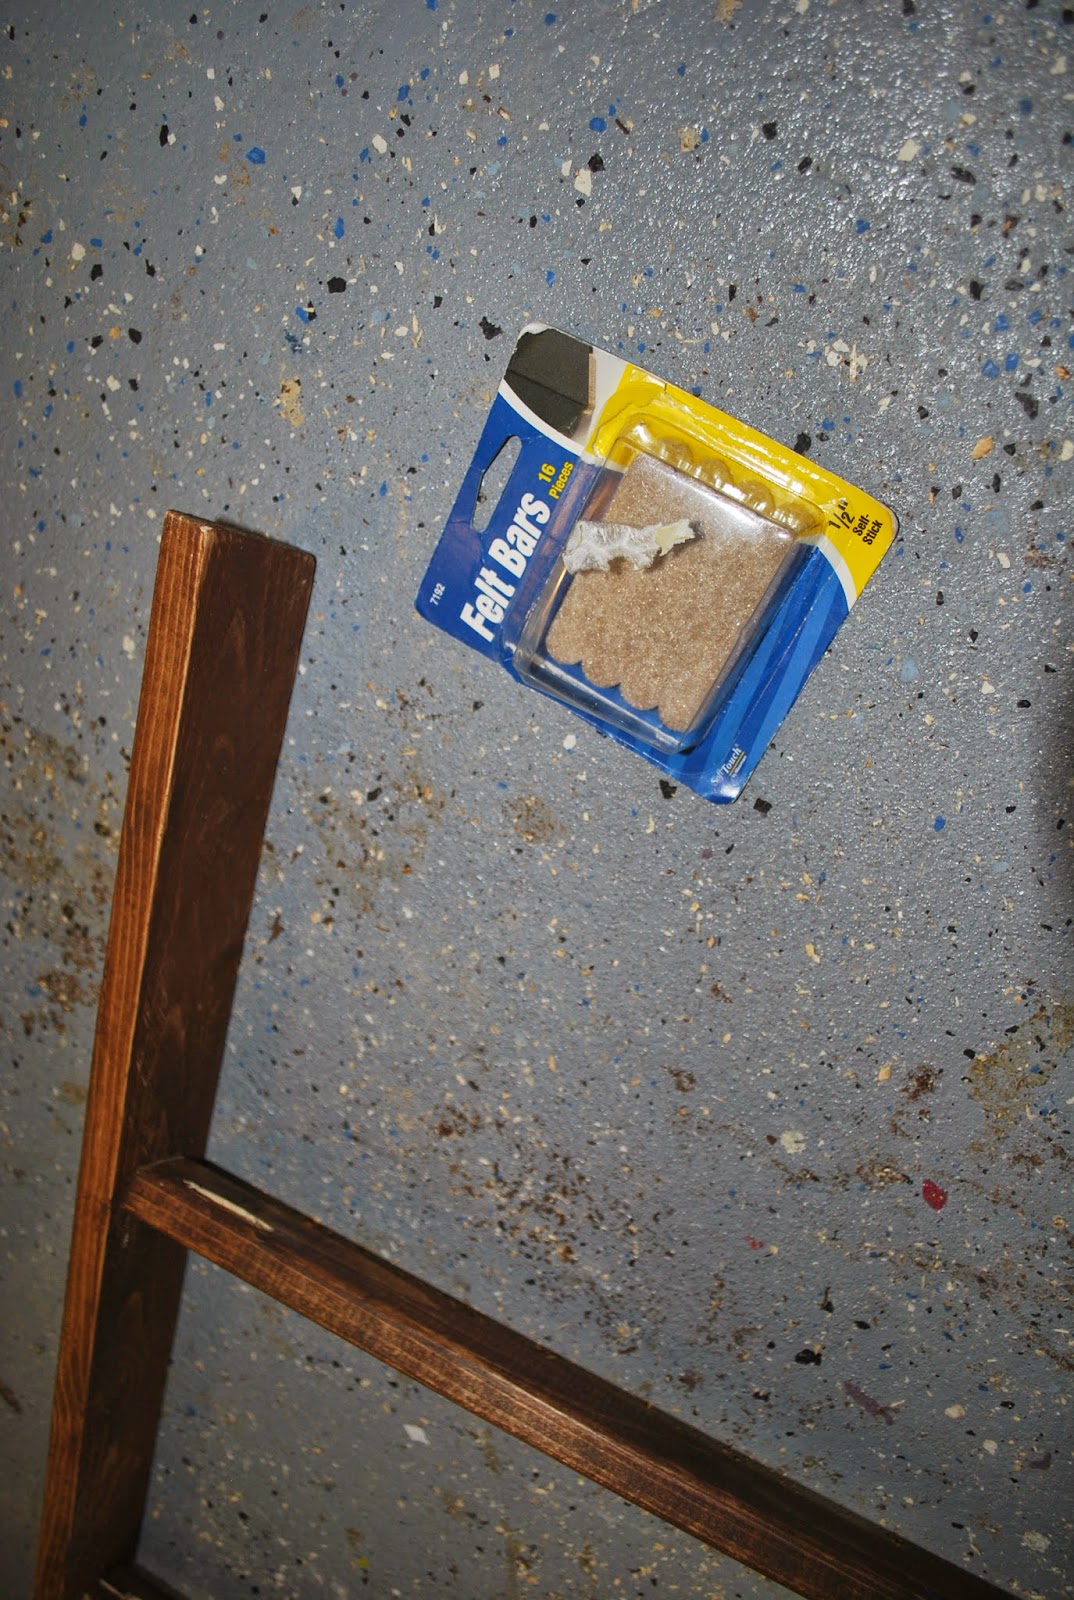
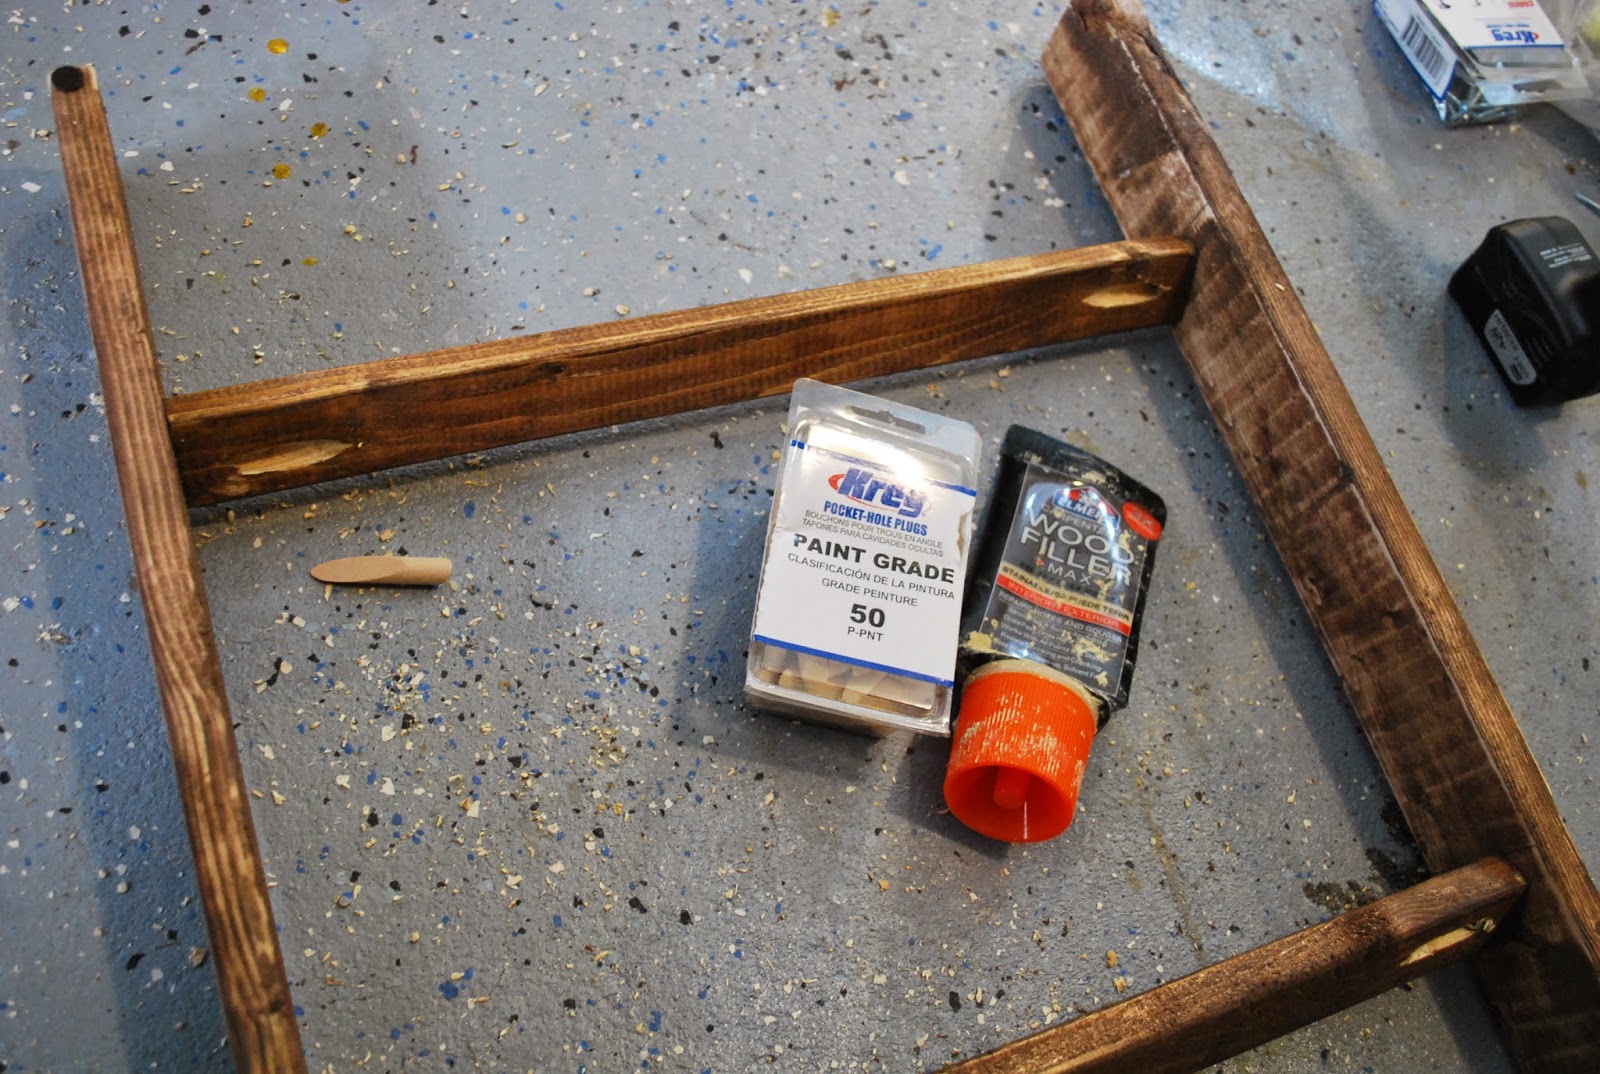
Fill the pocket screw hole and touch up with paint.
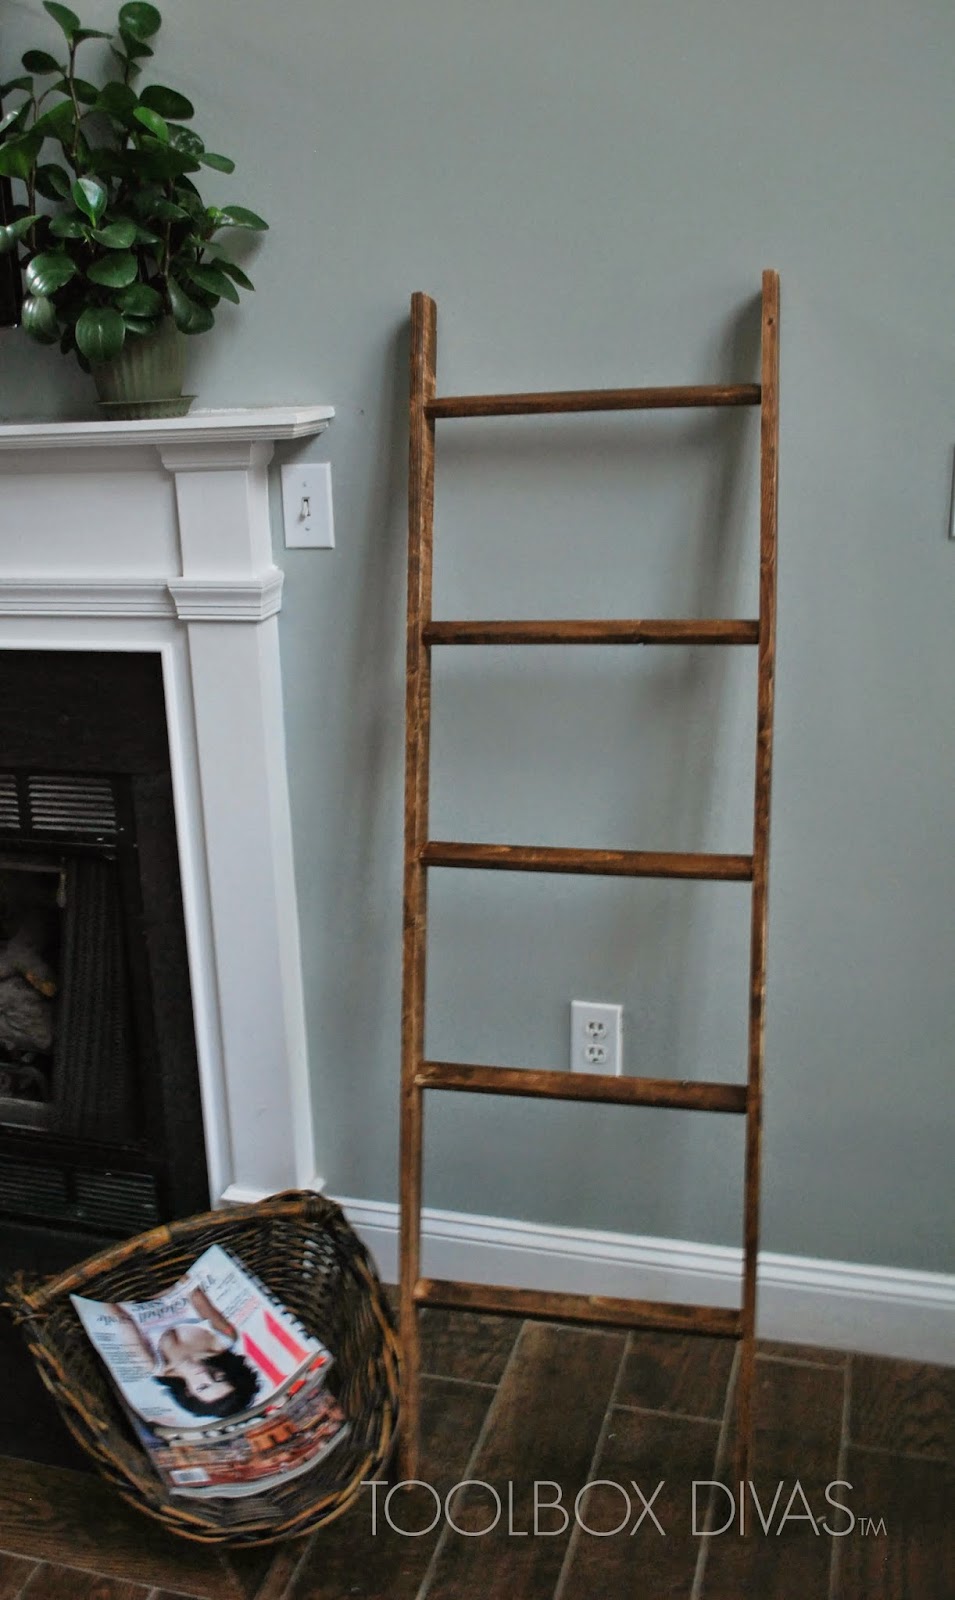
Now put a bow on it and wrap a couple of blankets.
You are done!
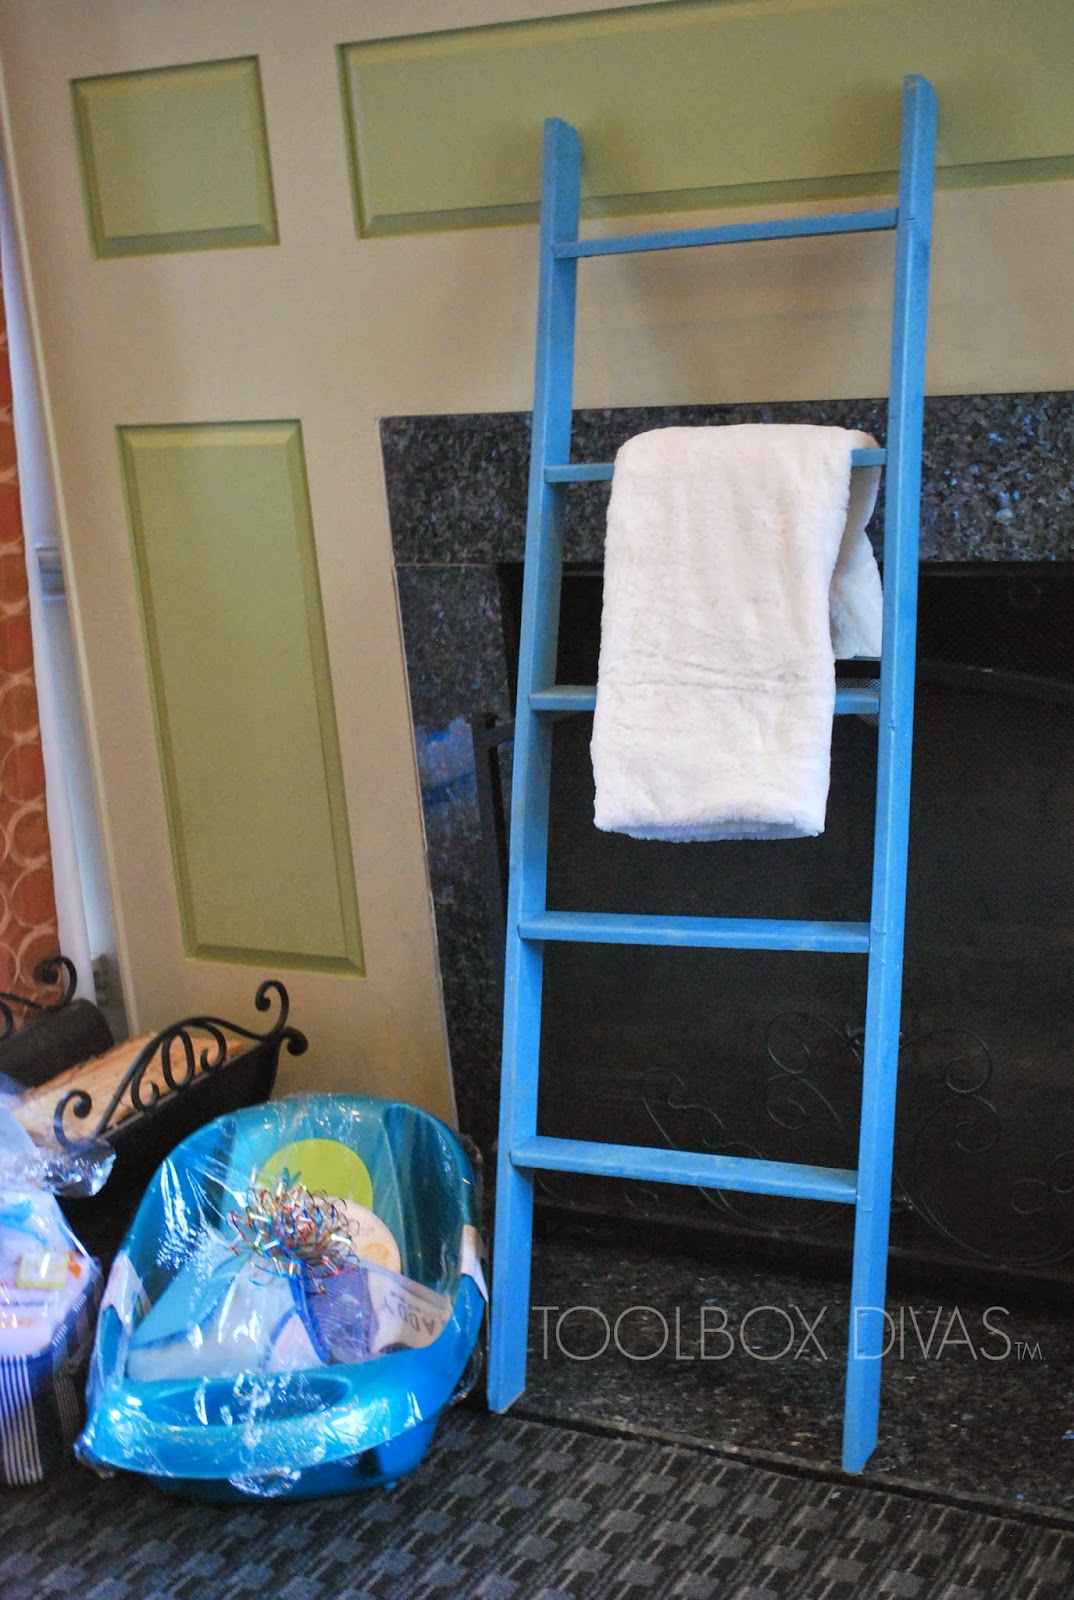
Oh and I also made one in blue for a baby boy.
Till Next Time.
~T.

Admiring the commitment you put into your site and in depth information you present.
It’s great to come across a blog every once in a while that isn’t the same unwanted rehashed material.
Excellent read! I’ve saved your site and I’m including your RSS
feeds to my Google account.
Will reference this in my next upcoming post.
Hi! I know this is kinda off topic nevertheless I’d figured
I’d ask. Would you be interested in trading links or maybe guest writing a blog article or vice-versa?
My site covers a lot of the same topics as yours and I believe we could greatly benefit from each other.
If you happen to be interested feel free to shoot me an email.
I look forward to hearing from you! Excellent blog by the way!
Hi, I do think this is a great site. I stumbledupon it 😉 I am
going to come back yet again since i have saved as a favorite it.
Money and freedom is the greatest way to change, may you be rich
and continue to help others.
Thanks for your marvelous posting! I really enjoyed reading it, you’re a great author.I will
make certain to bookmark your blog and may come back in the foreseeable future.
I want to encourage you continue your great posts, have a nice day!
Thank you so much! I really appreciate your kind words. They offer great encouragement. Thank you!
I wanted to thank you for this great read!! I certainly loved every bit of it. I have got you book-marked to check out new stuff you post…|
Aww thank you so much! Please do check out the site again. I will be updating it with more video logs and builds soon.