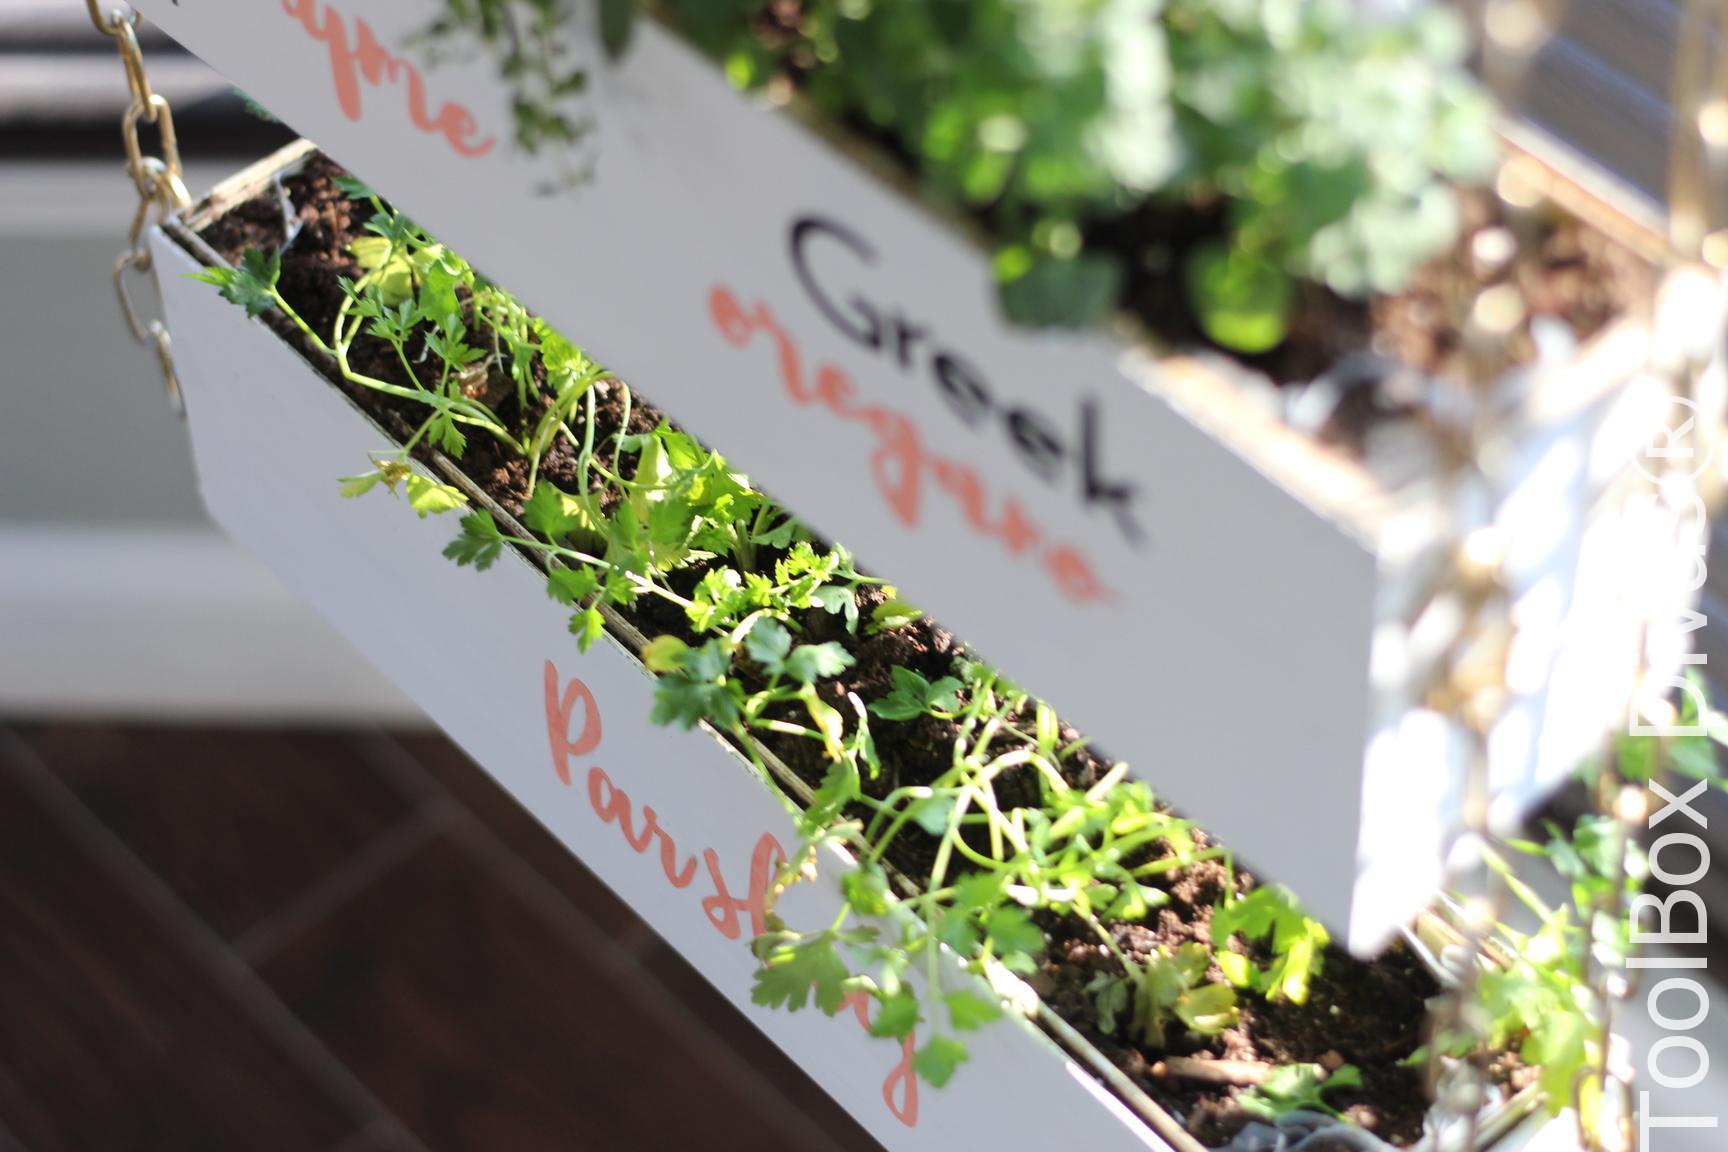
Indoor Vertical Herb Garden
[embedyt] https://www.youtube.com/watch?v=yknMR3h5dx0[/embedyt]
Ever thought of starting an herb garden? Well I’ve been wanting to grow an herb garden in my kitchen for THE LONGEST TIME! 🙂  But I just never got around to it. And I always wanted a vertical garden. So I thought, why not merge the two. So I created an indoor vertical herb garden where freak snow storms in March are a non factor.

Here’s how I did it.
Let’s Get Dirty!
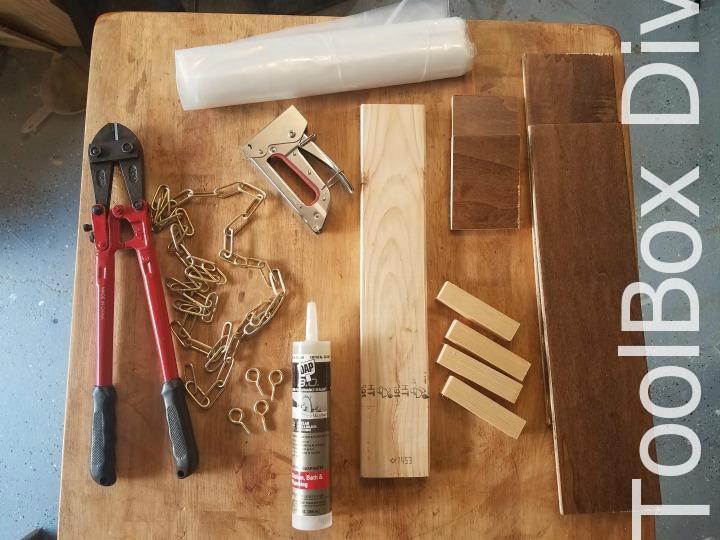
Materials
- 4 – 5 ft chains
- 7 mil painters plastic
- DAP Kitchen, Bath Sealant or Caulking
- Rust-Oleum Metallic Spray, Gold
- Thompson Water Seal
- 4- ARROW 3″ Ceiling Hook
Per planter
- 1x4x8 cut down to 19 1/4″ (bottom)
- 1/4 in. x 6 in. x 4 ft. (For this I used old Flooring)
- Cut down to 2 – 20″ (front and back) & 2 – 3 1/2″ (sides)
- 4 – #8 Screw Eyes
- 4 – 2″ S Hooks
- 4 – 1 in. square dowels cut to 4″
Tools
- Hammer or
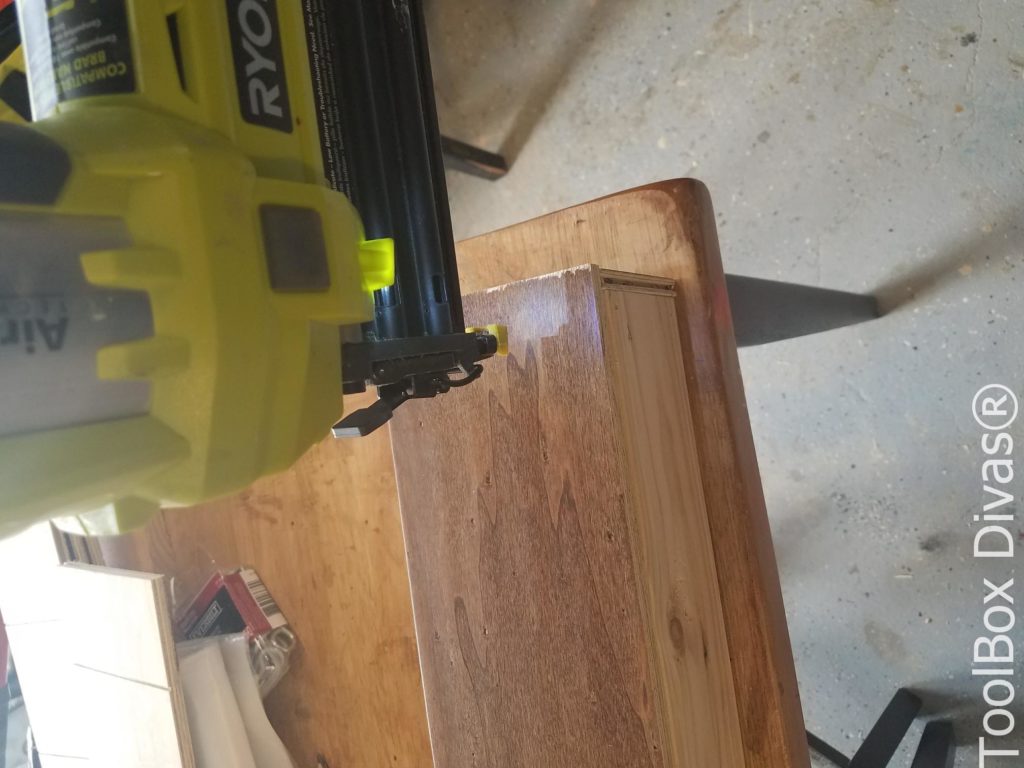
 Brad Nailer
 - Speed Square
- Tape Measurer
- Miter Saw
- Bolt Cutter
- Stapler
- Drill
STEPS
Step 1. First spray paint all the hardware with a metallic gold by Rustoleum. I painted the chains, eye screws and s-hooks.

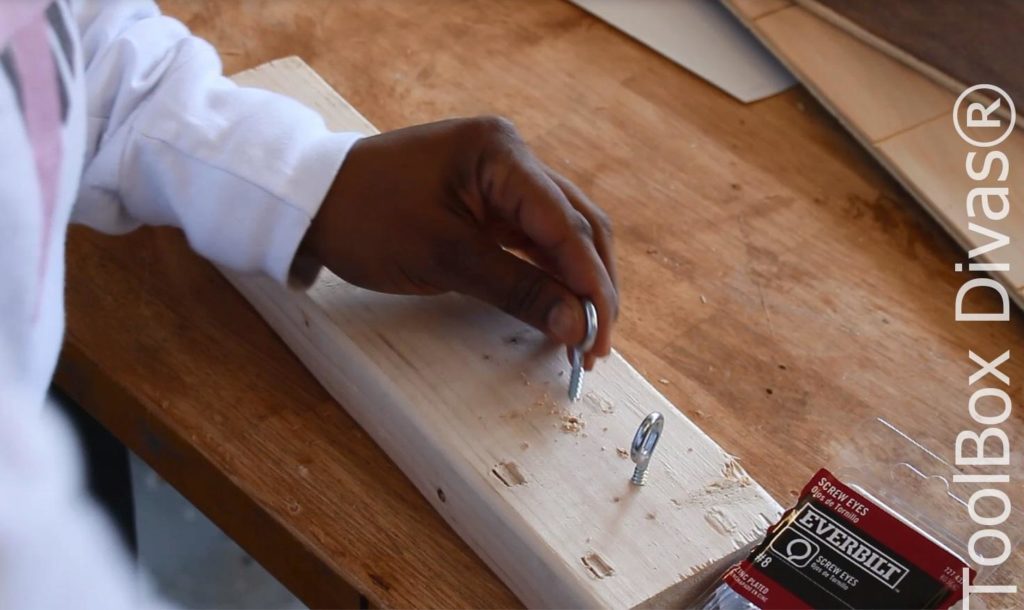
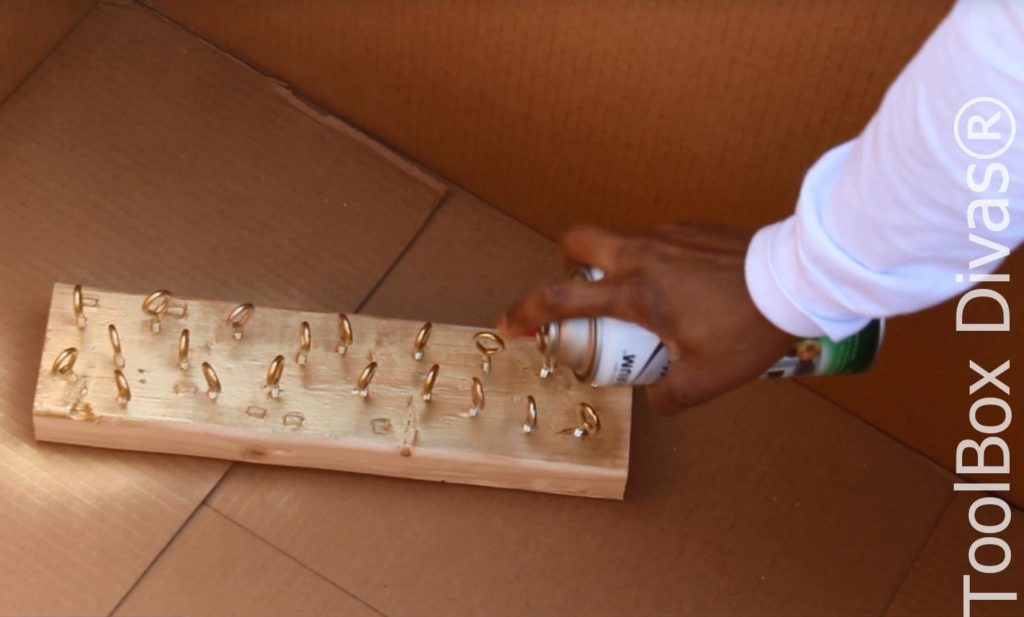
Here’s s tip for spray painting screw: Screw the eye screws into a scrap piece of wood to create a flat stable surface. This will allow even coat of paint.
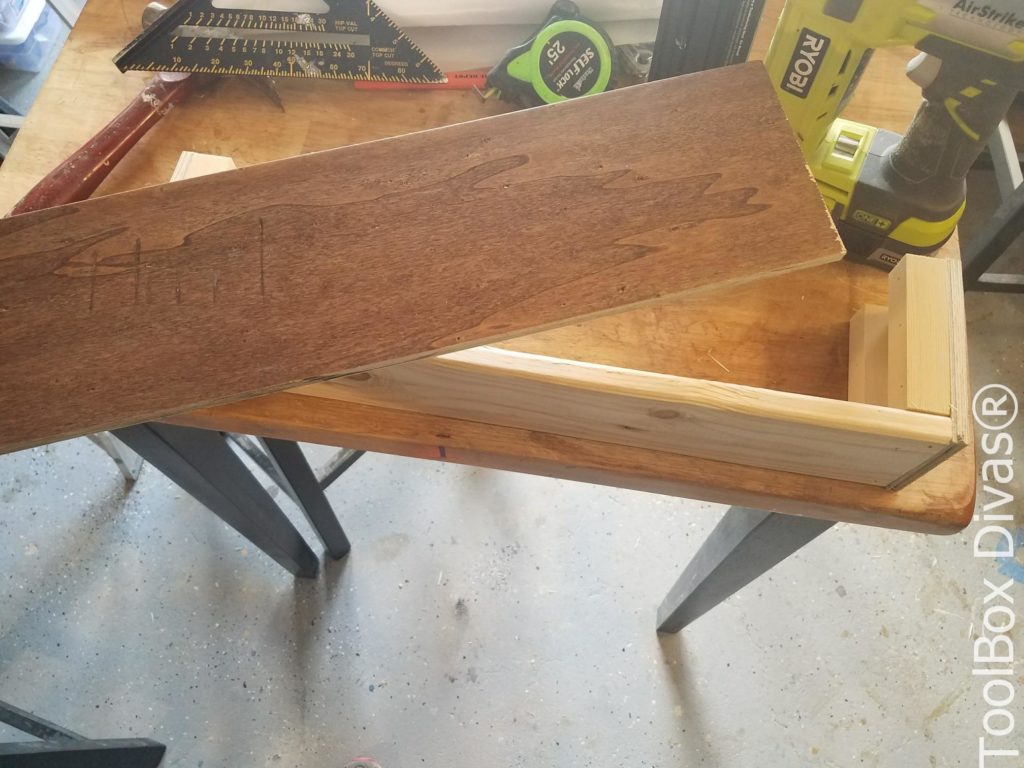
Step 2. Next I cut the pieces for the planter boxes. This is a scrap wood project. I used left over flooring that I had from a previous project. Keep in mind you want your planter to be as light and durable as possible. Use wood that is no more than 1/4. in in thickness.
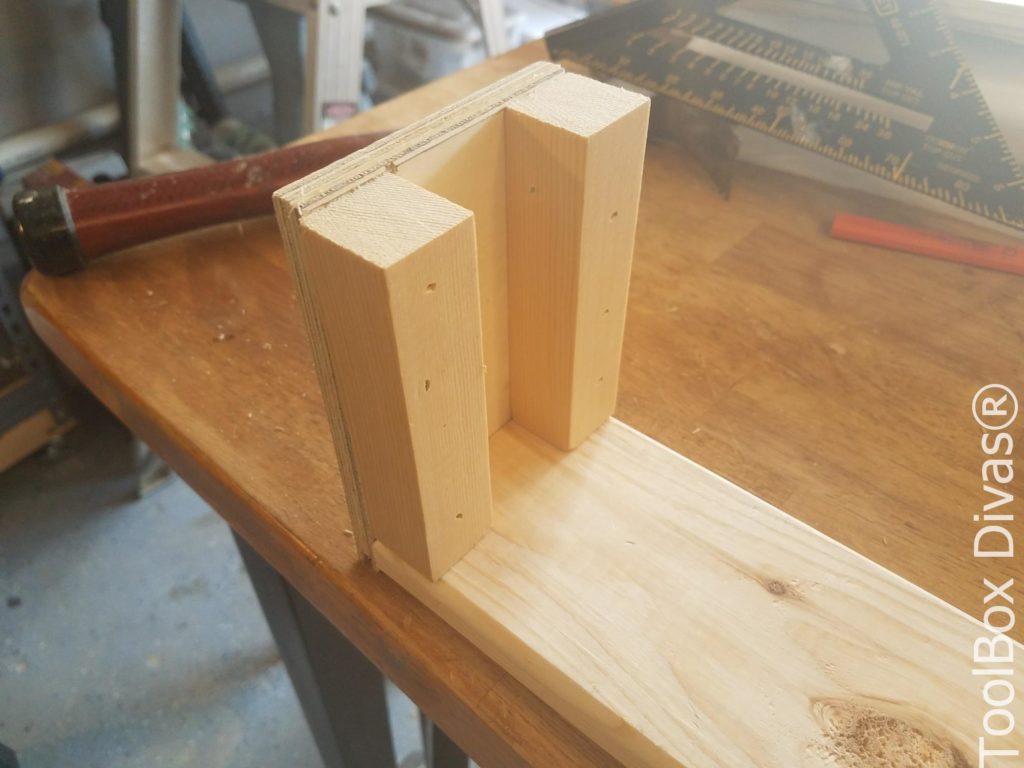
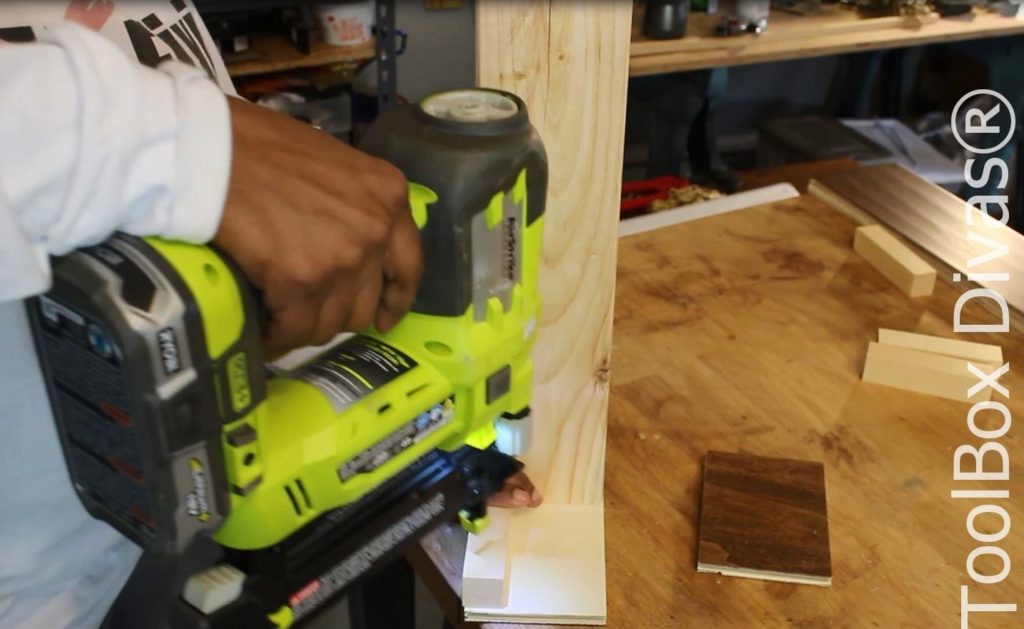
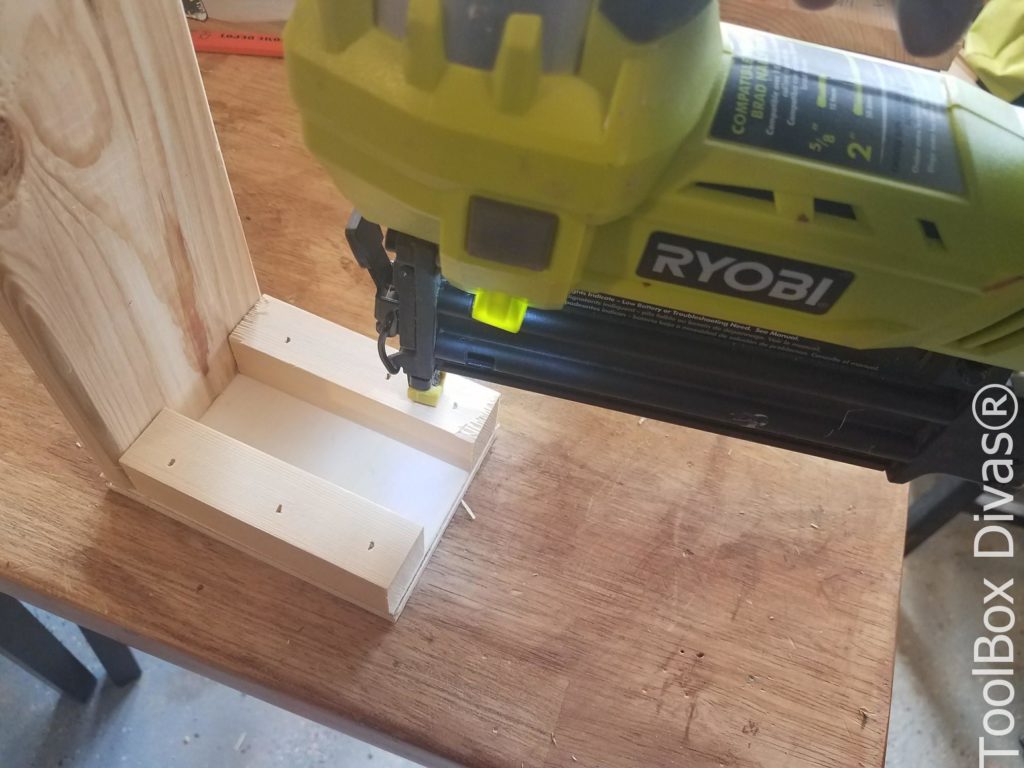
Step 3. I assembled the planters.
Secure the sides using 1in. square wooden dowels cut at 4in. Once all the pieces are cut, assembling each planter moves very quickly. I assembled 4 planter boxes. But with this system you can add as many as your chains can support.

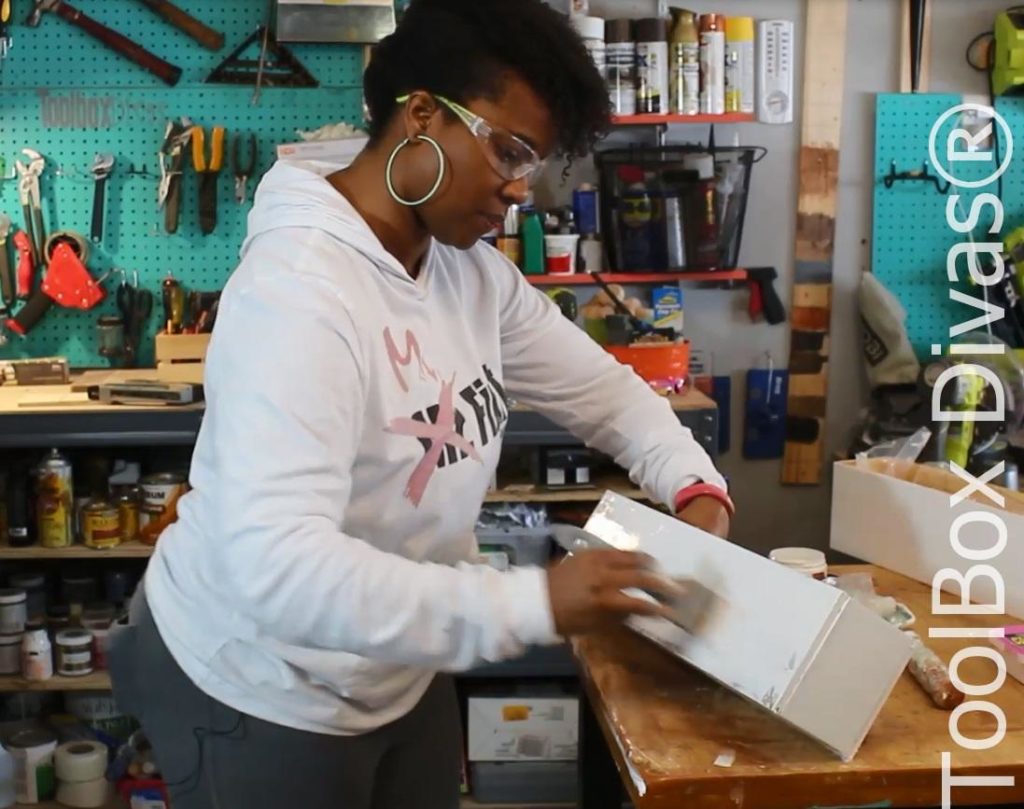
Step 3. Paint. I painted my planters using sample Behr paint in Silent White in a matte finish.
Step 5. Seal inside the planter with Thompson Water seal and allow it to dry. 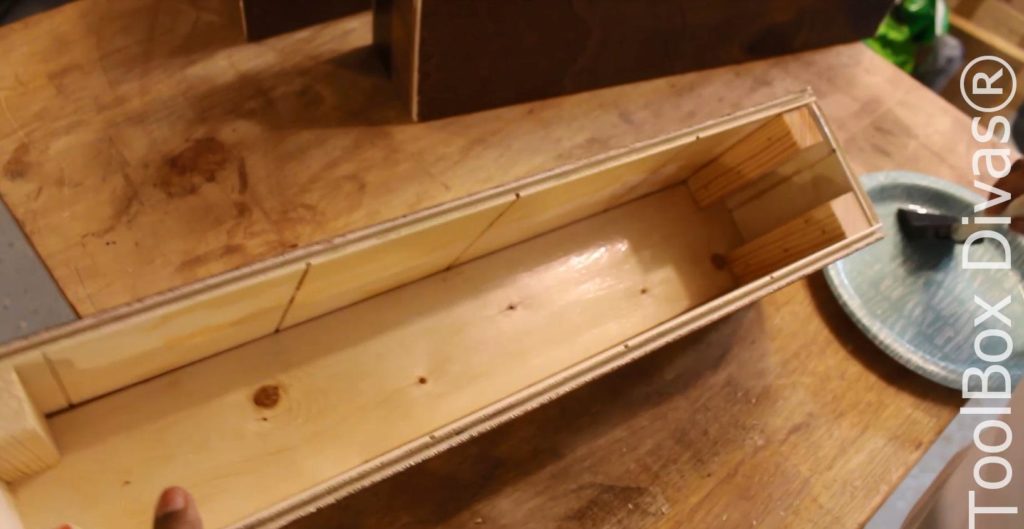
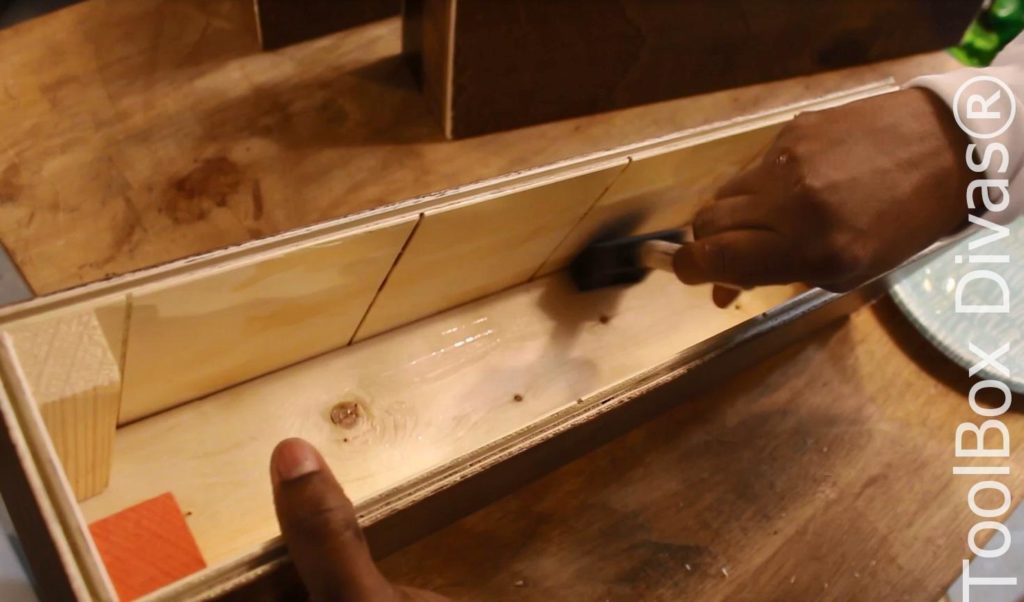
Step 6. Apply caulking around the seams within the planter. This will further tighten any gaps within the planter to prevent water leakage. In stead of going out to buy something new I used caulking that I had left over from a recaulking project in my bathroom.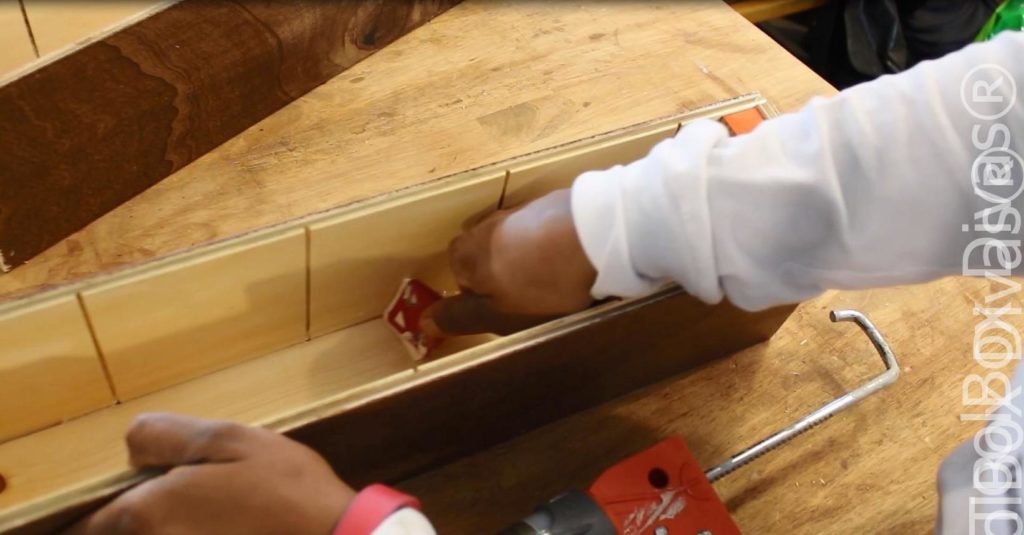
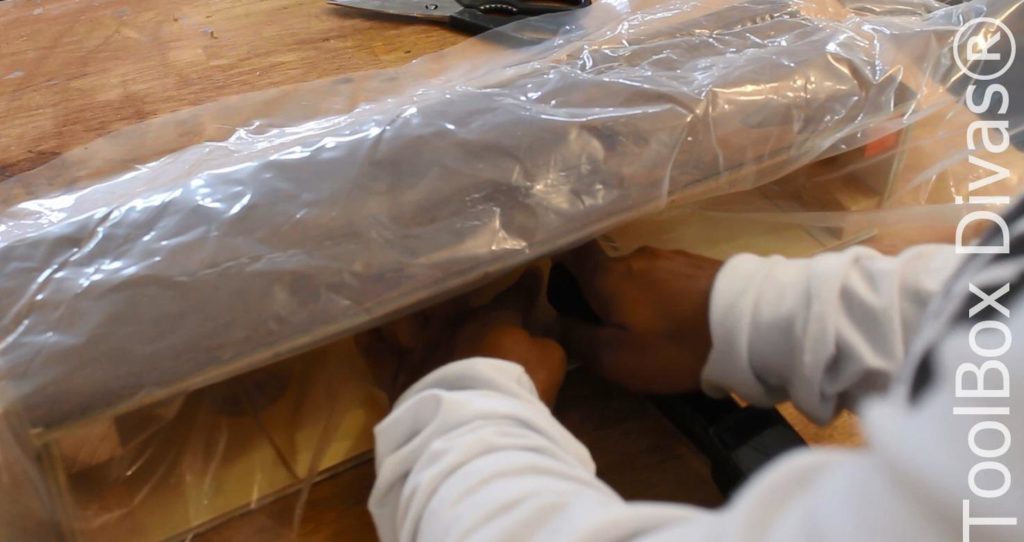
Step 7. Line the planters with plastic. I used the plastic I had remaining from when I painted my dining room. Attach the plastic to the top of the planter by stapling it to the insides of the planter. if your larger staple gun won’t fit you can use a regular desk stapler. You don’t have to go out and buy a whole bunch of new tools for this project. Trim the excess plastic.

Step 8. Place the 2 eye screws on the either sides of each planter about and 2in. down from the top of the planter.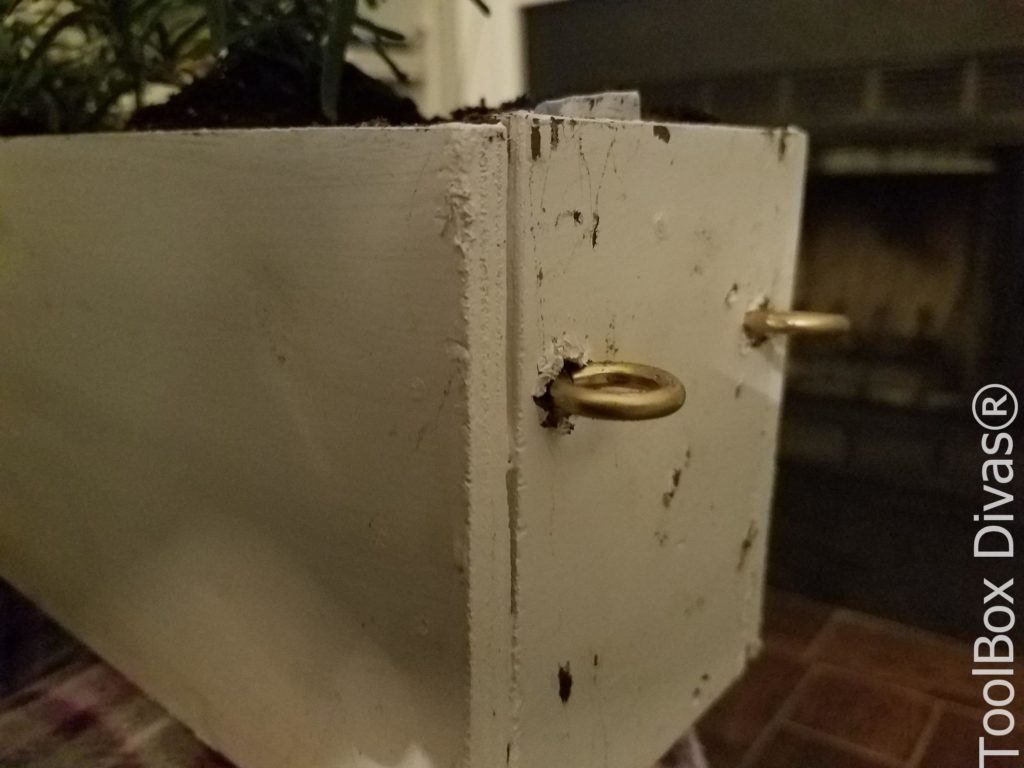
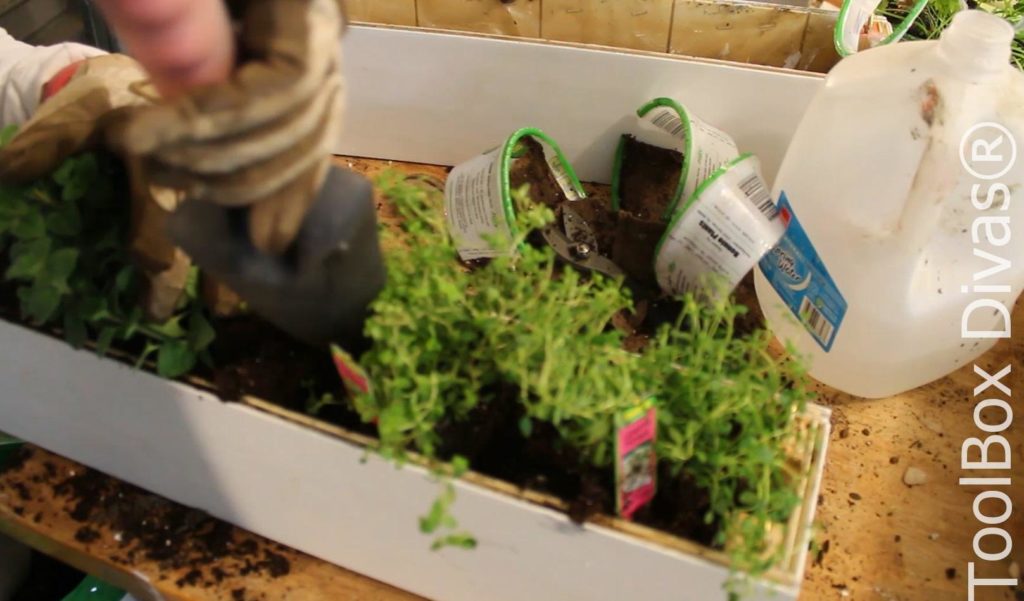
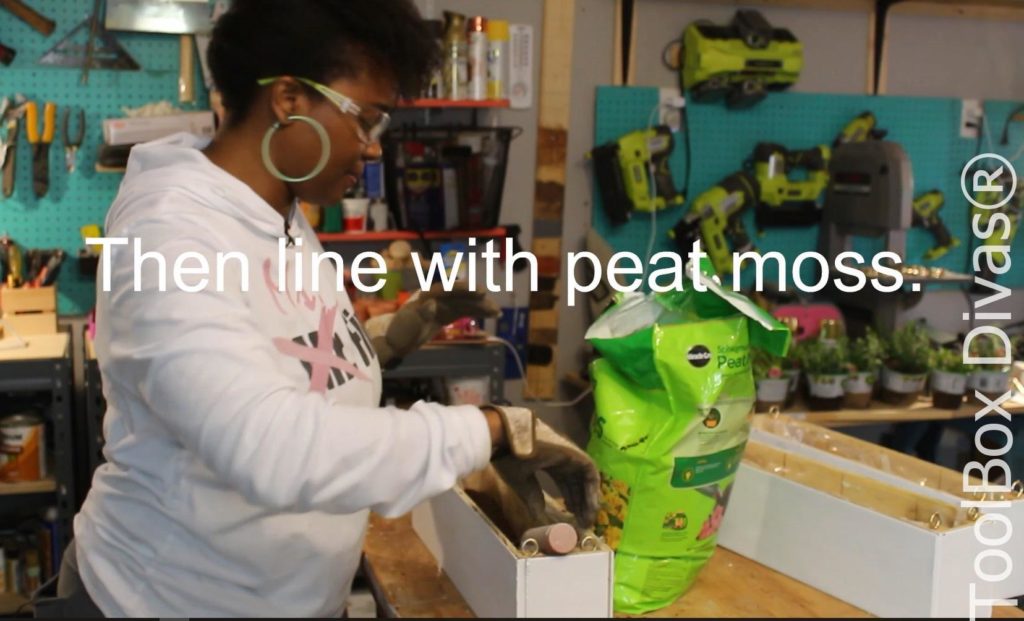
Step 9. OK Ready, Set, Plant. You are now ready to plant your herbs. Line your planter with river rock. Then line it with peat moss. The river rock and peat moss with help with drainage and allow your soil to maintain moisture longer. Finally add the soil and herbs.

Step 10. Hang plants but placing 4 3″ Ceiling Hooks in the ceiling. Be sure to screw into the ceiling joist. I don’t recommend using drywall anchors. Evenly hang the chains and attach each planter using 4 s hooks.


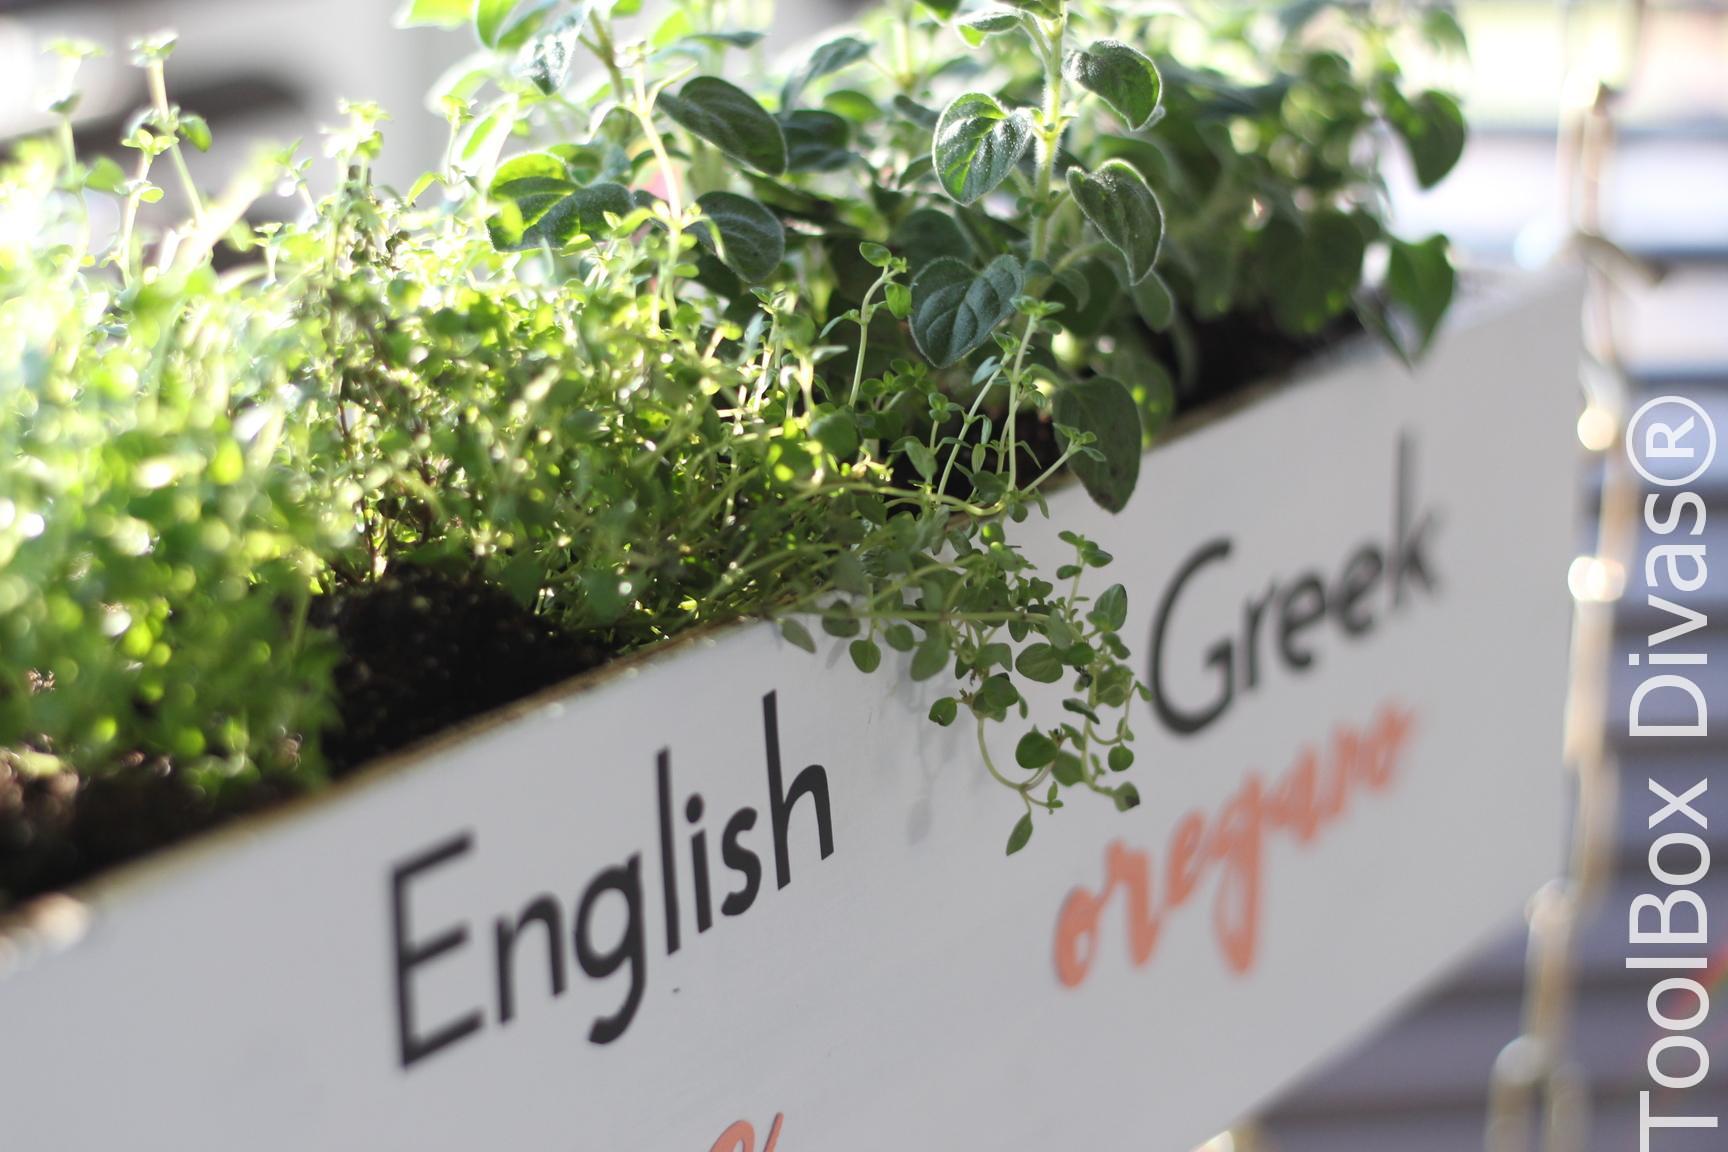
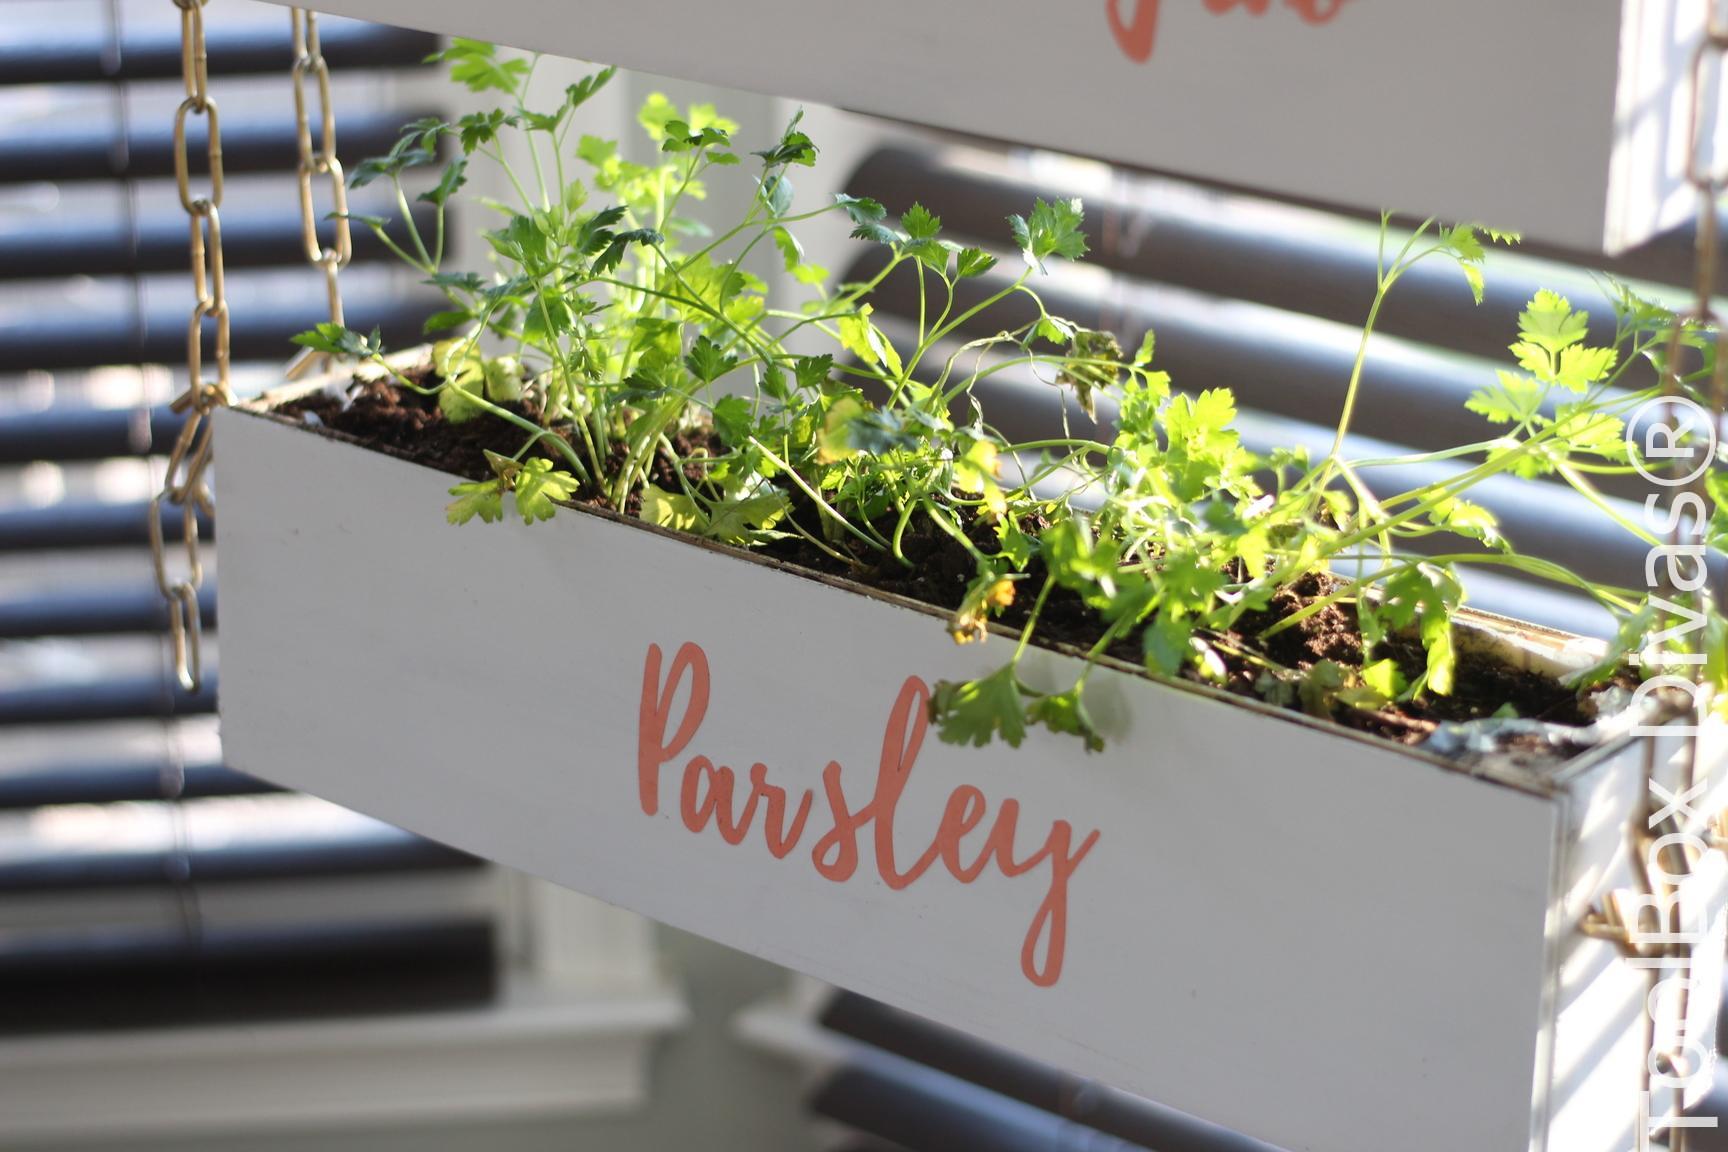
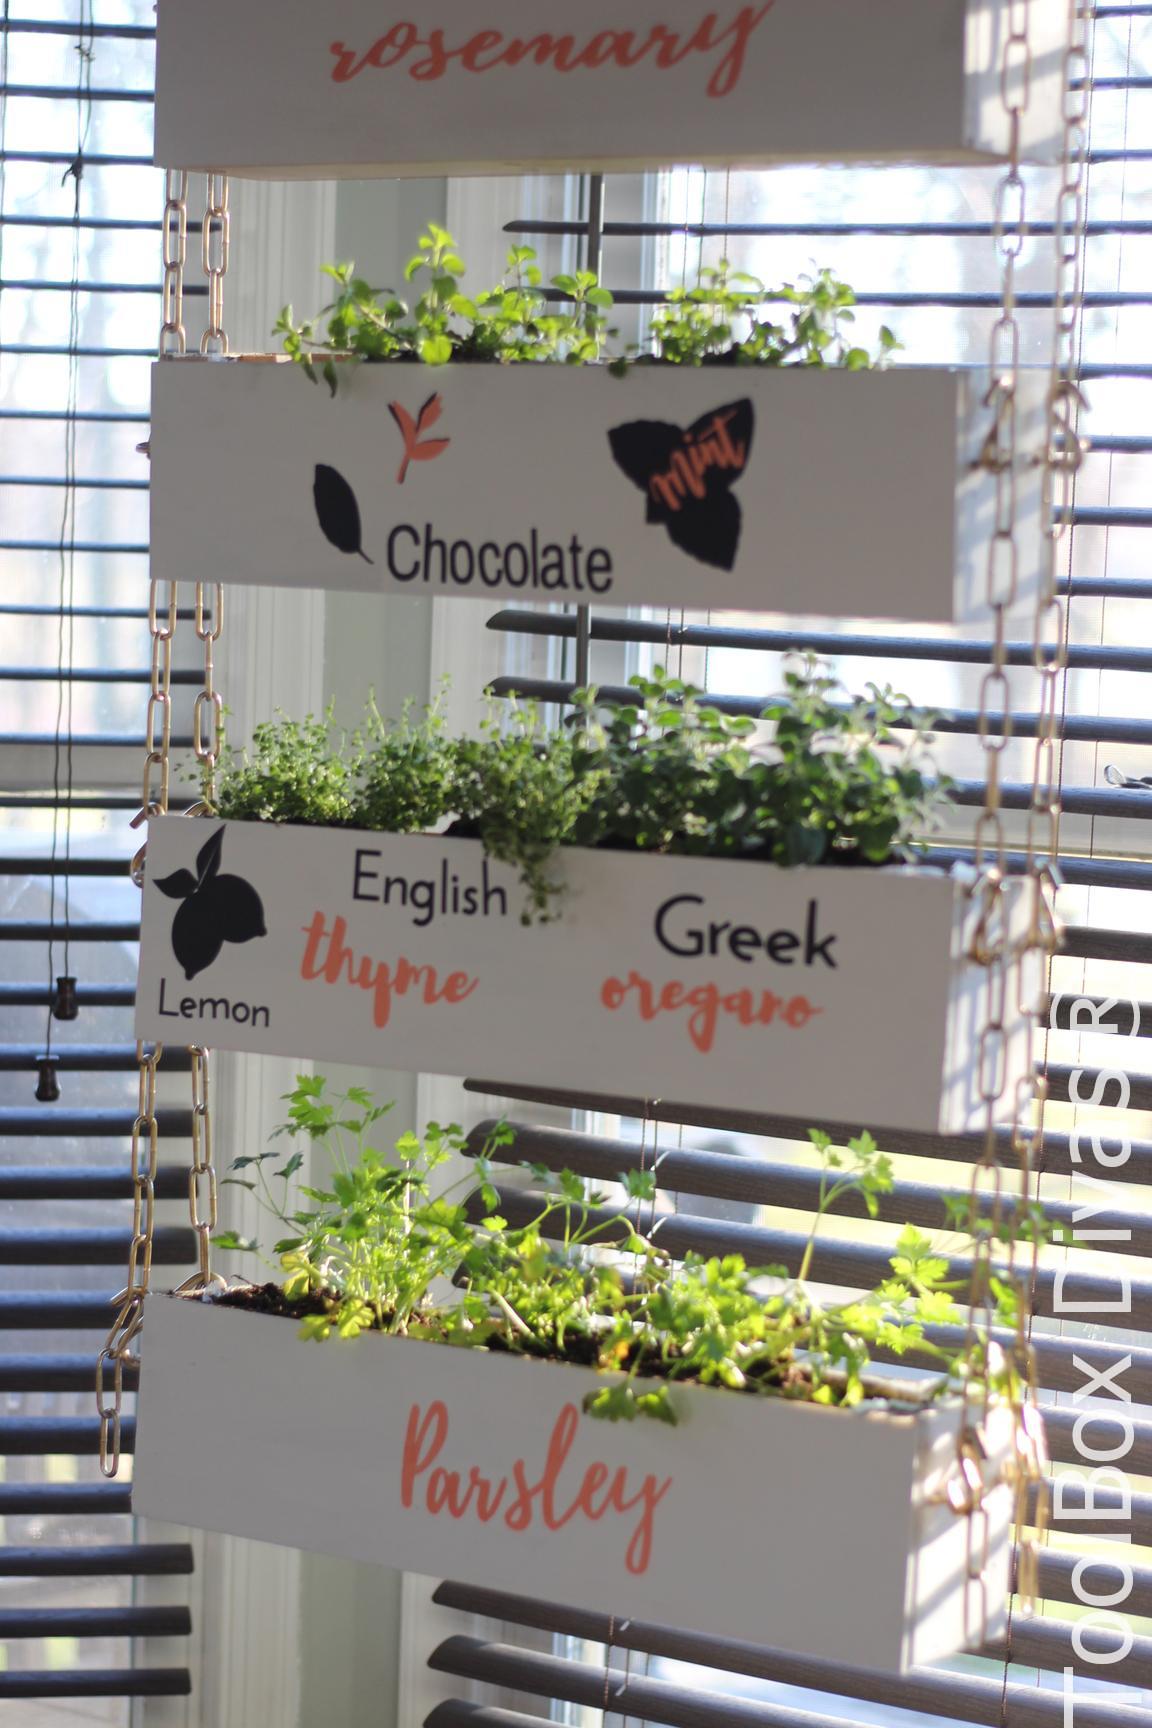
Now label and enjoy. Till Next Time. ~T.


Awesome idea. Your info will produce a better gardener.
Thank you Esabela! I really love the way it turned out. It’s a wonderful addition to my kitchen and cooking routine.
Such a great idea and would make a great gift for her lovers as well. Thanx
Darlene that is a fantastic idea! I would love to receive an herb garden as a gift anytime. It’s always something someone can use.
Hi Timisha! This is a great idea. I am always walking outside to my garden to retrieve my herbs. Sure will save me steps and counter space. Love it!
Thank you so much Sue! I am loving the fresh herbs when cooking. Simple eggs whites turn into a gourmet dish Hahaha.
hey which power tools used during woodworking? is Ryobi? how it’s performing?
Yes I use Ryobi power tools. I love the ease of use and the affordability of its tools. The performance is top notch.
As a nature lover, what could be best than to be around it? Herb garden for the kitchen is a such a great idea, and you have shown us the best, that is “An Indoor Vertical Herb Garden”, lovely!!! By giving this very detailed information you have really made our task easy. Thank you!! 🙂 ❤
Thank you so much! So glad you like this herb garden. It has served me well.
:):D