2015 Ornament Exchange: How to Create a Marbled Glass Ornament
Christmas is my absolute favorite time of the year! I am an absolute fanatic when it comes to decorating and planning for Christmas. I love the feel and over all around mood in the atmosphere. So when I disco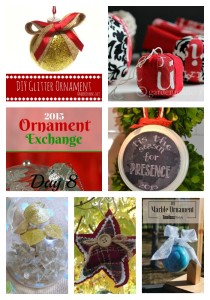 vered Erlene, from My Pinterventures, was putting together an ornament exchange in an effort of bringing bloggers together to share a little holiday inspiration, I was like where do I sign up!? The 2015 Ornament Exchange consisting of over eighty bloggers who are paired and tasked with the challenge of purchasing or making an ornament for $10 or less. We are sharing our ornament tutorials and shopping trips with you! So from November 1st through November 14th, myself and 80+ bloggers will be kicking off the holiday season will a little inspiration for your holiday ornaments.

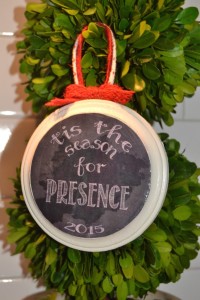
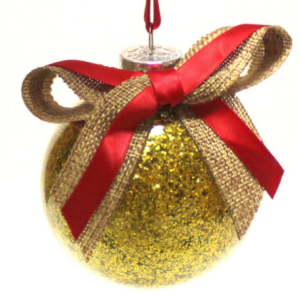
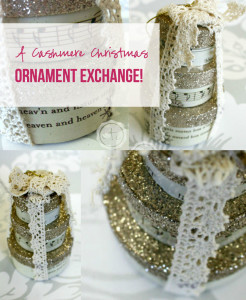 In the Ornament challenge Betsy and I exchange ornaments. Earlier this week, Betsy shared the ornament she got for me. Now as I mentioned earlier I am a fanatic when it comes to Christmas and decorating. I admitted to Betsy that I plan my Christmas decor one year in advance (Don’t judge me, haha). This year’s Christmas is called Cashmere Christmas. I want rustic mixed with elegant cream and gold. So literally screamed when I saw the ornament she got for me. It fits perfect with my theme. And it sparkles!
I wanted to make Betsy something she’d love and be able to add to her collection and use for years to come.
While Betsy would say she likes all ornaments :), she absolutely adores things that are blue, silver and shiny or sparkly. So I searched for inspiration. The great thing is I love love love blues. The bad thing was I had too many blue hues to choose from. So I figured, why fight it. I could incorporate different shades of blue and silver. Here’s what I did.
Supplies
- Enamel paint
- Glitter Paint
- Heavy Duty Glass Balls Clear Glass or Clear Plastic Acrylic Fillable Ball Ornament (shatterproof and my preference)
- Ribbon
- Plastic Cup
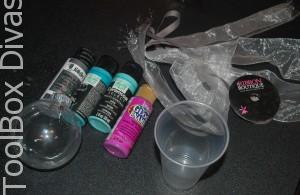
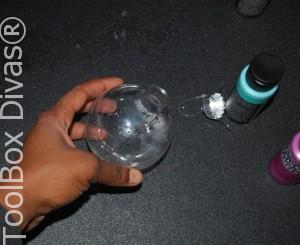
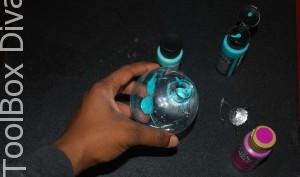
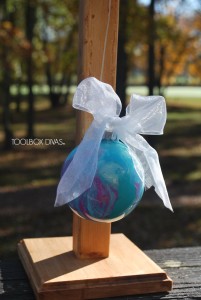
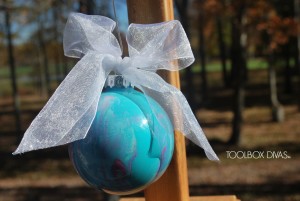
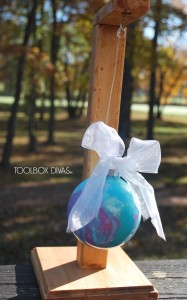
Start by removing the cap from the ornament. Be sure the ornament is clean and clear. Squirt the paint into the ball rolling the ornament in your hand as you squirt the paint into the ball. It will blend as the ball moves round and round slowly. This process can take a little time to ensure full coverage.
There is no order with which paint is used and how. This is purely free flow and organic. So go with the flow :).
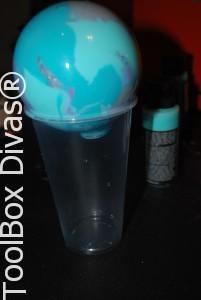
Once the paint fully covers the ornament inside hang upside down in a plastic cup to dry. Be sure to not allow any paint to dry on the outside of the ornament. Once the paint inside the ball is dry place the ornament lid back on. Your ornament is ready to be hung. Feel free to place a bow around the ornament.
Find more holiday inspiration by checking out today’s Ornament Exchange participants.
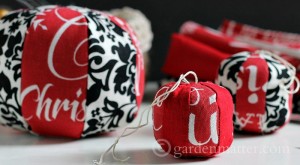
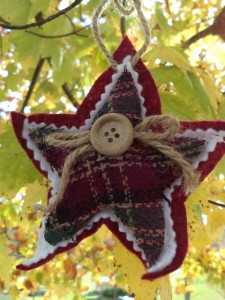
So do you want to know a secret? I actually made Betsy 2 ornaments. Click HERE to find the tutorial for this ornament and the ornament holder. 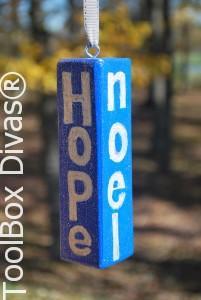

Hello I am a fellow ornament exchange participant popping by. Your ornament is so clever and cute!
Have a wonderful day.
Thank you so much Laura! I really enjoyed making this ornament.
I love the paint color you used. A little unconventional for Christmas, but that makes it even better 🙂
Thank you! I’m always unconventional when it comes to Christmas decor Hahaha. One year my decorations were pink, another it was purple. I love having fun with it. This year I’ll be a little more traditional. My color scheme is Gold and cream.
Love the color of the ornament. I never would have thought to do that. Very pretty.
Thank you so much Amy. Blue is one of my favorite colors.
love the color in this ornament – perfect!
Thank you so much Janet! I am absolutely addicted to the color blue. So much so that I’ve decorated with the color blue in every area of my home. Haha
Such a fun way to color an ornament. I have tons of paint and could make all sorts of swirled colored ornaments. Thanks for sharing this on the ornament exchange!
Thank you so much Erlene for having me.