DIY Wooden Lantern That Looks Like You Bought It
In this tutorial, I am going to show you how to make a modern style lantern with Asian influence that looks like something you would purchase.
I am redoing my backyard and deck this Summer and I’ve been thinking about different decorative elements I’d like to see on it. 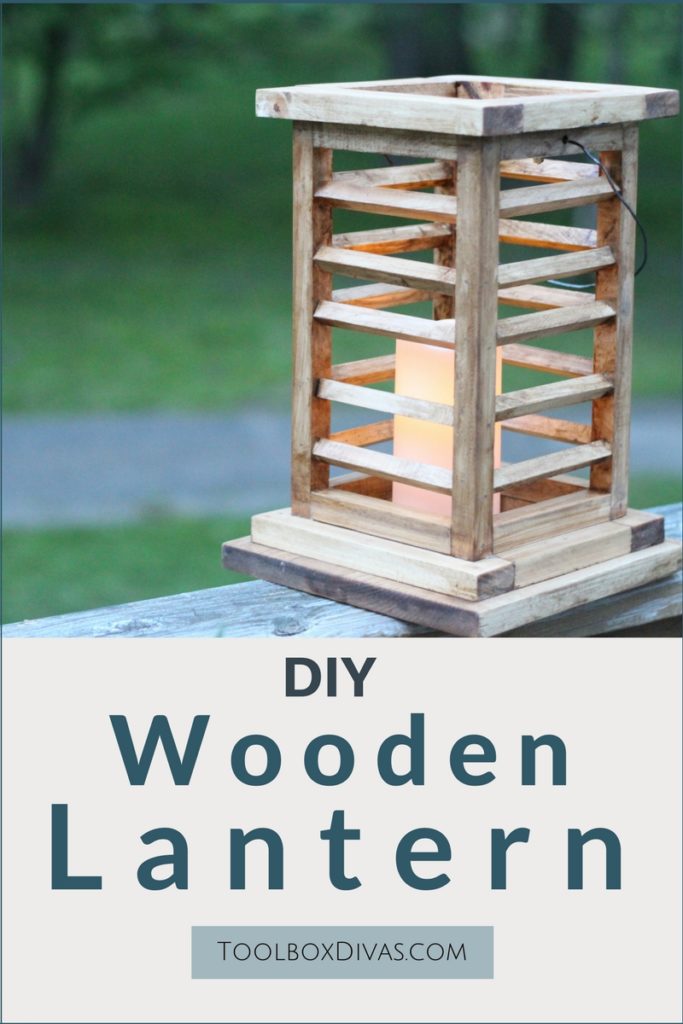 I’ve always loved the look of lanterns and how its adds visual interest to an outdoor space. I love the look of a visually interesting lantern on a table or hanging from a over head hook. So I decided it was finally time to make my own lanterns I took inspiration from my travels to Thailand and Japan this earlier this year in developing the design and look. It’s cool, simple and elegant. And this lantern will dress up any indoor space as well.
OK, Let’s Get Dirty!
Here’s What you’ll Need:
Materials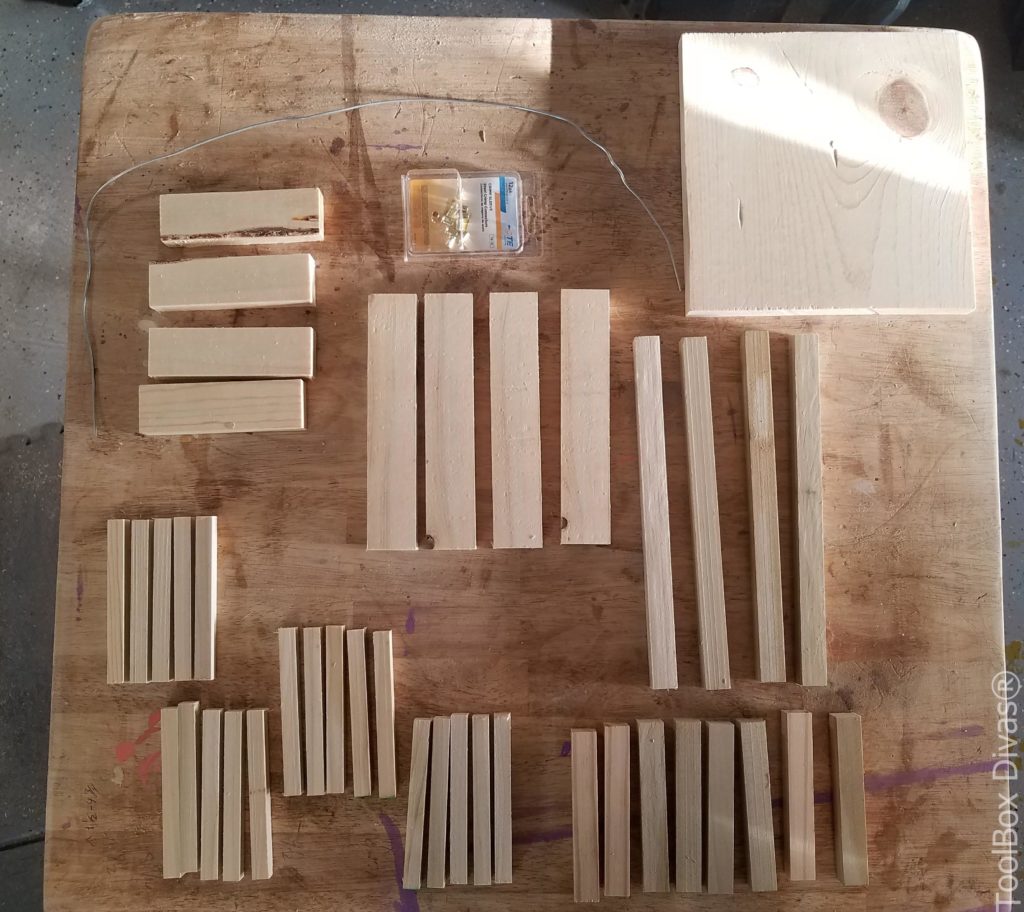
- 3- ¾” Square dowels
- 3- ½ ” Square dowels
- 1x2x6
- 1x10x4
- 14 Gauge wire
- Wire clamps
- Paint/Stain/Spray Paint
- 1 ¼” nails
- Wood glue
- Painter’s Tape (Optional)
Cut List
- 1 – 1×10 @ 9 1/4″
- 20 – ½ ” dowel @ 5″
- 4 – ¾” dowels @ 11″
- 8 – ¾” dowels @ 5″
- 4 – 1×2 @ 8″
- 4 -1×2 @ 5″
Tools
- Miter saw
- Tape Measure
- Speed Square
- Pliers
- Sander
Steps
- Cut pieces to size.
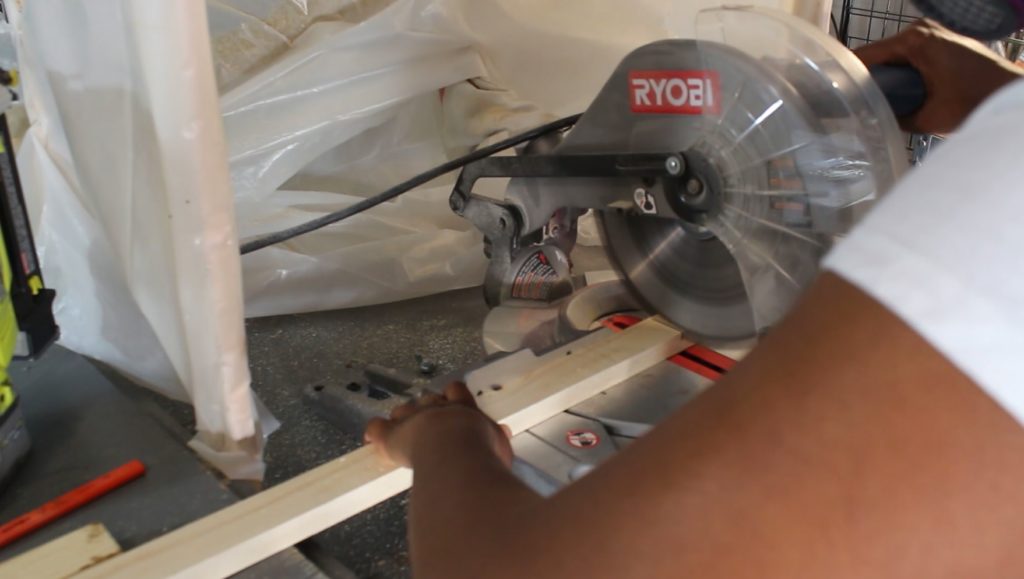
- Stain or Paint the pieces. This project is easier when you pre-stain or paint the pieces because there are some small pieces.

- Mark the location of the slats on the ¾” square dowels. Start 1 ¾” from both ends of the ¾” square dowels.
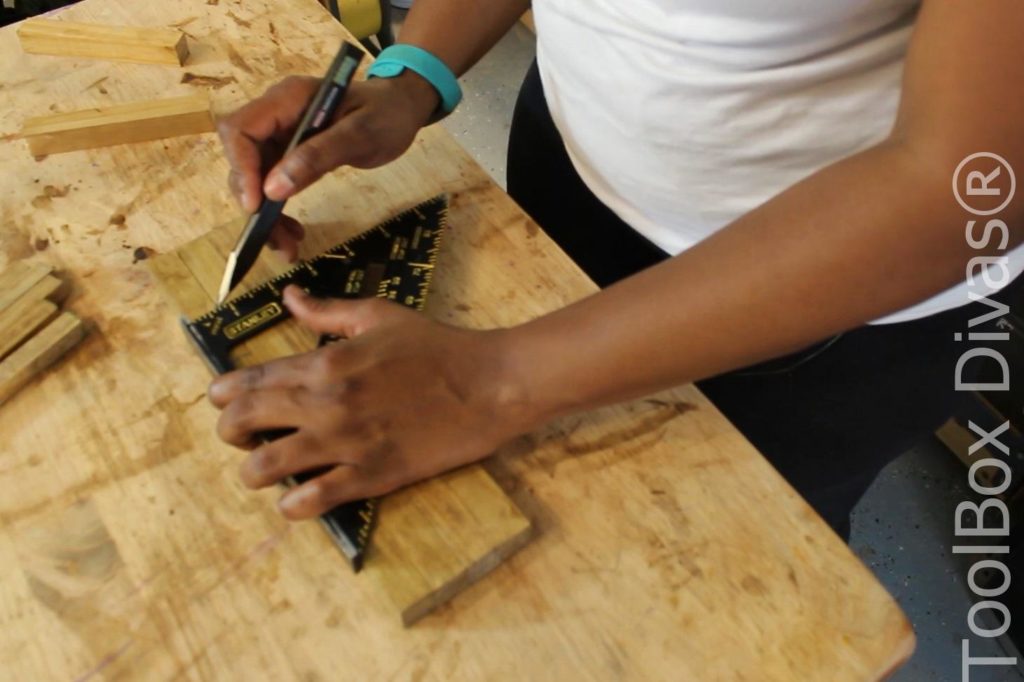 The ½” dowels will be spaced out about 1 7/8” apart.
 - Construct the two primary side panels, starting with the frame.
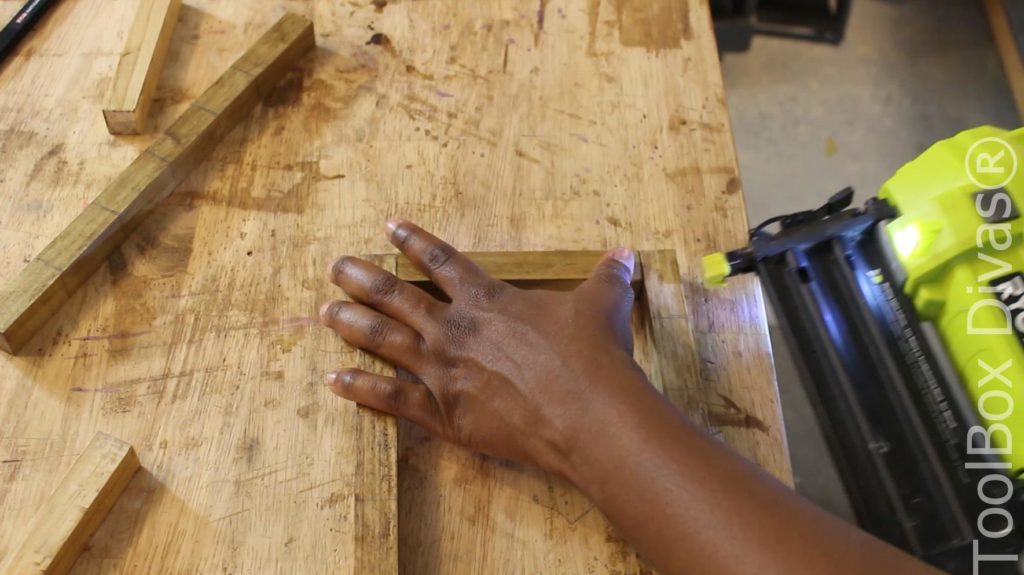
- Add the ½” slats to the two side panels, turning at an angle. The ½” square dowels will be like diamonds in the center of the ¾”
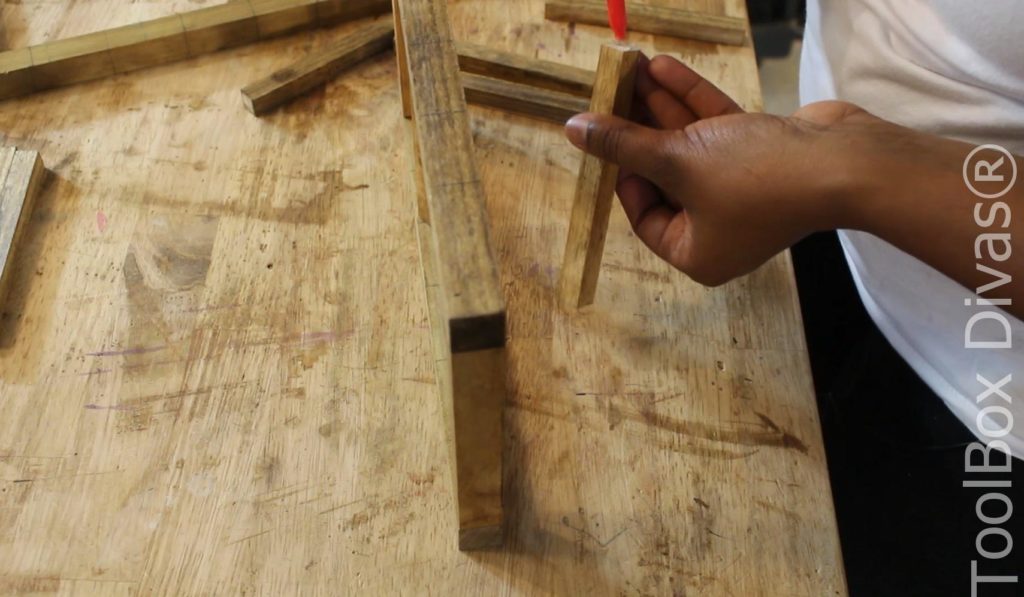
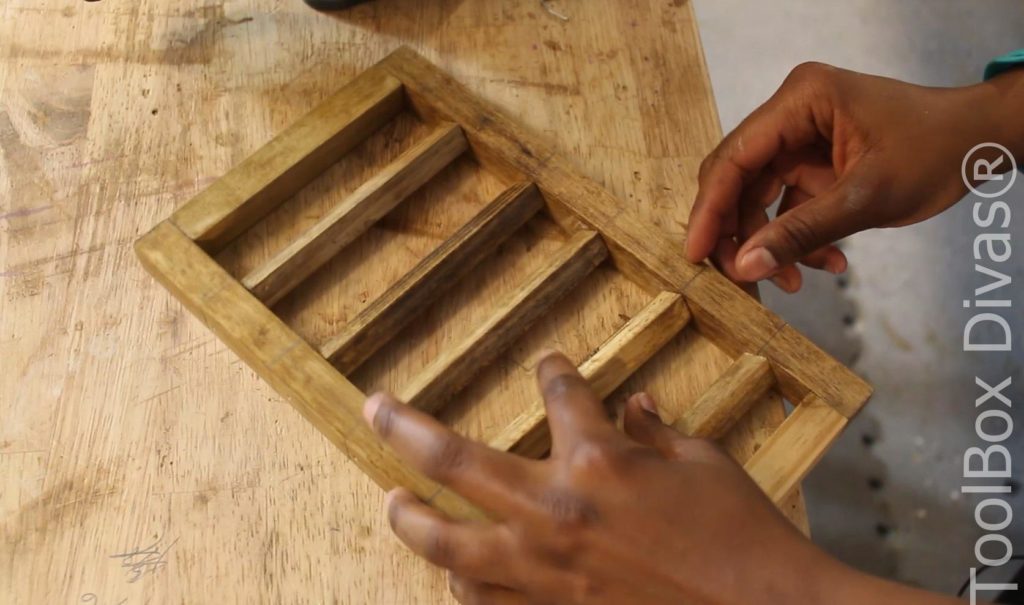
- Connect the two side frames using the ¾” dowels at the corners.
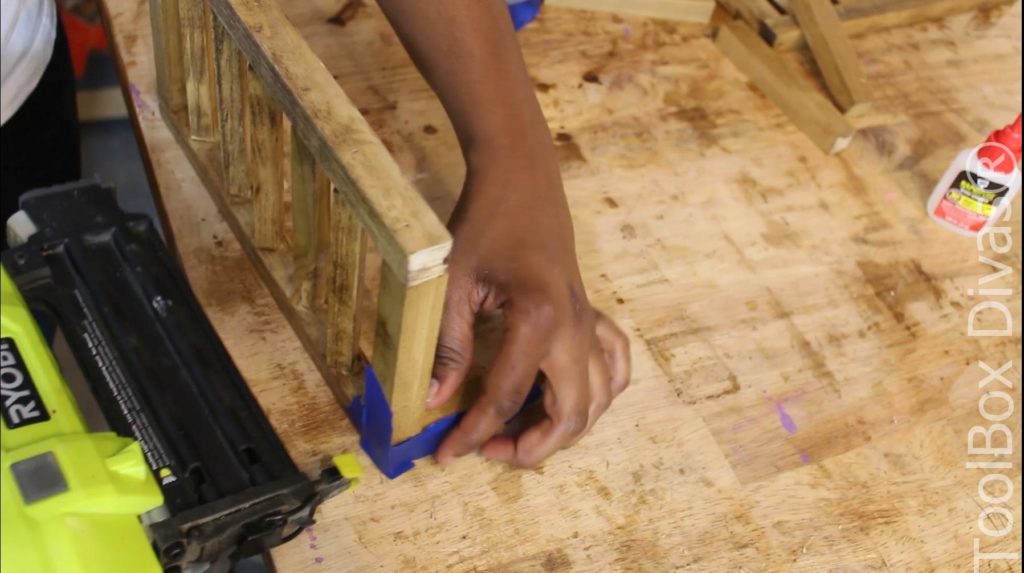
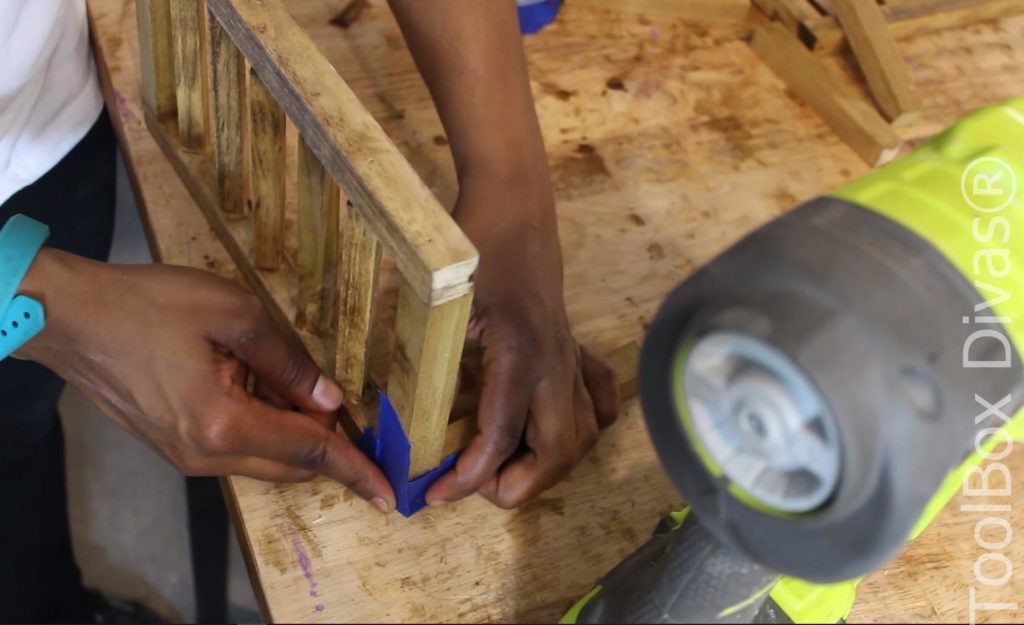 TIP: When attaching the 3/4″ dowels painter’s tape helps hold the pieces together as you assemble its with the glue and nail gun.
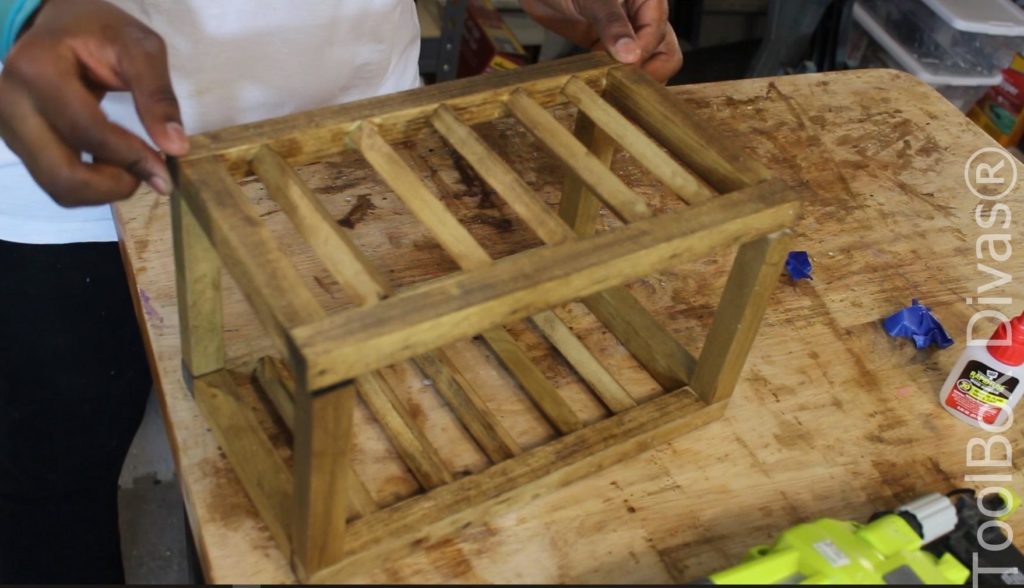
- Now insert and attached the remaining slats on the two sides
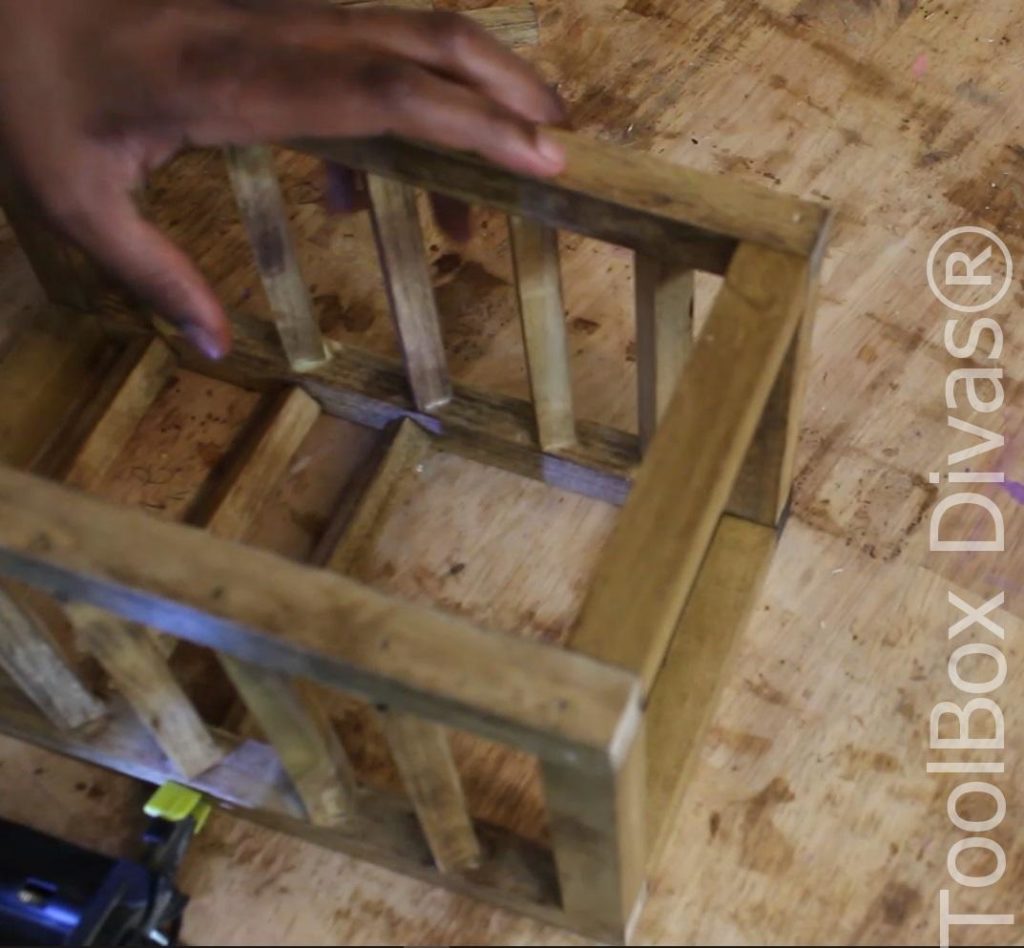
- Attach the 1×2 trim pieces to the bottom of the lantern.
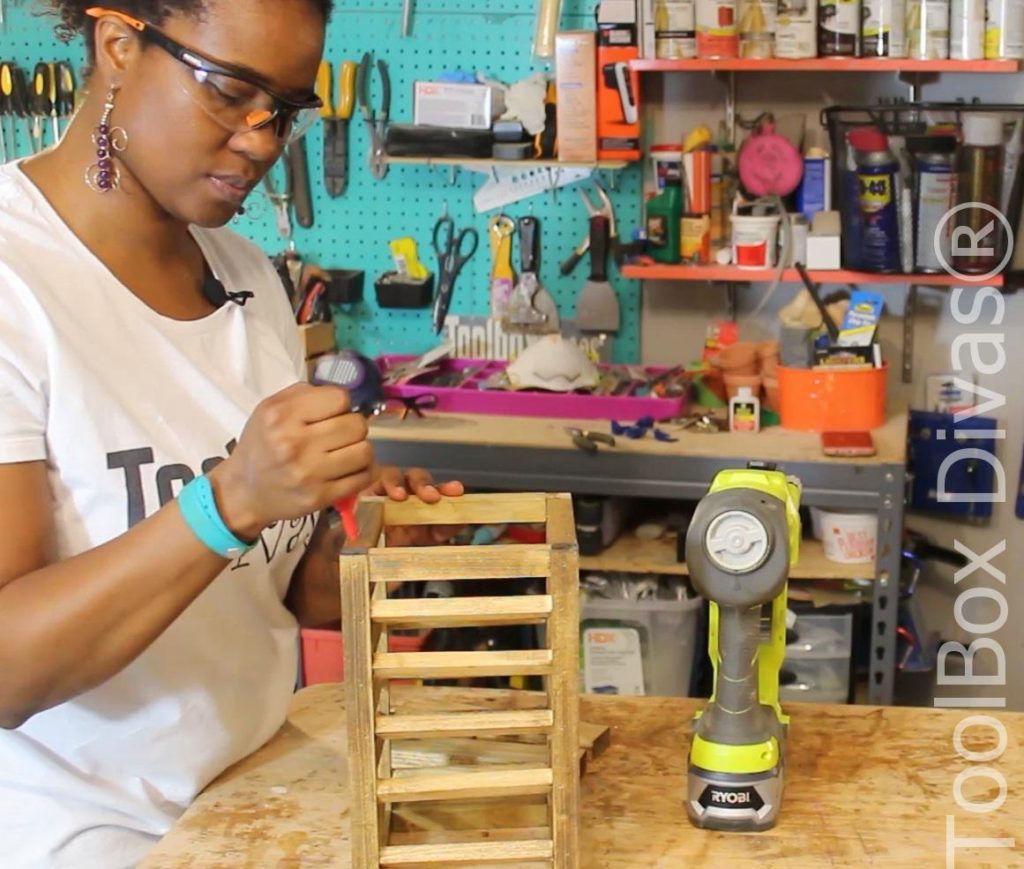
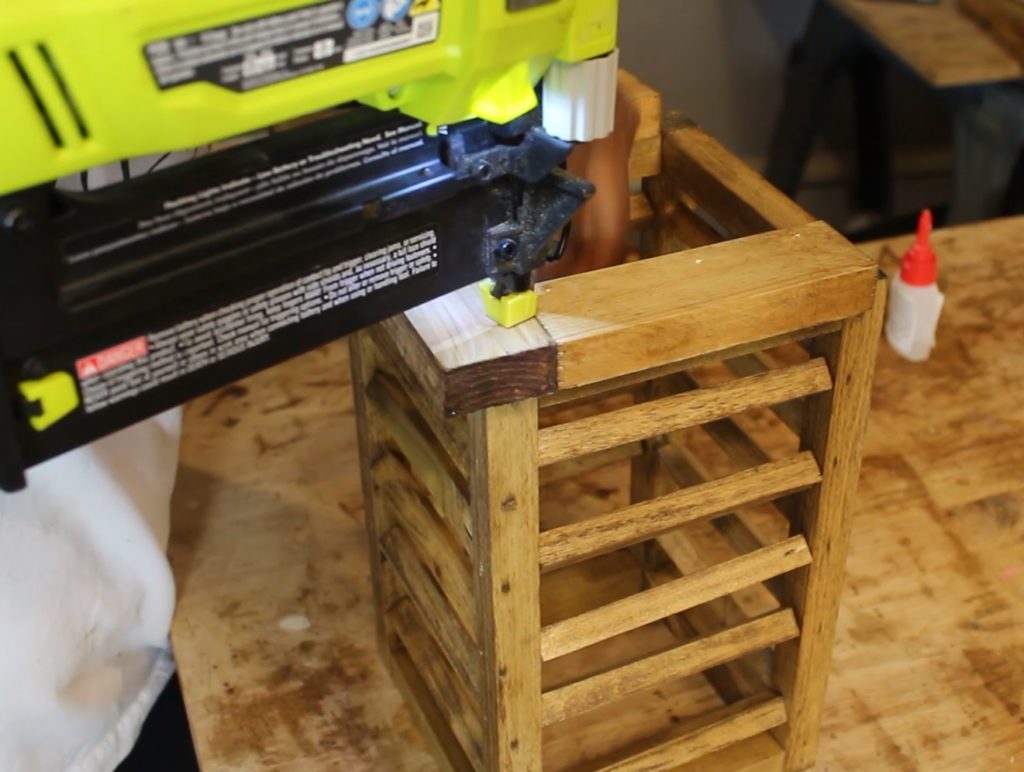
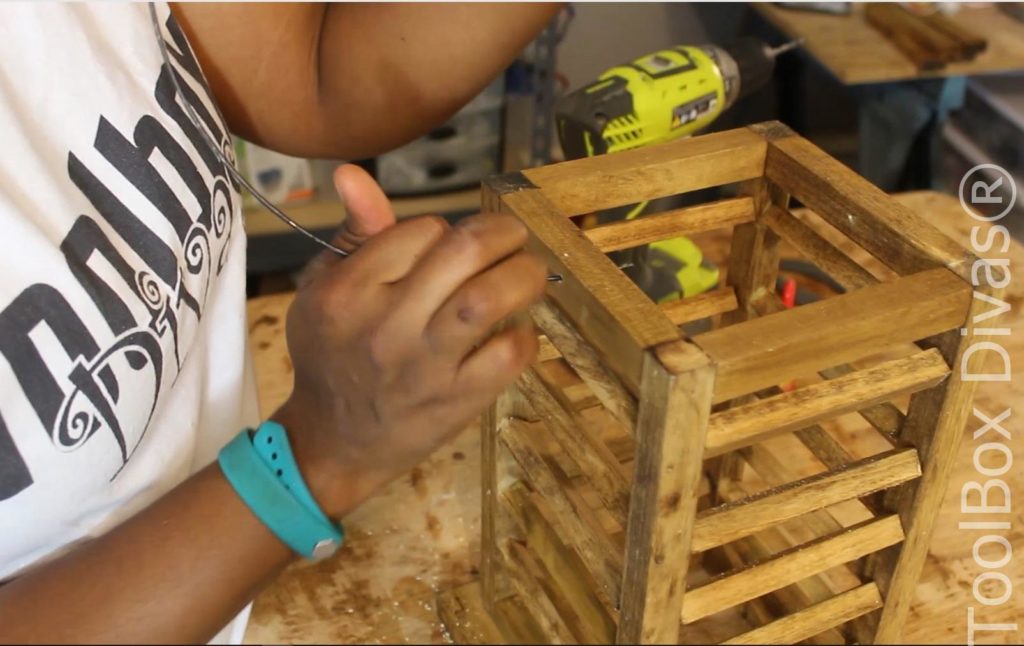
- At the top drill a hole in two sides to run the wire for the handle.
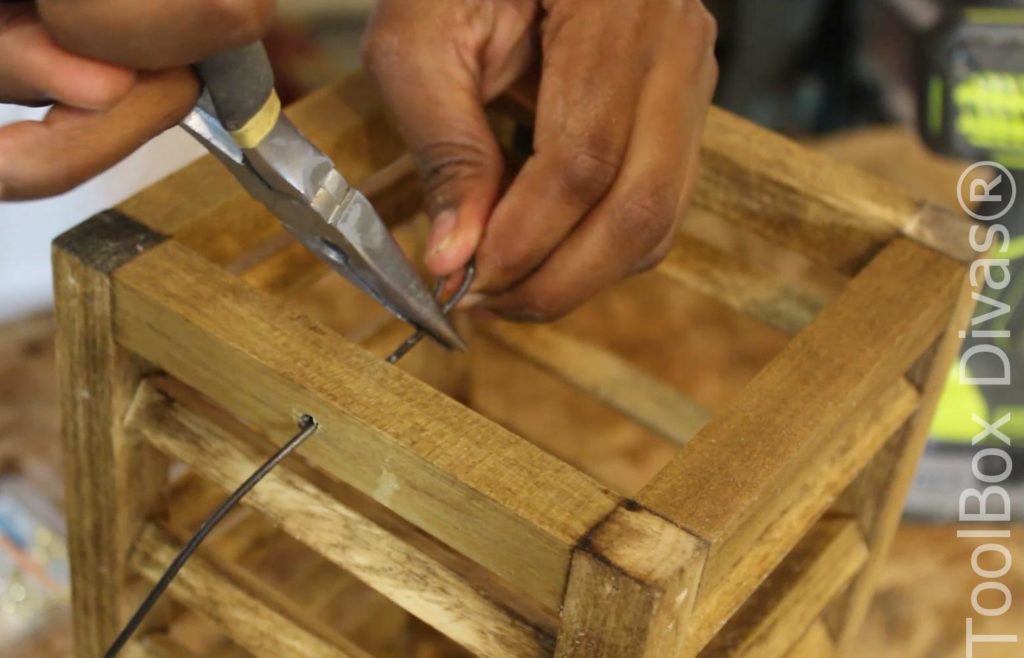
- Run the wire and clamp in place with a wire clamp and twist and secure with the pliers.
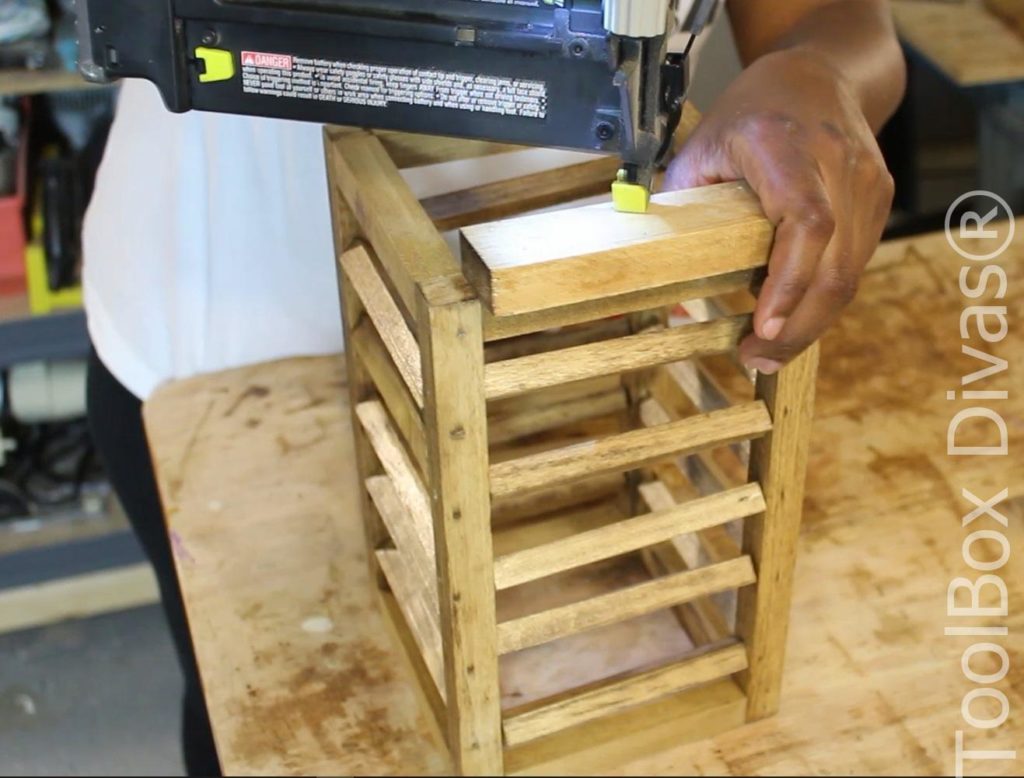
- Attach the remaining 1×2 to the top of the lantern.
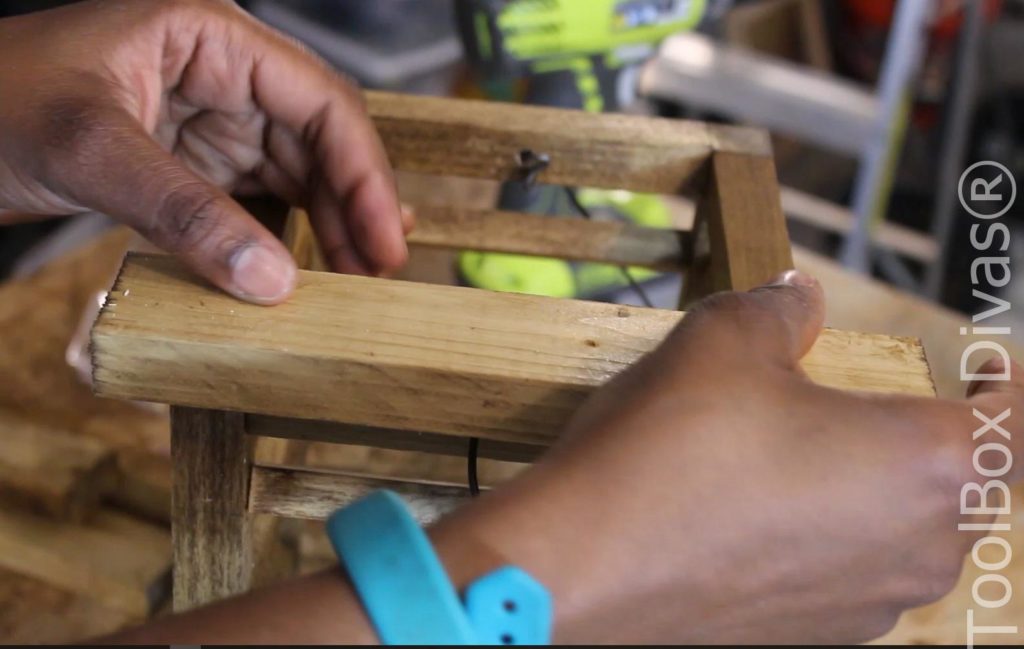
- Attach the lantern to the 1×10 making sure there is ½” from every side.
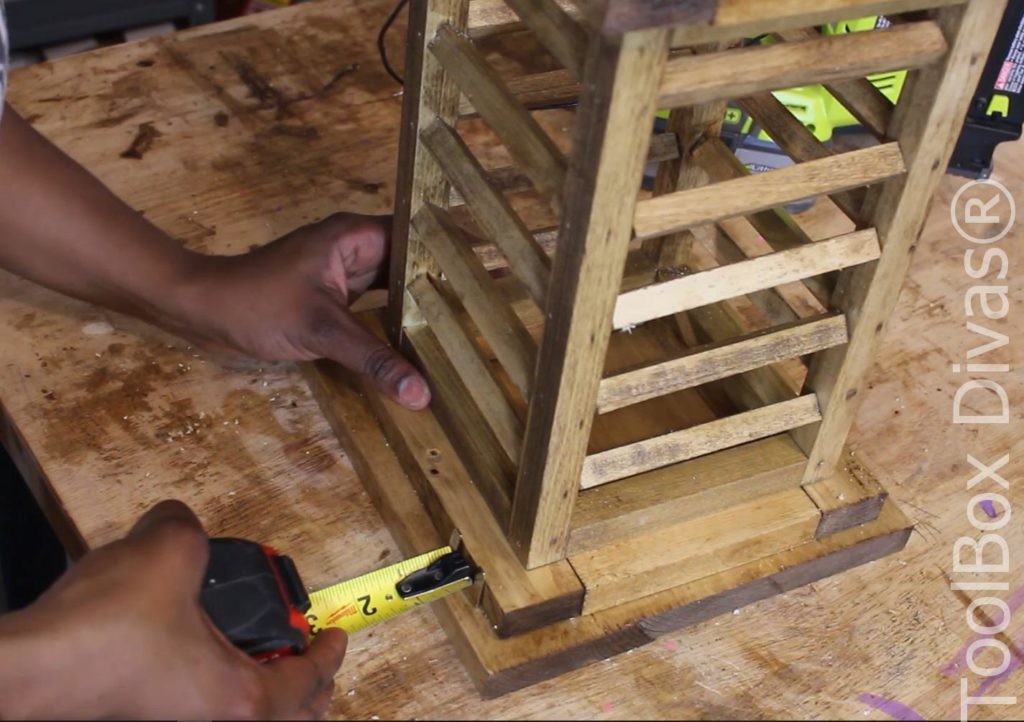
- Fill the nail holes with wood filler, sand and touch up the stain or paint.
- Hang with care.
* Made for flame-less candles.
Till Next Time. ~T.

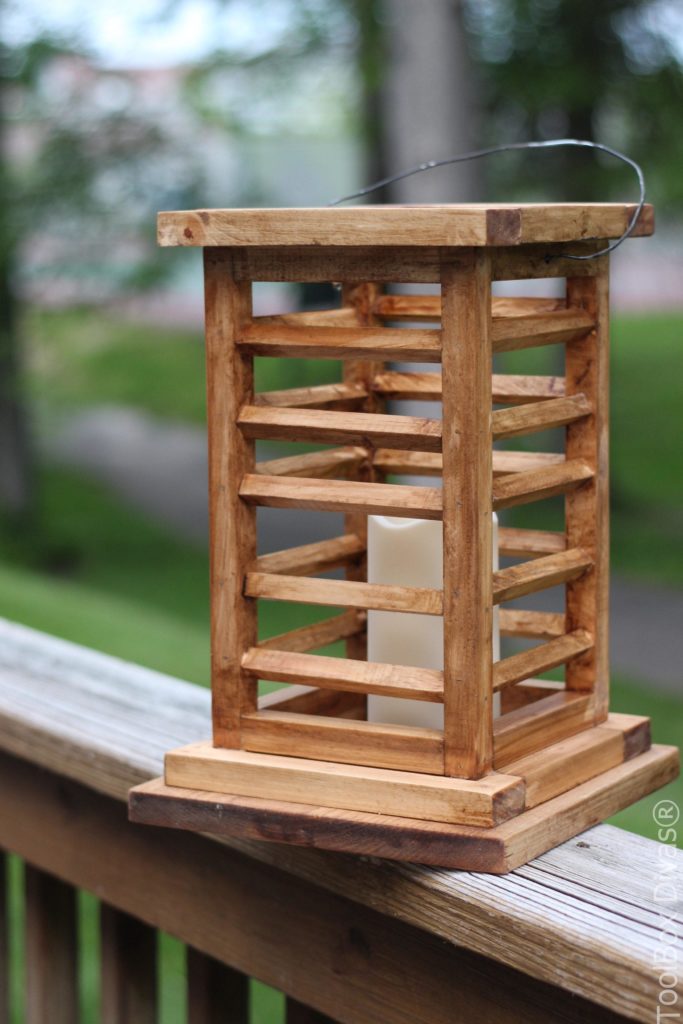
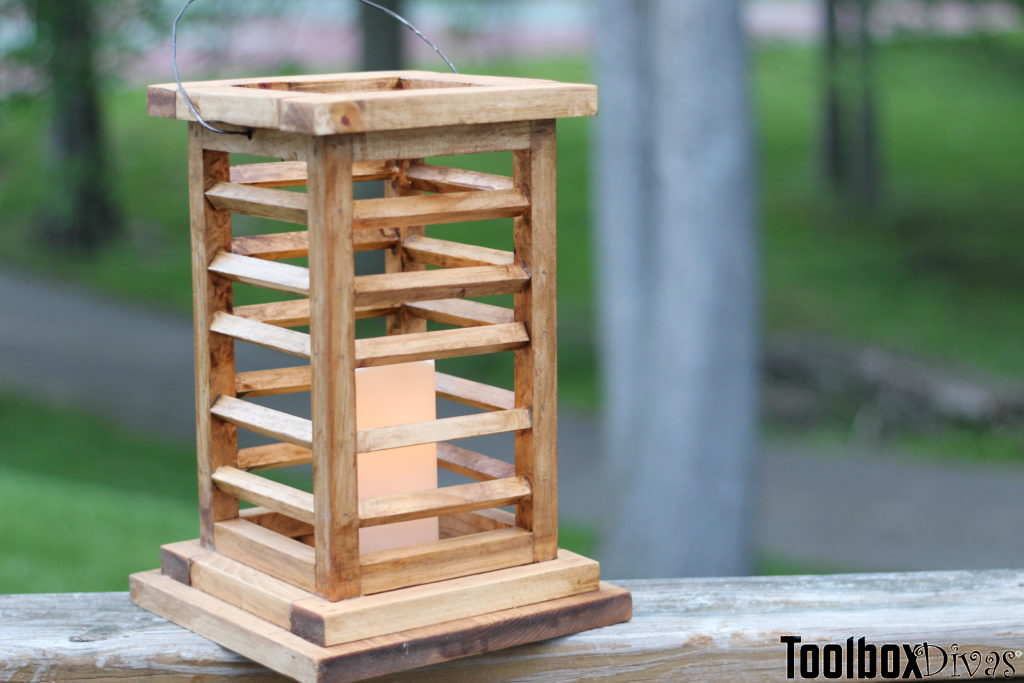


I love this lantern, Timisha!! I would love to try this project. The stain you used gave it a rustic look…which I love!! Thanks for sharing this cool project!
Thank you so much Karla! I used Golden Oak by Varathane. The Other ones I made I uses poplar wood v. pine. The stain took to that wood so well. So I recommend the poplar dowels.
Love this project! So clever. Your step by step instructions/photos are great and the video makes it fun. Well done!
Thank you so much, Carol! I am so glad you enjoyed it and found the instructions helpful.