How to Make Solar Walkway Lights
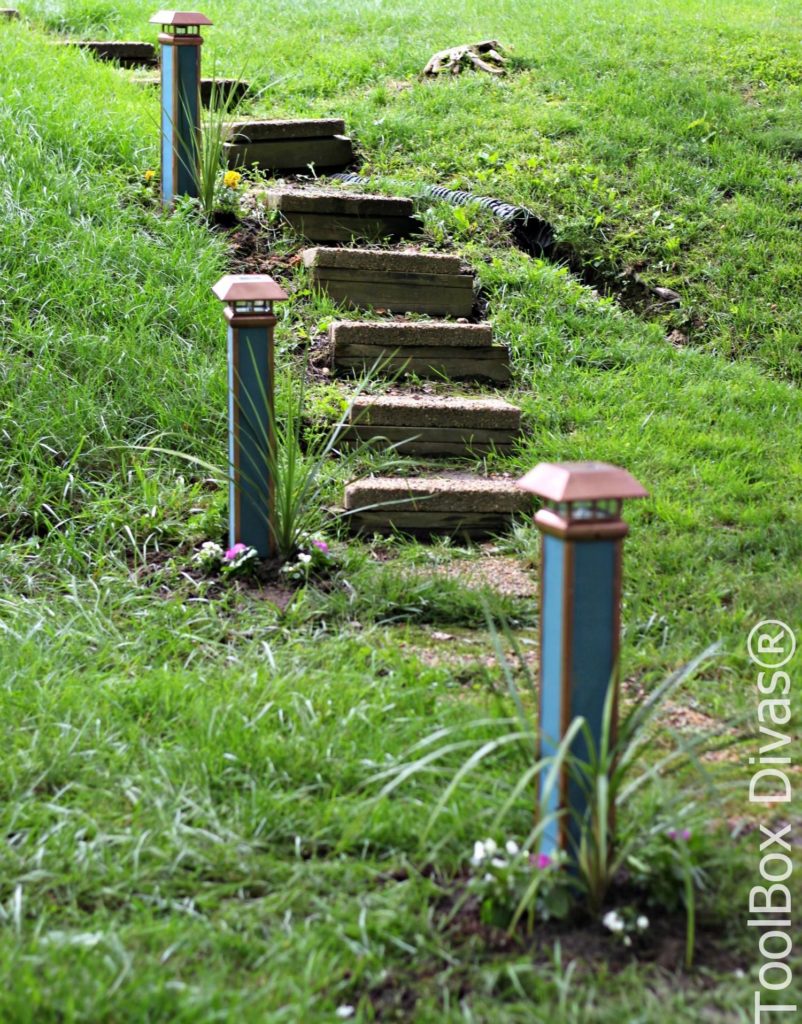
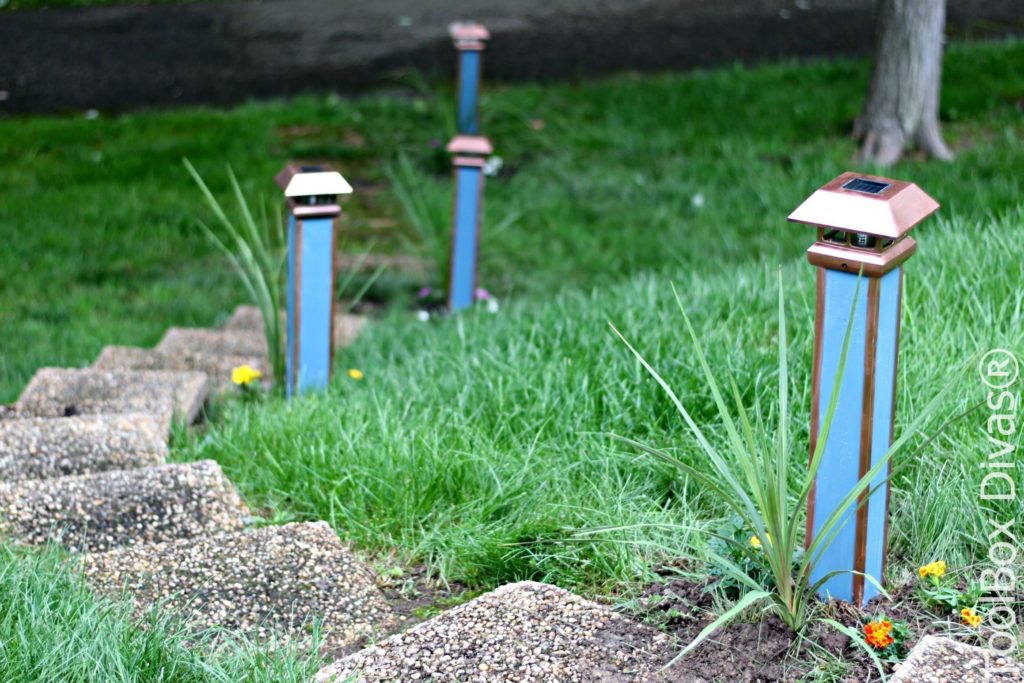
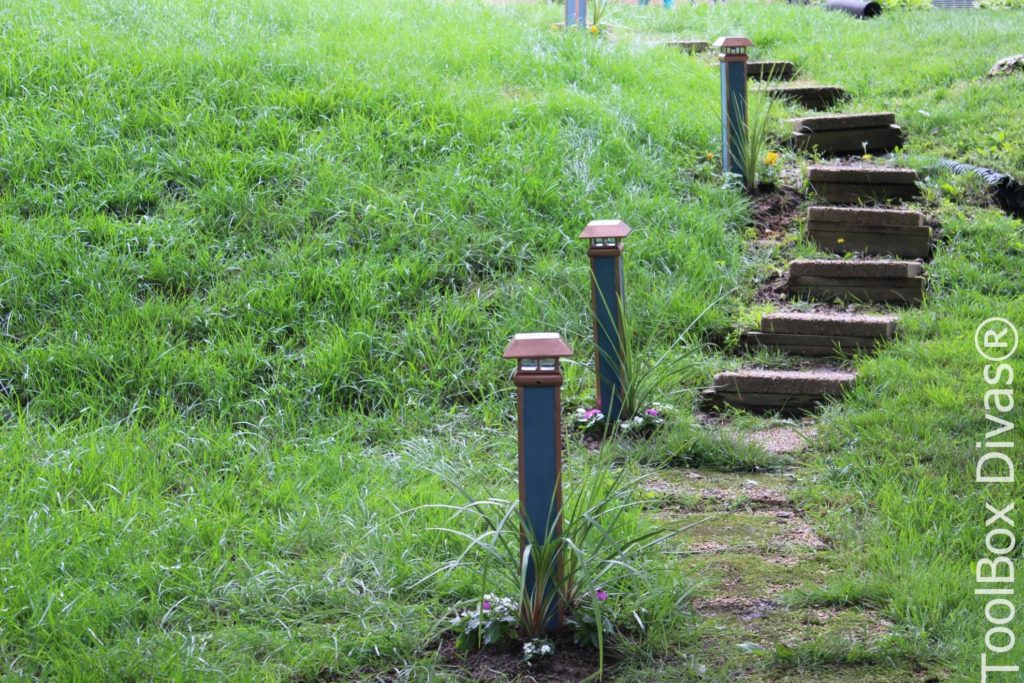
Upgrade your curb appeal by installing solar lighting. In this tutorial, I will demonstrate how to make solar walkway lights that you can customize.
This Summer I am revamping my backyard and deck. I started last week by creating these DIY wooden lanterns to accessorize my finished space. 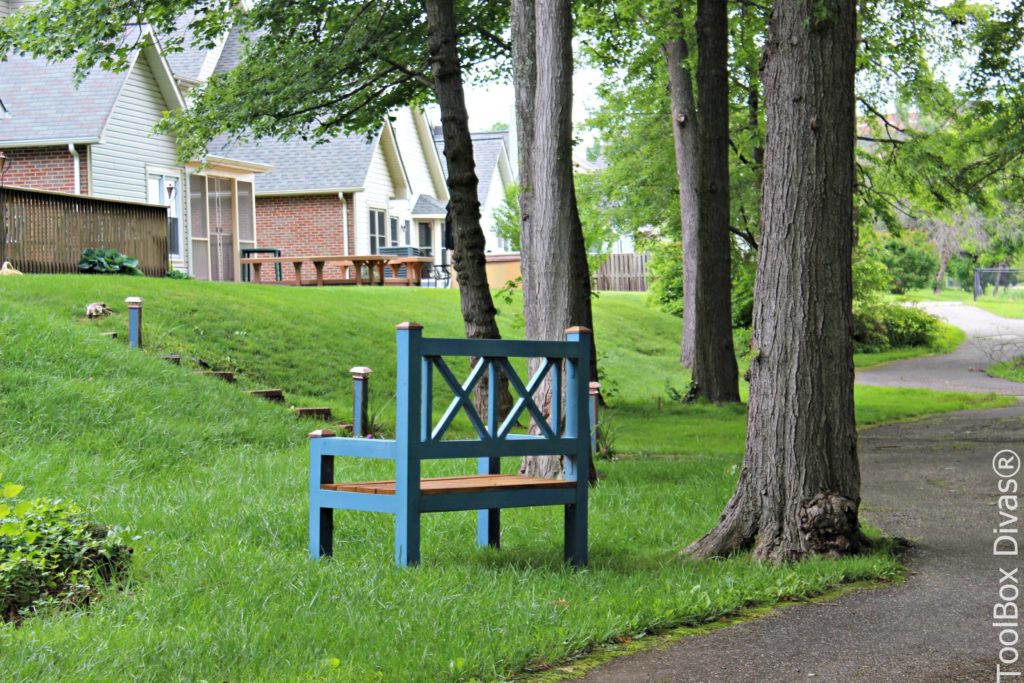 This weekend I focused on creating lighting for the walkway up to the house. I love lights that are energy efficient and require very little to no maintenance. Solar lights are the best the best. Often you can find tons of solar lights in various shapes and designs. However, sometimes its a bit of a challenge finding solar lighting that speaks to the personality of your space. So in true DIY Toolbox Diva fashion, I opted to make some.
Here’s what I did.
Materials
- 1 treated 4x4x10 – This will make 4 Solar Posts
- Veranda 4 in. x 4 in. Black Plastic Solar-Powered Post Cap (4-Pack)
- 4 – Everbilt 1/2 in. x 96 in. Aluminum Angle Bar
- Exterior Paint or Stain
- Copper Protective Enamel Metallic Spray Paint
- All-Weather construction Glue
- Painter’s Tape
- Fast setting concrete
Tools
- Miter saw
- Hacksaw
- Utility knife
- Tape measure
Steps 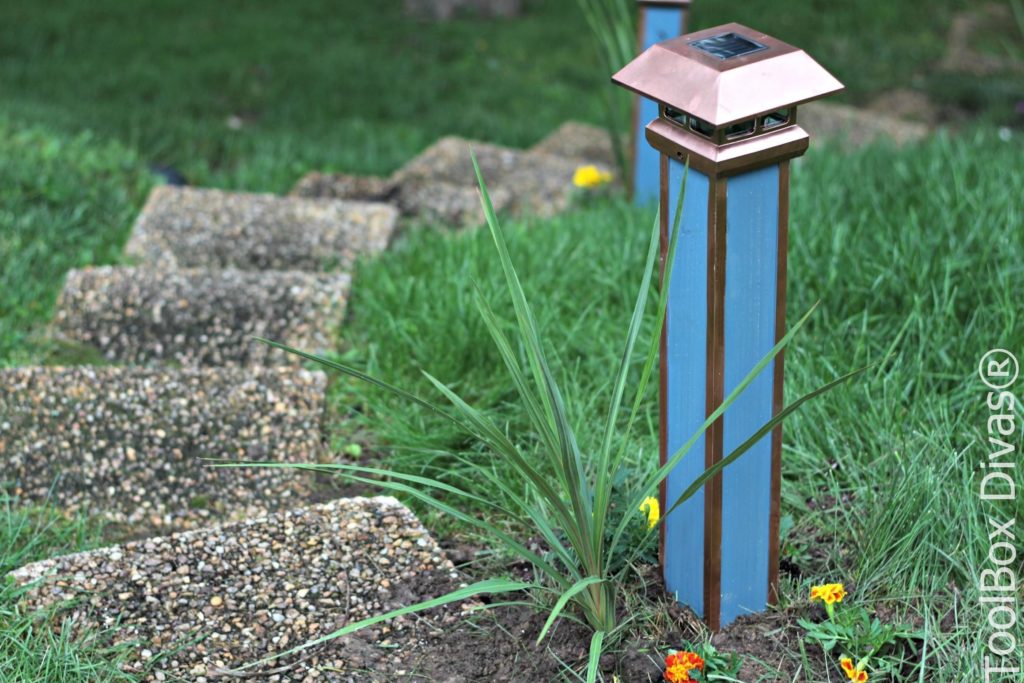
1. Cut the 4×4 down to four 28 inches pieces. You can have the posts cut at your local lumber store or you can cut at home. Wear a respirator when cutting treated lumber.
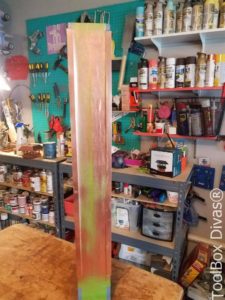
2. Paint the posts and allow time for it to dry. I used an exterior solid stain by Behr Satin Enamel Alkyd Interior/Exterior Paint Catalina Coast
3. Cut each aluminum strips down to four 24 inch pieces. There are 4 pieces per post for the corners. A hacksaw is needed to cut these bars. You can upgrade the blade to make the cutting process faster. These blades dull quickly. I recommend buying an extra blade.
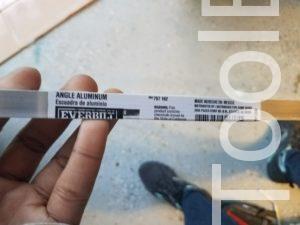
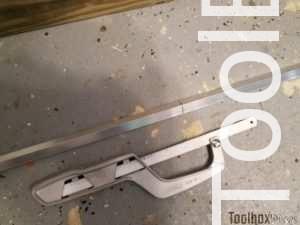
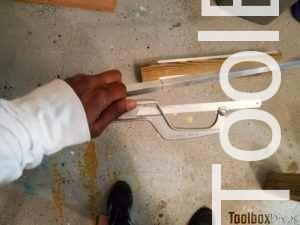
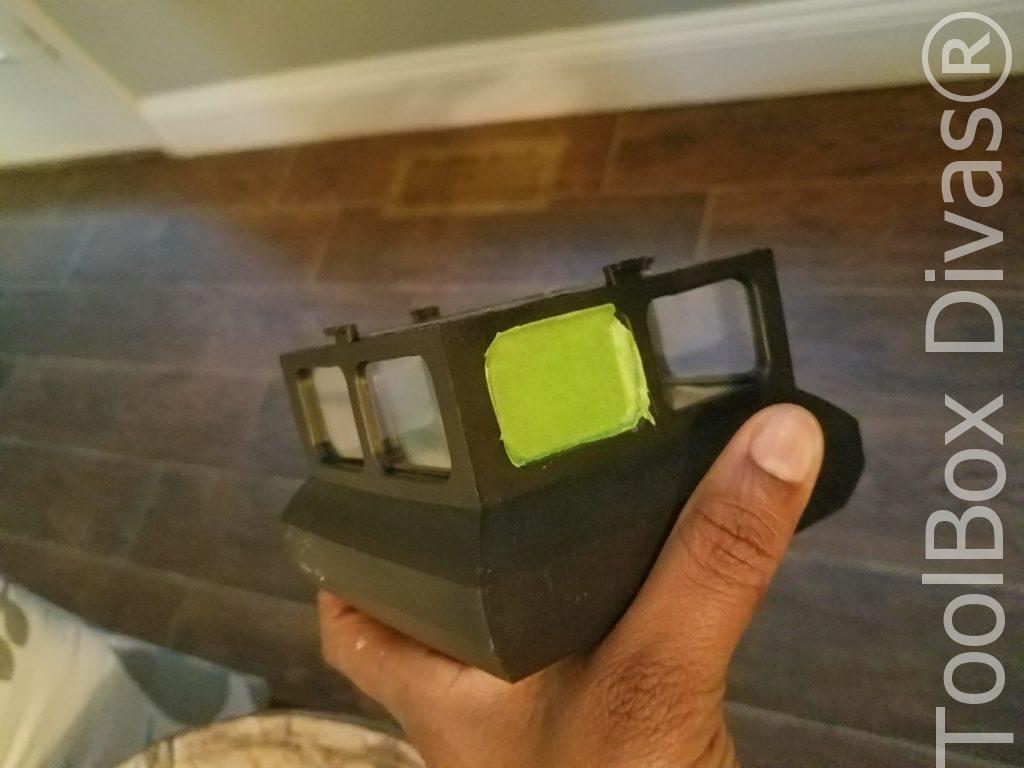
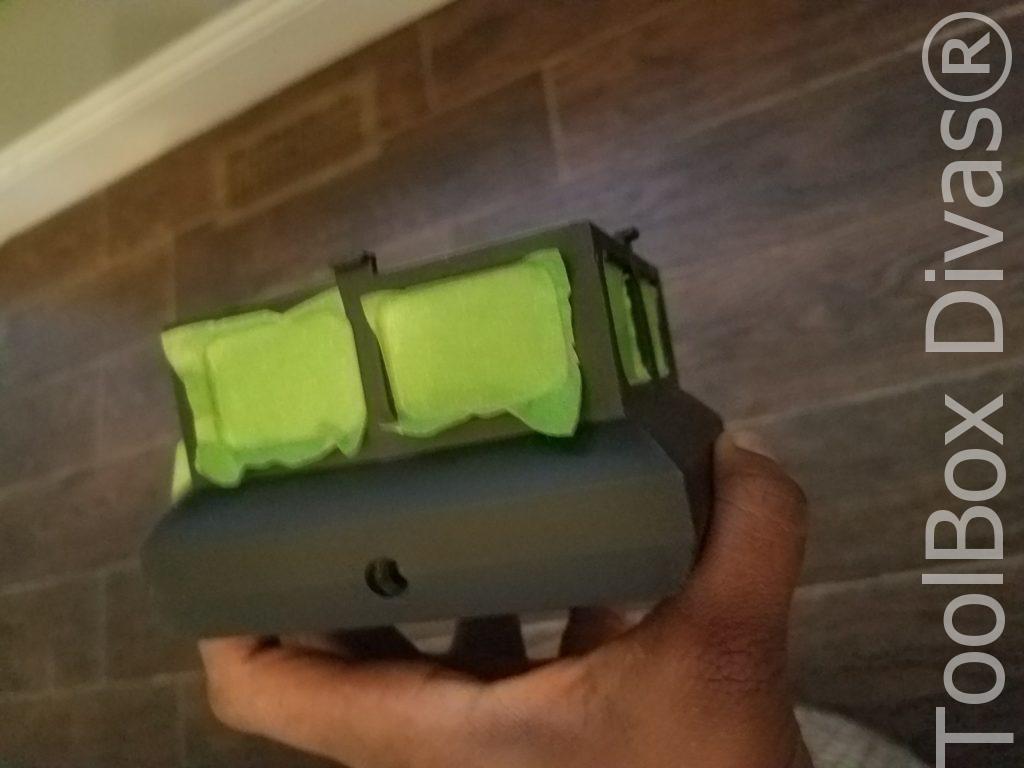
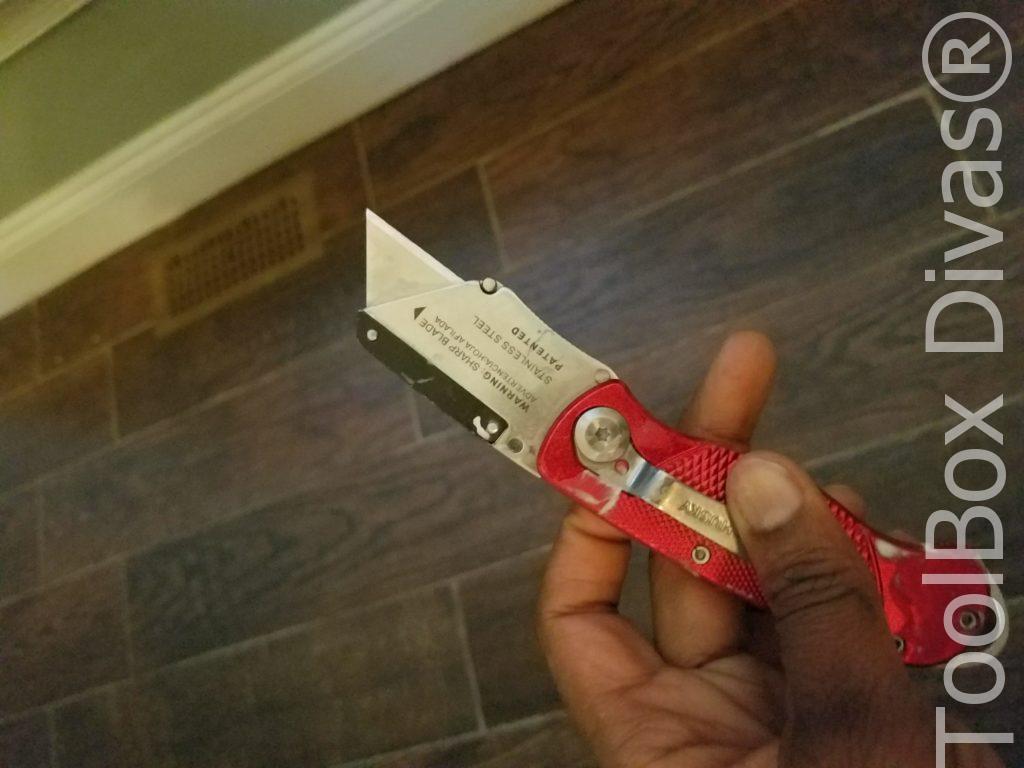
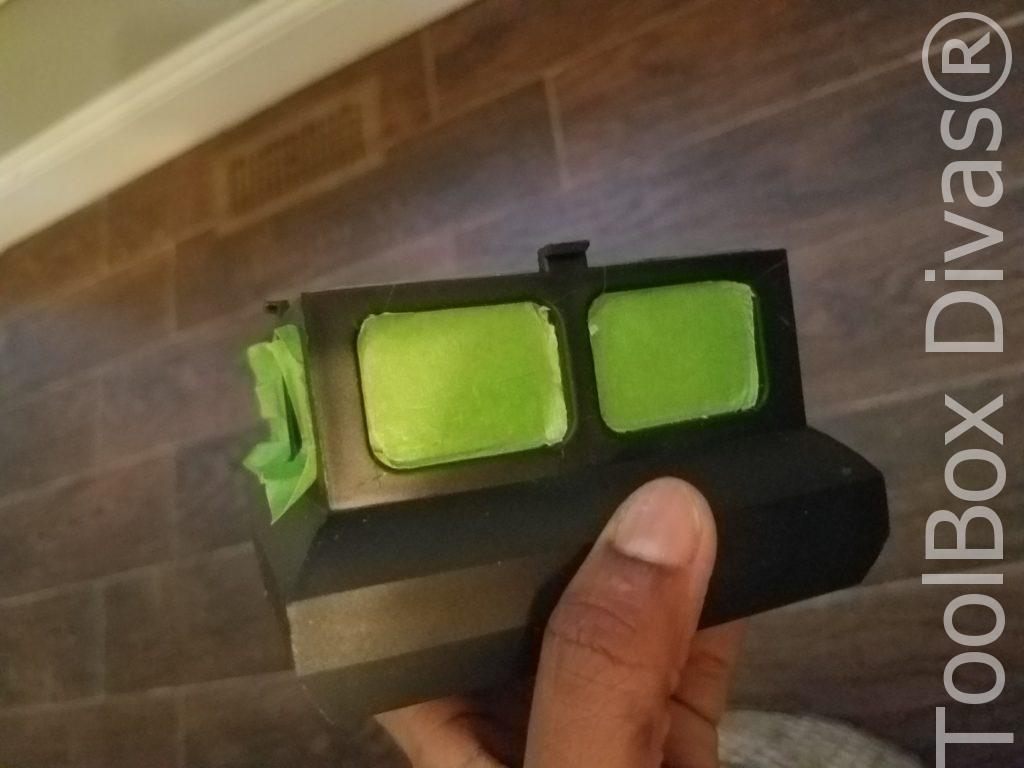
4. Prep the solar lantern for spray painting. There are many post solar caps to pick from. The colors for the solar caps are often limited. So I painted this to match the color scheme of my backyard. Using painter’s tape and a utility knife I carefully cut off the excess tape around the window and solar panels. Simply take the utility knife and score around the edges. The tape can then be removed from around the windows.
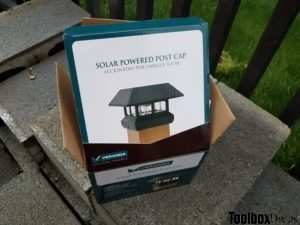
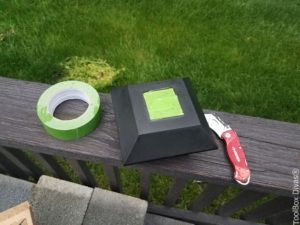
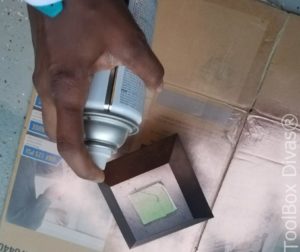
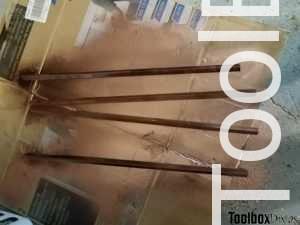
5. Spray paint the solar caps and aluminum corners. Allow time to dry. Make sure the space is well ventilated.
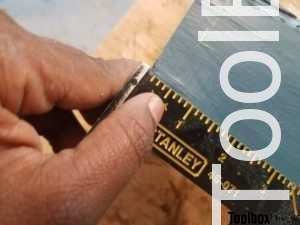
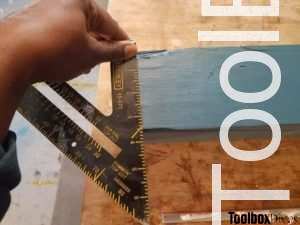
6. Mark down 1/2 In. from the top of each post. This is where the solar post will sit on the top.
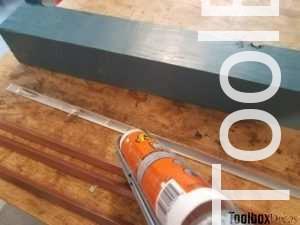
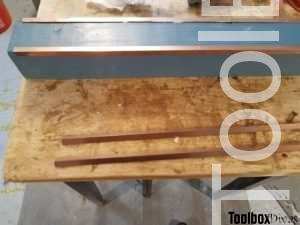
7. Glue the corner aluminum strips to each 4 corners of the posts. Allow the glue to set.
8. Touch up the paint. The paint is bound to get scratched during this process. Touch up the spray paint by applying painters tape around the corner pieces and go over the scratched areas.
9. Attach/screw the solar caps to the post and it is ready to be set in the ground.
10. Finally, dig a hole in the ground about 4-8 inches deep and set the post using fast setting concrete and river rock pebbles.
Till Next Time. ~ T.
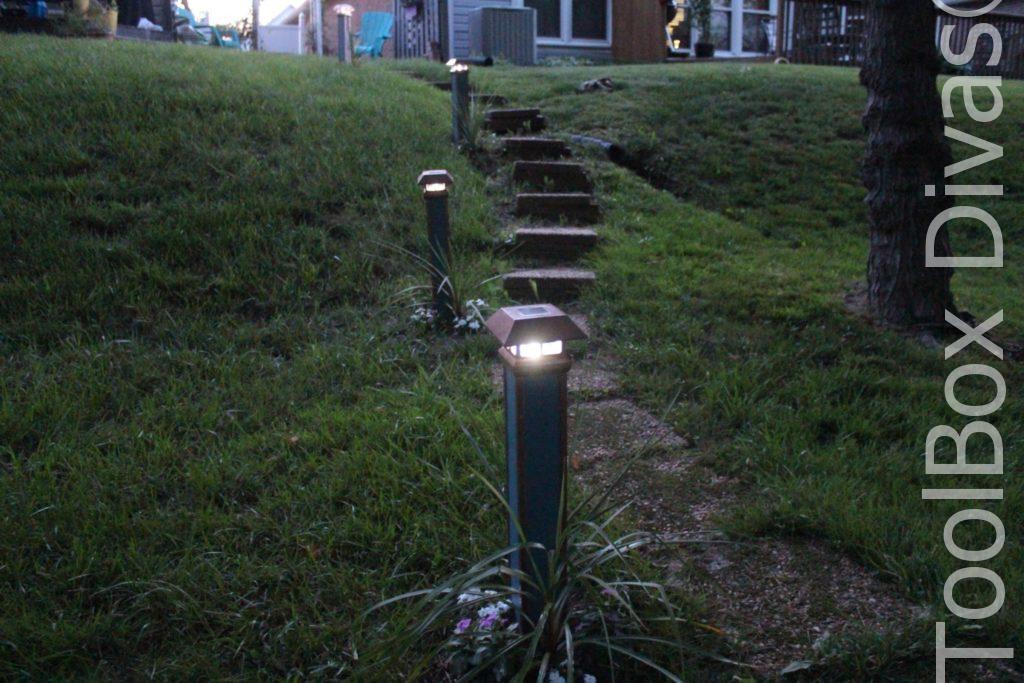






Great idea! Looks better than store bought. 🙂
They look terrific! Much nicer than plain old boring store bought black plastic ones. Great job you did!
Thank you so much Ria! It has definitely changed the look of my backyard.
A very nice project. One more step I would suggest, since you mentioned that the paint scratched easily, spray several coats of clear lacquer to protect your paint job from the elements.
Oh Carol that is a fantastic tip! I will definitely do that. Thank you so much!
These look terrific! Great job.
Thank you so much Karyn! I’m so happy with how this project turned out.
Love your idea but I have a thought to add. In colder climates, 4-8″ deep wouldn’t be deep enough for concrete. With the frostline as low as 42″, the columns would heave up. What you could do is cut the metal angle pieces about 12″ longer than the posts and anchor those into the ground to hold the posts in place.
Thank you Kathy! Great feedback. It doesn’t get that cold here but these are great tips to add for someone that is in a colder climate.
Great job, looks really good.
Thank you Bev. So glad you enjoyed the post.
What a sharp looking hilly yard made even more attractive!!
Thank you so much Mary! It has brightened up the pathway in the back.
Wonderful project and looks awesome! Should hold updates well even in all the rain here on Kauai.😃
Oops! Meant updates well, no updates!
Oops meant. Well … Just well!
Thank you Becky! I appreciate the compliment and we have been getting some serious rain over here and it has held up well thus far. I’ll keep you posted.
I love it! I’ve struggled with ideas to light a path and I think now, I’ve found it!
Thank you Susan! I’m am so happy to provide inspiration. Please share photos. I would love to see your yard once you’re done.
I like!! A lot!! These would be great just about anywhere and even I could do it. Although my husband would probably take over. Haha!
Hahaha! Thank you Laurie! The funny thing about men is if they see you doing things around the house its like they are compelled to join in. You are not alone Hahaha!