How to Install a Dimmer Switch
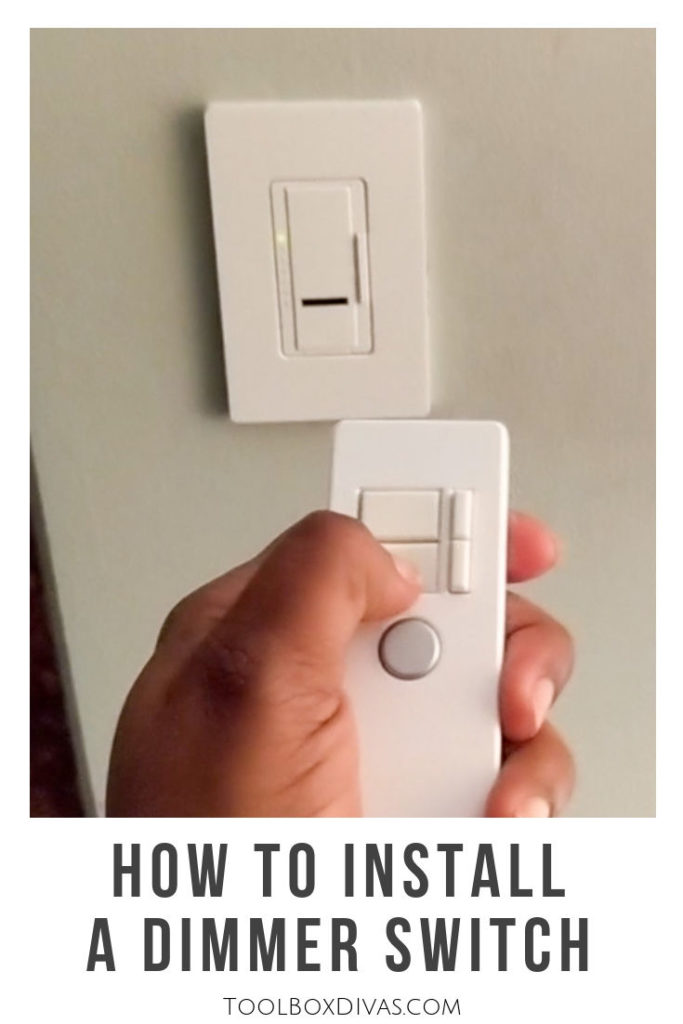
In this article, I’m going to show you how to install a single pole dimmer switch.
*This post is sponsored by The Home Depot and contains affiliate links and I will be compensated if you make a purchase after clicking on my links.
I hated when I’d get in bed having to get up to turn off the lights. Even though I have a lamp at my bedside, the main light was always turned on when I wanted to just jump right into bed. So I was so excited when I spotted this dimmer switch with remote while walking around my favorite store, Home Depot. And you wouldn’t believe how incredibly easy it is to install one of these dimmers. Most dimmers are suited to fit over a standard wall electrical box. So if you’re looking to upgrade the lights in your home here’s how you do it.
Here’s what you’ll need:
 Utility light (I’m using the HUSKY 700 Lumen Utility Light)
- Flathead screwdriver
- wire cutter
- Wire caps
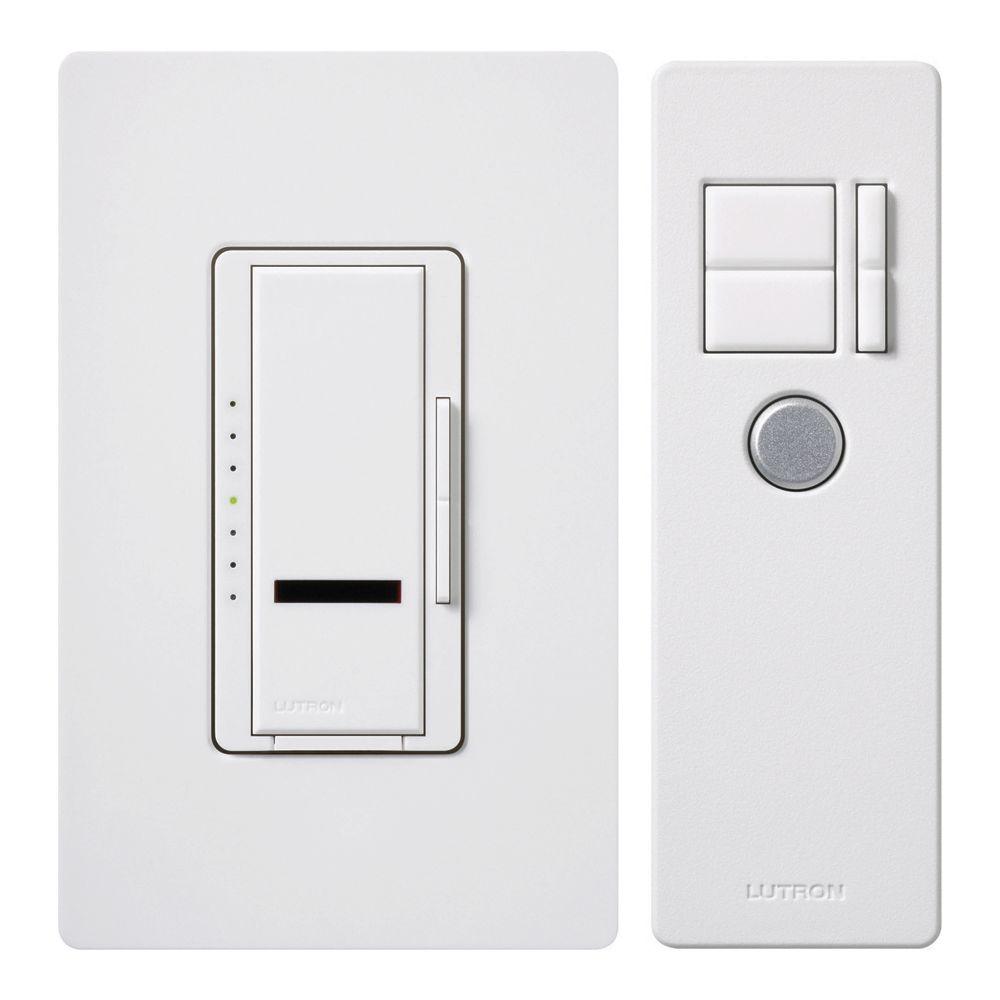 Lutron Maestro IR 600-Watt Single-Pole Digital Dimmer, White
OK, Let’s Get Dirty!
Step 1.
Disconnect the power at the circuit breaker. Because we had to turn off the power to complete this I used my Husky Utility lights to shed some light on the situation, particularly the Husky 700 Lumen utility light. I love the Husky Utility lights. This one comes with Energizer batteries and has 2 modes: high and low. Its handle and stand allow for hands-free use. And it can run up to 4 hours on high.
Step 2.
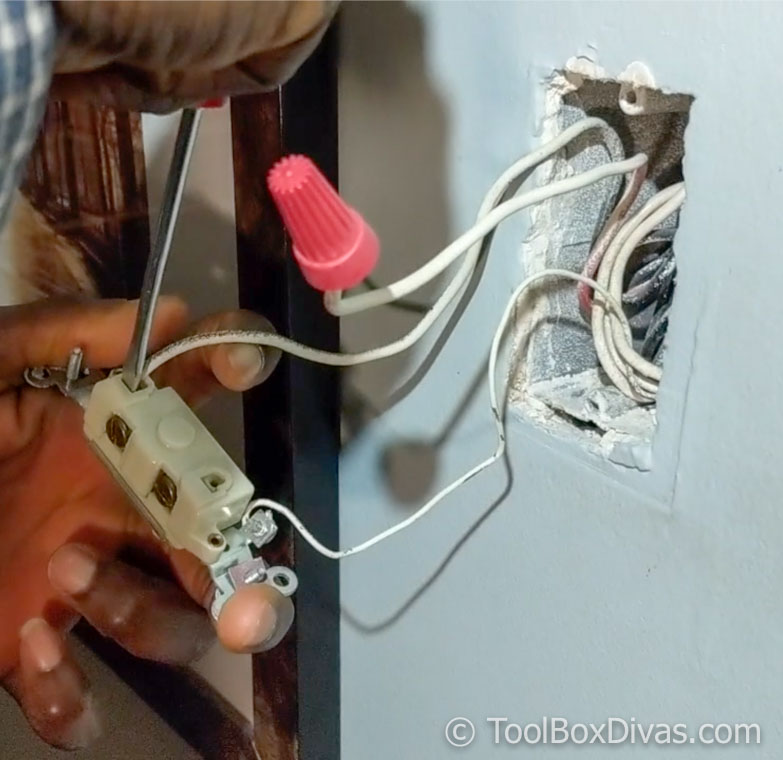
Remove the toggle light switch from the wall. The wires in my old toggle switch were backwired. Some switches may be connected with the wires attached at the side screw terminals.
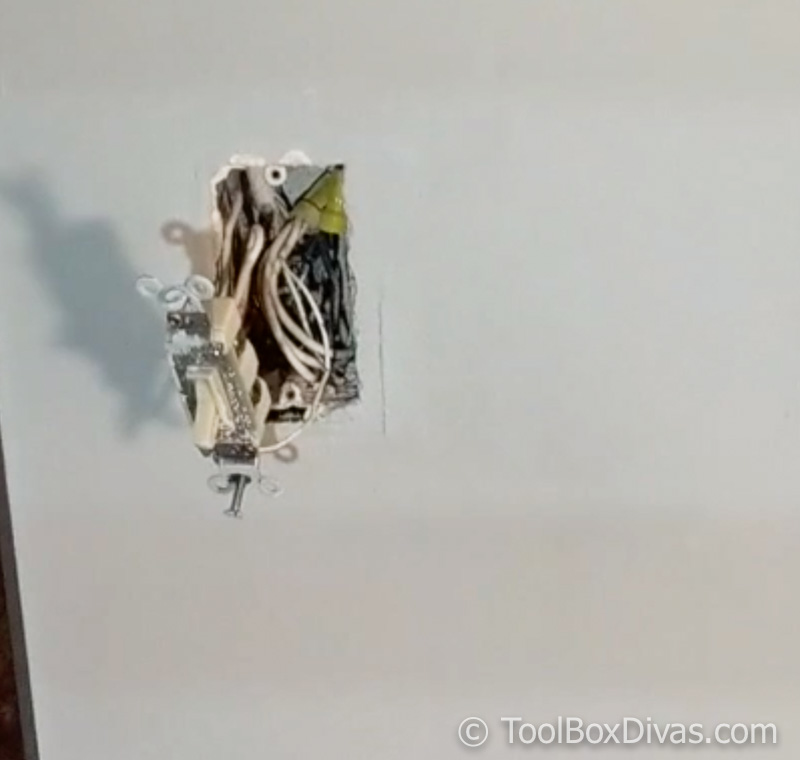
How to remove the wires from a switch that is backwired:
- Using a flathead screwdriver, insert it into the notch next to the wire
- You should hear a snap and the wire should pop right out.
For this single pole switch, I have two wires attached. Despite the fact that my wires have been painted, probably when the house was first built, at the top is a black wire and at the bottom near the screw terminal is a red wire.
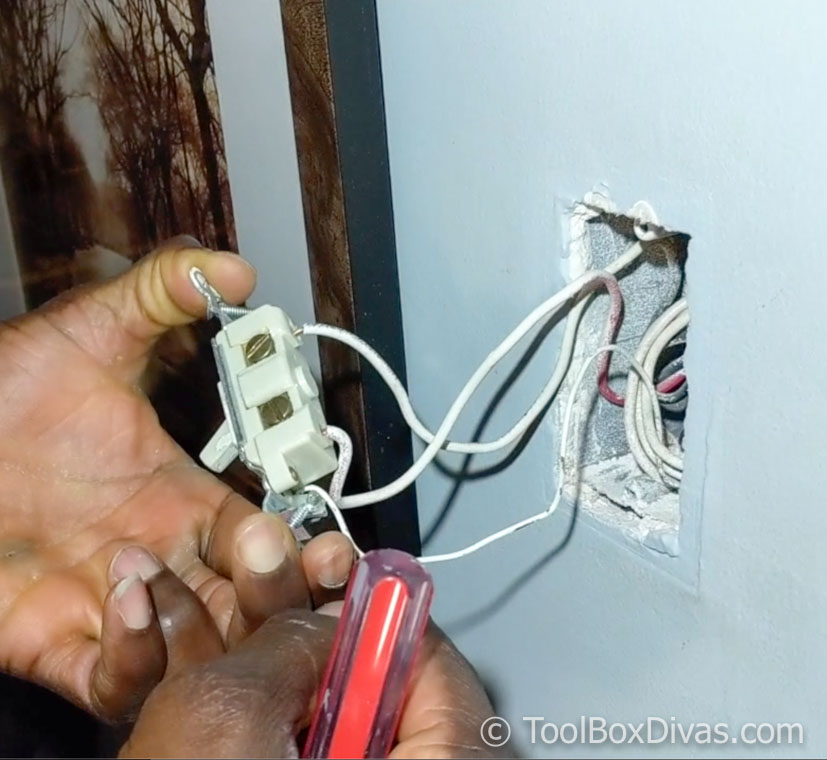 Step 3.
Tag the two wires that are removed for easy reinstallation. The wires will be placed on the new switch in the same order: Black at the top and red at the bottom. I used simple wire caps to tag the wires. You can use tape or a sticky.
Step 4.
Remove the ground copper wire or bare wire from the old toggle switch that is attached to the metal frame. Keep in mind that you may have to cut and or straighten the wires once removed from the switch.
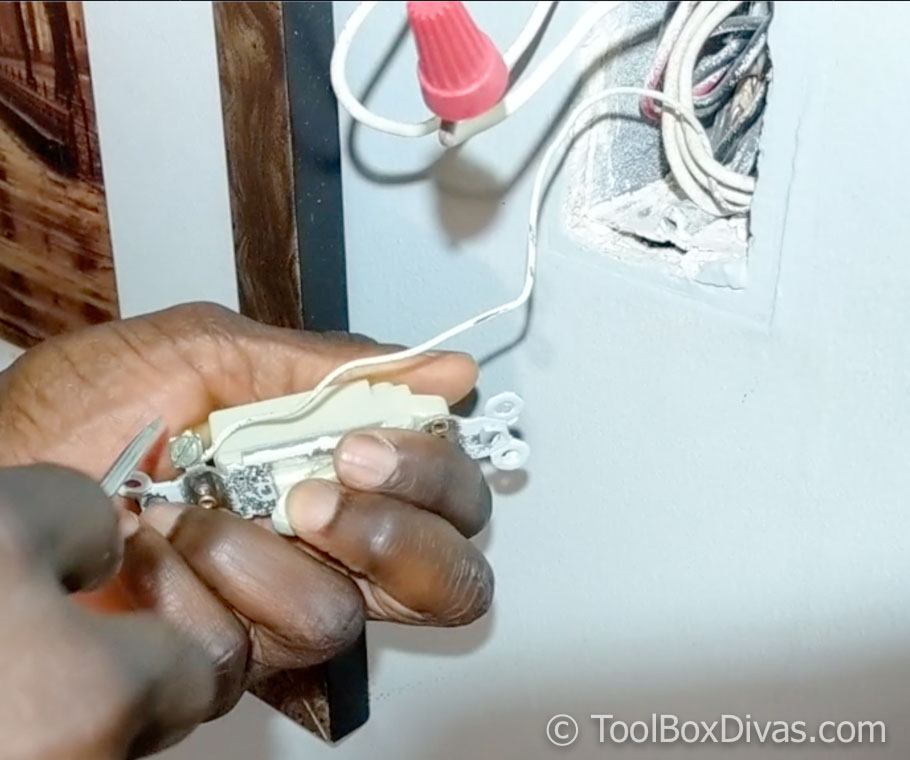
Step 5.
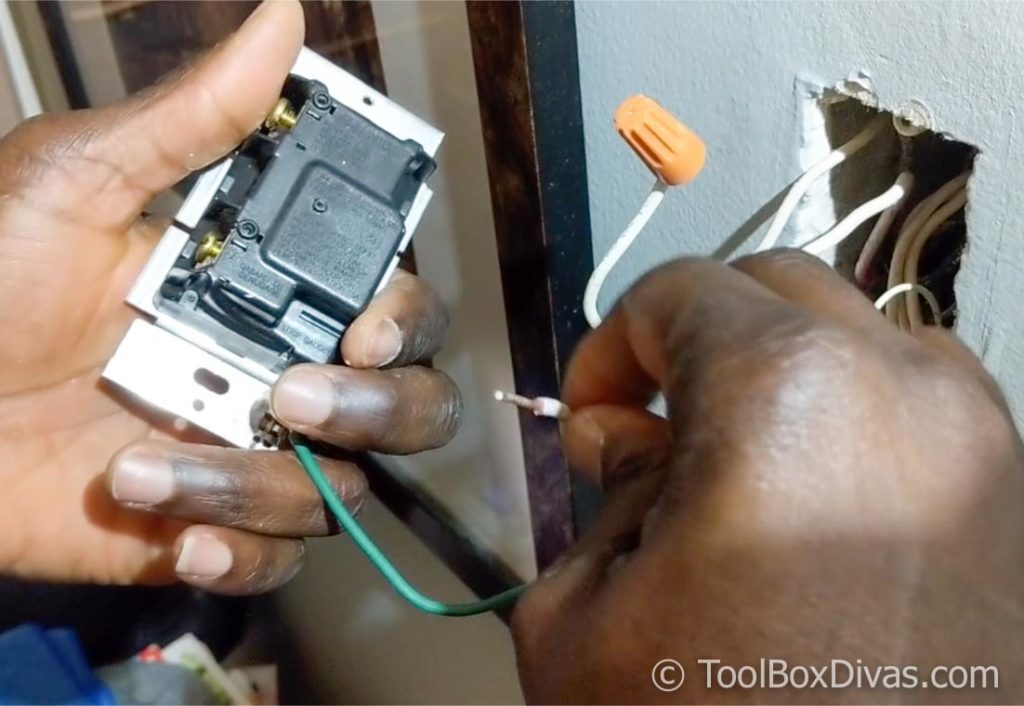
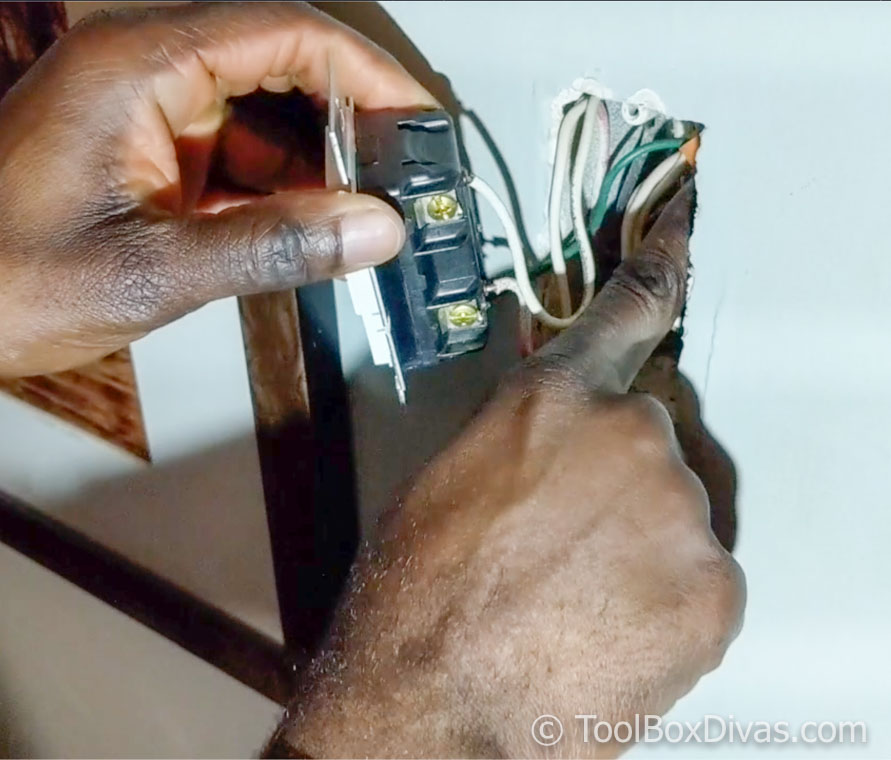
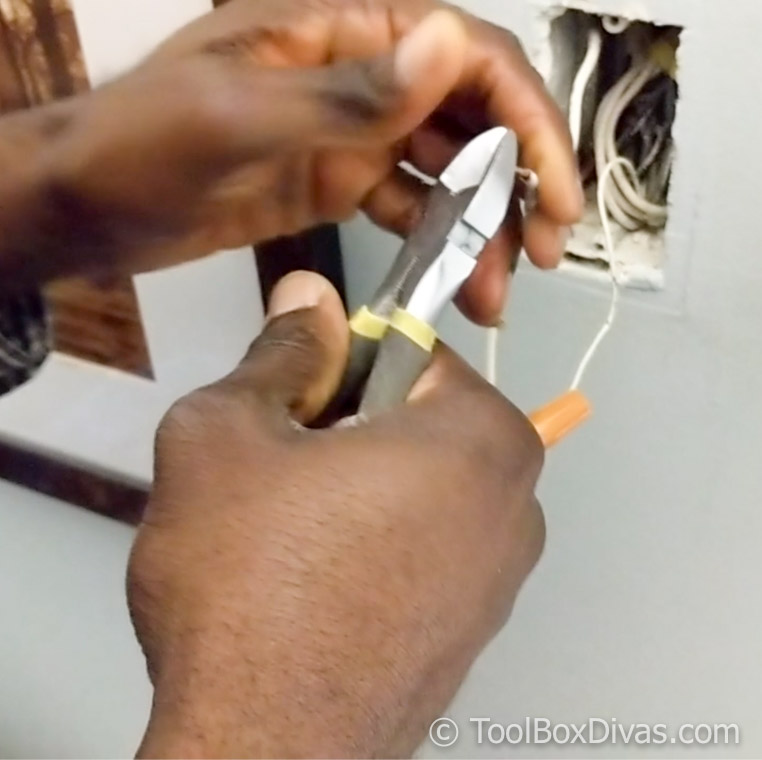
Now it’s time to install the new dimmer switch. Start by connecting the ground wires. Connect the green wire hanging from the bottom of the switch (this is referred to as a pigtail) to the bare or copper wire in the wall box.
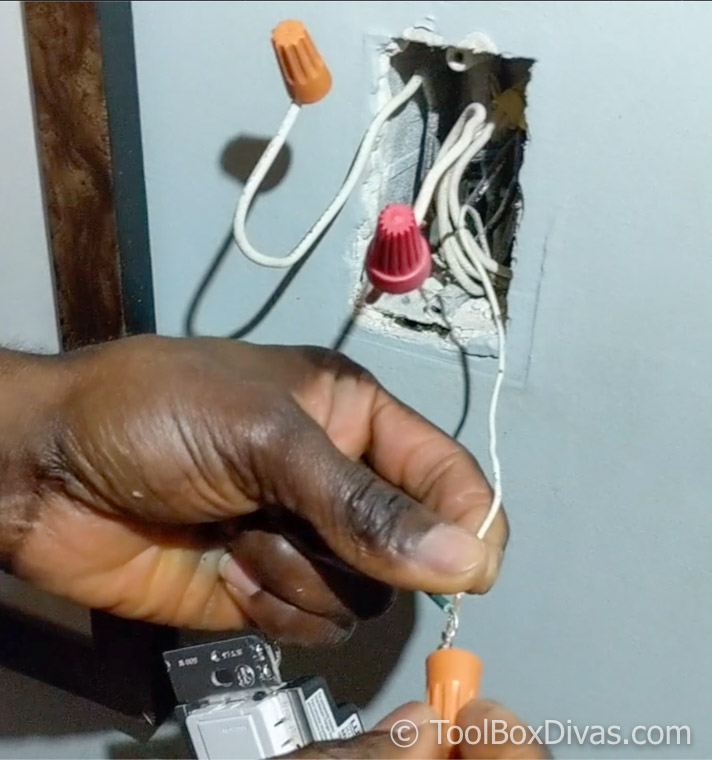 Trim the wire if its too long using a wire cutter.
Step 6.
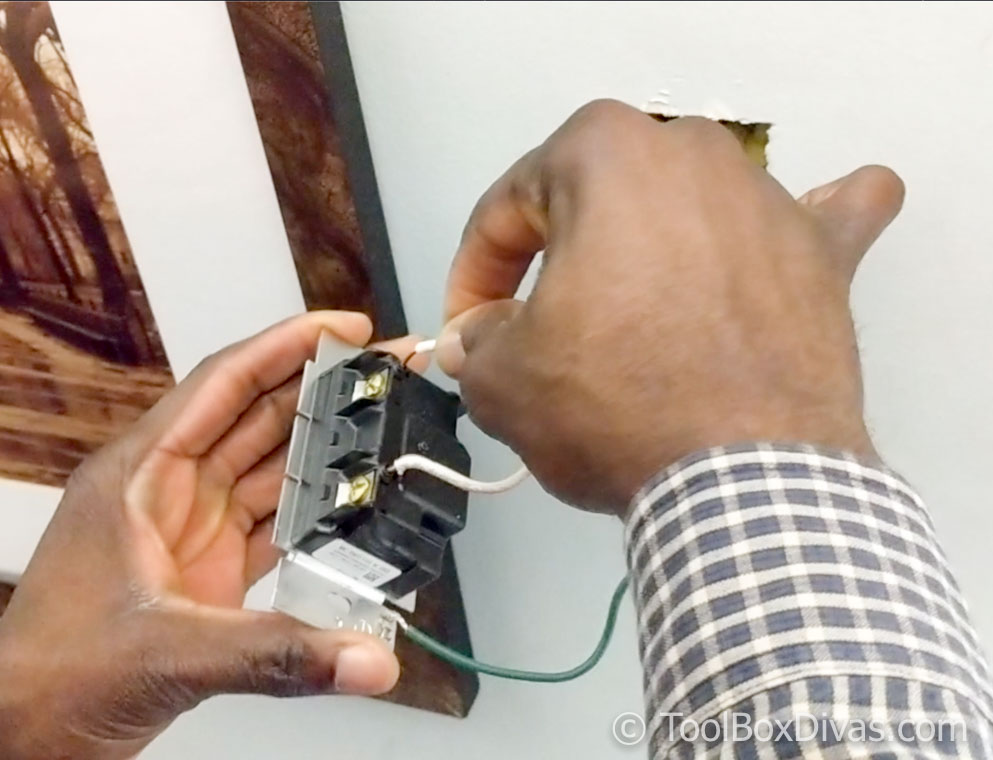
Insert the red wire to the bottom of the socket by inserting it into the hole next to the screw terminal.
Then connect/ insert the black wire at the top.
Step 7.
Despite the fact that we are not using the screw terminal, tighten the screws in the screw terminals. This is to prevent the screw from touching the metal plate which could cause the switch to short circuit.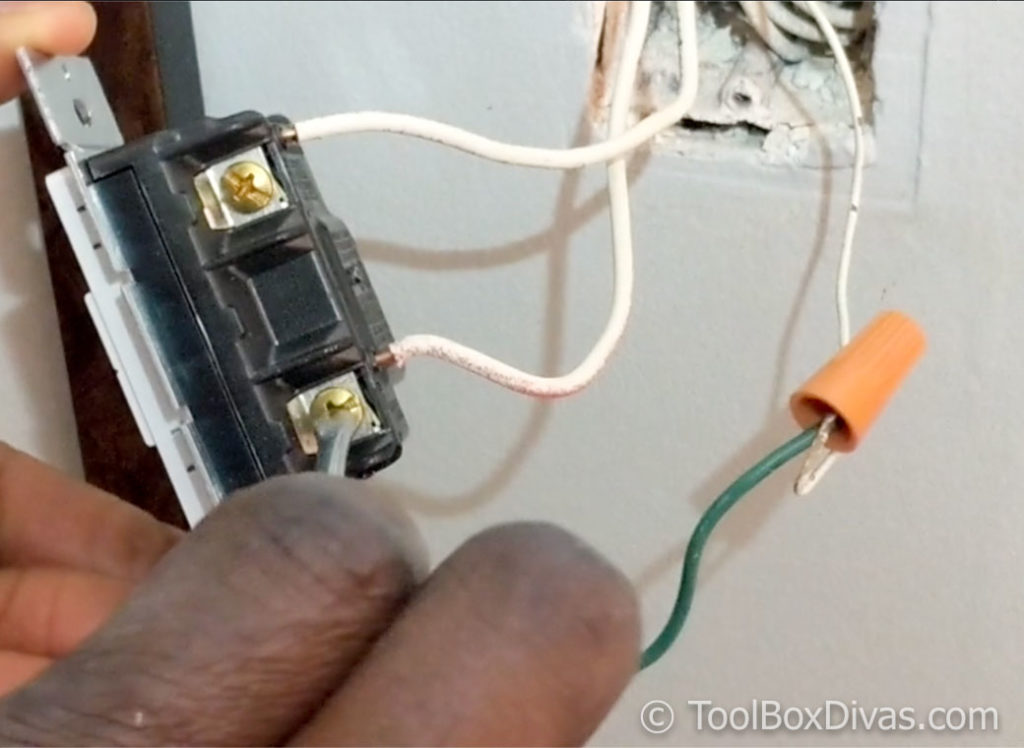
Step 8.
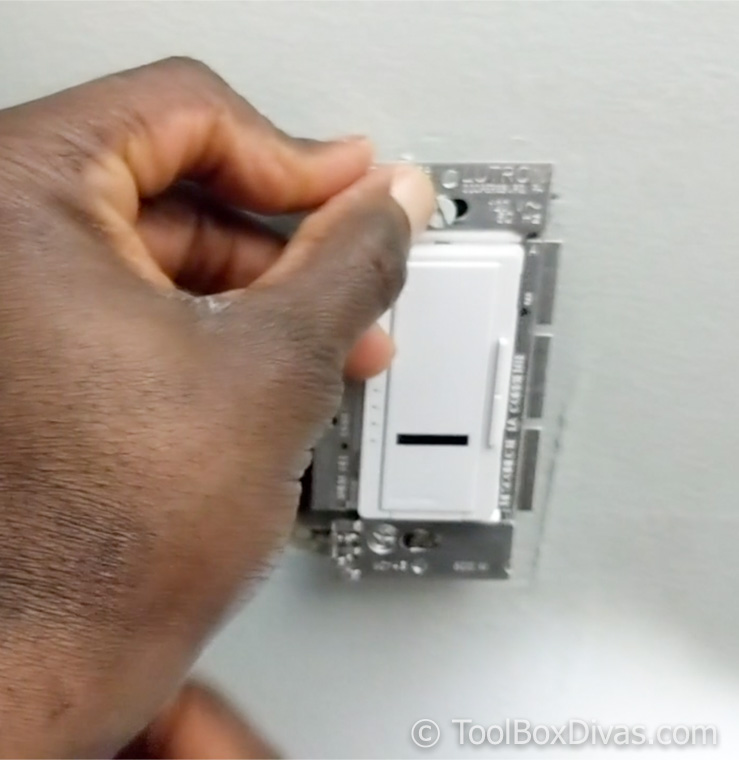
Dress the wires and place the switch into the wall box.
Step 9.
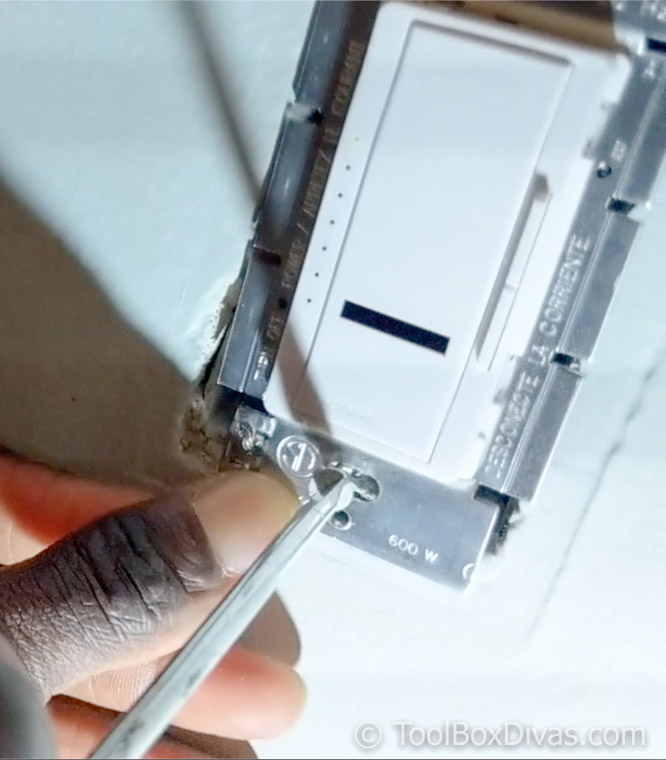
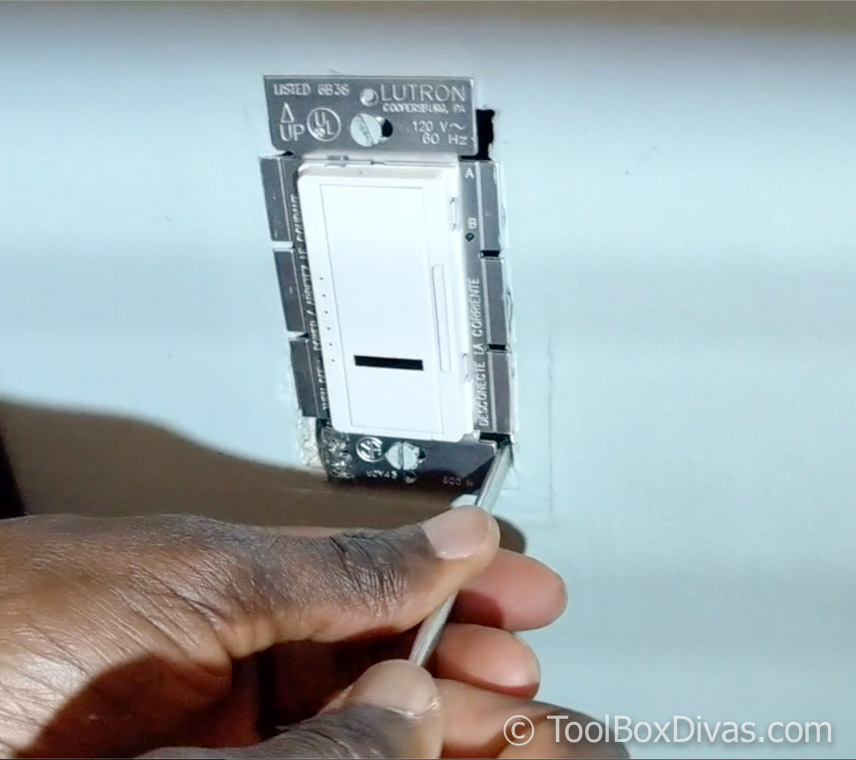
Screw in and align the switch with the box.
To align, you can simple nudge it from left to right with the flat head screwdriver.
Step 10.
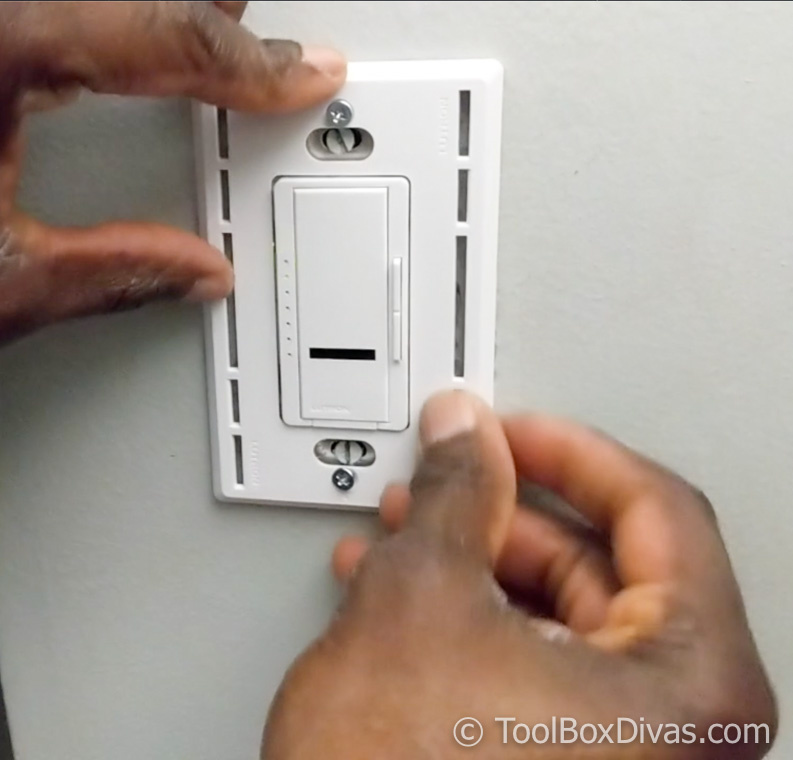
Screw on the mounting plate and snap on the wall plate in over it.
Step 11.
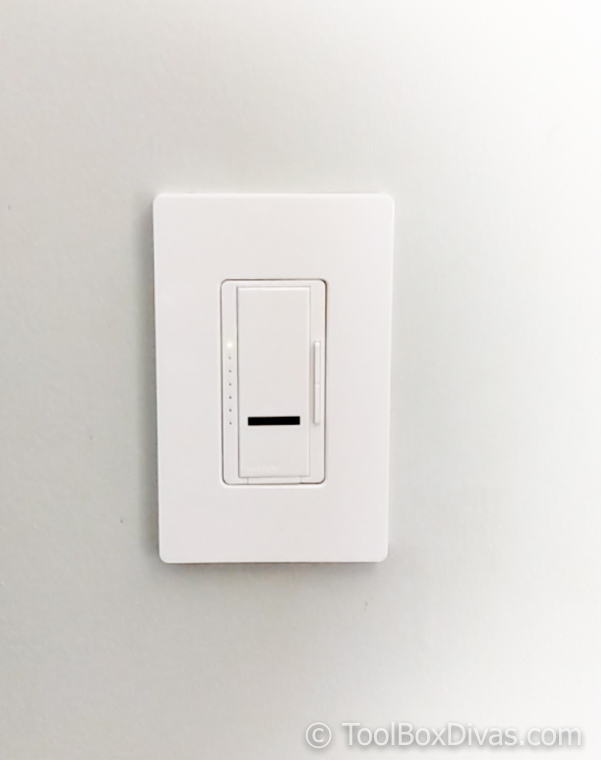
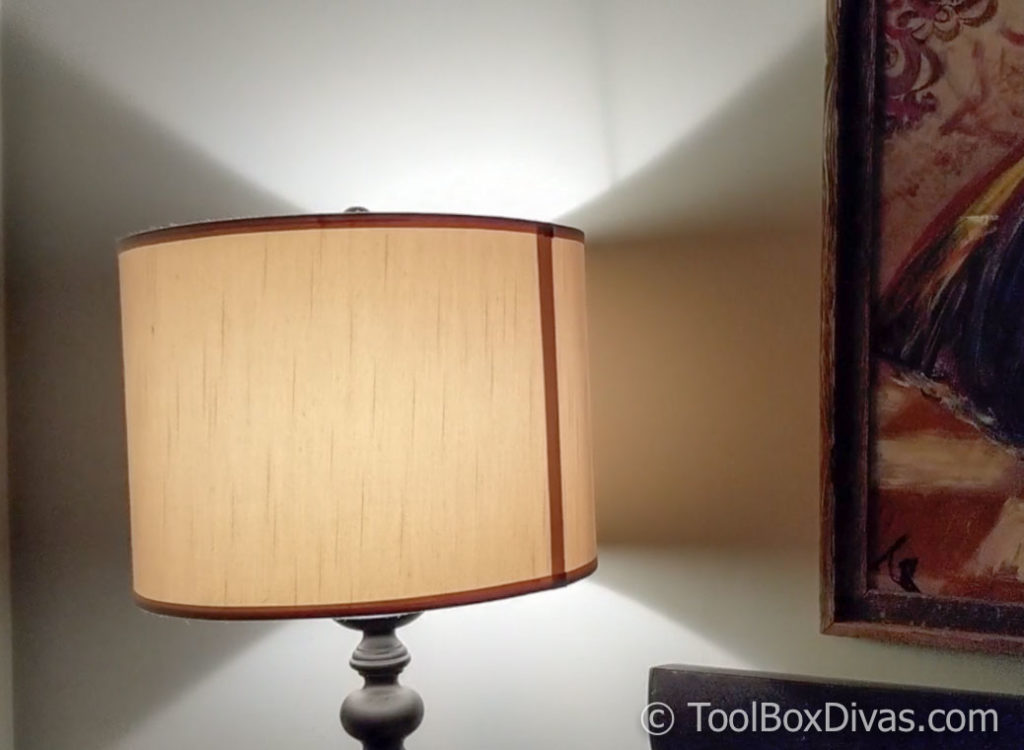
Reconnect the power and enjoy your new dimmable light.
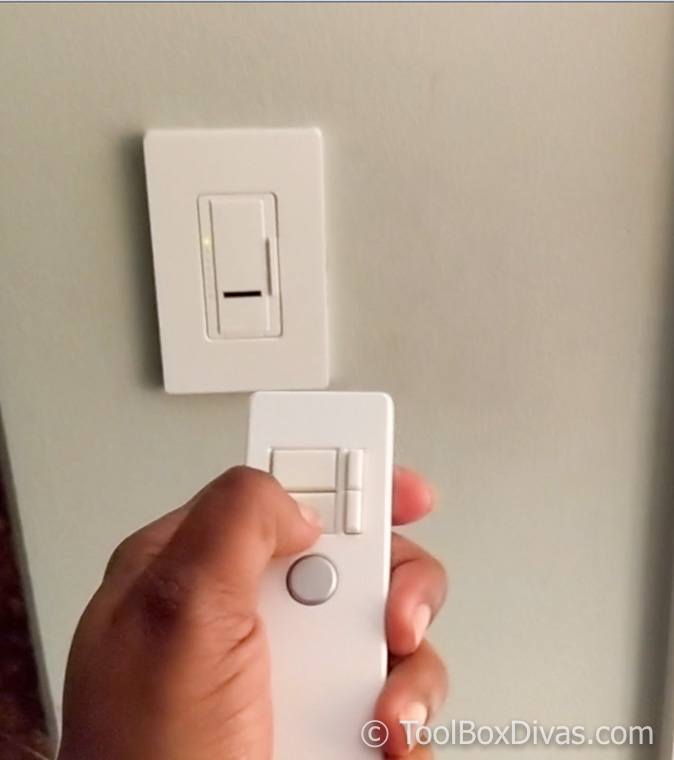
I love the remote that comes with this thing. It can be programmed to fit any setting.
Til Next time. ~T.
For more home improvement tutorials and tool reviews check out these posts:
I acknowledge that The Home Depot is partnering with me to participate in the ProSpective 2018 Campaign. As a part of the Program, I am receiving compensation in the form of products and services, for the purpose of promoting The Home Depot. All expressed opinions and experiences are my own words. My post complies with the Word Of Mouth Marketing Association (WOMMA) Ethics Code and applicable Federal Trade Commission guidelines.

