Tools 101: how to use a miter saw
Learn how to use a miter saw and safely make straight, beveled and compound cuts with ease.
*This post is sponsored by The Home Depot and contains affiliate links and I will be compensated if you make a purchase after clicking on my links.
What is a Miter Saw?
A miter saw is a stationary saw that is used to cut lumber like 2×4 or 1x8s to size. Unlike a circular saw which is handheld, the miter saw is placed on a stable surface (a table or workbench) and allows you to safely make straight cuts up to a certain size with a little more ease.
Types of Miter Saws
There are various types of miter saws, while the overall objective is the same each performs slightly different.
- Basic or Standard Miter Saw: This is as basic as it gets. Think of it as the “automated miter saw box.” You can make the same straight cut and miter cuts as you would with a miter box. On this miter saw the handle doesn’t tilt or make beveled cuts. This is also a lowest cost option.
- Compound Miter Saw: With this, you can make all the same basic miter and cross cuts, except the handle, tilts allowing the user to make beveled cuts. It can be a single bevel, tilting in one direction or a double bevel, tilting in both directions to make beveled cuts.
- Sliding Compound Miter Saw: The sliding compound miter saw is all of the previous versions wrapped into one, including the ability to cut through wide boards, giving the user the ability to complete up to a 14-inch cross cut, depending on the size of the miter saw blade.
The Saw
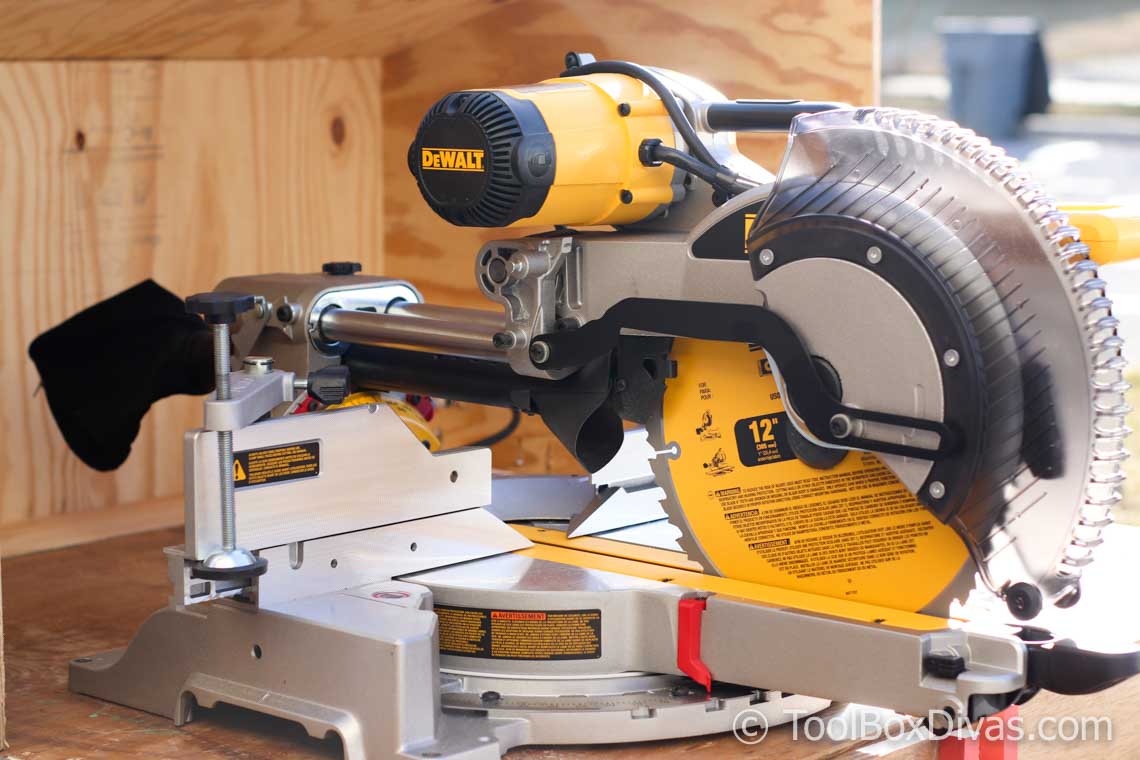
In this tutorial, I’m going to demonstrate how to use a miter saw using DEWALT 15-Amp Corded 12 in. Double-Bevel Sliding Compound Miter Saw. While each brand of miter saws may differ slightly in its features, they all operate about the same.
To give you a little information about this miter saw, it a 12″ Compound Miter Saw, meaning it can cut a wider surface with cross cuts up to 14 inches. This saw comes with a 12″ Carbide Blade, a blade wrench (for changing the blade), and a Dust Bag.
4 Basic Cuts You Can Make with a Miter Saw
Before I dive fully into how to use a miter saw here are 4 basic cuts you can achieve with a miter saw.
- Crosscut (A straight cut across the grain of the board)
- Miter cut ( An angled cut across the width of the board)
- Beveled cut ( An angled cut across the thickness of the board)
- Compound cut ( Combines a miter and a beveled cut)
Things to Consider Before Using the Miter Saw
Before you use a miter saw or any power tool always remembers to wear safety glasses. The saw can also be a little loud so ear protection may be needed for some. Secure any loose items, like jewelry, or the strings from a hoodie or sweatshirt. Pull your hair back or secure in a ponytail if it’s hanging. Make sure your hands are at least 6 inches from the blade. Also never cross your arms while cutting.
OK, Let’s Get Dirty!
Using the Miter Saw
- Set the miter saw up on a secure surface like a table or workbench. You will need a way of supporting any wood that extends beyond the length of the miter saw like an outfeed table. If I’m on the go and don’t have a proper bench I stack blocks of wood on either side of the saw to support the extended wood as I cut it. So support your work area. You don’t want any wood hanging off or flapping up and down.
- Before you begin the miter saw should be in a resting state with the blade down.
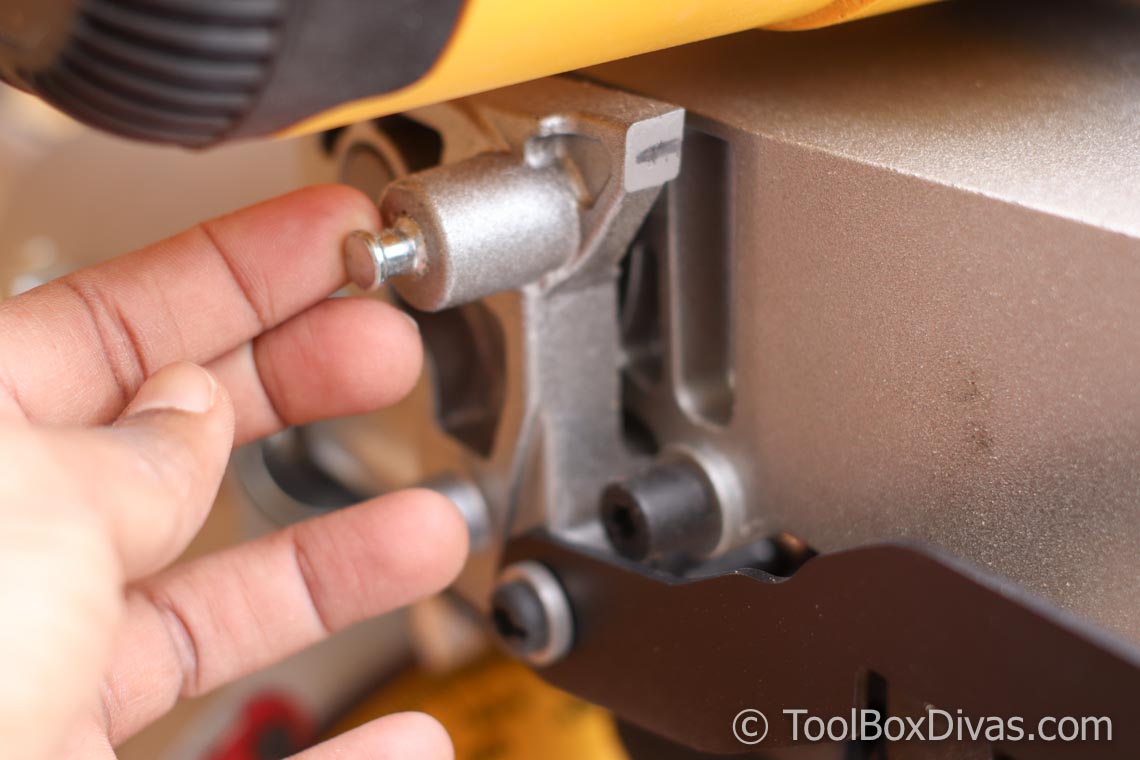
 Push the operating handle down and pull out the locking pin to raise the operating handle.
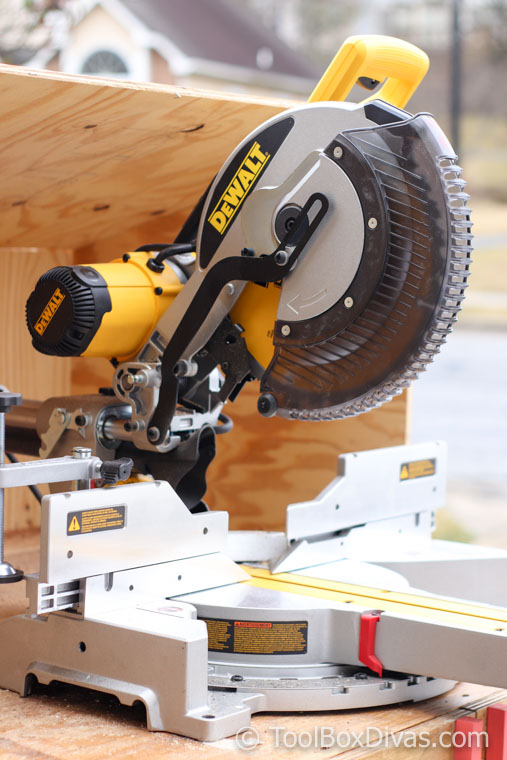
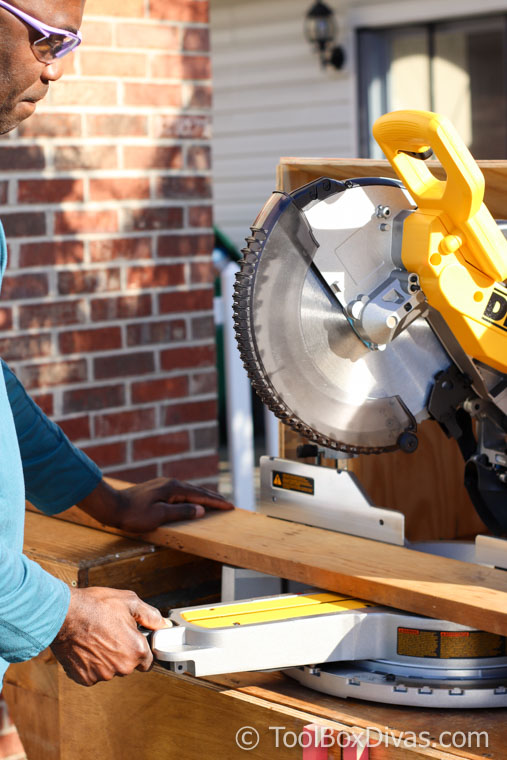
- Cutting wood: Firmly place the board flat against the fence. This is a sliding compound miter saw, which means you will start operating handle out, then press the trigger switch, lower the handle all the way down and push the handle towards the fence to cut. Allow the blade to come to a complete stop before raising the handle. Your board should be flat on the surface and firmly against the fence at all times (NOTE: Do not start the blade directly on the wood.)
- To make a Crosscut (straight across the grain of the board) cutting a board to length
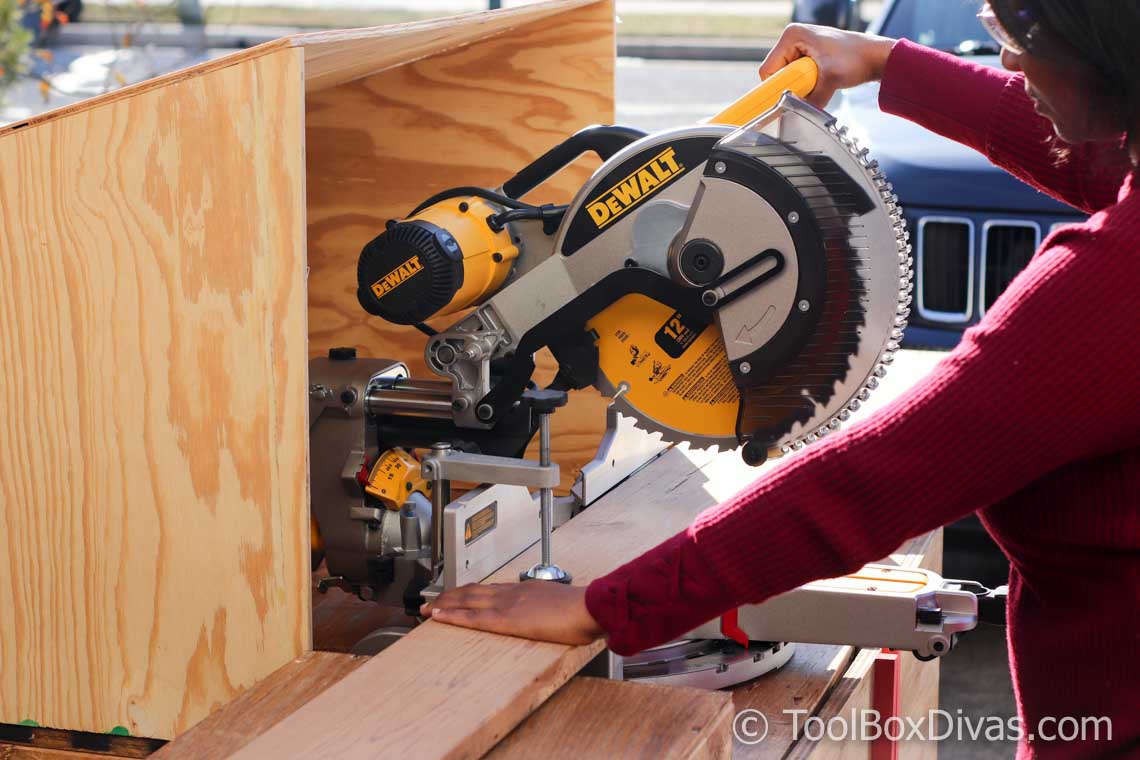
- miter and beveled angle at 0
- board flush against the fence
- Align the board on the waste side of the line to ensure board cut to length otherwise, the board will be 1/8in short (the thickness of the blade)
- To make a simple Miter cut (the most common is 45 degrees)
- To make a Beveled cut
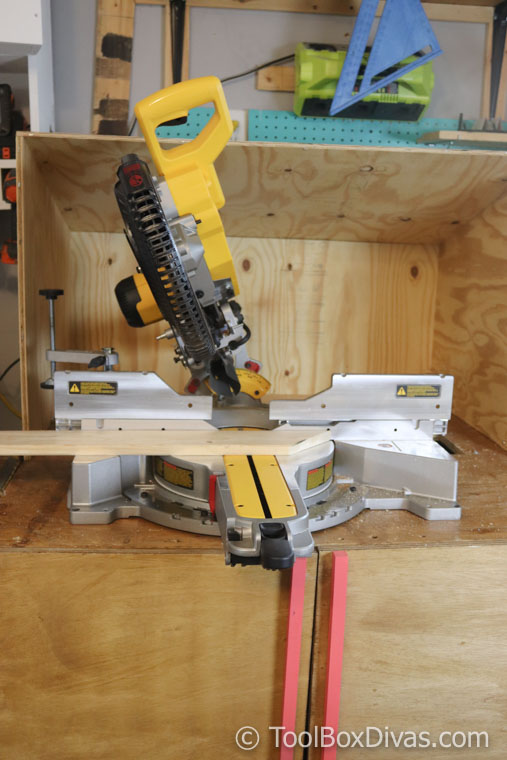
- set miter to 0
- set beveled to 45 degrees
- align on the waste side of line
- To make a compound cut adjust both the bevel and the miter latch.
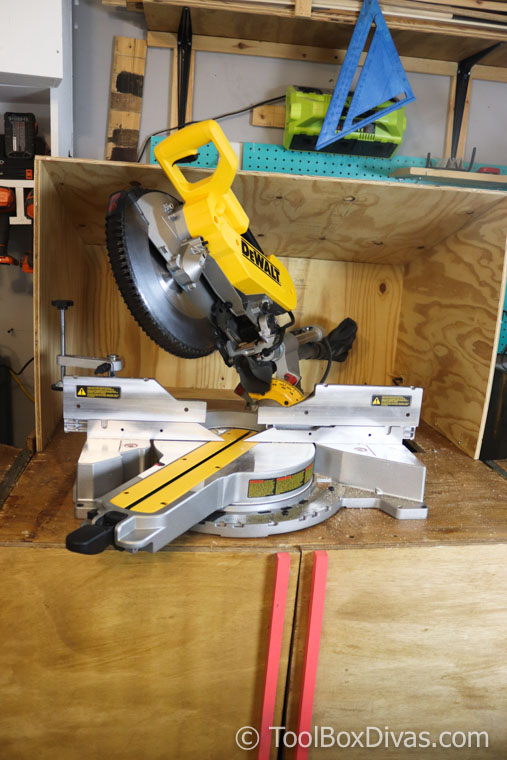
For more DIY projects and tutorials like this miter saw stand check out these posts below:
I acknowledge that The Home Depot is partnering with me to participate in the ProSpective 2018 Campaign. As a part of the Program, I am receiving compensation in the form of products and services, for the purpose of promoting The Home Depot. All expressed opinions and experiences are my own words. My post complies with the Word Of Mouth Marketing Association (WOMMA) Ethics Code and applicable Federal Trade Commission guidelines.


Thank you very much for this detailed guide. I am fairly new to woodworking. And getting in touch with few power tools. But meter saw appears to be a dangerous tool to handle. I was using other tools from my dad’s inventory but then I saw A miter saw I knew I should check out a manual or guideline first before I go ahead and use the tool myself. Seems Like I came to the right place.
Thank you very much for sharing this post. really appreciate it.
I was planning to use a miter saw in my woodworking project.
Thanks for the detailed information. It helped a lot!
Thank you so much!