Amazing DIY Wall Mural Created with a Sharpie
Create a beautiful and inexpensive DIY Wall Mural with only a Sharpie.
Looking for a low-cost way to add fun to any space?! This Whimsical Wildflower Wall Mural creates just that! Learn how to make your own sharpie wall mural.
Over in the Facebook group we have a monthly share thread where all the members can share the projects they’ve been working on for the month. When I saw this sharpie wall mural I knew I had to share it with all of you! It’s so creative and artistic. It’s also a budget friendly way to add a design element to a space.
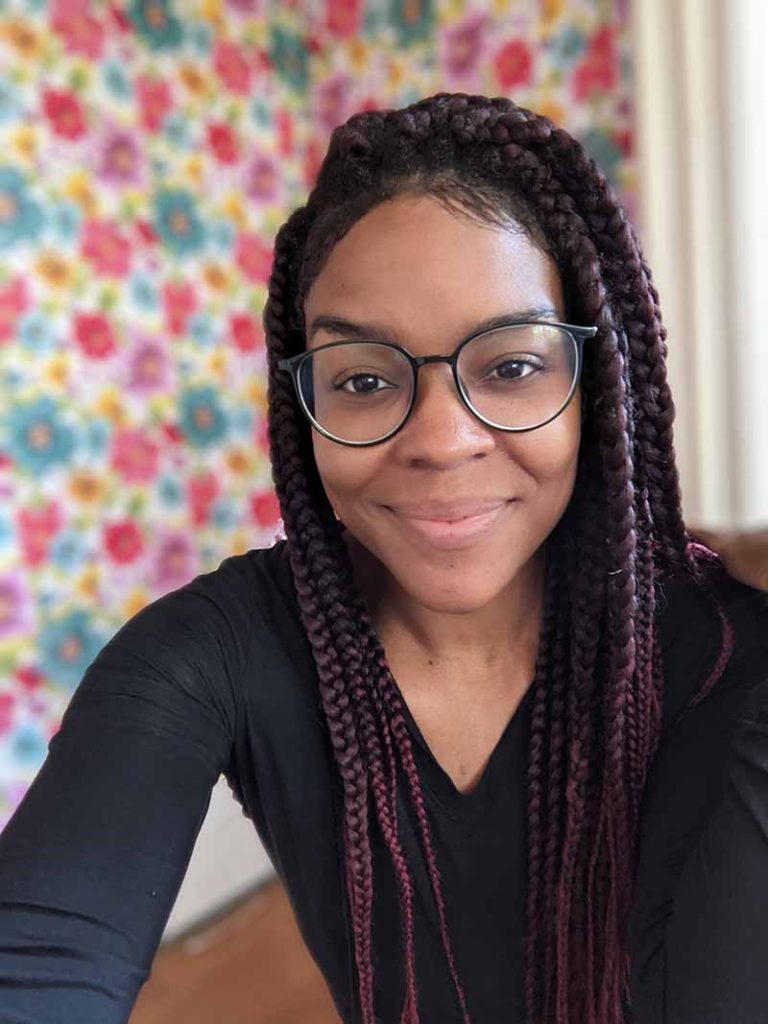
Taqueshia put together this tutorial with pictures so you can do this yourself!
Let’s get dirty!
I am currently renovating the home we recently bought and I knew that before we got the keys in our hands that I wanted to make the best space for our three girls. The question I asked myself is, How do I articulate their very different personalities into this one space?!
Wildflowers. That’s how!
These flowers grow in all different colors,textures and varieties. Which represent our girls quite nicely!! I wanted to create something that was inexpensive and wouldn’t take alot of time so that as they grow and change it’s no big deal to allow this space to change as well!! The idea to simply draw on their freshly primed wall was the perfect solution!
You can begin creating a wall of your own with only a few supplies!
MATERIALS
Step 1. Search for inspiration
- If flowers are blooming outside go and take a look.
- Search the internet for botanicals and be inspired!
- Make up your own type of flowers and plants! Have fun with your whimsical design!
Step 2. Clean the area to be painted
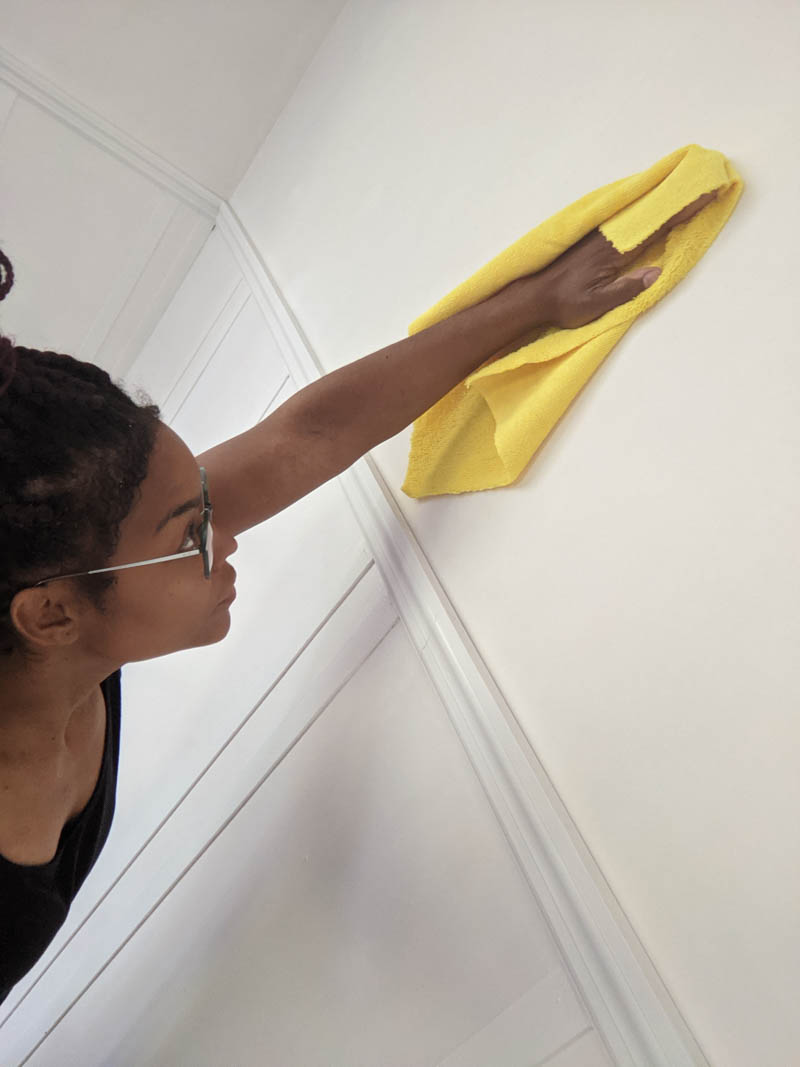
Just like you would do to put on a fresh coat of paint, wipe the area down completely and make sure all the dirt is gone.
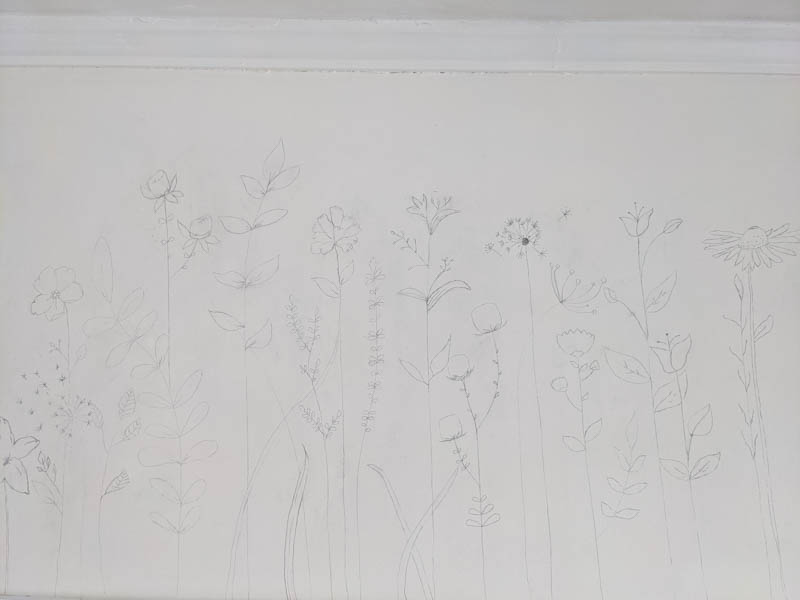
Step 3. Map out your design
Think about how tall your tallest flower will be? How wide do you want your drawing to be? Use your pencil to lightly mark this space.
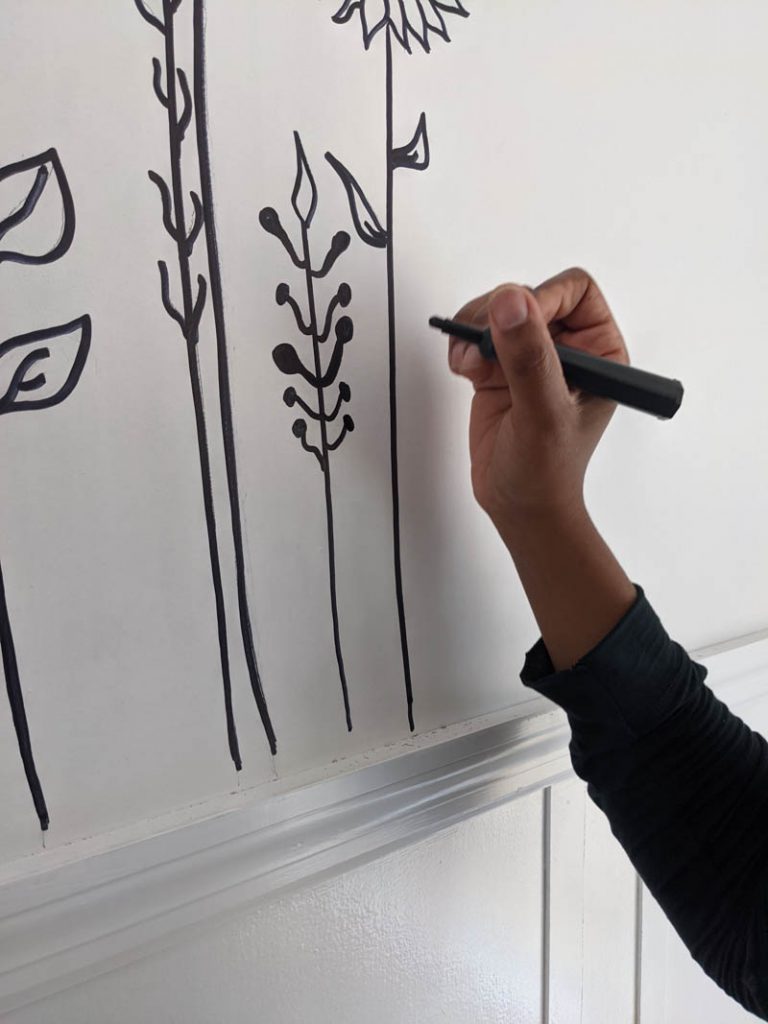
Step 4. Draw your design

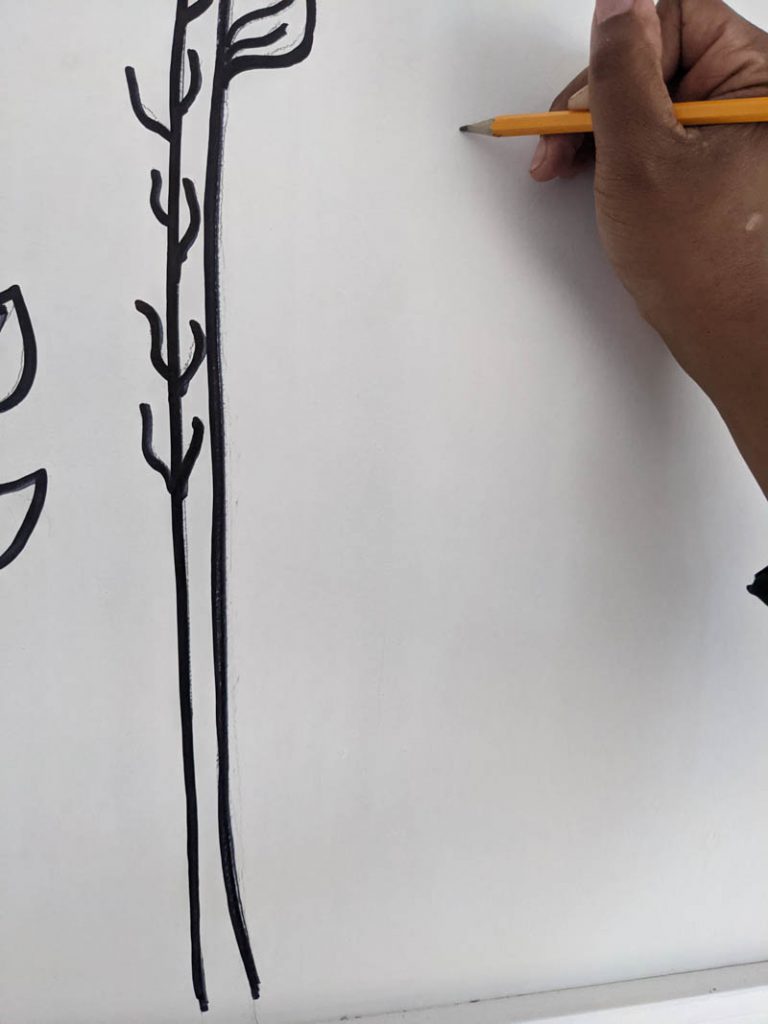
Use your pencil to sketch out your botanicals, draw lightly, if you make a mistake simply erase, and continue, until your desired space is complete with your design
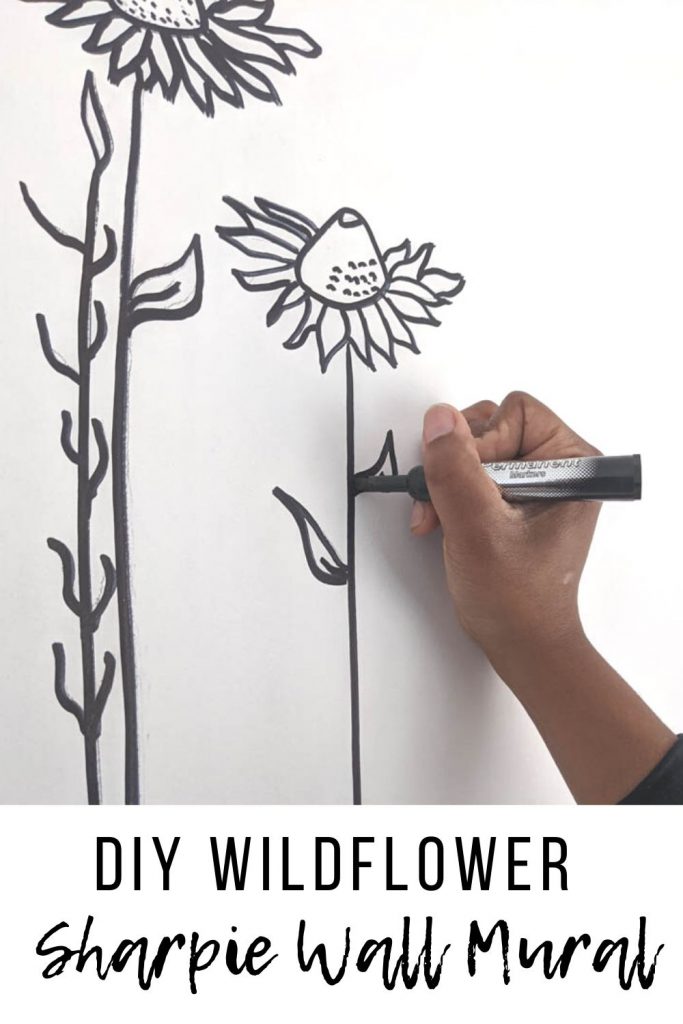
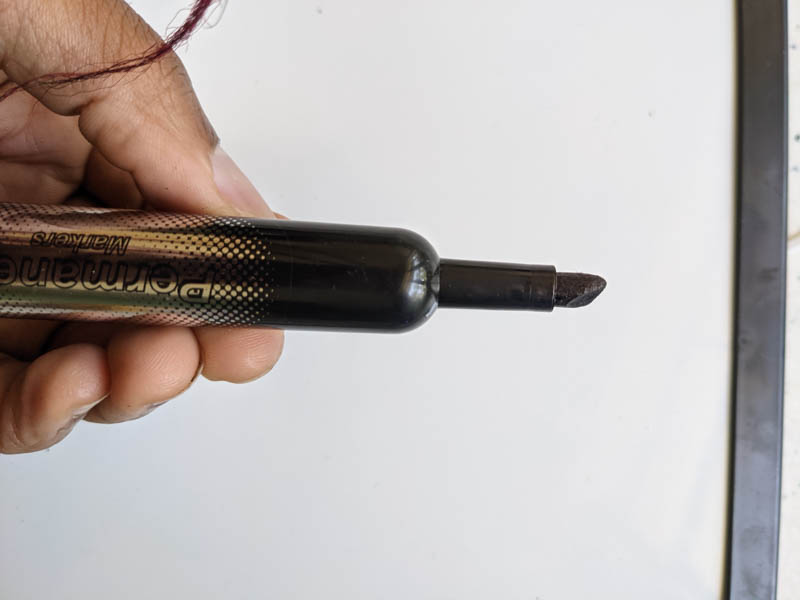
Step 5. Make it permanent
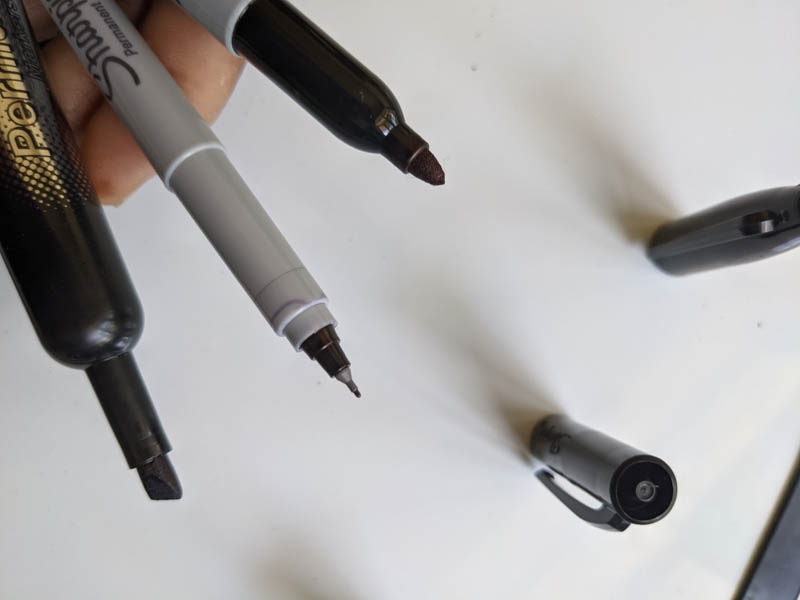
Permanent markers come in an array of different sizes. Choose the one that’s best suited for the look you are going for. If you aren’t sure what look you will like best, start with the smallest size. It will be seamless to add a thicker marker on top if you decide to go with a thicker stroke.
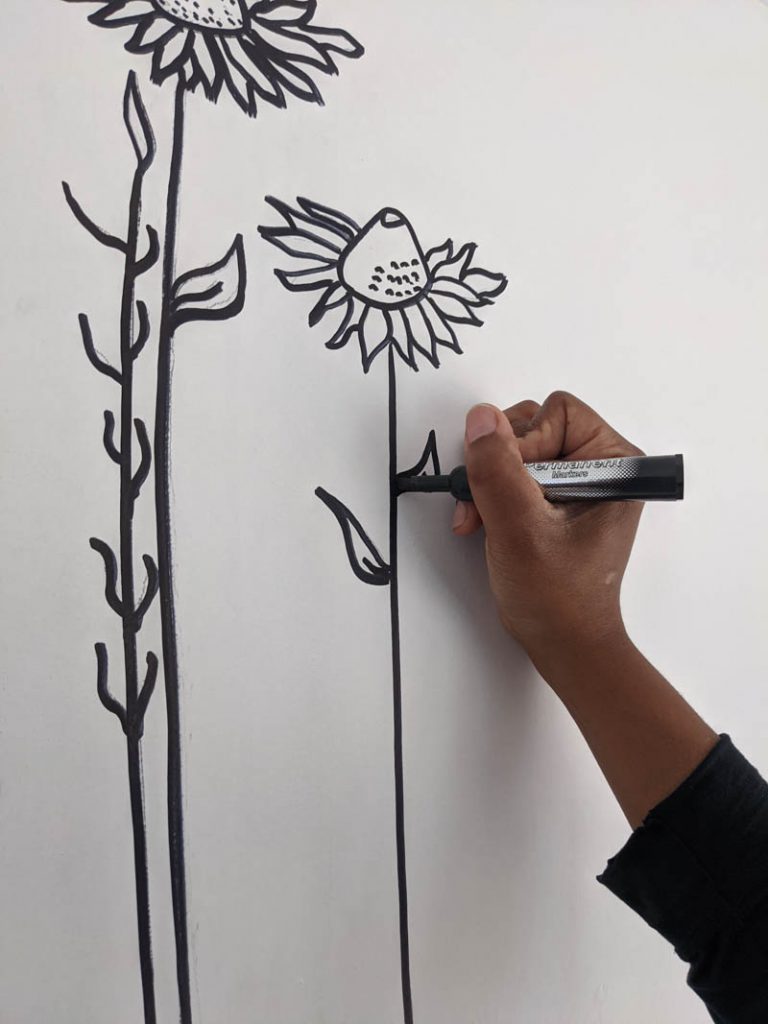
I wanted a bold look so I chose to use a thick marker tip. Trace right on top of your pencil drawing. Don’t worry that it might not be exact. You will go back afterwards and erase any visual pencil marks.
Step 6. Erase
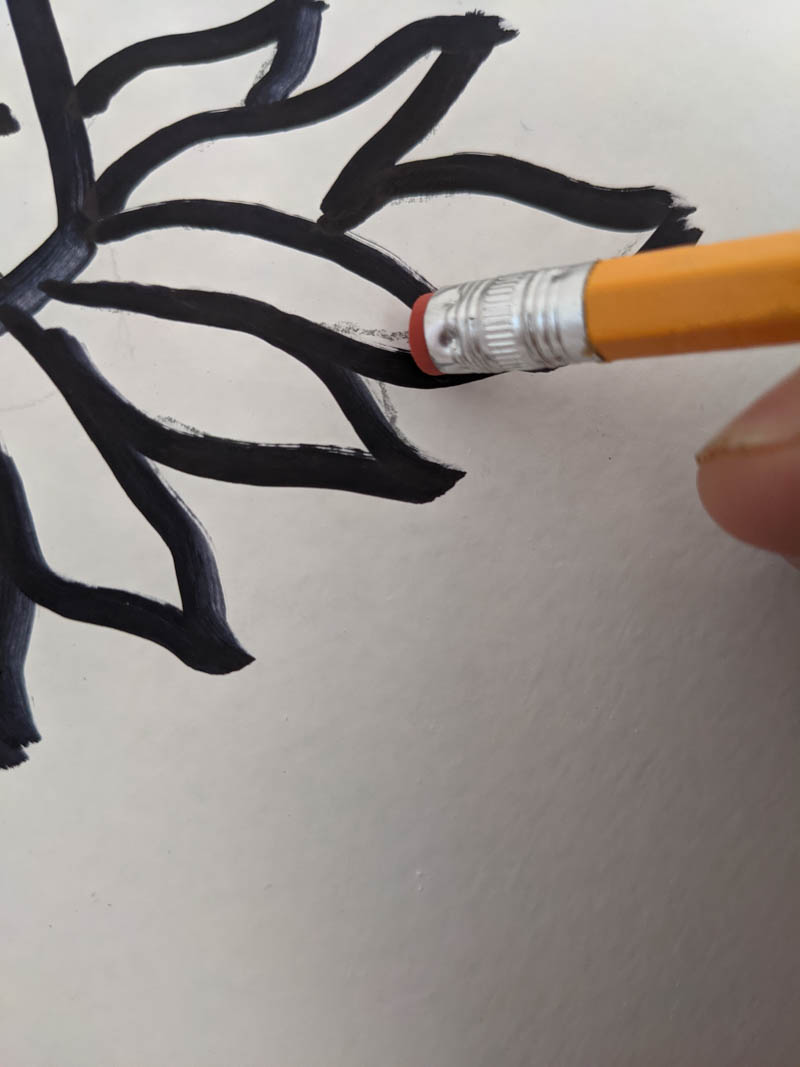
Erase any visual pencil marks! You can also use paint to cover up any stubborn pencil lines!
Step 7. Seal
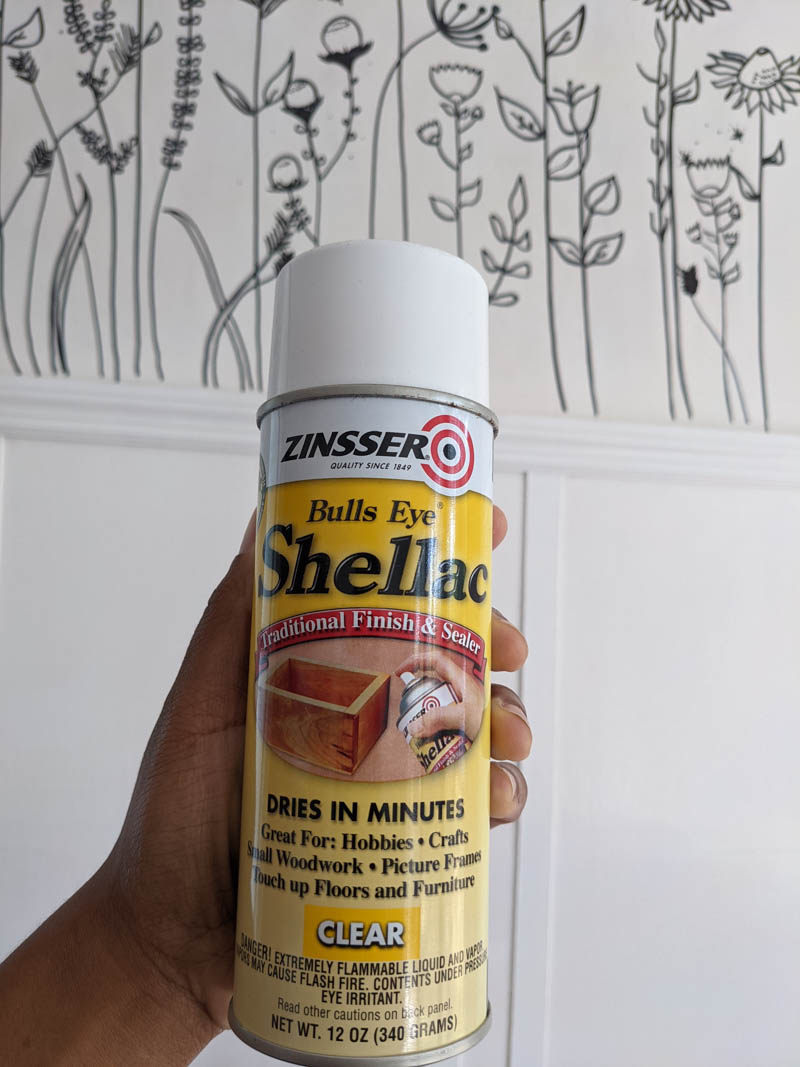
Allow your artwork to dry completely before sealing, I waited a minimum of 24 hours to assure the ink had completely dried. Lightly spray a clear coat of finish and sealer to your wall mural.

That’s it!!! Enjoy your beautiful design!!
For more creative wall treatments check out: DIY Painted Accent Wall Mural and How to Install Picture Frame Moulding Wainscoting.

So fun and you make it sound so easy! Haha. I love it! And my girls are going to love this, too… Thanks!
Stunning! Thank you for sharing 🤗