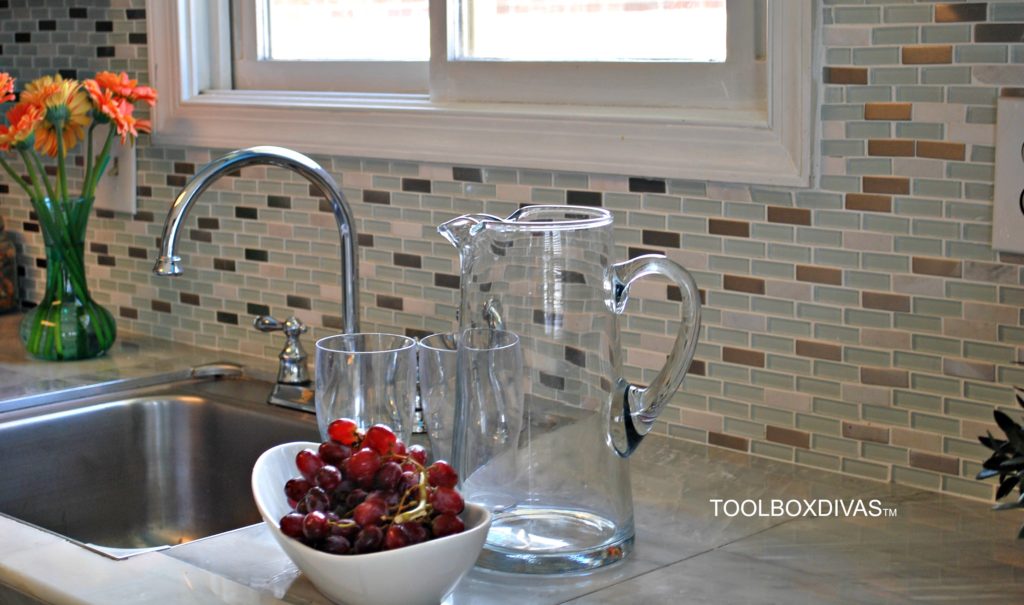
How To Install a Kitchen Tile Backsplash The Easy Way
The backsplash area in the kitchen plays a major role in the design outlook of the house. When decorating a kitchen, it is best to do it yourself so that you create it as you would like it to be. Installing a tile backsplash is a simple procedure consisting of few steps and the use of some common tools.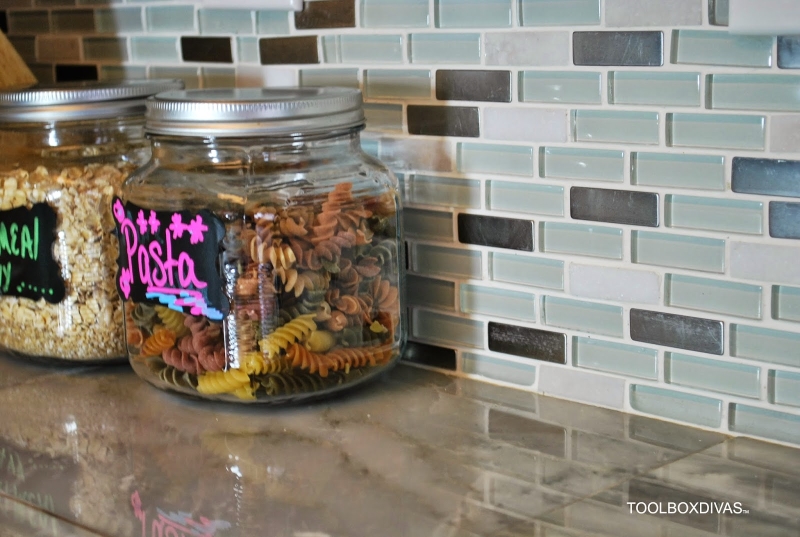
This is a simple step-by-step procedure that can help you install your own tile backsplash.
Materials and equipment needed
Before you begin, here is a full list of all materials and equipment you need from the store for the job.
- Tape Measure
- Tile Nipper
- Tile cutter or Tile Saw (this can be rented)
- Rubber Grout Float
- Bucket
- Notched trowel
- Super Grout Mixer
- Non-contact voltage tester
- Utility knife
- Latex gloves
- Caulk
- Cheese cloth
- 4-in-1 screwdriver
- level
- Safety glasses
- Grout (comes in various colors)
- Tile adhesive or mastic
- Sponge
Preparations
- It all begins on the backsplash area, which should be checked for any moisture. It should be dry. If not, you may opt for a cement backer board in place of the drywall for the area or dry the wall using a dehumidifier.
- Check the backsplash area size to get an idea of what size tile you’d like to use and amount of tile needed to complete the job.
OK before we get started lets talk safety. Put on your safety glasses and gloves. I might not wear gloves at all times, but safety glasses are a must. Always protect your eyes. Maintain a bucket of warm soapy water and a sponge to wipe away any adhesive or grout or just basic grime. DO NOT rinse anything off in the sink. Grout, thinset, that kind of stuff…well they don’t exactly work well going down the drain. So protect your sink area at all times to prevent debris from going down the drain.
Now Let’s Get Dirty!
Prepare the wall
- First of all, switch off all electrical outlets in the area and remove all the outlet covers. To be on the safe side test the outlets with a voltage tester to ensure the power is cut to the outlets.
- If the wall is painted, hand-sand with an 80-grid sand paper then wipe the dust off.
- If you removed an old backsplash, make sure the wall is smooth and repaired of any damage.
- Clean the backsplash area with warm water and a slightly damp sponge. Allow the drywall time to dry.
- Draw a centerline down the middle of the area where your are going to tile. This will be your starting point. You can also screw a ledger to support the tile.
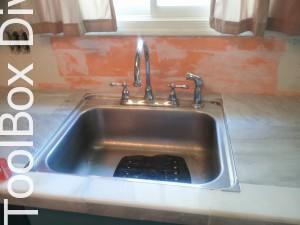
- Before tiling I applied a waterproofing membrane behind the sink area using Schluter®-KERDI. I had this material left over from a previous tile job. The KERDI is a pliable sheet-applied waterproofing membrane and vapor-retarder designed for the direct application of tile. KERDI is ideal for use in tiled showers, bathtub surrounds, residential steam showers, and other tile applications in wet areas.
Set the Tile
Apply Mastic
(What is Mastic? Don’t worry I asked the same thing when I first started. Well it’s basically an organic adhesive)
- Using a notched trowel, apply the adhesive mastic on the area. You can use a square or V-notched trowel. It’s up to you. I used a square notched trowel. But the V-notched trowel is made specifically for walls because it applies less mortar
- The mastic can come premixed or in a powder form.
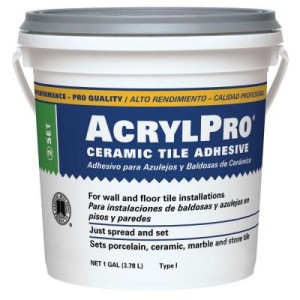
AcrylPro 1 Gal. Ceramic Tile Adhesive - Spread the mastic using the notched trowel held at a raised angle of about 45°. Ensure you cover all spots.
- Spread it in small patches, to ensure it does not dry before the job is done.
Apply the Tile
- Start in the middle of the wall area placing the first tiles using a piece of scrap wood to ensure its tight and in place. Ensure the tile is parallel to the edge and straight. Use a level to verify that the tile is square. You don’t want crooked. If one is crooked the whole wall will look off.
- Press the tile into the mastic and keep setting more tiles next to each until you reach the edge. Don’t rush this process. Take your time to ensure every piece is straight and adhered to the wall and spaced properly.
- In case the mastic forms a skin, do not apply the tile; scrap it off and re-apply a fresh coat of adhesive.
Cut the tiles to fit
- In parts where the tiles do not fit, saw them to fit the edges well. It may also be required to cut to fit decorative tiles. You do not need to buy a fancy tile saw. A basic tile cutter will get the job done. Just score the tile and cut.
- Once all the tile is laid out and wipe the excess adhesive with a damp sponge and allow roughly 12 to 24 hours (check the dry time on the adhesive) to allow the adhesive time to dry.
Grout and clean the tile
Apply the grout
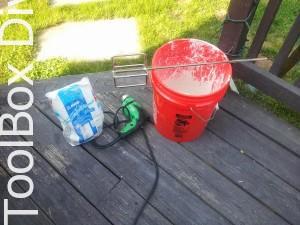
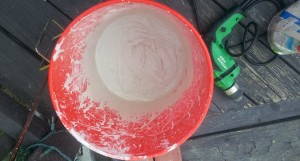
- First lets start by mixing your grout, if your not using a premixed grout. This is actually a pretty fun step: 1 you’re almost done, 2 you get to play with a gigantic mixer attachment thing…..I’m sorry I really don’t know the proper term for it Haha. So pour your grout and water into an empty bucket according to the instructions on the mix. attach the grout mixer to the drill and mix until you have a cake batter smooth consistency.
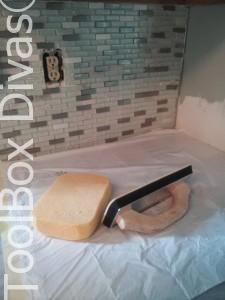
- Once the grout is set force the grout into the joints between the tile using the float then scrape off the excess grout by moving the float diagonally across the tile to give it a neat finish. Wipe the excess grout with a sponge making sure to remove all of the excess grout. You do not want the grout to dry and stick to the tile.
Caulk & Clean
- Along the bottom, where the counter meets the wall apply the caulk. This acts as an additional barrier against moisture.
- Finally, clean the surface with a sponge for a clear view of the finishing. Wipe diagonally to avoid moving the tiles. Make sure to remove the haze that forms once the grout dries.
Replace the electrical outlet covers and turn the power back on to the area because you are done. Congratulations! You did it!
For more info on tiling in the kitchen:
Tile Removal 101: Remove the Tile Backsplash Without Damaging the Drywall
And


I love that your instructions are easy to follow – thanks for sharing!
Thank you so much Laurie! Good Luck with your project!
what is the name of that tile?? and where did you get it?? I love it!
Thank you Casey! I bought it on clearance from Home Depot. But it was the Jeffrey Court Modern White Mini Brick 12 in. x 12 in. Glass Stone Metal Mosaic Wall Tile-99456 at The Home Depot.
I have been looking for a site just like this one. And you are amazing. I love how you break down the steps for the projects and make it simple. Thank you for taking the time to put it together. I have a kitchen that needs some “TLC” and you have given me inspiration.
Thank you so much Joyce! I am so glad you found this post helpful. Please let me know if you have any questions. I know you can do it!
That’s a spectacular change! I love tiling. Almost immediate gratification. And, you’re right about caulking rather than grouting the bottom edge! Made that mistake once. But, don’t forget sealing the grout, especially in the kitchen. It makes cleaning easier and lasts for years on a wall.
Thank you so much! You are so right about sealing. I too have made many mistakes in the past…heck I still do LOL. But its a great learning lesson.